Hello, G45ers!
We are hoping to kick start your creativity this weekend with this set of Woodland Friends Tags. This tag set and step by step tutorial have been created for us by Graphic 45 Brand Ambassador, Melissa Merritt. These tags have a secret flap that opens up offering a bit of add whimsy and delight to each of these tags. We encourage you to grab your paper and tags and create along with us!
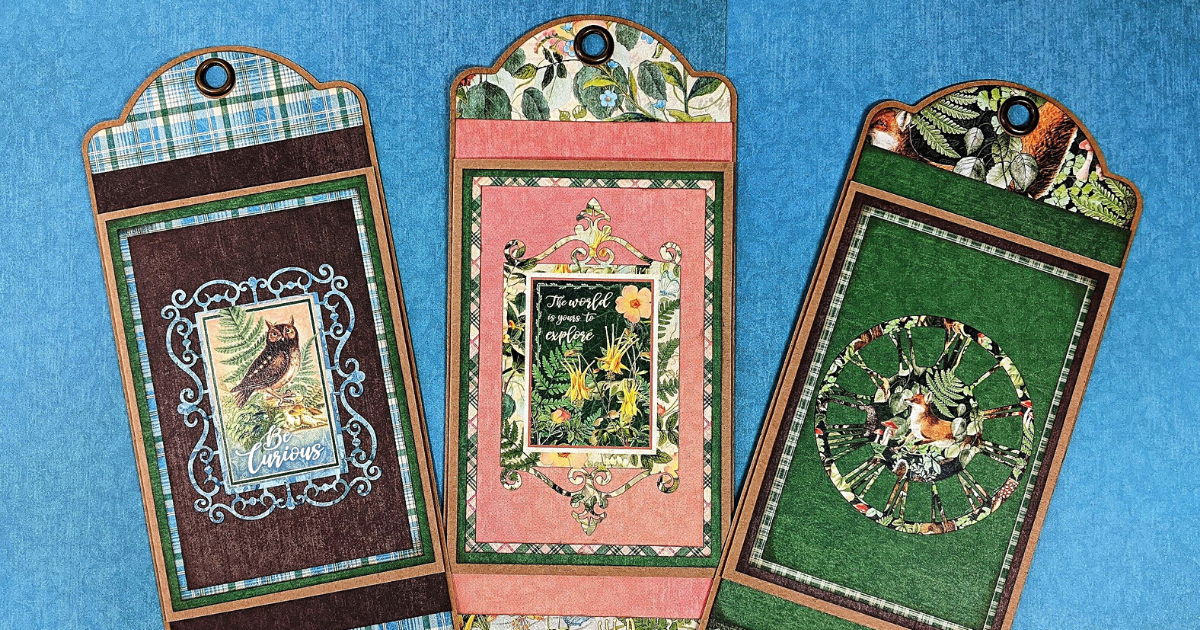
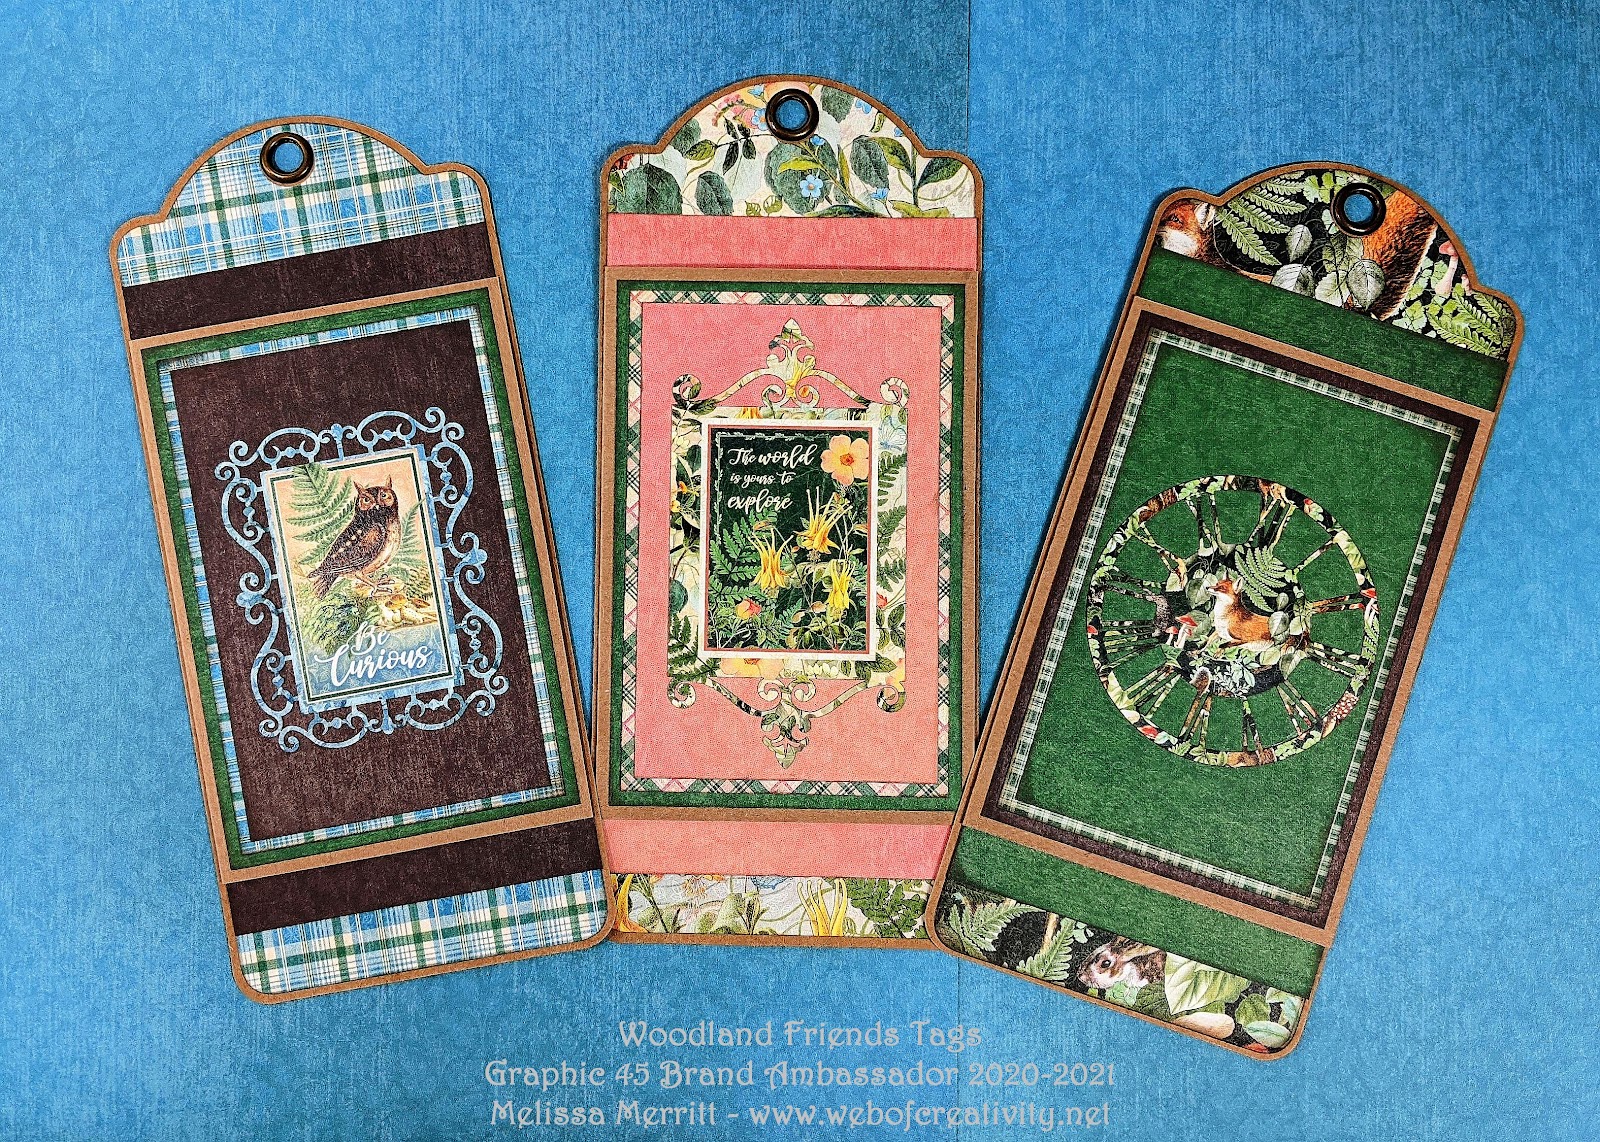
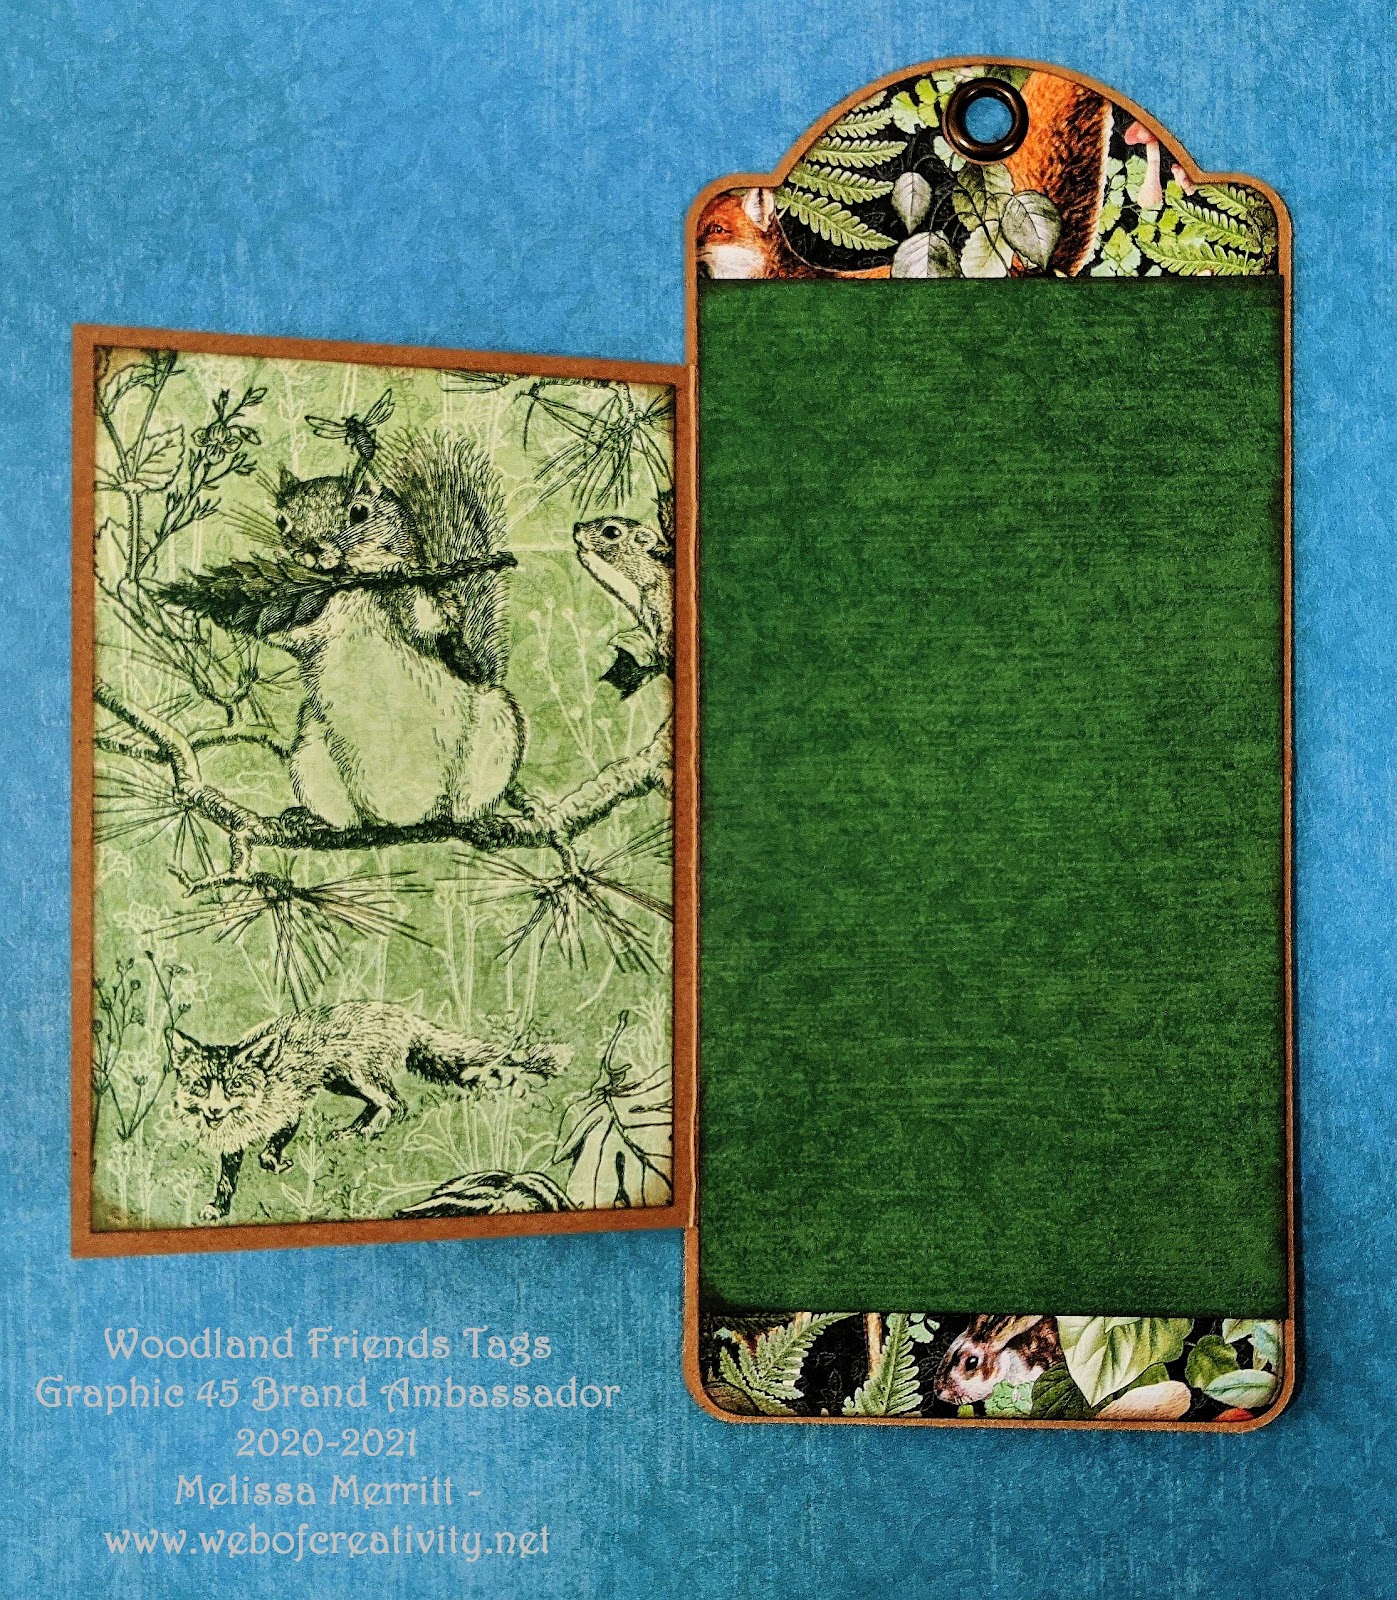
WOODLAND FRIENDS TAGS
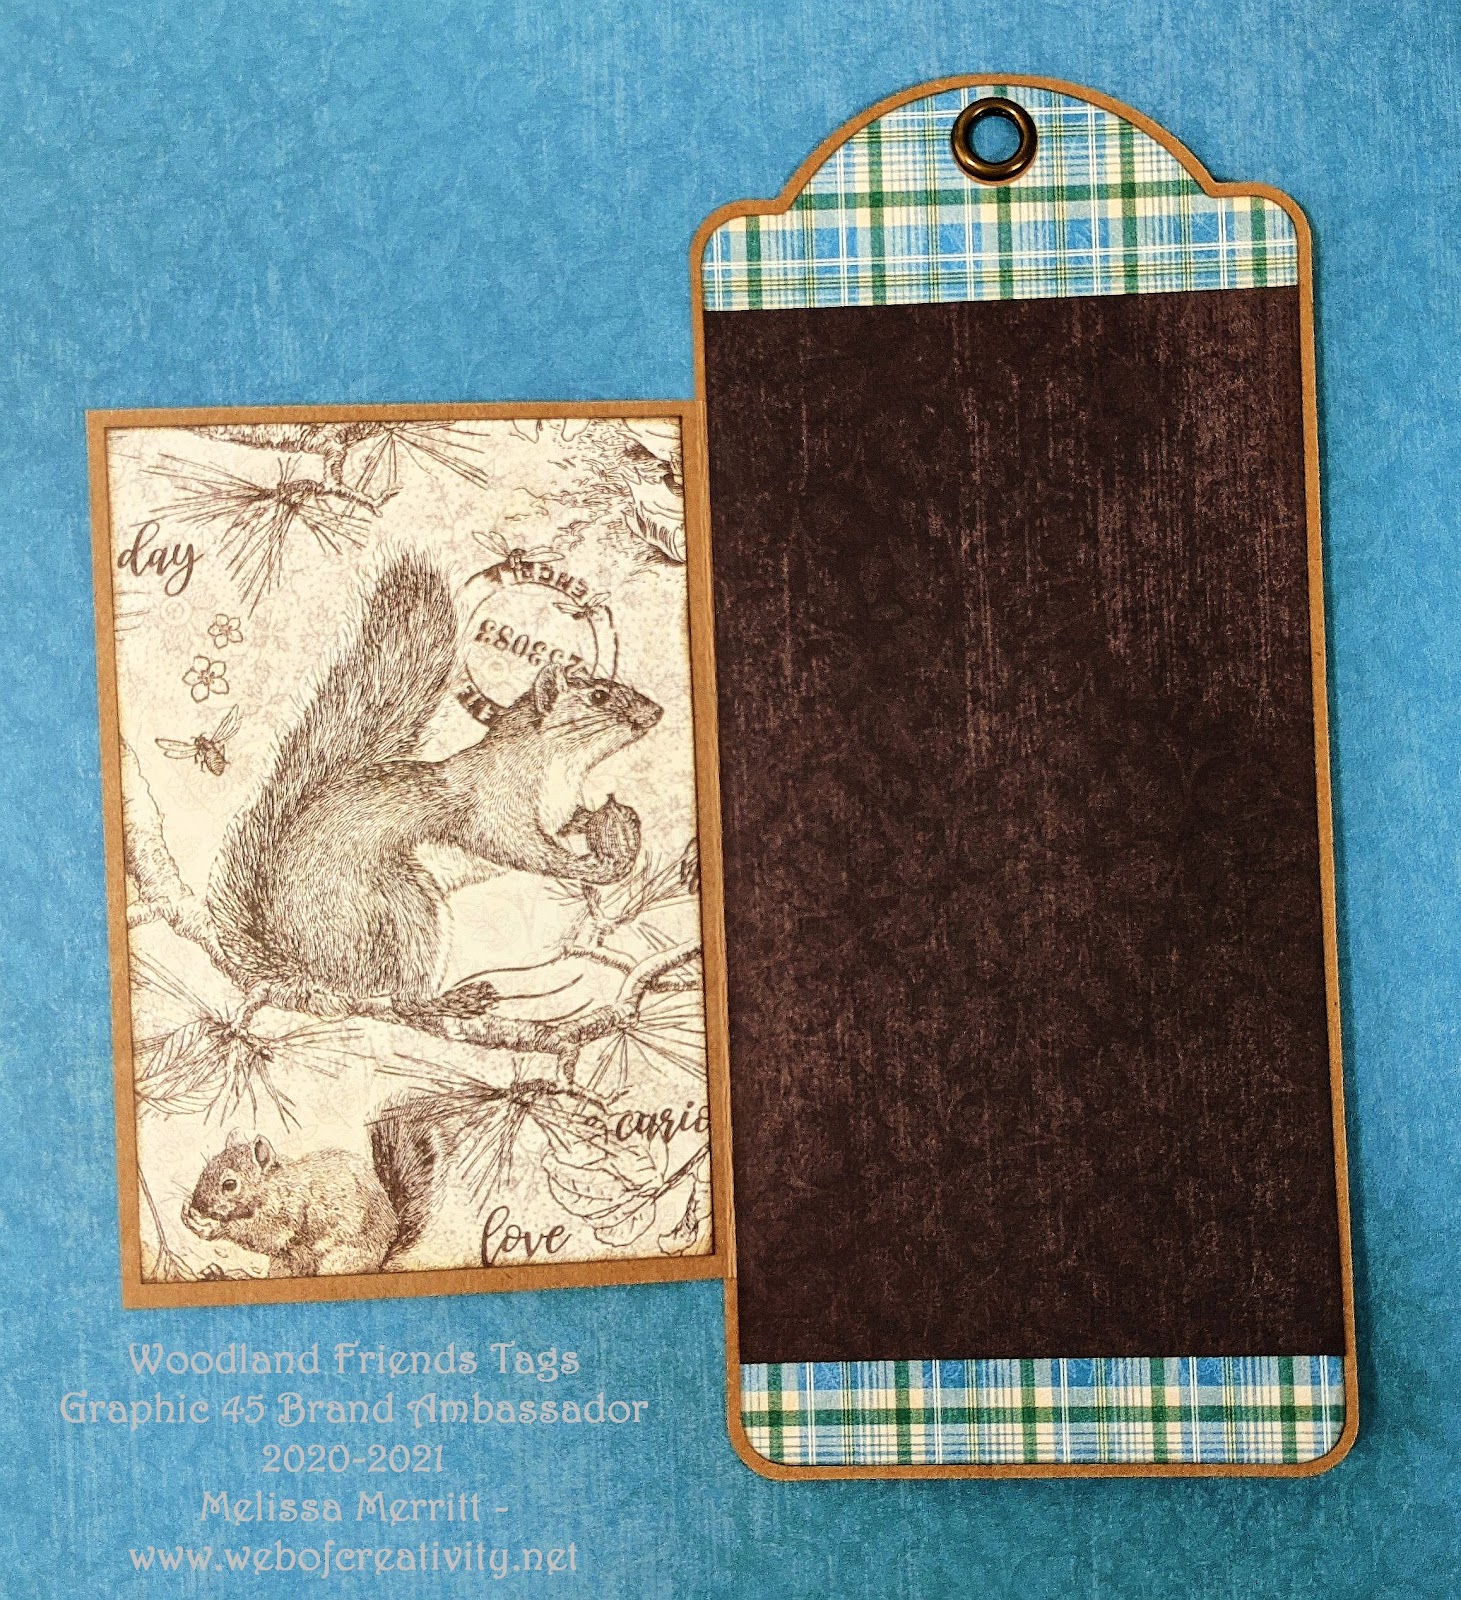
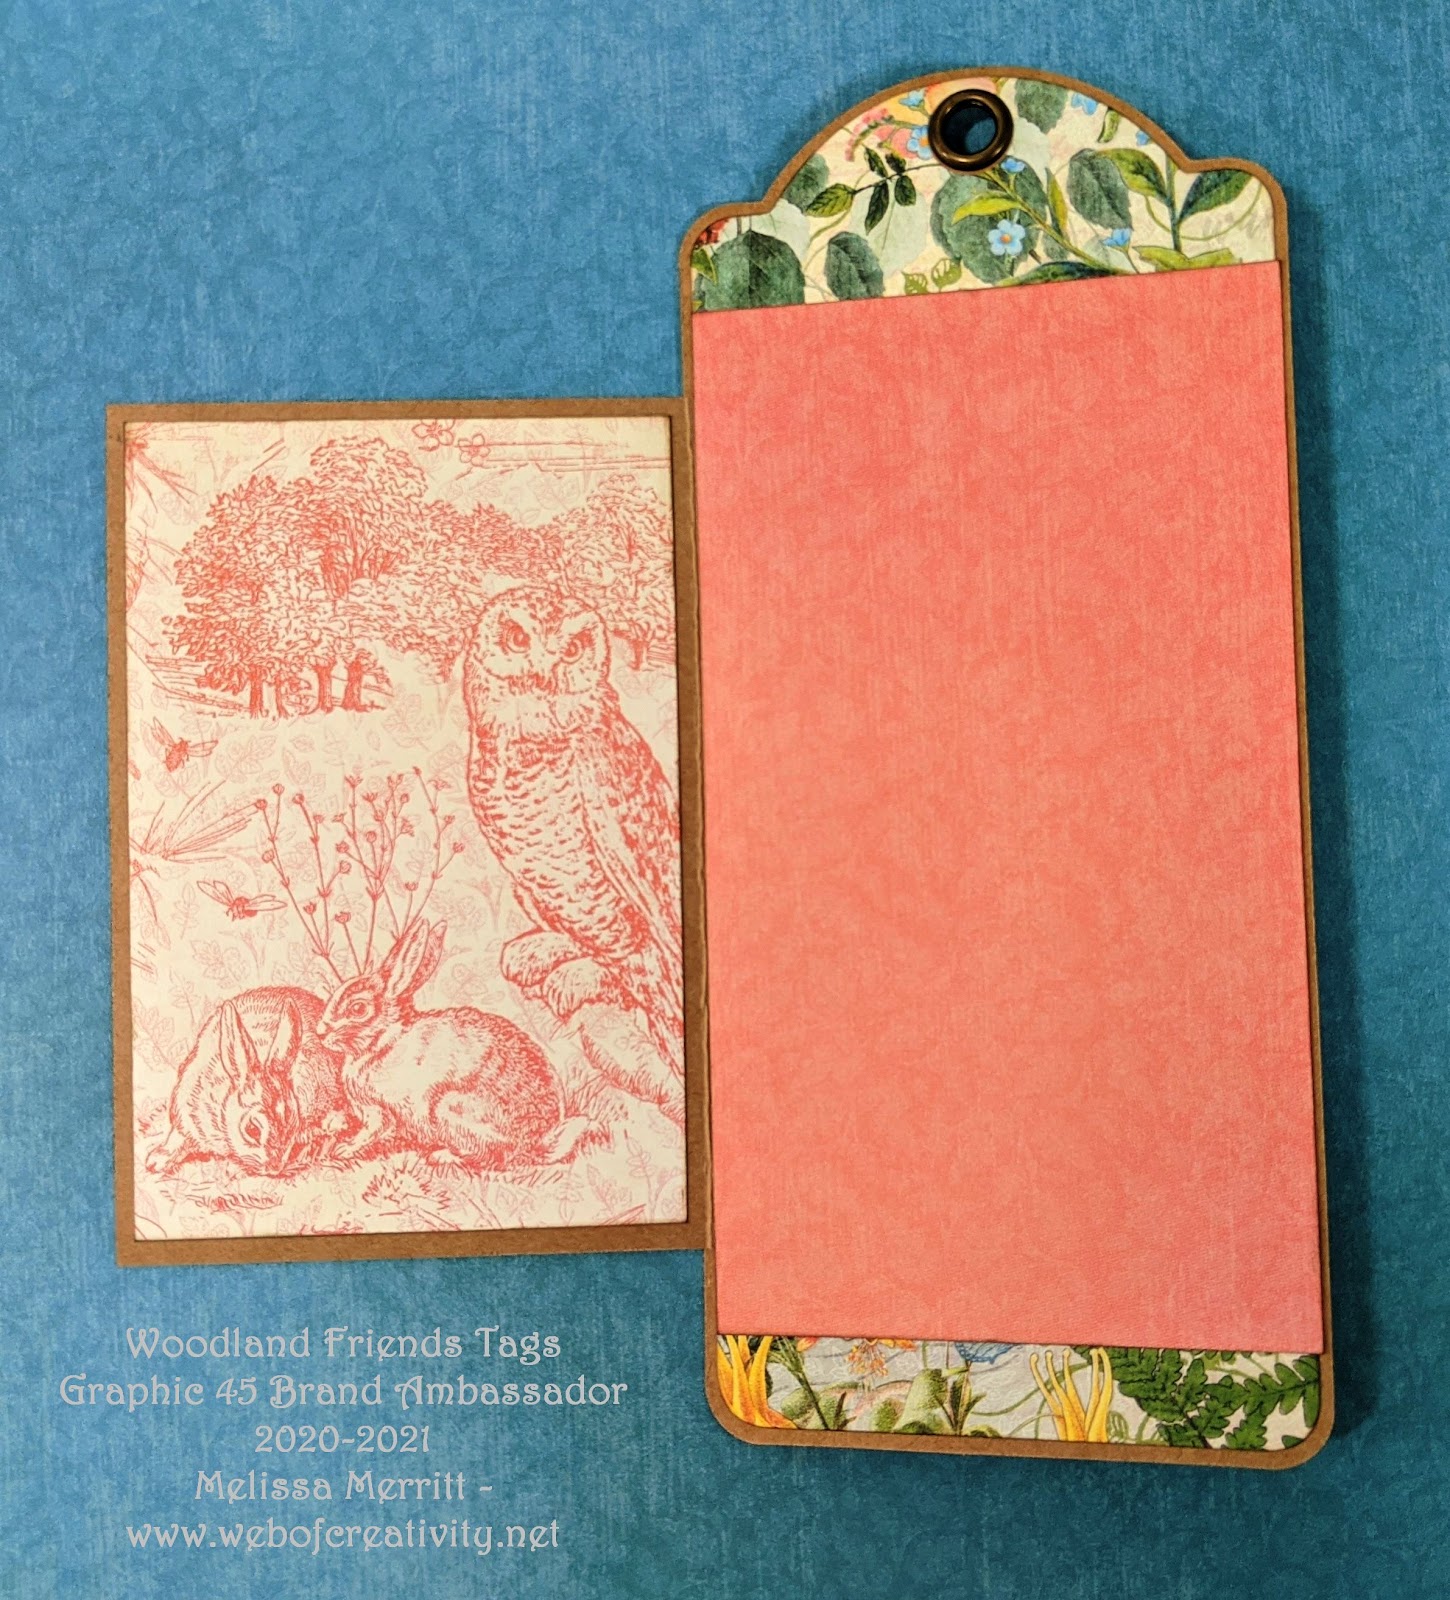
“Who loves decorating tags? I know I do. I am happy to share my project using 3 Large Kraft Tags and Graphic 45 Woodland Friends paper collection. Each tag is made the same way and has a flap that opens up for a picture or journaling. Below I give directions on how to make these cute and fun tags.
Graphic 45 Supply List:
(3 – 5) 12 x 12” G45 Woodland Friends Paper Collection
(3) 12 x 12” G45 Woodland Friends Pattern and Solids
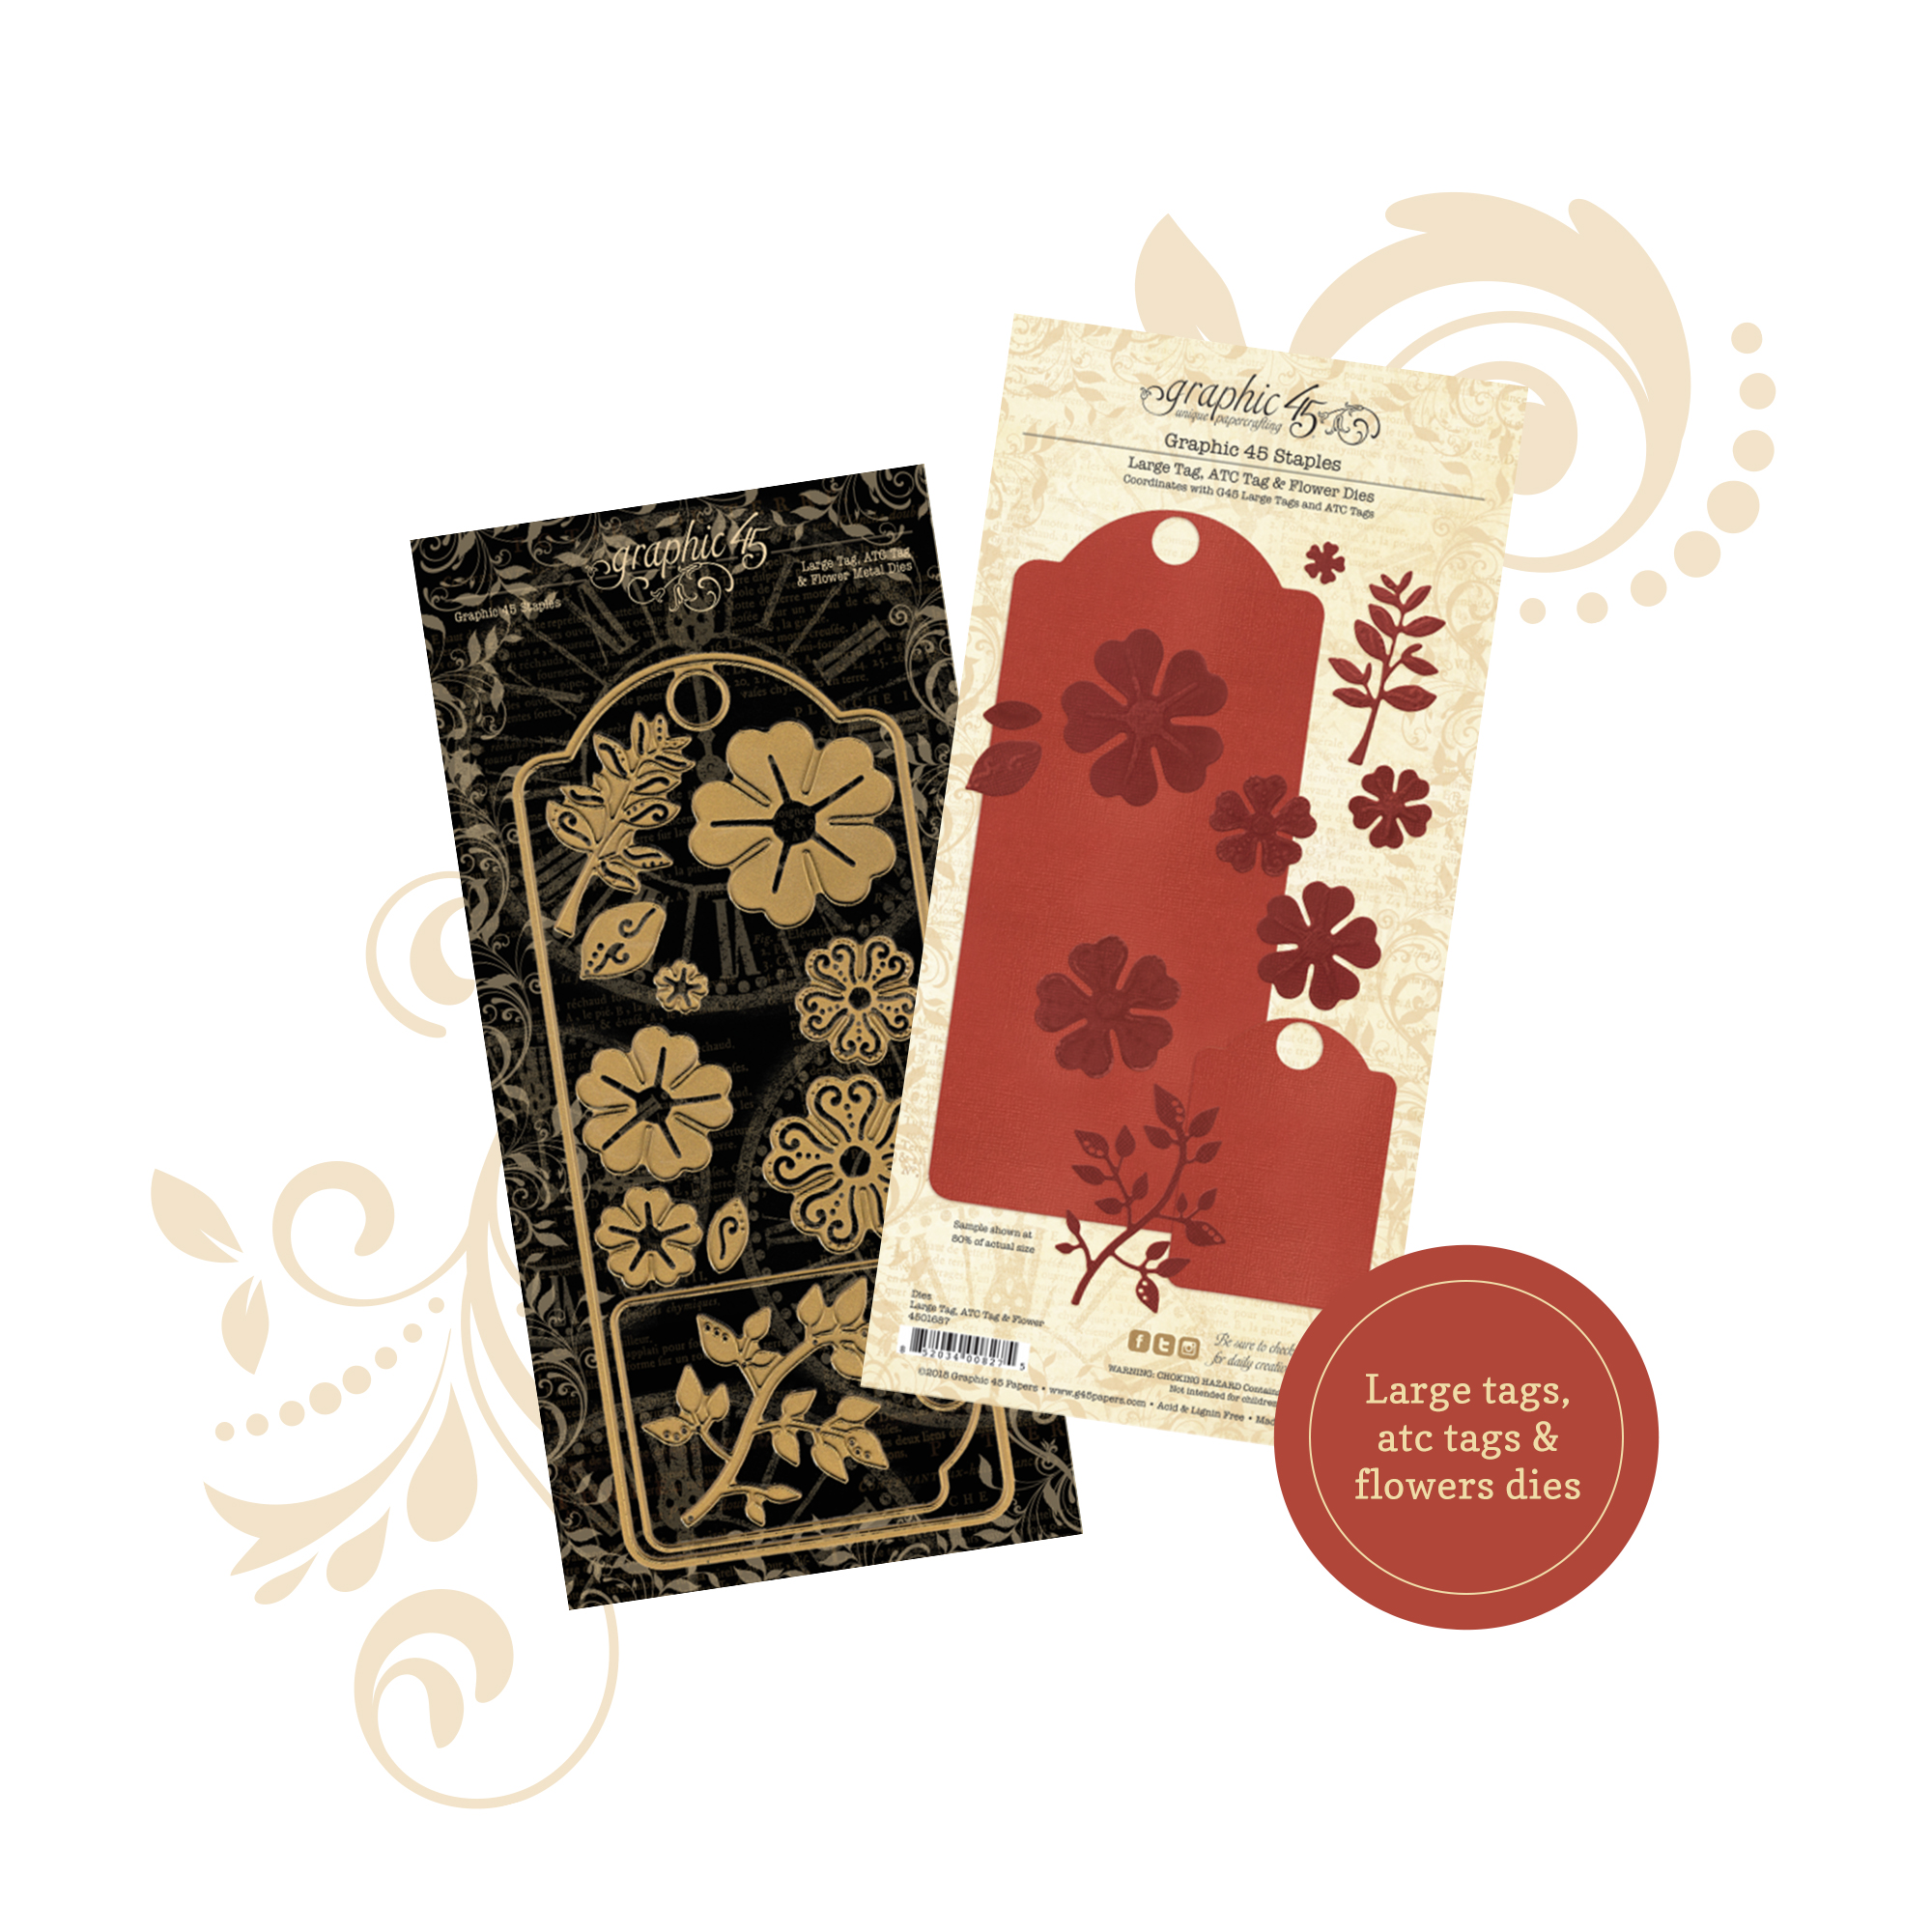
G45 Woodland Friends Die Cut Assortment
Other Supplies:
Tim Holtz Distress Oxide Ground Expresso
(6) ½” Magnets
(1) 8½ x 11” Kraft Cardstock
DIRECTIONS
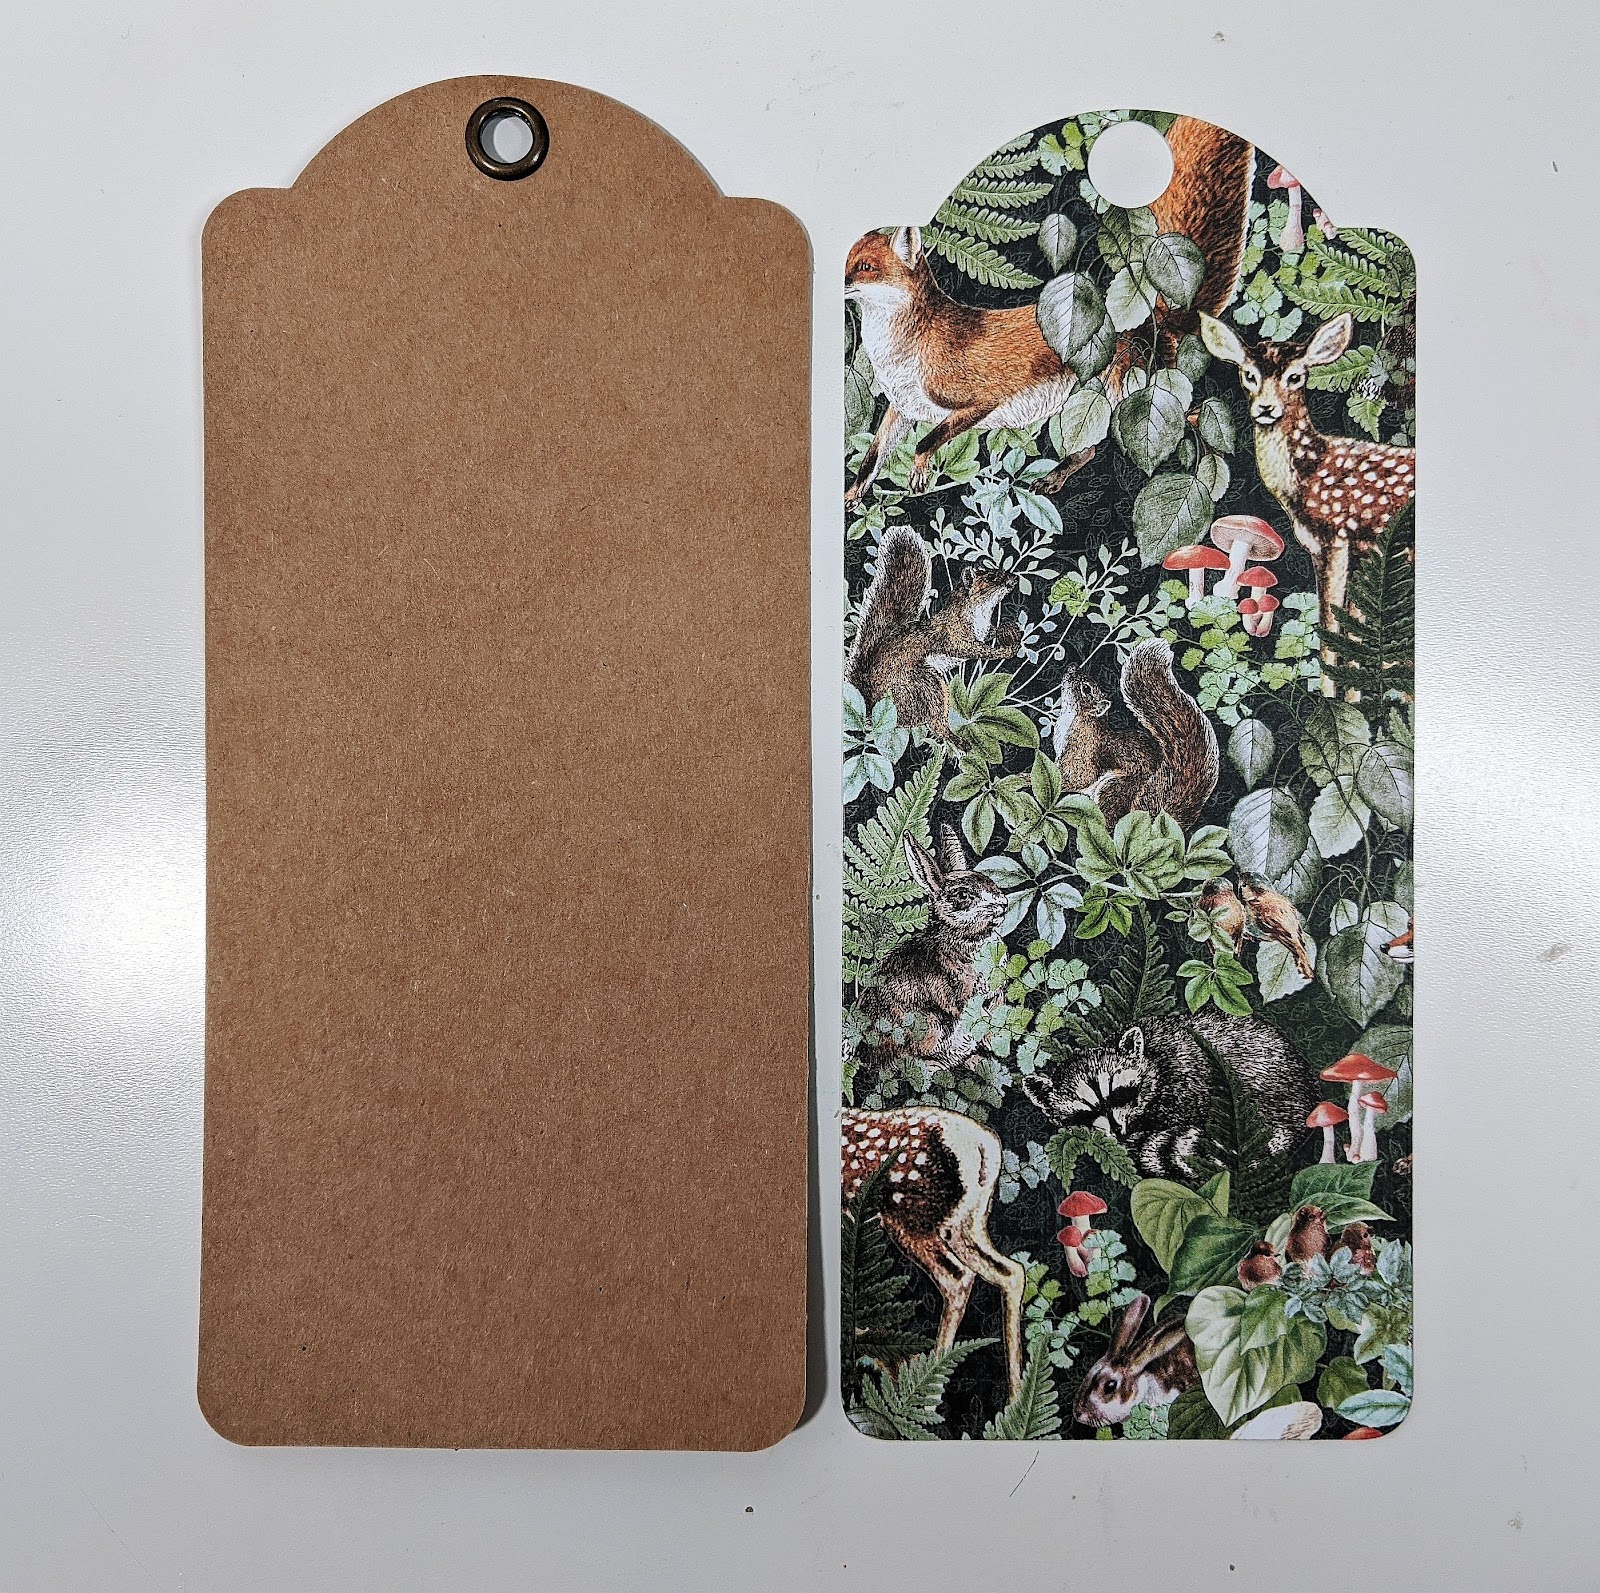
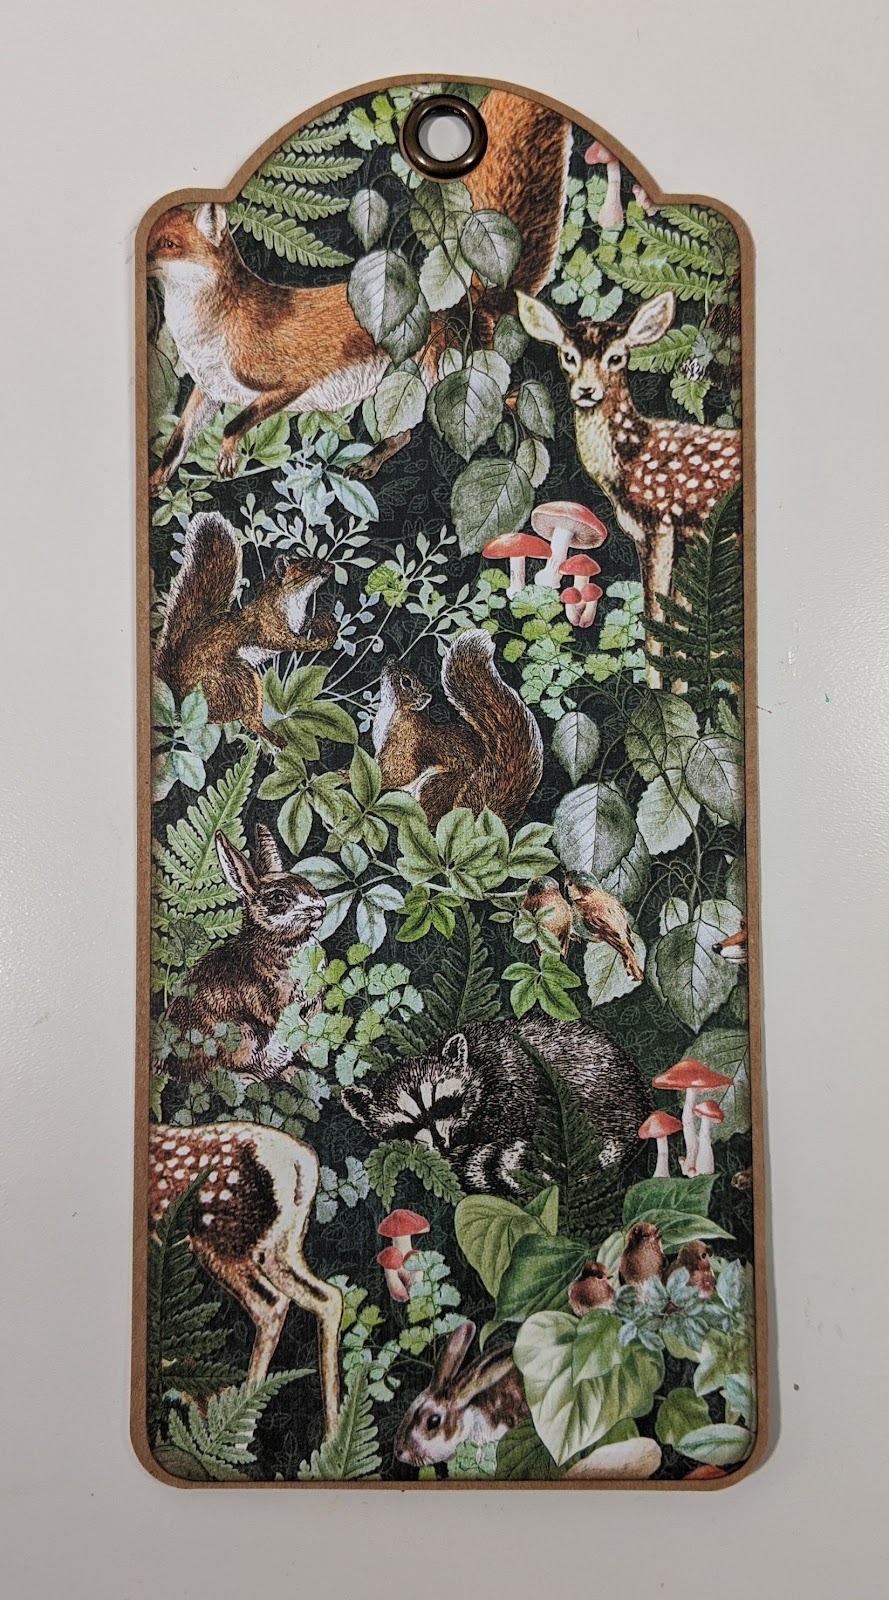
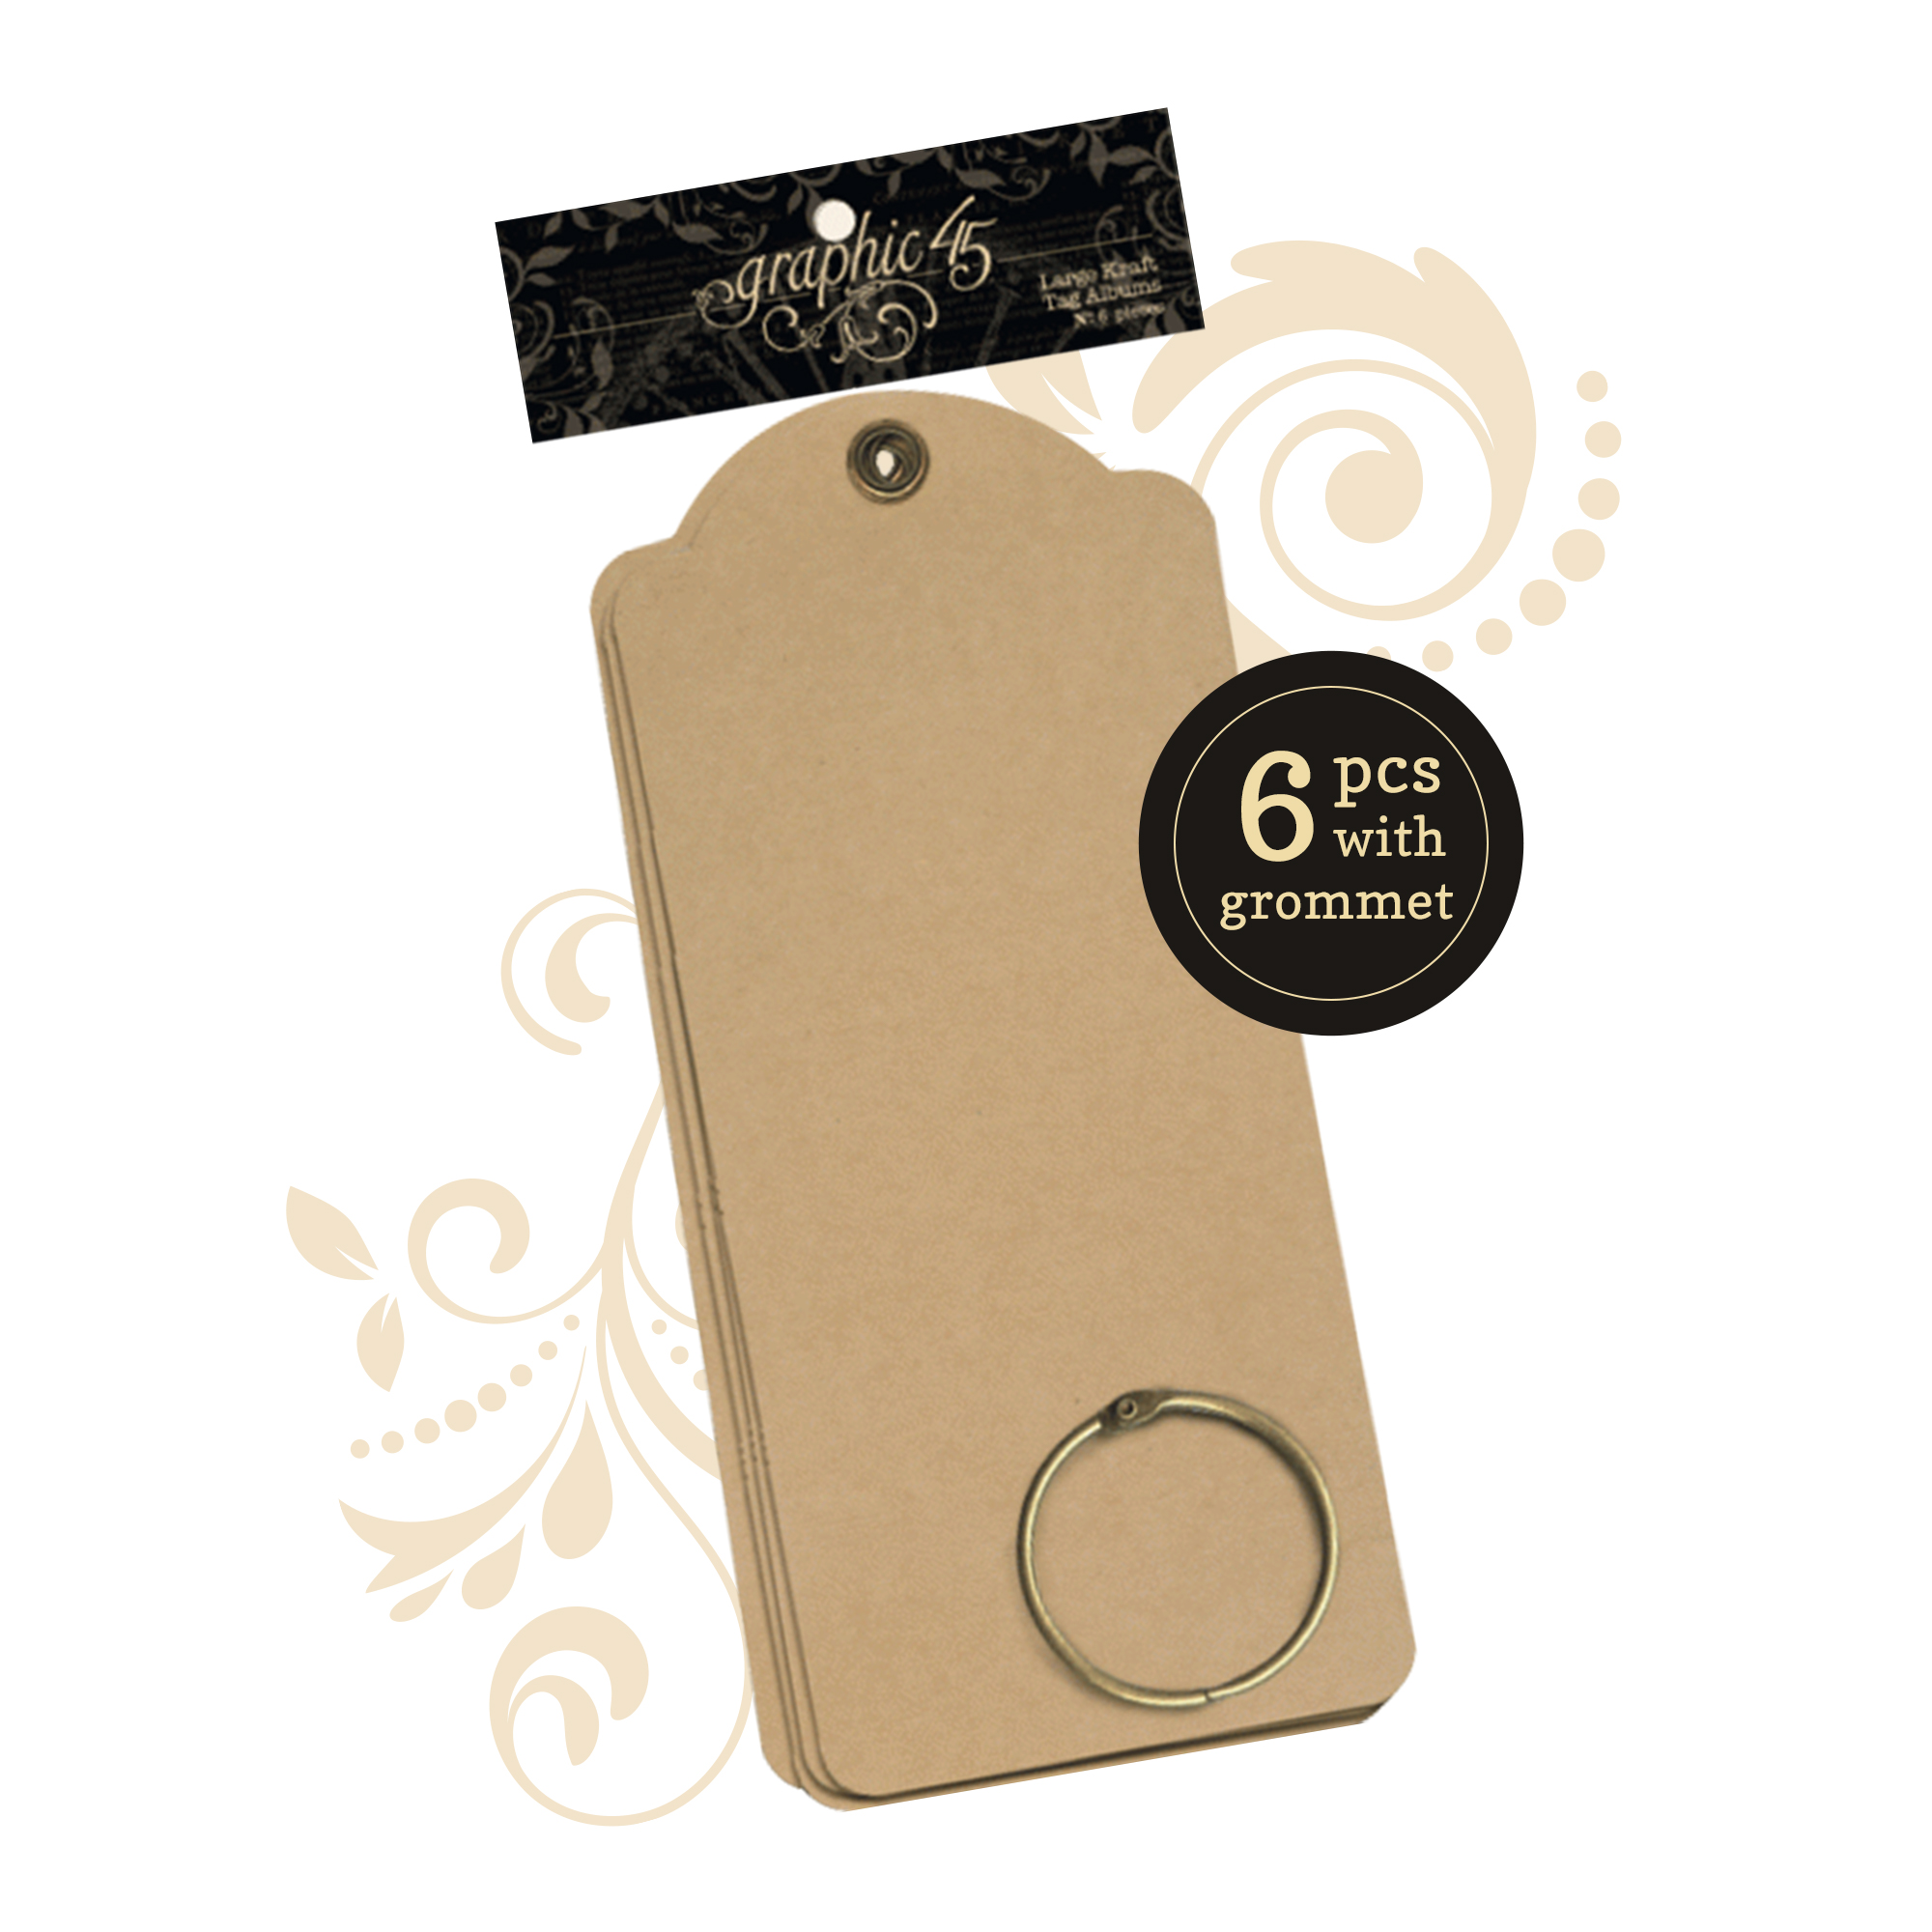
Cut out a tag mat using G45 Large Tag Die and attach to tag.
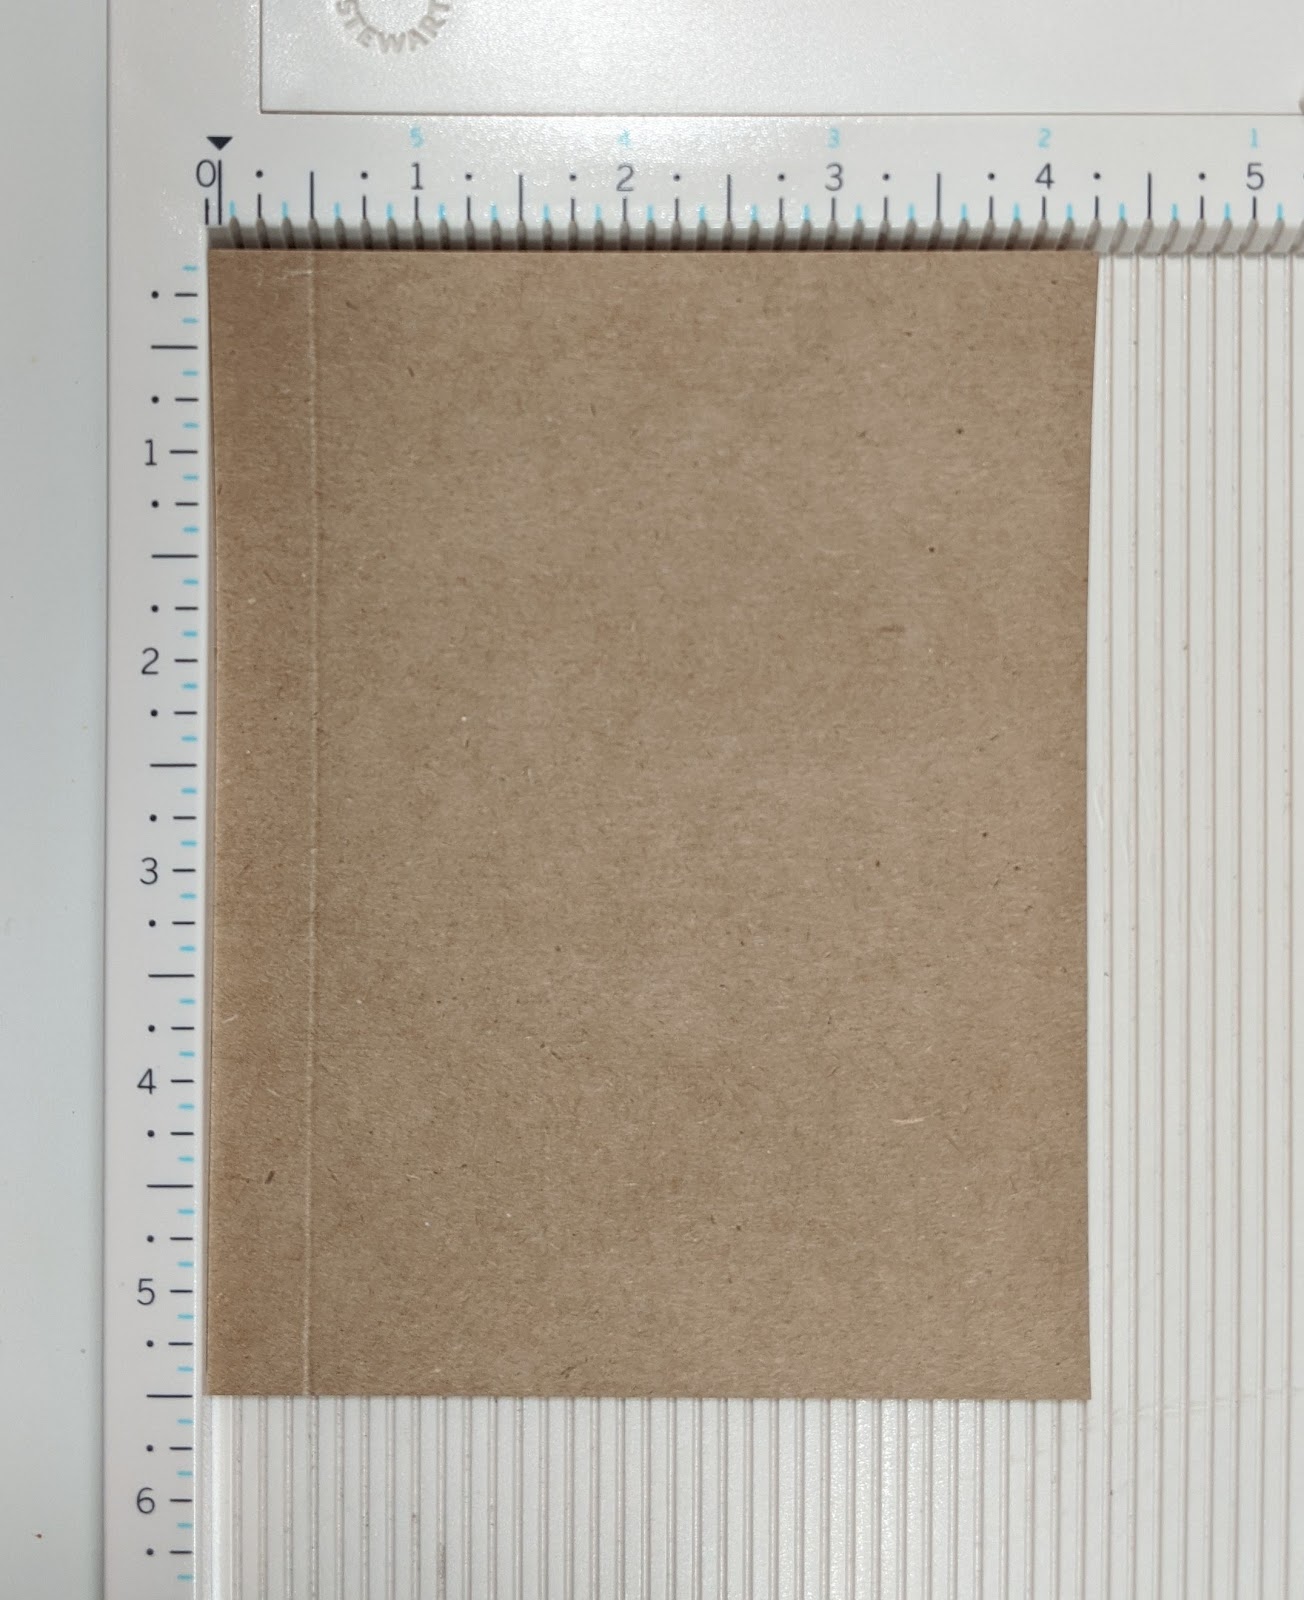
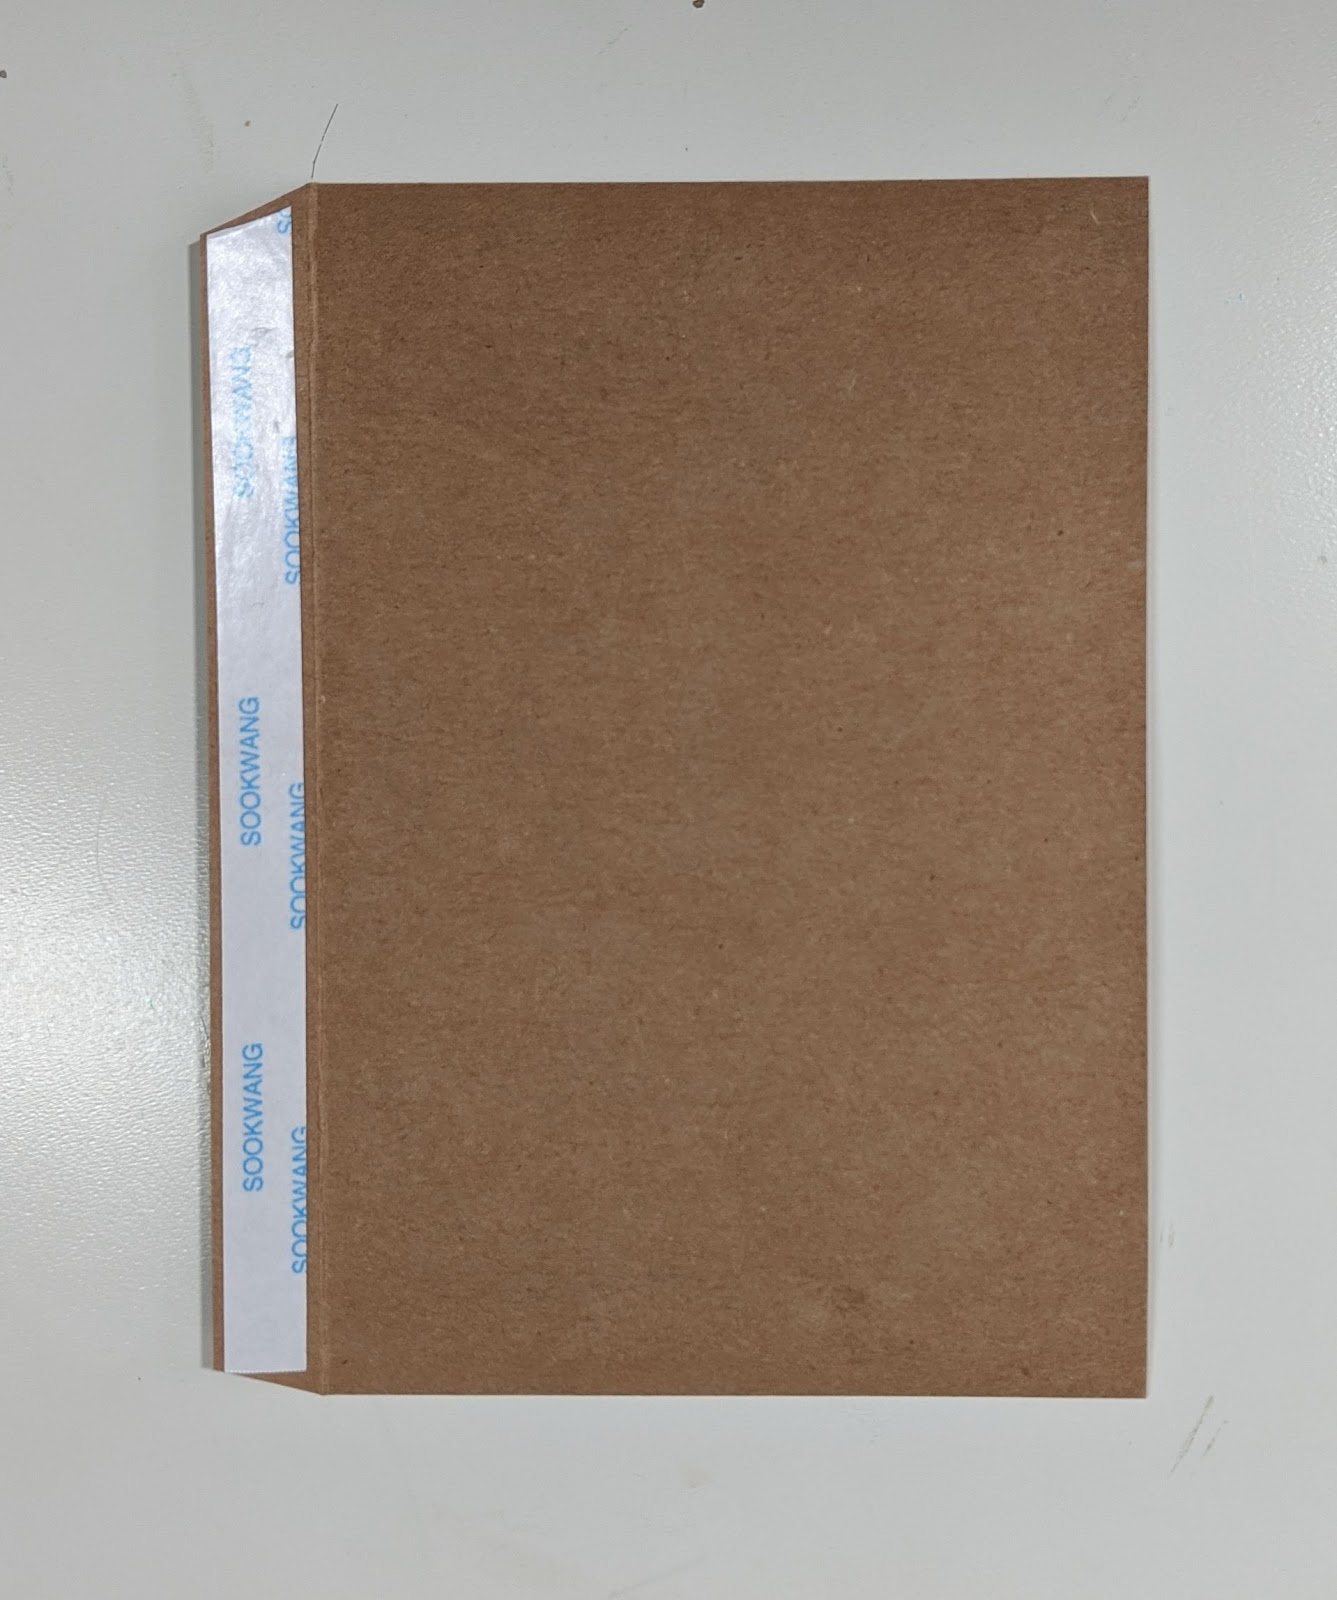
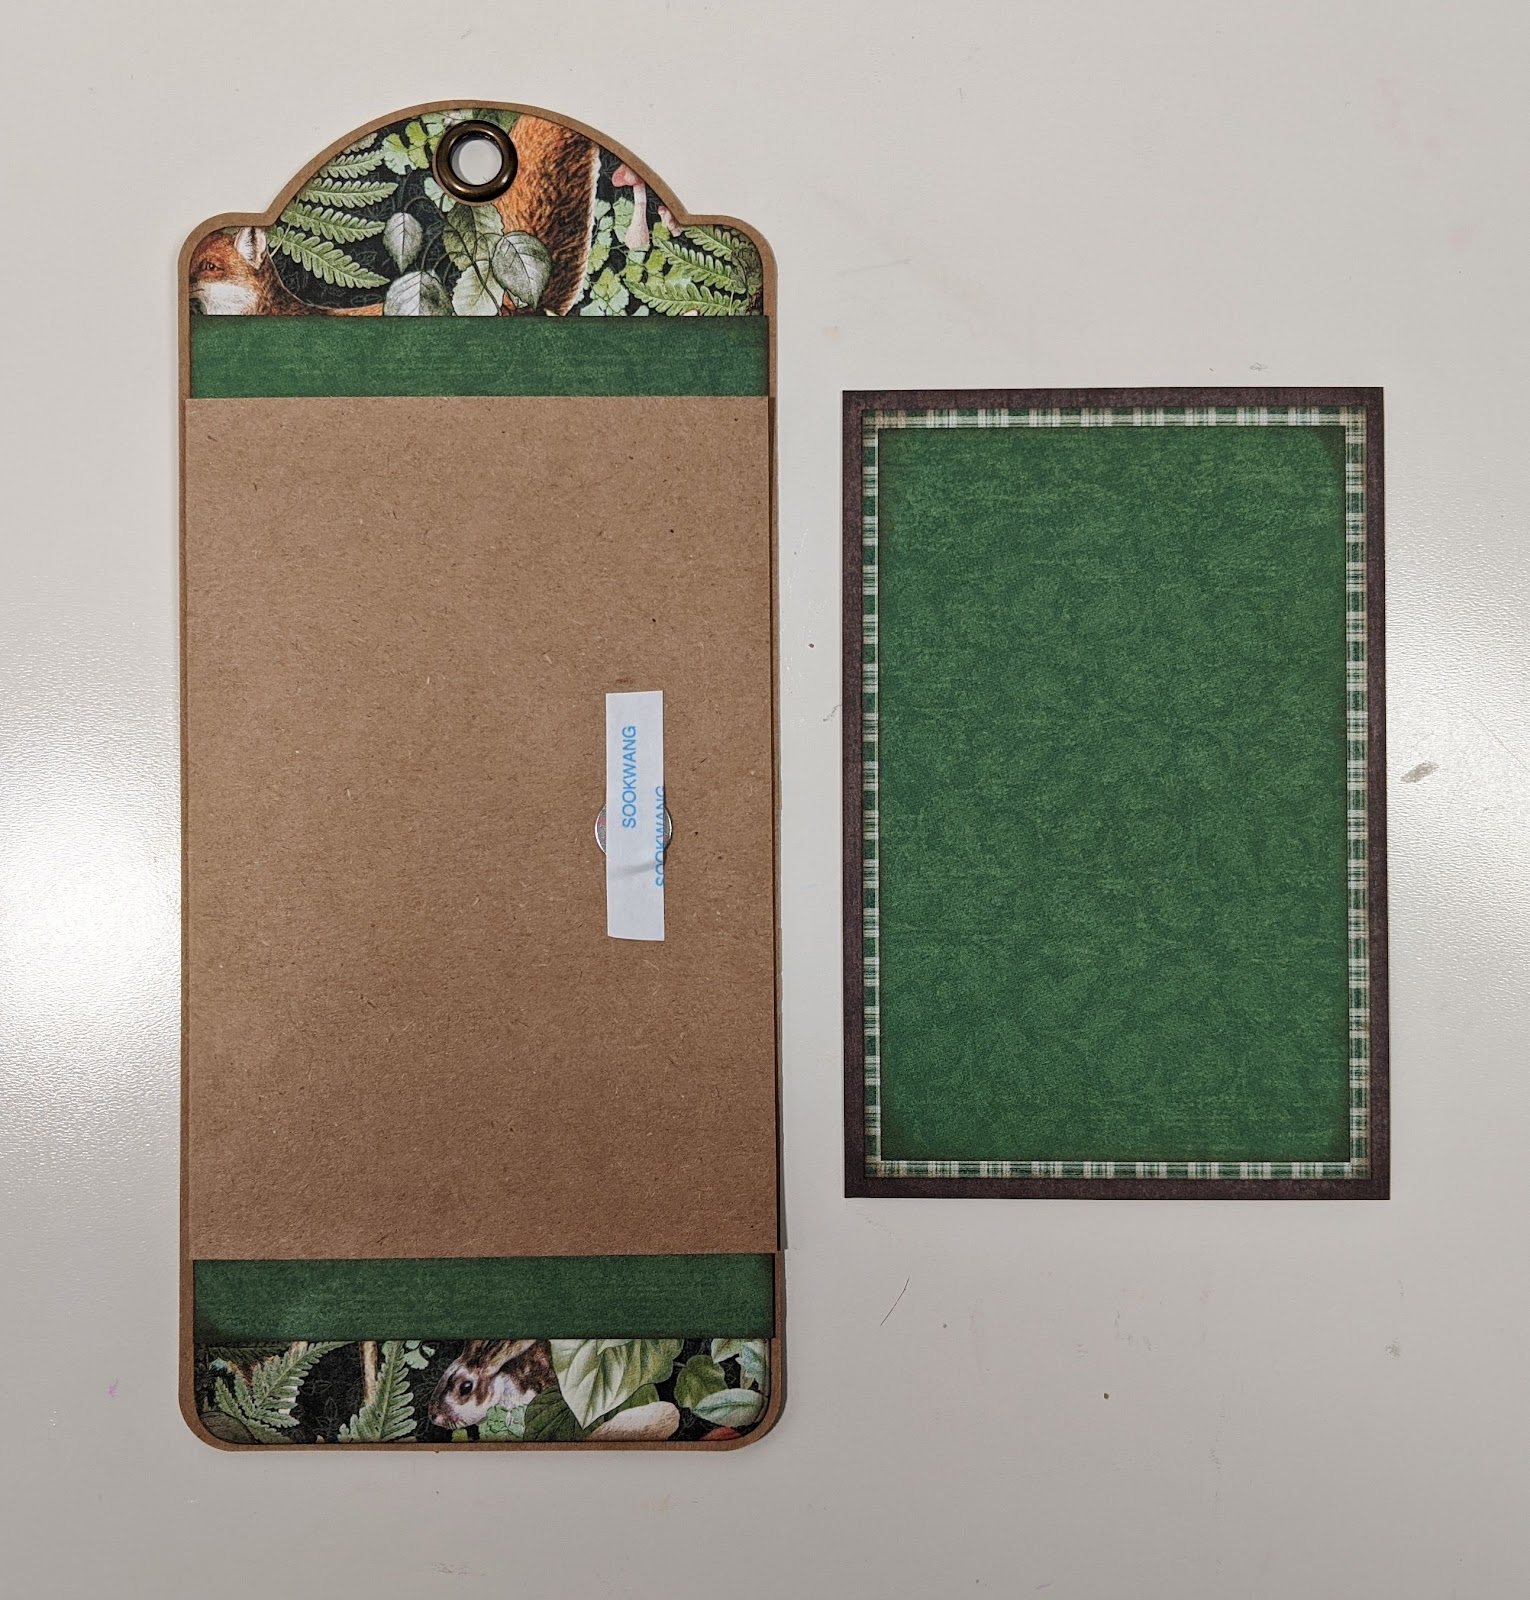
Cut out of the Kraft Cardstock 4¼ x 5½” and score ½” on the 4¼” side.
Fold on the score line, taper (cut at an angle from the score line) corners and add tape to the tab.
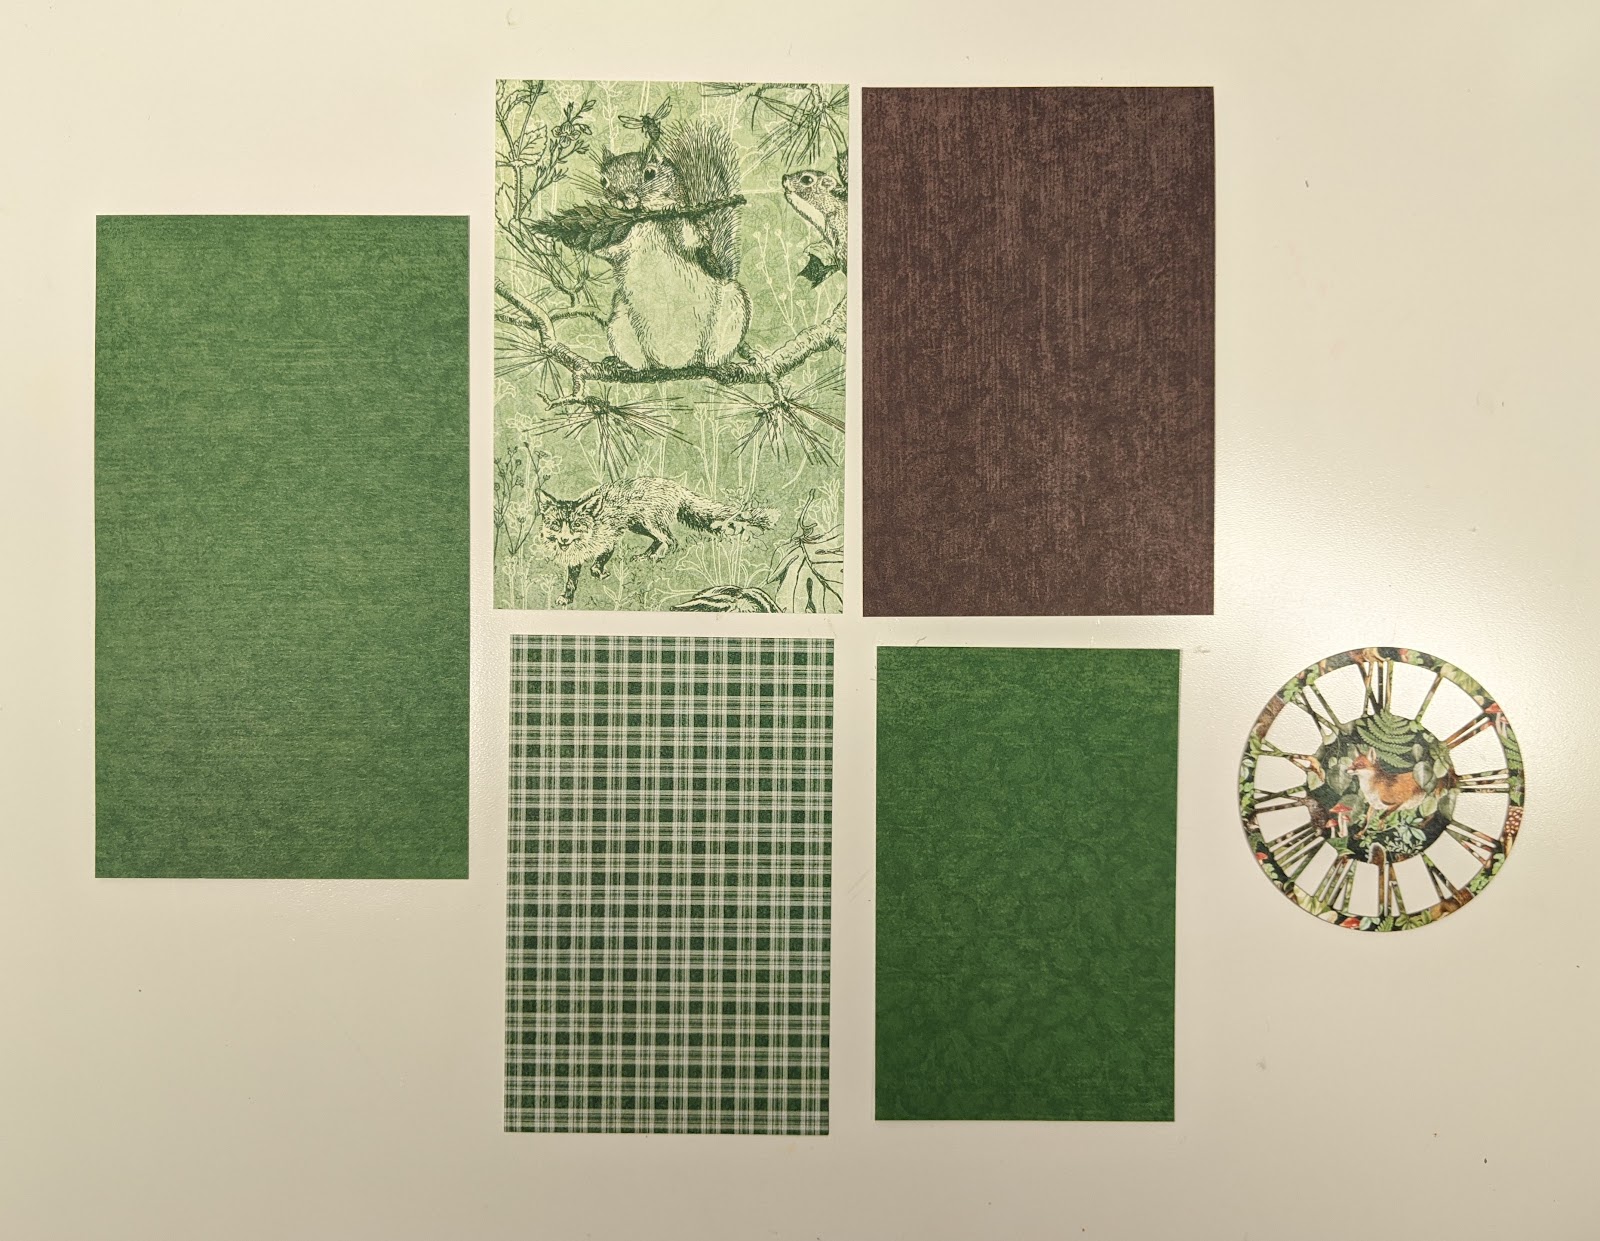
Cut out of the collection:
(1) 3¾ x 6⅝”
(2) 3½ x 5¼” – flap mats (front and back)
(1) 3¼ x 5” – 2nd front flap mat
(1) 3 x 4¾” – 3rd front flap mat
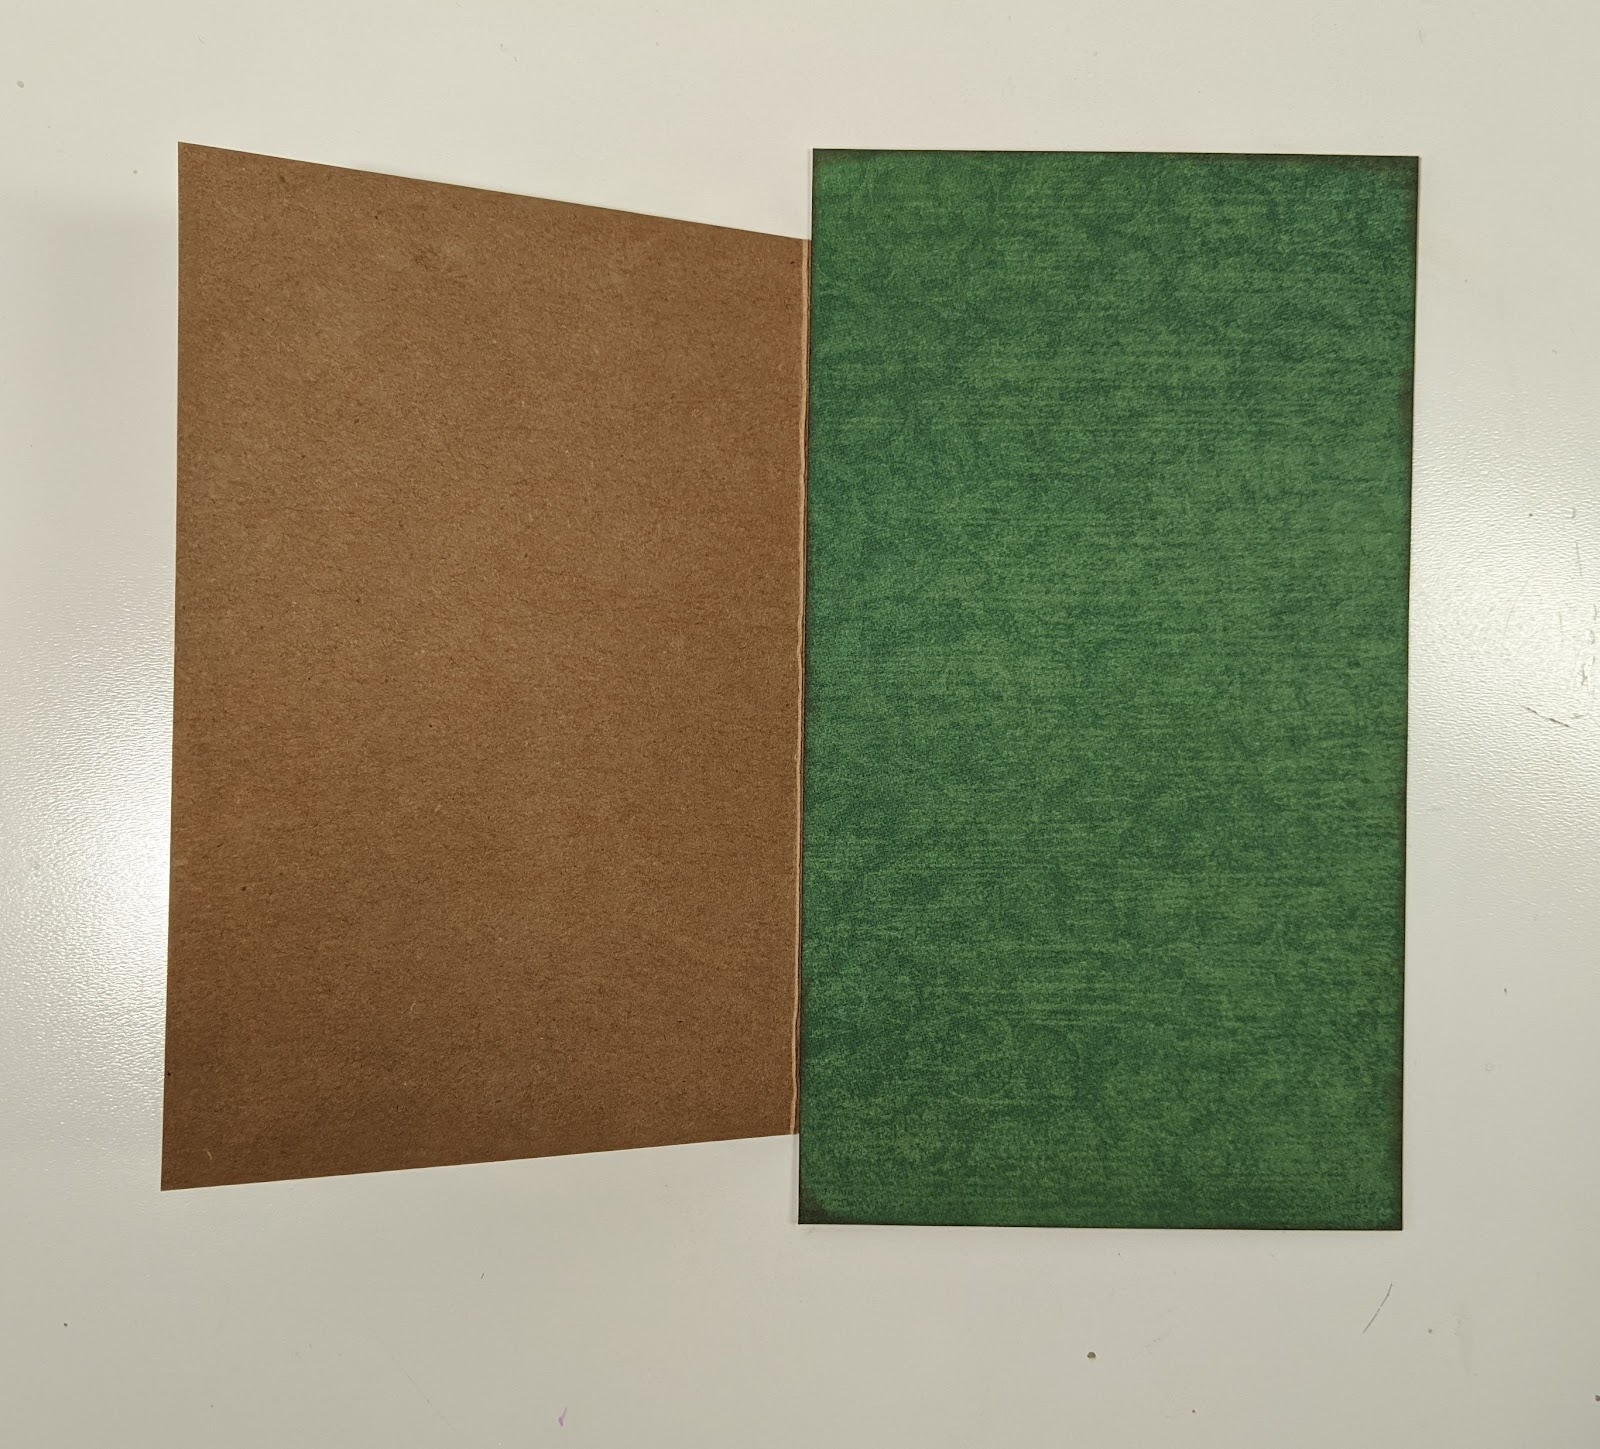
Attach the kraft flap (4¼ x 5½”) centered on the left side of the 3¾ x 6⅝” mat.
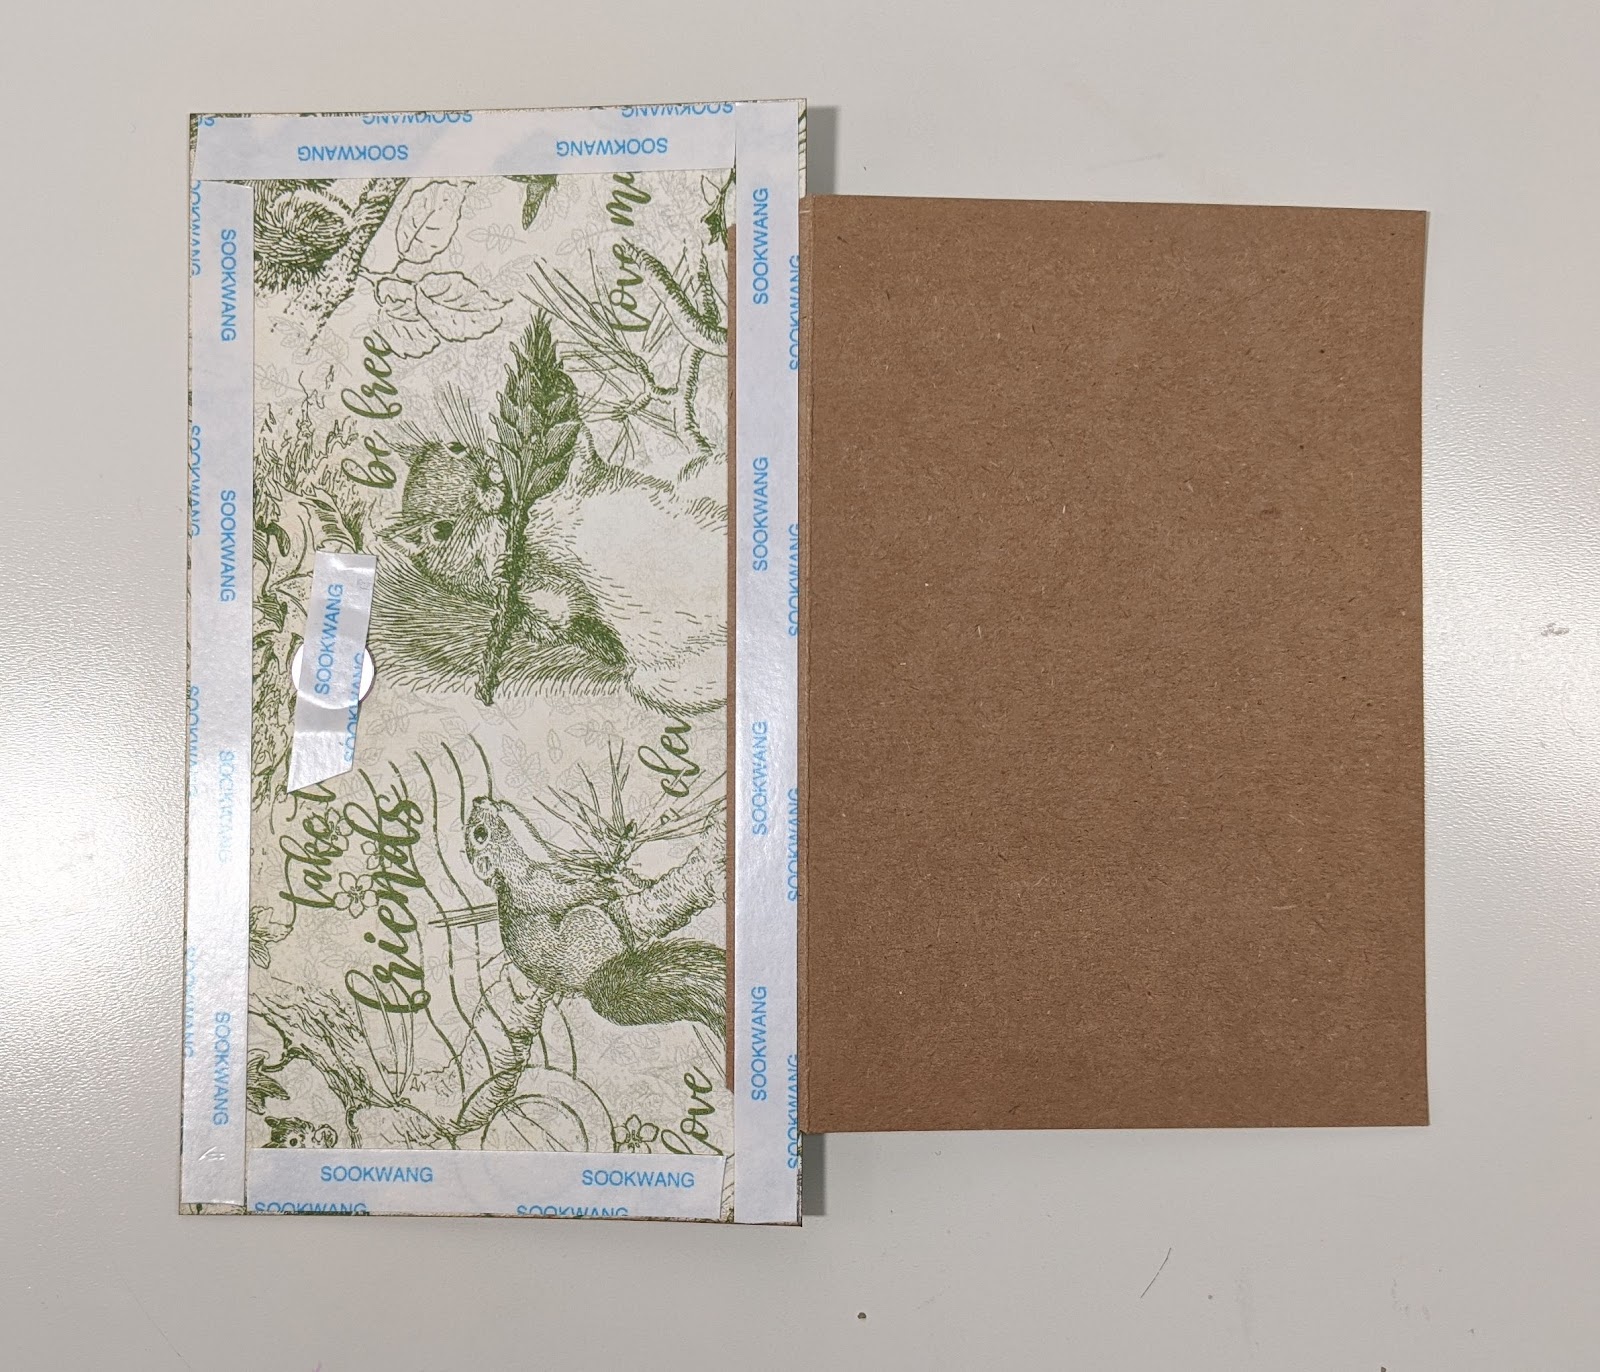
Flip piece over and add magnet, centered, ¾” from the edge on the 3¾ x 6⅝” mat.
Add tape around the edges of the mat and on top of the magnet.
Attach 2nd magnet to the front of the kraft flap.
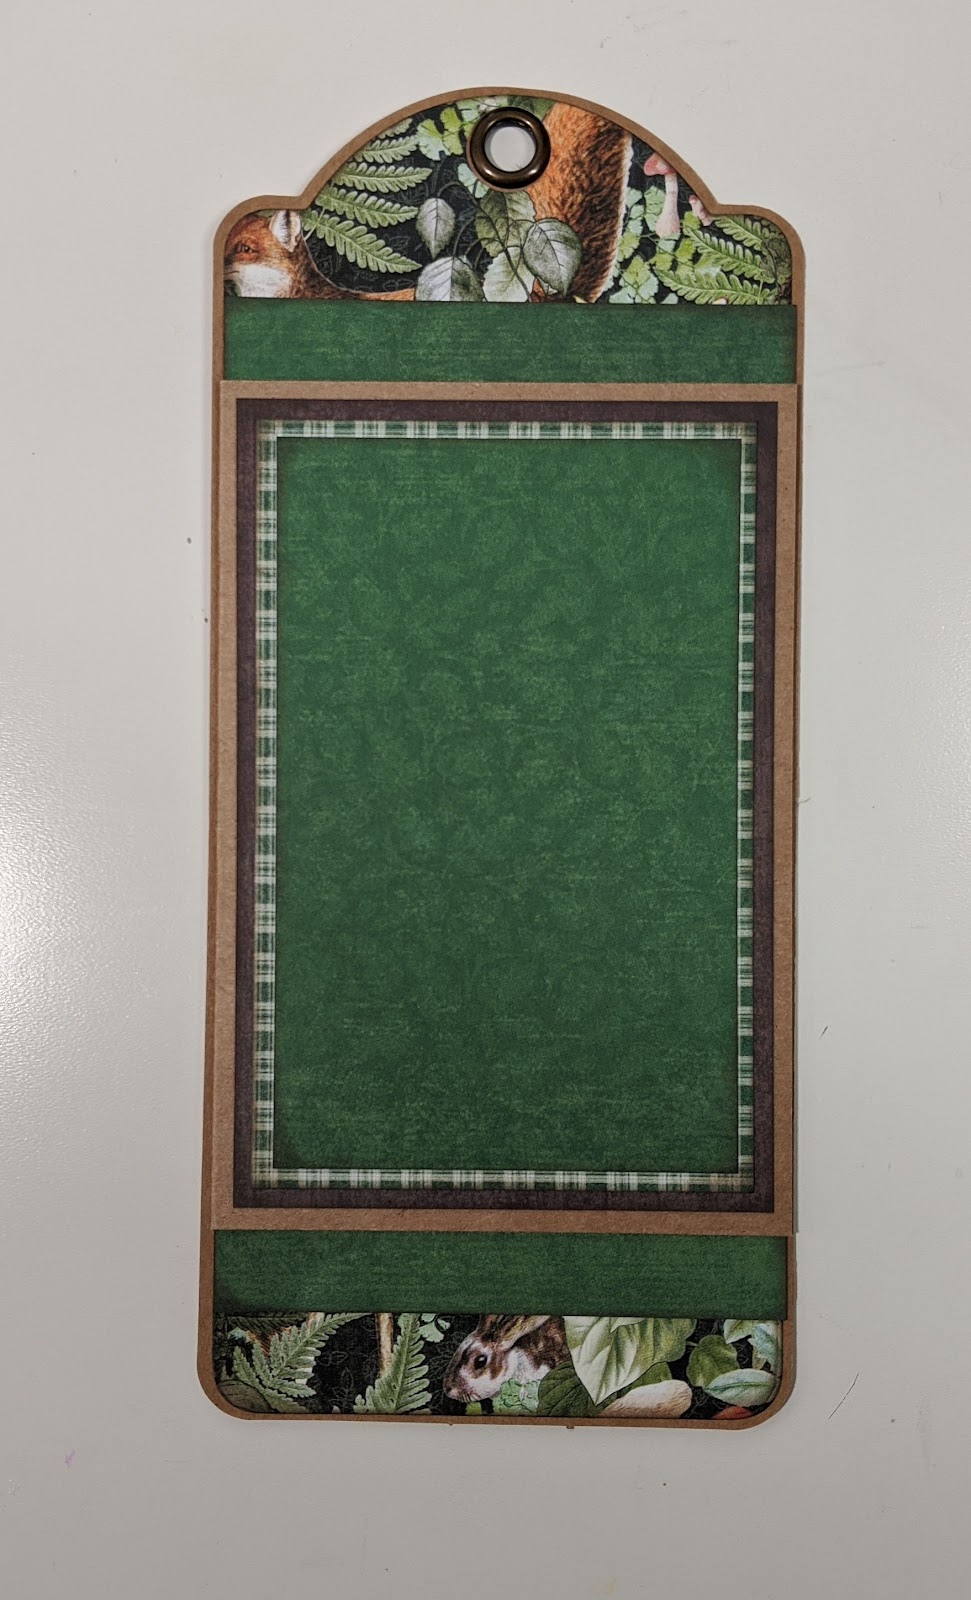
Attach piece to the main tag, centered, about ⅝” from the bottom.
Add tape to the magnet on the front side. Attach the 3 x 4¾” (3rd mat) on top, centered of the 3¼ x 5” (2nd mat), on top and centered on the 3½ x 5¼” mat.
Attach to the center of the kraft flap.
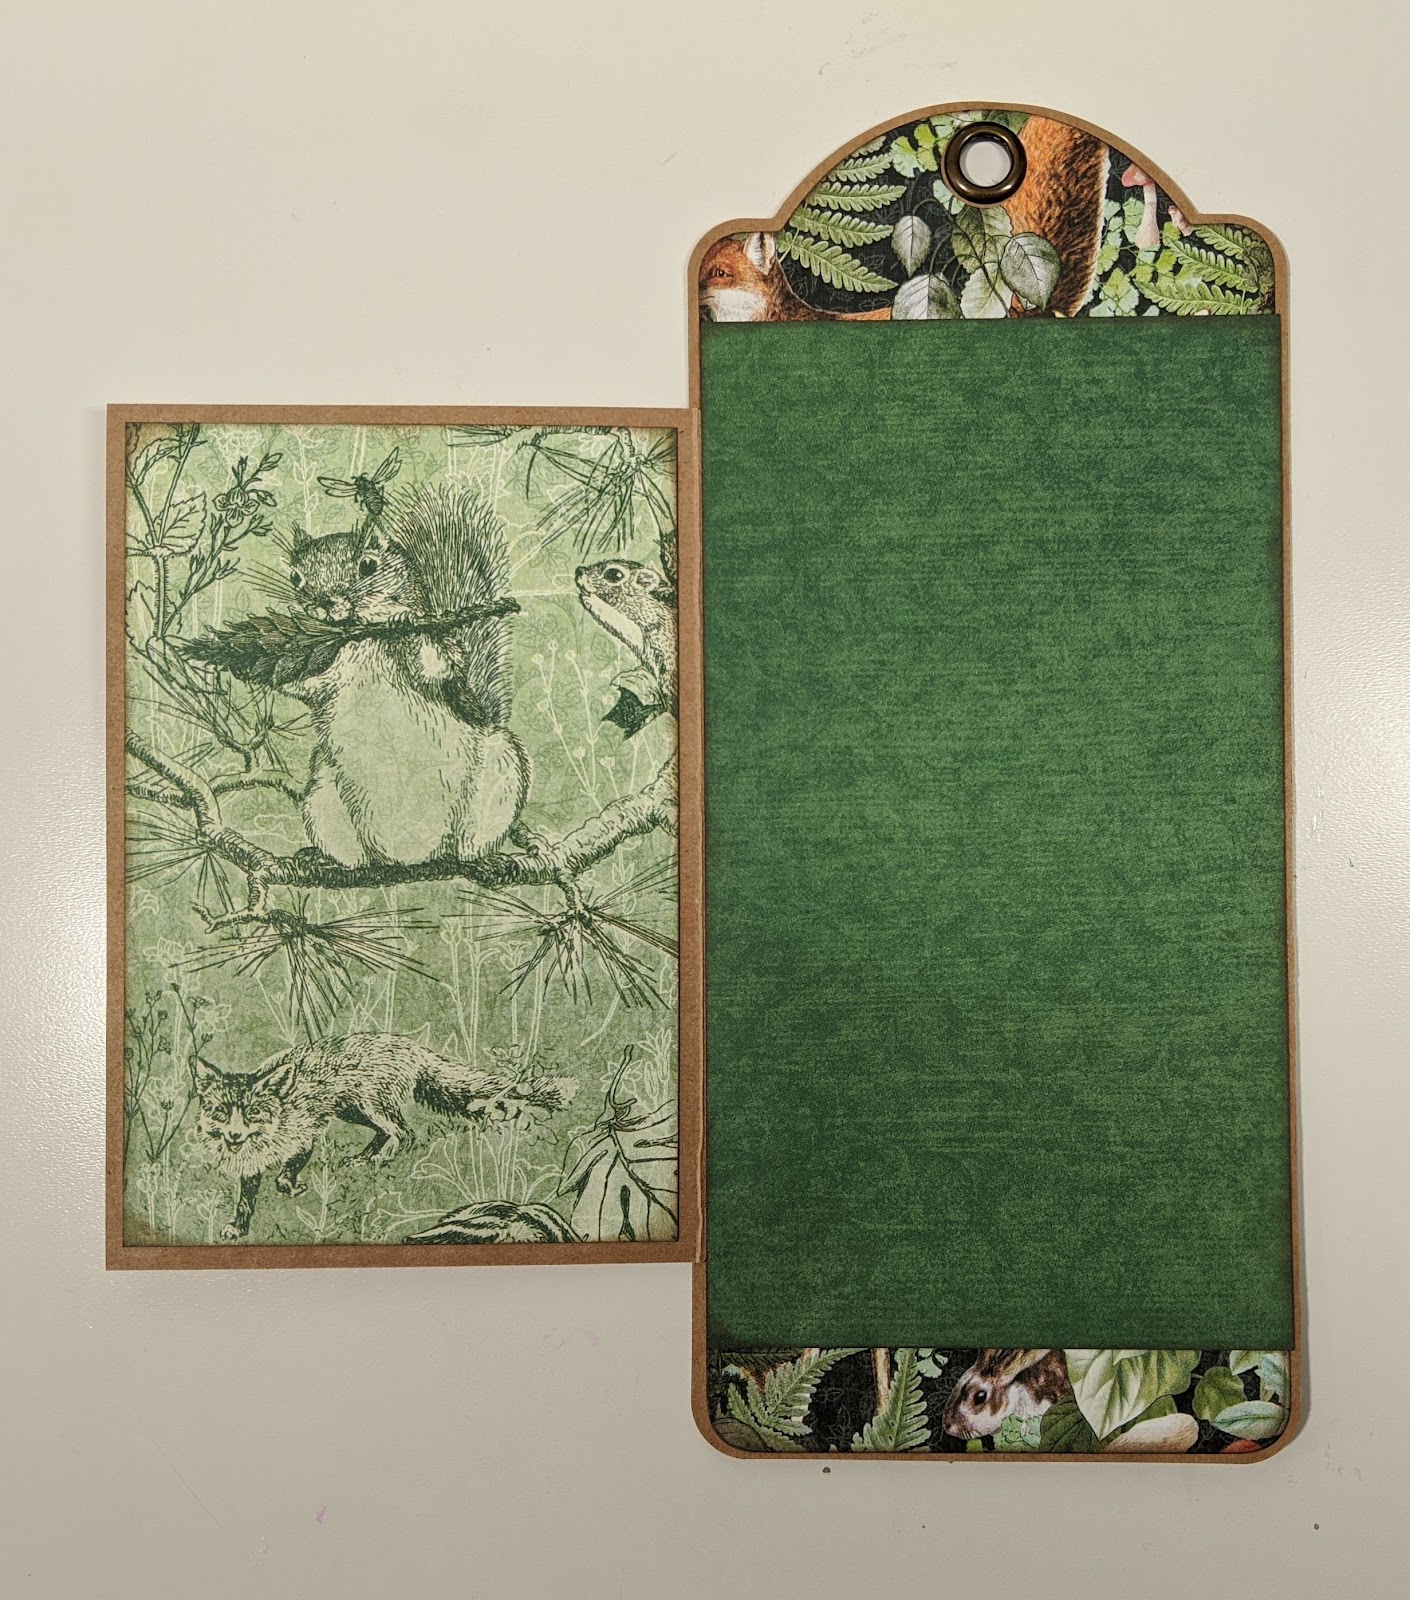
Attach the second 3½ x 5¼” mat to the inside flap.
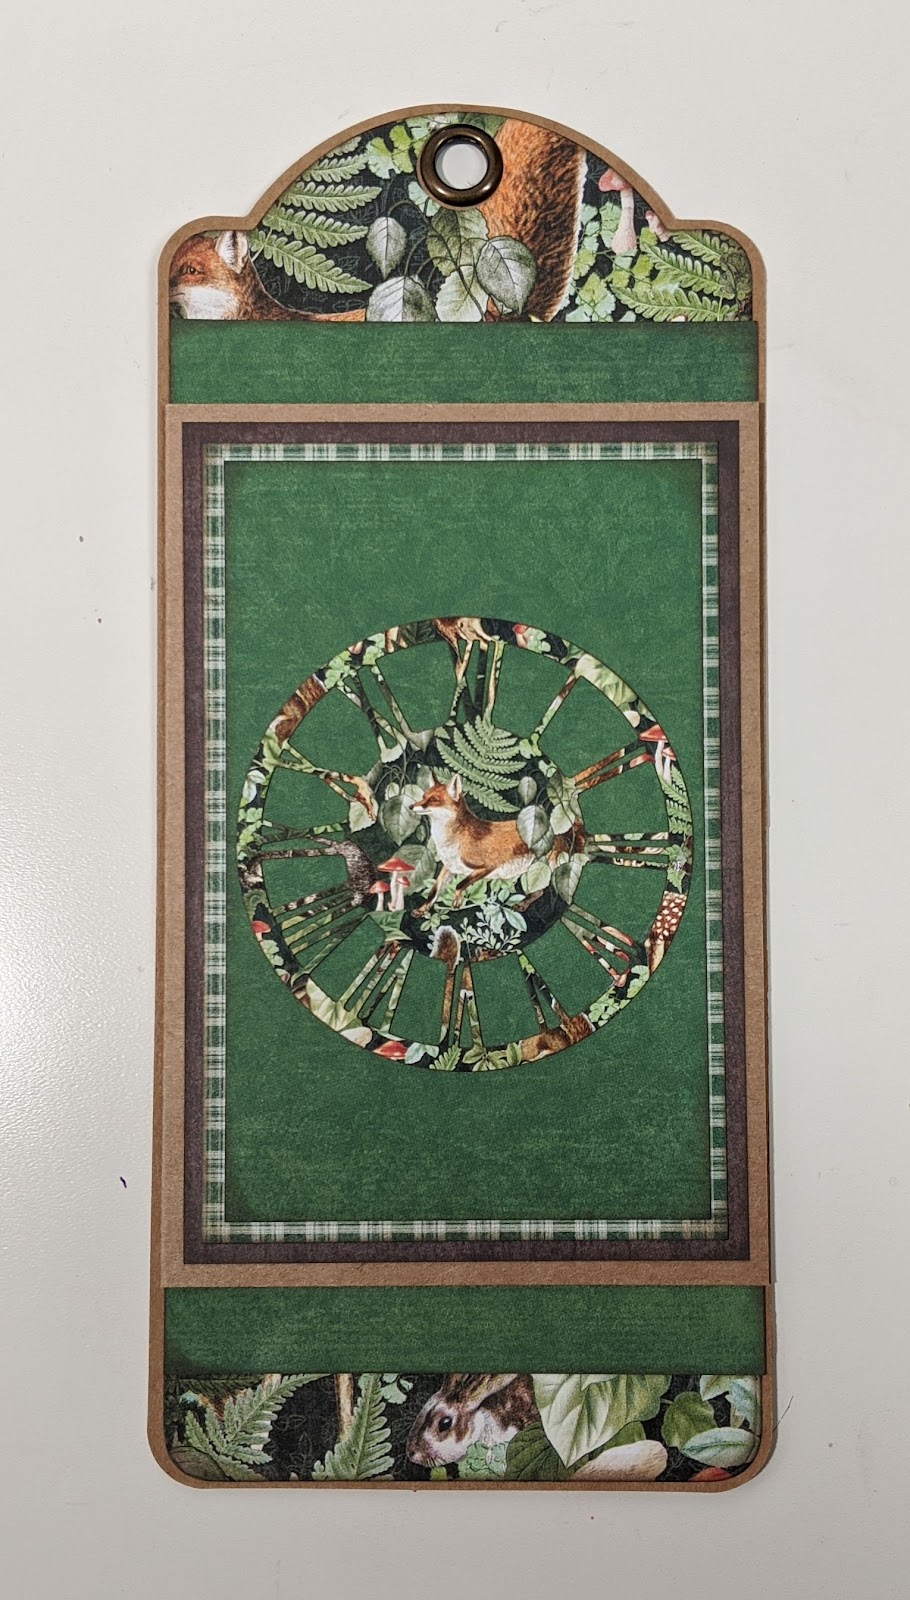
Add embellishments to the front.
I hope you enjoyed this tag tutorial and please, try to make some yourself.” ~Melissa
Woodland Friends Video Tour:
Woodland Friends by Graphic 45 Collection Review
Happy Papercrafting!
Want even more Graphic 45? Sign up for our newsletter here!