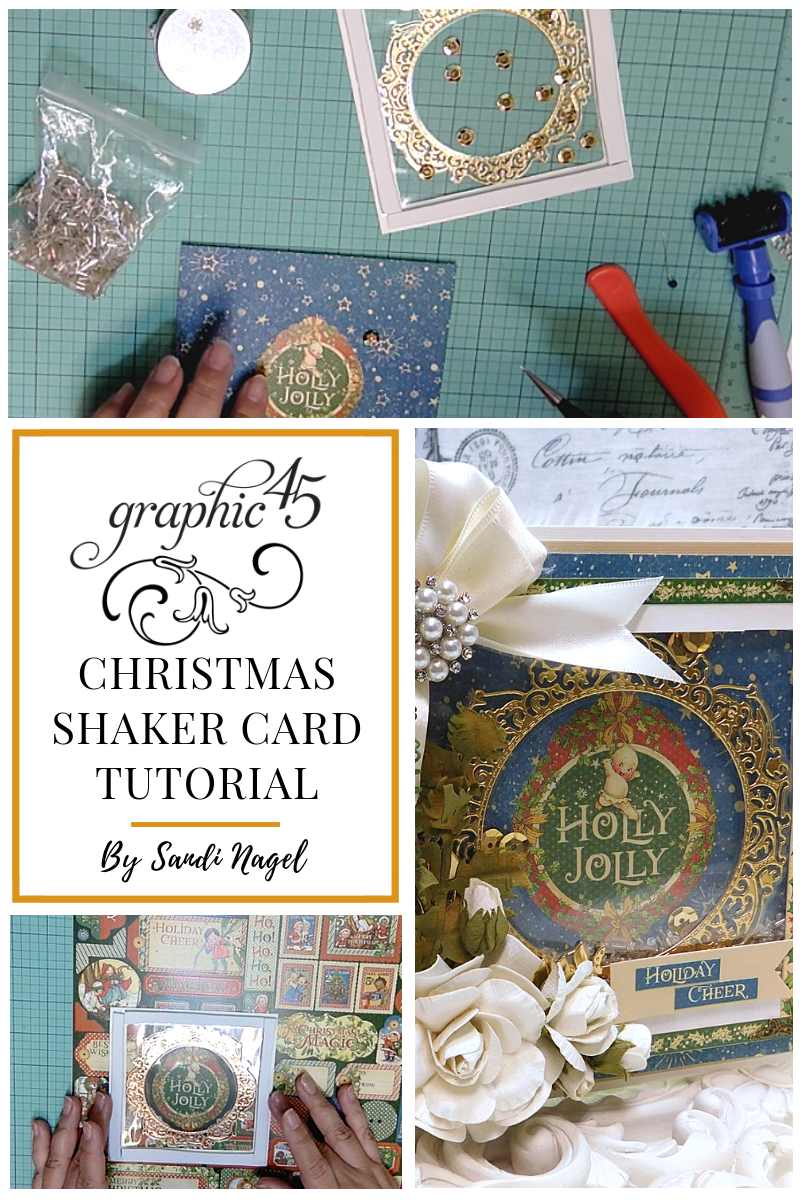
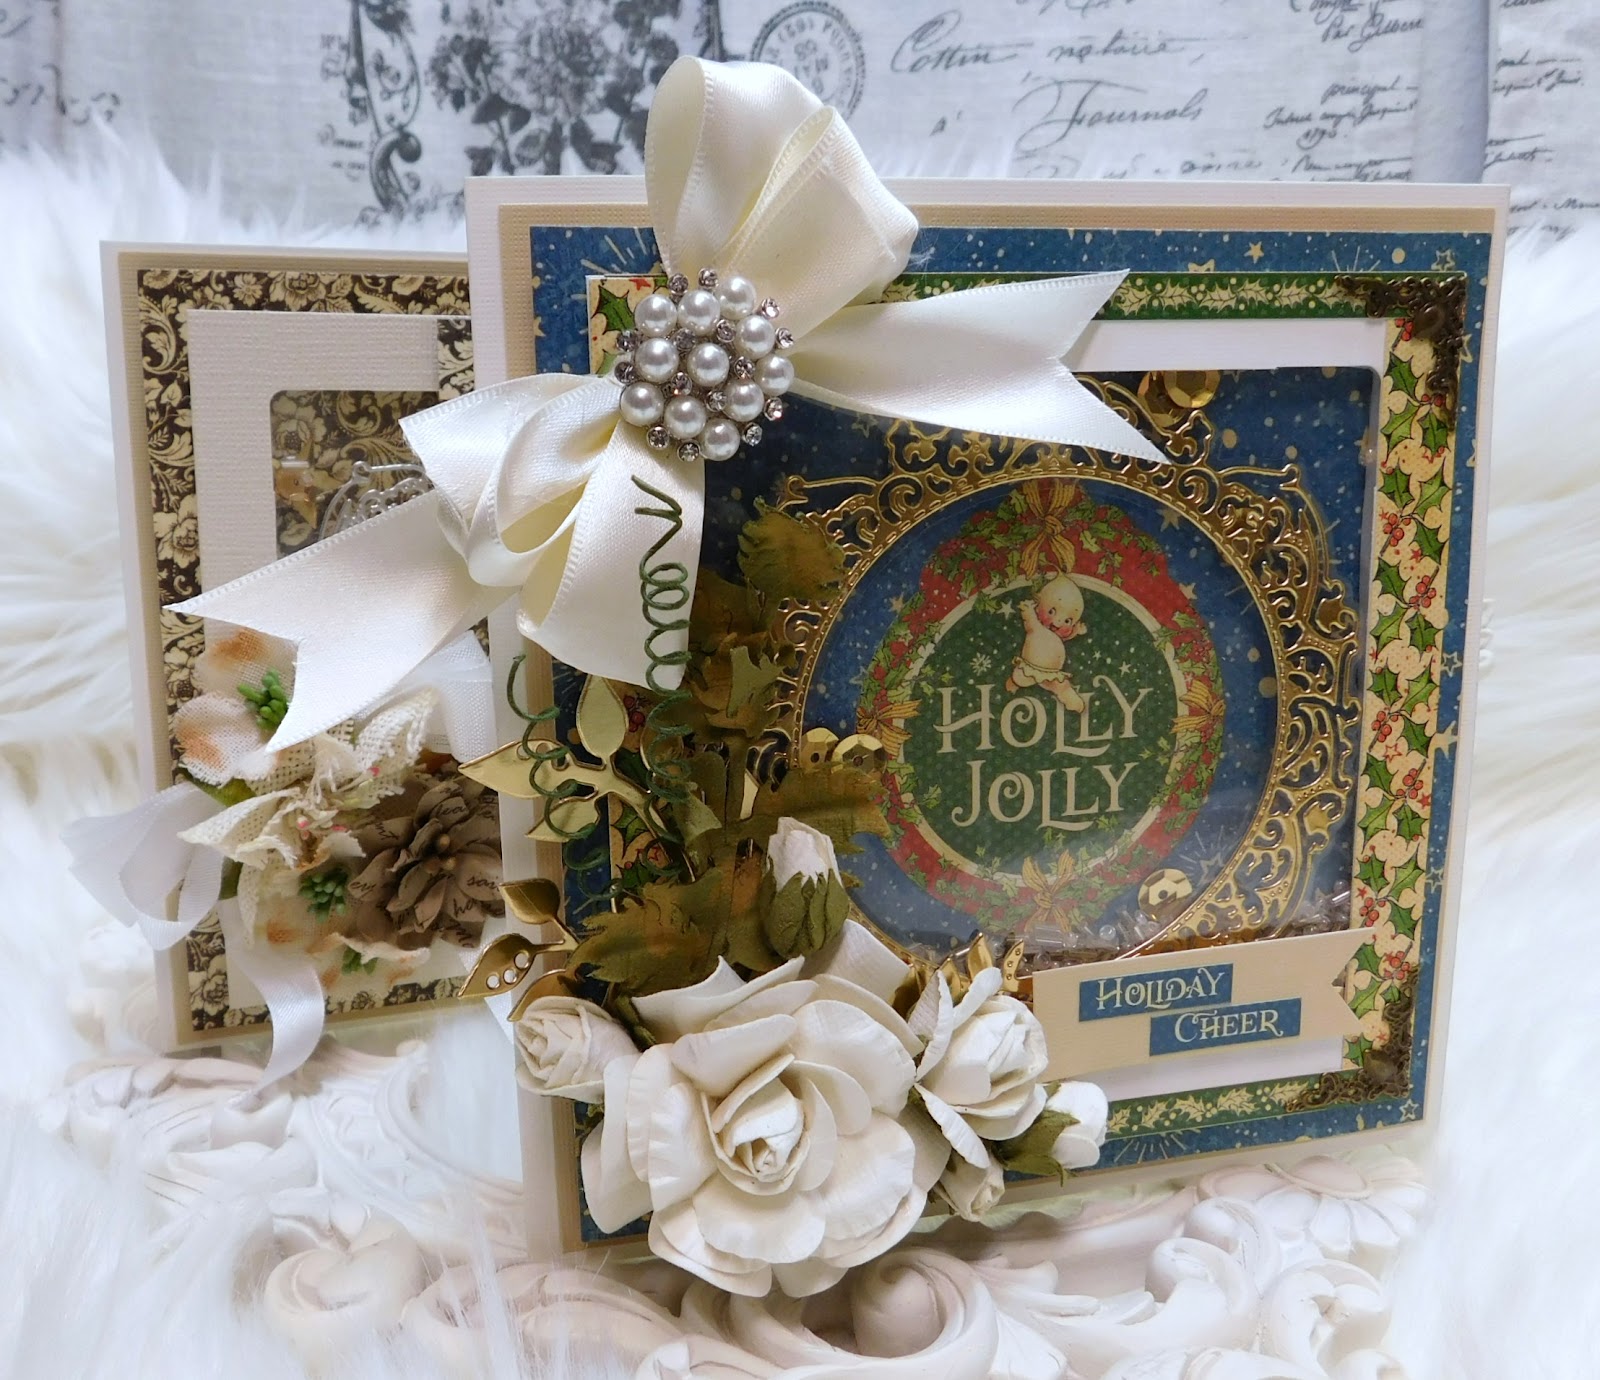
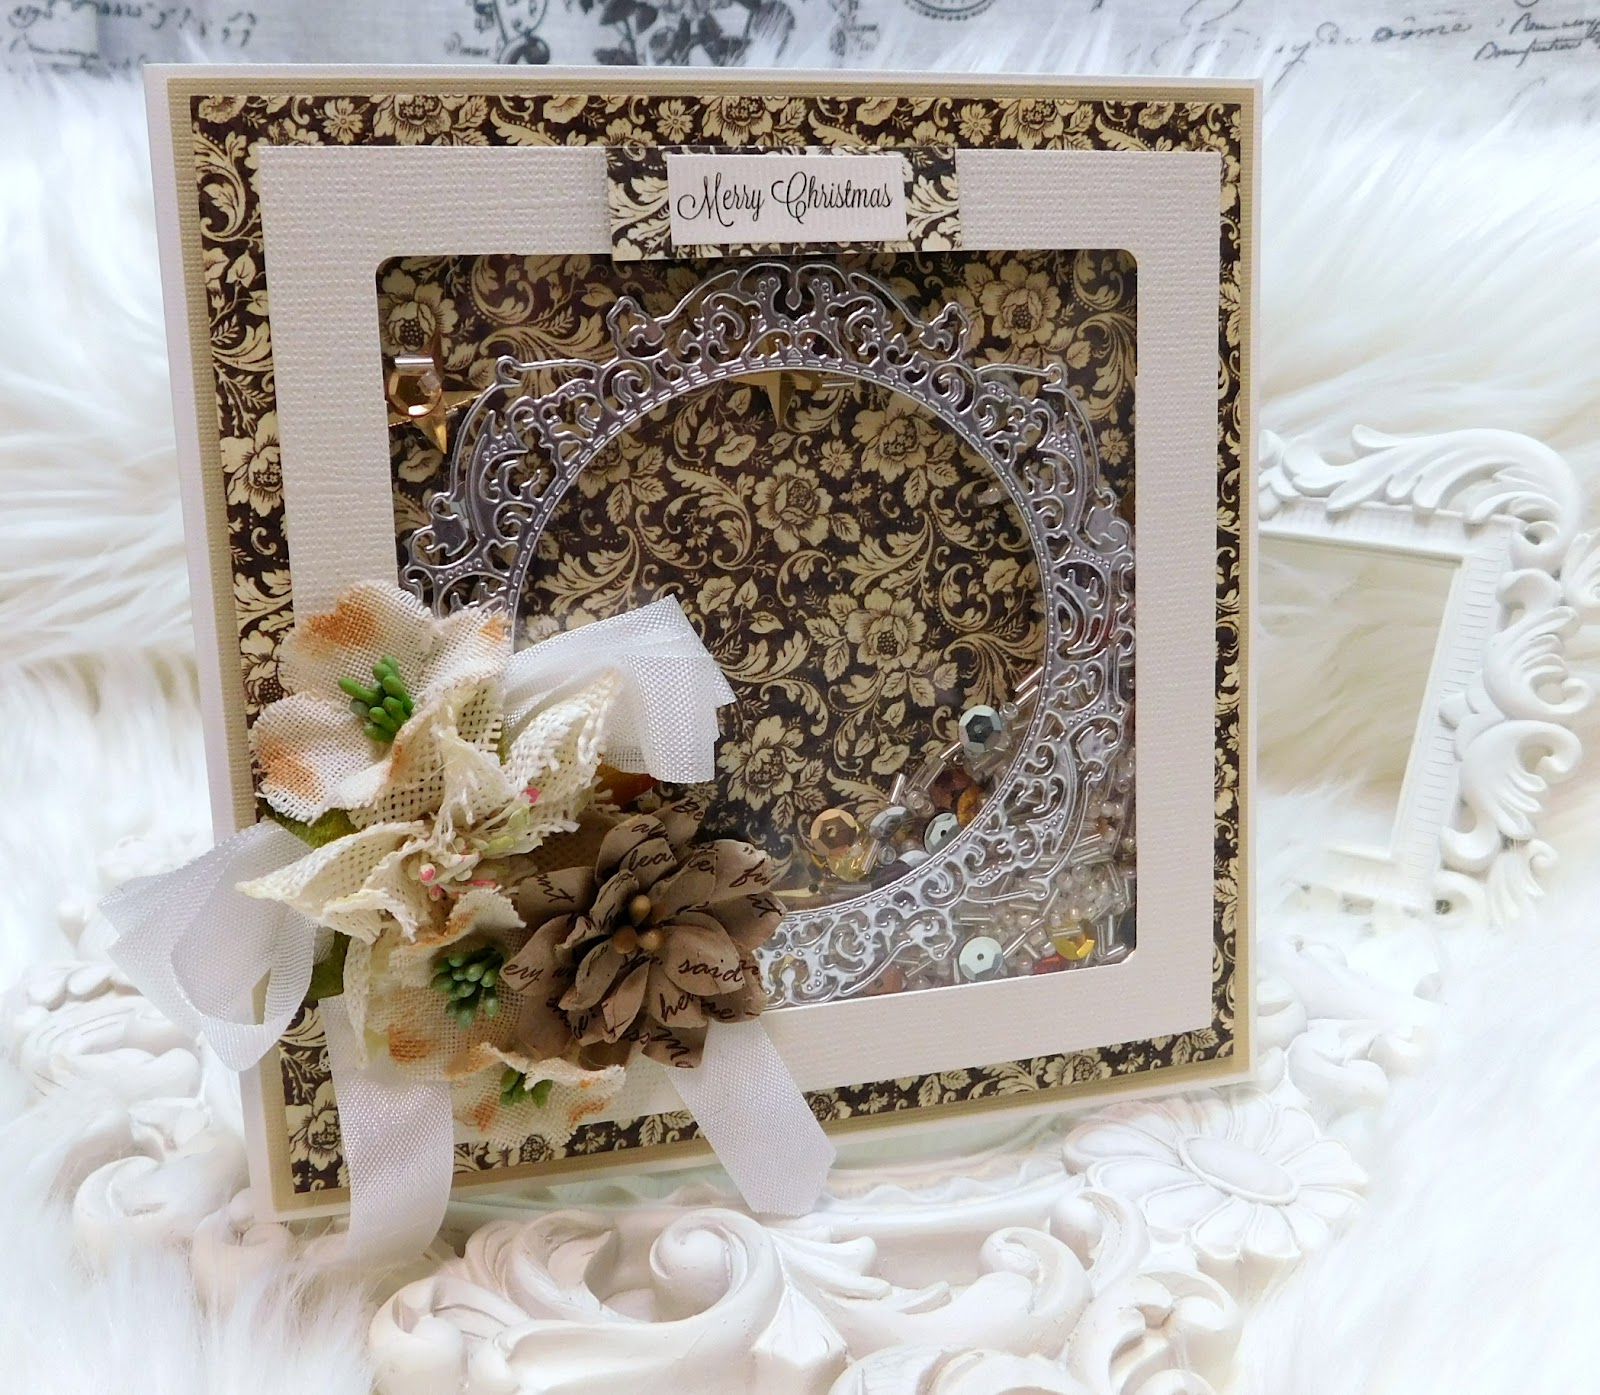
With the Holidays just around the corner we thought it was the perfect time for a Shaker Card Tutorial starring our new Christmas Magic paper collection and Metal Dies. These beautiful cards and step by step directions are from creative mastermind, Sandi Nagel. Pull out your papers and sequins and let's have some fun!
Graphic 45 Christmas Shaker Card Tutorial
By Sandi Nagel
“Hello G45ers!
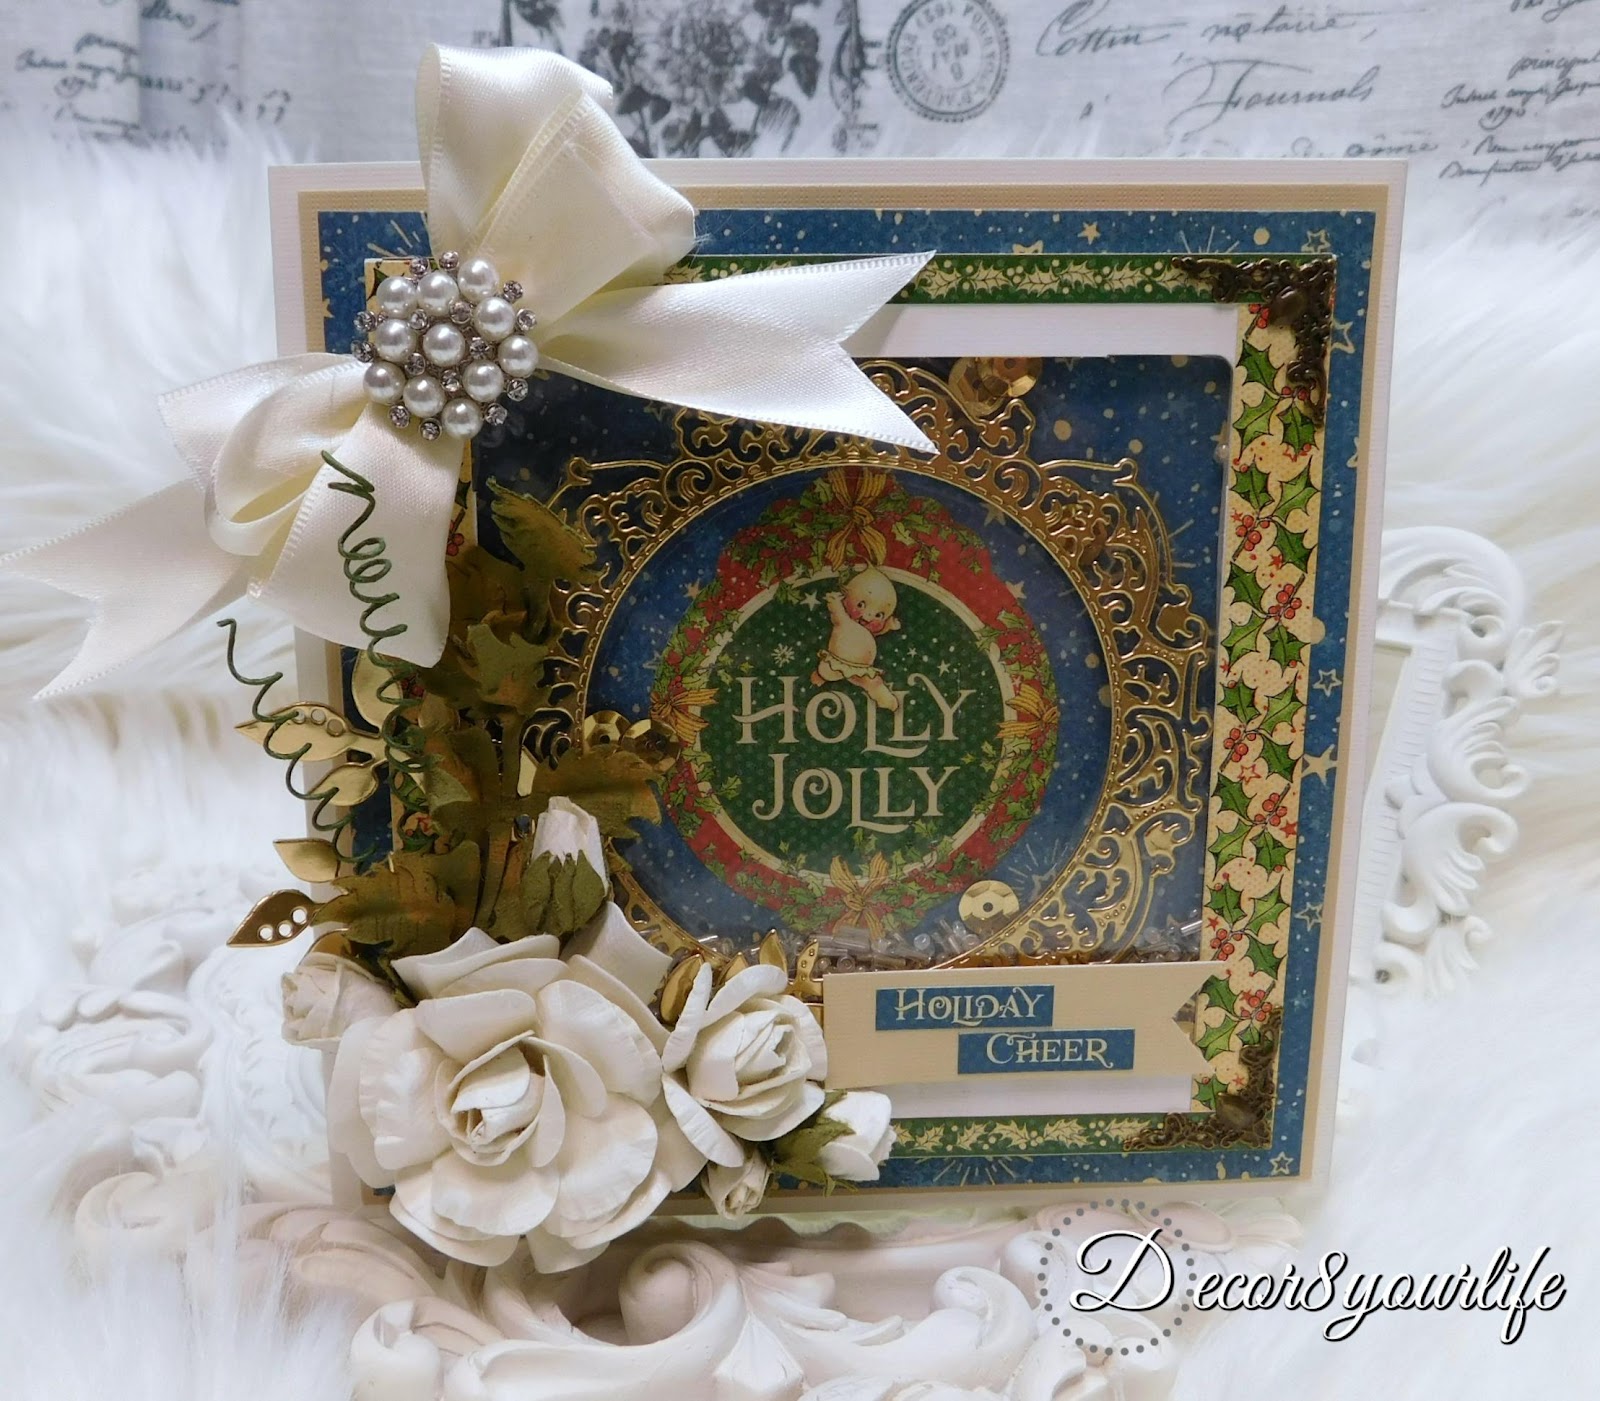
Hi friends! For today's tutorial, I'll be showing you how to make elegant Christmas Shaker Cards using your dies, papers and flower embellishments from Graphic 45.
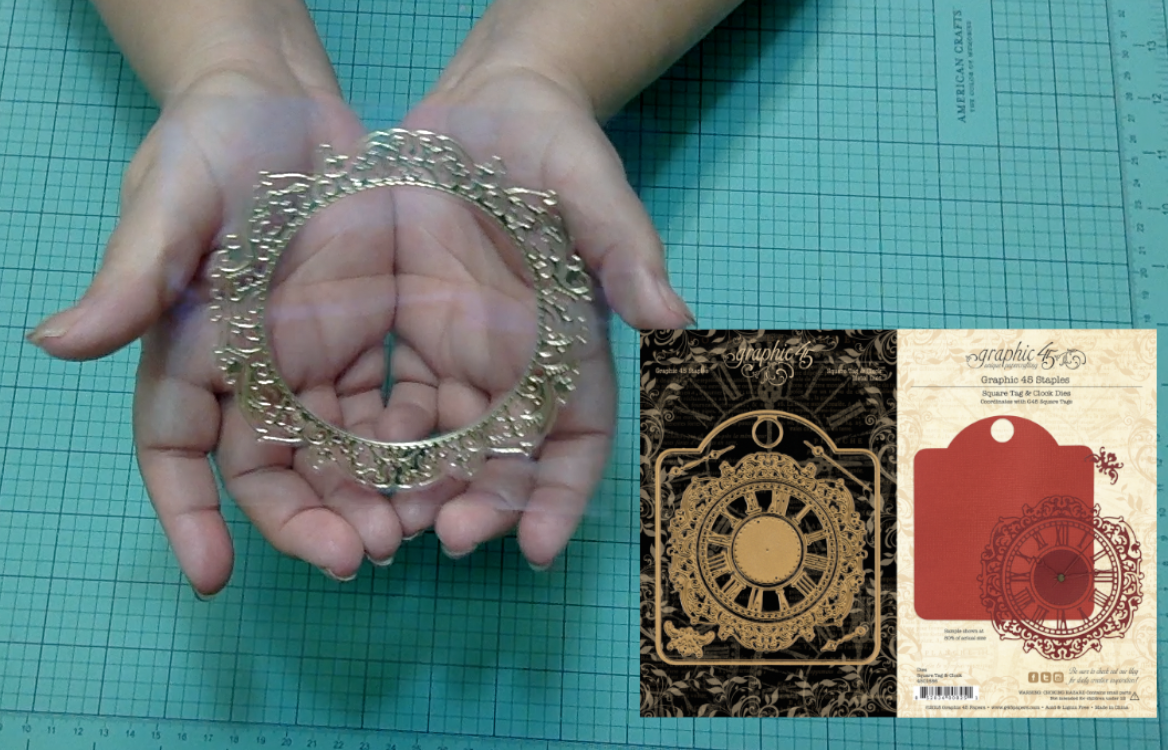
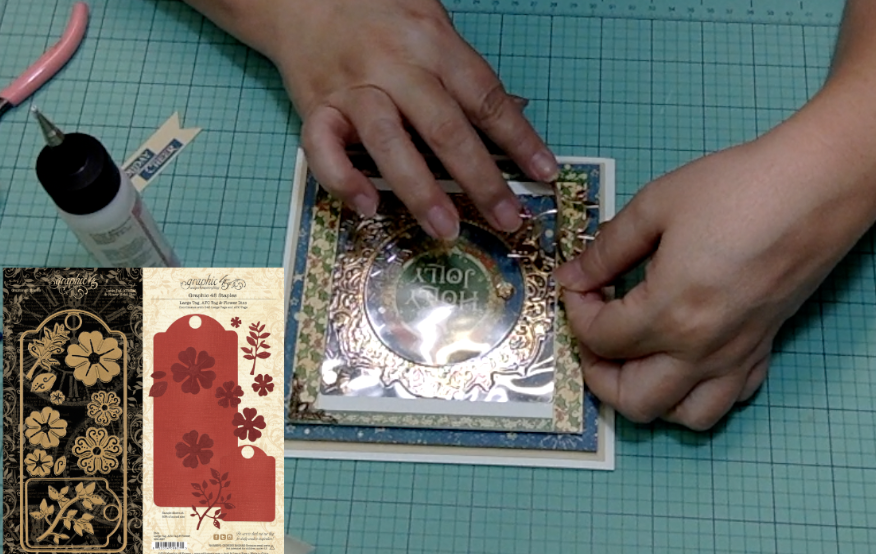
We Begin by die-cutting and laminating the clock shape from the Graphic 45 Square Tag and Clock Dies. If you don't have a laminating machine, you can always use self-sealing laminating sheets. Once you've laminated your clock die-cut, you'll trim it to 4 3/4 by 4 3/4.
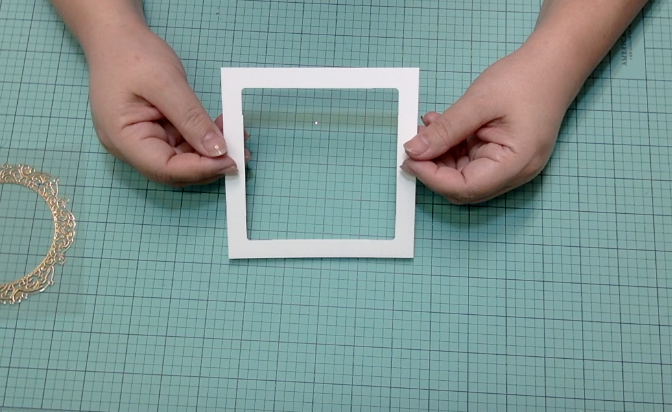
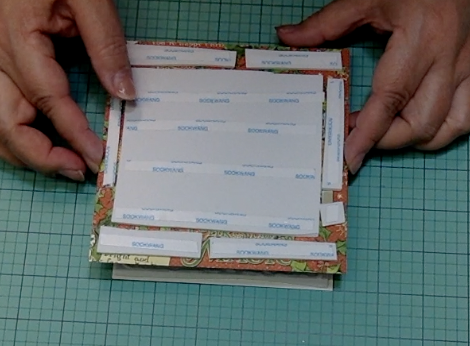
The next thing you'll make is the frame that goes on top of your laminated clock piece. If you don't have a framing tool, you may create one by doing the following:
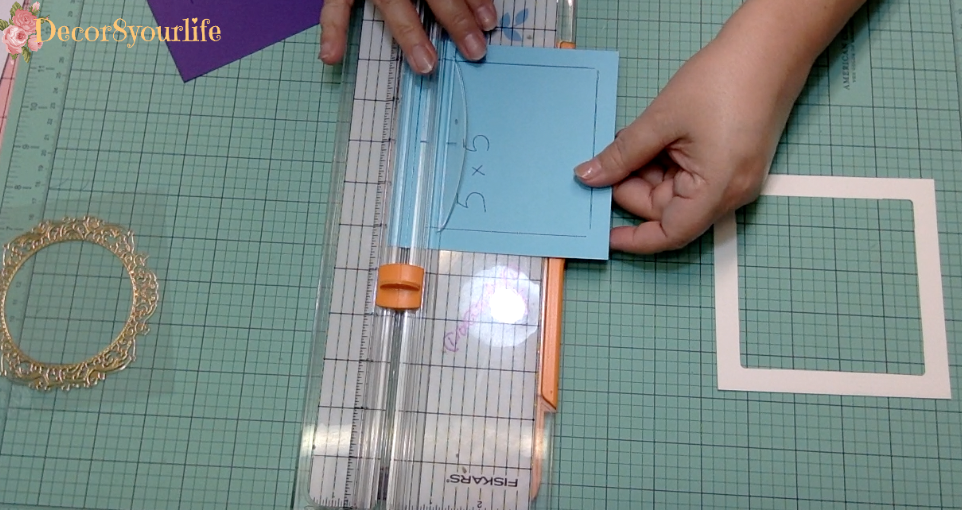
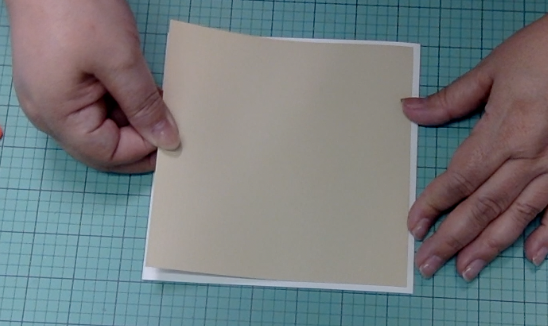
Trim a white piece of cardstock to 5×5 inches. Then trim a second piece to 4×4 inches.
Tip: When making a frame out of cardstock, trim two separate colors. Your larger piece in the desired color and the smaller piece in a different color. By doing this, it'll be easier to see where you'll have to outline the inner edges.
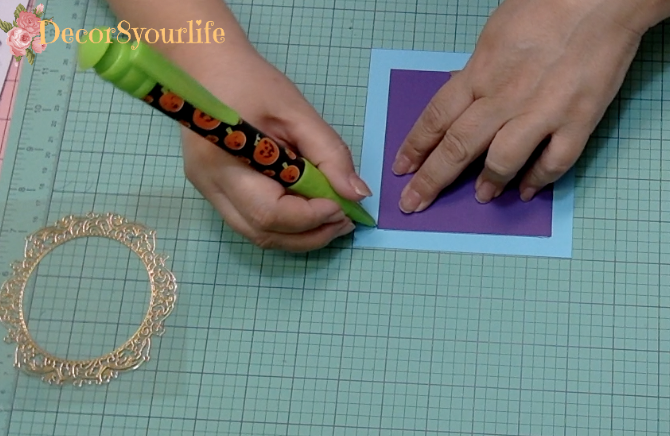
Next, you'll place your smaller piece on top of your larger piece and center it as best as you can, and mark the perimeter with a pen.
Once you've marked around the perimeter, you bring your cardstock to your paper trimmer to cut around the pen marks.
Tip: Use the guide on your trimmer blade to help you determine where to stop.
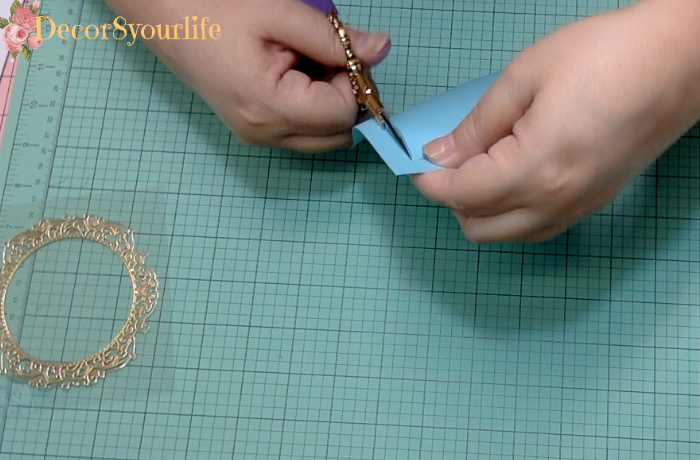
Trim your sides almost to the edge. Later you'll use scissors to snip off that tiny piece that you didn't cut through. We do this because we rather cut too little than too much.
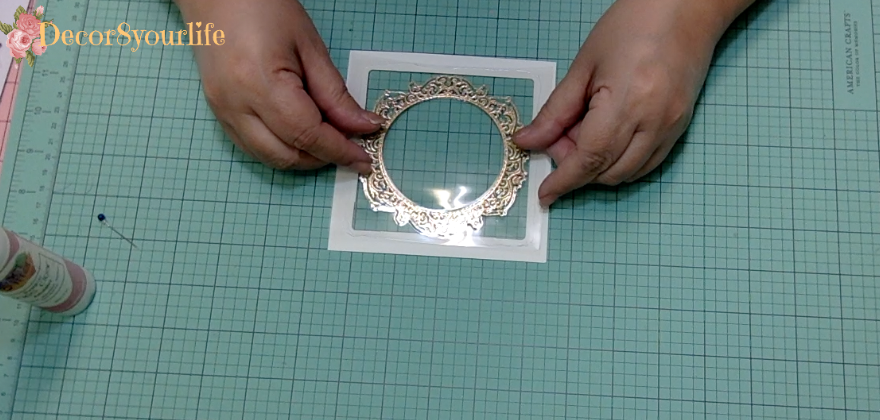
Now that we have our frame, we adhere our shaker window to the back of the frame, using glue or double-sided tape. Once the glue is dry, you'll want to add your dimensional foam to the back of your shaker window.
Make sure to cover the corners, with your dimensional foam. Otherwise, you run the risk of your shaker elements falling through the crevices.
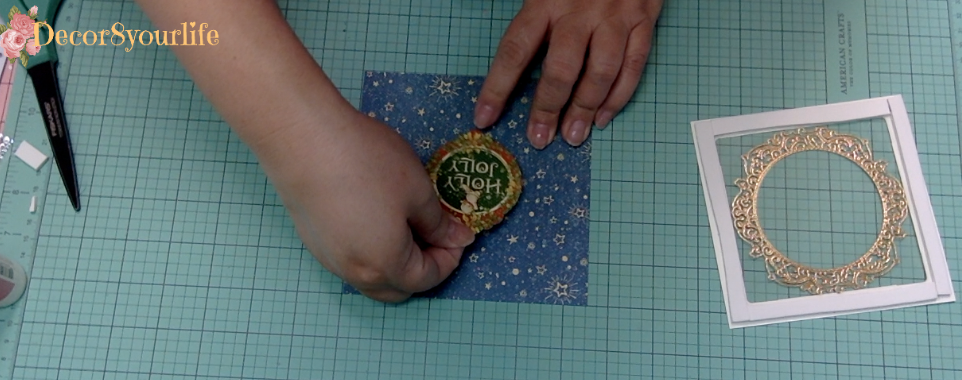
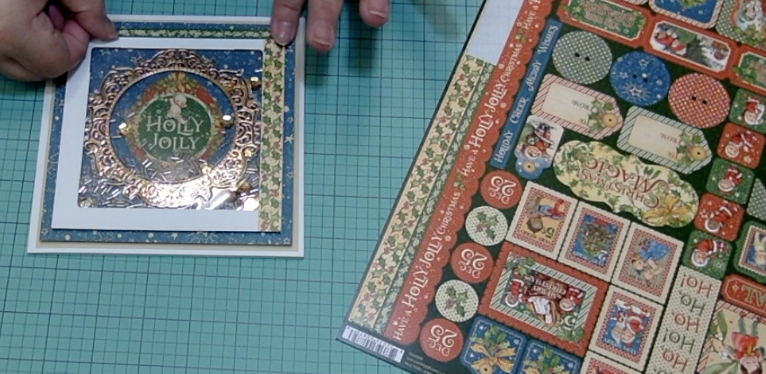
Trim a piece of your Graphic 45 Christmas Magic paper to 5 1/2 x 5 1/2 and set it aside. We now take a piece from our Graphic 45 Christmas Magic sticker sheet for a focal point.
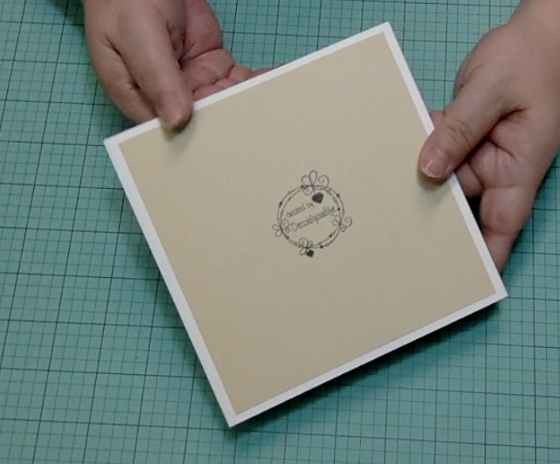
Next, we find the center of the square piece we previously cut, place a mark with a pen, then add our sticker right on top.
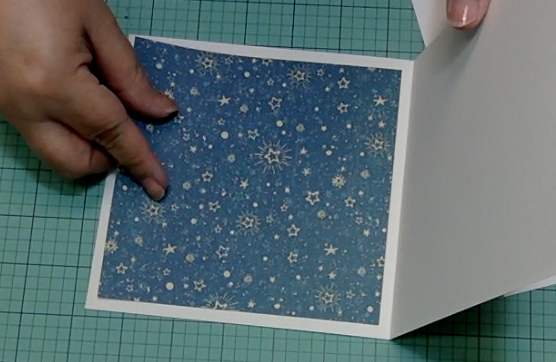
Now we're ready to trim a mat by using a coordinating piece of cardstock. Trim this piece at 5 3/4 x 5 3/4. For the card base, we'll be using white cardstock. Trim this to 12×6, then score at 6 inches.
Use double-sided tape to apply the coordinating piece of cardstock to the card base.
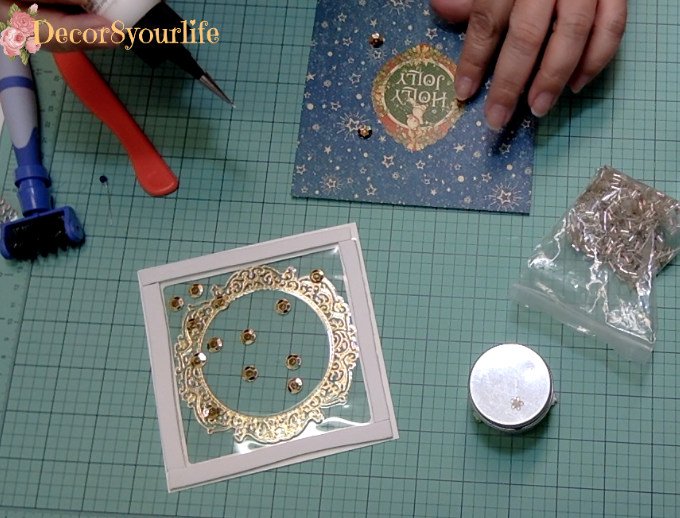
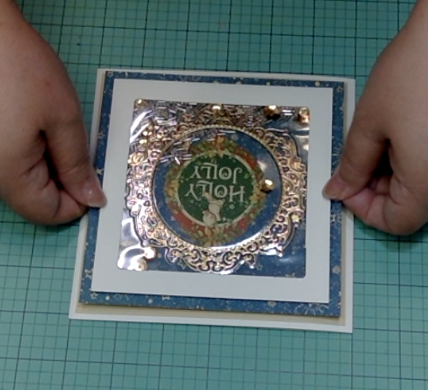
Add your shaker elements to your shaker window, make sure the sequin is facing the right way. That's right. There is a front and a back to the sequin.
Tip: Glue a couple of sequin to your cardstock to give your card the illusion of suspended shakers when the card is in an upright position.
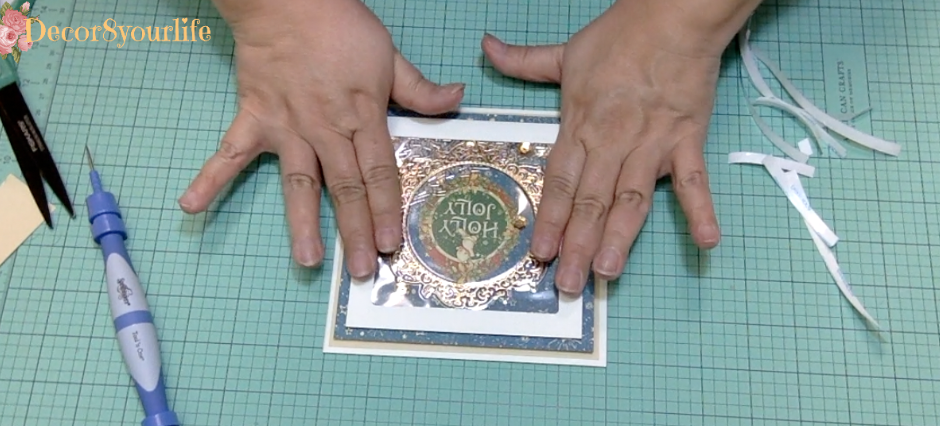
Now that we've added our shaker elements, we're ready to glue our square to the back of our frame. Use glue instead of double-sided tape so your shaker elements don't get stuck on the sides.
Use the guidelines on your craft mat to ensure that you center the back correctly.
Notice all the foam I added to the back of my square? I did this for dimension. Since this Christmas Shaker Card is front heavy, I balance the weight with additional matting on the inside and back of the card.
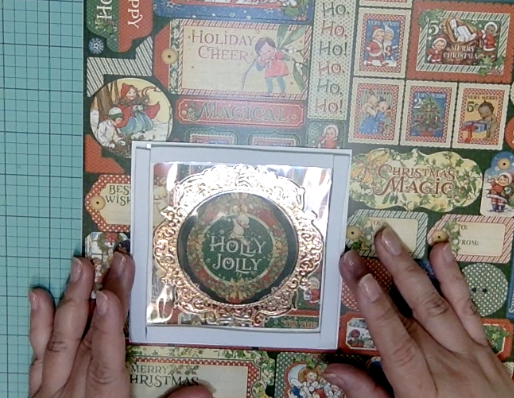
We are now ready to adhere the front of our shaker card to the matted base, using double-sided tape.
Use the border stickers, from the collection, to decorate the Christmas card frame.
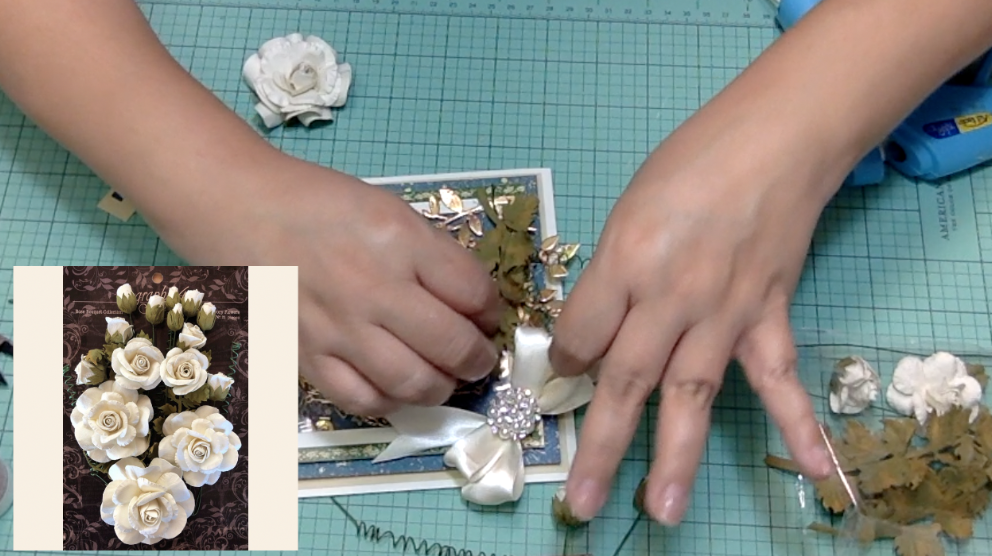
Add your embellishments.
I've put together an easy to follow video tutorial for you that goes through each one of the steps. I hope that you find my tutorial helpful and that it inspires you in your handmade Christmas card projects. Until next time. Happy Crafting!” ~Sandi
Christmas Shaker Card Tutorial | Christmas Magic Collection
|
|
|
|
|
|
Graphic 45 Rose Bouquet Collection (coming soon!)
Measurements
What a great tutorial! Big thanks to Sandi for sharing these amazing cards and video tutorial. We hope you have been inspired to try your hand at a shaker card, and when you do, be sure to share the results with us on our Graphic 45 – Official Community Page. Thanks for stopping by and as always…
Happy Papercrafting!