Hello G45ers!
Happy Friday crafters! Today we have an action-packed blog post where we will announce the winner of this week's contest, introduce you to a new Brand Ambassador, and share a card & box set with a tutorial! We are delighted to get to highlight the expert in Glitter and Glam, Brand Ambassador from the USA, Sandi Nagel. For Sandi's #G45Selfie project she shares photos, tips, and a video tutorial of an elegant Box & Card set using our Portrait of a Lady collection and Metal Dies. So hold on to your hats and let's get ready for a whirlwind of inspiration!
Weekly Blog Winner
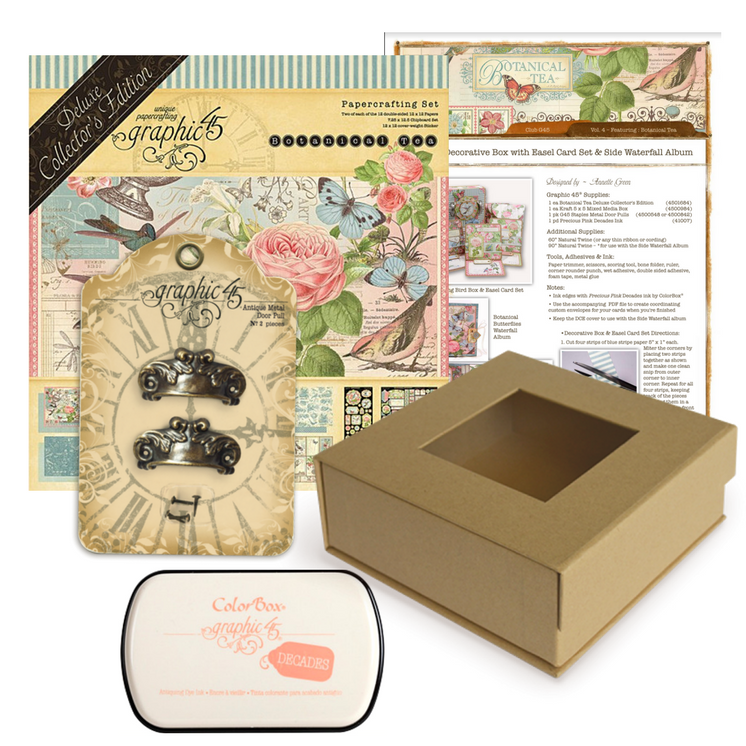
This week’s prize package included a Club G45 – Vol. 4 Kit, including a Botanical Tea – DCE, 5×5 Mixed Media Box, Metal Door Pulls, and a Precious Pink Inkpad, a $50 value. The Winner is. . . inspire.dolls!
inspire.dolls had this to say on Instagram: “This is my favorite paper! I made one of my first albums using it, and gave it to a friend as a gift. It was really hard cutting it up but the album is truly lovely. Thank you for such gorgeous paper and embellishments!”
Big thanks to everyone who joined in and left comments, you keep our creative wheels turning. inspire.dolls please email info@g45papers.com to claim your prize.
Brand Ambassador 2018-2019
Sandi Nagel – USA
“Hi, my name is Sandi Nagel and I’m delighted to be a part of such an amazing and talented team! I’m a webmaster by day and a crafter by night! I run my own business from home, and when I need to step away from coding my craft room is only steps away.
For the past four years, crafting has become a very important part of my life. As my kids got older and needed mom less and less, I knew that I had to find an outlet, something that I enjoyed doing and could sustain for a very long time.
In 2012 I discovered the world of YouTube and began watching decorating videos. One thing led to another and I found myself immersed in mini album tutorials. And for the record, when I saw the very first Graphic 45 Mini Album someone had made, I was hooked! It’s safe to say that Graphic 45 was and continues to be my very first crafting “crush”.
The colors and elegance of the Graphic 45 paper collections are second to none. My crafting style, as you will see, leans more towards the sophisticated and elegant side, something that many of the Graphic 45 collections lend themselves to.
Back in 2017, I had the pleasure of visiting the CHA Graphic 45 booth. And boy does this team practice what they preach! As I entered their booth, it was like I had stepped into a world of fantasy, glamour, and magic! The team was dressed in a vintage elegance that transported us back in time. It was a sight for the eyes to see!
Everything about that afternoon brought back the emotions that I felt when I first laid eyes on that Graphic 45 mini album video.
Throughout my term as a Graphic 45 Brand Ambassador, it is my hope that you fall in love with the paper line, time after time, with each and every project share. I hope to bring you inspiration and easy to follow tutorials so that you can create and inspire others too.
I’m looking forward to a year full of beautiful projects and inspiration, not only from my team-mates but from all of you as well.
Thank you Graphic 45. I’m so happy to be here!
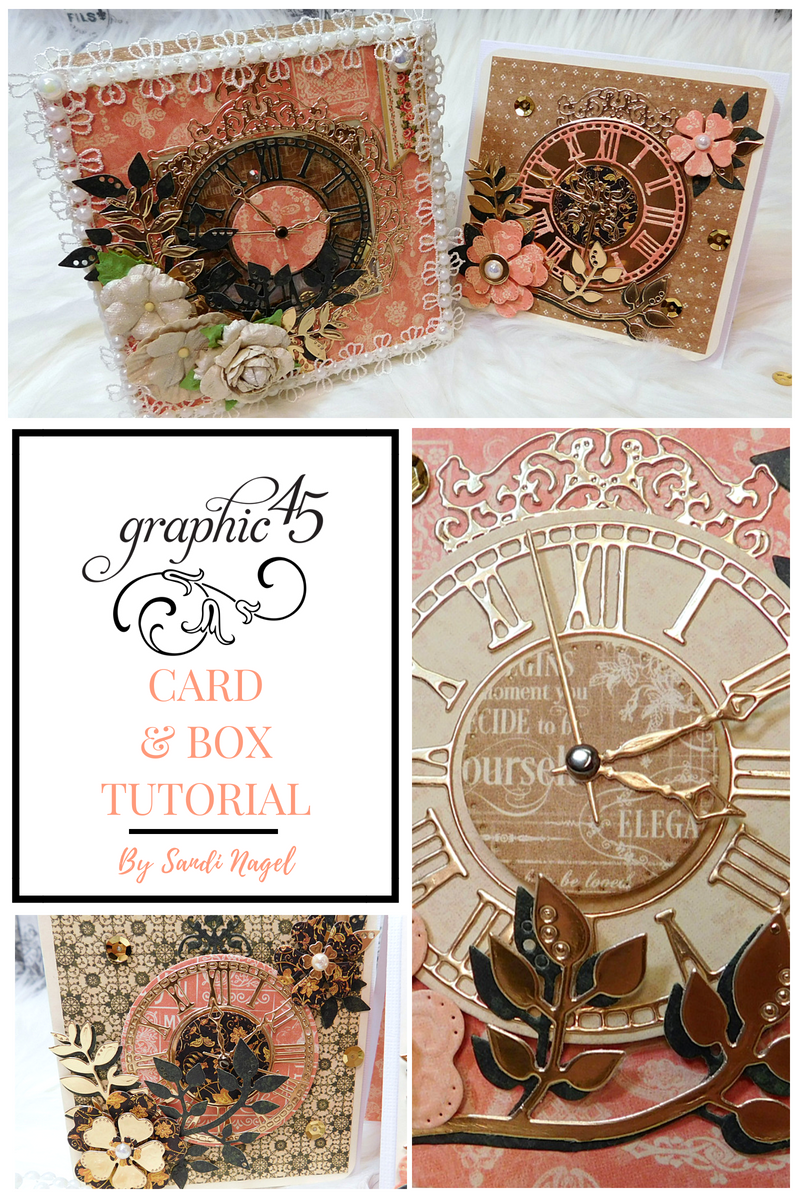
Elegant Card & Box Tutorial
For our first Graphic 45 Brand Ambassador project, we were asked to create a Profile Project. We were asked to use our favorite paper medium and our go-to techniques; and make something that reflected our personality and creative style.
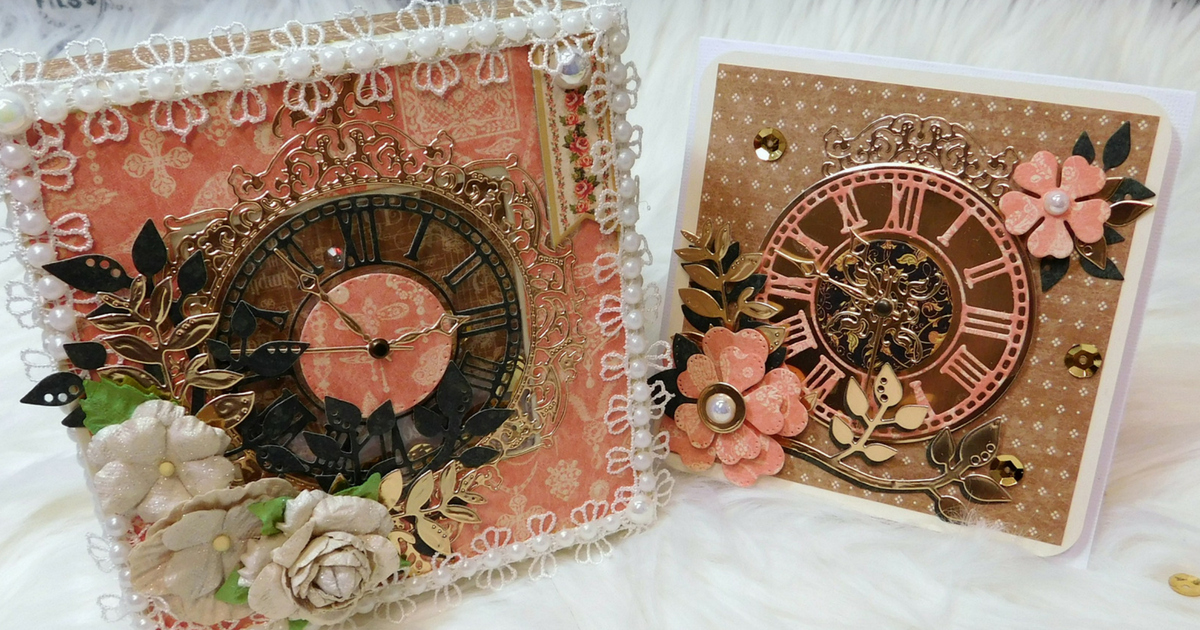
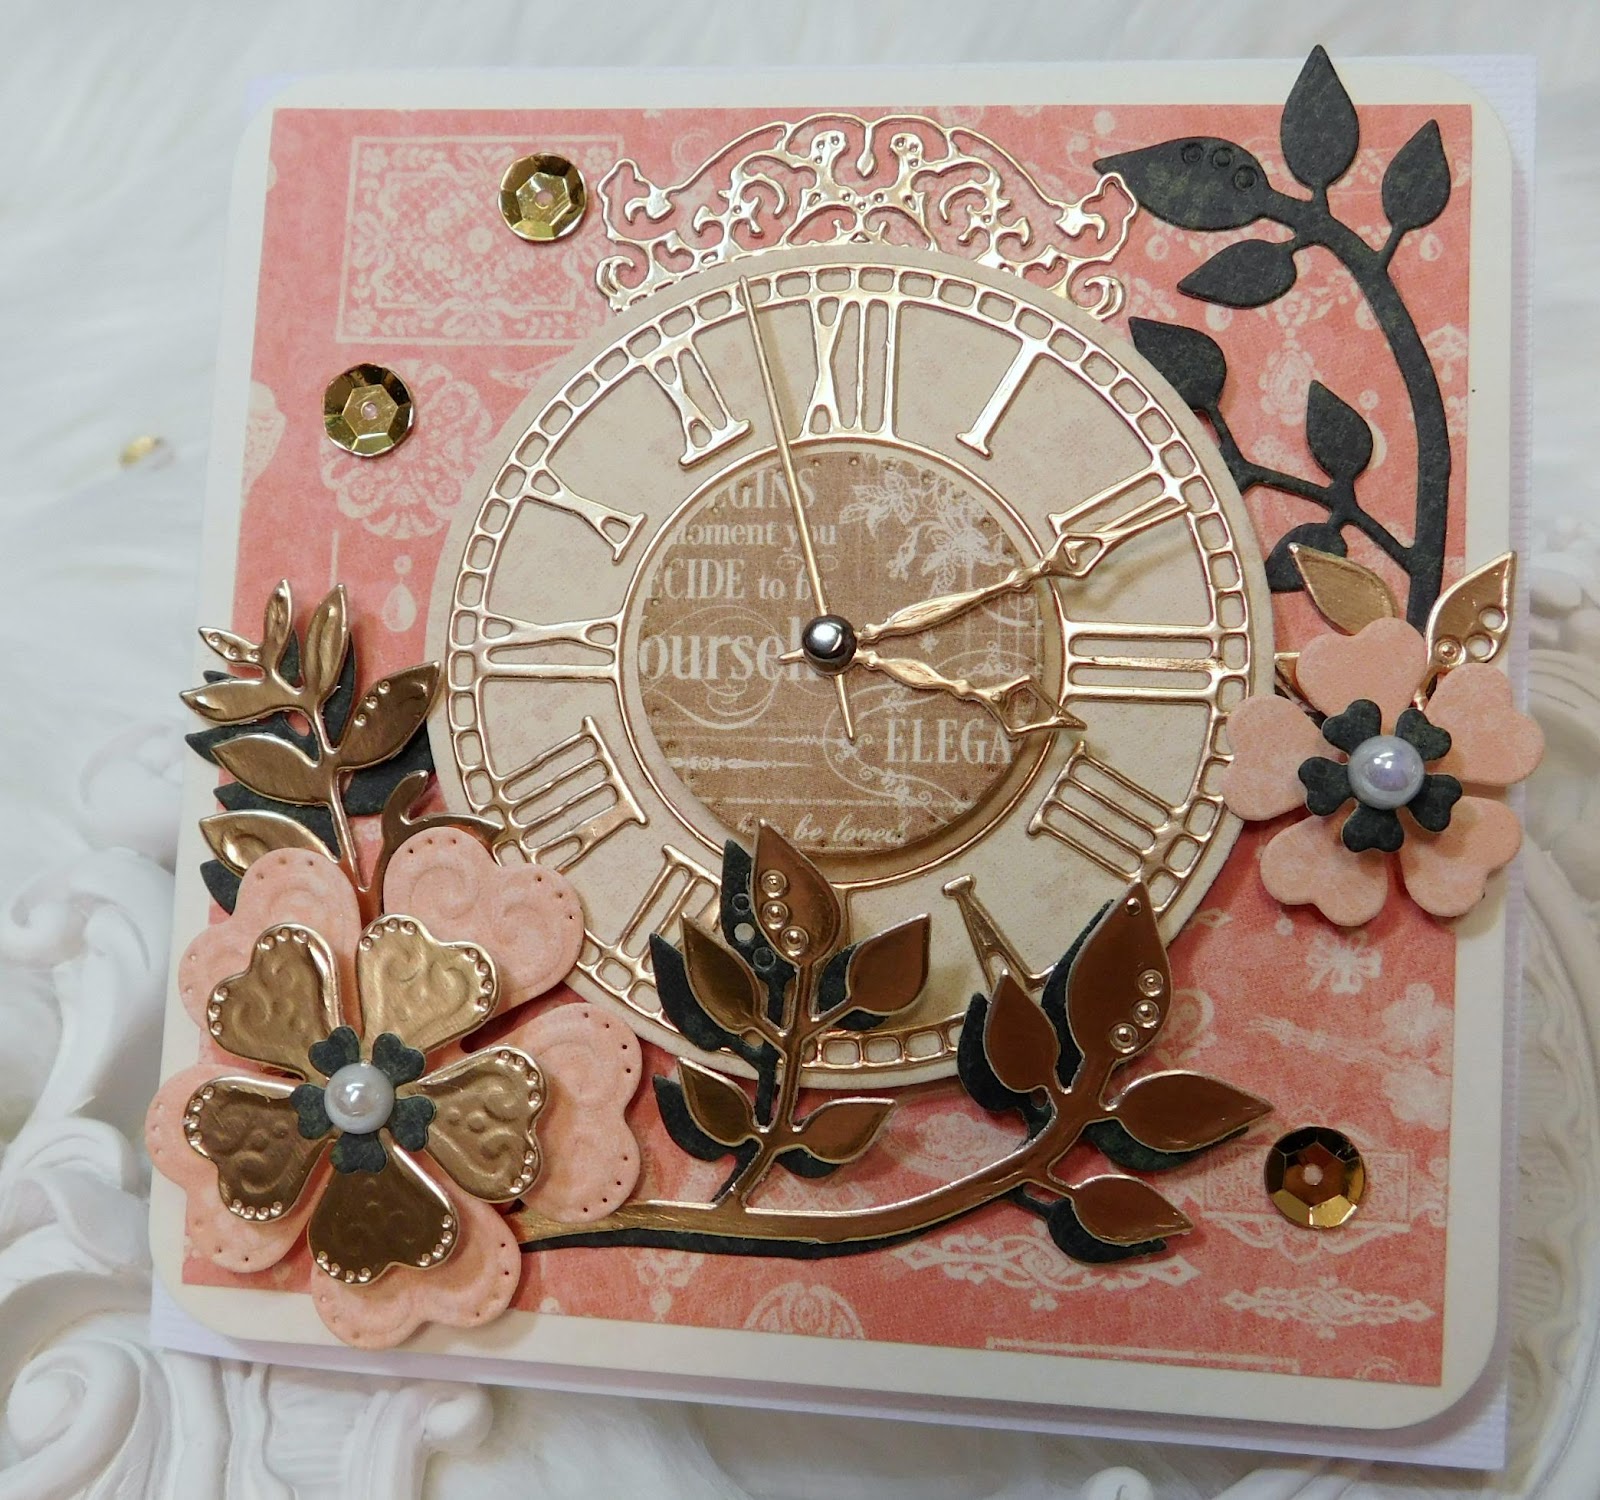
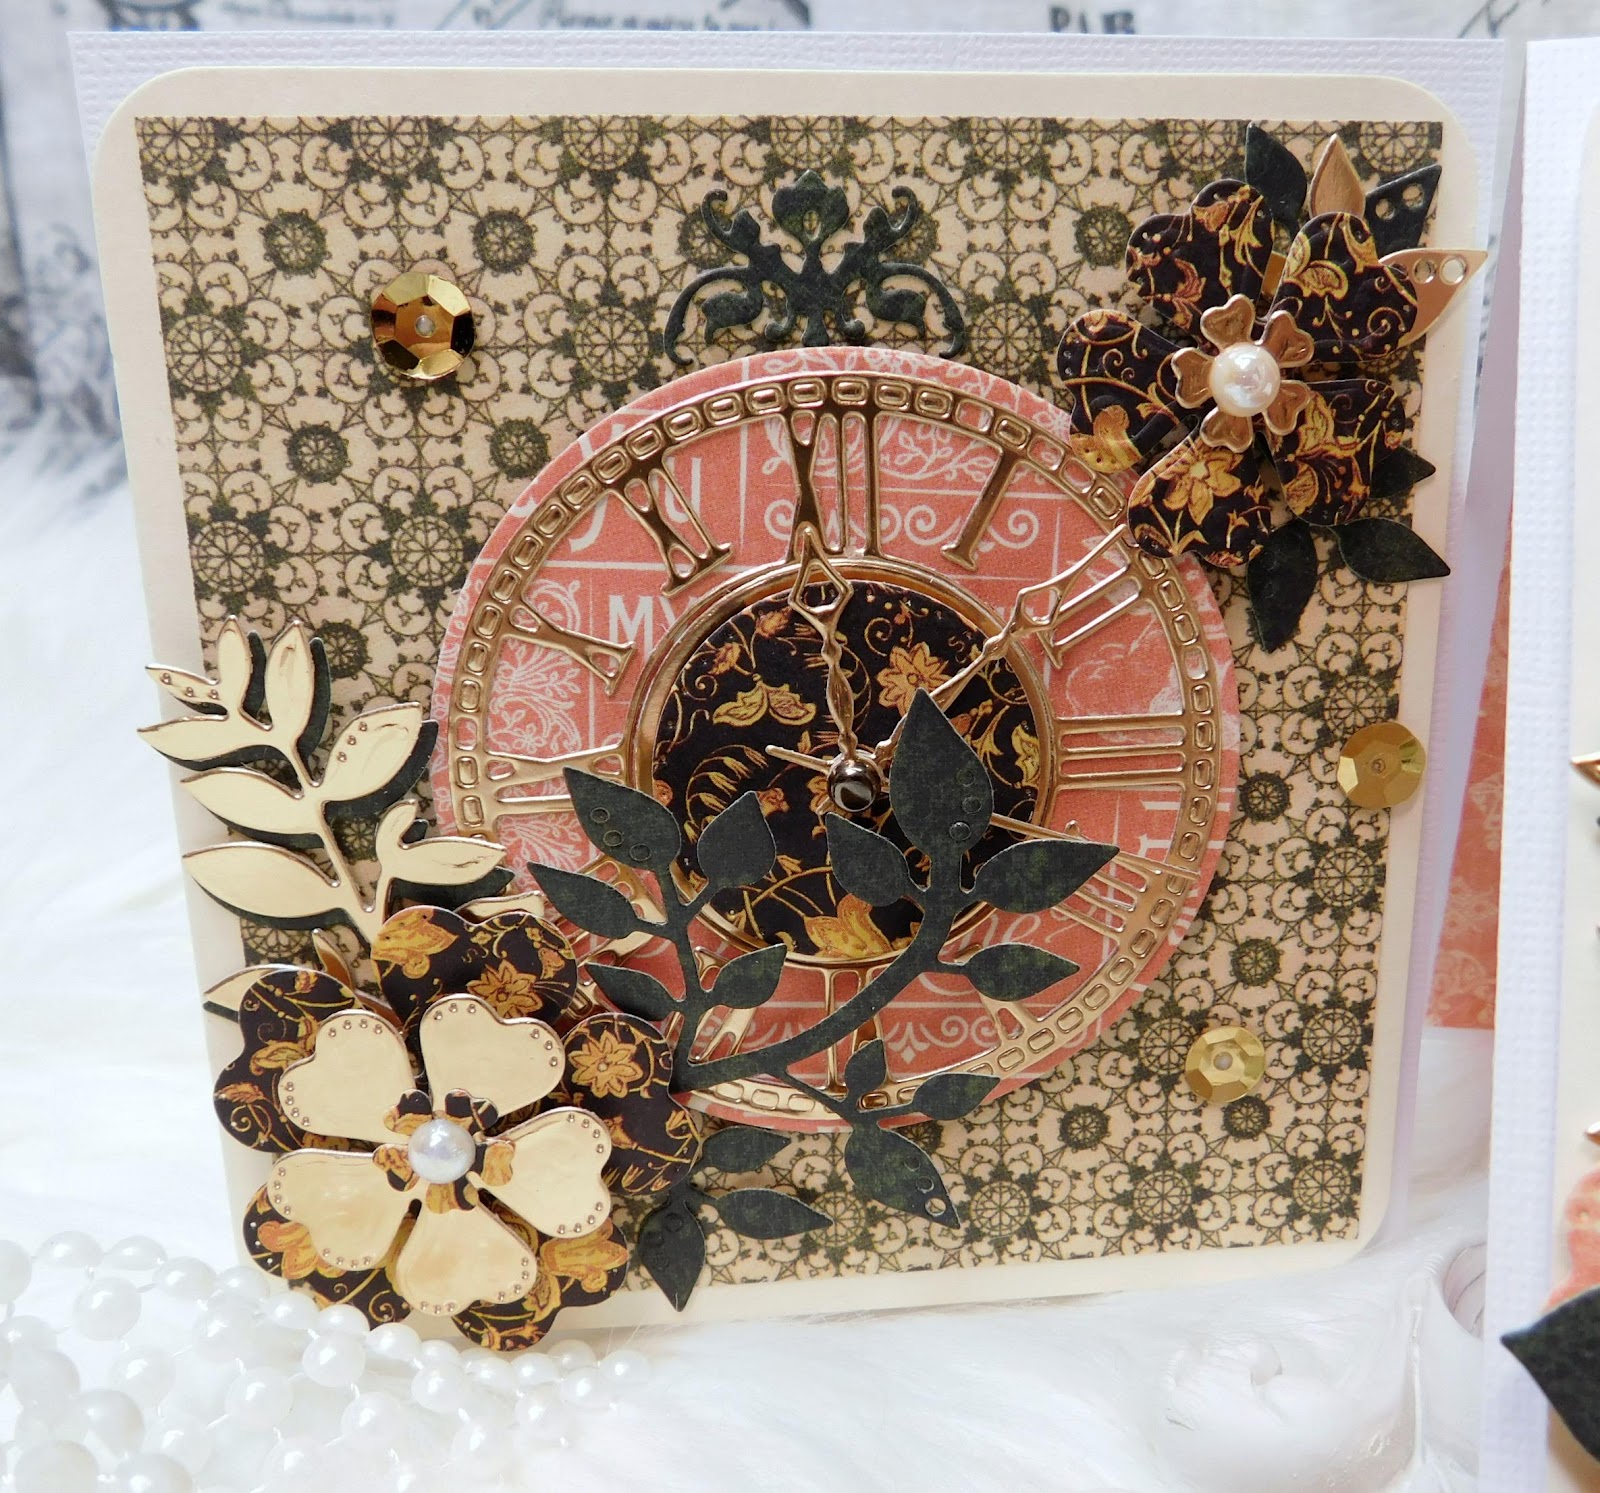
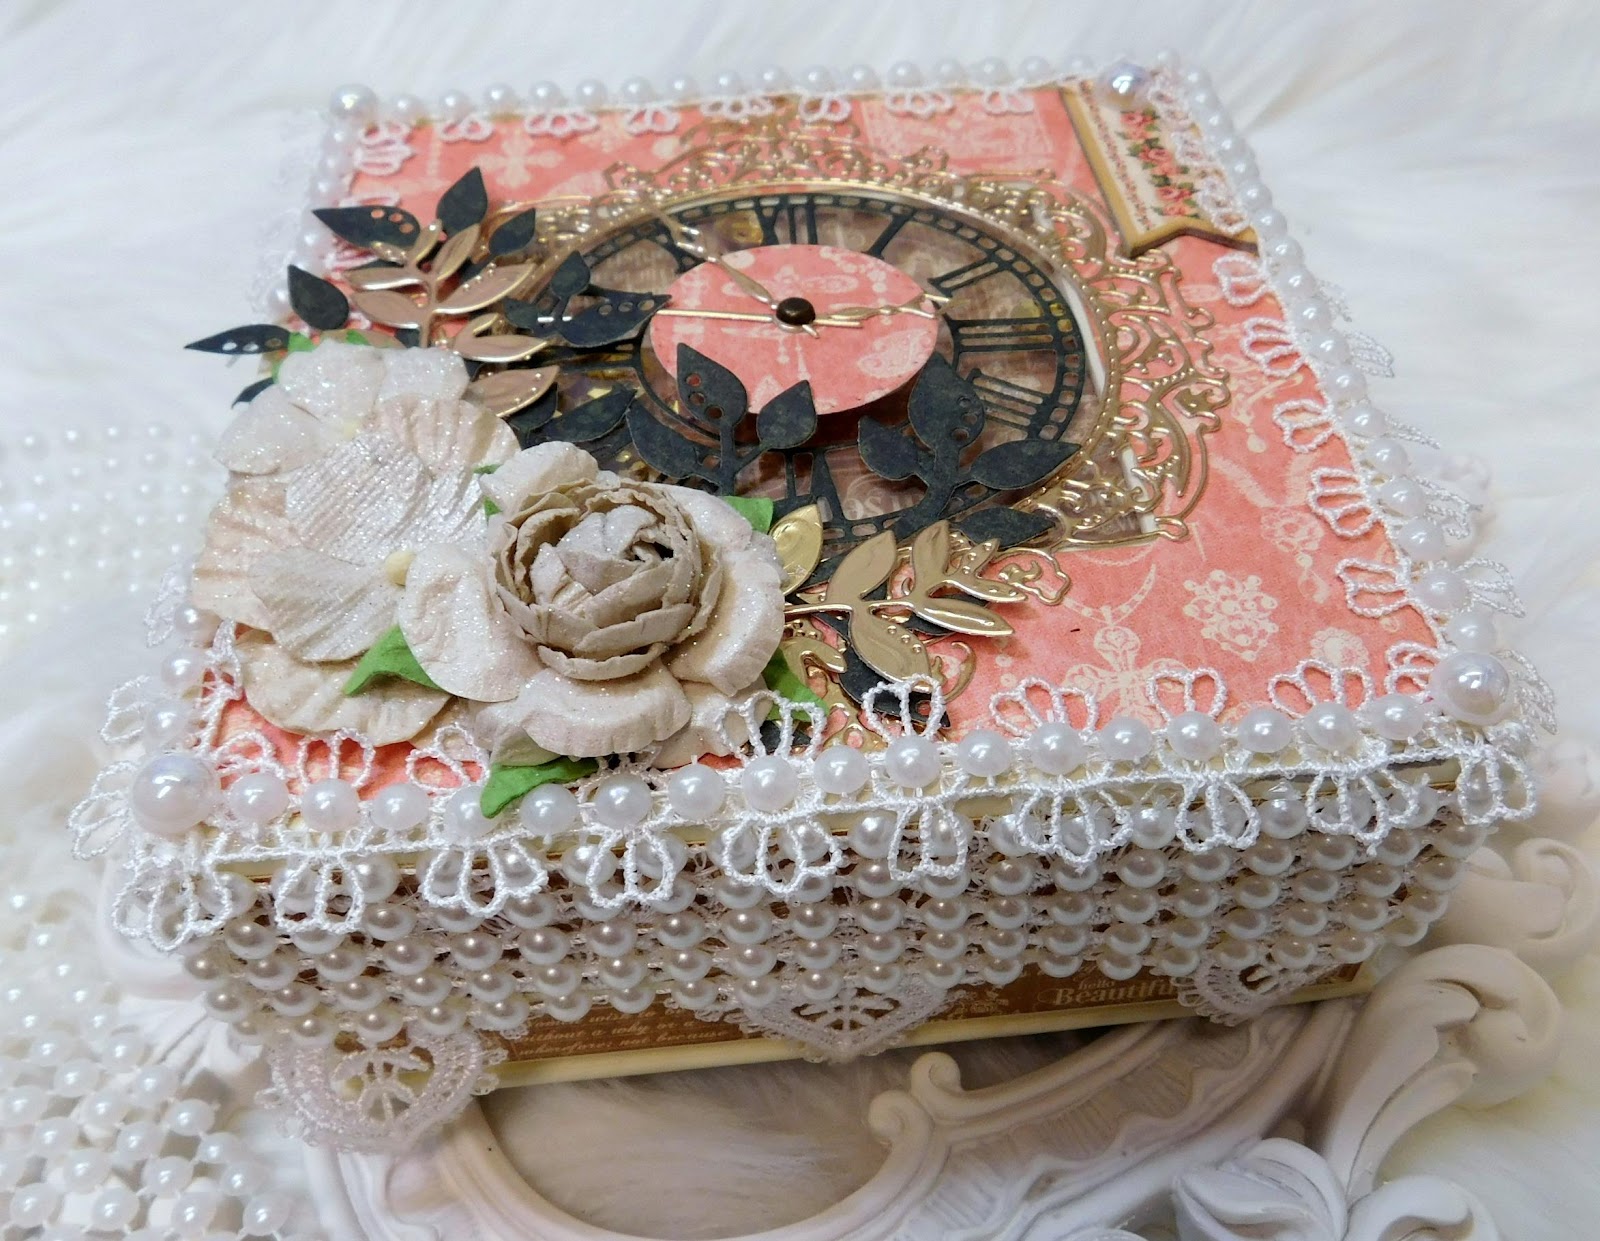
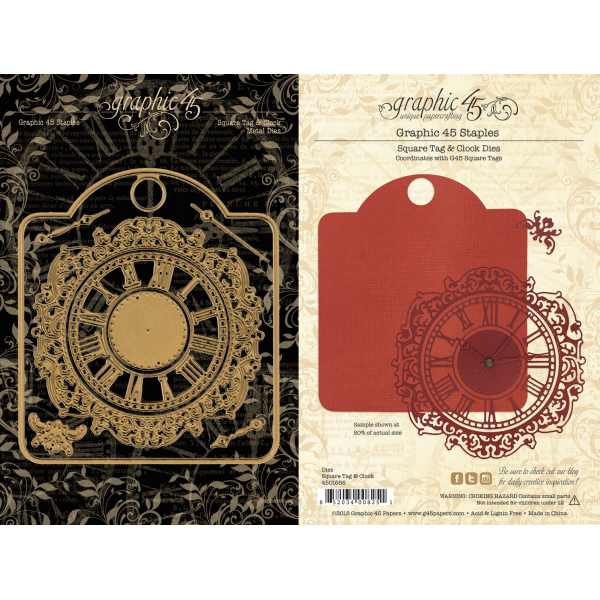
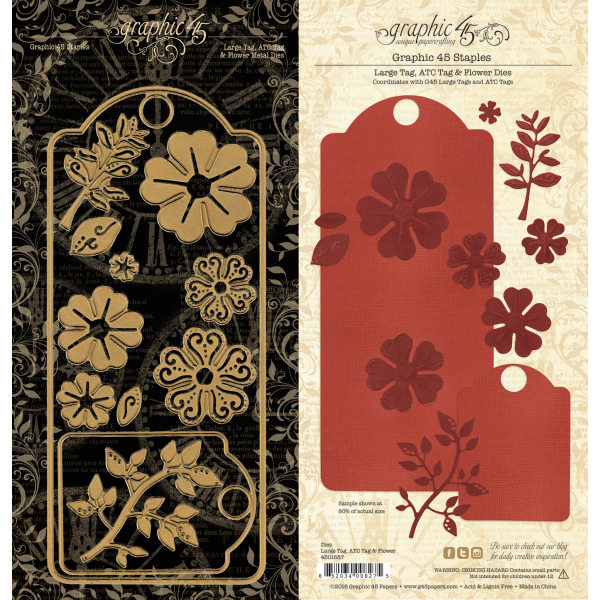
I decided to make this beautiful card and gift box set using the Mixed Media 5×5 box, the Staples Die Tag & Clock Square, Staples Die Tag & Flower Large, and the Portrait of a Lady 12×12 Patterns & Solids Paper Pad.
Tip: Don’t throw away the remnants from your die-cutting. You never know where you may use them. The circle on the lower left flower cluster is a leftover scrap from the tag die-cut.
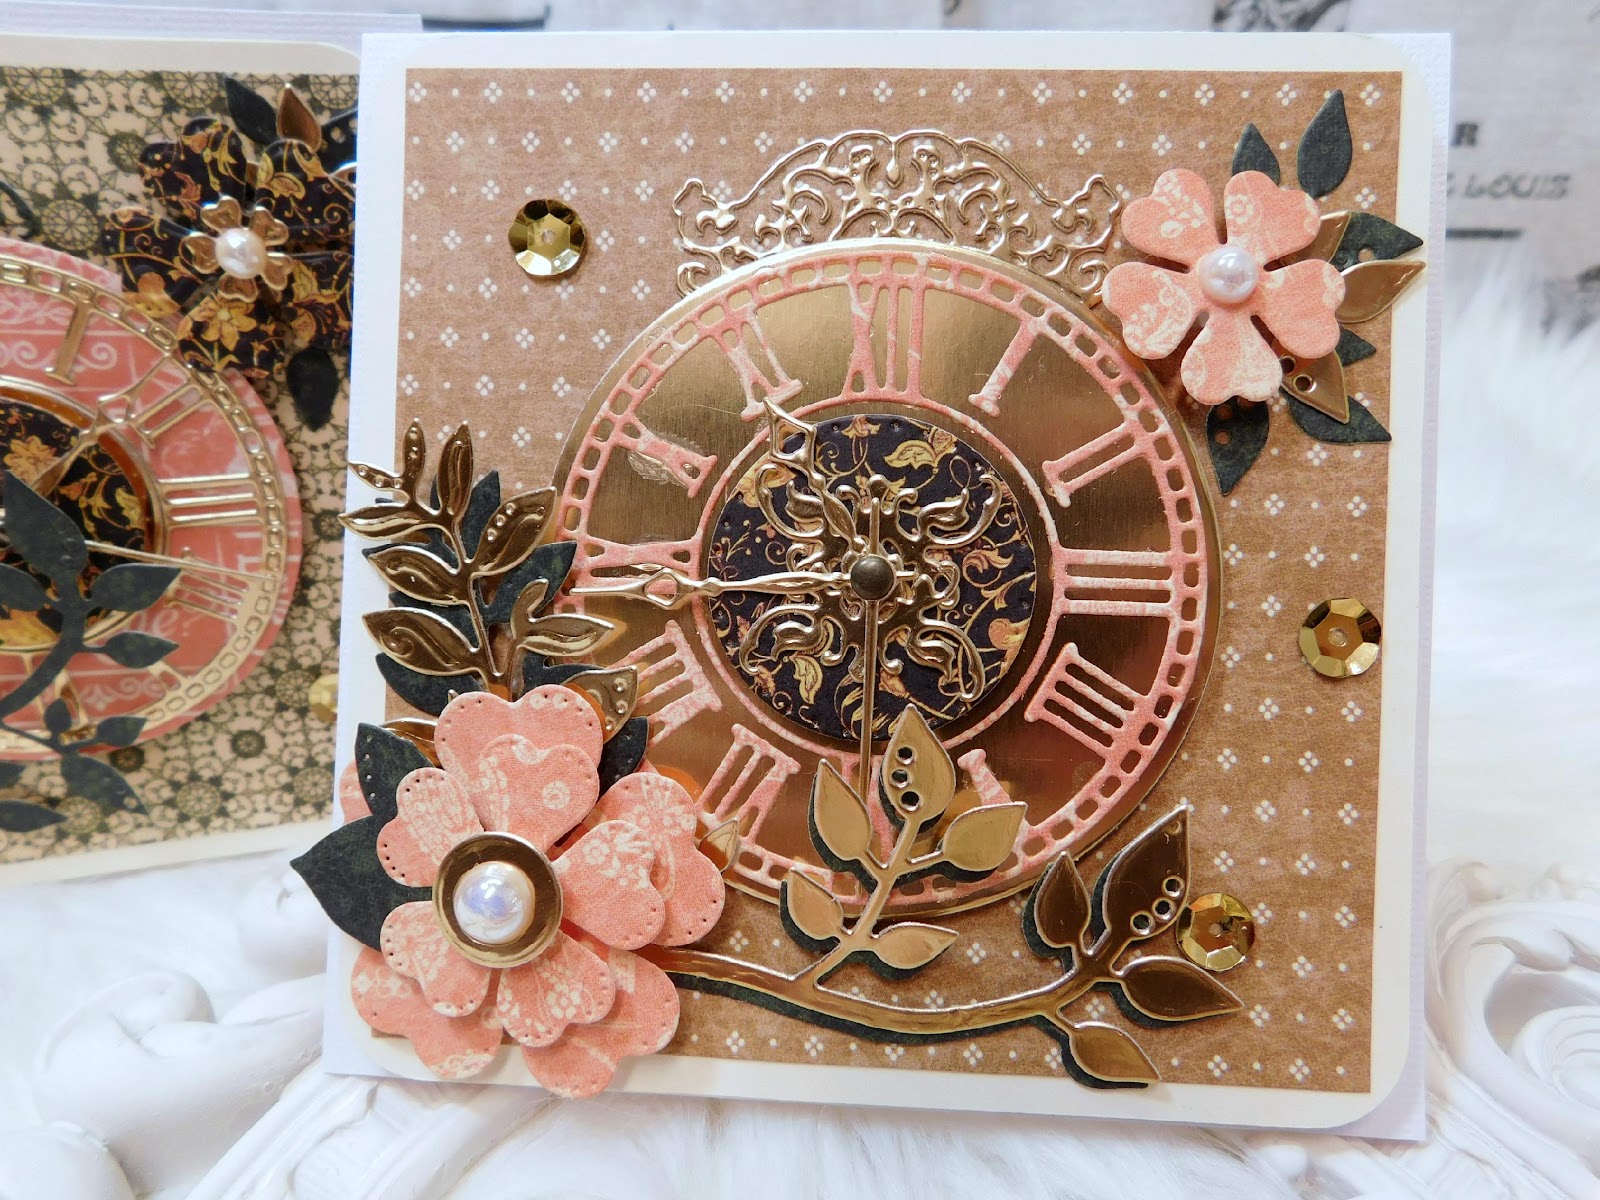
Also, use your smaller dies to create something different. I die-cut two gold pieces of the small crown die (from the Tag & Clock Square die-set), layered them in opposite direction to create the beautiful clock face centerpiece that you see right beneath the clock hands.
Tip: Don’t be afraid to trim off your die-cut pieces. For the cards, I decided to trim off the clock frame and use it as a discreet topper, instead of using the entire frame.
Tip: For that touch of elegance, always use touches of gold. Many folks compliment me on the elegance of my cards. When you scatter gold pieces here and there, it adds elegance and finesse to any paper crafting project.
Tip: It’s all in the layers. I get asked quite often how to embellish a project and make it look like it belongs at the window of Tiffani’s.
When embellishing, think about what you’d wear on a night out on the town. You’ll be wearing a beautiful outfit, with pearls perhaps? A bit of gold too? And maybe throw on a delicate, elegant shawl in case it gets a bit chilly? These are the things I think about when embellishing a box, mini album, or any other project I may be doing.
To me, the trims are the elegant shawl. The flat-back pearls and the gold accents are the jewelry that accentuates that beautiful outfit, which in this case is the paper.
The Tutorial
I put together a quick and easy card-making process video, where you’ll see (step-by-step) how to piece your cards together using the dies from Graphic 45.”
Graphic 45 Card Tutorial ft. Clock & Flower Dies

Graphic 45 Supplies:
Other Supplies:
Dimensions for the Cards
Dimensions for the Box
*For the outer cover, you’ll create a one-inch frame all around and use acetate underneath for that shaker element.
Thank you and Happy Crafting!” ~Sandi
What a spectacular card set and coordinating box! We are sending our gratitude to Sandi for sharing so many great ideas and tips. Join us in welcoming her to the G45 family in the comments below. Thank you as well for stopping by, be sure to keep in touch this weekend on Facebook and Instagram. See you again here Monday, until then…
Happy Papercrafting!