Commemorate your summer travels with one of our Travel Journal & Notebook Set. These are prefect for adding your photos, travel notes, and even sketching a thing or two along the journey. Today on the blog, Graphic 45 Brand Ambassador, Jenn DuBell shows us how to decorate the journal and even add some fun interactive elements using our Catch of the Day paper collection. This project is a great example of what can be created this month for our #G45TravelJournal – August Challenge. Enjoy the step by step directions and video tour!
“The Graphic 45 Travel Journal & Notebook Set is the perfect project starter to create a place for all of those momentos and photos from a vacation or event.
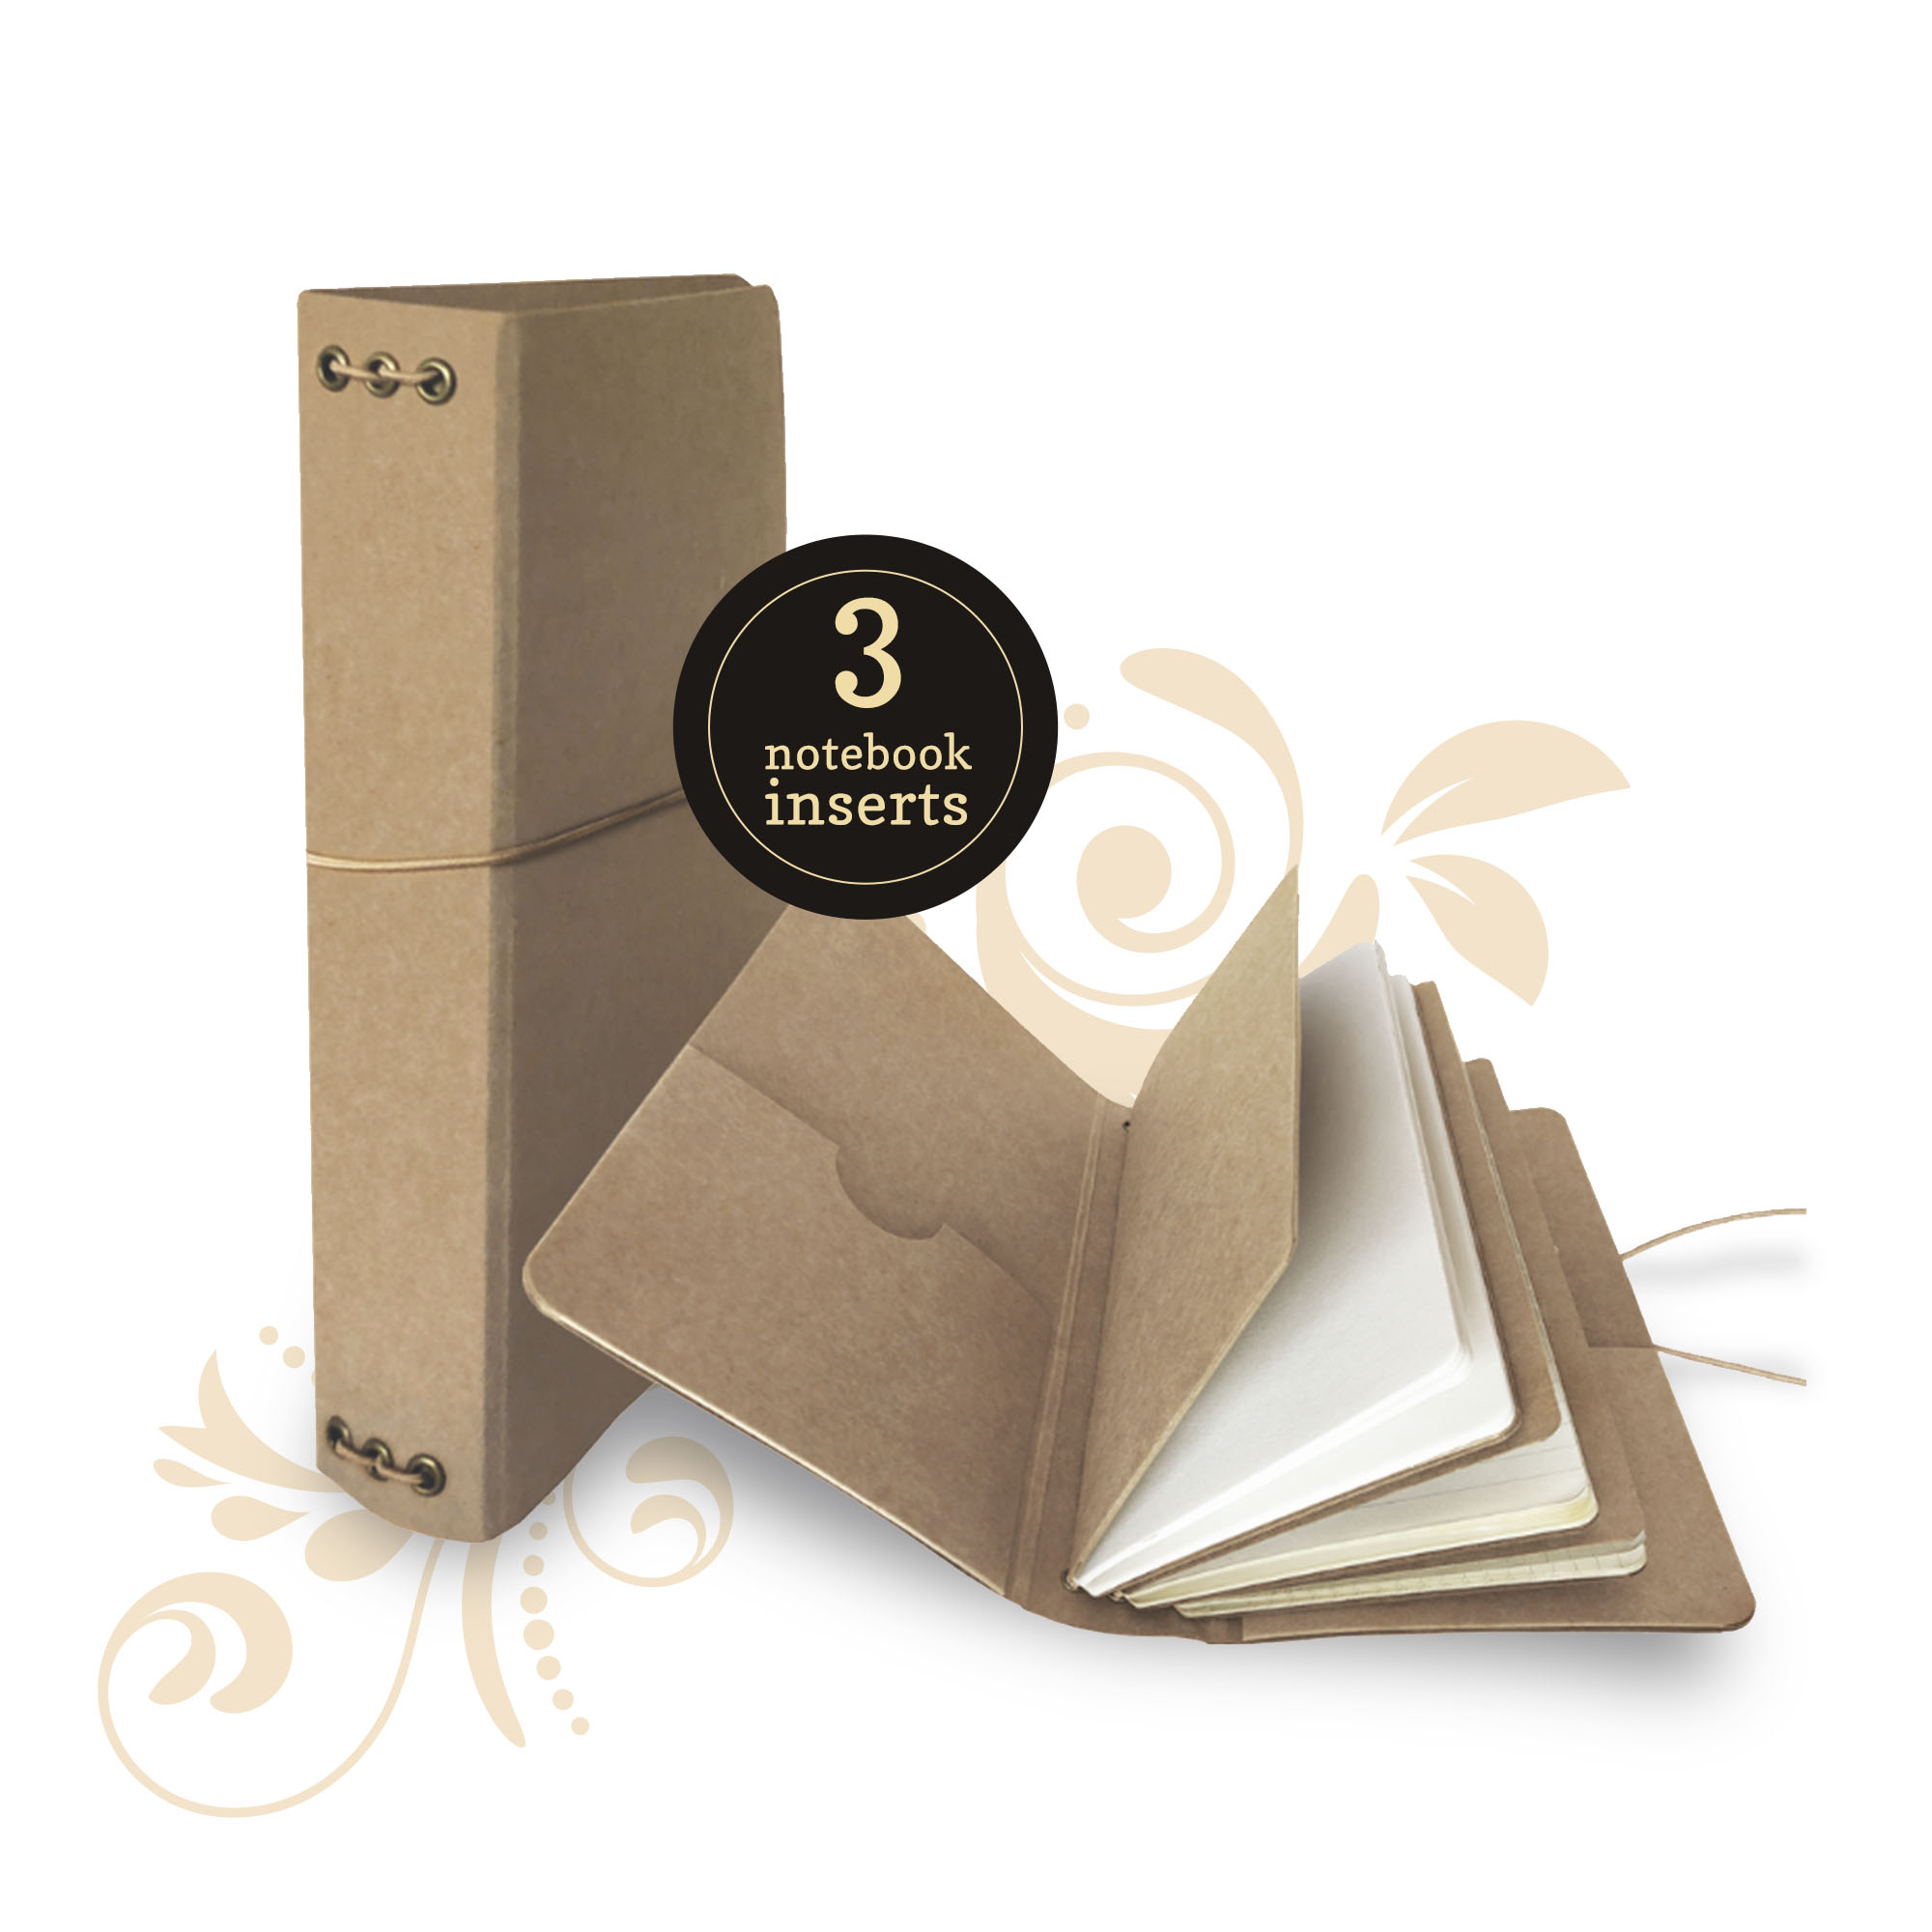
The album measures 4.75 X 8.75 X 1.75 and includes three different notebooks that measure 4.25 X 8.25.
1- Watercolor paper notebook
1- Grid paper notebook
1- Lined paper notebook
These are available in the Kraft I have used as well as a black version.
For my album I have used the Catch of the Day collection, a beautiful sea themed paper collection!
This will make a wonderful memento for an upcoming beach trip.
Catch of the Day 12×12 Collection pack
Catch of the Day Ephemera Assortment
Catch of the Day Journaling Cards
Catch of the Day 12×12 Patterns and Solids Pad
Navy cardstock sheets
Red cardstock sheets
Glue
Scoretape
Scoring Board and tool
Cutting tools
Chain and charms for spine
Hole punch
Crop a dile or other corner rounding tool
Distress ink Vintage photo
I have a walkthrough of my completed album as well as a tutorial of my homemade waterfall folio inserts.
Catch of the Day Travel Album Tour by Jenn DuBell | Graphic 45
Here are some more views of my album and instructions on how I decorated it.
For the back cover cut the same pieces as done for the front. The large piece needs to have a hole punched for the band closure. I used a ½” hole punch to do this. To create the hole reinforcer cut a ½” circle from a coordinating paper then hole punch the center and adhere around the grommet after adhering the paper.
Cut a piece of the “Ship Ahoy!” to 1 ½”X8 ½” and use a hole punch to punch holes for the grommets. **optional** – If you prefer not to cover the grommets, cut this piece to 1 ½”X7 ½” to fit between them.
For my album, I created two waterfall folios with belly bands, tags with photo mounts and journaling space and a fun flip open photo mount.
I explain my process further for these in the video walkthrough of my completed album.
Each folio flips open to reveal a space for journaling on the top and bottom with a 6 page waterfall for photos. These are placed in the front and back pockets of the travel Journal.
Next, gather up all of the leftover papers and scraps along with stickers, chipboards,and ephemera assortment to decorate some of the notebook pages. Fun! These can be done any way you choose. I have also added some die cut elements, stamping, and fussy cuts to my pages.
Create some fun clip embellishments to add to your pages.
Add elements of interest with stickers, chipboards and ribbon or cord to the inside pockets.
Thank you for viewing my project today!” ~Jenn
Want even more Graphic 45? Sign up for our newsletter here!