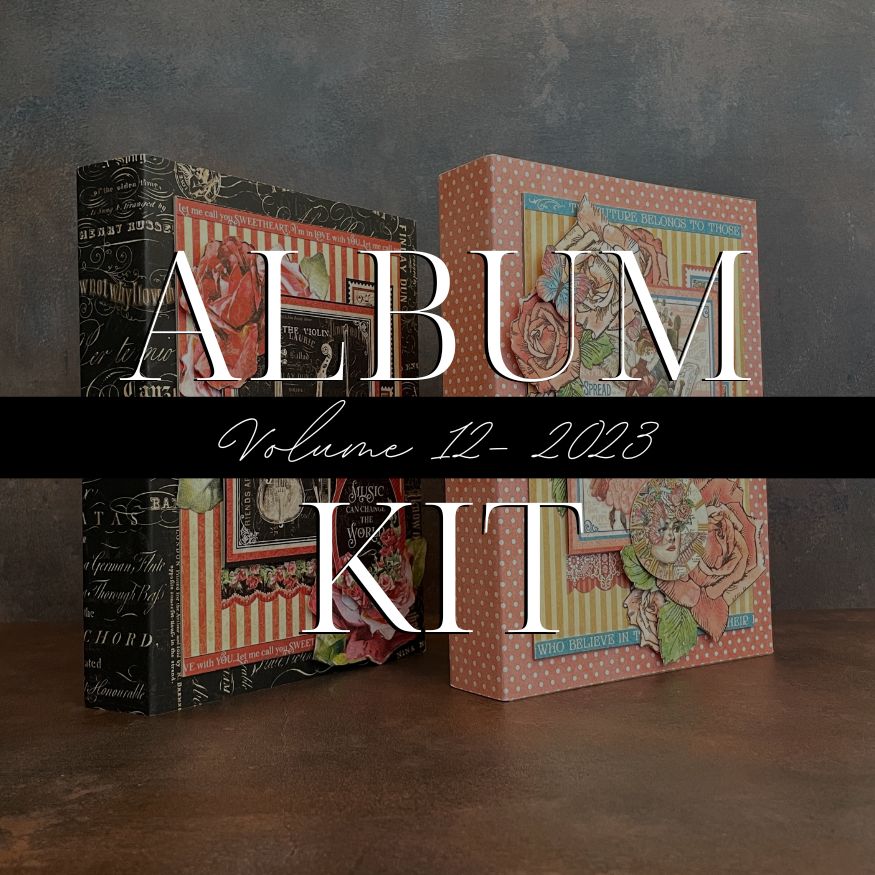
Crafting nostalgia one tag at a time! Join Graphic 45 Brand Ambassador, Katelyn Spencer for a journey into the art of Vintage Love Notes with DIY Tags and Pockets. This step-by-step tutorial features the exquisite Love Notes Collector’s Edition and Metal Dies, but can be replicated with any gorgeous G45 papers. Let’s create some timeless charm into our paper creations together.
“Hey Everyone!
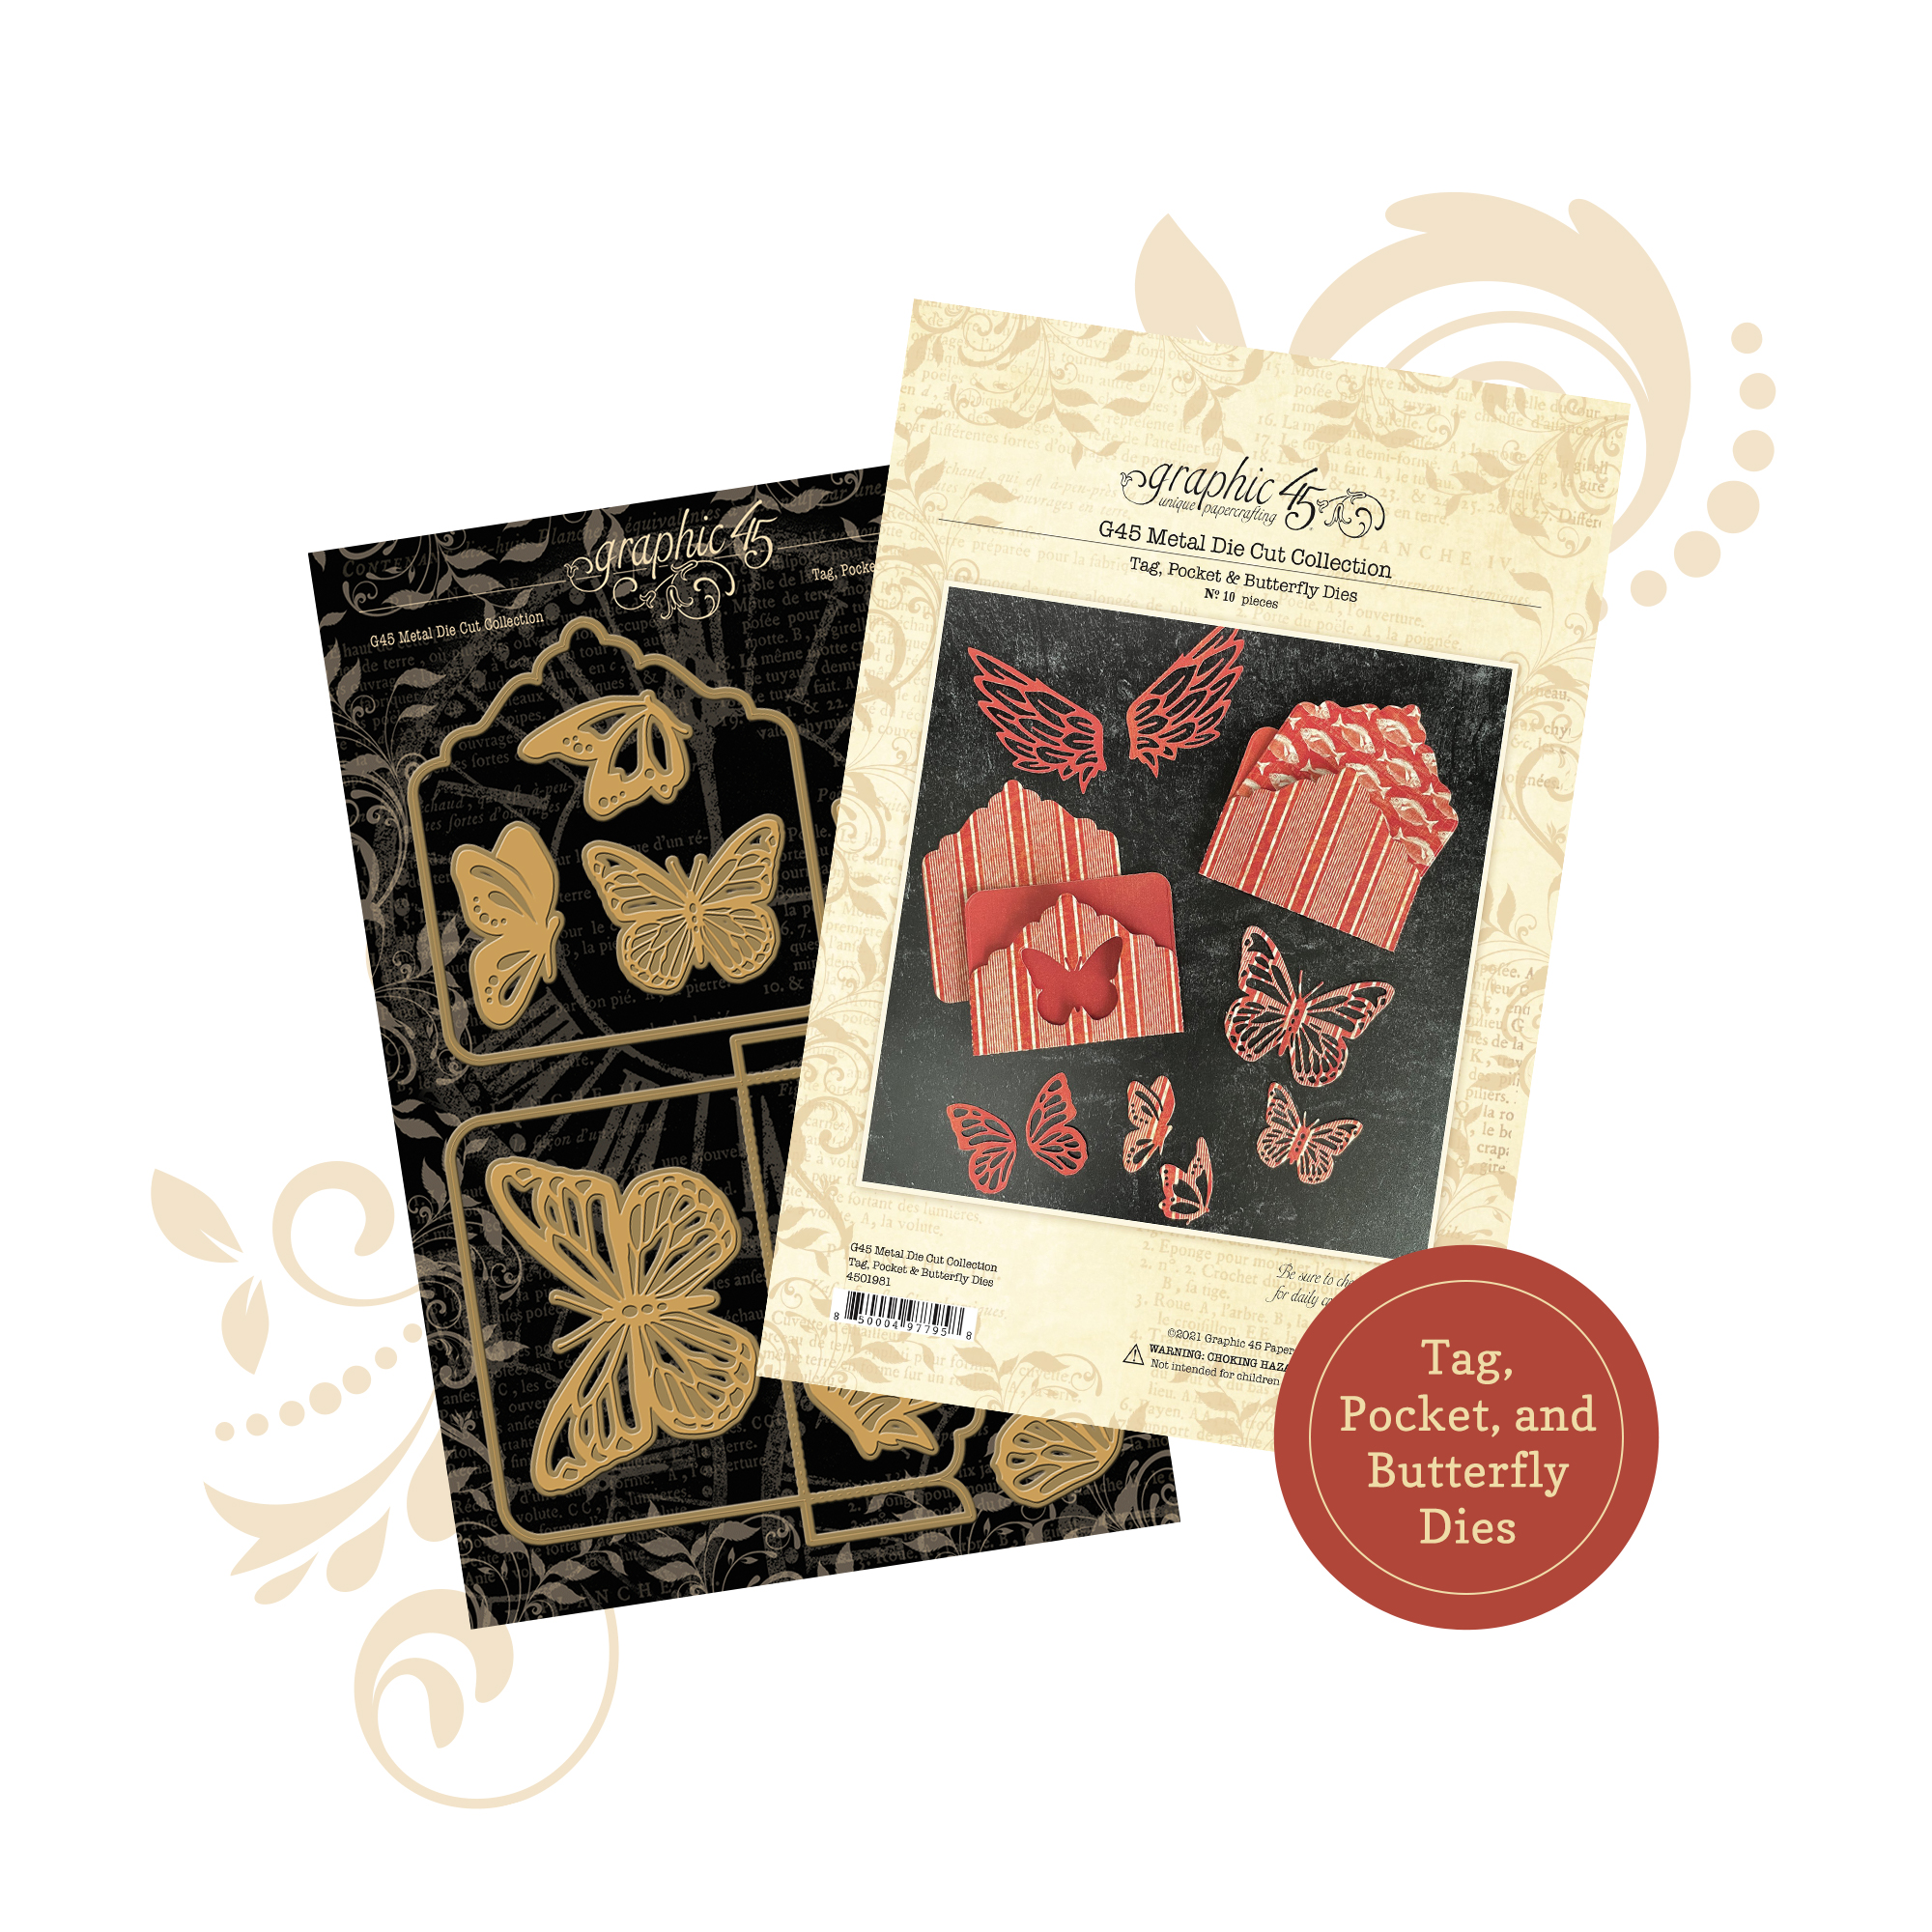
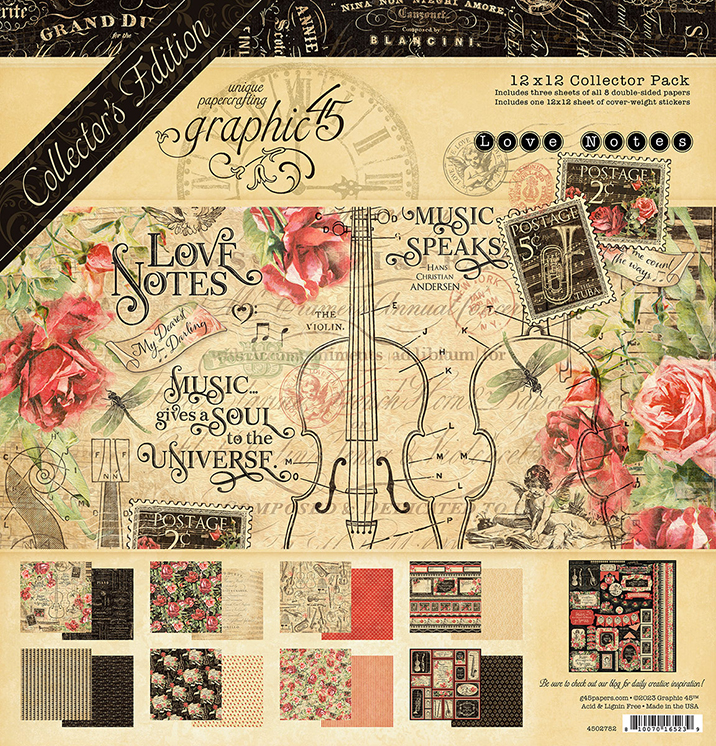
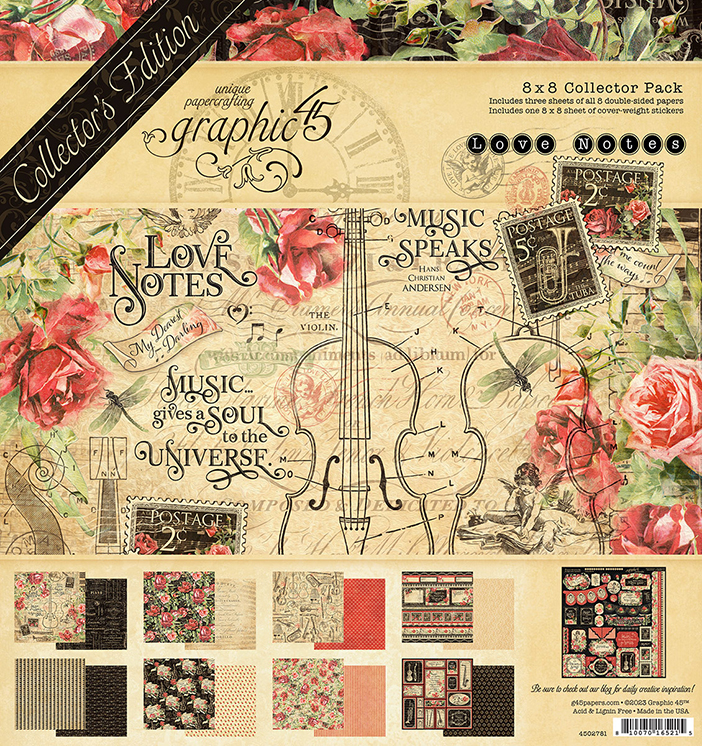
I’m thrilled to be back on the blog this month sharing these beautiful vintage Love Notes perfect for writing love notes to loved ones and friends, featuring the Love Notes Collector’s Edition 12×12 Pack with Stickers and the Tag, Pocket & Butterfly Die.
Read below as I share with you how I created these beautiful vintage Love Notes.
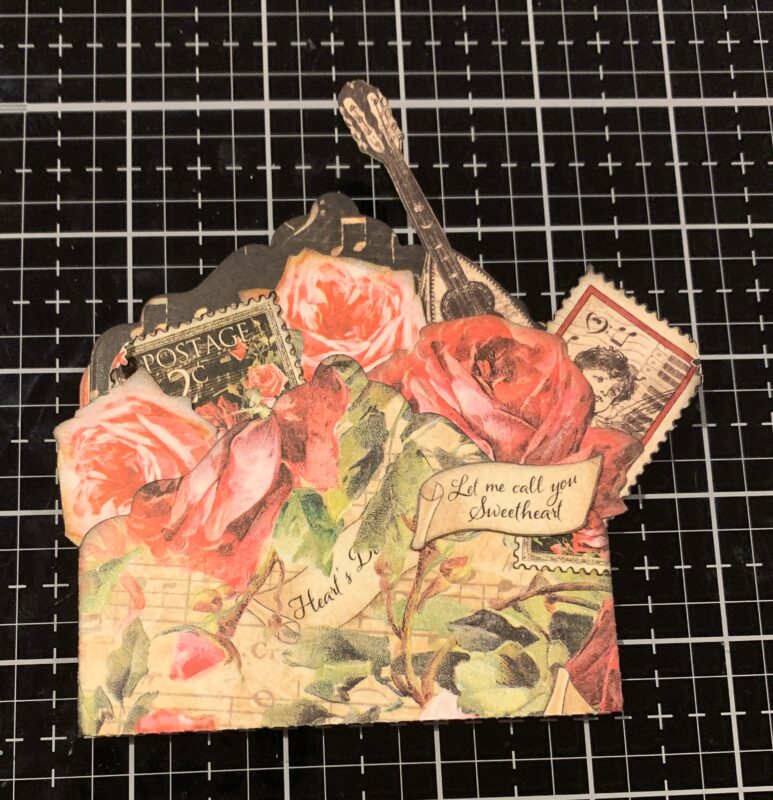
To start, we’ll create the Let me call you Sweetheart Envelope.
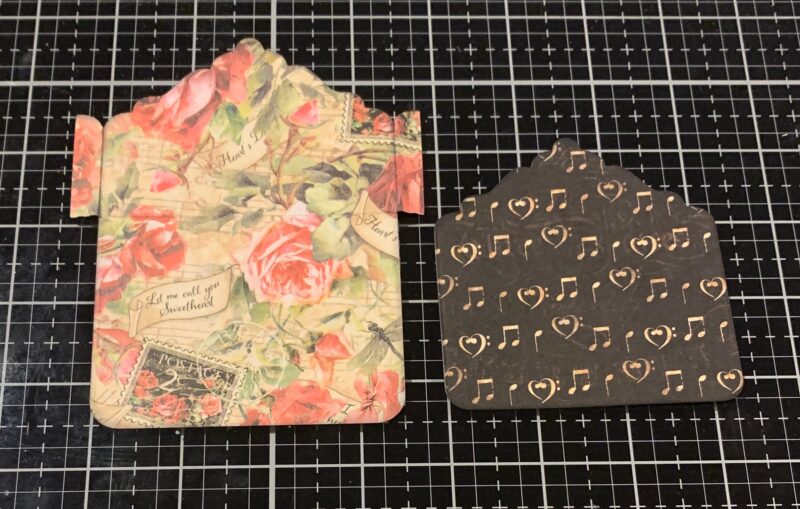
To start, die cut the pocket from the Tags, Pocket & Butterfly Die from the Romantic Rhapsody Paper, the floral side will show. Cut the tag out of the Standing Ovation Paper, the music side will be showing. Ink the edges of the pocket and tag using Black Soot Distress Ink and a blending tool with foam.
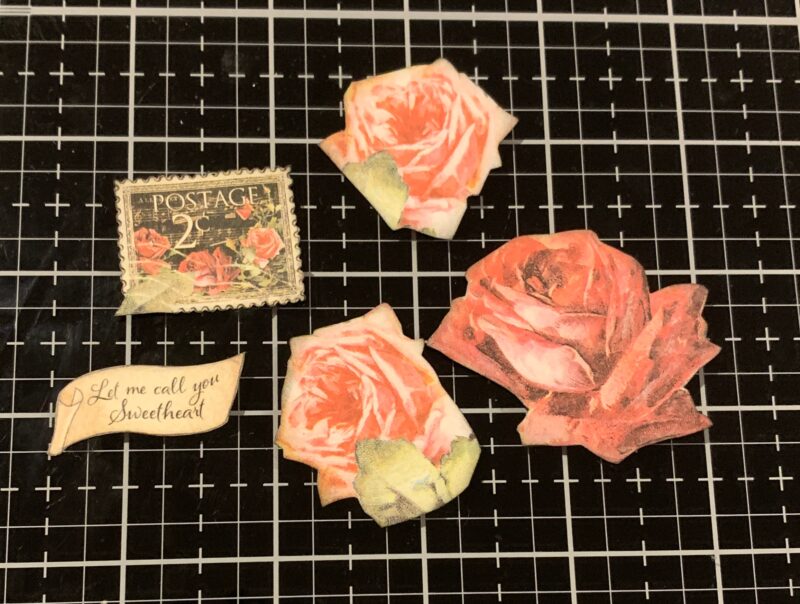
From a second sheet of Romantic Rhapsody paper, fussy cut one red rose, two pink roses, postage stamp and Let me call you Sweetheart banner. Ink the edges of all the pieces using Black Soot Distress Ink and a blending tool with foam.
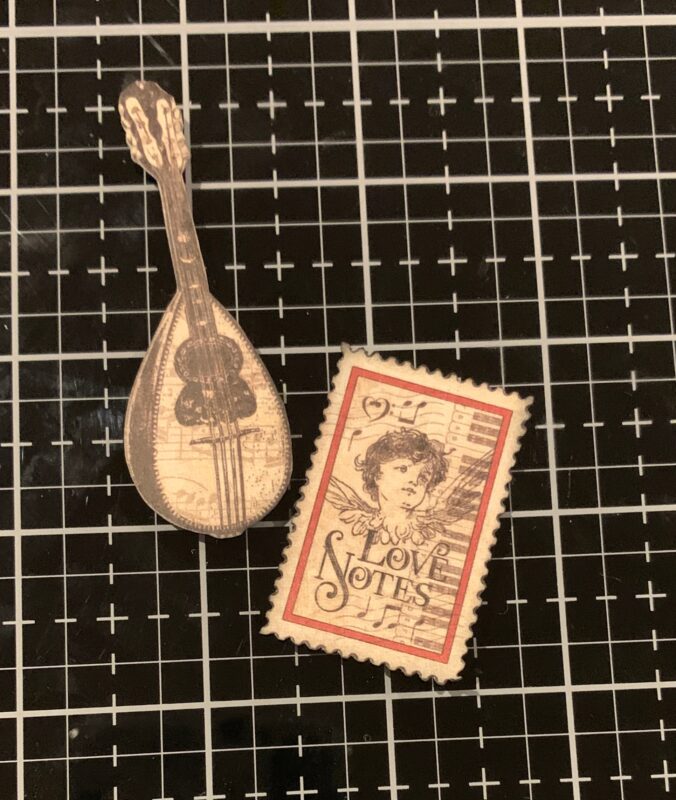
From the Lovely Lyrics paper, fussy cut a postage stamp and mandalorian. Ink the edges of both pieces using Black Soot Distress Ink and a blending tool with foam.
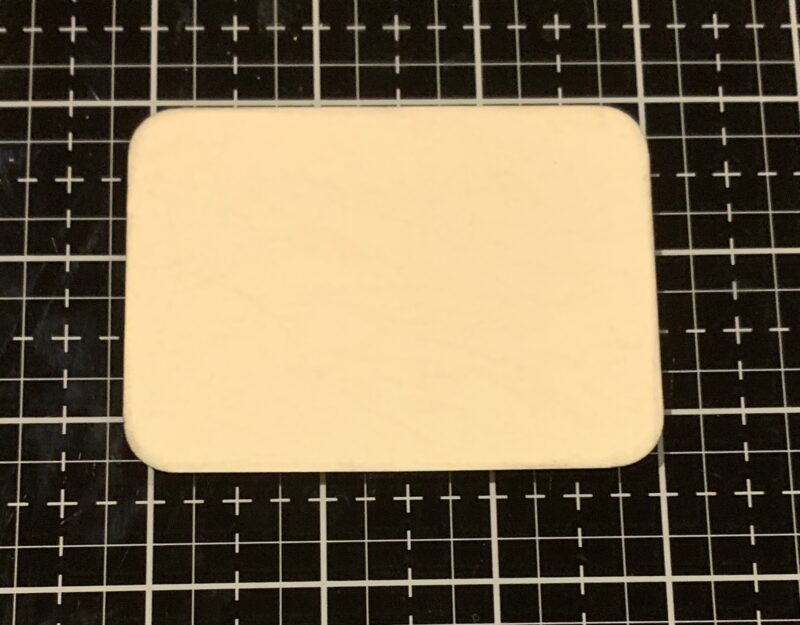
Cut a piece of cream paper that measures 2 ¼” x 3 ⅛”. Round all four corners. Ink the edges of the paper using Black Soot Distress Ink and a blending tool with foam.
Adhere the pocket together by adhering the flaps to the back of the pocket.
Adhere the cream paper to the music side of the tag.
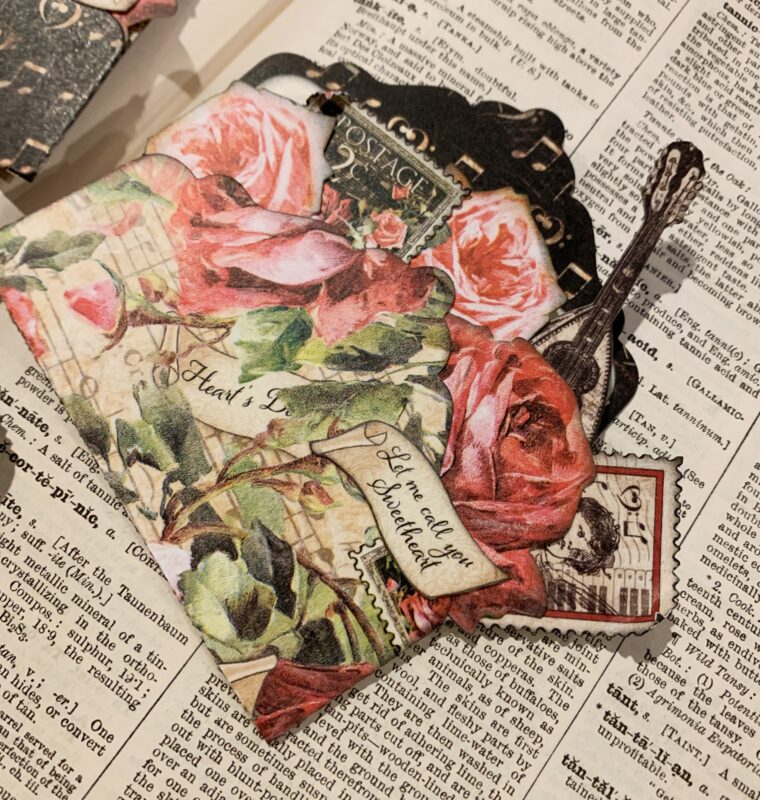
On the right side of the pocket, adhere the red rose, pink rose, cream postage stamp, mandalorian and Let me call you Sweetheart banner as desired. On the left side of the pocket, adhere the black postage stamp and pink rose as desired. Roll down one of the corners on each of the stamps.
To finish the pocket, slide the tag into the pocket.
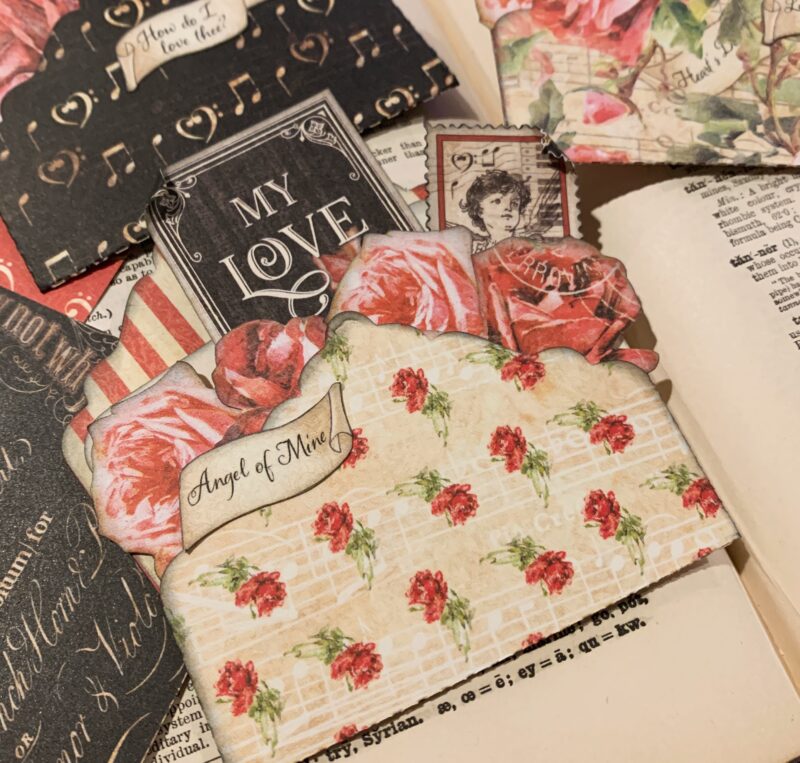
Now we’ll create the Angel of Mine Envelope.
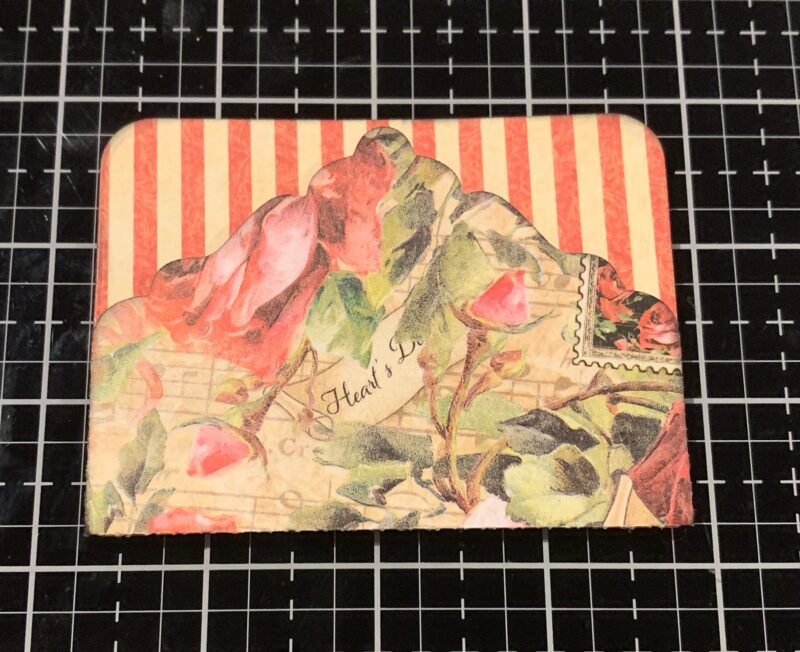
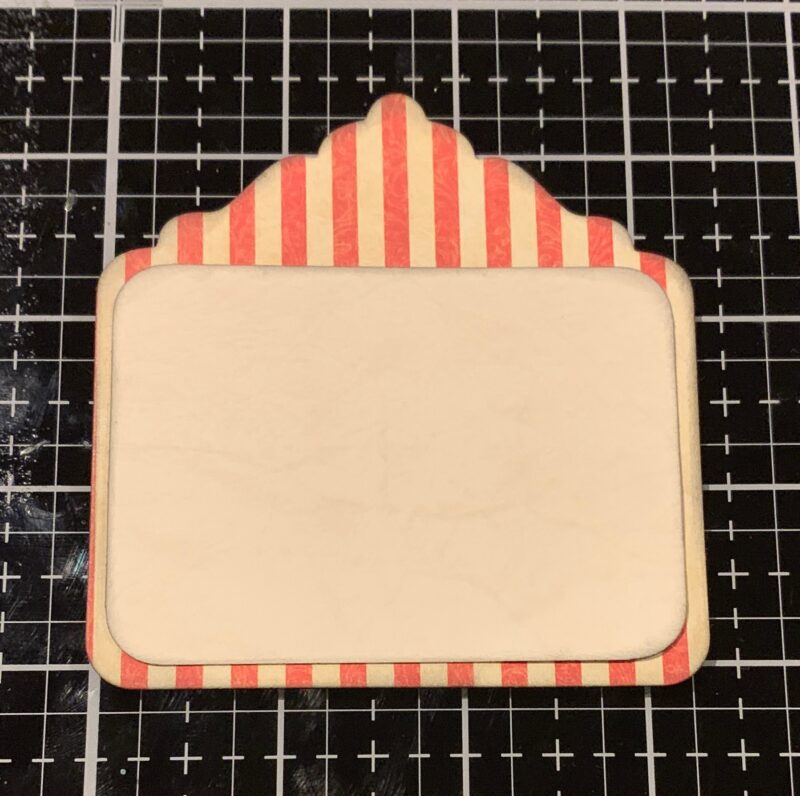
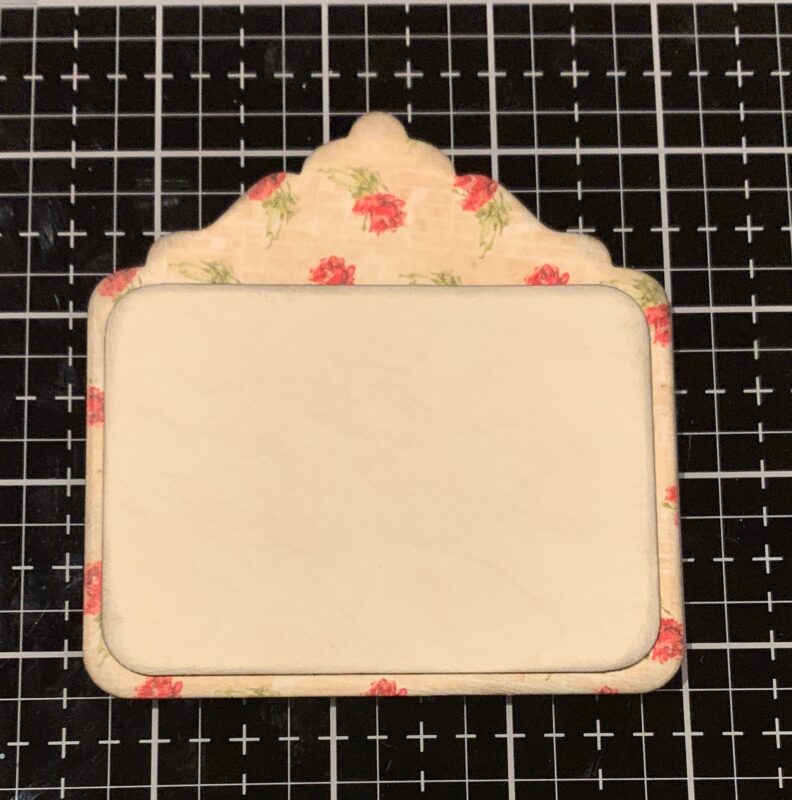
To start, die cut the pocket from the Tags, Pocket & Butterfly Die from the Melodic Missives Paper, the floral side will show. Cut the tag out of the Romantic Rhapsody Paper, the stripe side will be showing. Ink the edges of the pocket and tag using Black Soot Distress Ink and a blending tool with foam.

From the Lovely Lyrics paper, fussy cut a postage stamp and the My Love image. Ink the edges of both pieces using Black Soot Distress Ink and a blending tool with foam.
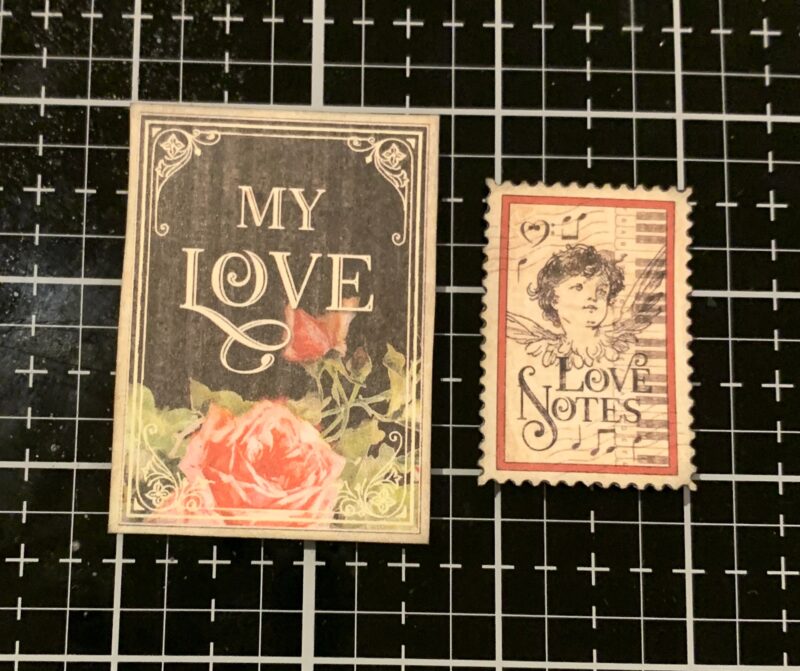
From a second sheet of Romantic Rhapsody paper, fussy cut two red roses, two pink roses, and Angel of Mine banner. Ink the edges of all the pieces using Black Soot Distress Ink and a blending tool with foam.
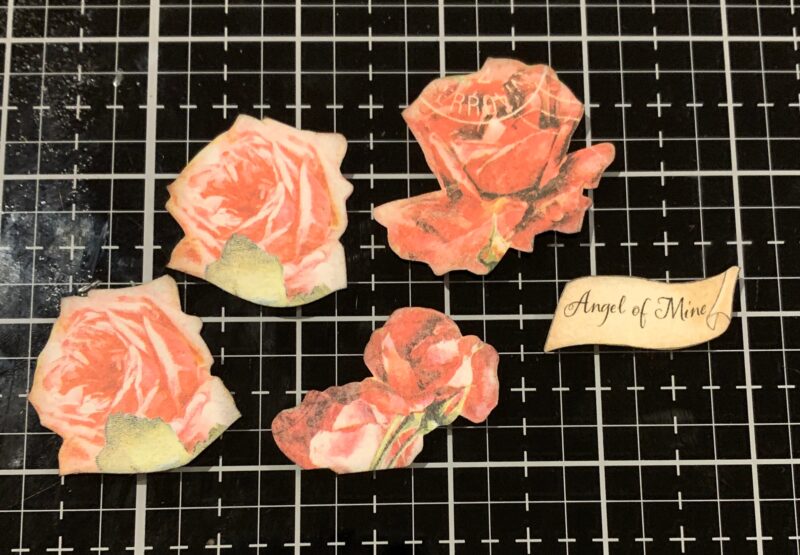
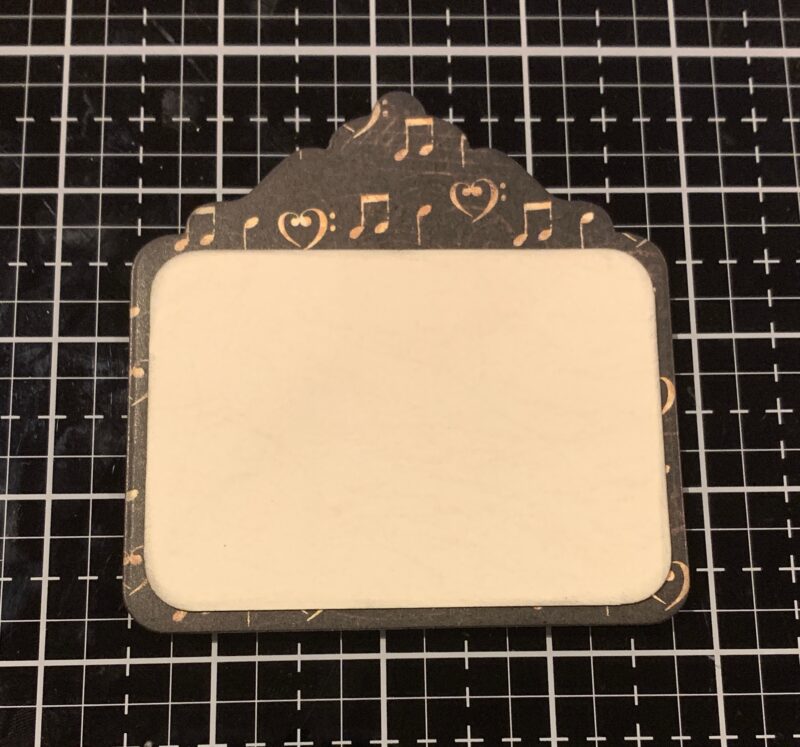
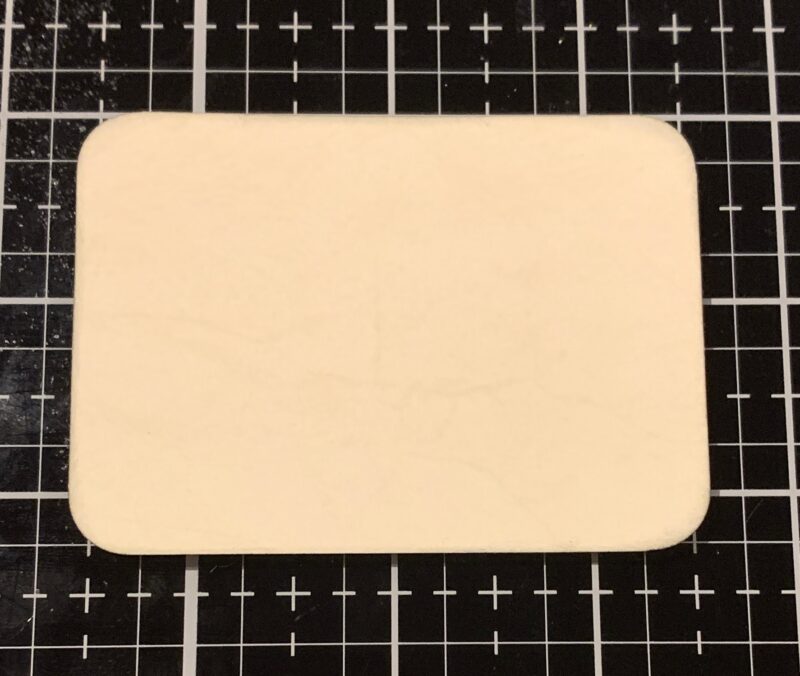
Next, you’ll need the Cream paper out of the Letters to Santa 12×12 Patterns & Solids Pack. Cut a piece that measures 2 ¼” x 3 ⅛”. Round all four corners. Ink the edges of the paper using Black Soot Distress Ink and a blending tool with foam.
Adhere the pocket together by adhering the flaps to the back of the pocket.

Adhere the cream paper to the stripe side of the tag.
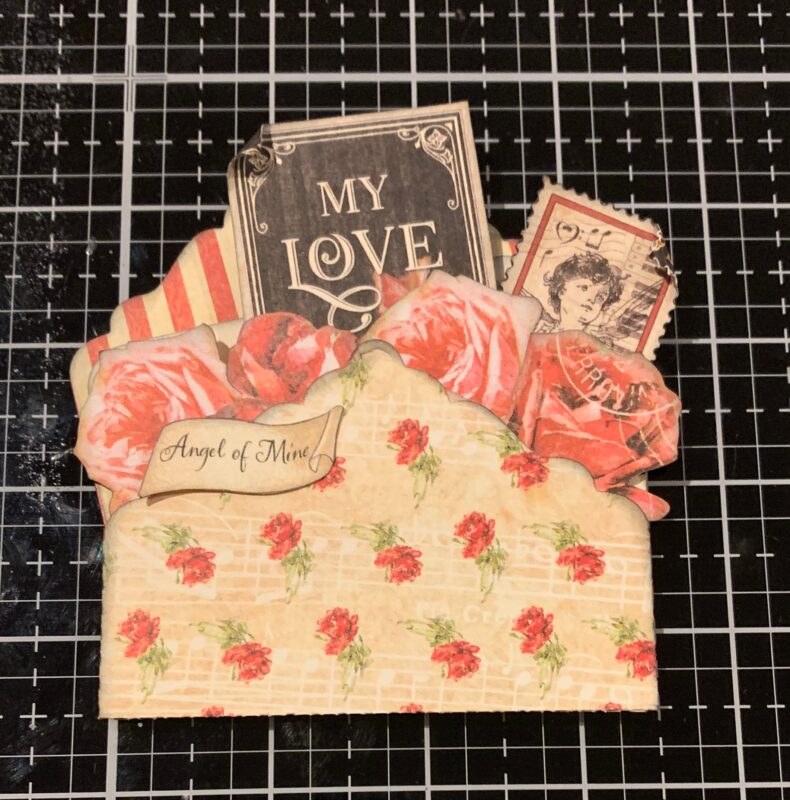
On the right side of the pocket, adhere a red rose, pink rose and cream postage stamp and Angel of Mine banner as desired. On the left side of the pocket, adhere the pink roses and red rose as desired. In the middle of the pocket between the red and pink roses, adhere the My Love image. Roll down one of the corners on each of the stamps.
To finish the pocket, slide the tag into the pocket.
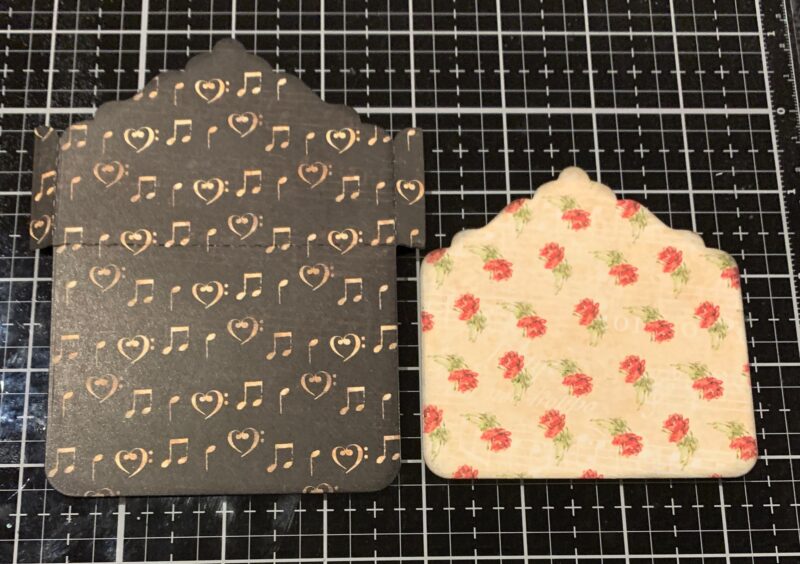
The last envelope we’ll create is the How Do I Love Thee? Envelope.
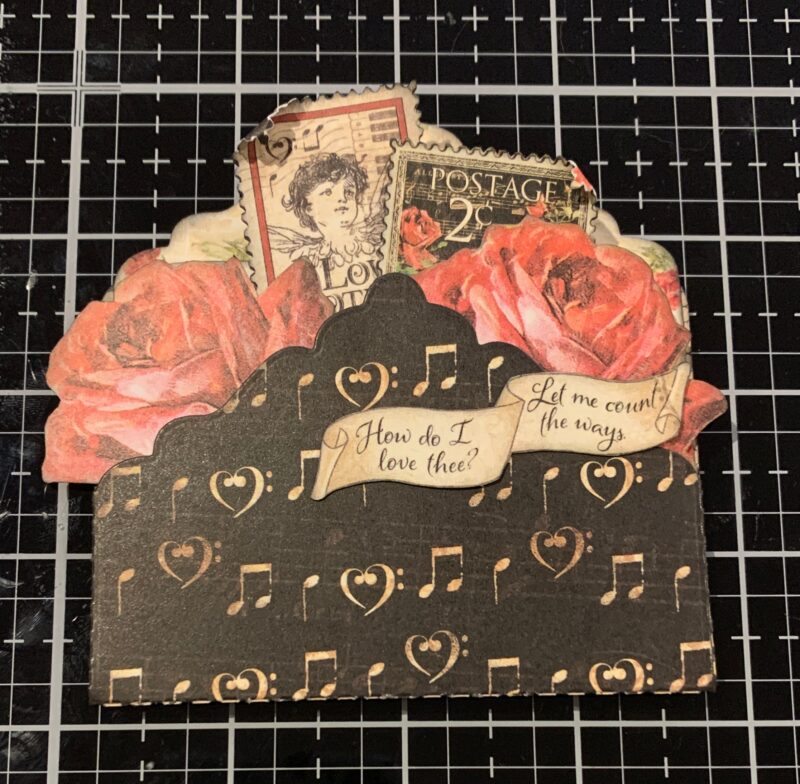
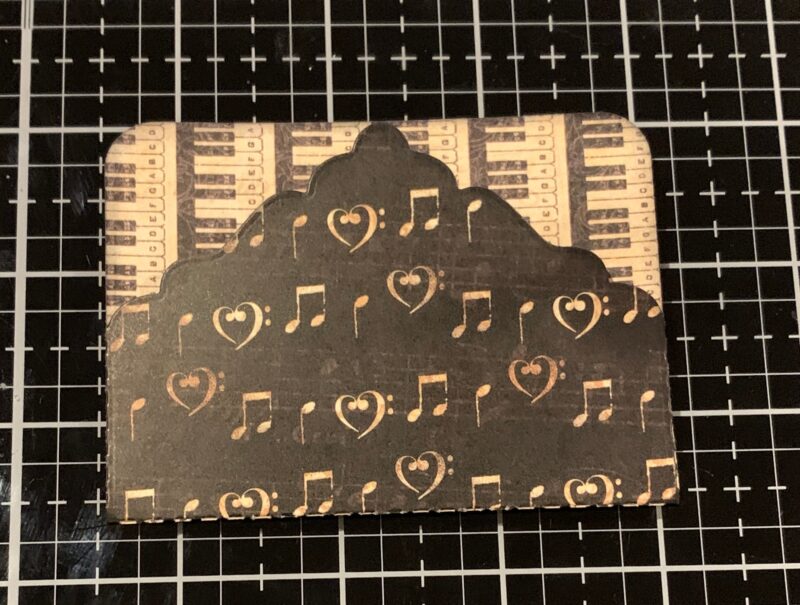
To start, die cut the pocket from the Tags, Pocket & Butterfly Die from the Standing Ovation Paper, the music side will show. Cut the tag out of the Melodic Missives Paper, the floral side will be showing. Ink the edges of the pocket and tag using Black Soot Distress Ink and a blending tool with foam.
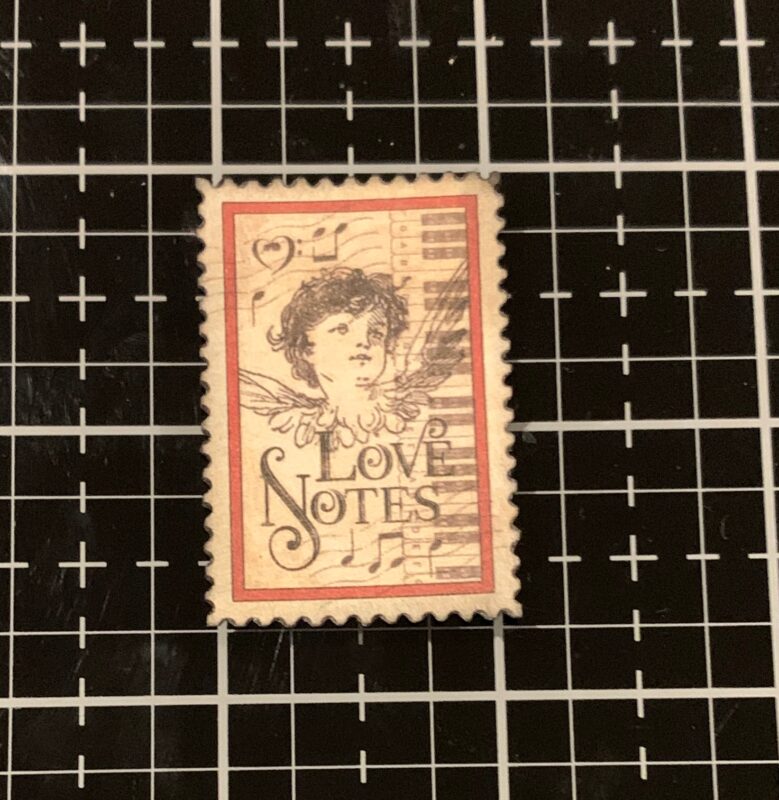
From the Lovely Lyrics paper, fussy cut a postage stamp. Ink the edges of the stamp using Black Soot Distress Ink and a blending tool with foam.
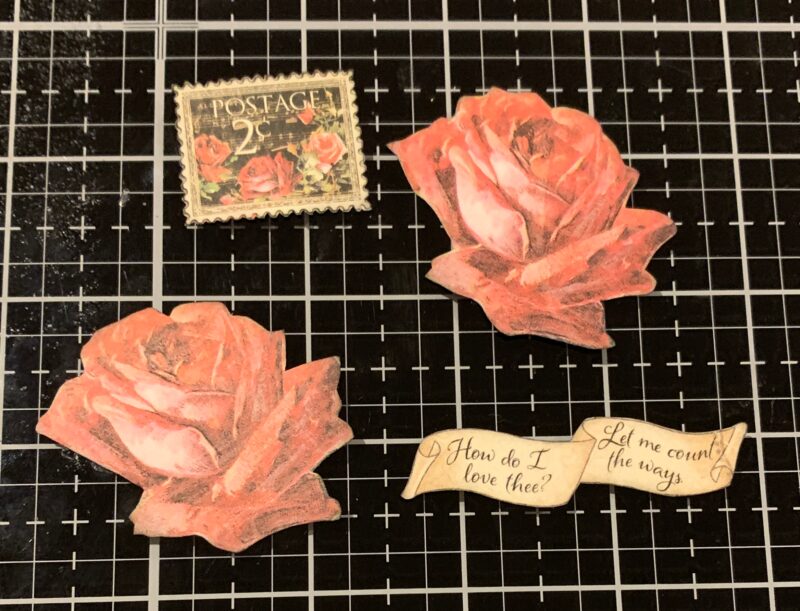
From a second sheet of Romantic Rhapsody paper, fussy cut two red roses, postage stamp and How do I love thee? banner. Ink the edges of all the pieces using Black Soot Distress Ink and a blending tool with foam.
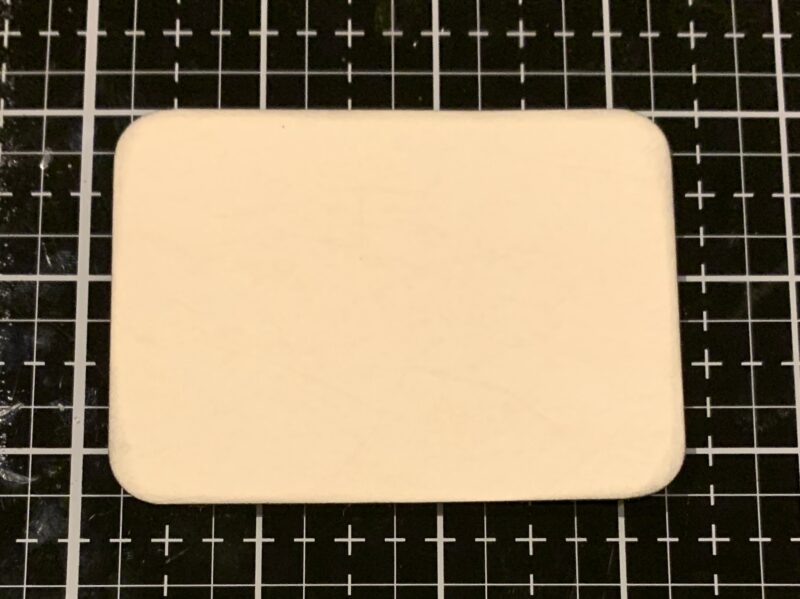
Cut a piece of cream paper that measures 2 ¼” x 3 ⅛”. Round all four corners. Ink the edges of the paper using Black Soot Distress Ink and a blending tool with foam.
Adhere the pocket together by adhering the flaps to the back of the pocket.
Adhere the cream paper to the floral side of the tag.
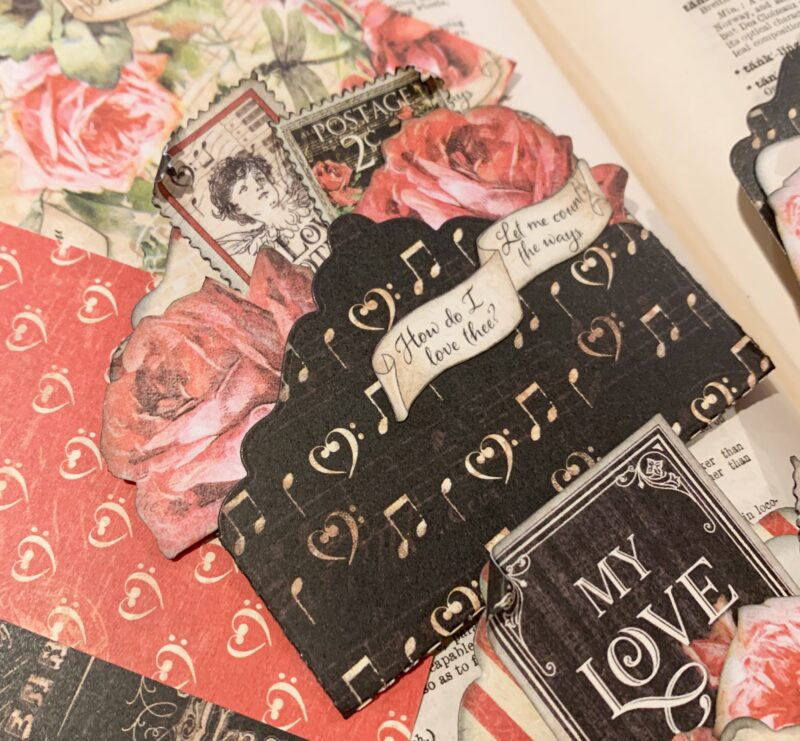
On the right side of the pocket, adhere a red rose as desired. On the left side of the pocket, adhere the red rose as desired. In the middle of the pocket between the red roses, adhere the cream postage stamp and black postage stamp. Roll down one of the corners on each of the stamps.
To finish the pocket, slide the tag into the pocket.
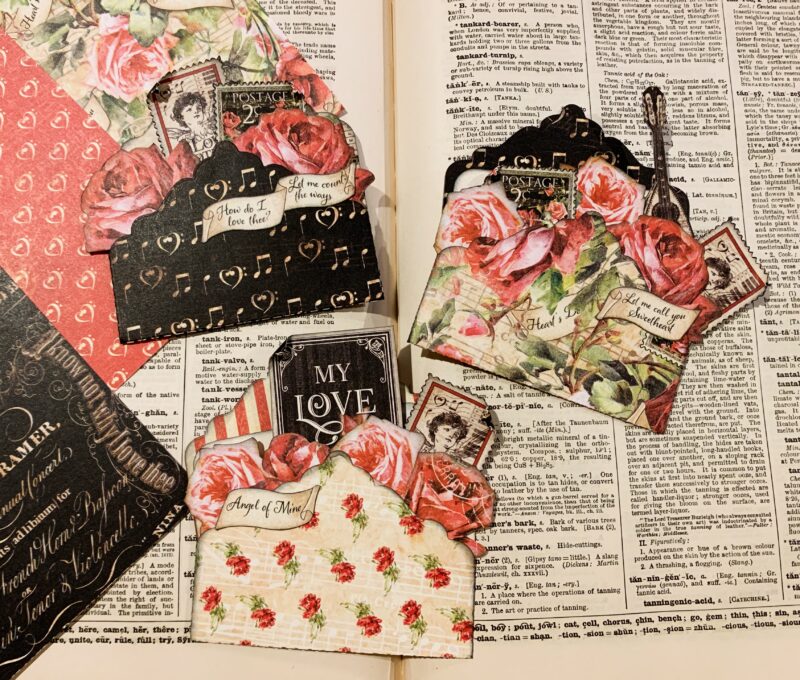
Here are a few closeups of the finished Love Notes.
Love Notes Collector’s Edition 12×12 Pack with Stickers
Letters to Santa 12×12 Patterns & Solids Paper Pack
Black Soot Distress Ink
Blending Tool with Foam
Thank you so much for joining me today and I hope that my love notes have inspired you to create your own.”
~Katelyn Spencer
 |  |