Do you have some special treasures that need a home? Perhaps babies first onesie, tooth, and hair clippings? Today on the blog we are thrilled to get to share this heartwarming DIY Mom’s Treasure Box tutorial. This tutorial has been created for us for our 2021-2022 Graphic 45 Brand Ambassador Introduction series, by the master of DIY and chipboard creations, Cecilia Zertuche. We are over joyed that we get to introduce such a special artist and share their work for another year, so without further ado…
“Hello, my name is Cecilia Zertuche Murillo, I’m from México and currently living in a beautiful beach town in Baja California Sur, I have a Communications degree and I’m also a piano teacher, which is the greatest gift my mom ever gave me. I’m a happy and proud mother of two, Rebecca and Javier, who always encourage me to try everything without fear. This is my second term as Brand Ambassador of Graphic 45, and I do not have enough words to thank all the family for this fabulous opportunity. I started scrapbooking 9 years ago and when I saw their gorgeous papers I fell in love, they’re so beautiful and constantly feed my imagination. Can’t wait to start this new adventure with great paper artists from all around the world!
Hello G45ers! I’m so happy to share with all of you my first project as Brand Ambassador 2021-2022. I love to construct with chipboard from scratch and I had the idea some years ago to create a special box for each one of my kids to keep inside my treasures from the day they were born, as the first cloth I bought for them, their first hair cut, first teeth, etc.
For my son I used leftover papers from the beautiful Dreamland collection and for my daughter Ocean Blue, because she loves that paper collection too, it’s amazing! And you don’t need too many papers, I used some I had left and I think this can be a great gift for your kids or grandkids when they leave home.
Treasures Box Tutorial by Cecilia Zertuche | Graphic 45
TIP – When you’re making a chipboard box, use a bit of masking tape in the pieces stuck until they’re dry. This will allow you to move fast, sticking the rest of the pieces instead of waiting all the time it takes to dry, you’ll later remove the masking tape.
TIP – When you need to make a gap between the chipboard pieces, use your ruler, this will help you not only to maintain both pieces aligned but also to mark the distance between them. This tip is so helpful when making album covers too.
TIP – If you will be using a bulky cord to close the box, first unwrap all the threads and then stick them flat! You can watch in the video how easy it is to make this and you won’t see any marks of the bulky cord.
Graphic 45 Dreamland paper collection
Graphic 45 Ocean Blue paper collection
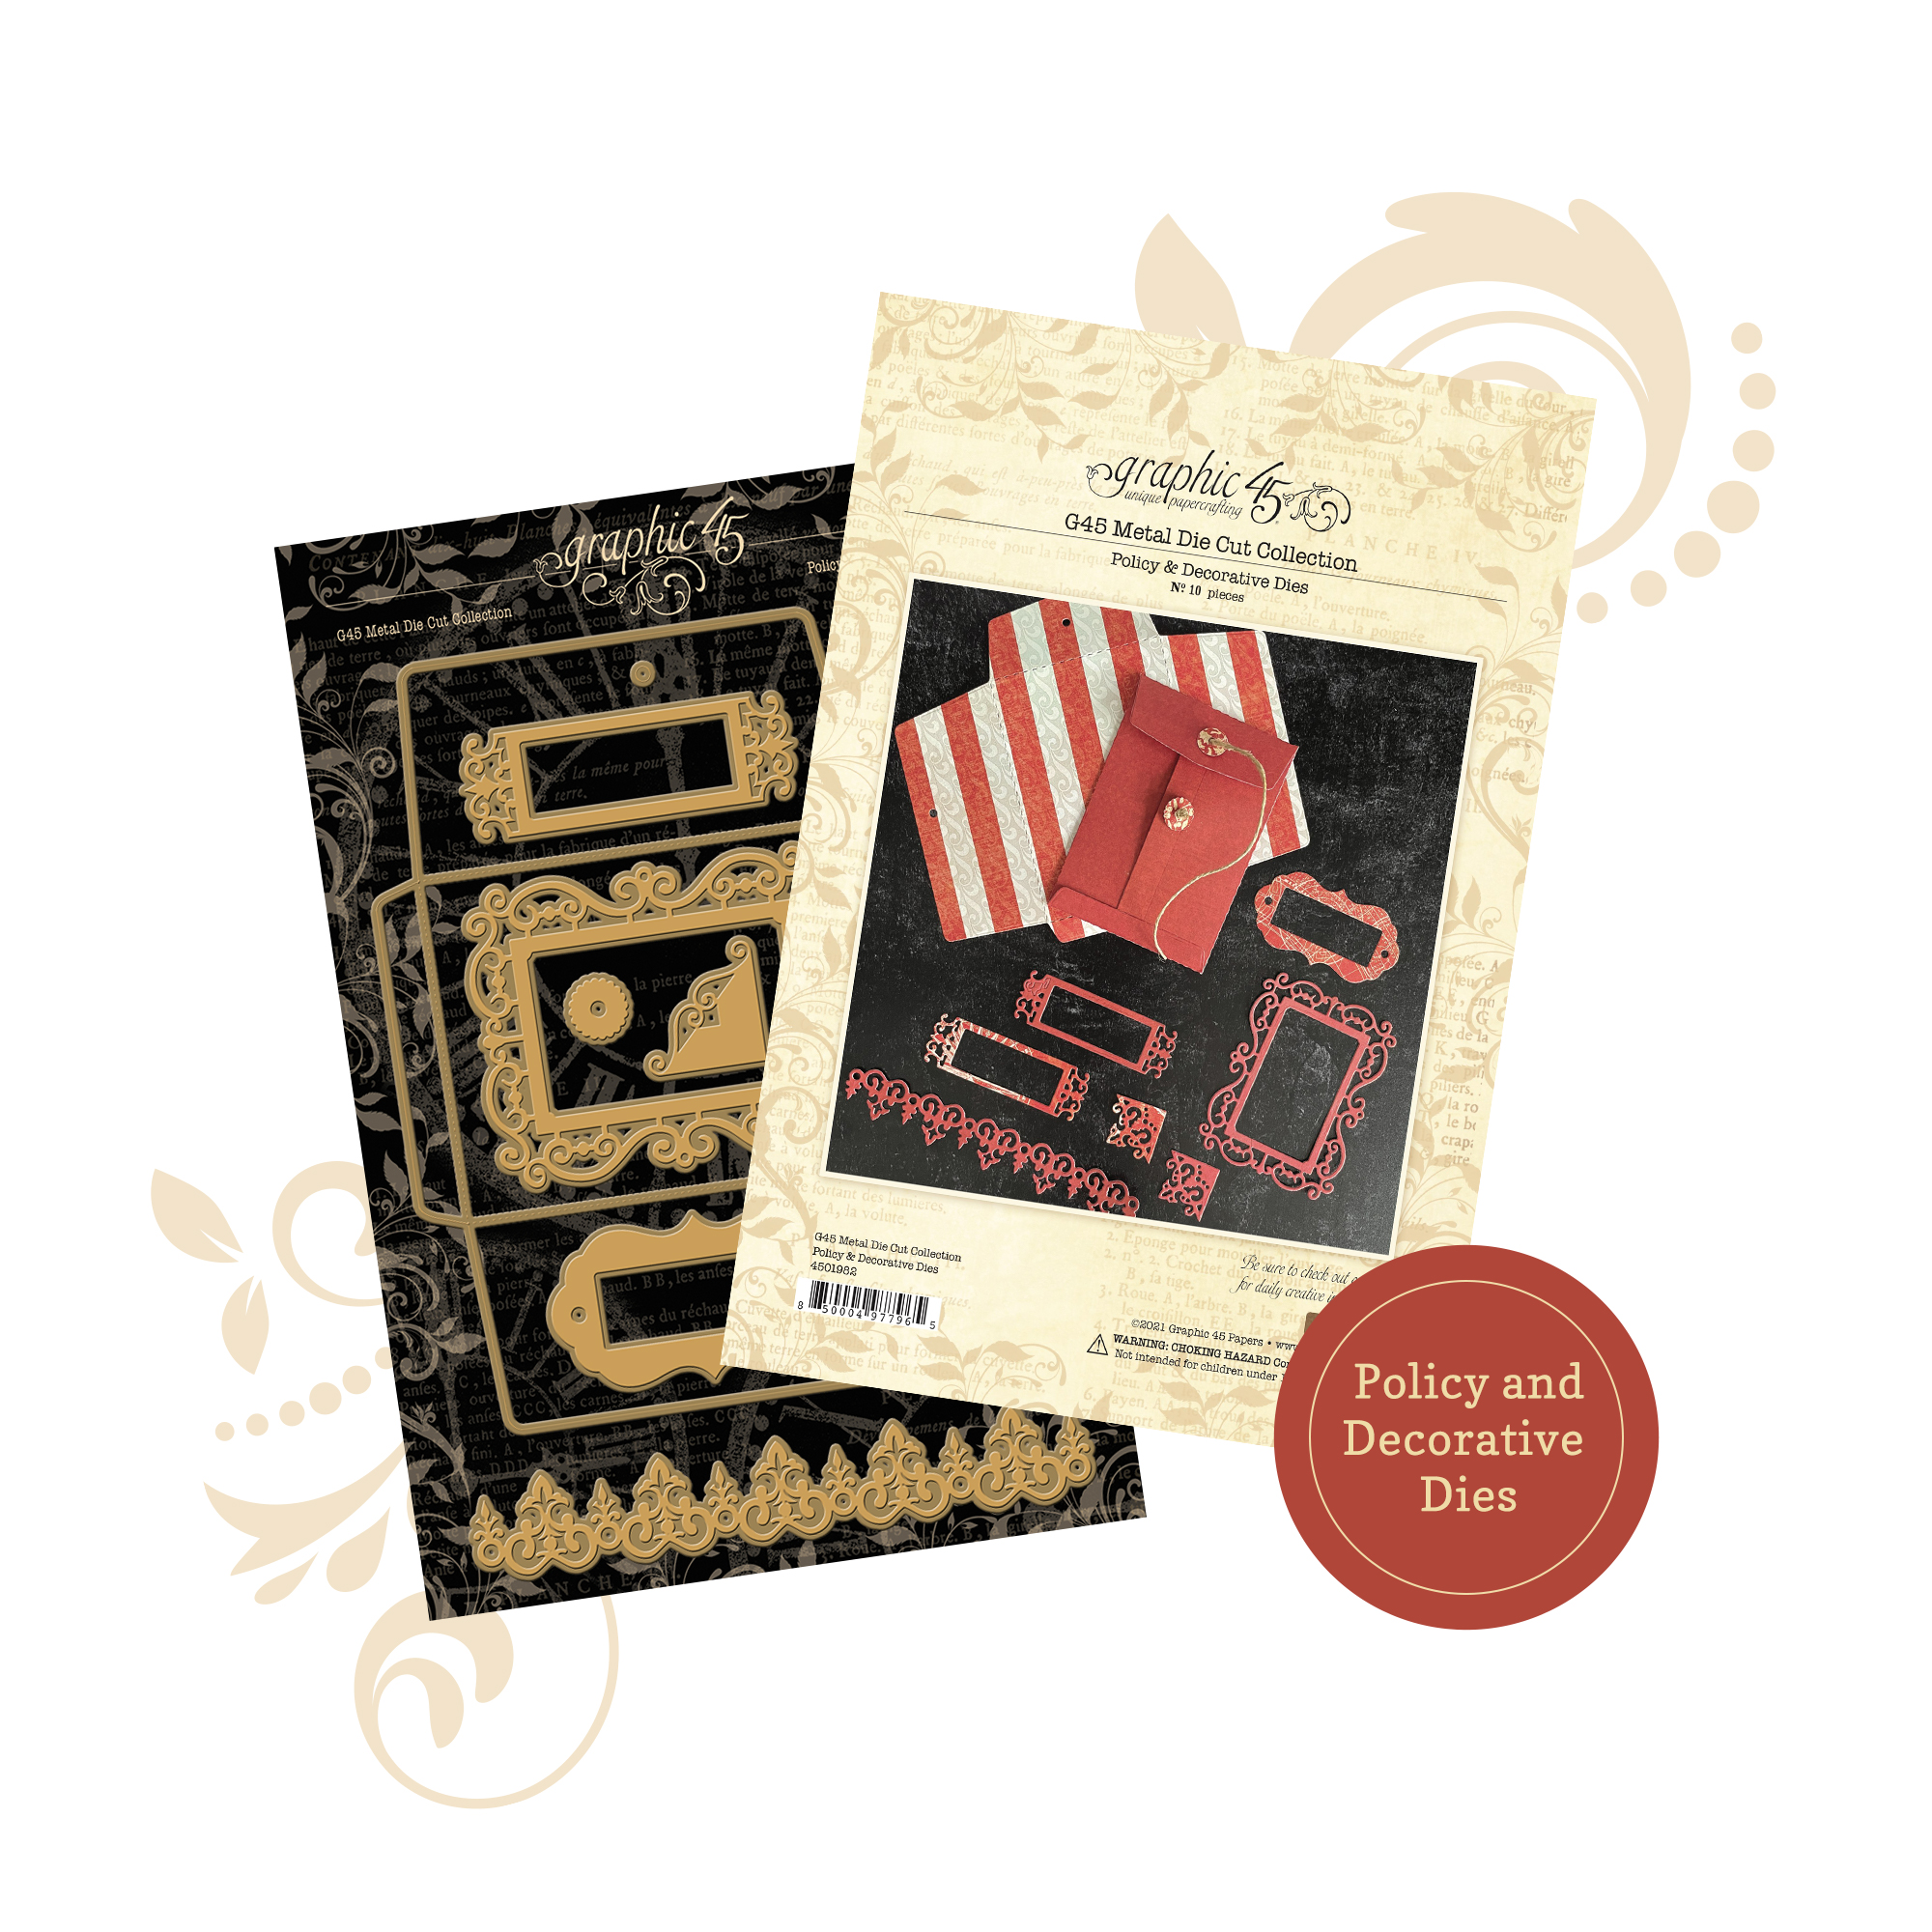
Graphic 45 Policy & decorative dies
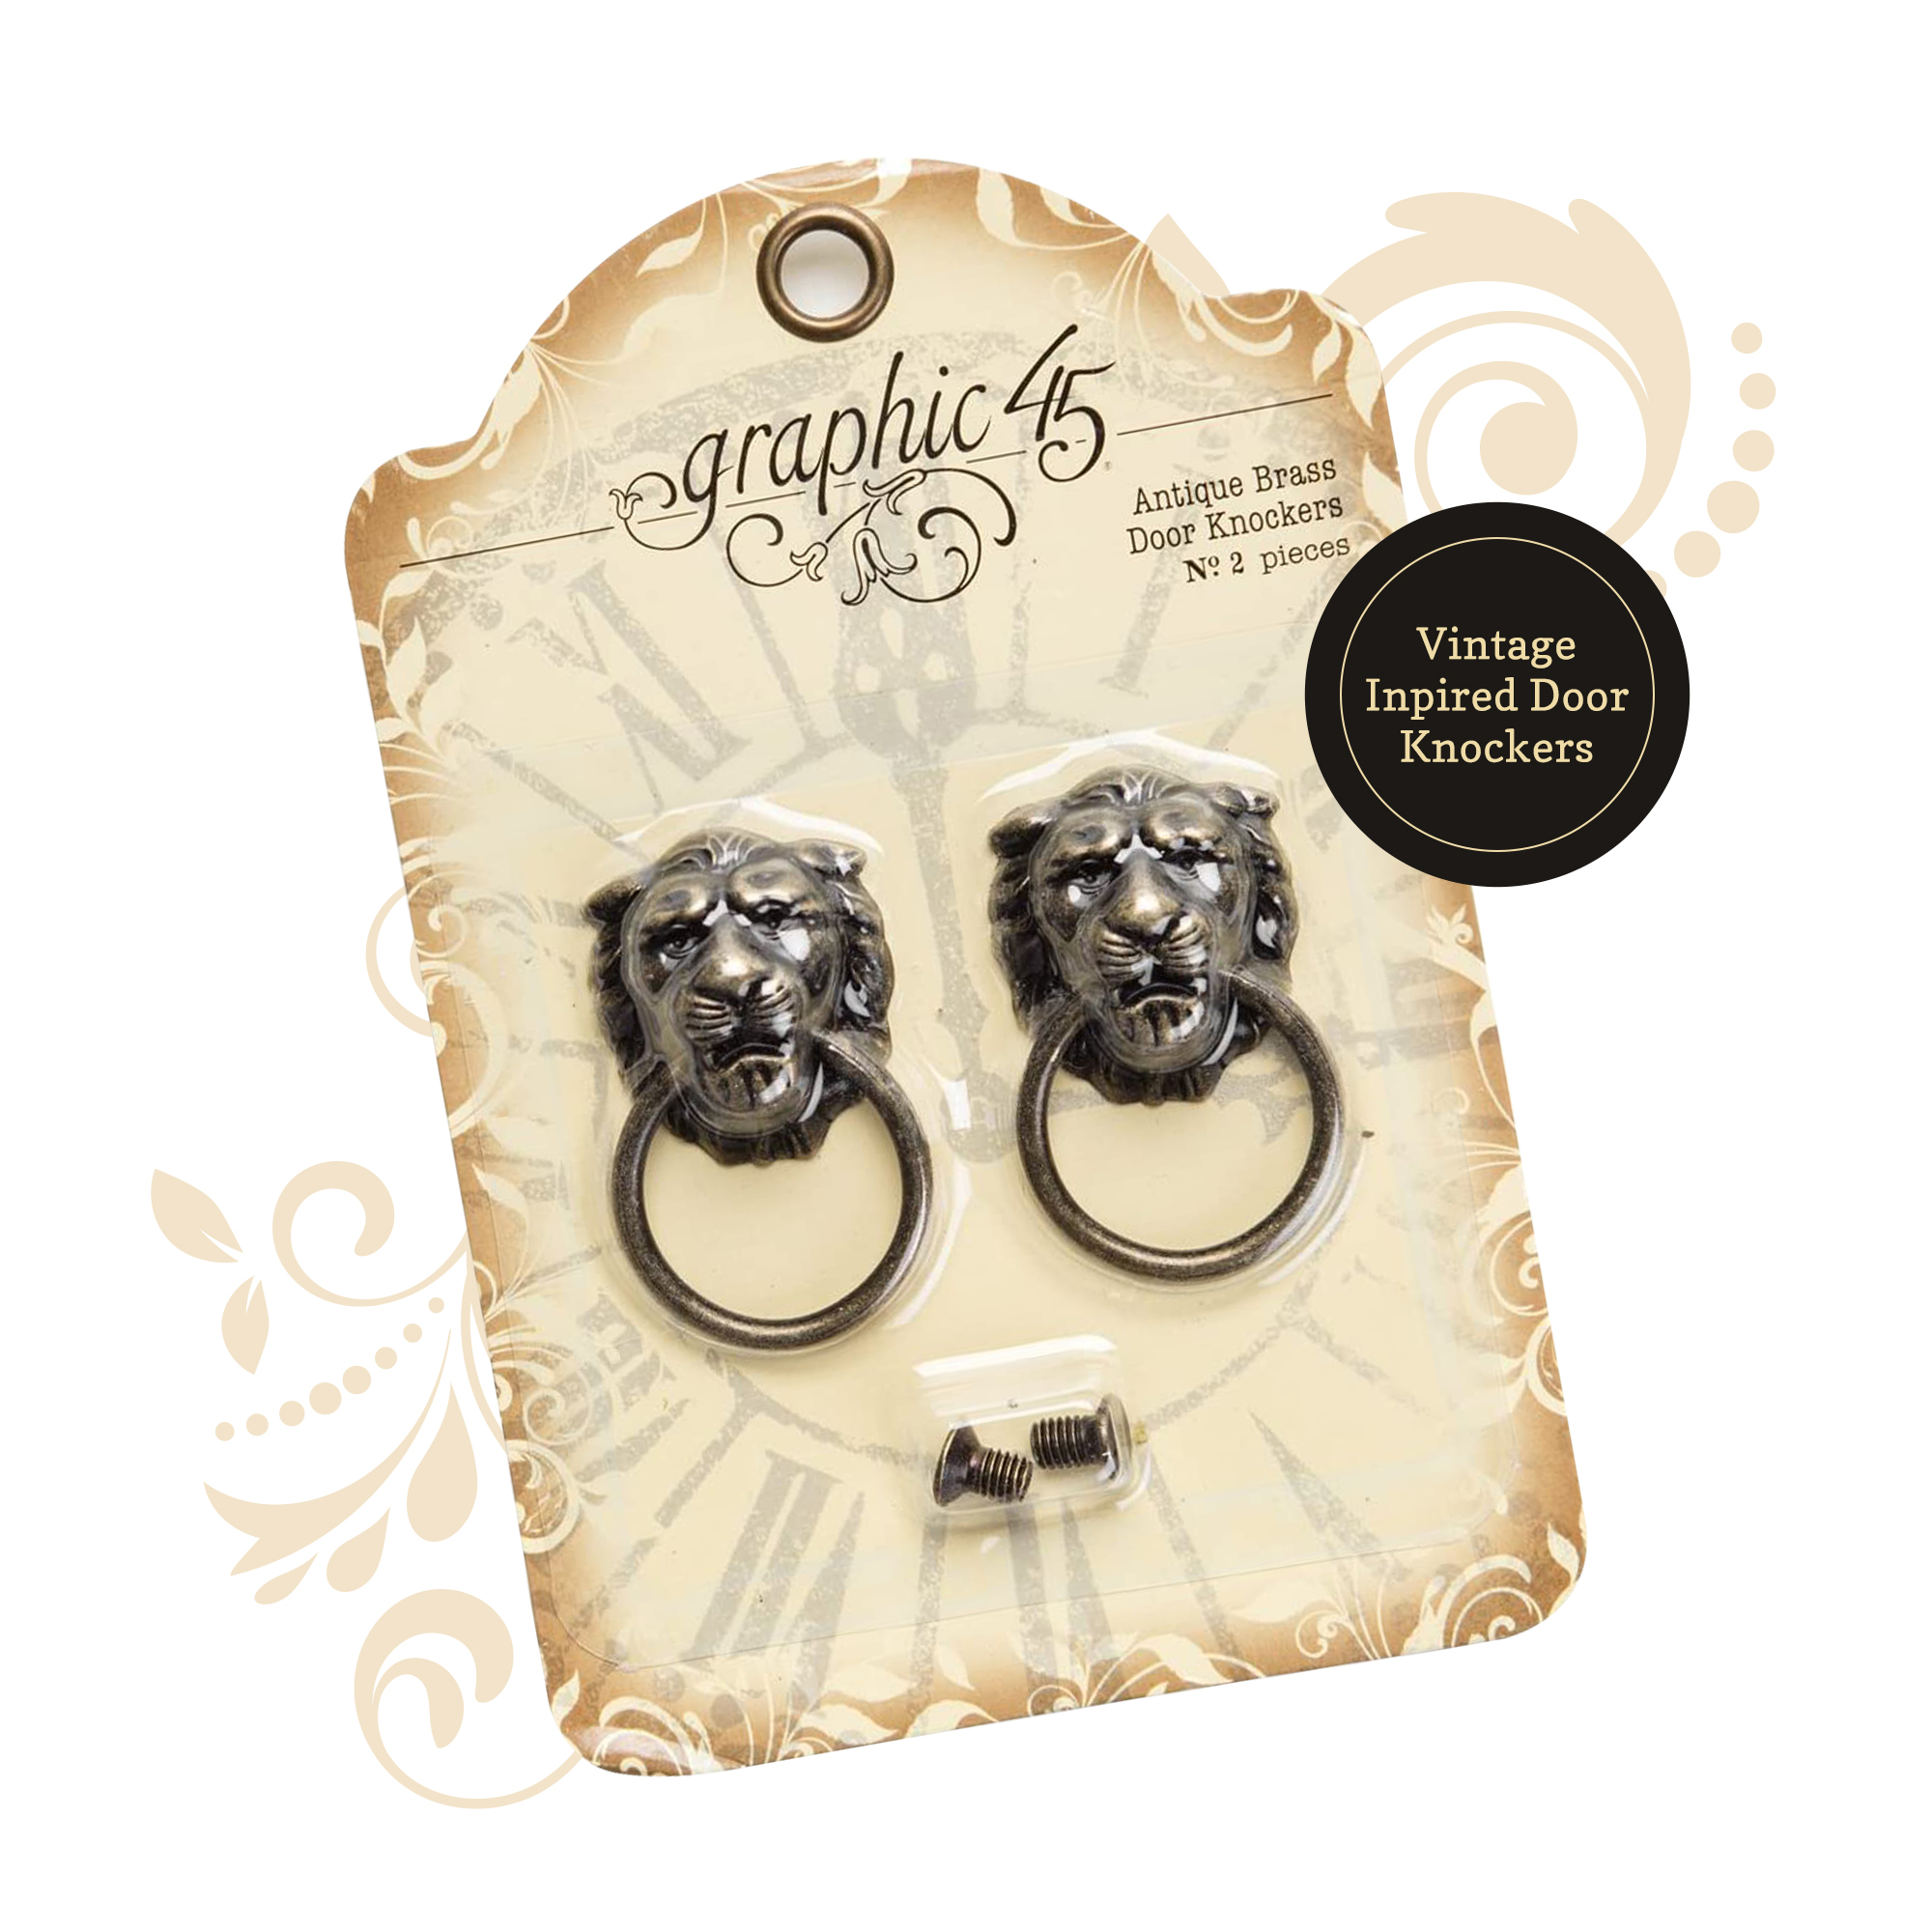
Graphic 45 Antique brass door knockers
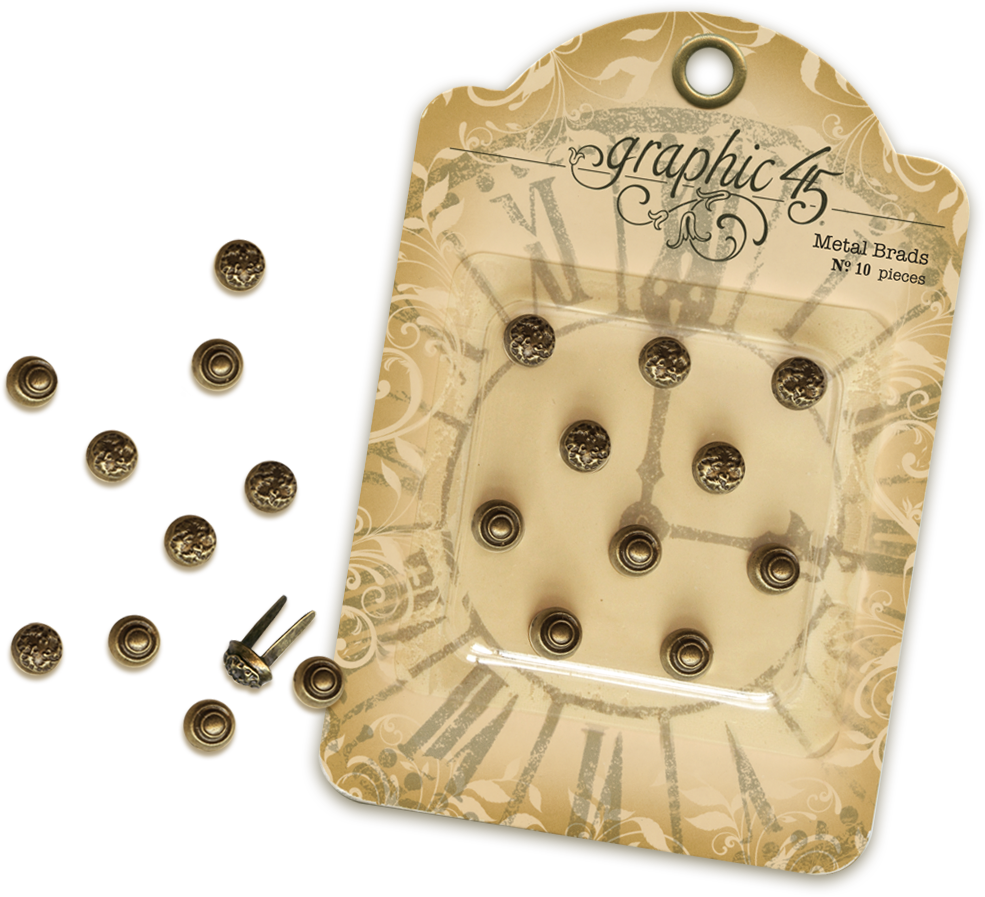
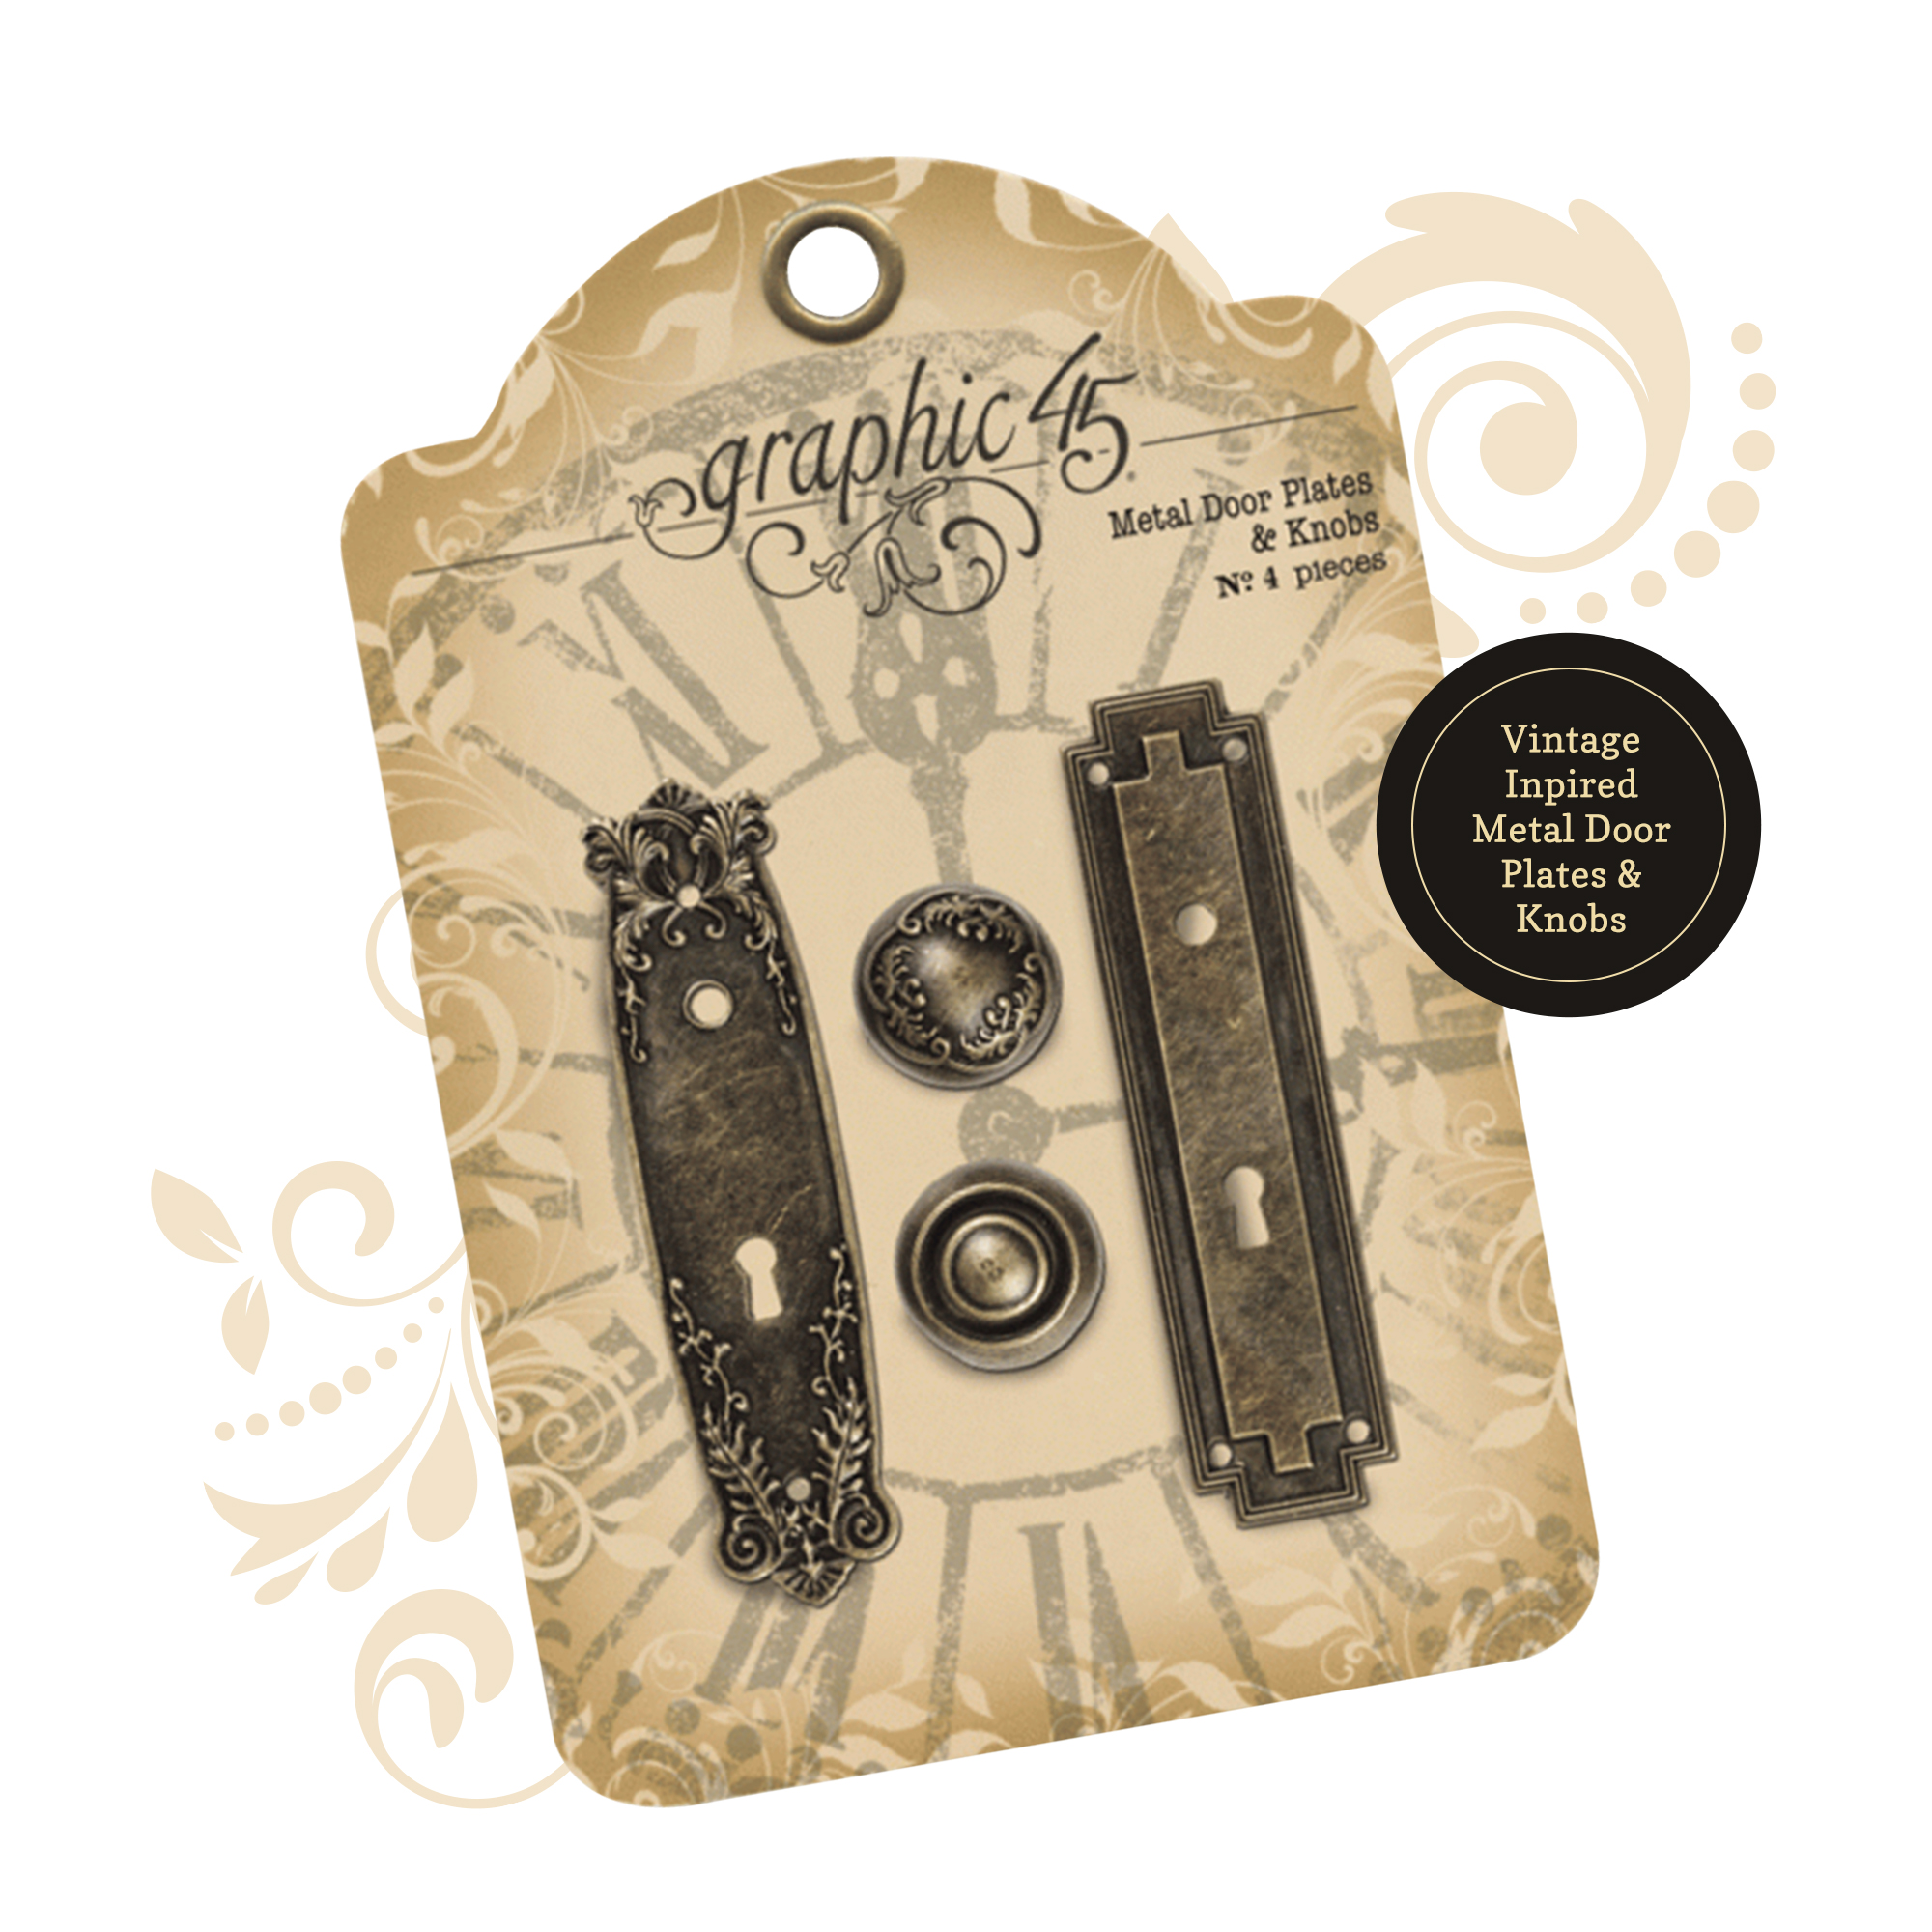
Graphic 45 Metal door plates and knobs
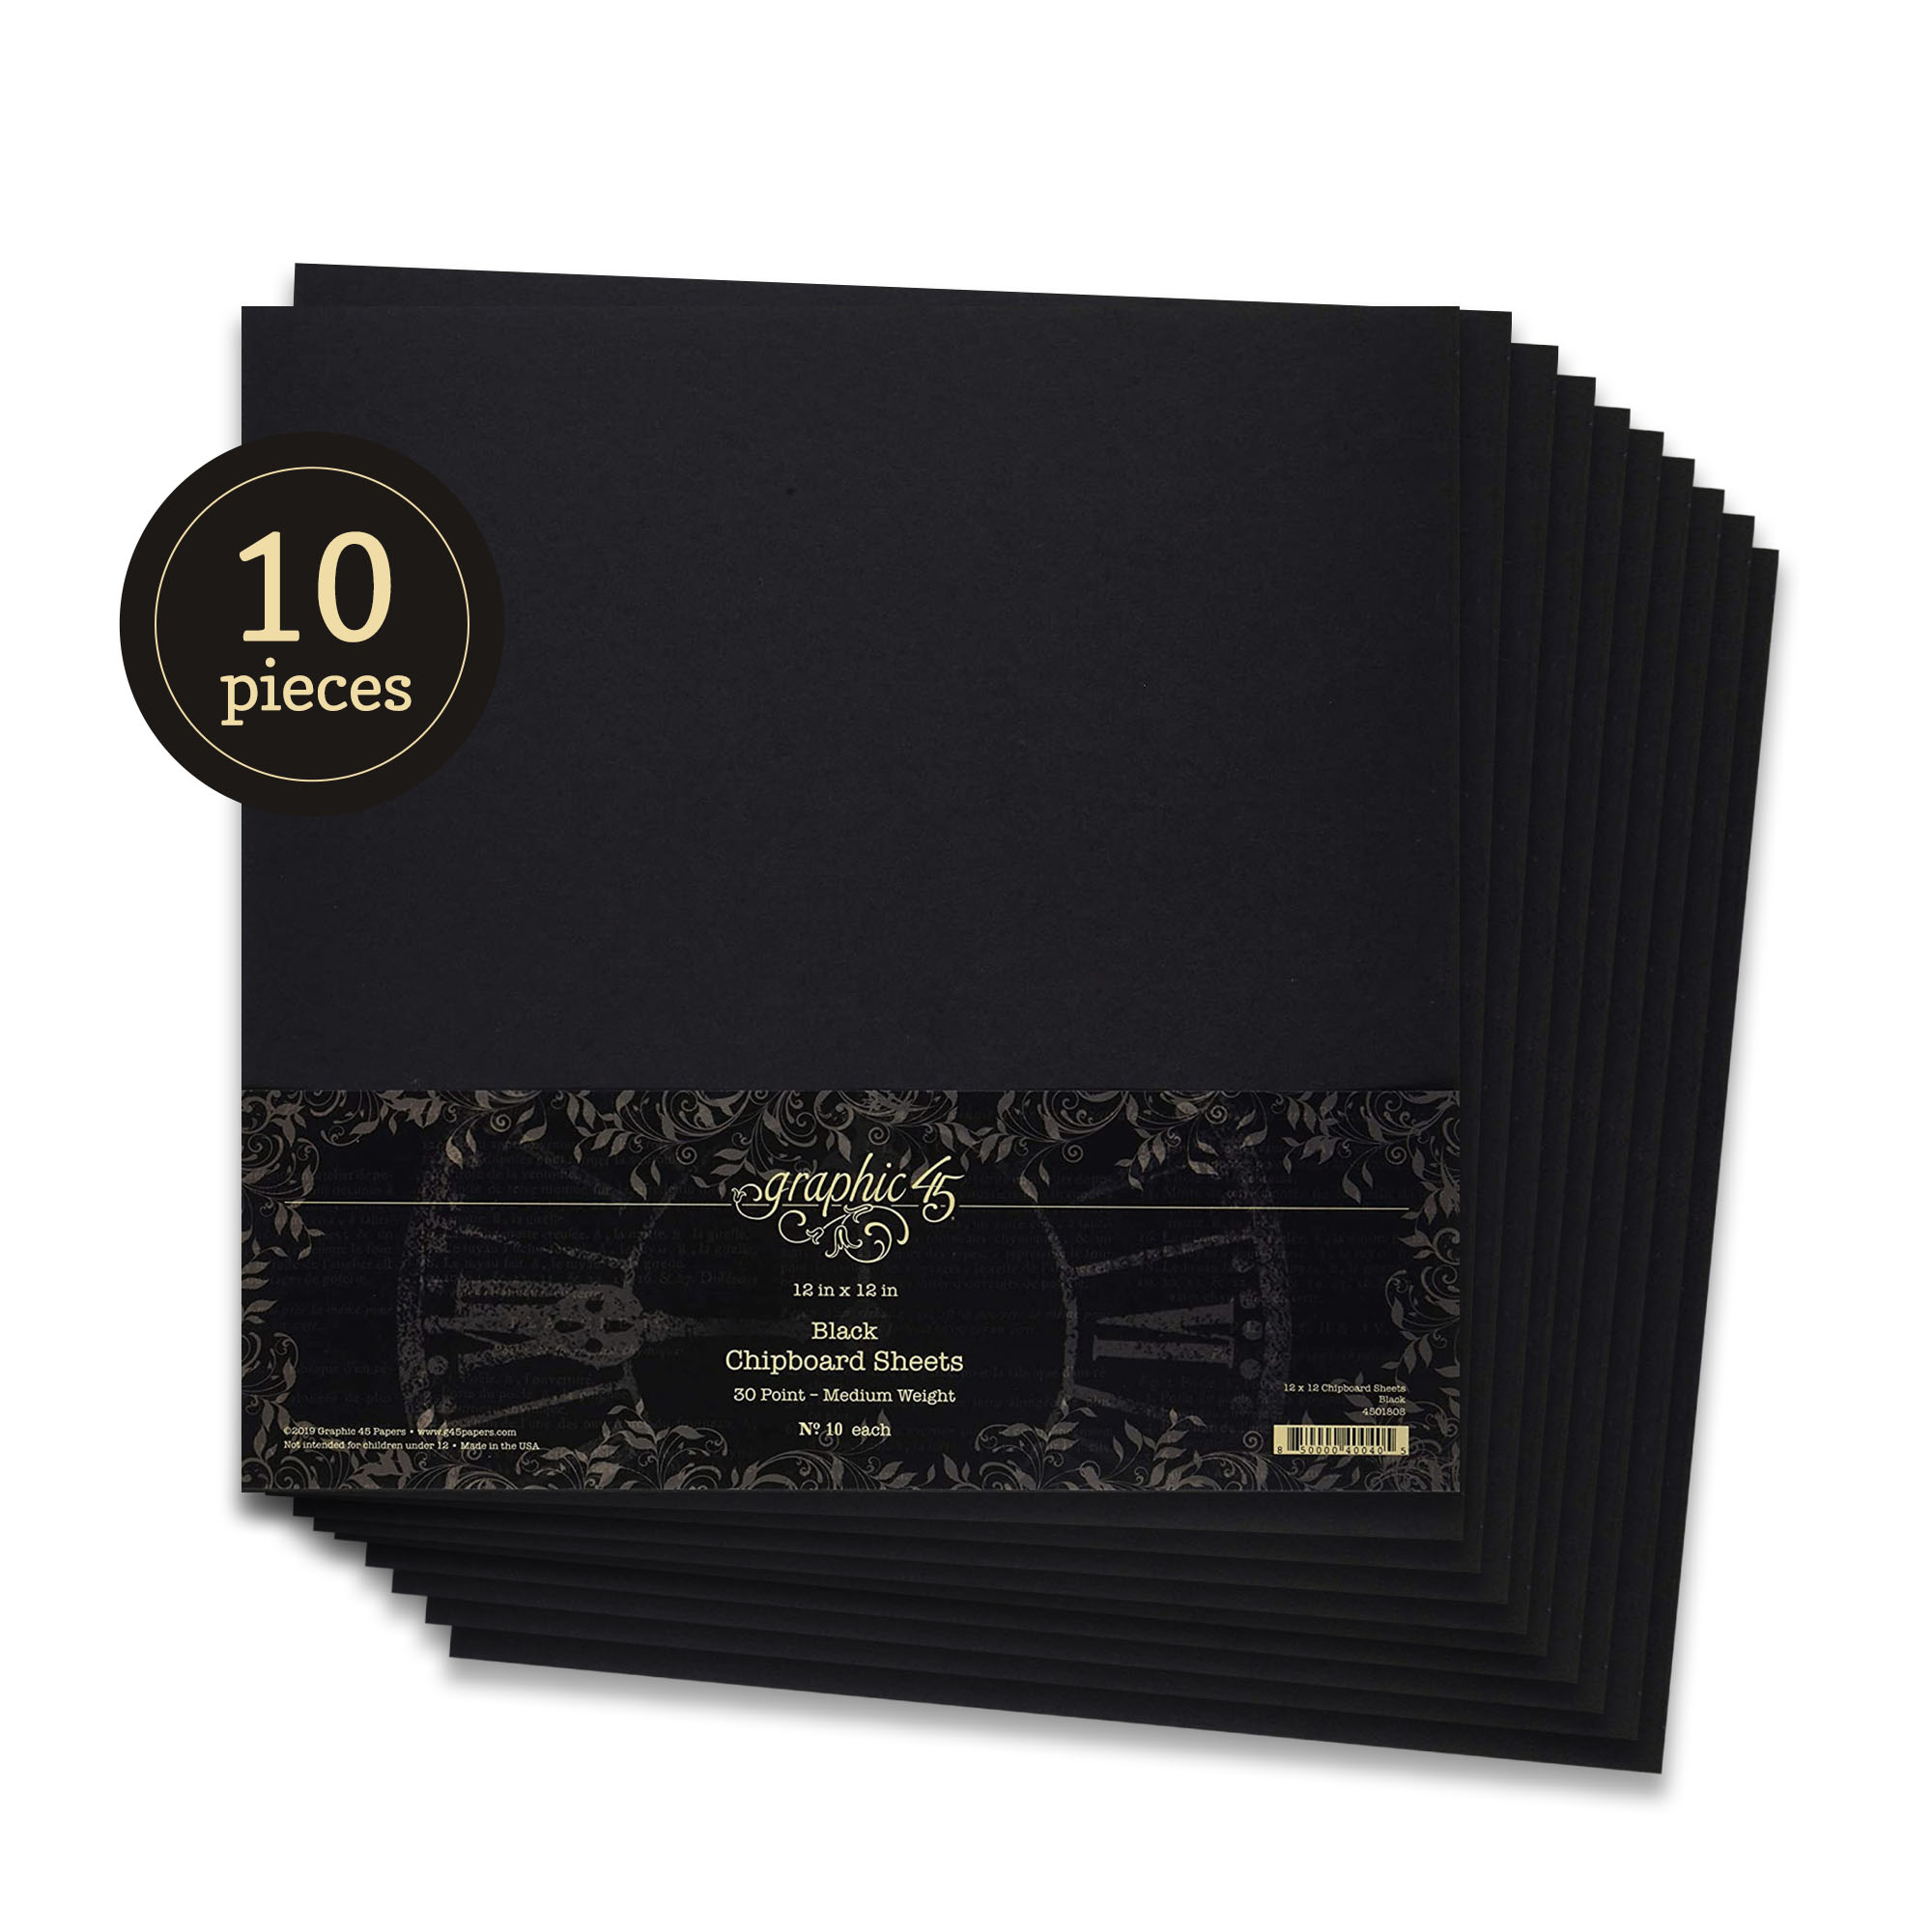
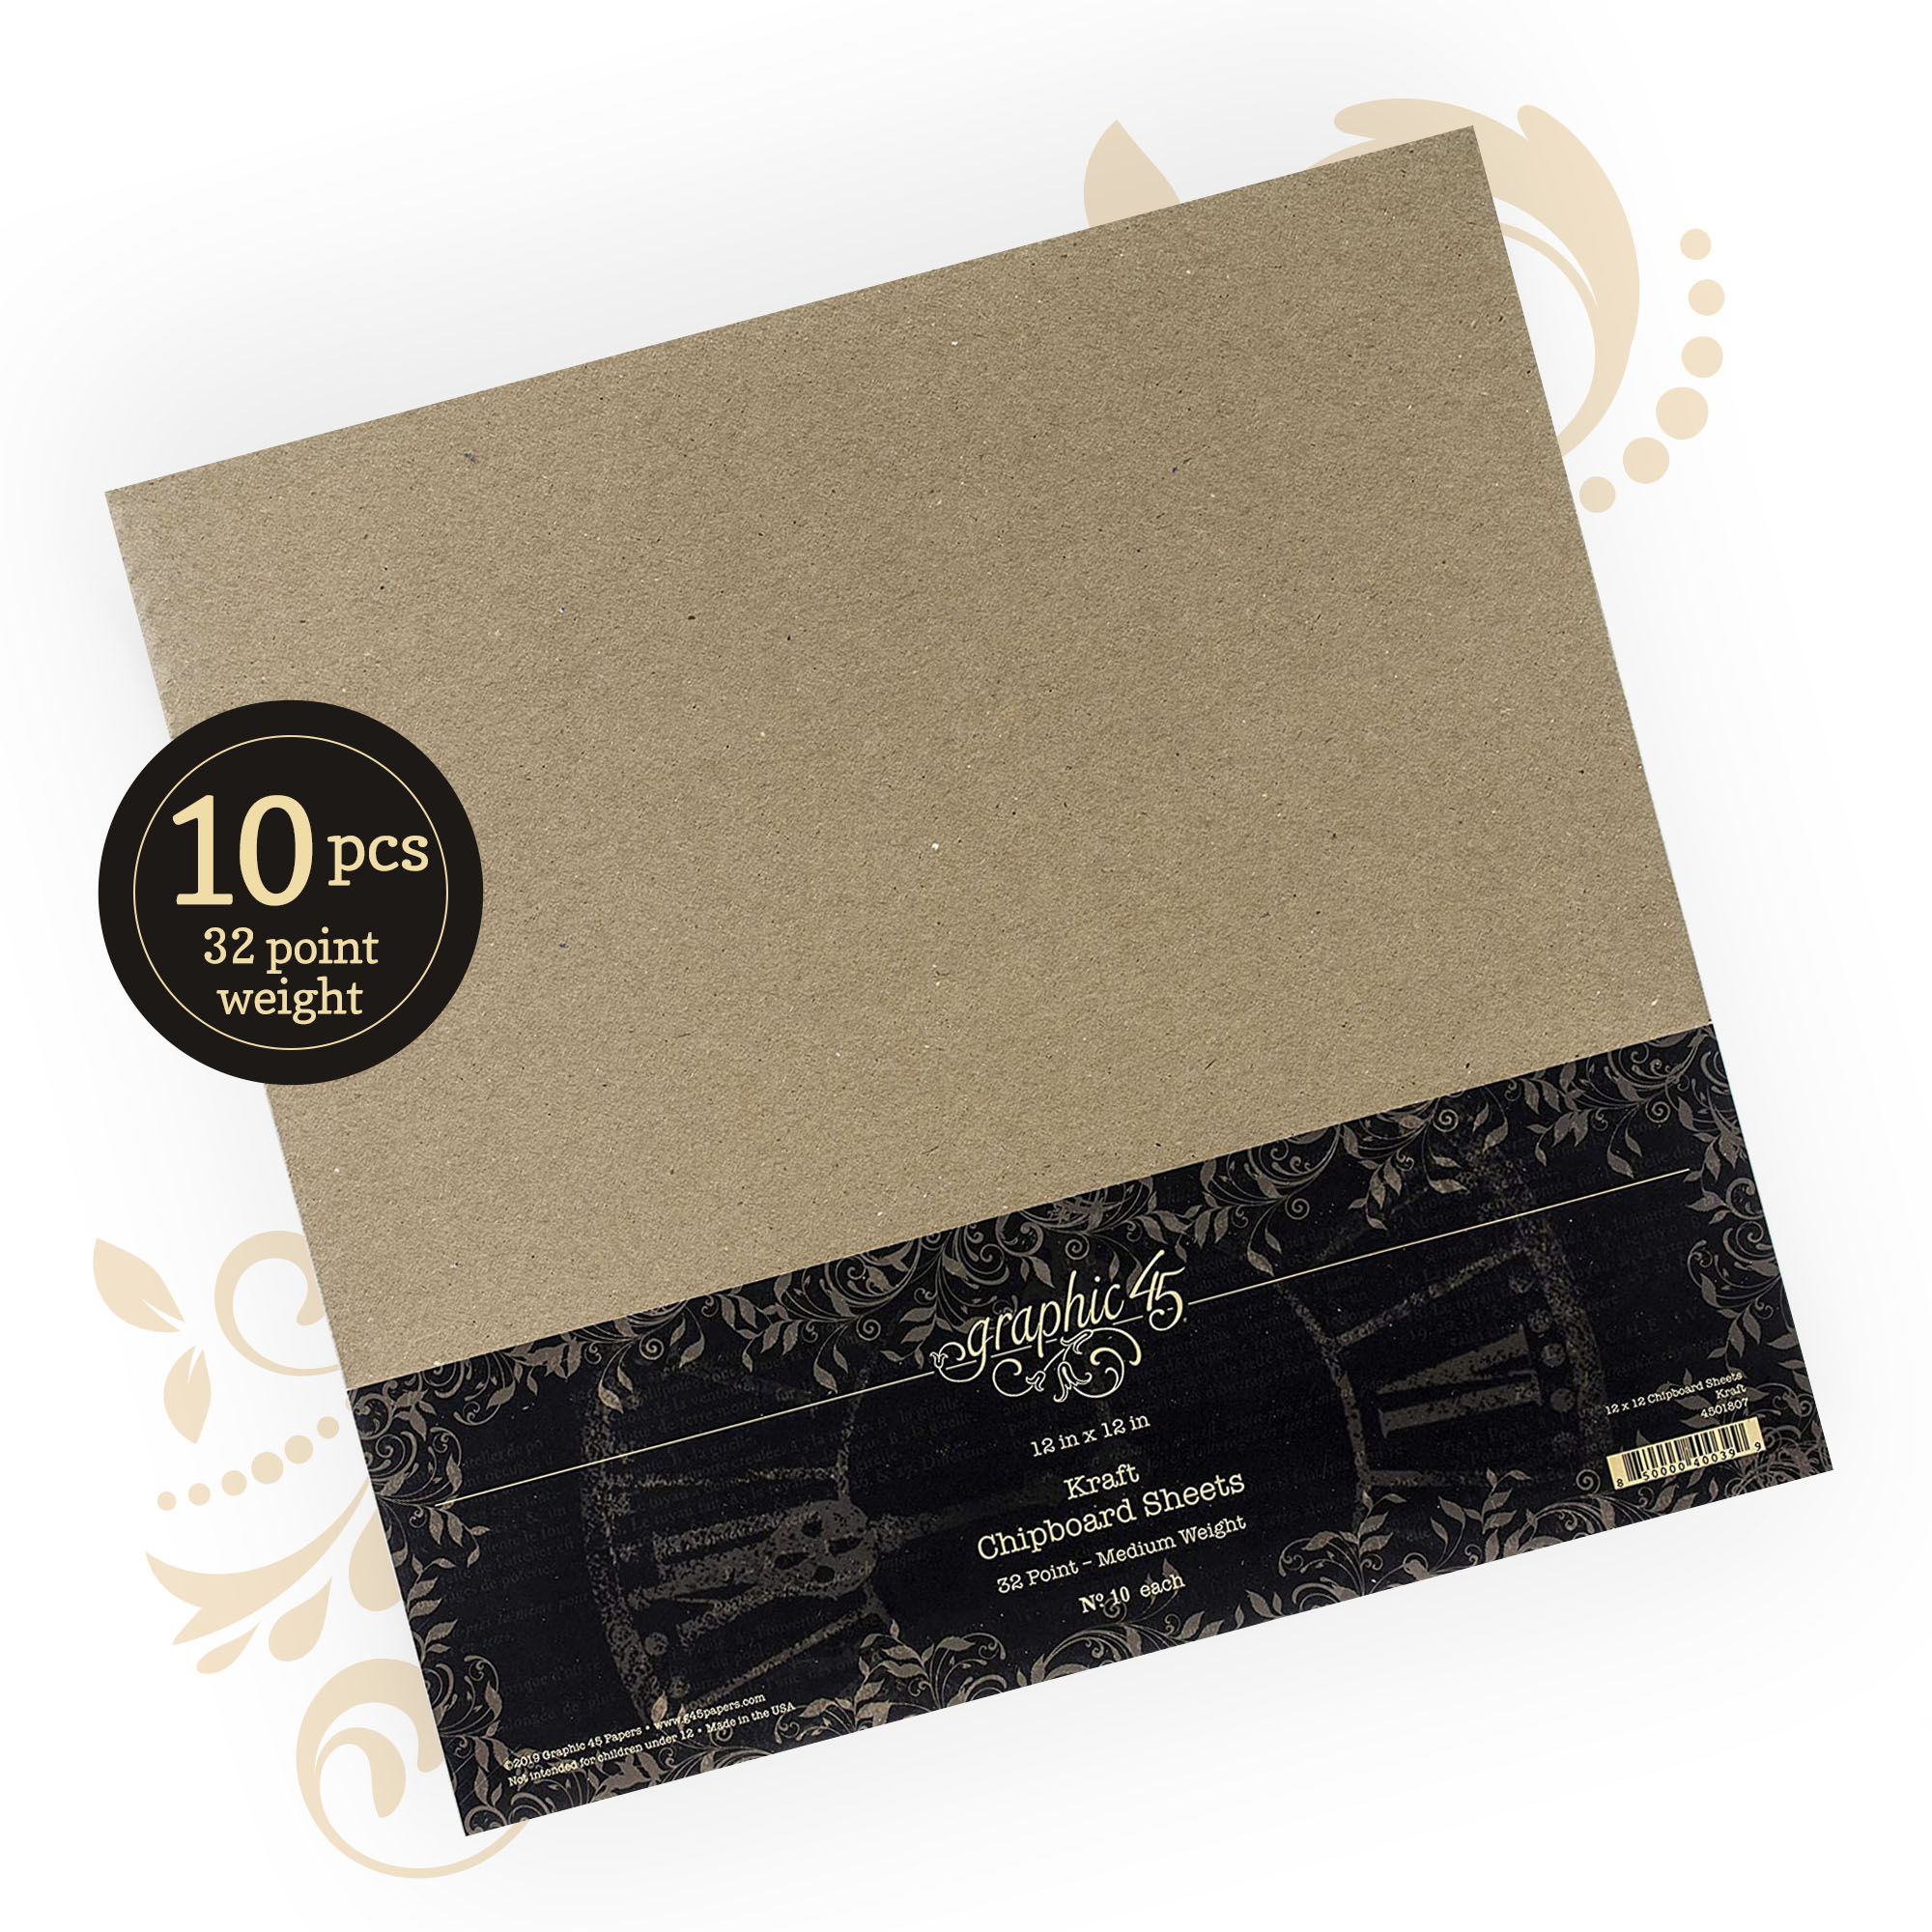
2 mm chipboard
Cotton cord
Seam binding
Glue
Acrylic bubbles
3 small brads
Pieces of a little net, instead you can use cheese cloth.
Thank you for your attention, I hope you’ll give it a try! Don’t forget to share your project. I’m so happy to stay one more year!” ~Cecilia