Hello, G45er!
We are pleased to share a #ClubG45LeveledUp project by Brand Ambassador, Tanya Scrap. Tanya has taken our Double Fold Card tutorial from Volume 2 of Club G45 and added an extra double fold flap turning this into a fun and simple mini album. This project highlights how delightful our Life’s a Journey paper collection is to work with, and really adds a punch of color to your projects. We hope you enjoy this step by step tutorial and try it out for yourself.
#ClubG45 – Life’s a Journey
Double Fold Card Album
By Tanya Scrap
"Hello dear G45ers!
Happy to share with you my #ClubG45LeveledUp project this month featuring the beautiful Life's a Journey Collection. I love the colours and patterns in this collection. It is just stunning!
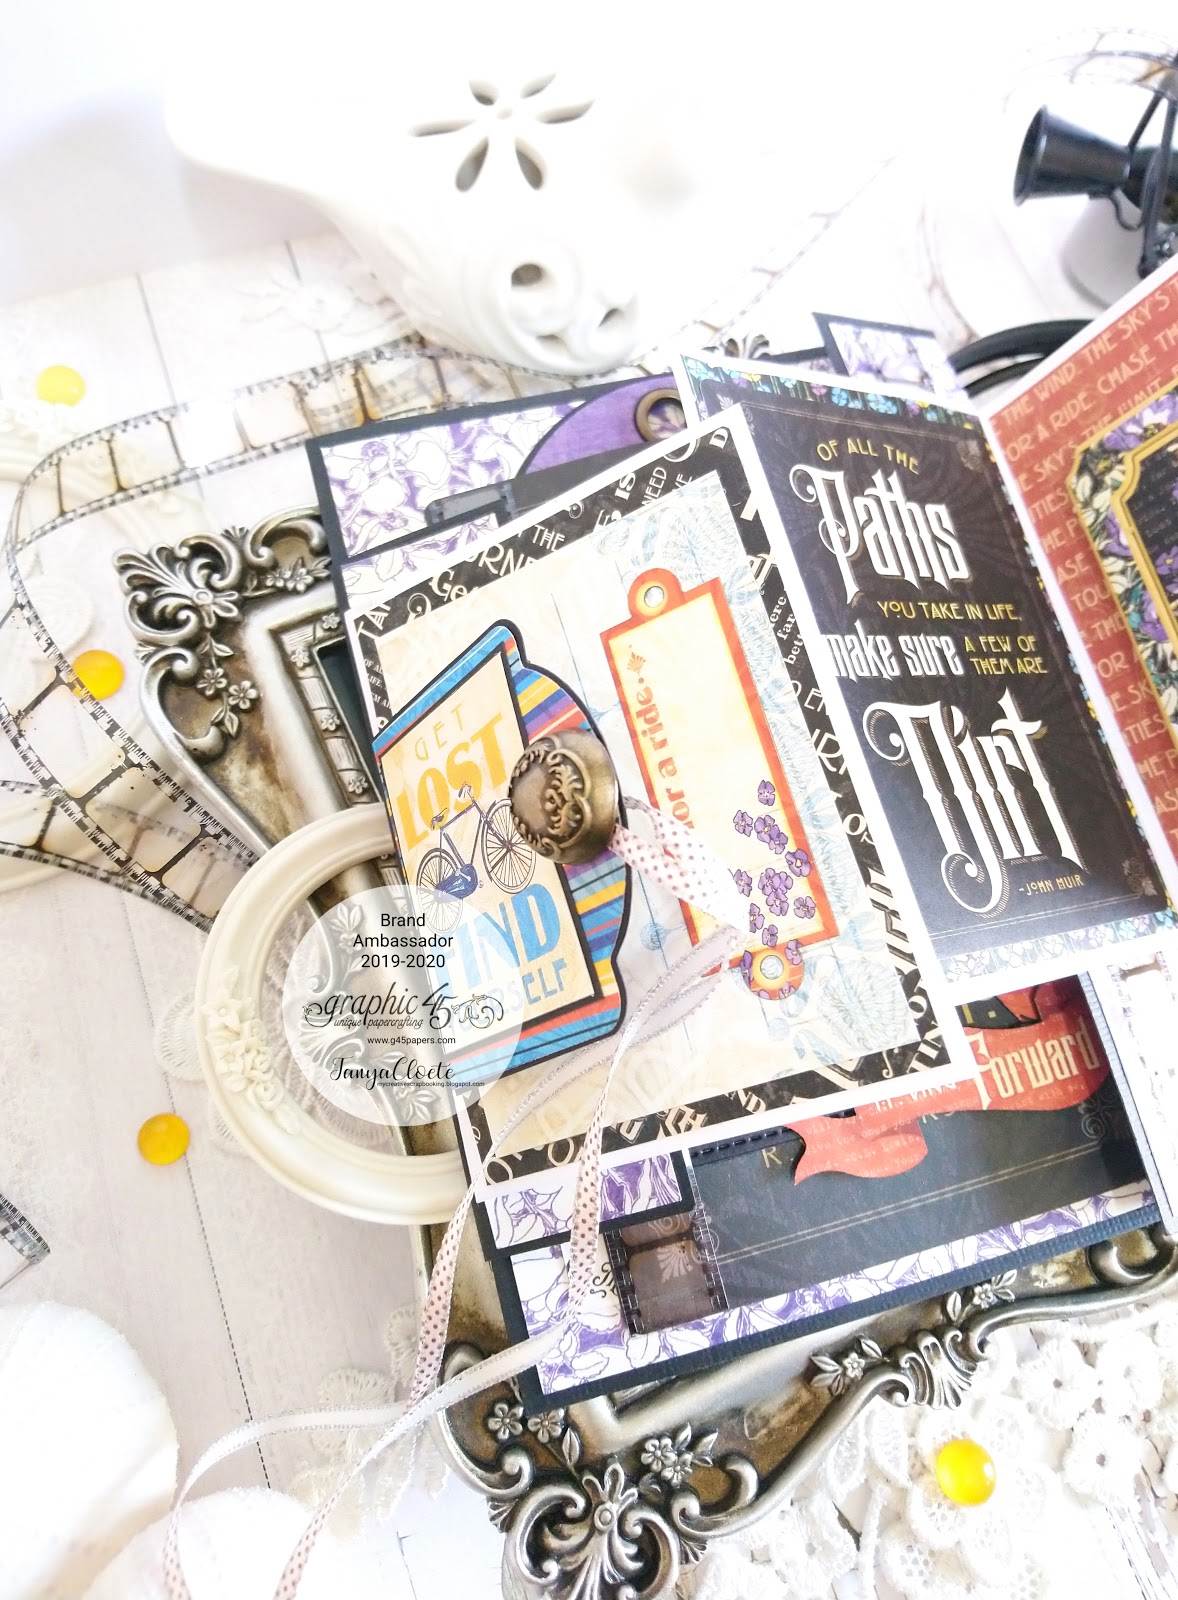
For my assignment this month I was asked to choose any of the projects from the Club G45 Kits and level it up, so I decided to recreate the Double Fold Card by the talented Robin Shakoor. I made the card a little bigger and added an extra double card on the other side too. I also added two photo frames on the inside of the card to use as an album.
Charee Filimoehala has an easy step by step video tutorial on this project, you can follow the link here.
[Tutorial] Double Fold Card by Graphic 45
Herewith the Supplies and Instructions you may use to recreate such a project:
G45 Supplies Used:
|
|
|
|
|
|
|
|
|
|
|
|
Other Supplies Used:
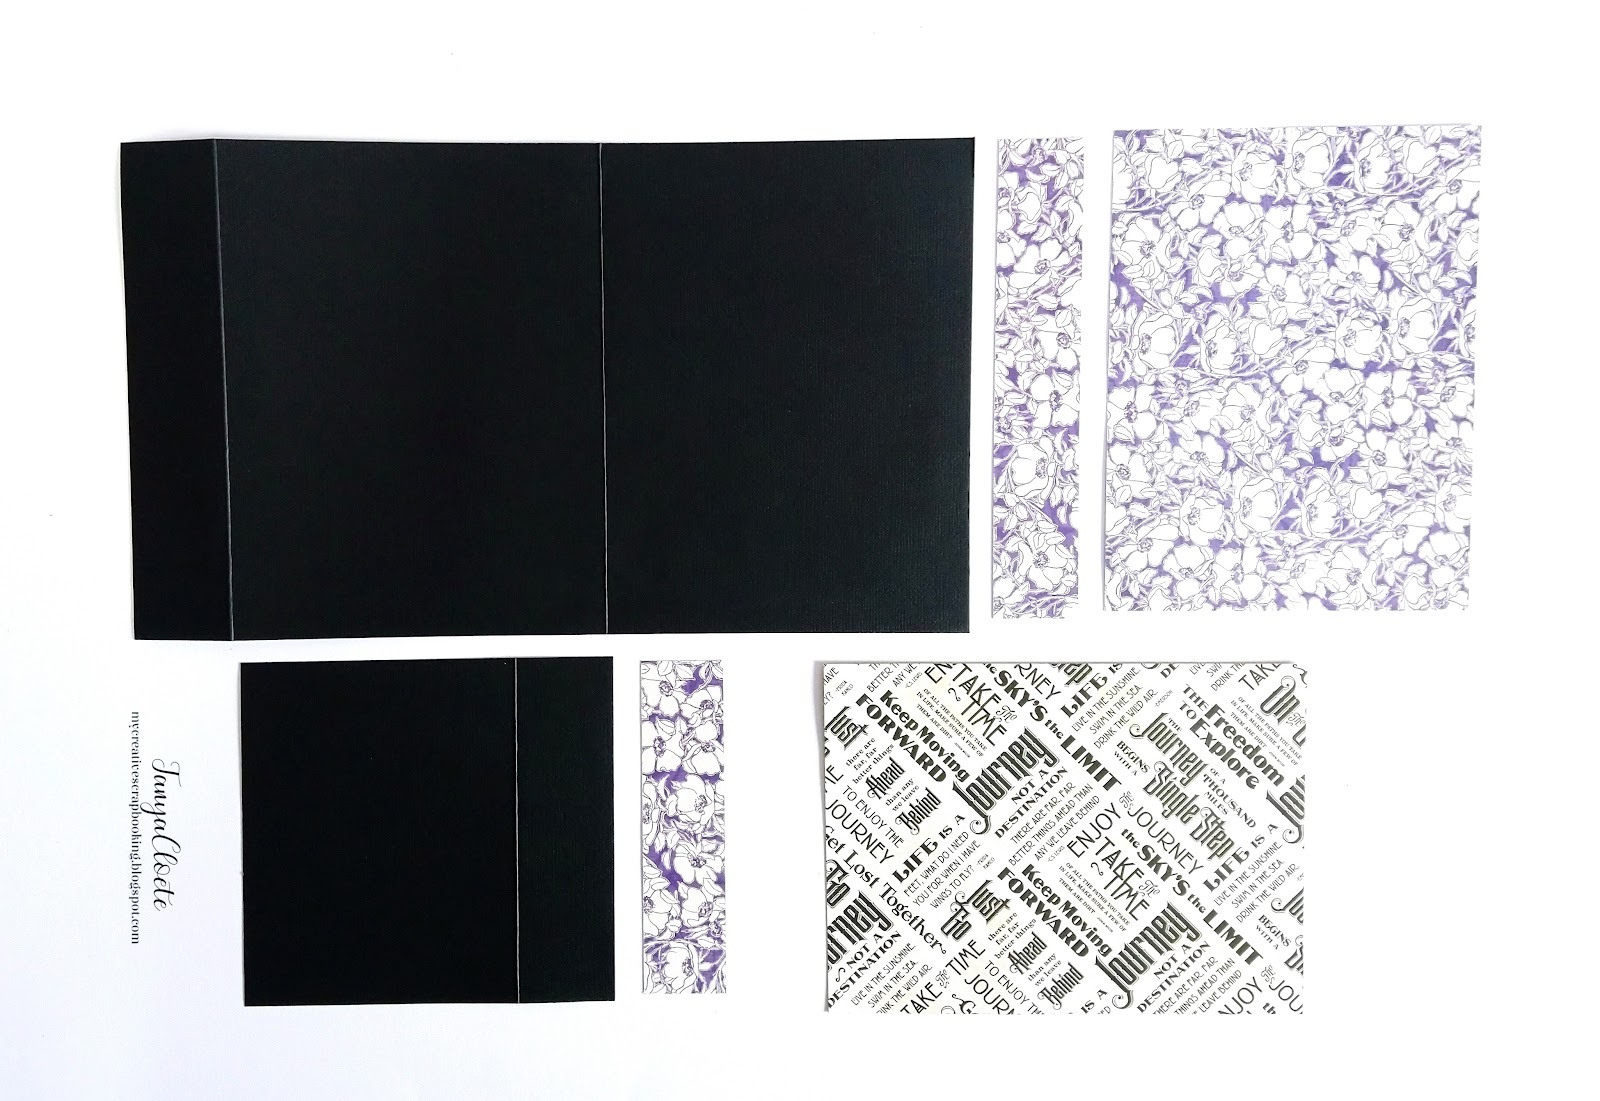
Cut a card from black cardstock measuring 30 cm x 17.5 cm. Score the card in half at 13.5 and the flap at 3.5 cm. Next cut an extra piece for the left side measuring 13.5 cm x 12.5 cm. Score the flap at 3.5 cm. Mat the cards and flaps with the pattern sheets to fit the front and back leaving a small border.
Cut four small cards (for the double fold) from white cardstock measuring 9.5 cm x 11 cm for the right and 9.5 cm x 10.5 cm for the left. Score all four cards at 1.5 cm for the flaps. Mat the cards with the pattern sheets to fit front and back leaving a small border.
Mat the tags with the pattern sheets front and back using the G45 tag cutting dies. Score the small tags (2 of them) at 3 cm. These will be used as a closure for the card. Cut a square piece from a pattern sheet for the large tag (not shown in picture) measuring 11.5 cm x 9.5 cm. This will be used as a pocket to slide in the large tag behind the journaling card.
Cut a few photo frames from the black chipboard. Add some acetate sheet behind the two small frames. Add eyelets to the chipboard pieces and die-cut assortment tags.
Tip: Remember to cut two extra photo frames and adhere to the other. Adhere tape to one side, the top and bottom. Thus being able to slide in a photo on the other side with ease.
Add two of the metal door knobs to the eyelets of the tags.
Tip: Add the ribbon first before adding the door knobs.
Add the die-cut assortment pieces to the small cards and tags.
Add some chipboard elements on the inside of the cards.
Add some phrase elements to the tags. Mat these onto black cardstock.
Add some filmstrip ribbon to some of the pages.
Add a frame to the journaling card and some swirly shapes from the die-cut set.
Adorn the tag with an ephemera/journaling card and some die-cut assortment pieces from the collection.
Adorn the photo frames with some chipboard pieces and die-cut assortment elements from the collection.
This was such a fun project to recreate! I hope it inspires you to create your own double fold card album.
Thanks for stopping by!
Happy Papercrafting!”
Happy Papercrafting!


")


")