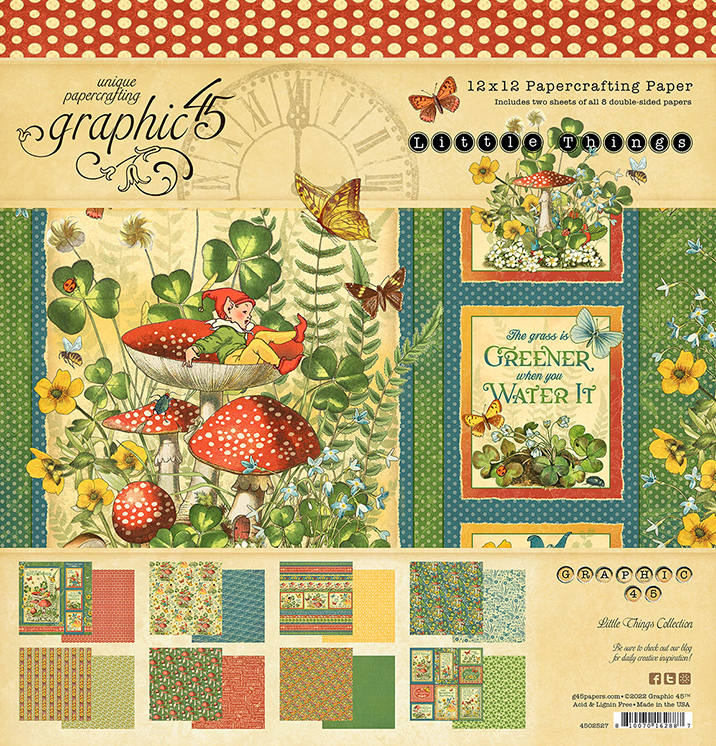
What do you do with your leftover papers after you create a big project? Try creating a Wallet Mini Album with this #G45Reel by Kristine Woods. This small scale scrapbook is a great gift for a birthday or any special occasion. Kristine used our Little Things paper collection, what collection will you use?
“Hi crafty friends. In this month’s #G45Reels project, I’m going to show you a great way to use up scraps after you’ve completed a project from a paper collection. For my example, I will be using the Graphic 45 Little Things collection, but you can replicate this project with any collection.
Supplies Used
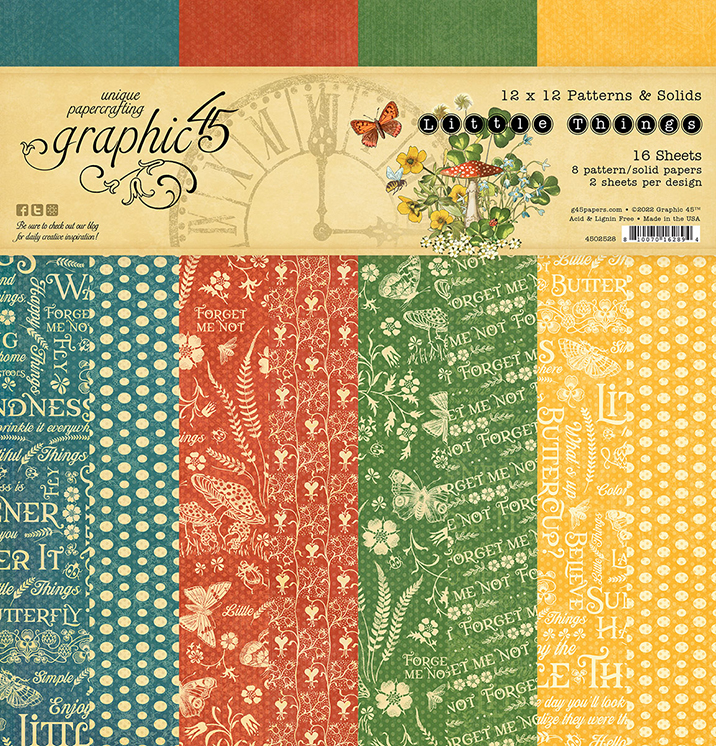
Graphic 45 Little Things blue Patterns & Solids (1 piece: 5” x 12”)
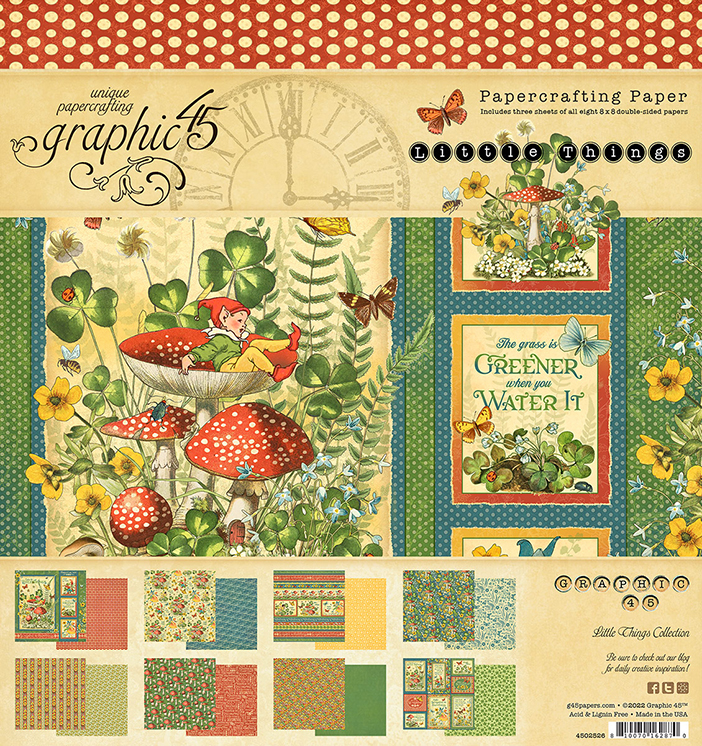
Graphic 45 Little Things 8×8 Paper Collection
Graphic 45 Little Things Journaling Cards
Graphic 45 Little Things Ephemera Assortment
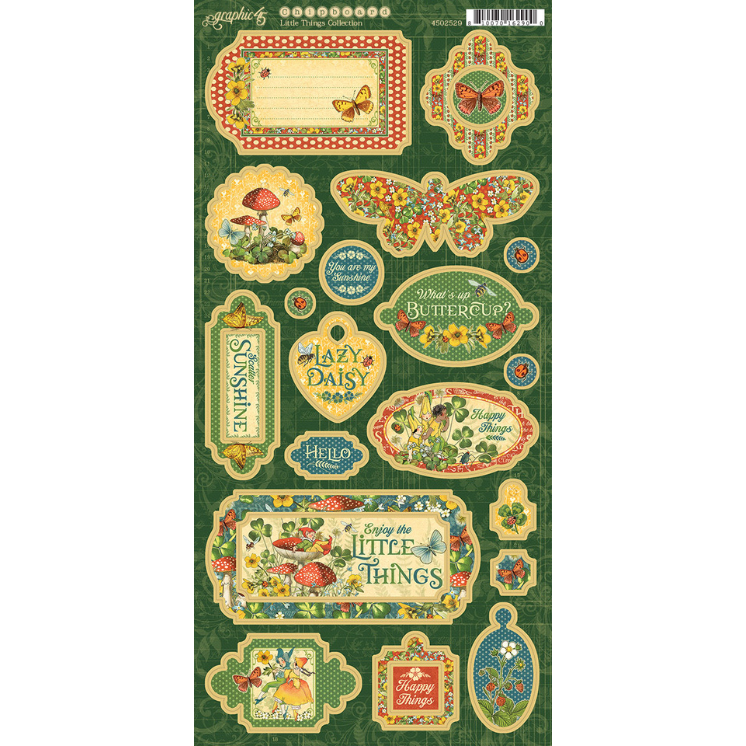
Graphic 45 Little Things Chipboard
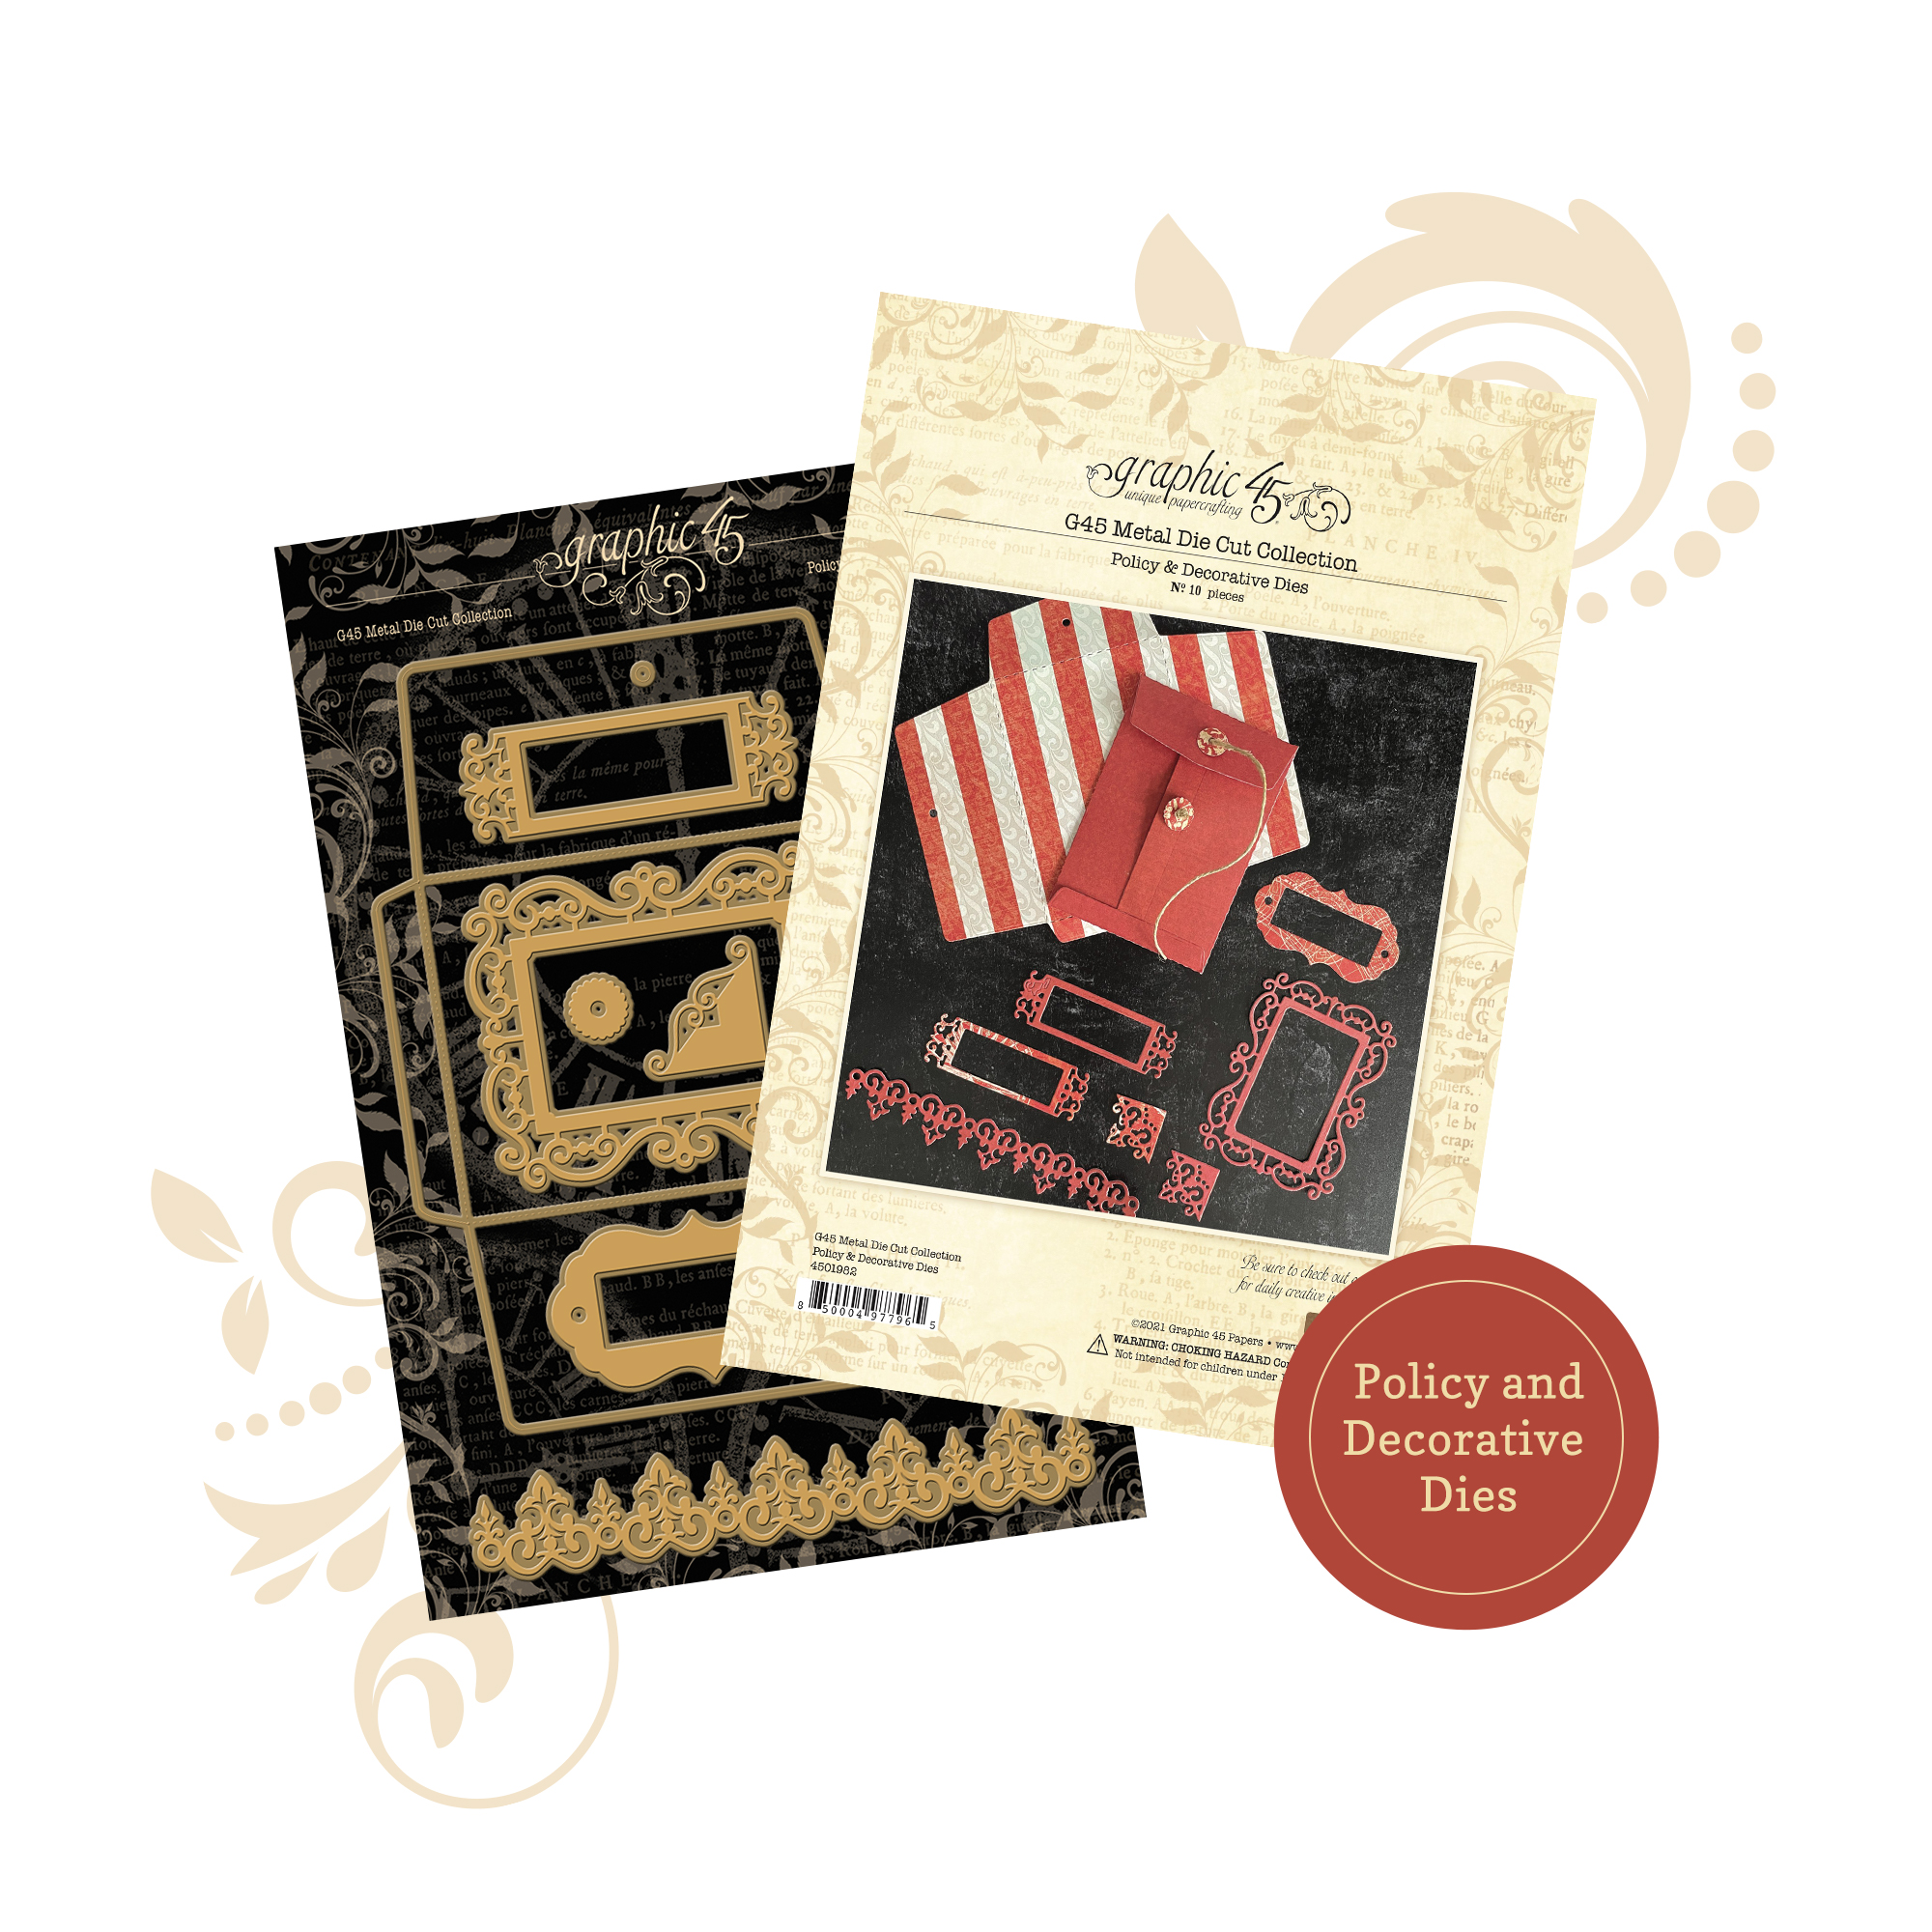
Graphic 45 Metal Policy & Decorative Die Set
Acetate sheet (1 piece: 2 ⅜” x 3 ¾”)
10” thin elastic
Scraps of white copy paper (for photo mats)
Double sided tape and wet glue
Craft knife and fussy cutting scissors
Piercing tool
Cutting/Folding Tutorial for Wallet Base
Cut paper to 5” x 12” and score at 2 ½” on the 5” side
Score at 3 ¾”, 4”, 8” and 8 ⅛” on the 12” side
Cut at a slight angle on the 3 ¾”, 4”, 8” and 8 ⅛” score lines up to the 2 ½” score line
Remove the ¼” and ⅛” sections of paper (this will give you three separate wallet sections on the strip)
Fold in half on the 2 ½” score line so the three sections are on the inside of the wallet
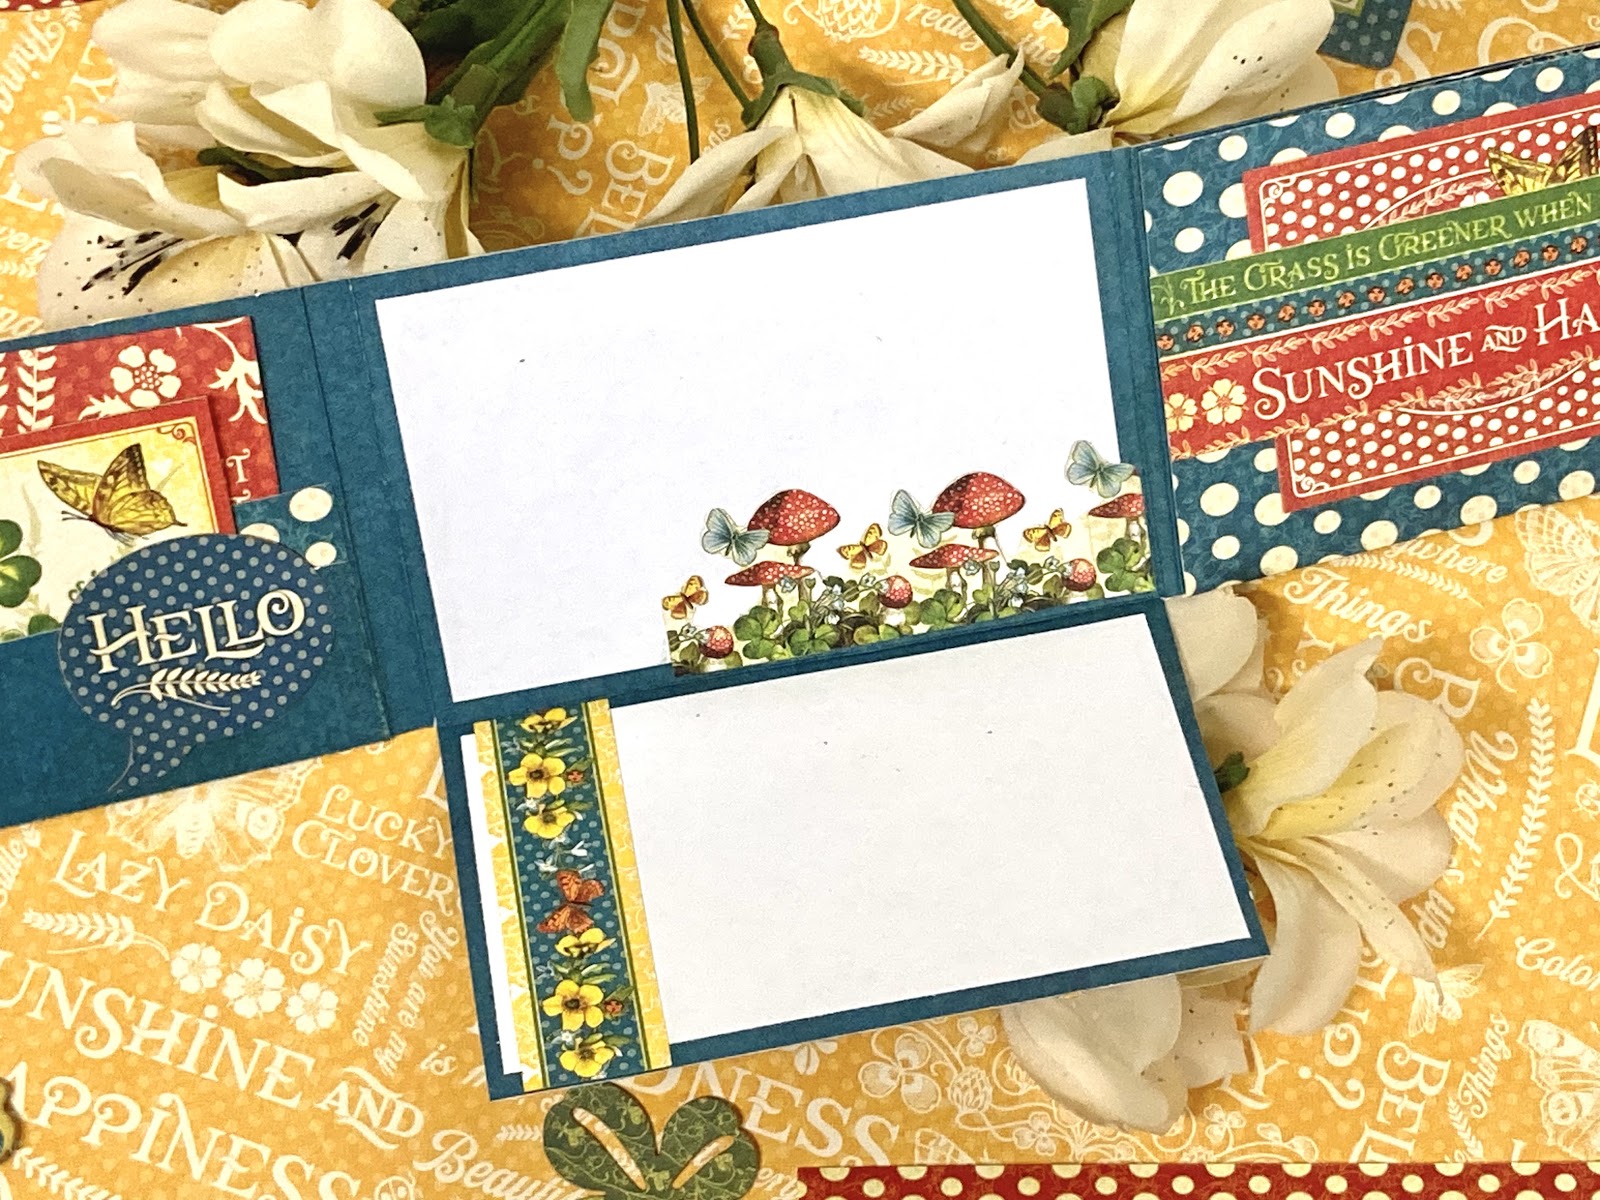
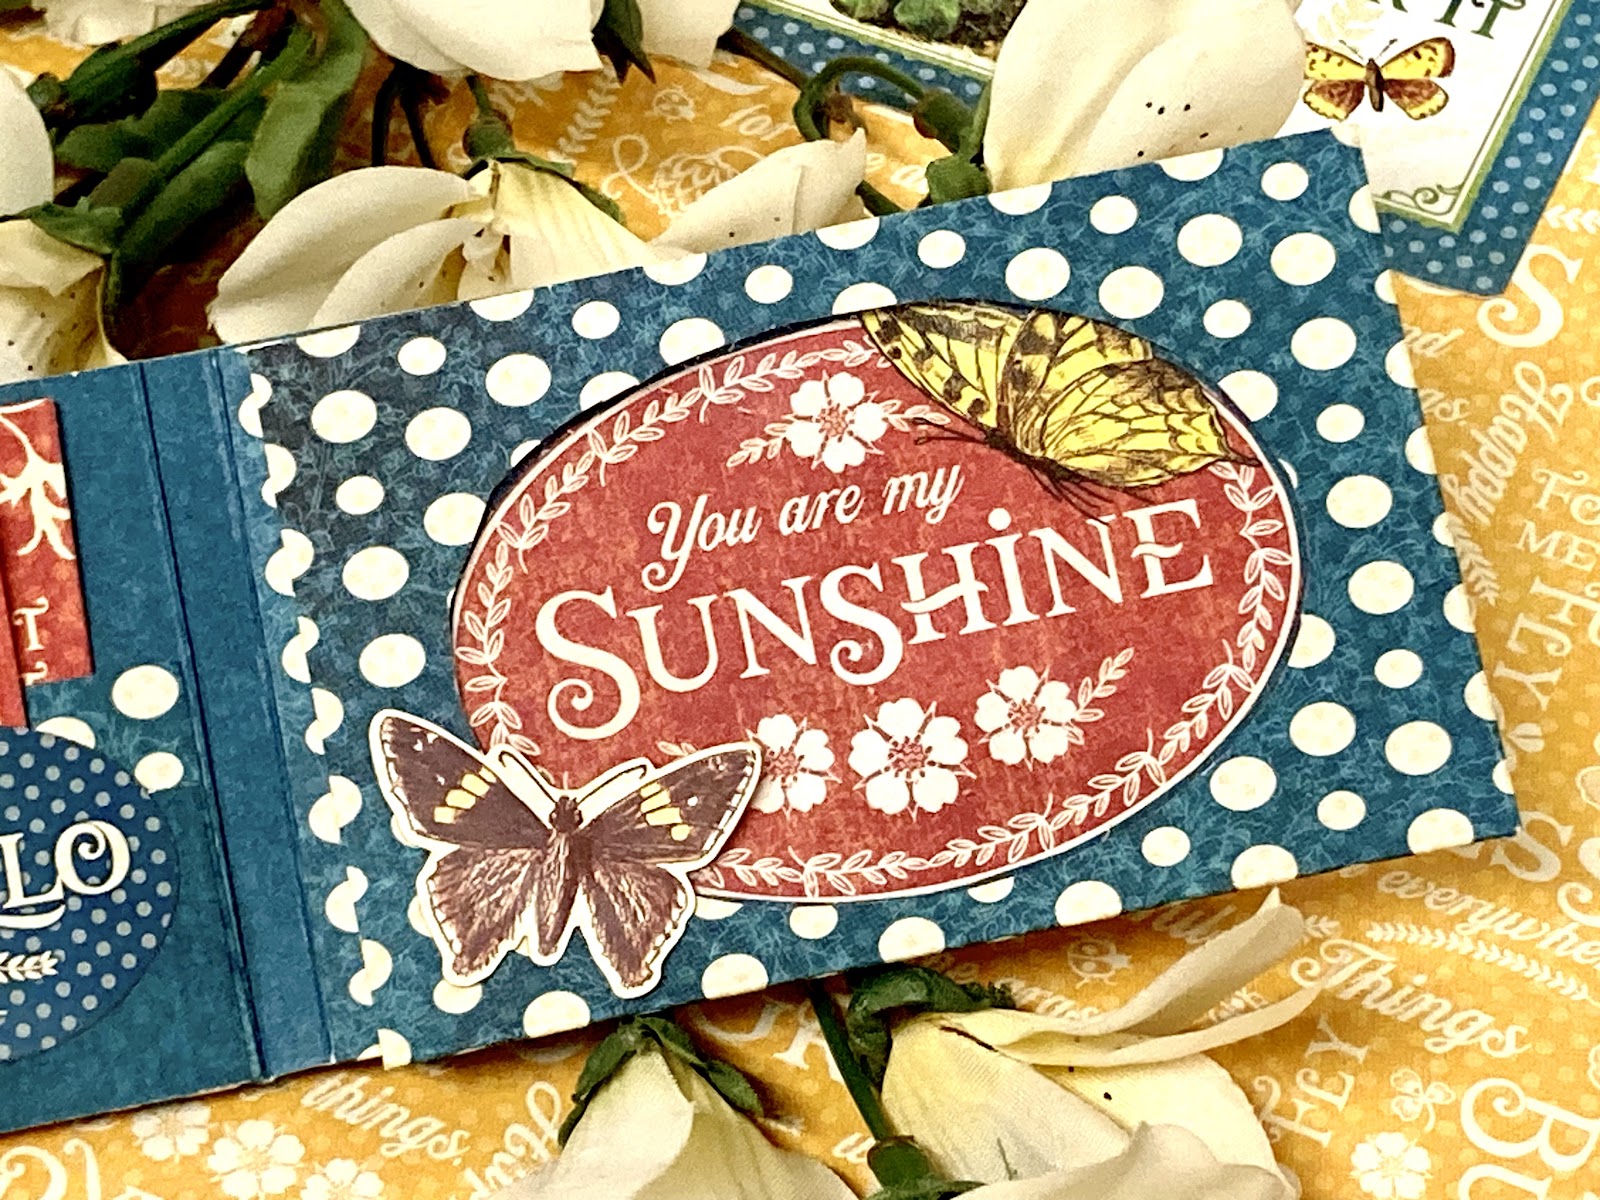
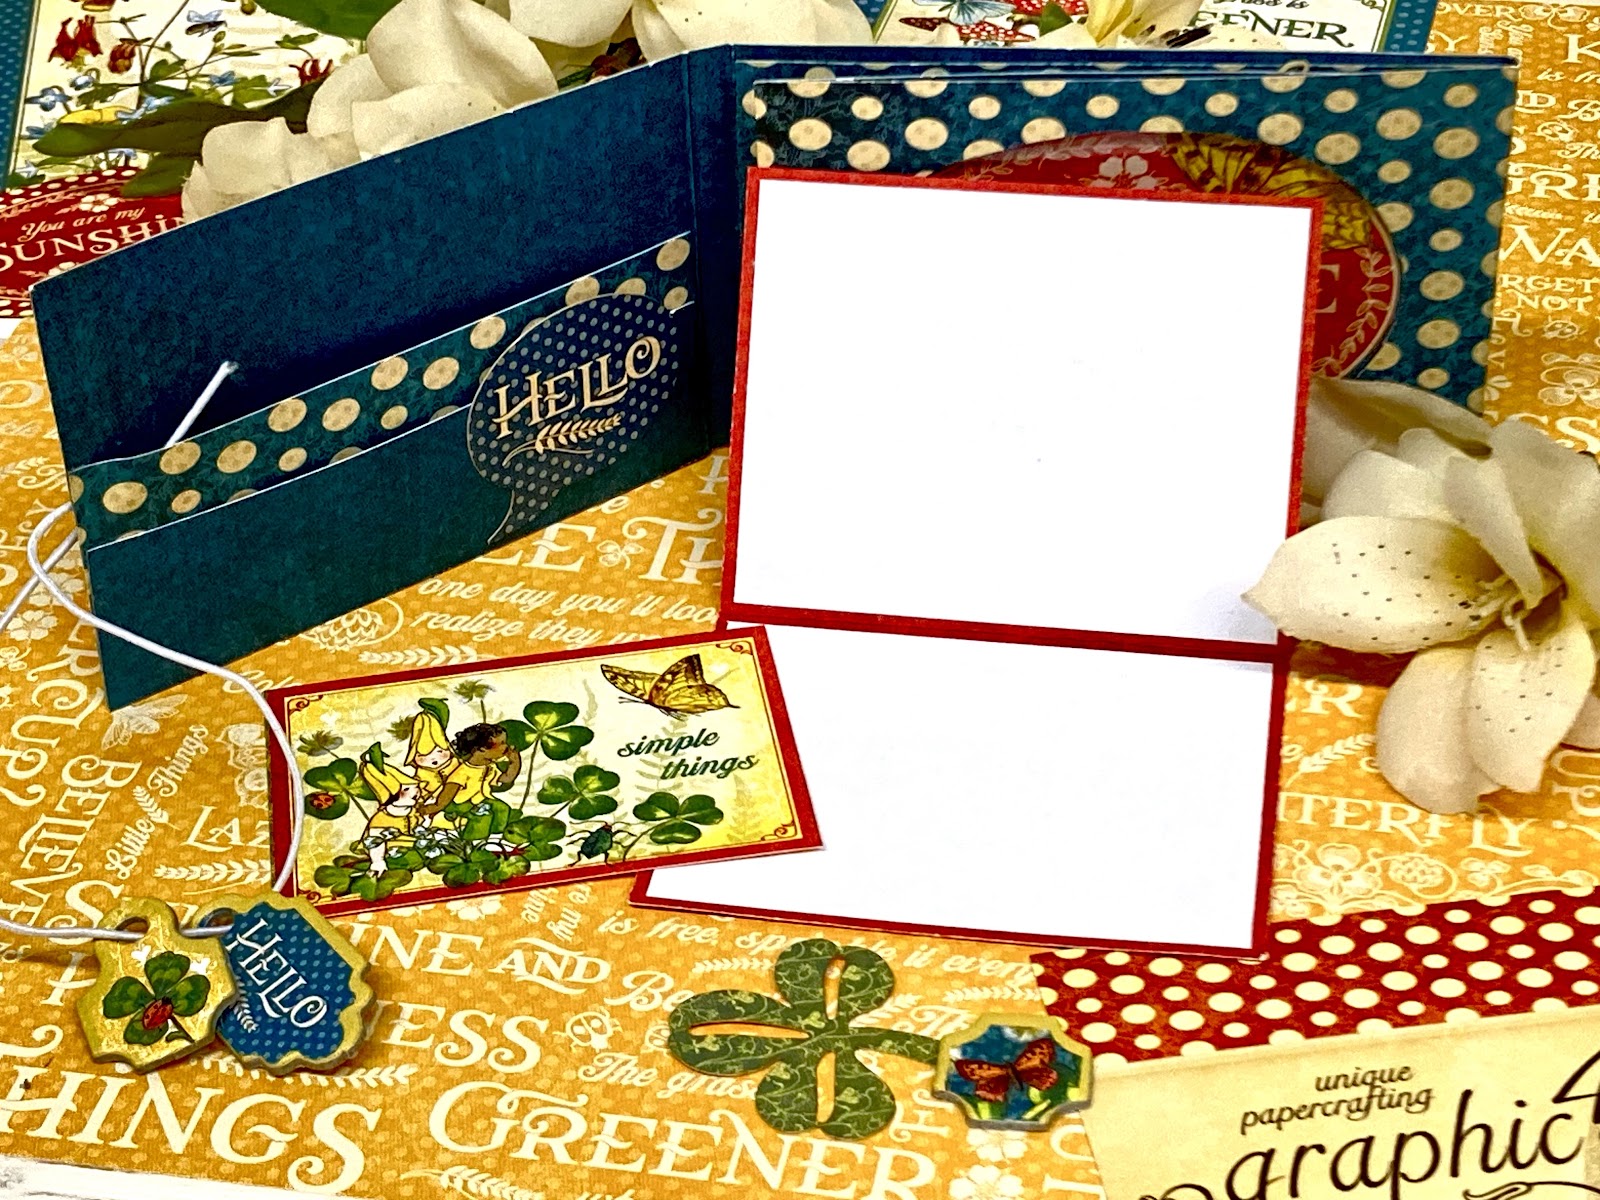
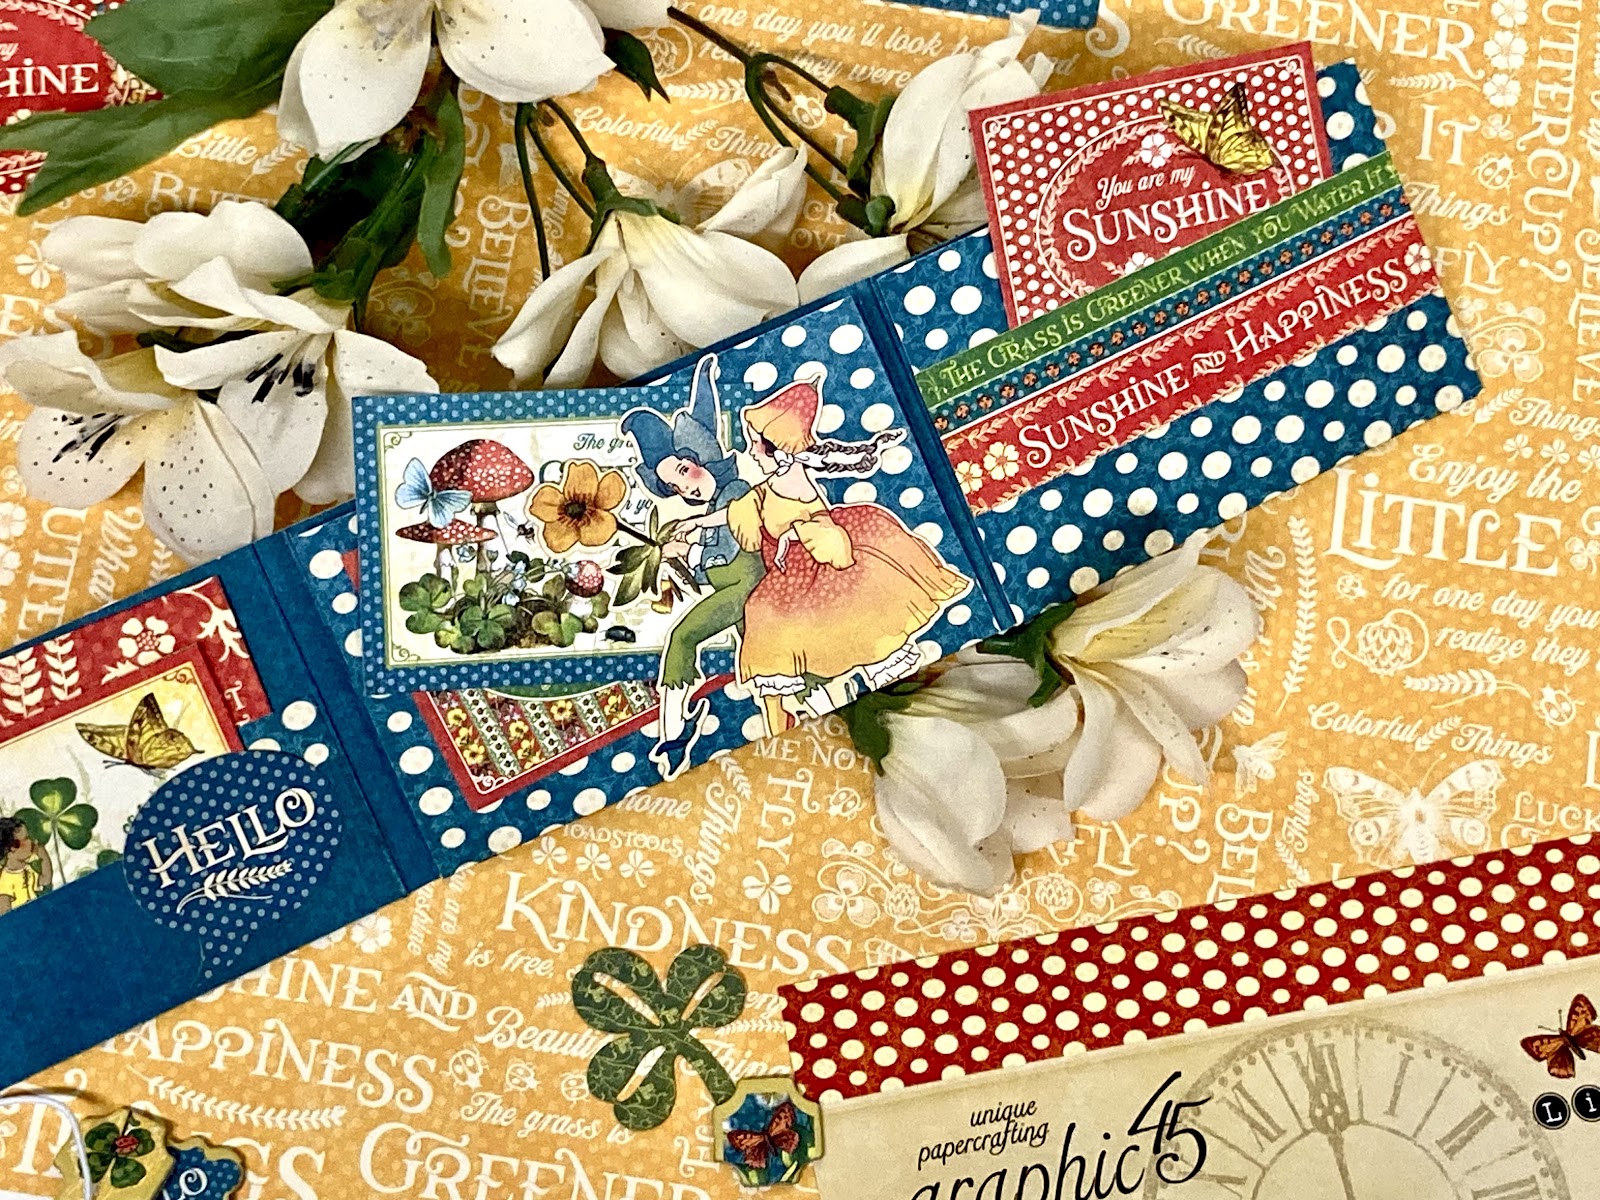
Once the base of the little wallet is made, you can customize the sections however you want. For example, I used one of the small journaling cards to create an oval window on one and backed it with a piece of acetate.
On another section, I created a double pocket. Then, I added a little photo booklet and a small cut apart from the 8×8 paper collection.
In the center, I used a piece from the ephemera assortment to create a tuck spot to hold two more small cut apart pieces from the 8×8 paper.
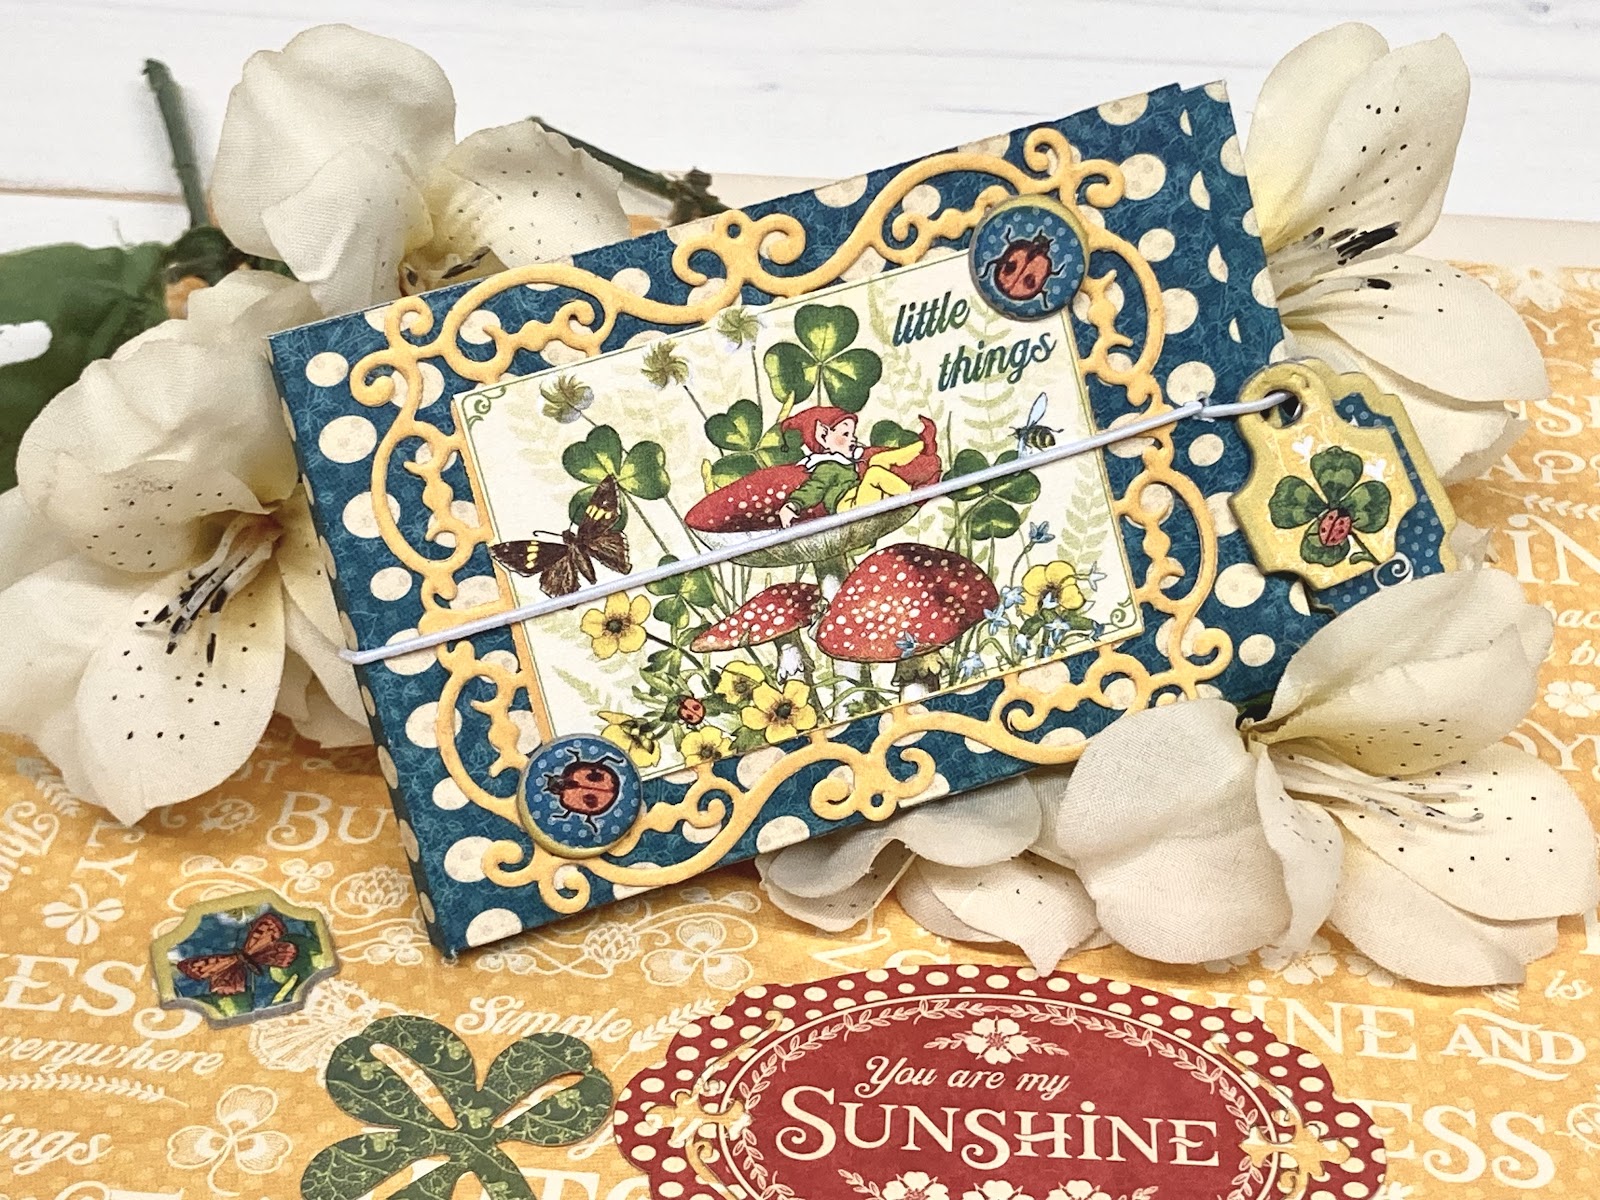
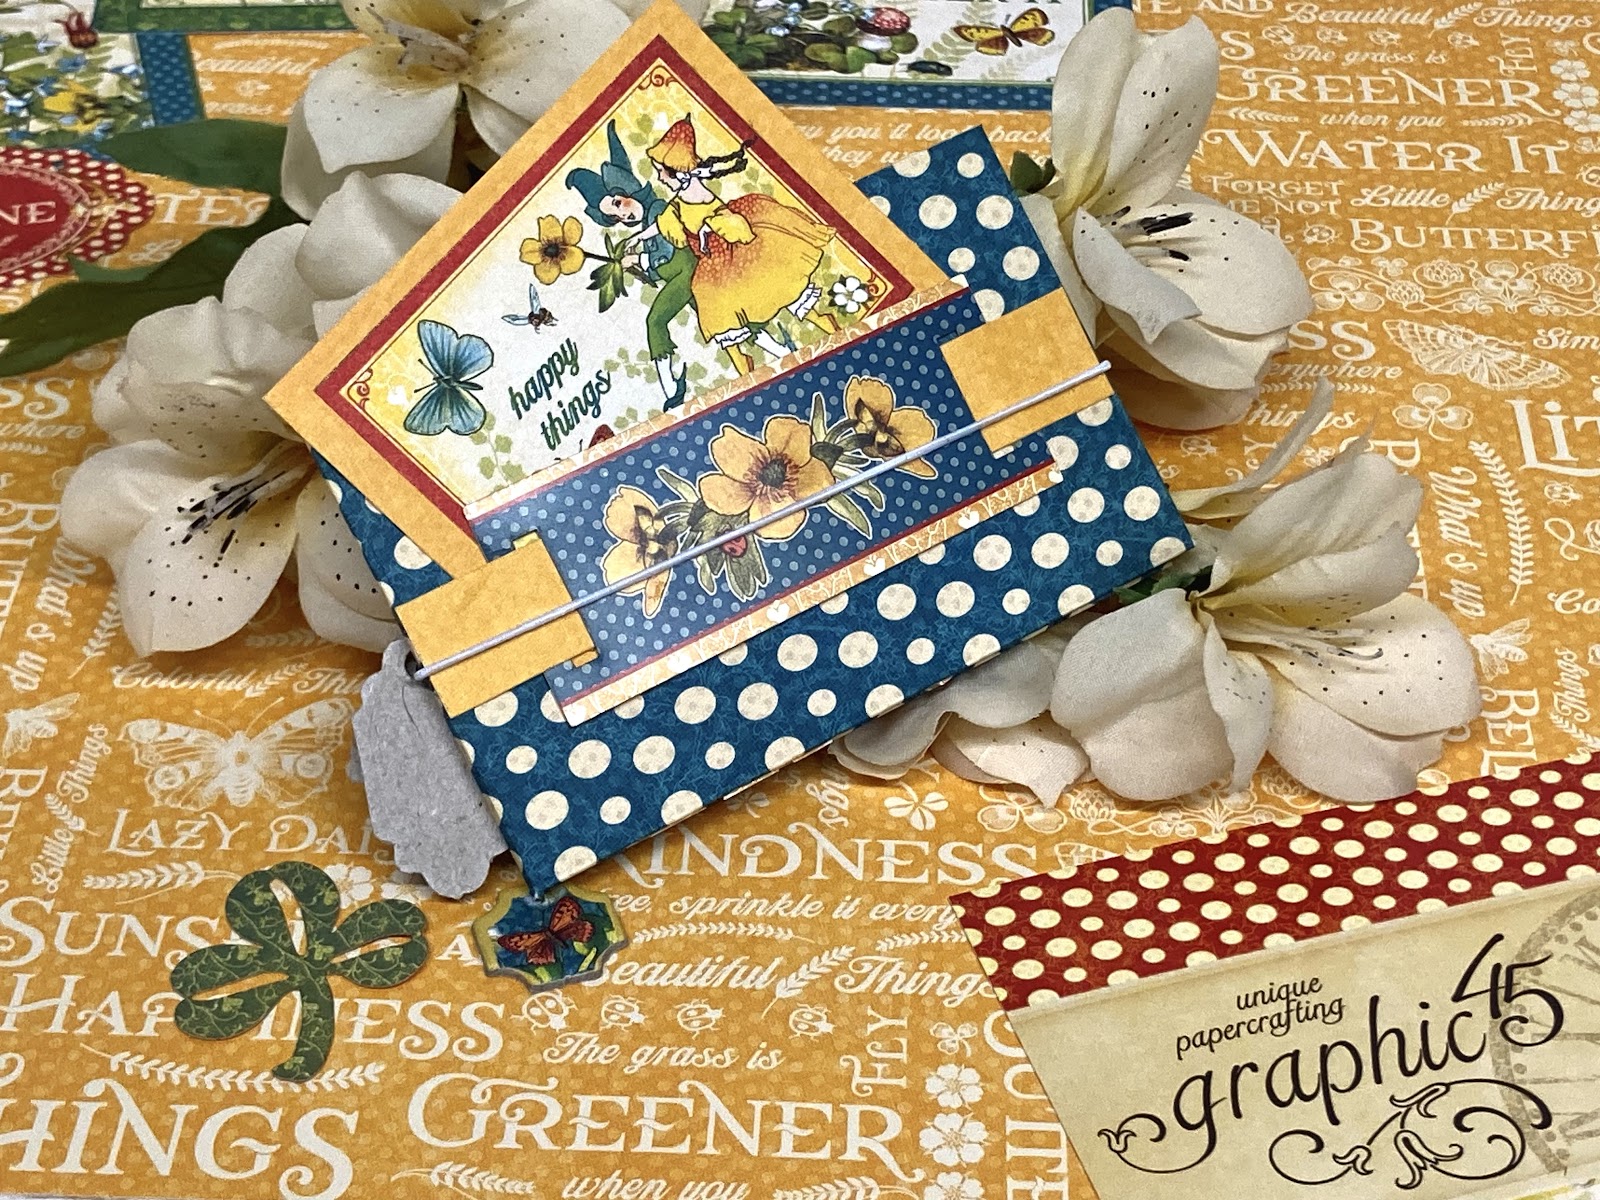
A simple belly band from the 8×8 paper collection adds a flat feature to tuck another of the small cut apart cards.
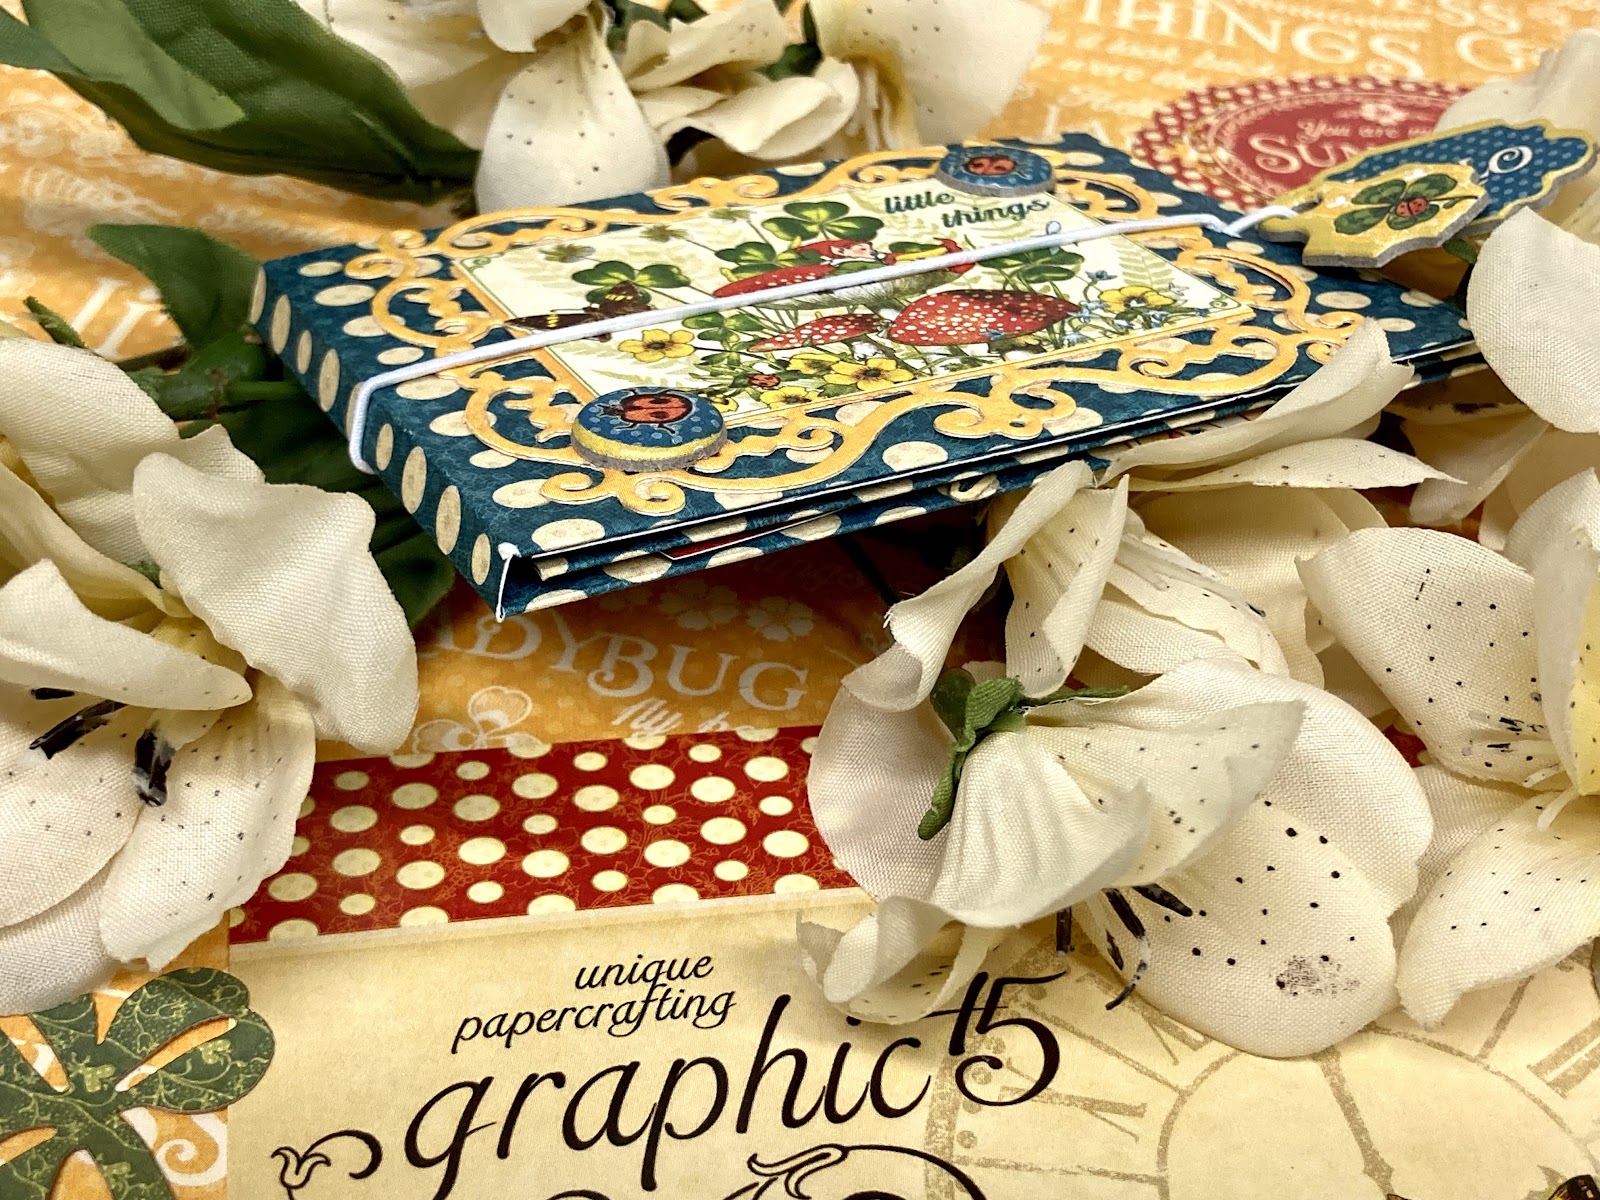
Don’t forget the back cover! I added a scrap strip of yellow Patterns & Solids to one of the die cut pieces to create another belly band. Using a second scrap of yellow Patterns & Solids, I created a photo mat using one of the small cut apart cards.
I love to create mini projects and I hope my project has inspired you to think outside the box on a new way to use up some of those leftover scraps. Try making this adorable mini wallet with your favorite Graphic 45 collection and tag #graphic45 on your social media posts so we can all see what you made!
To see a full tutorial of this project, you can visit my YouTube channel.” ~Kristine
Want even more Graphic 45? Sign up for our newsletter here.
One Response
Excellent piece, love the colors and size. It is a master piece. Extremely well done