Hello, G45ers!
Are you looking for ways to maximize your Metal Dies? Well, we have a fun and fabulous Embossing #G45Technique to share with you today by Graphic 45 Brand Ambassador, Marina Ignatova. Below you will find step by step instruction on how to add texture and color to your die cuts. We hope you try this technique out on your next project, and when you do be sure to share with us on Instagram using that #Graphic45 hashtag.
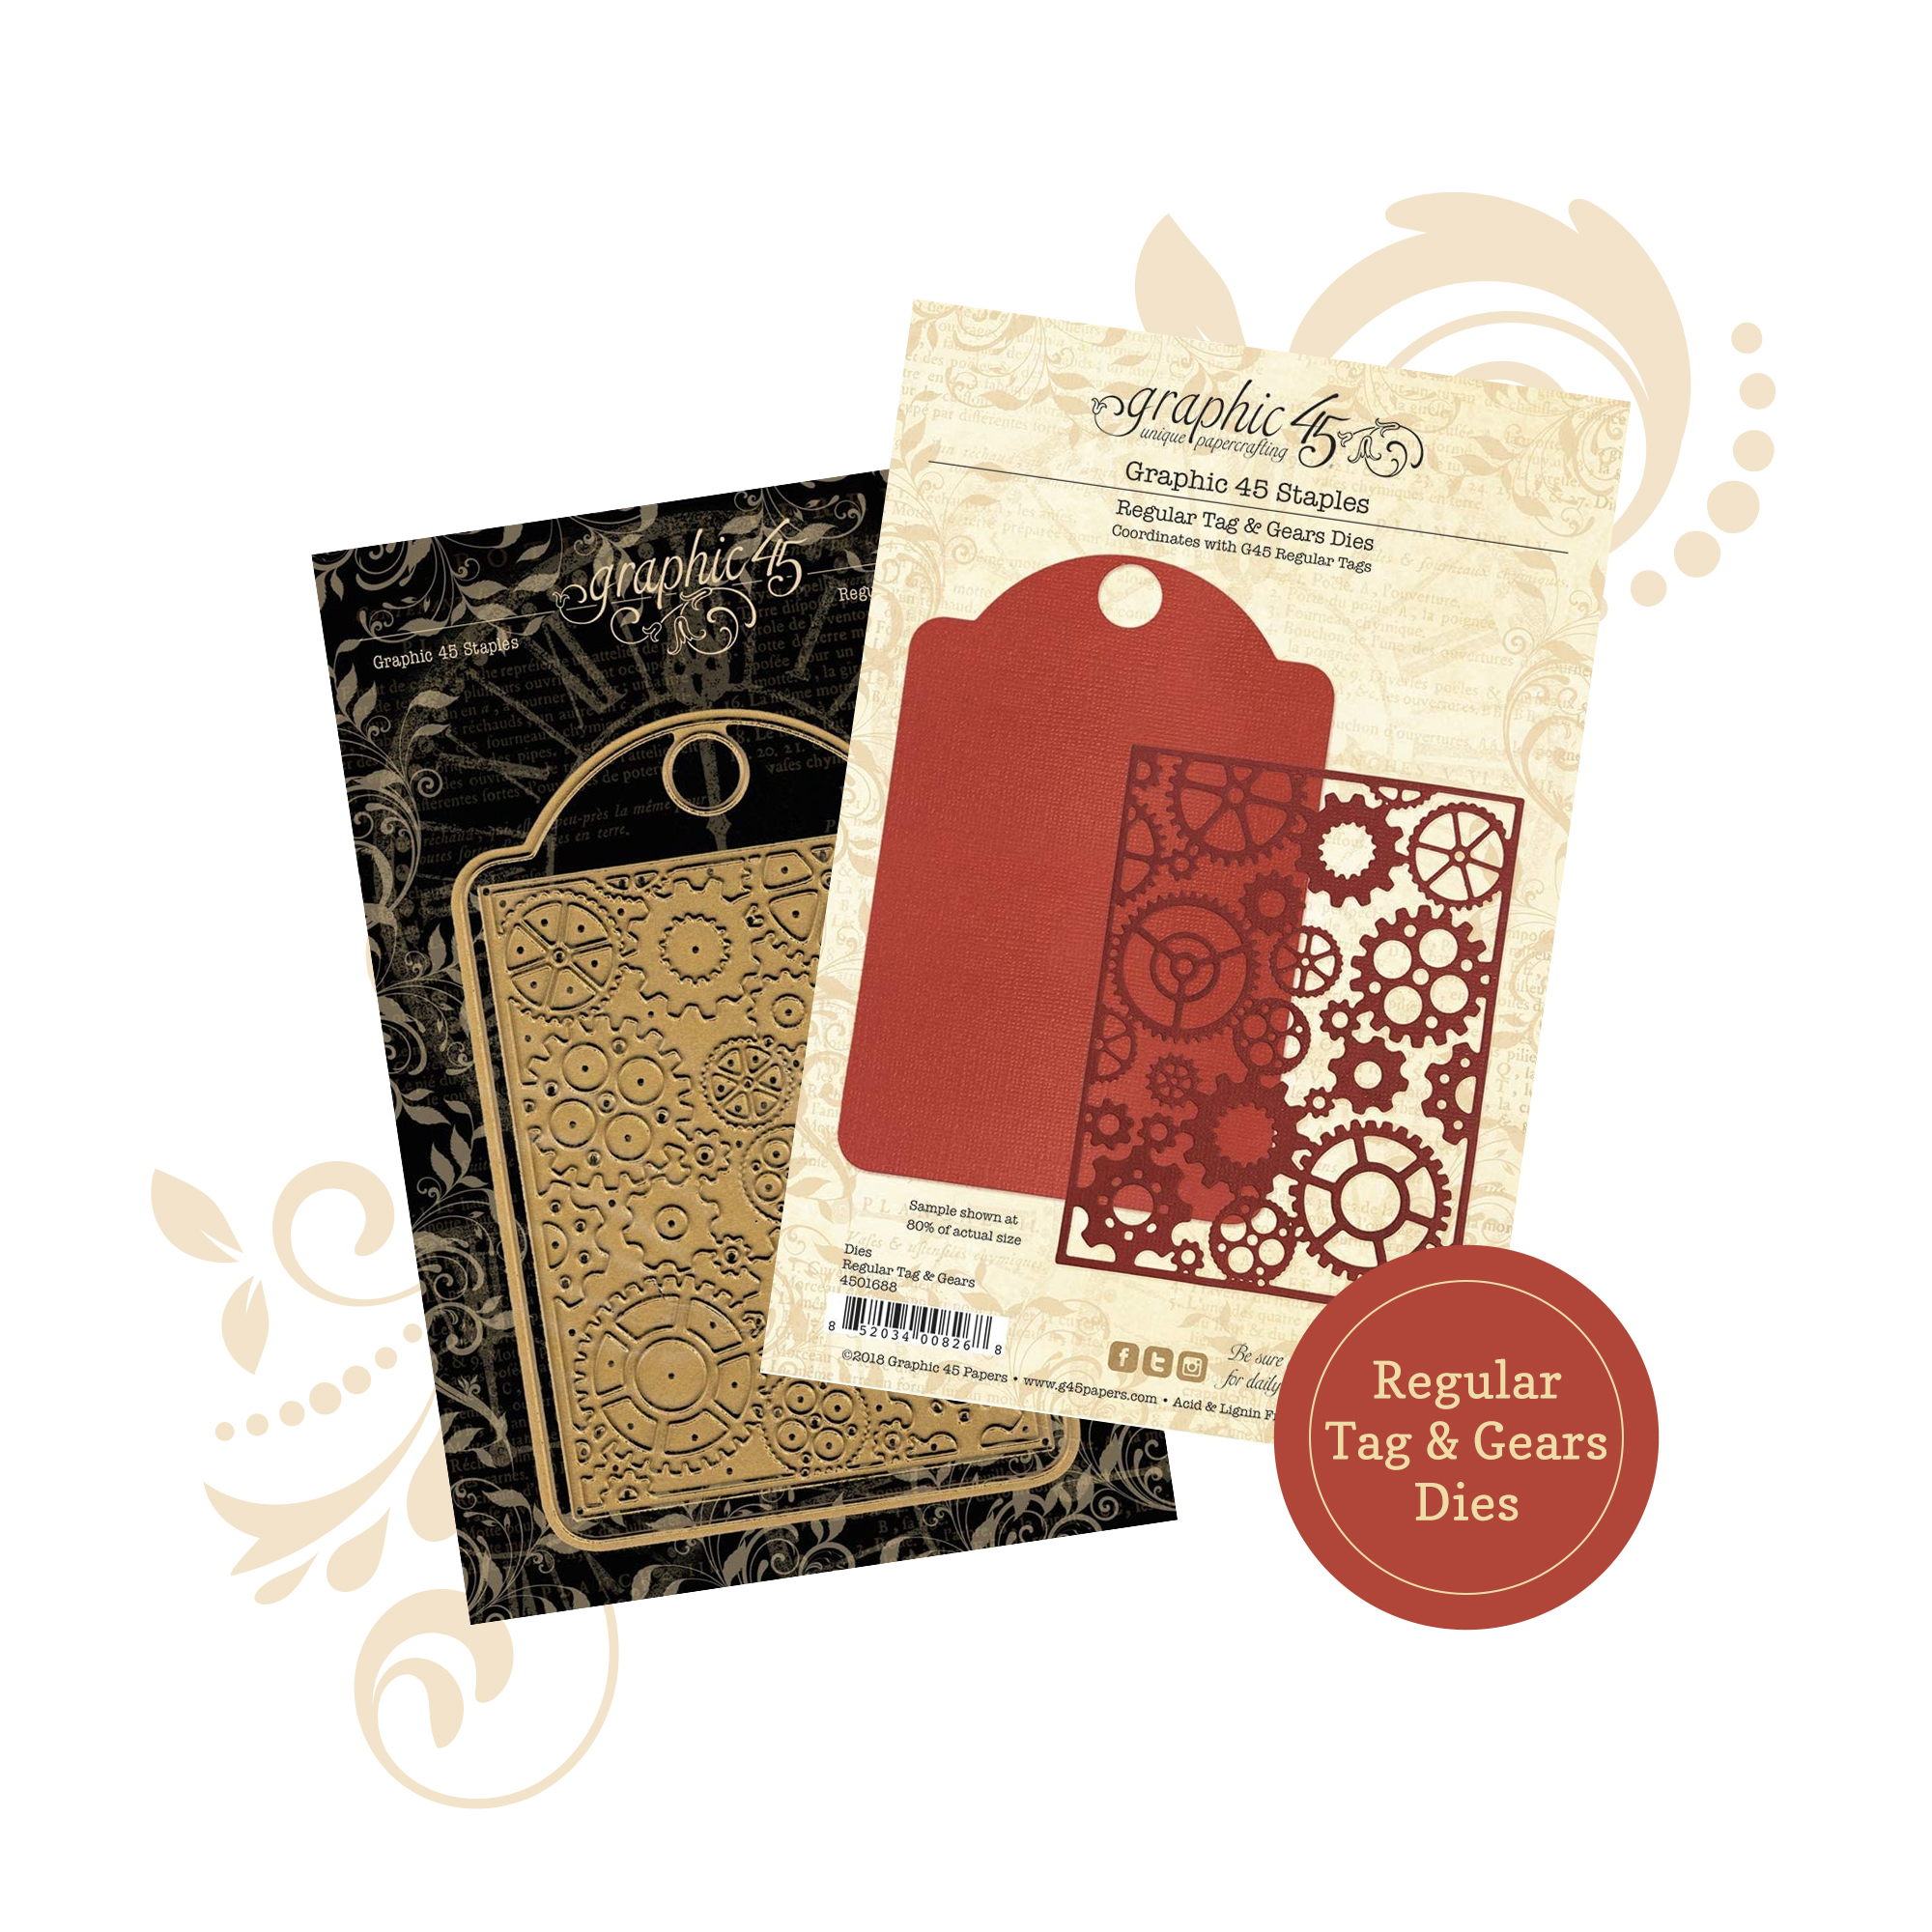
Embossing Technique with Metal Dies
“Hello, dear fans of G45!
How often do you use familiar things in a non-trivial way? Today I will show you how to use a cutting dies to make embossing.
To begin with, I cut down a few elements to create further volume.
I glued two parts together.
Next, I cover the details with soil. Separate base and cut parts.
We glue the bases and cut down parts.
Added textures using a paste with sand.
Using a brush, I tinted the surface with waxes of different colors.
And at the end, I run my finger over the surface of the metal wax in some places.
You get elements that can be perfectly used in layers of decor. So I got a fancy bright panel. Inspiration to you friends!” ~Marina
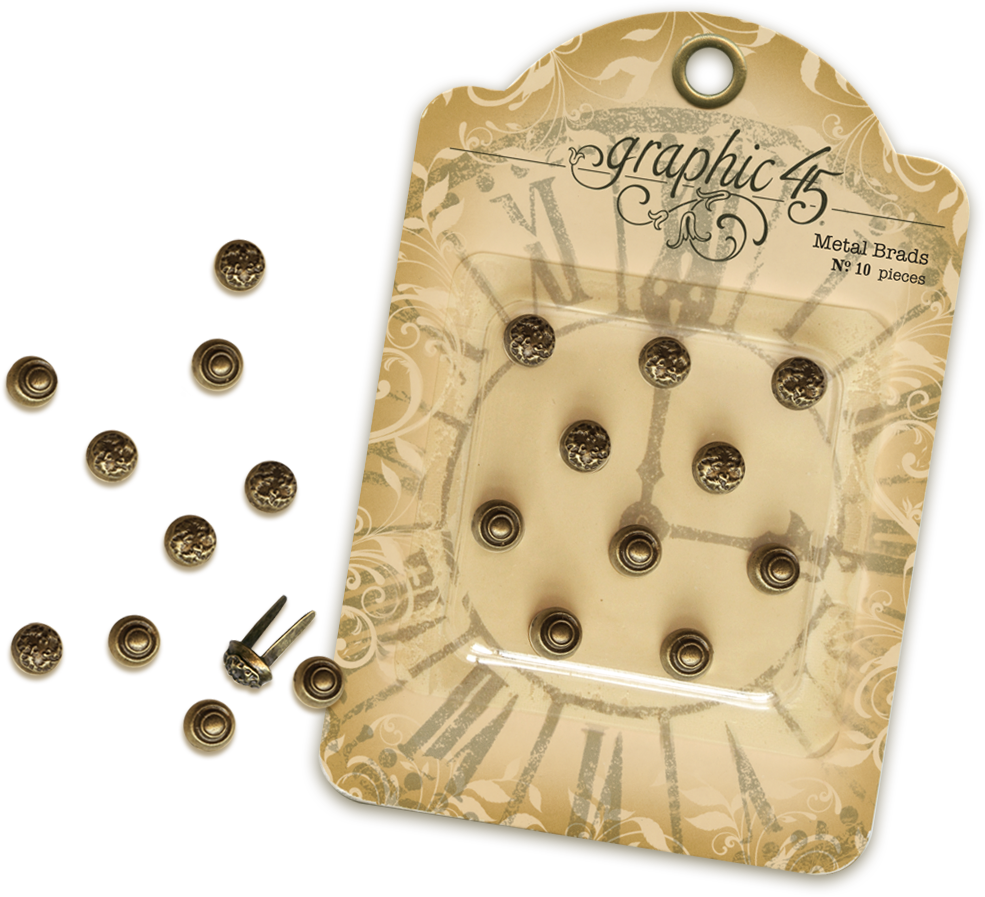
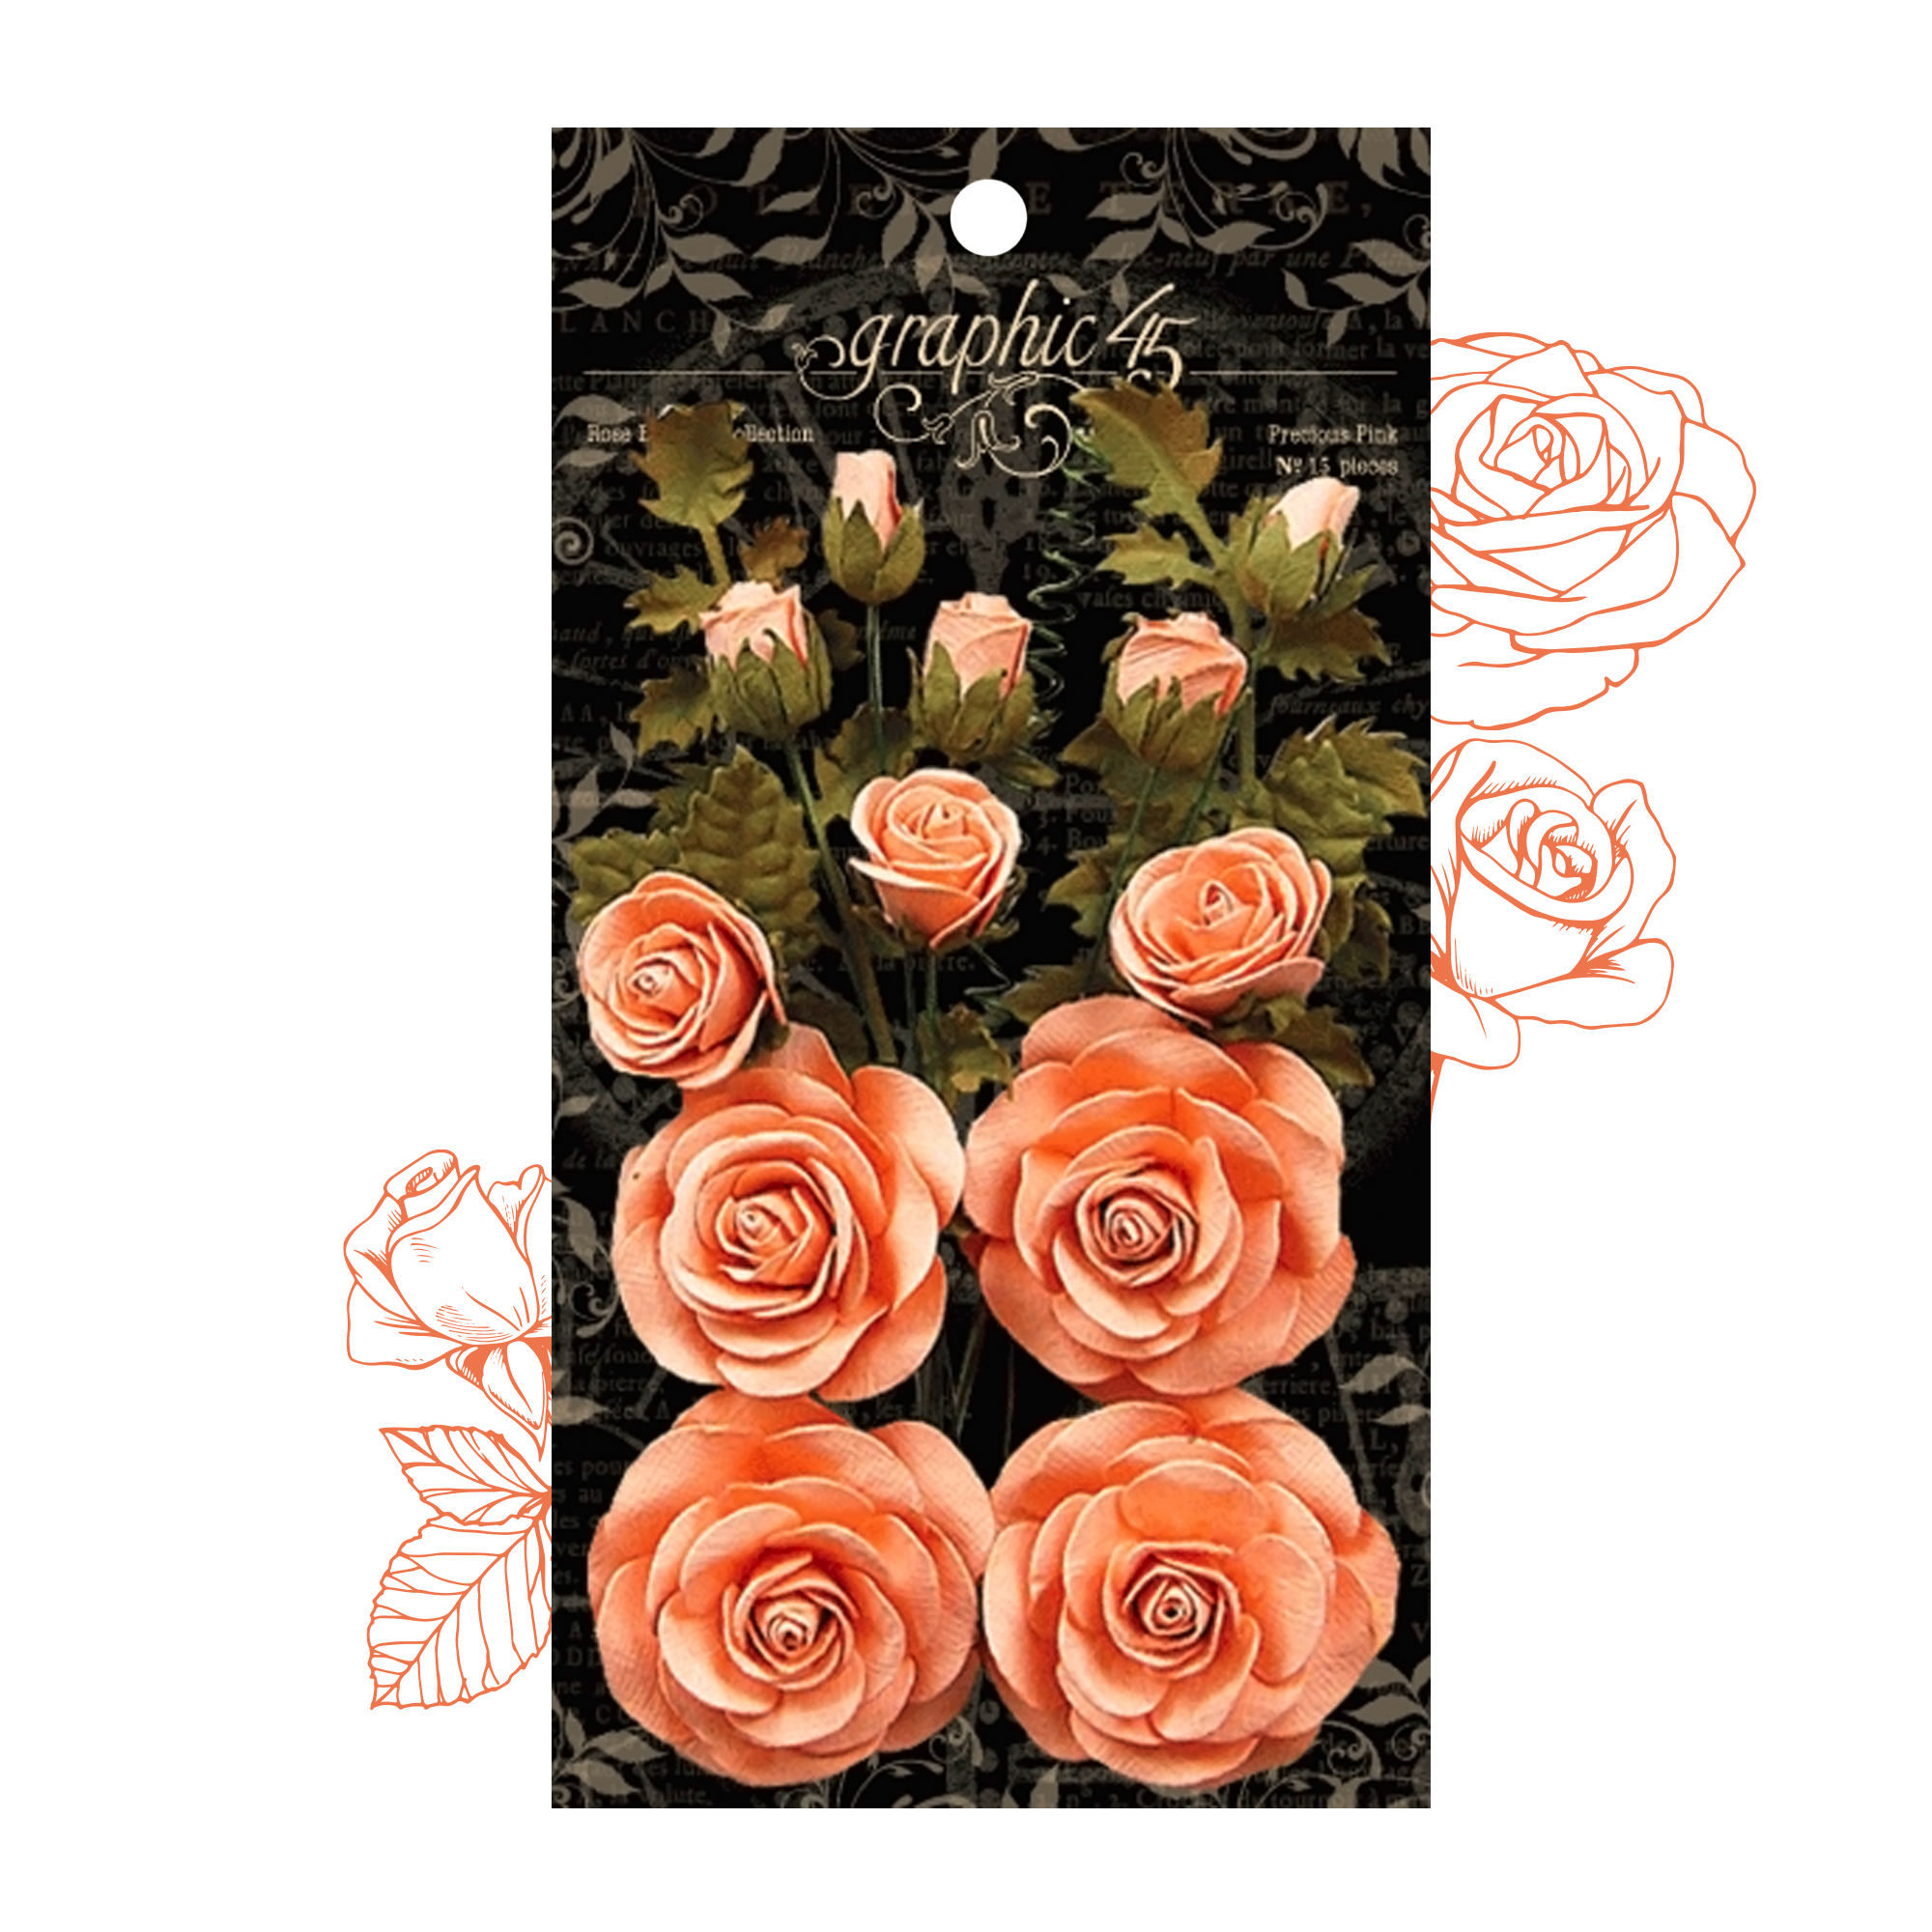
Graphic 45 Supply List:
Imagine pad 8×8 (retired)
Happy Papercrafting!
Want even more Graphic 45? Sign up for our newsletter here!