Add texture and whimsy to your paper projects with this Paper Embroidery Tutorial by Graphic 45 Brand Ambassador, Carla La Vera. Carla share this technique on a gorgeous scrapbook layout where she has mixed and matched our paper collections, really showcasing how easy it is to use up those paper scraps. We encourage you to grab some paper, a needle and thread and join in the fun!
“I like to incorporate some different textures or layers to my projects.
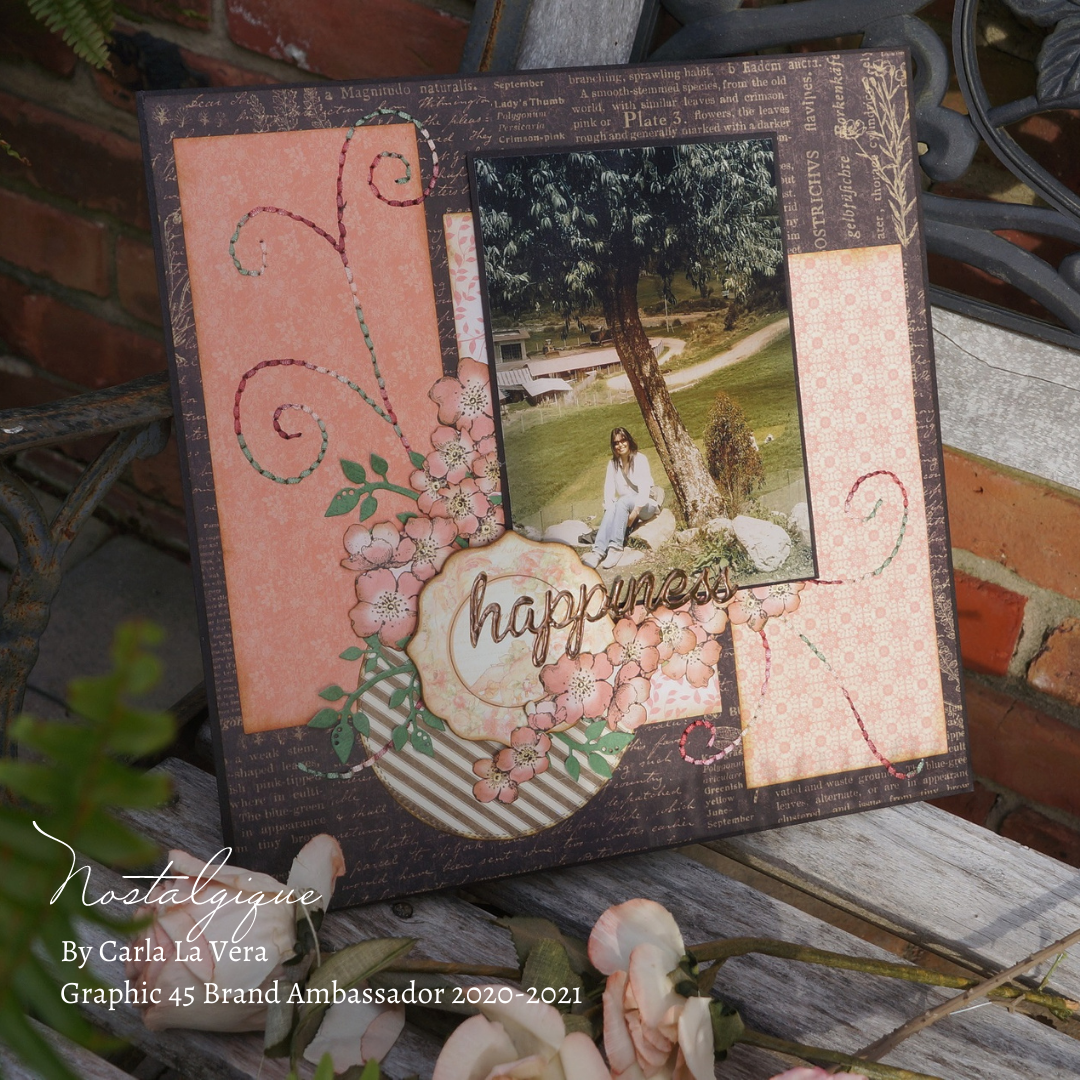
Now I want to share with you this layout with ribbon embroidery curls.
Another thing that I want to show you is how I worked with 5 different Graphic 45 collections.
This is another reason why I love Graphic 45.
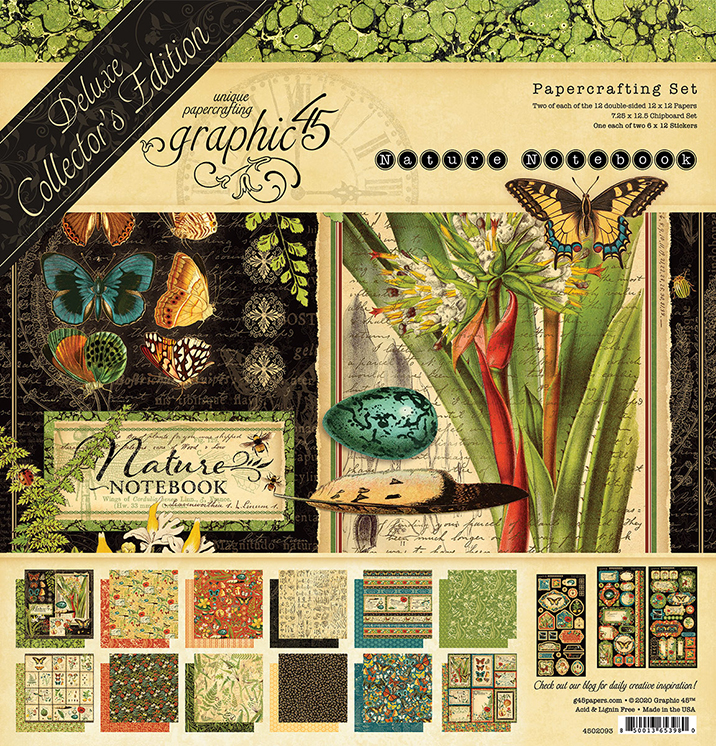
Flora – Nature Notebook – 11 ¾” x 11 ¾”
Pink Paper – Pattern & Solid Papers – Portrait of a Lady Collection. 2 – Pieces 3.5” x 8.25”
Field of Flowers – Botanical Tea Collection – Round with diam = 4.25”
Pink leaves – Pattern & Solid Papers – Garden Goddess Collection. 1 Piece 3.5” x 8.25”
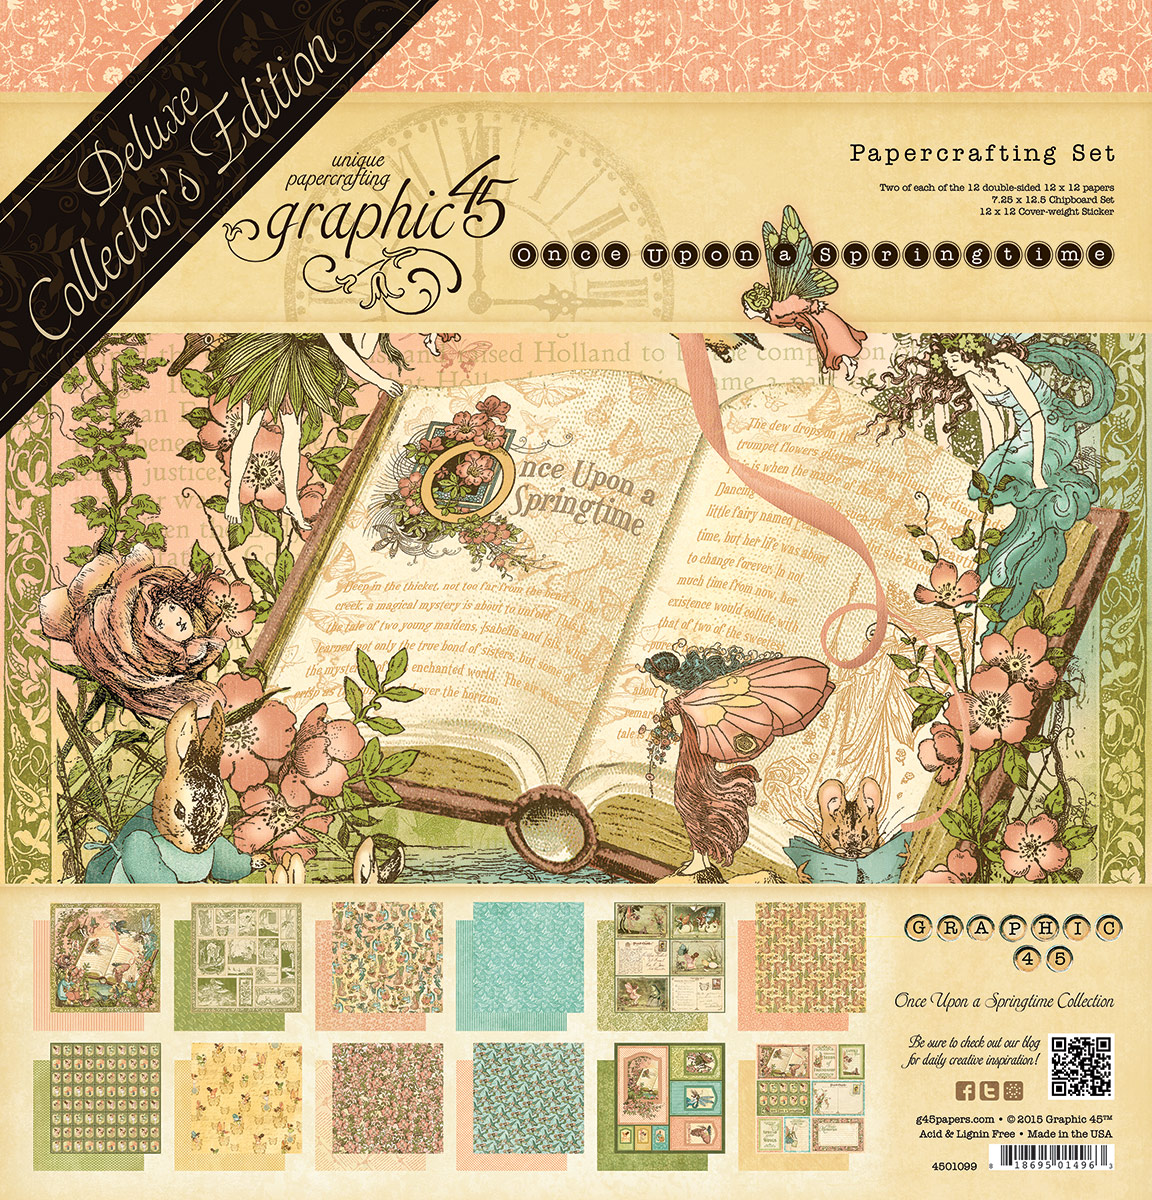
Primrose Cottage – Once Upon a Springtime Collection. – fussy cut – flowers
Green – Pattern & Solid Papers – Woodland Friends Collection. 3-Flower Die Cuts.
Baby 2 Bride – Chipboard Embellishment
Add the Pieces (3.5 x 8.25) to the Flora paper.
Add the round = 4.25” to the layout as shown in the picture above.
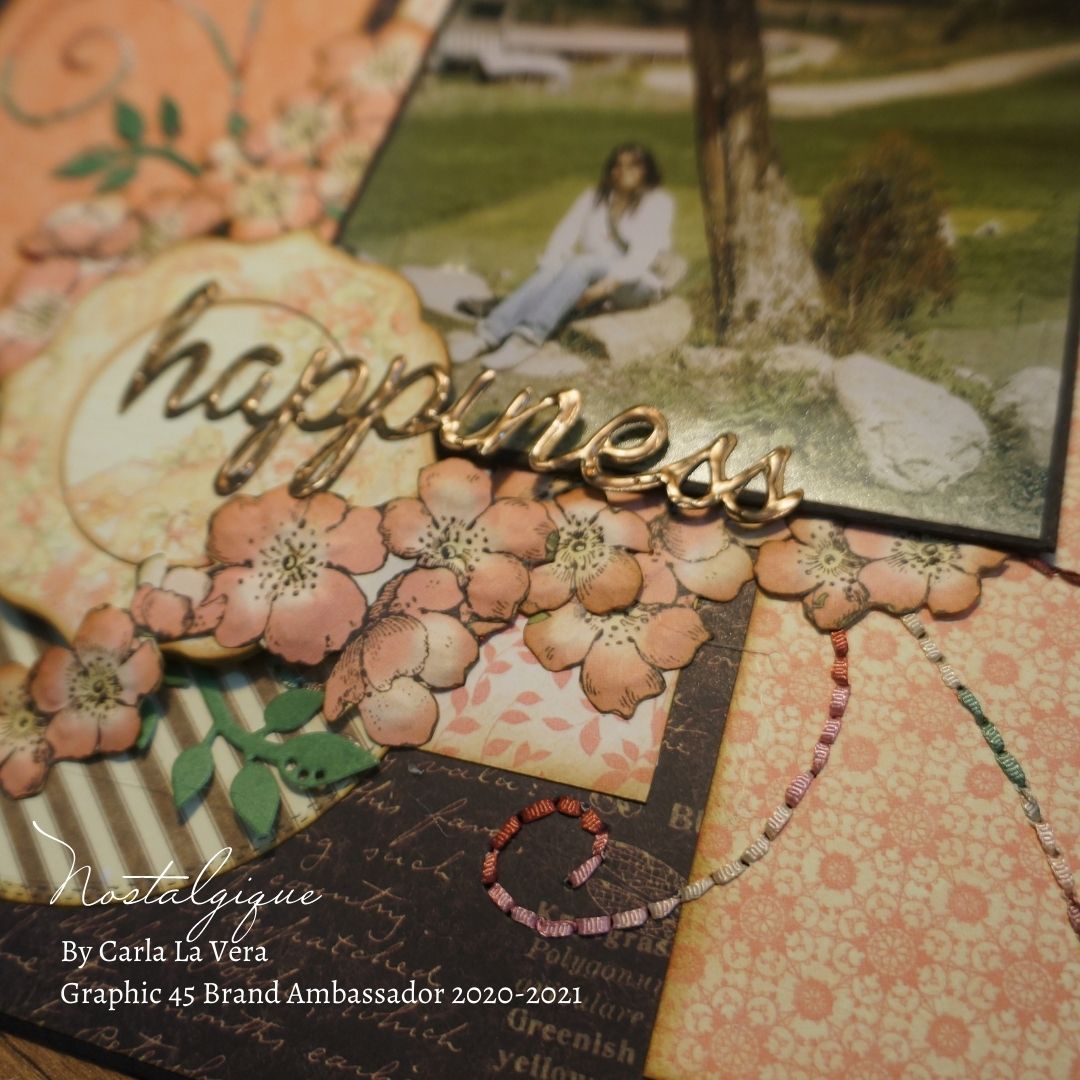
Draw the curl that you like and punch small holes leaving around 1/8” between the holes.
Take a needle with the thin ribbon. We are ready to begin to embroider the curls.
Insert the needle through the first hole from the back to the front of the layout then, insert the needle on the second hole from the front to the back, then, insert the needle by the third hole (back to front)
Insert the needle again through the second hole and take it out by the fourth hole. Continue with these steps.
Take a piece of black cardstock (5” x 8”) and add a piece of chipboard at the back, as shown in the picture above, then add it to the Layout.
Add the layout to a 12” x 12” Graphic 45 Chipboard Piece.
Add the leaves.
Add the chipboard piece and continue with more flowers.
Add the picture to the photo mat, then, add some title to your layout and it is done.
Flora – Nature Notebook Collection
Pink Paper – Pattern & Solid Papers – Portrait of a Lady Collection.
Field of Flowers – Botanical Tea Collection
Pink leaves – Pattern & Solid Papers – Garden Goddess Collection.
Primrose Cottage – Once Upon a Springtime Collection.
Green – Pattern & Solid Papers – Woodland Friends Collection.
Baby 2 Bride – Chipboard Embellishment
Black Chipboard Piece – 12” x 12”
Ribbon 2 mm.
Needle (for the ribbon)
Want even more Graphic 45? Sign up for our newsletter here!


2 Responses
Very interesting that you drew papers from several different collections. Backstitch is so easy to do…pearl cotton embroidery thread works really well, too. thanks for posting this tutorial…much appreciated!!
Carla you have done a beautiful work mixing medias and the addition of the ribbon embroidery is so creative. Great job!