Hello, G45ers!
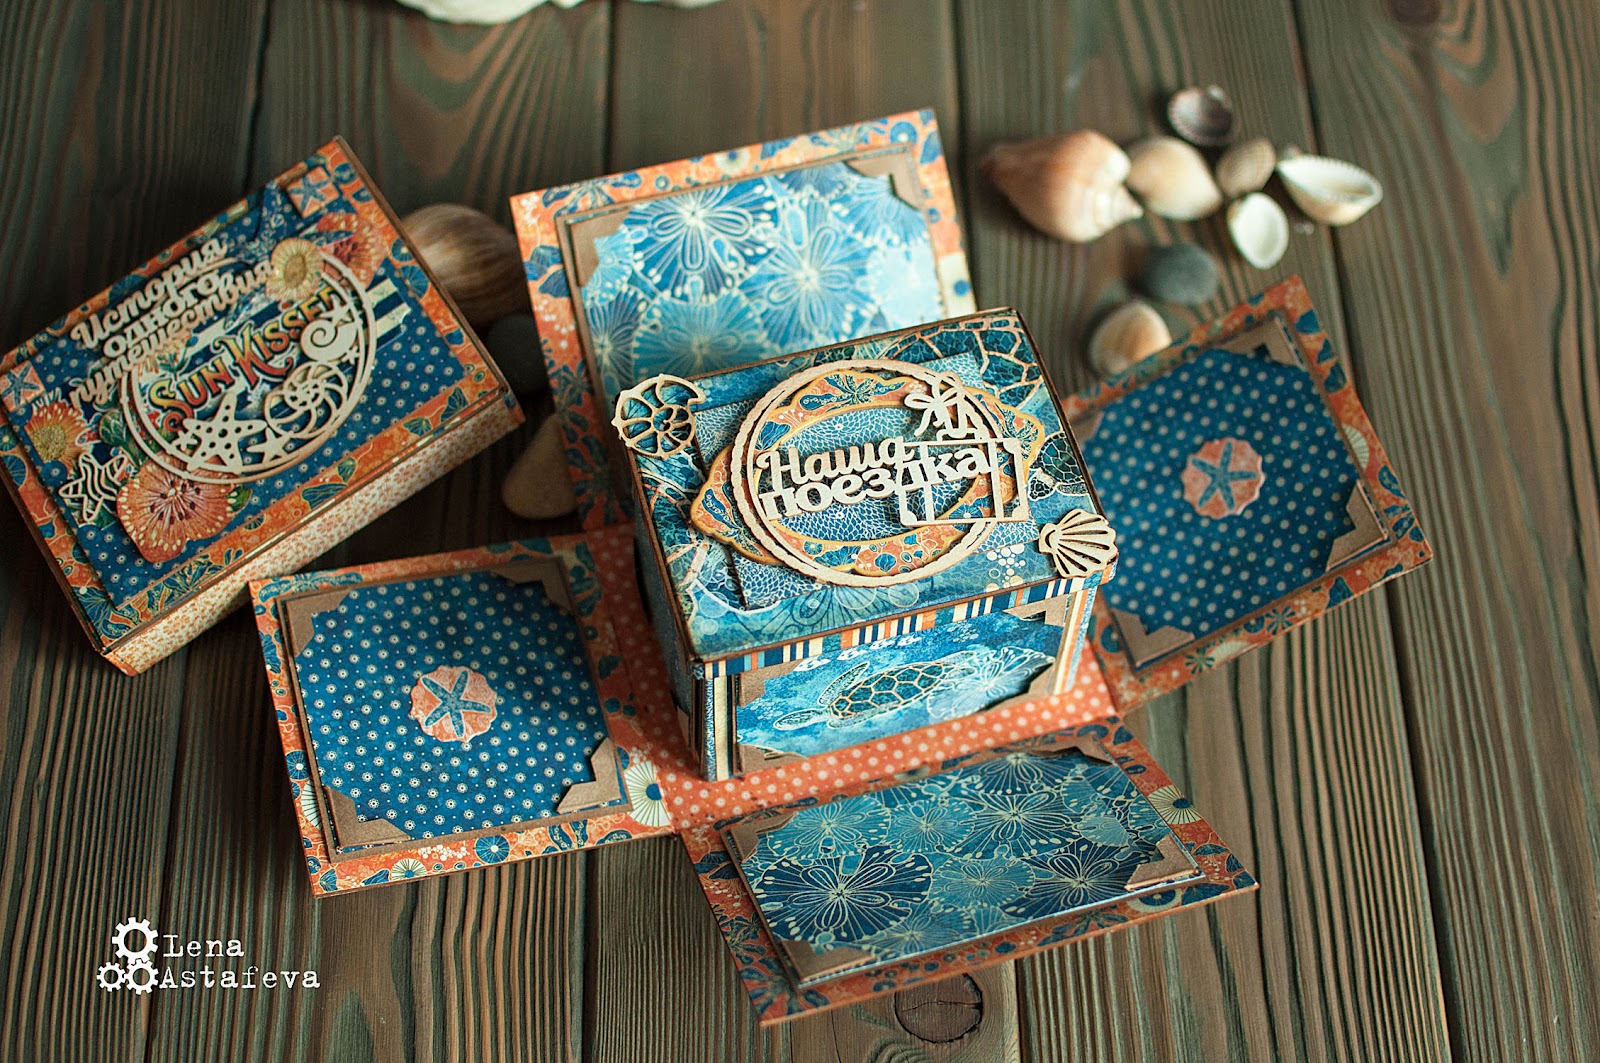
It is time to think ‘inside the box’ with this Explosion Box Step by Step tutorial. This stunning Sun Kissed Explosion Box has been created by Lena Astafeva for our #ClubG45LeveledUp series. This series is where we ask our Brand Ambassadors to take one of our Club G45 project sheets to create a project and add their own personal touches to take the project to the next level. For this project, Lena has used our Vol 03 2020 for her inspiration and you are going to love what she has done!
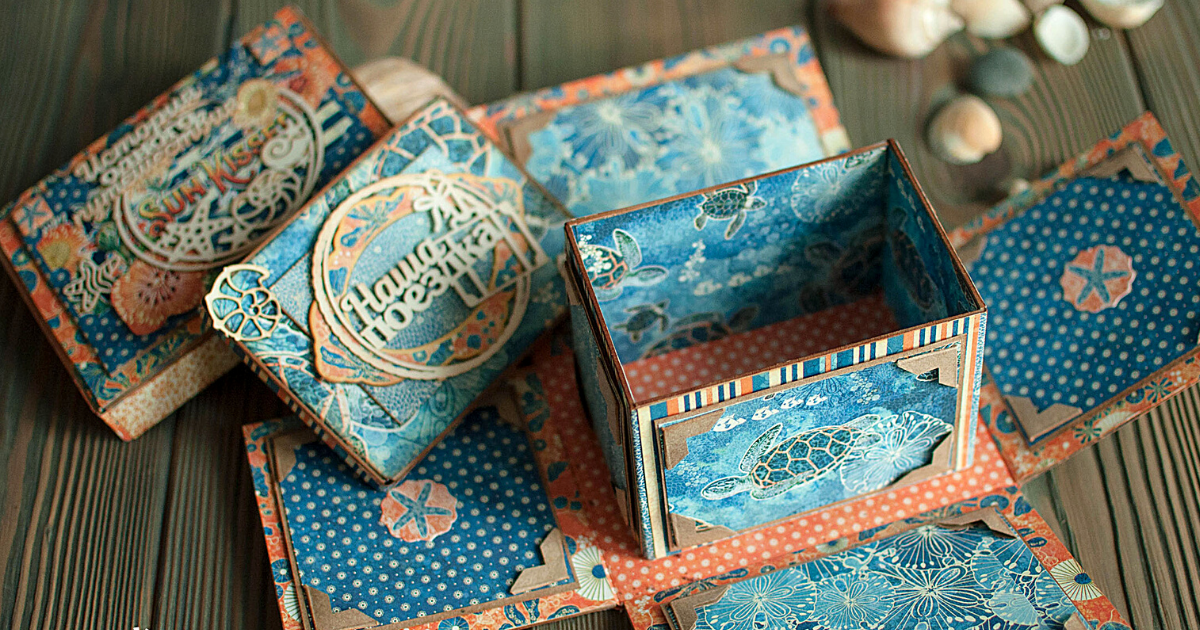
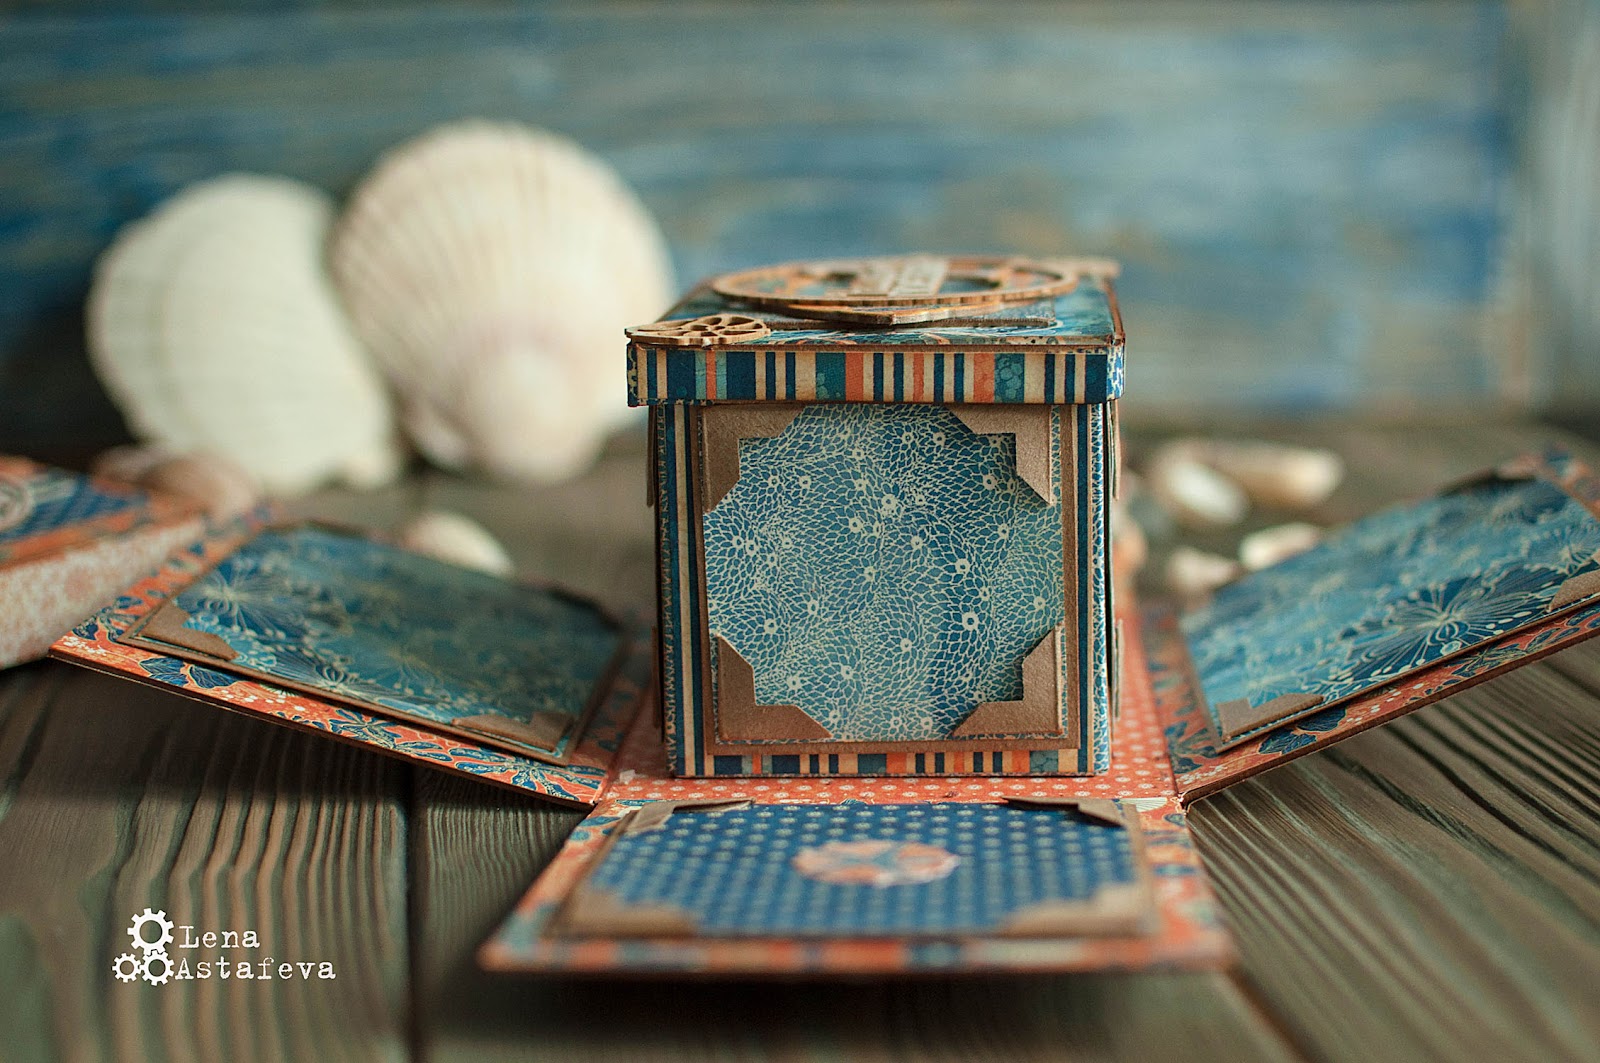
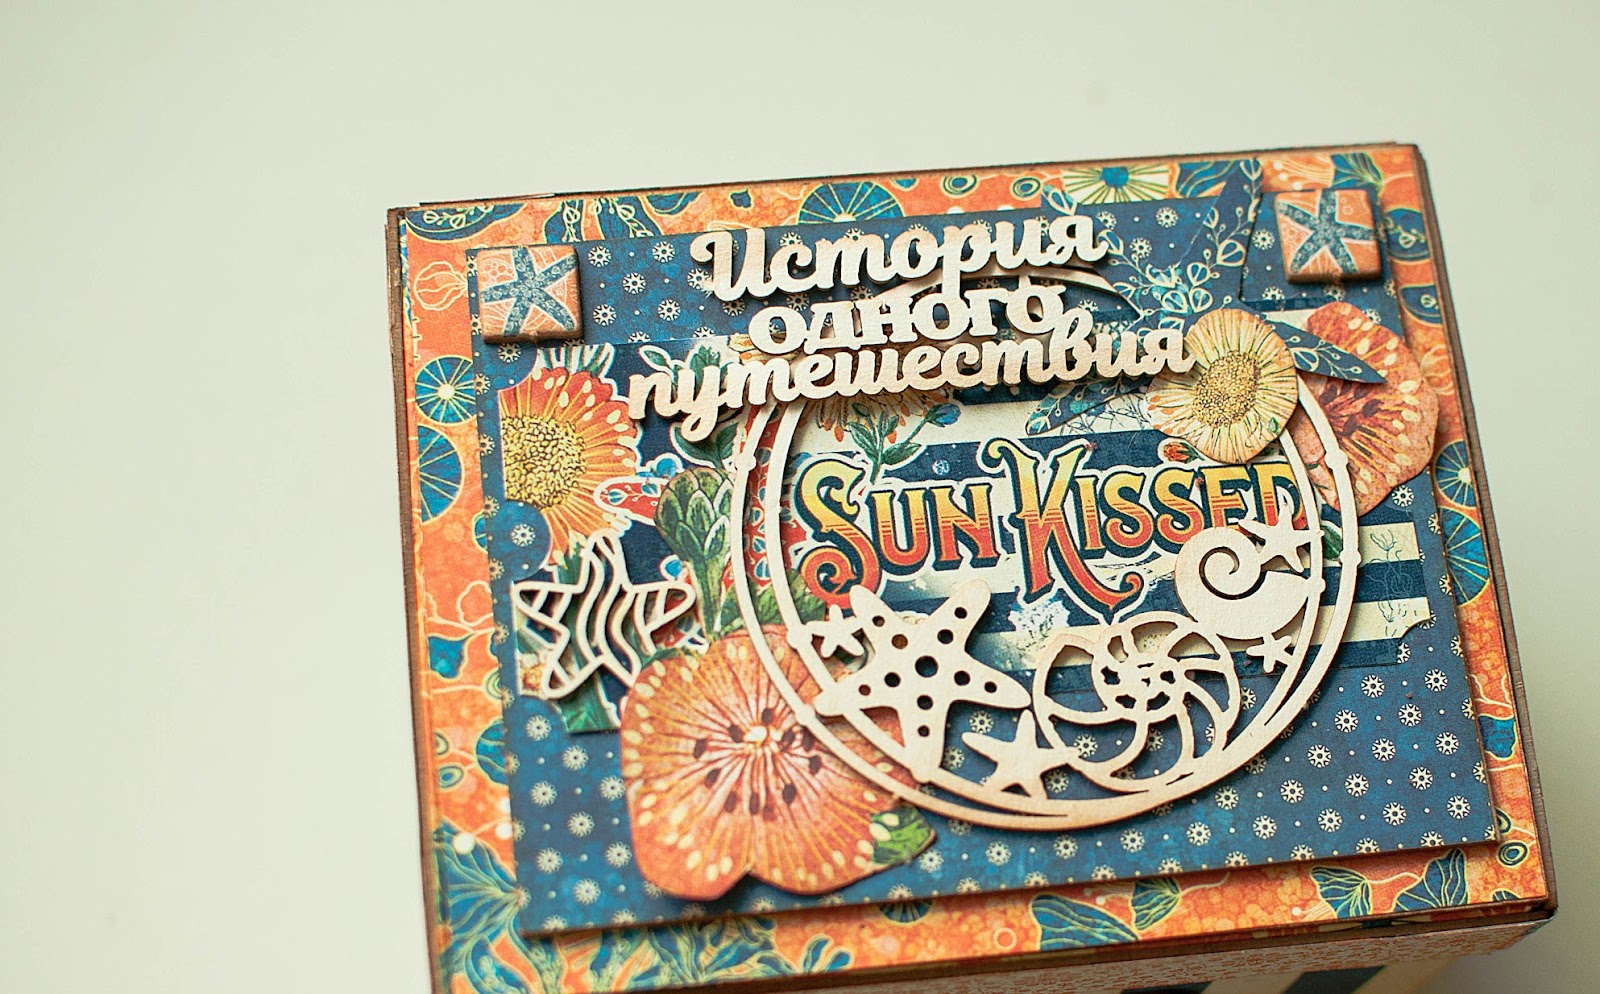
Explosion Sea Box for Club G45
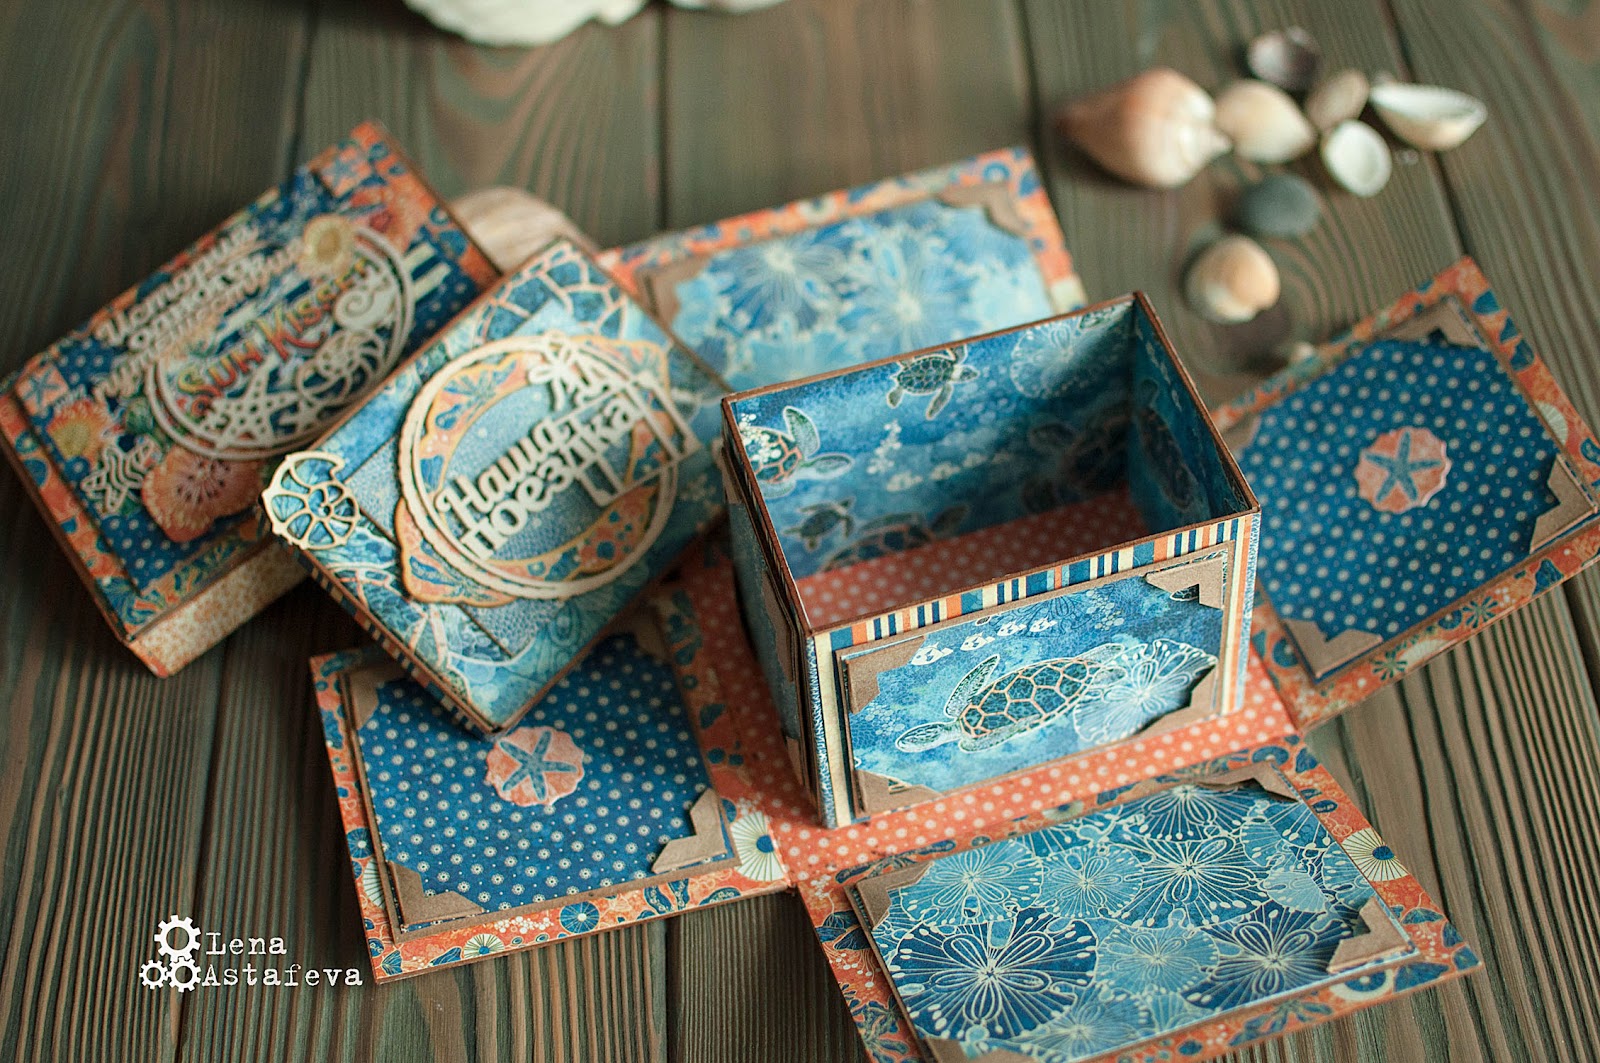
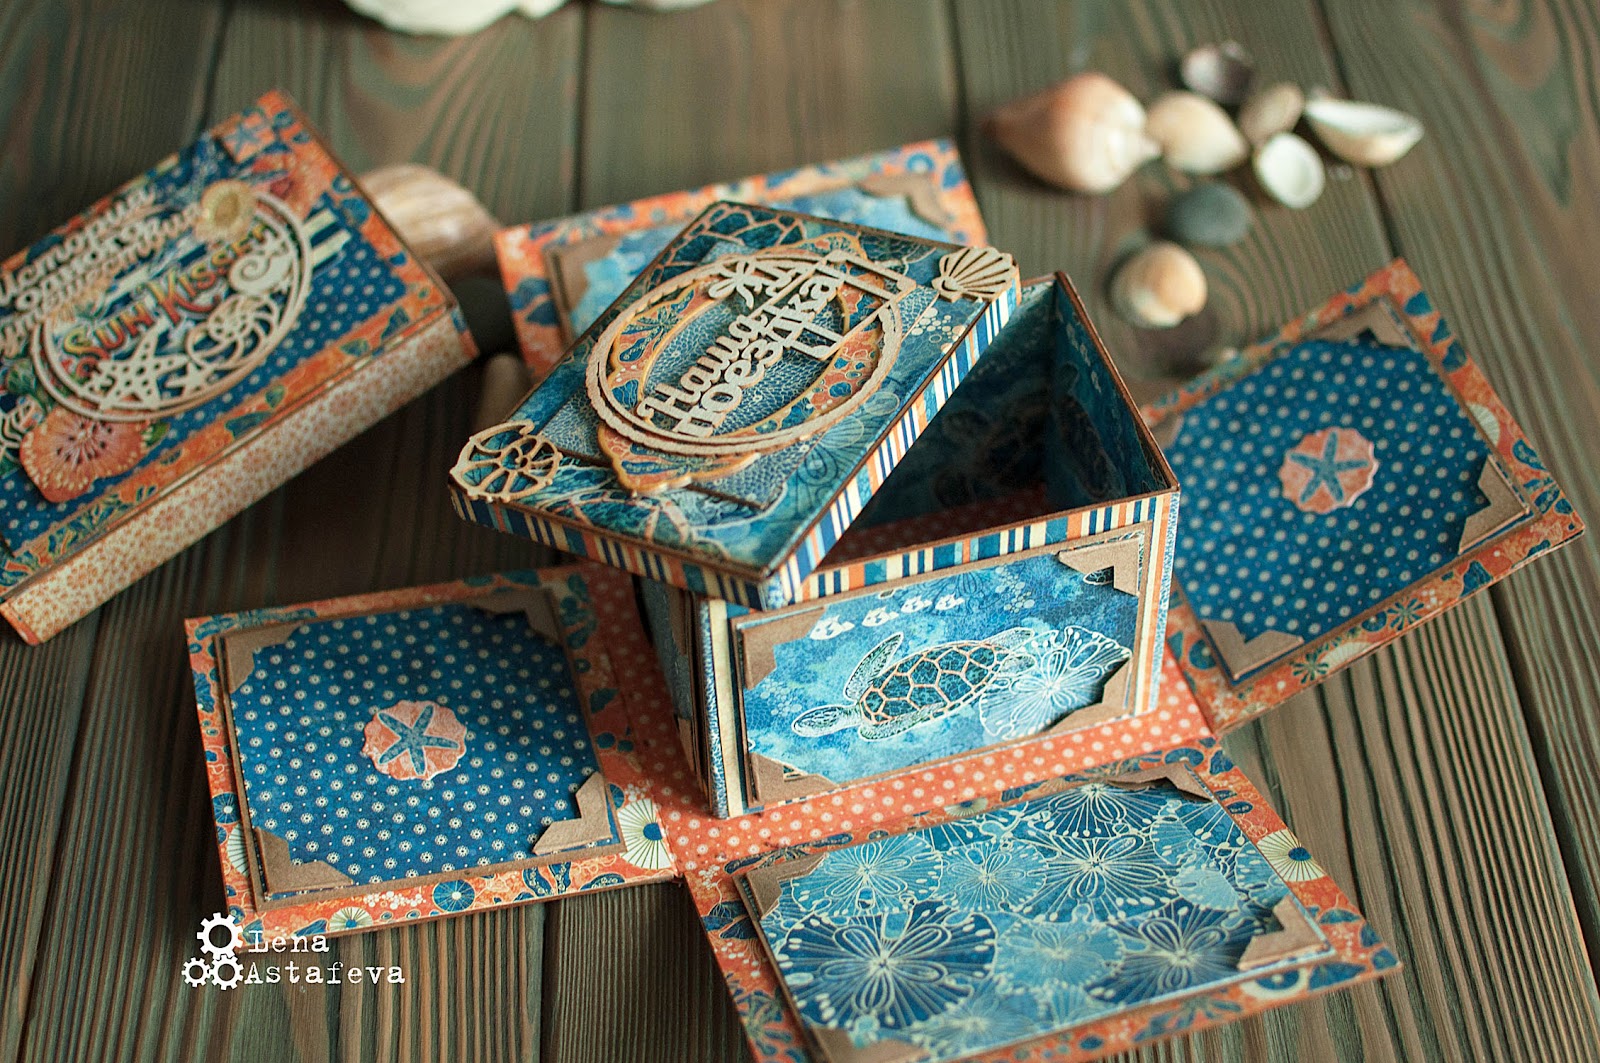
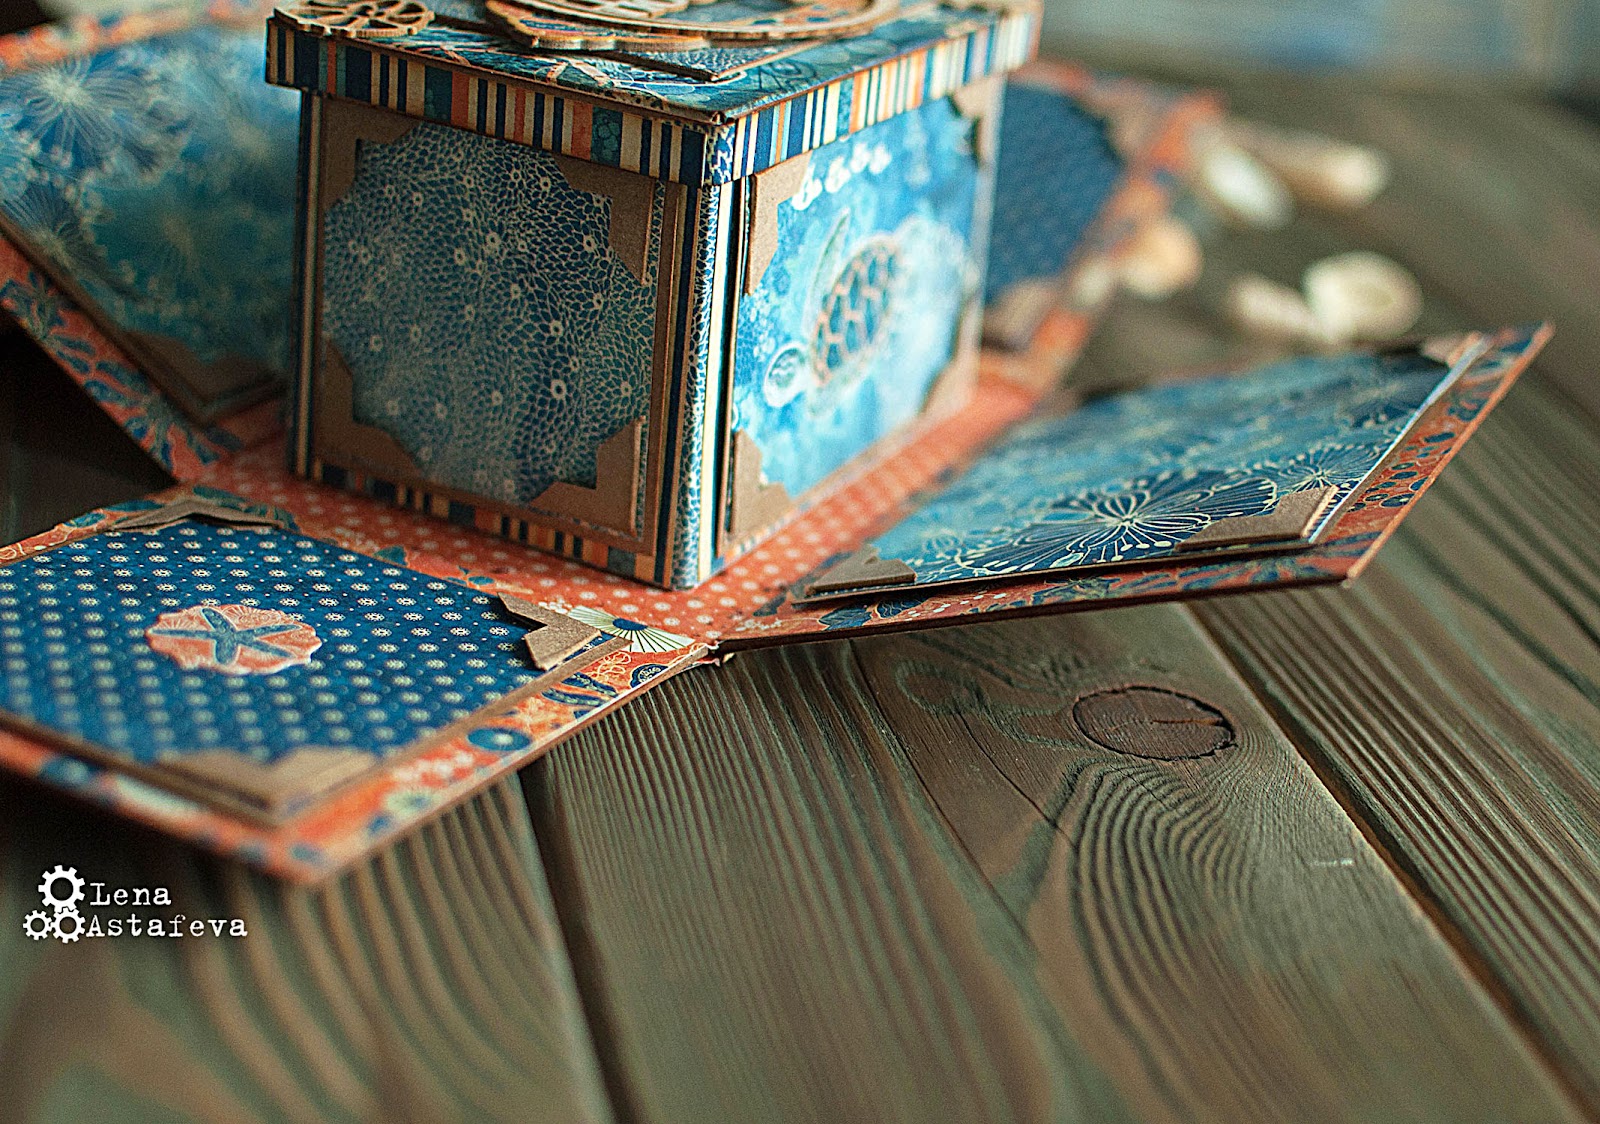
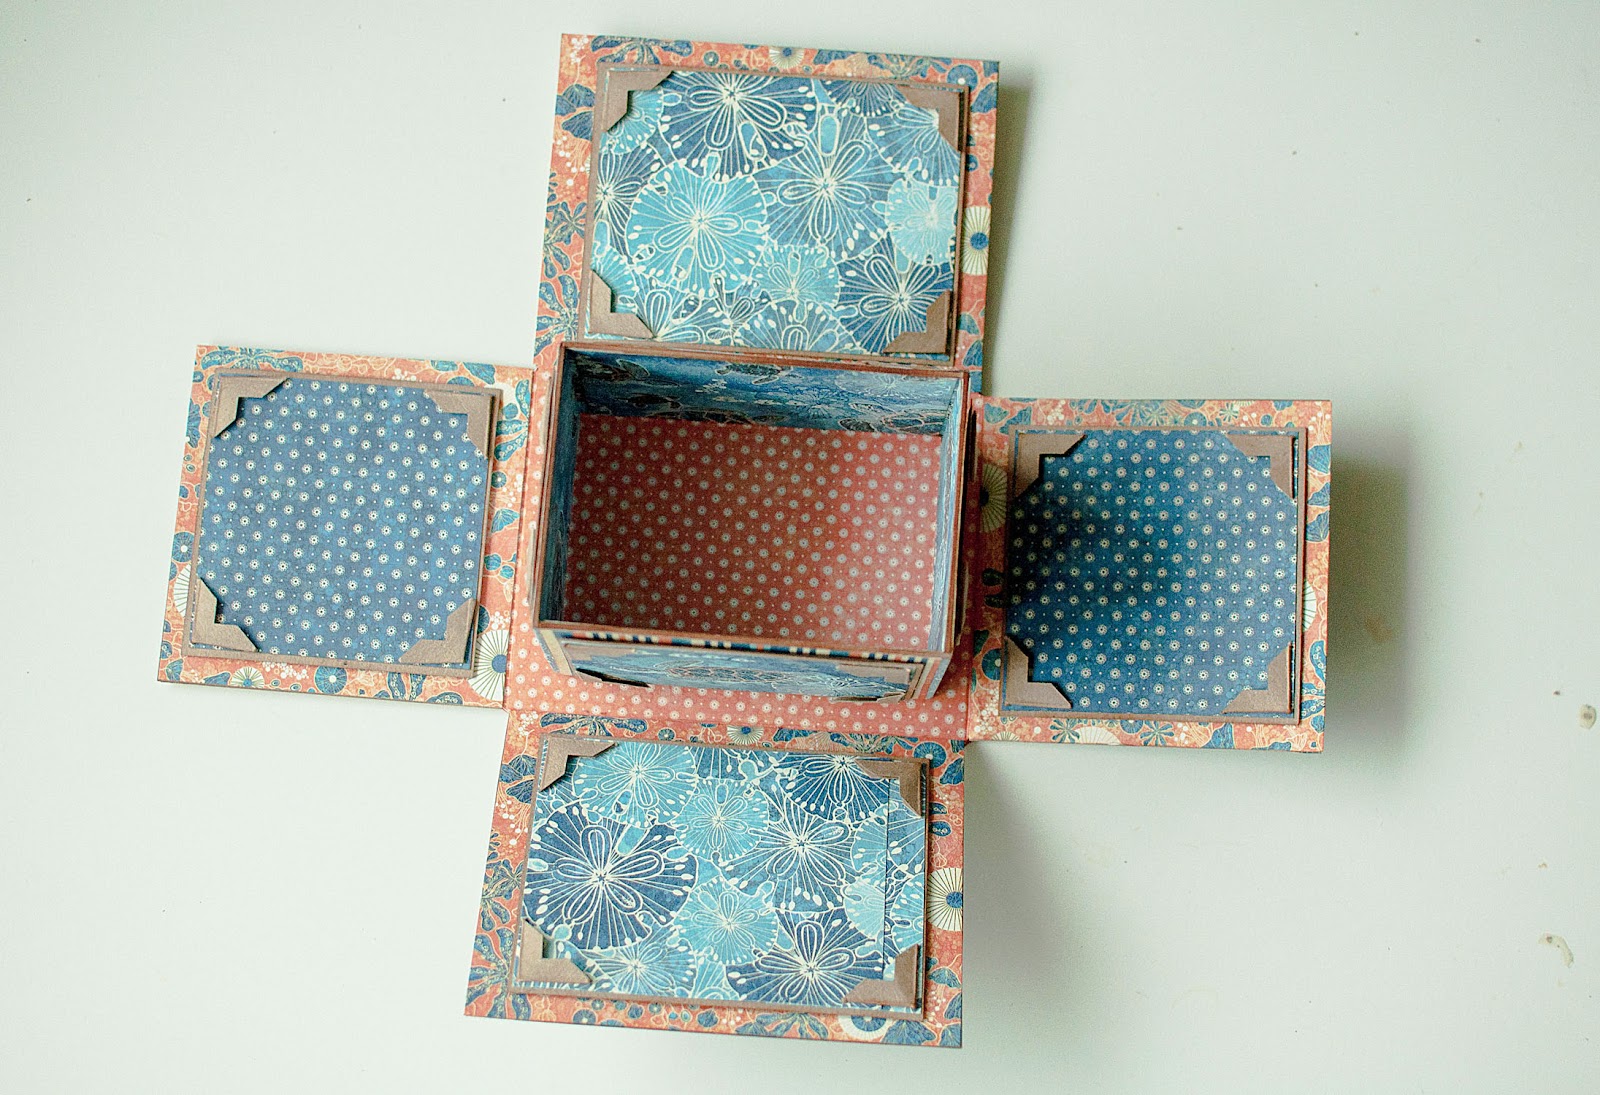
“Today I want to show my explosion Box. I’m inspired by the Explosion Box by Annette Green. But in my box, there is another small box where you can place photos. I’ve made this explosion box from Annette’s lesson, but I made my size. The inner box in addition it is stuck with glue from each side.
Step-by-Step Tutorial
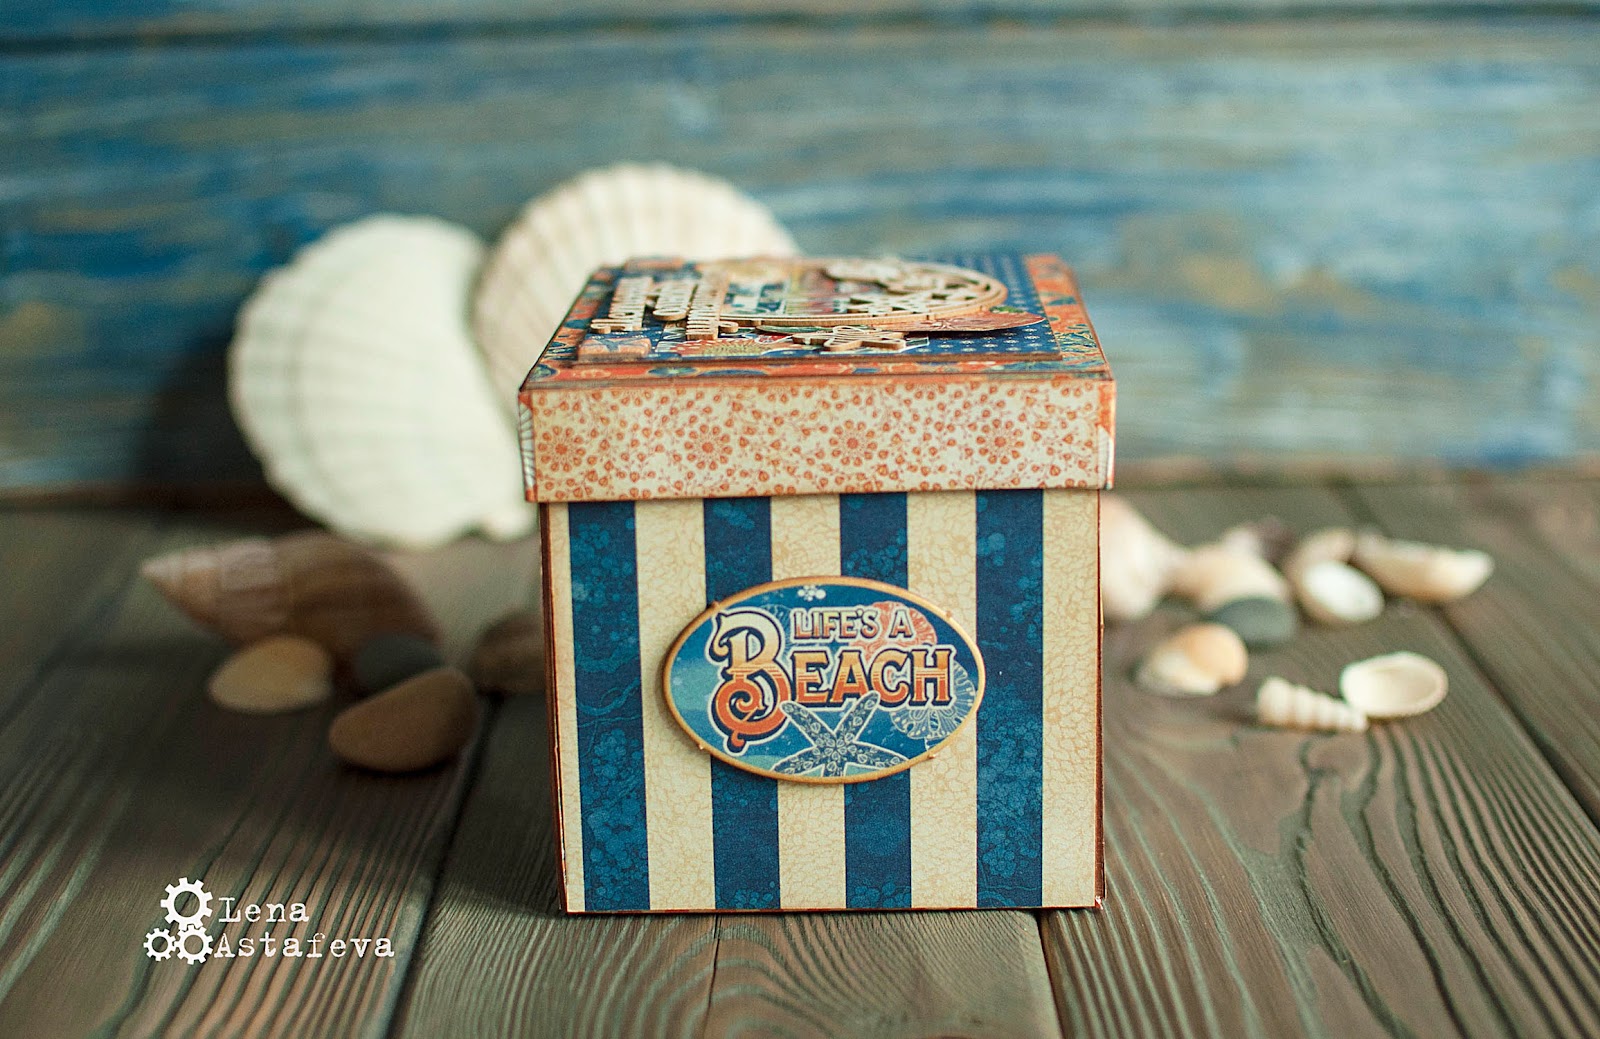
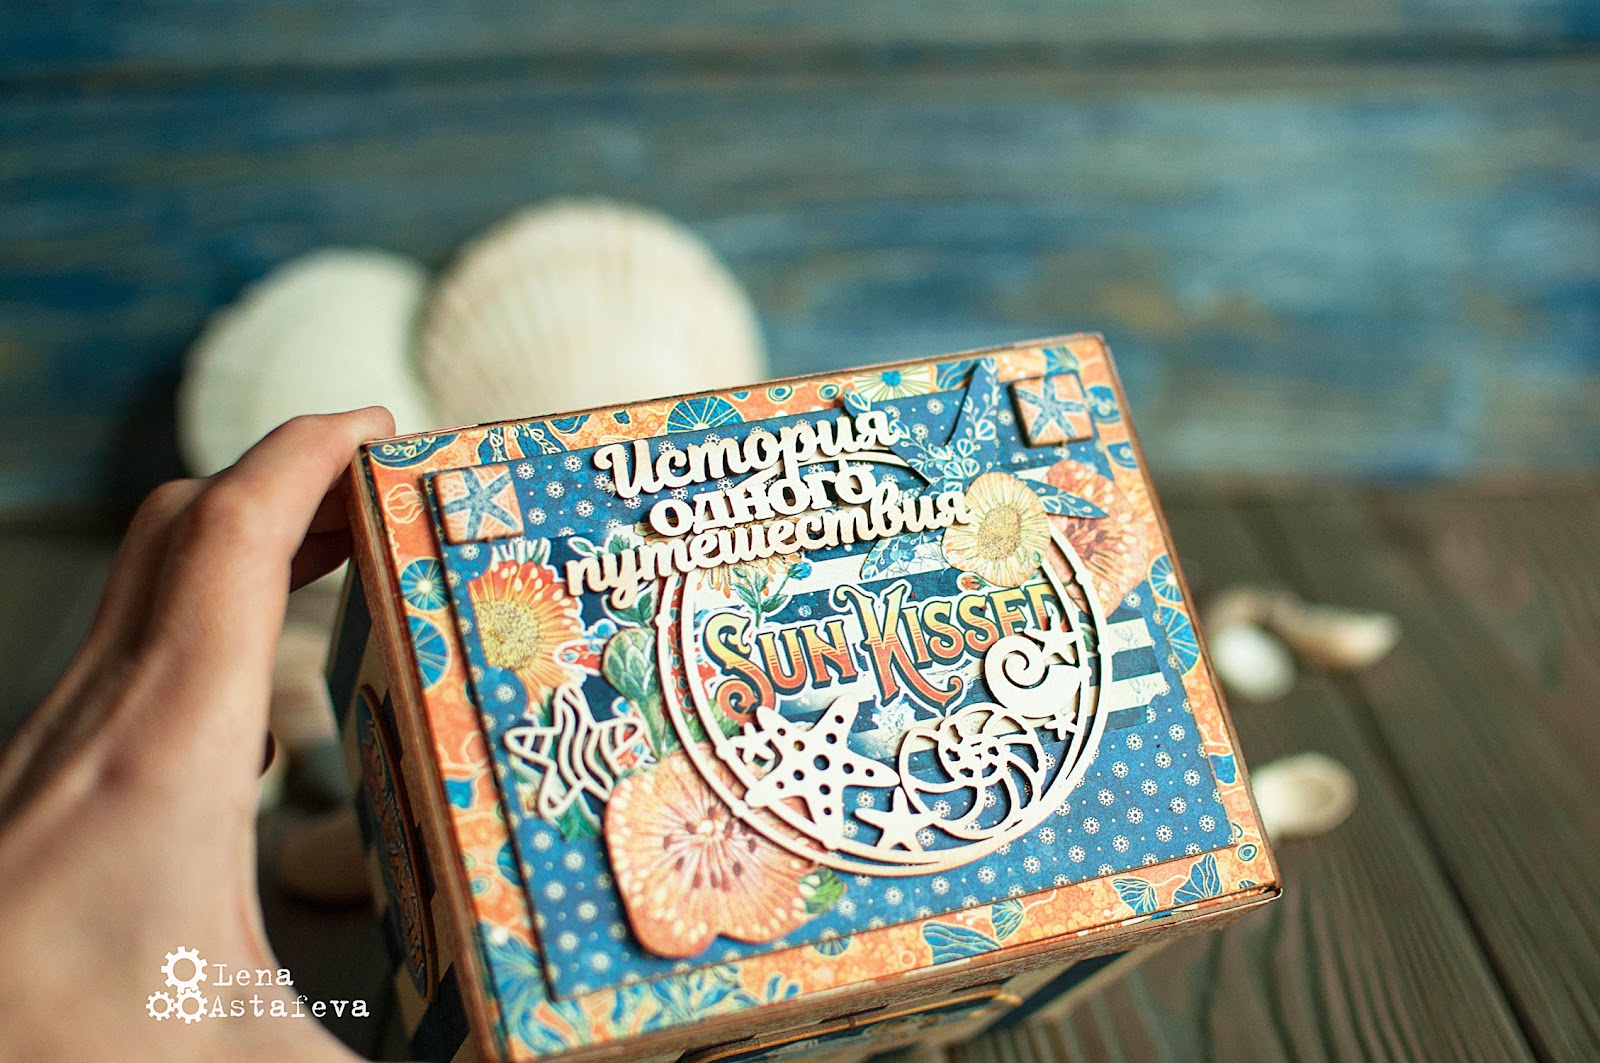
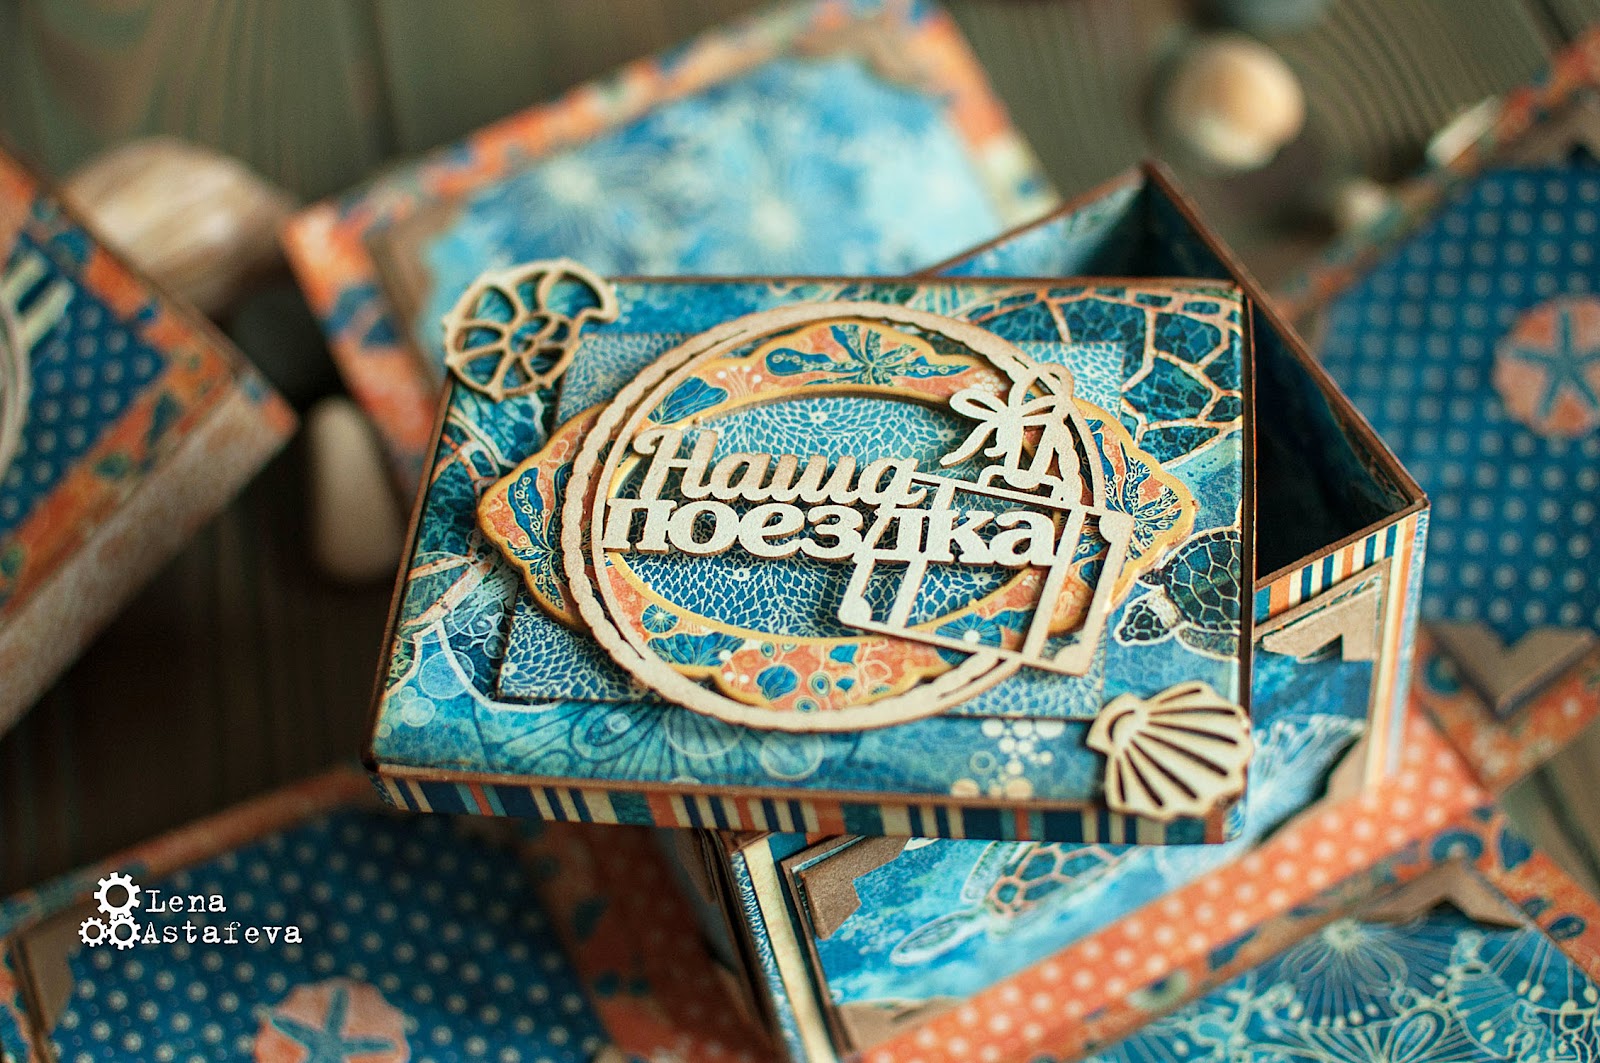
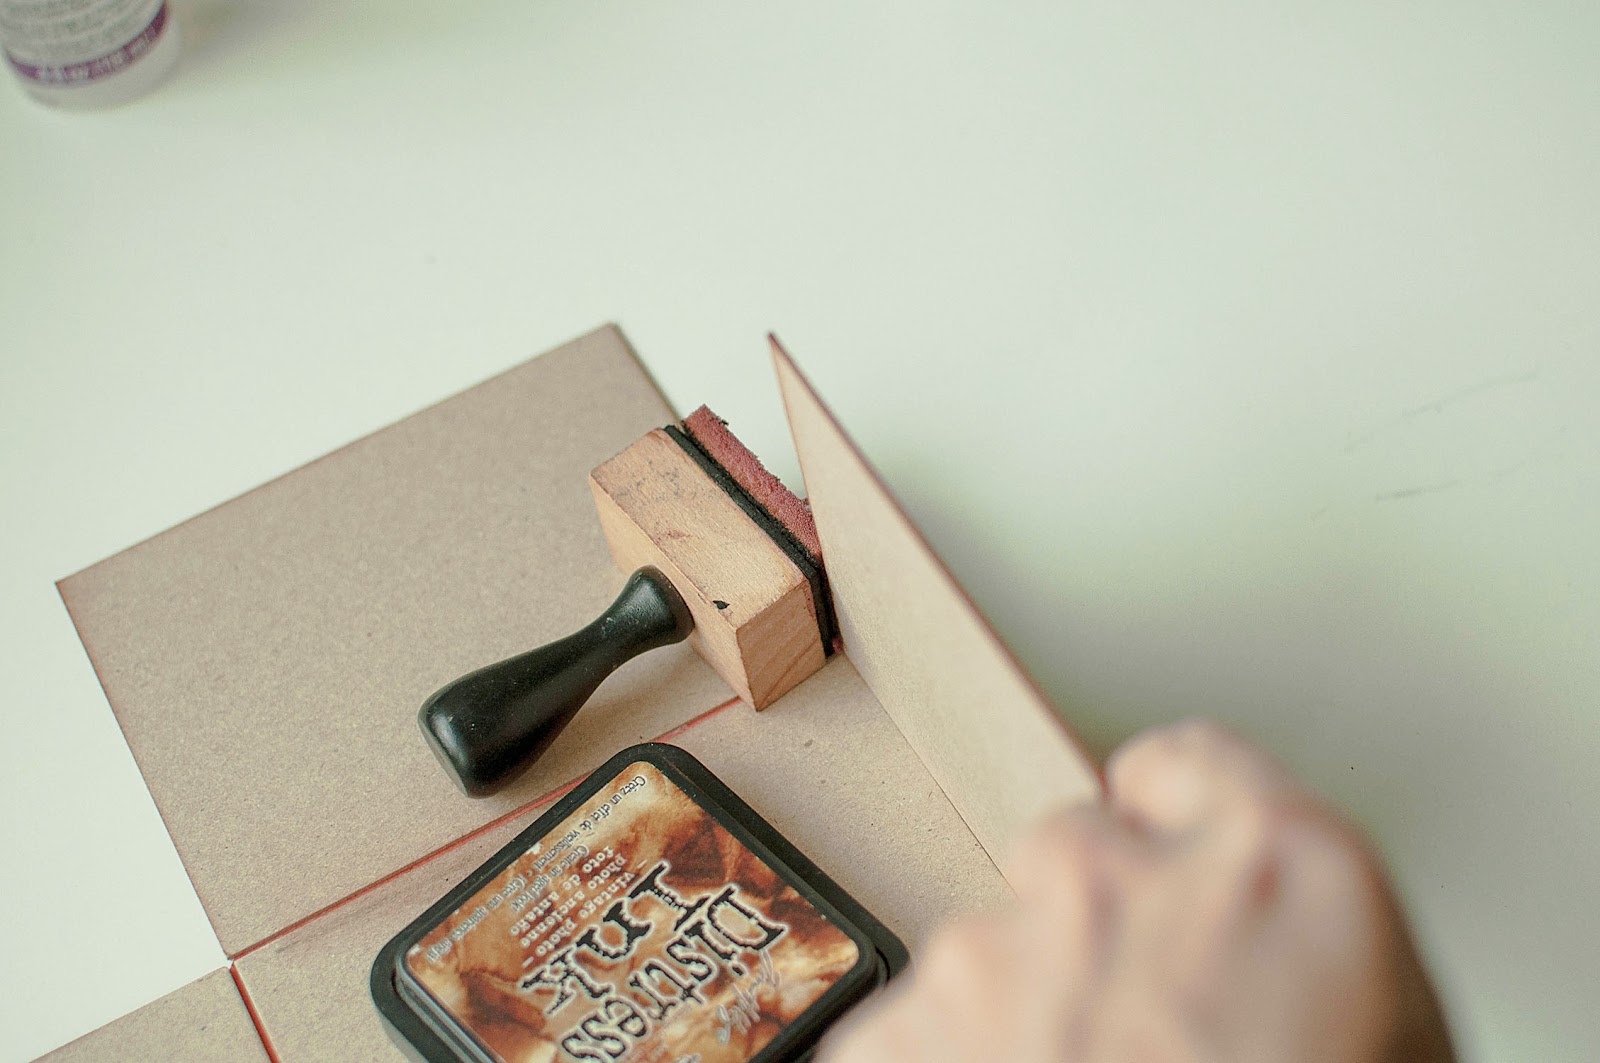
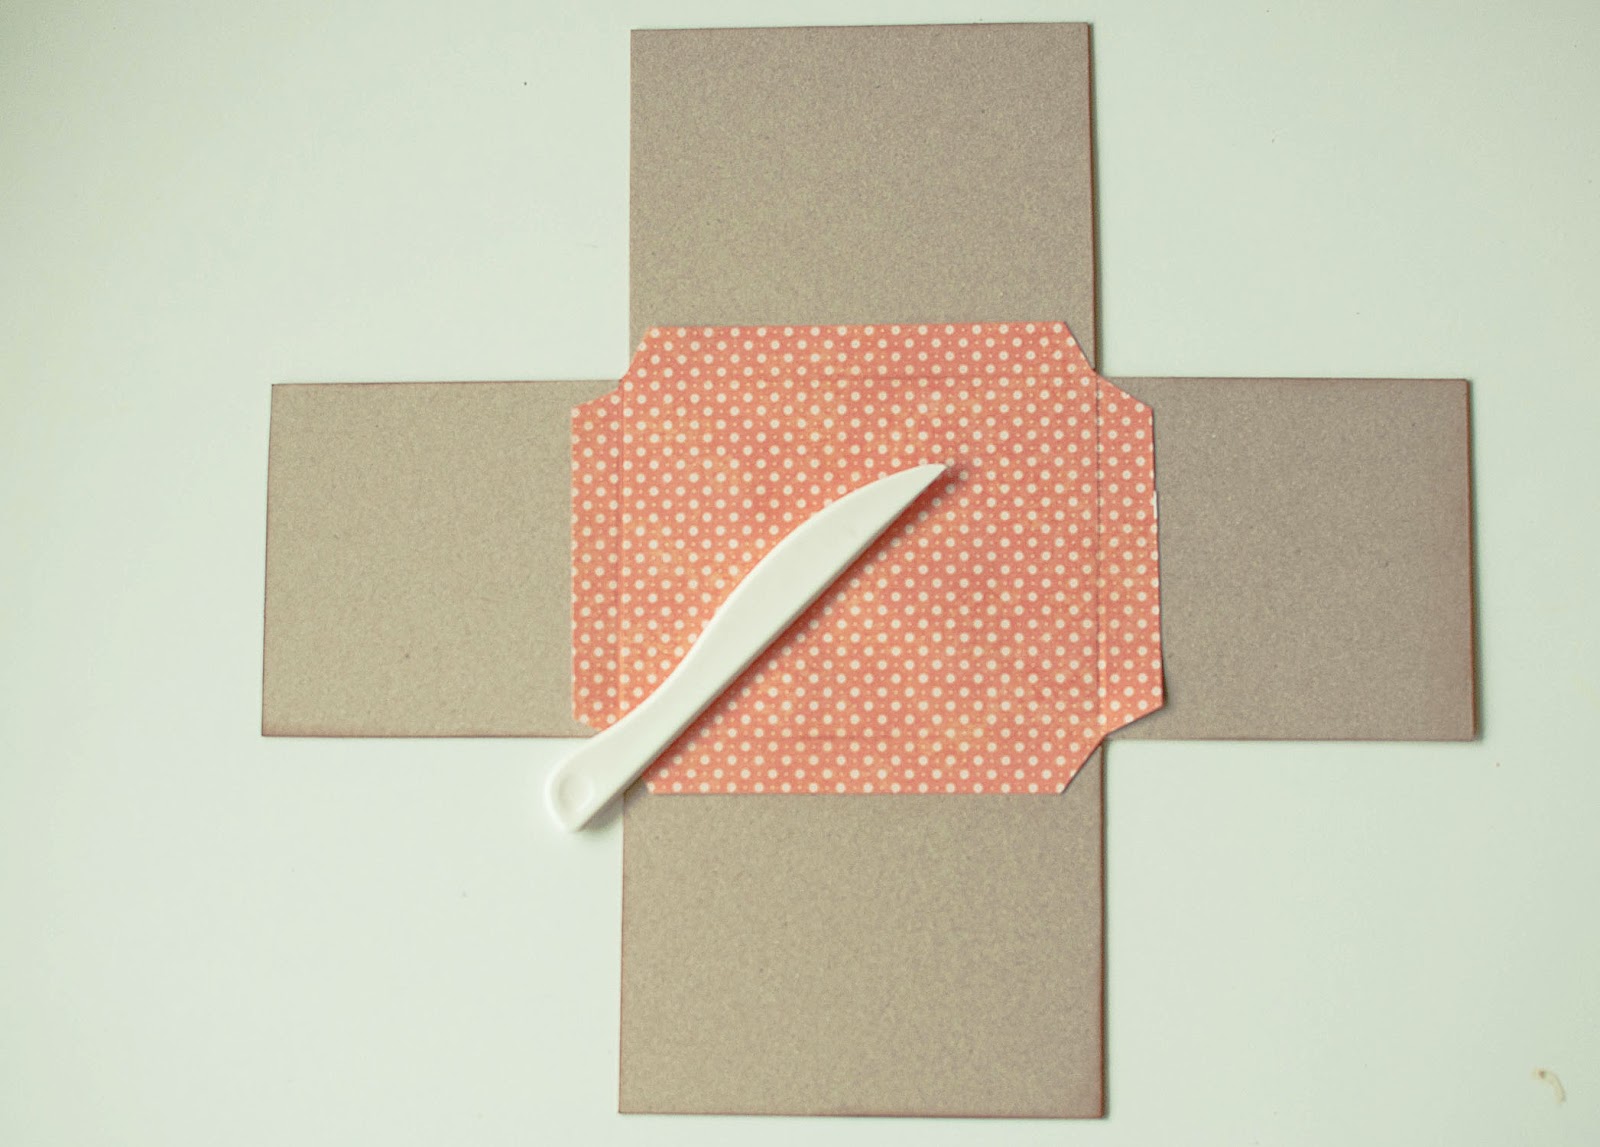
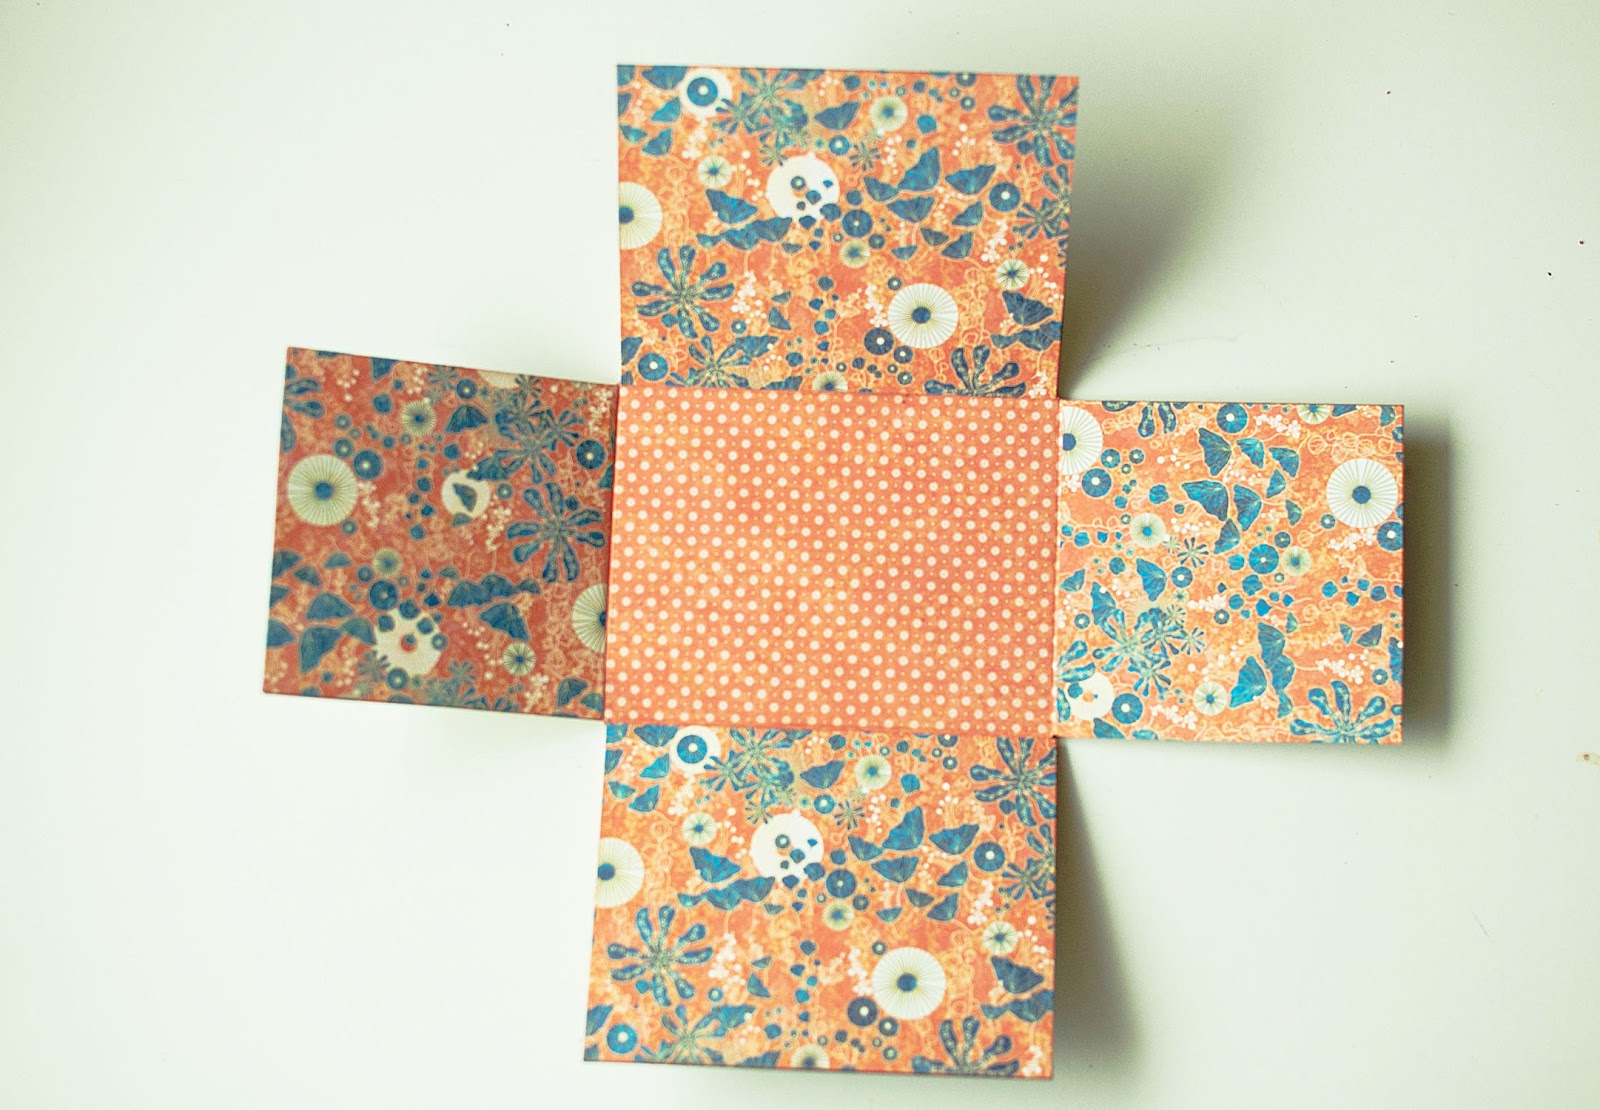
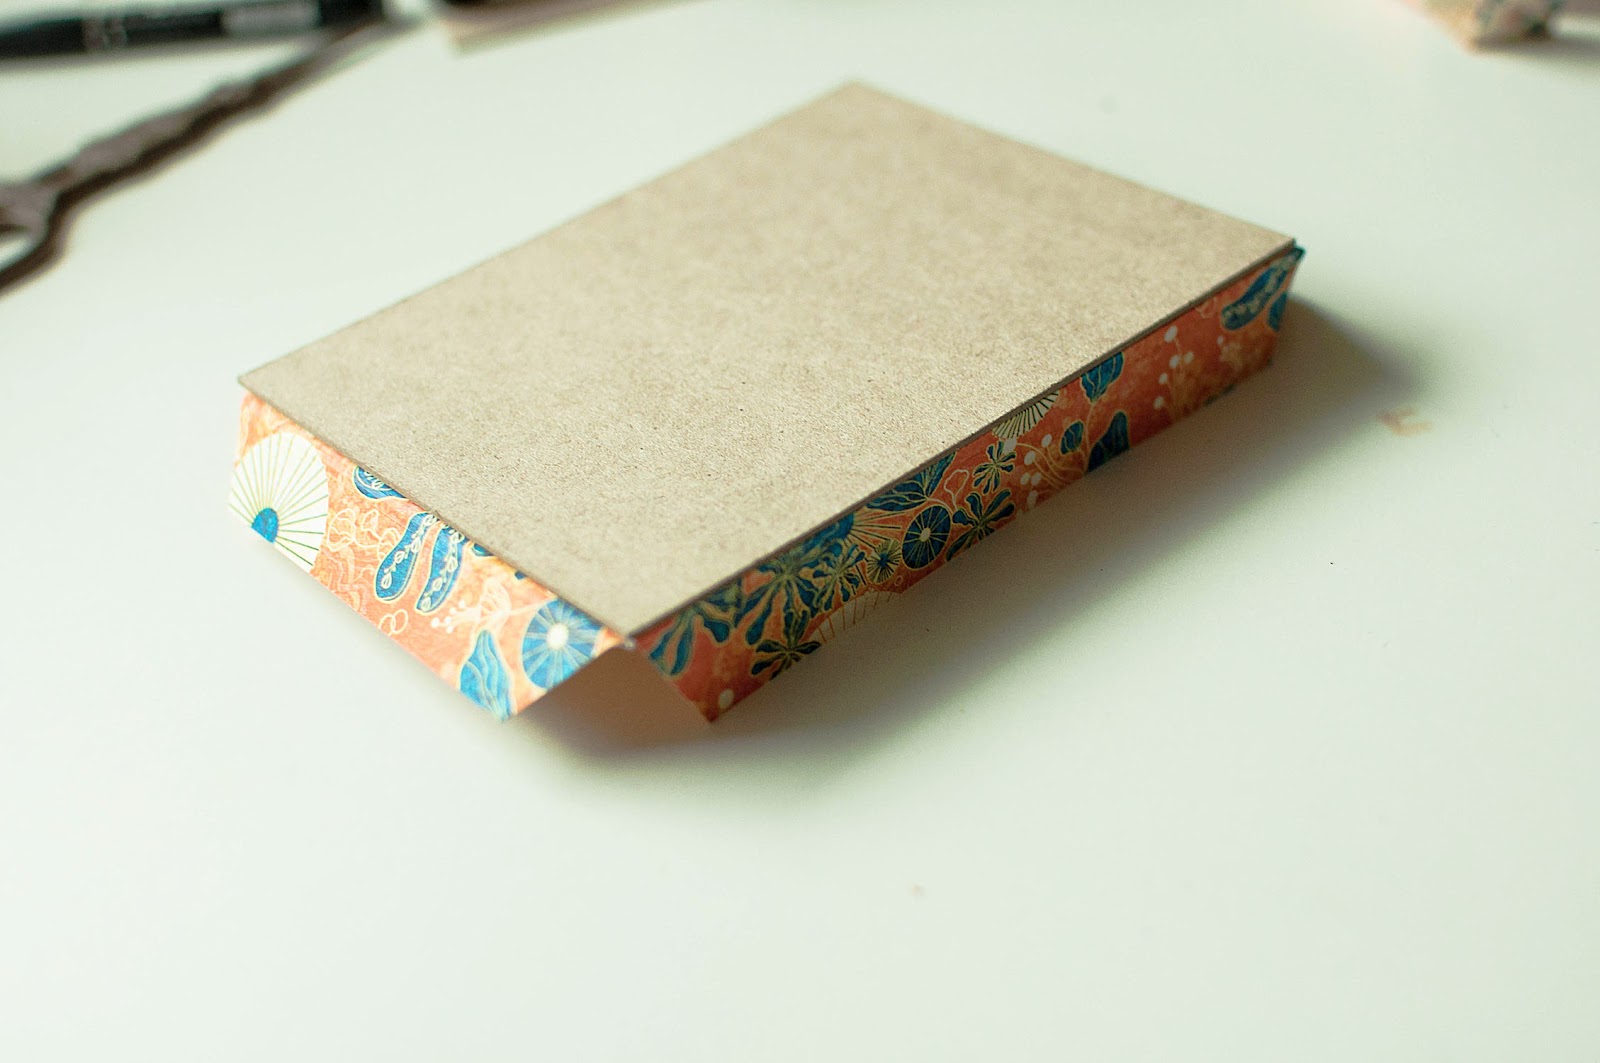
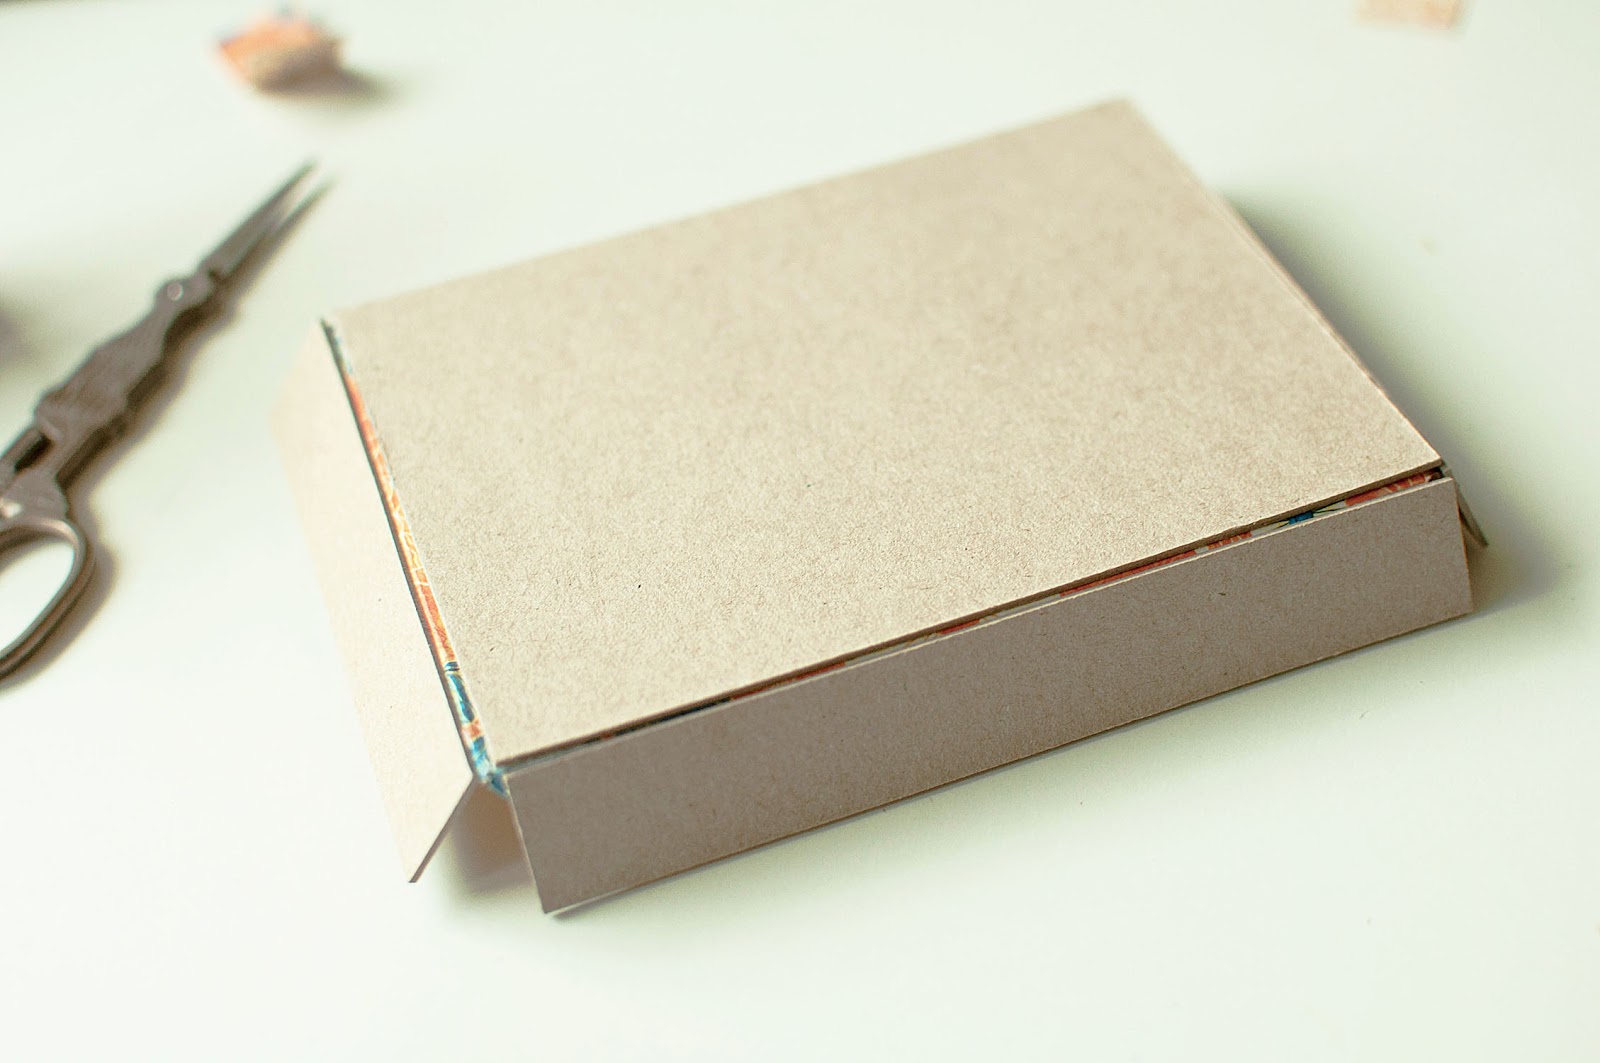
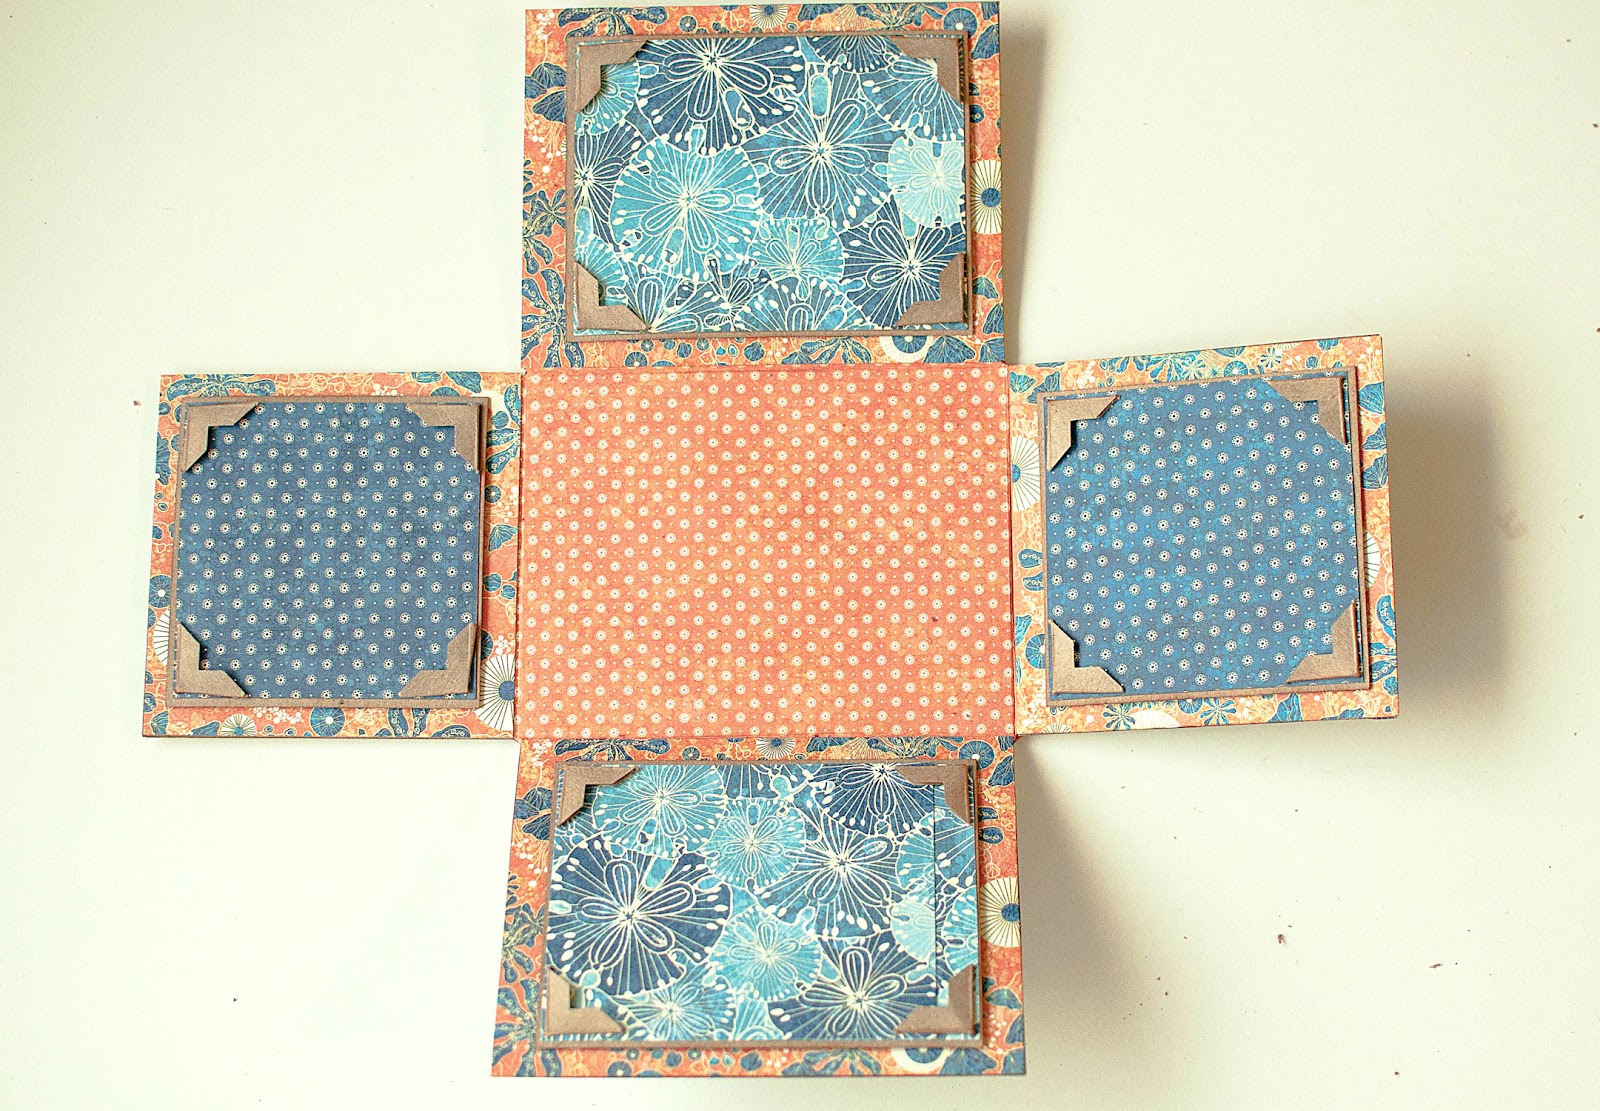
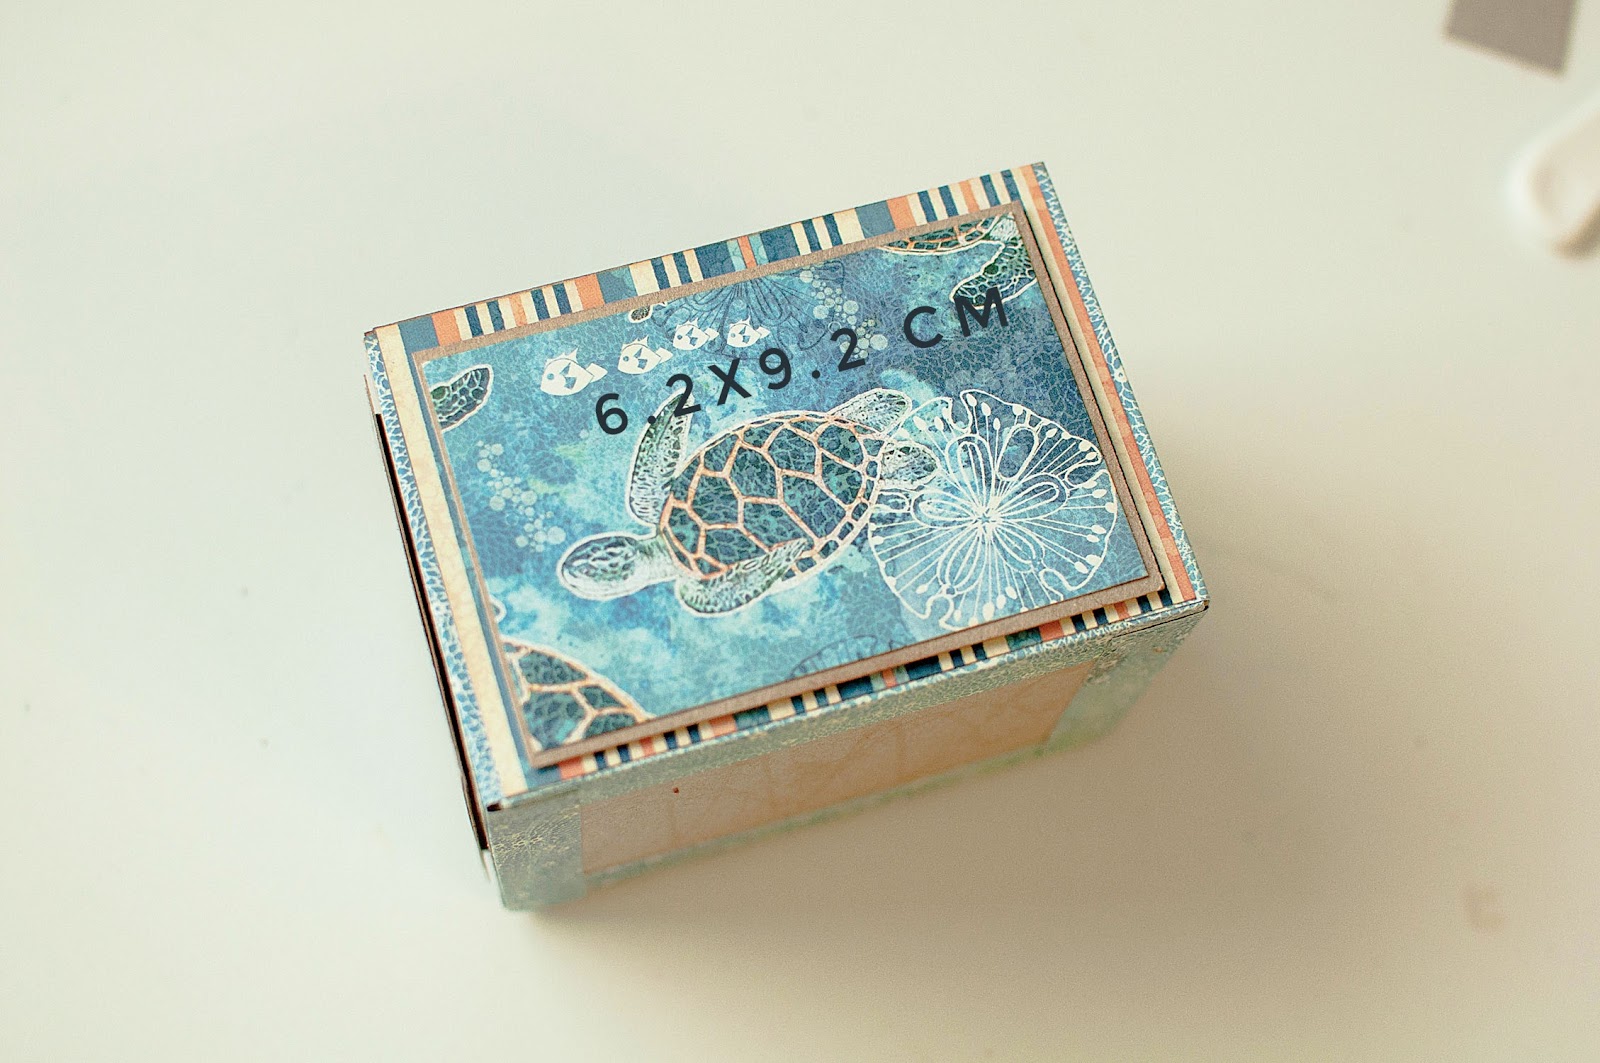
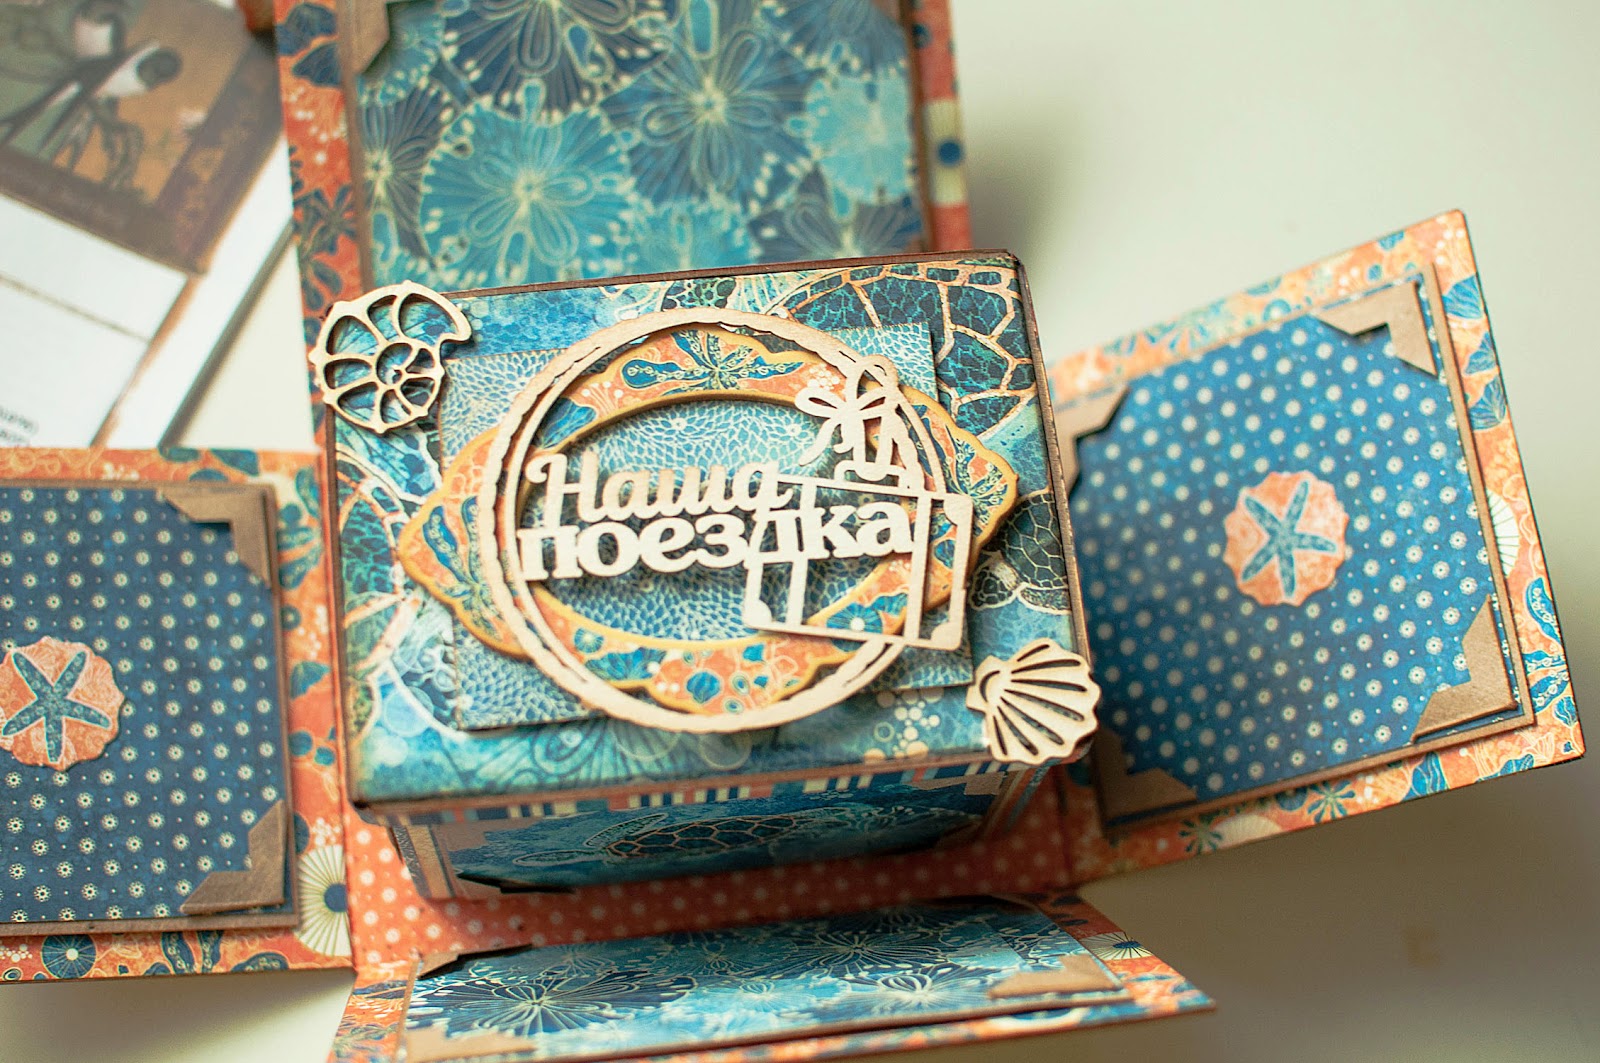
Make the lid
Decorate the lid
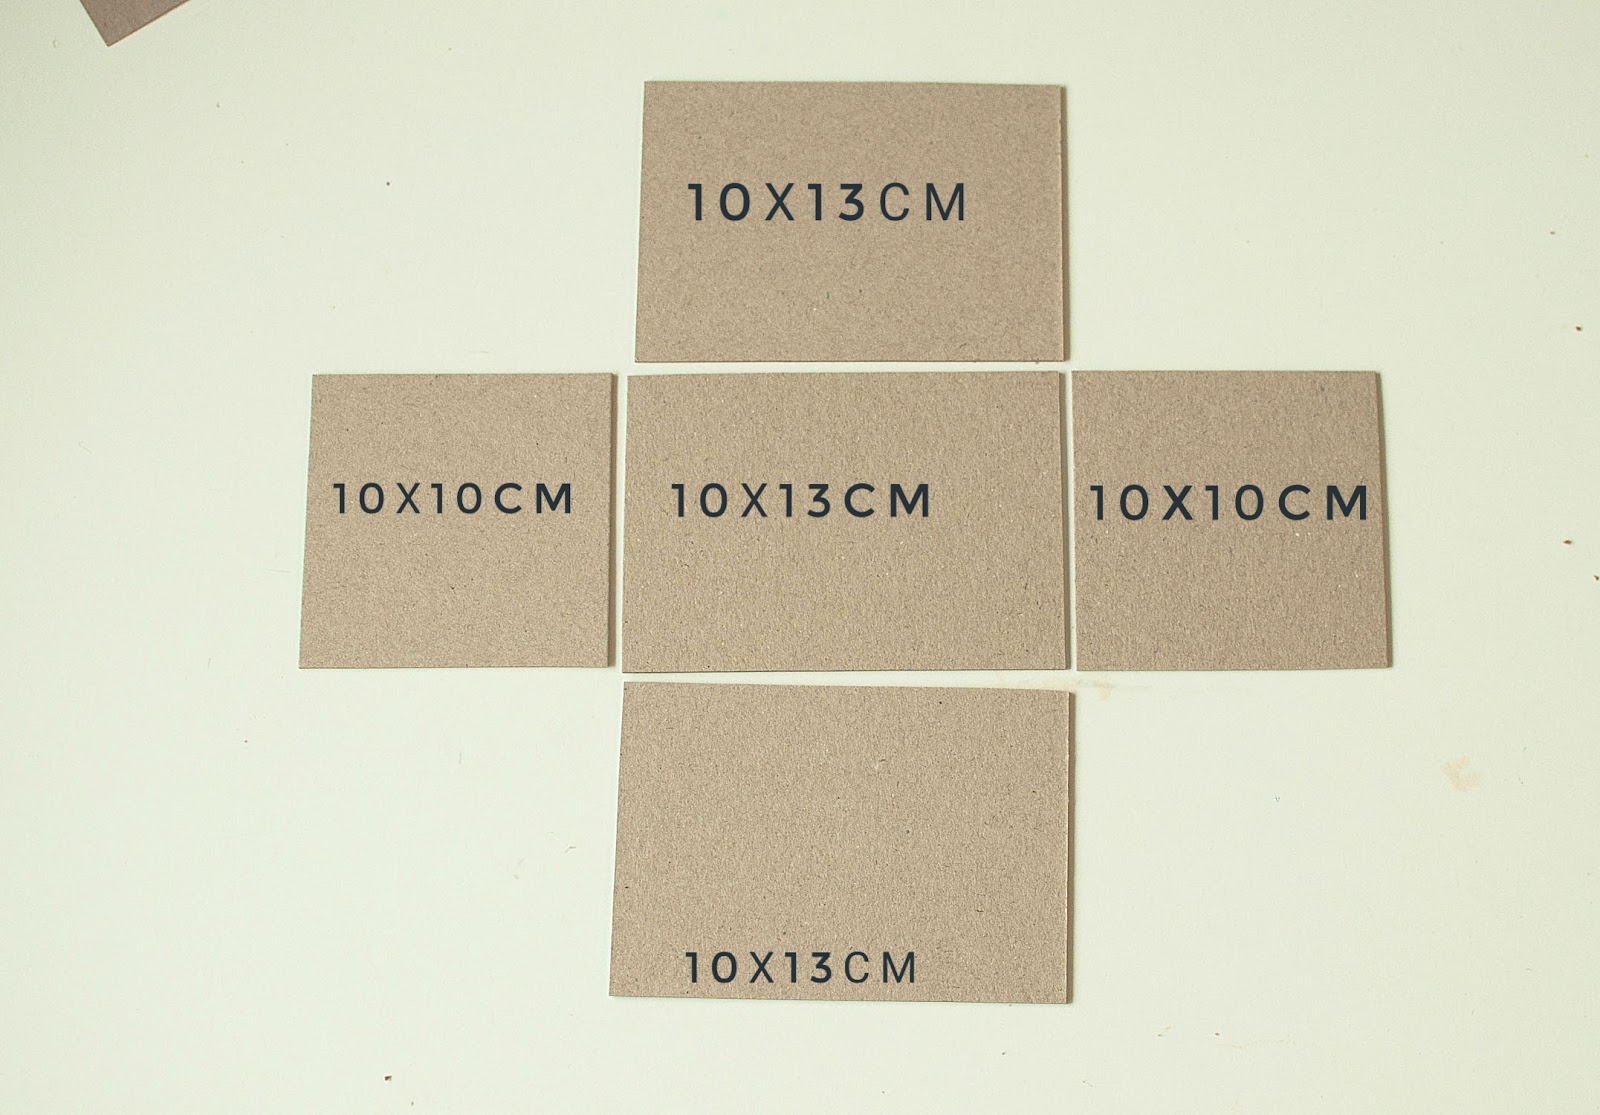
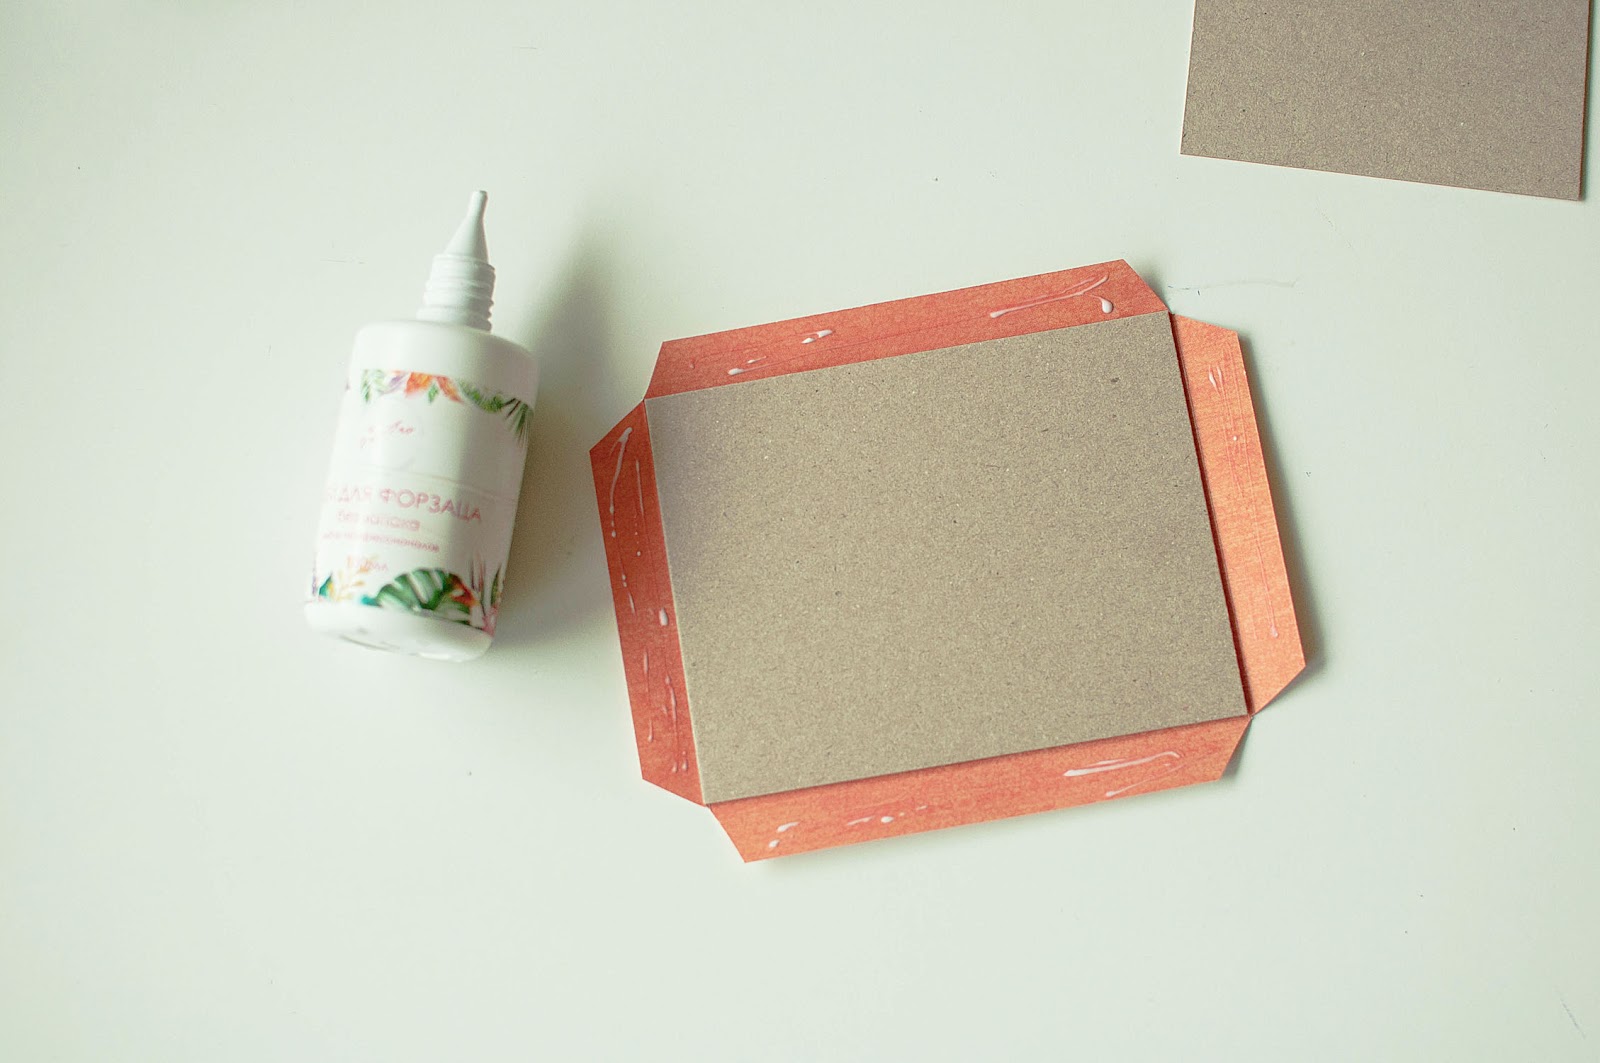
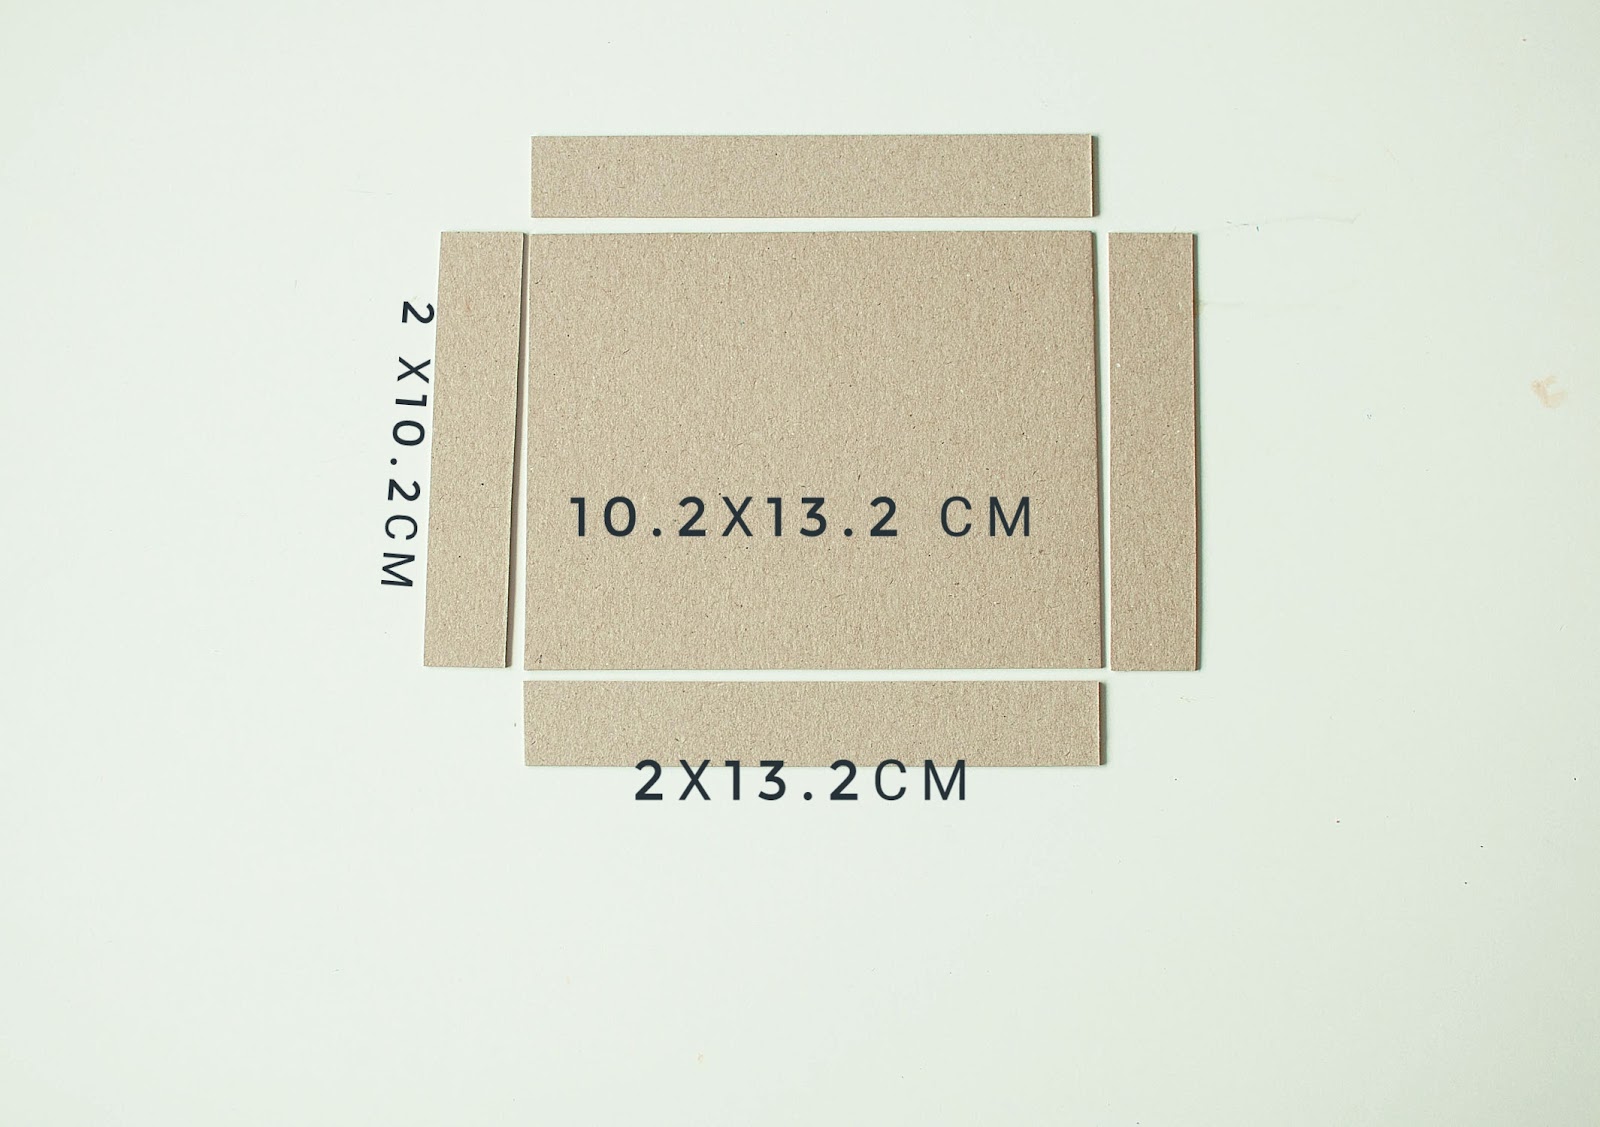
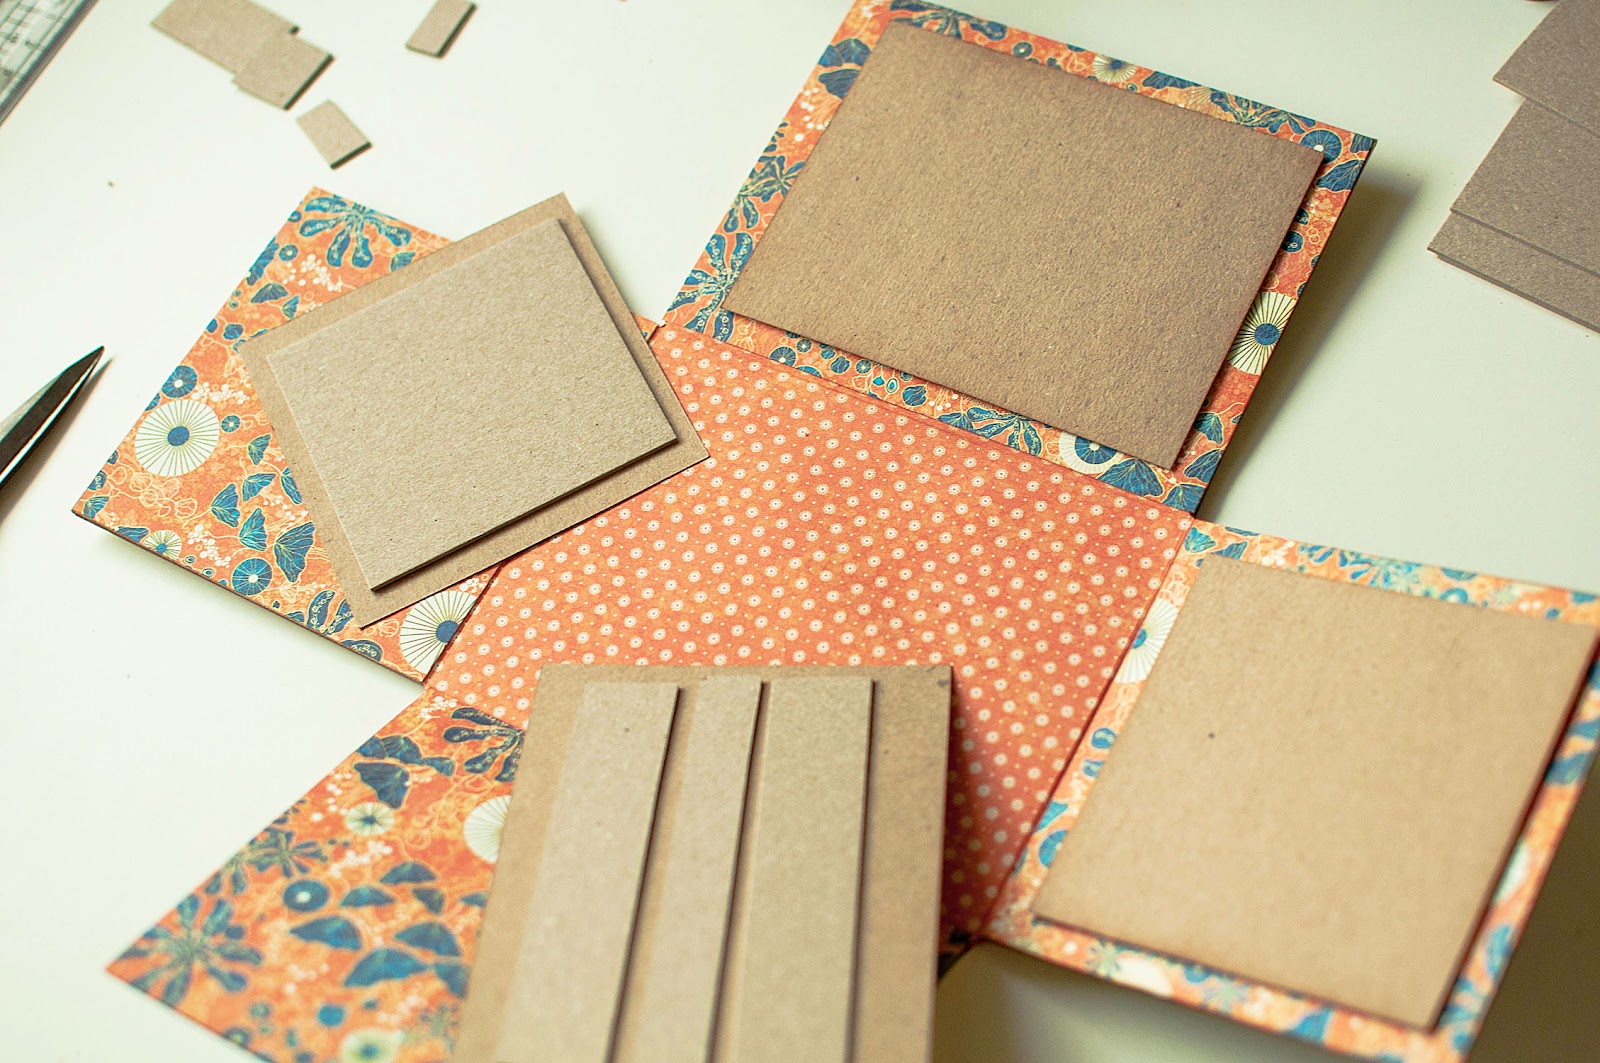
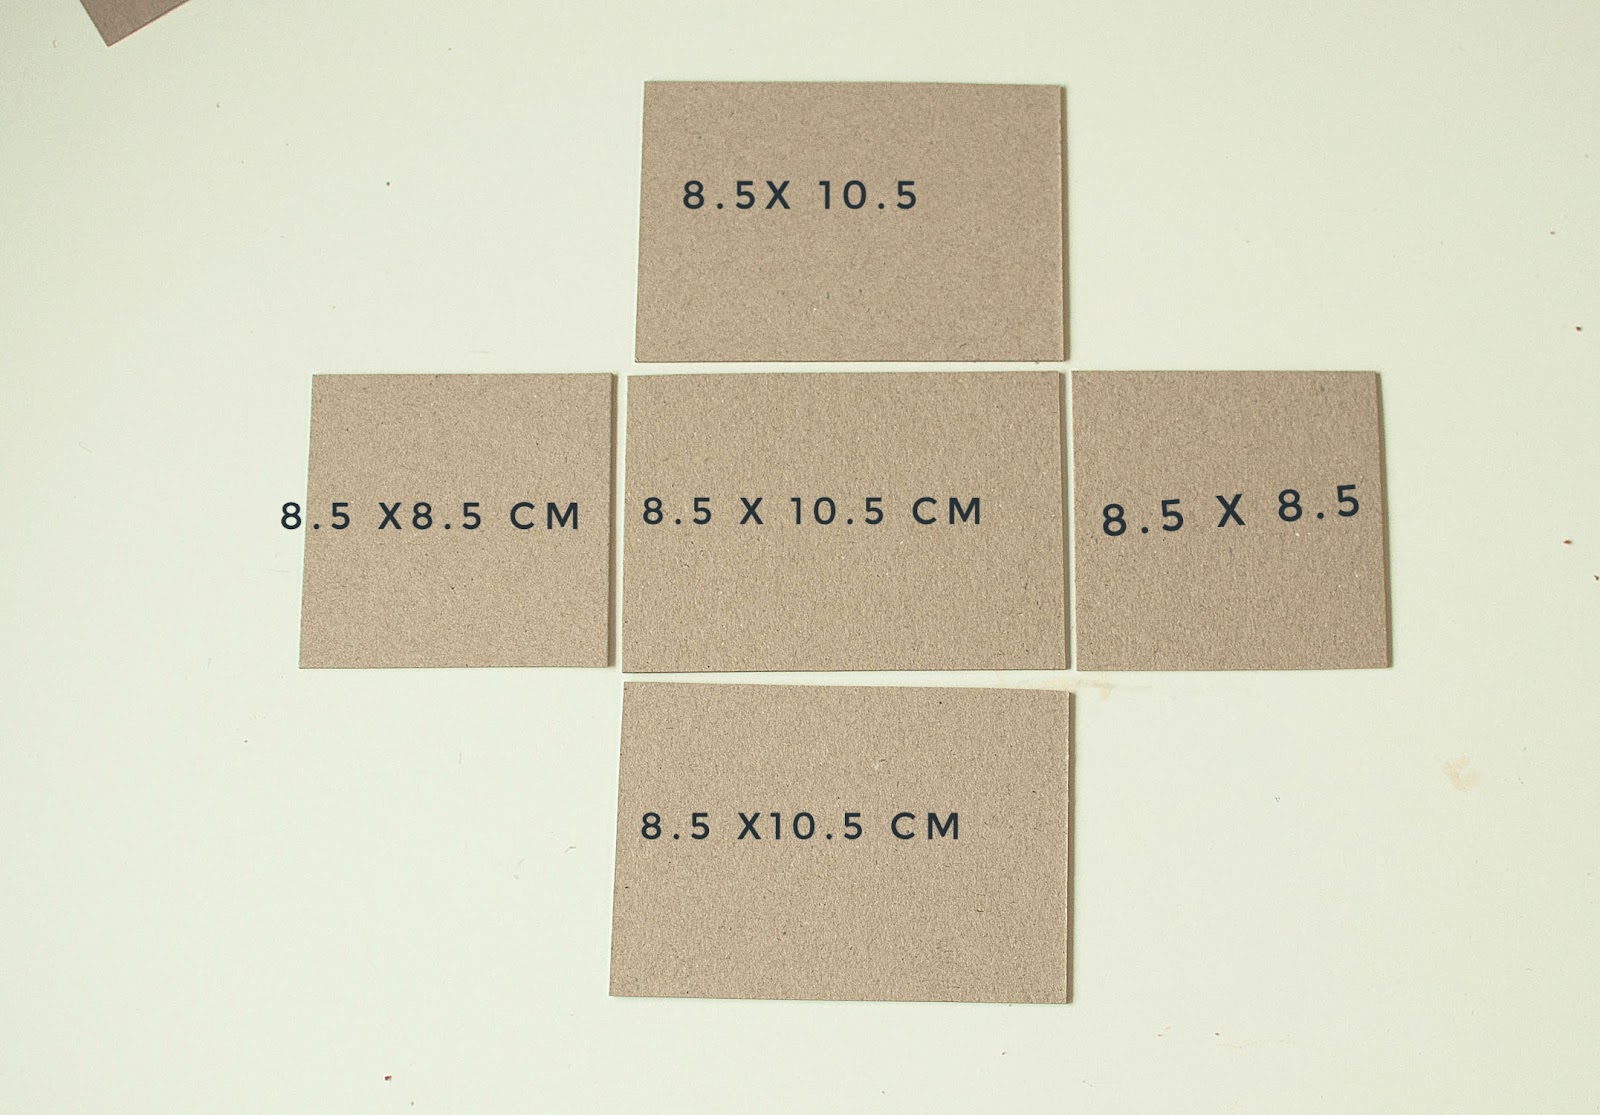
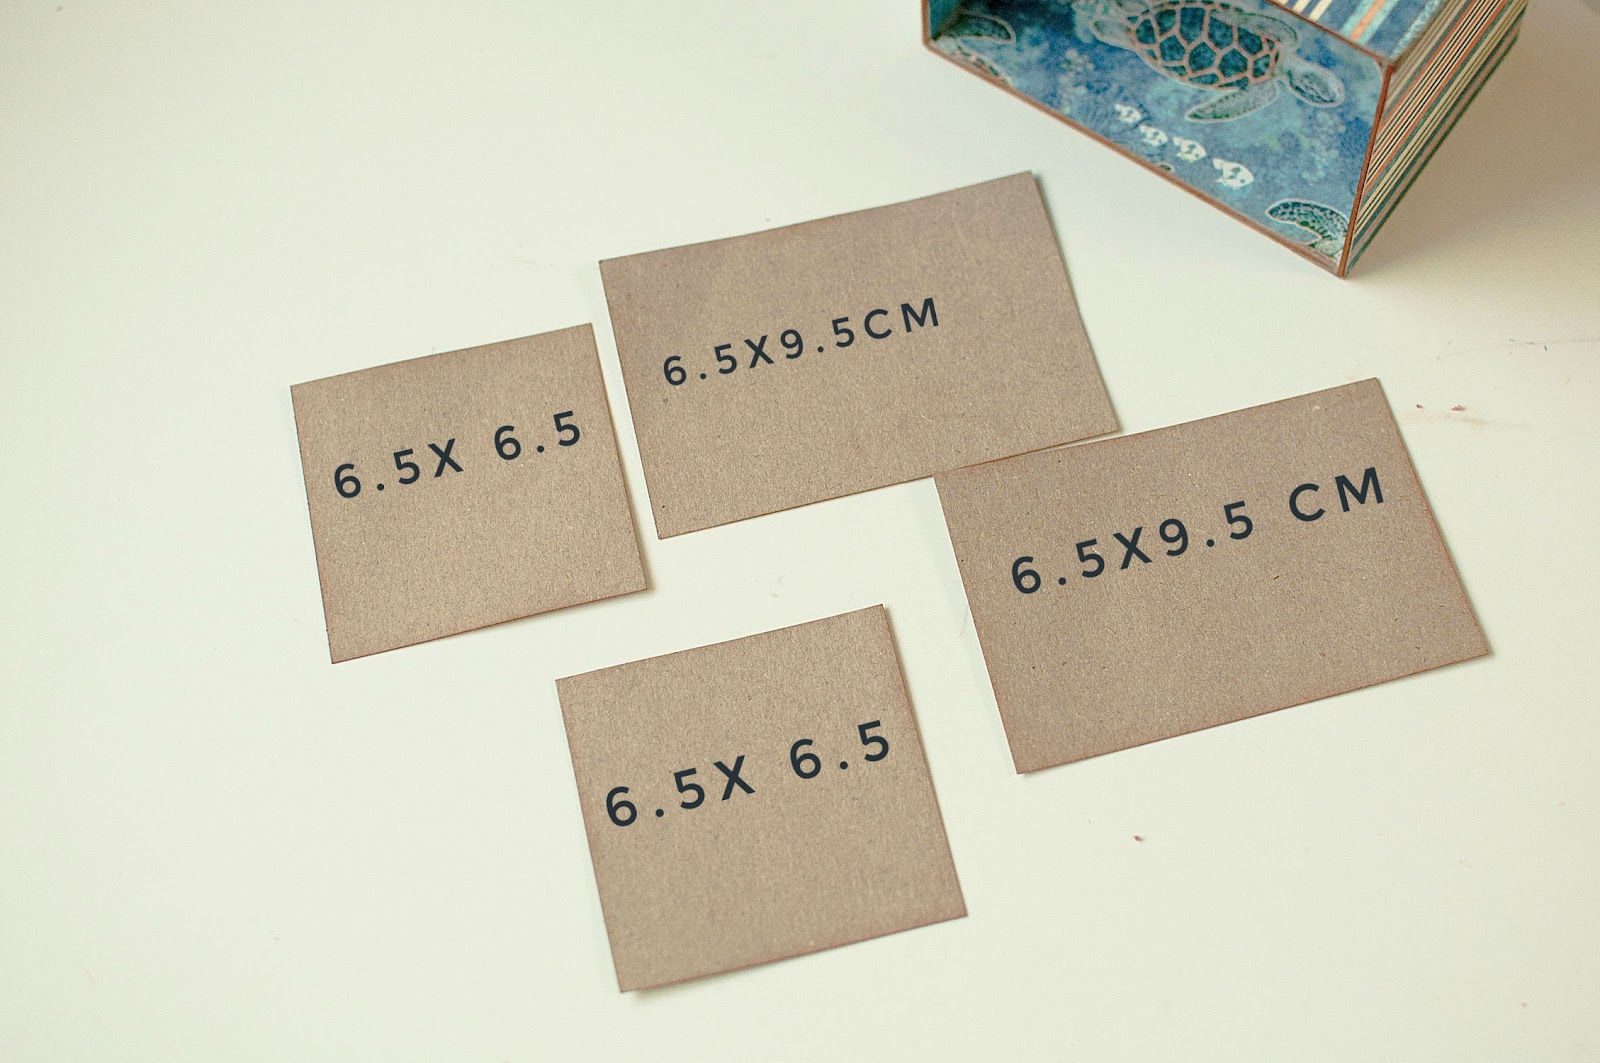
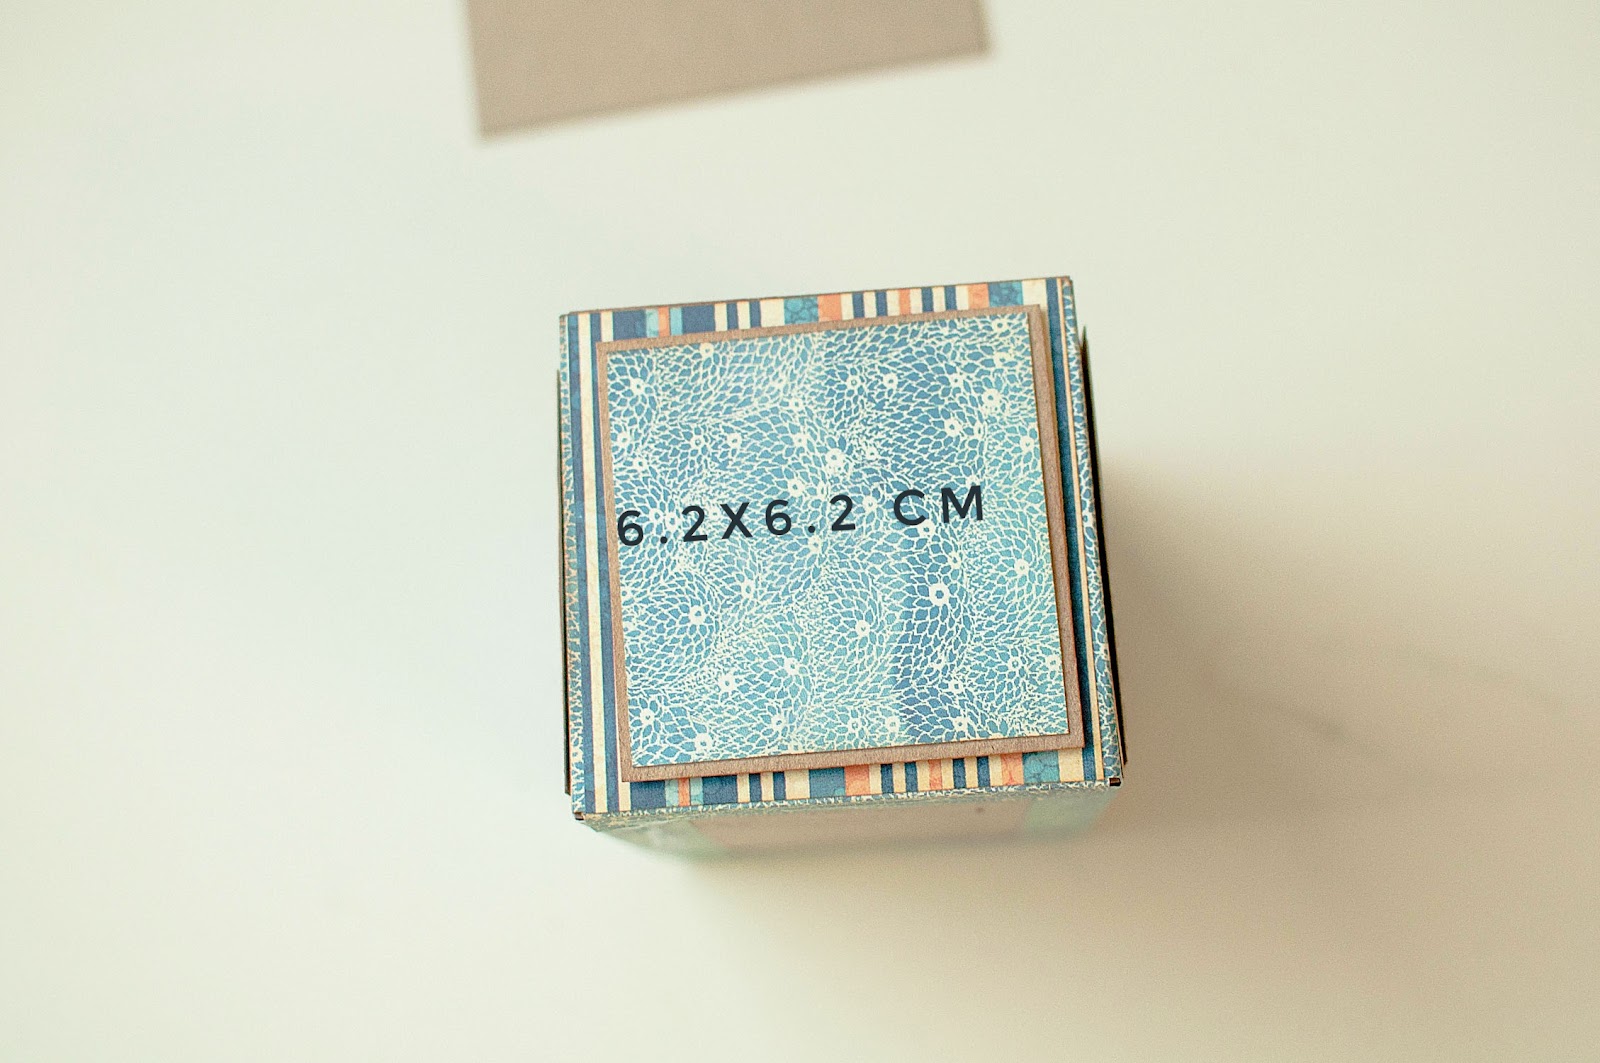
Cut two square size 8.5×8.5 cm, and two rectangle size 8.5×11 cm of craft carton
Glue thick carton on the back paper square and rectangle, this will give volume
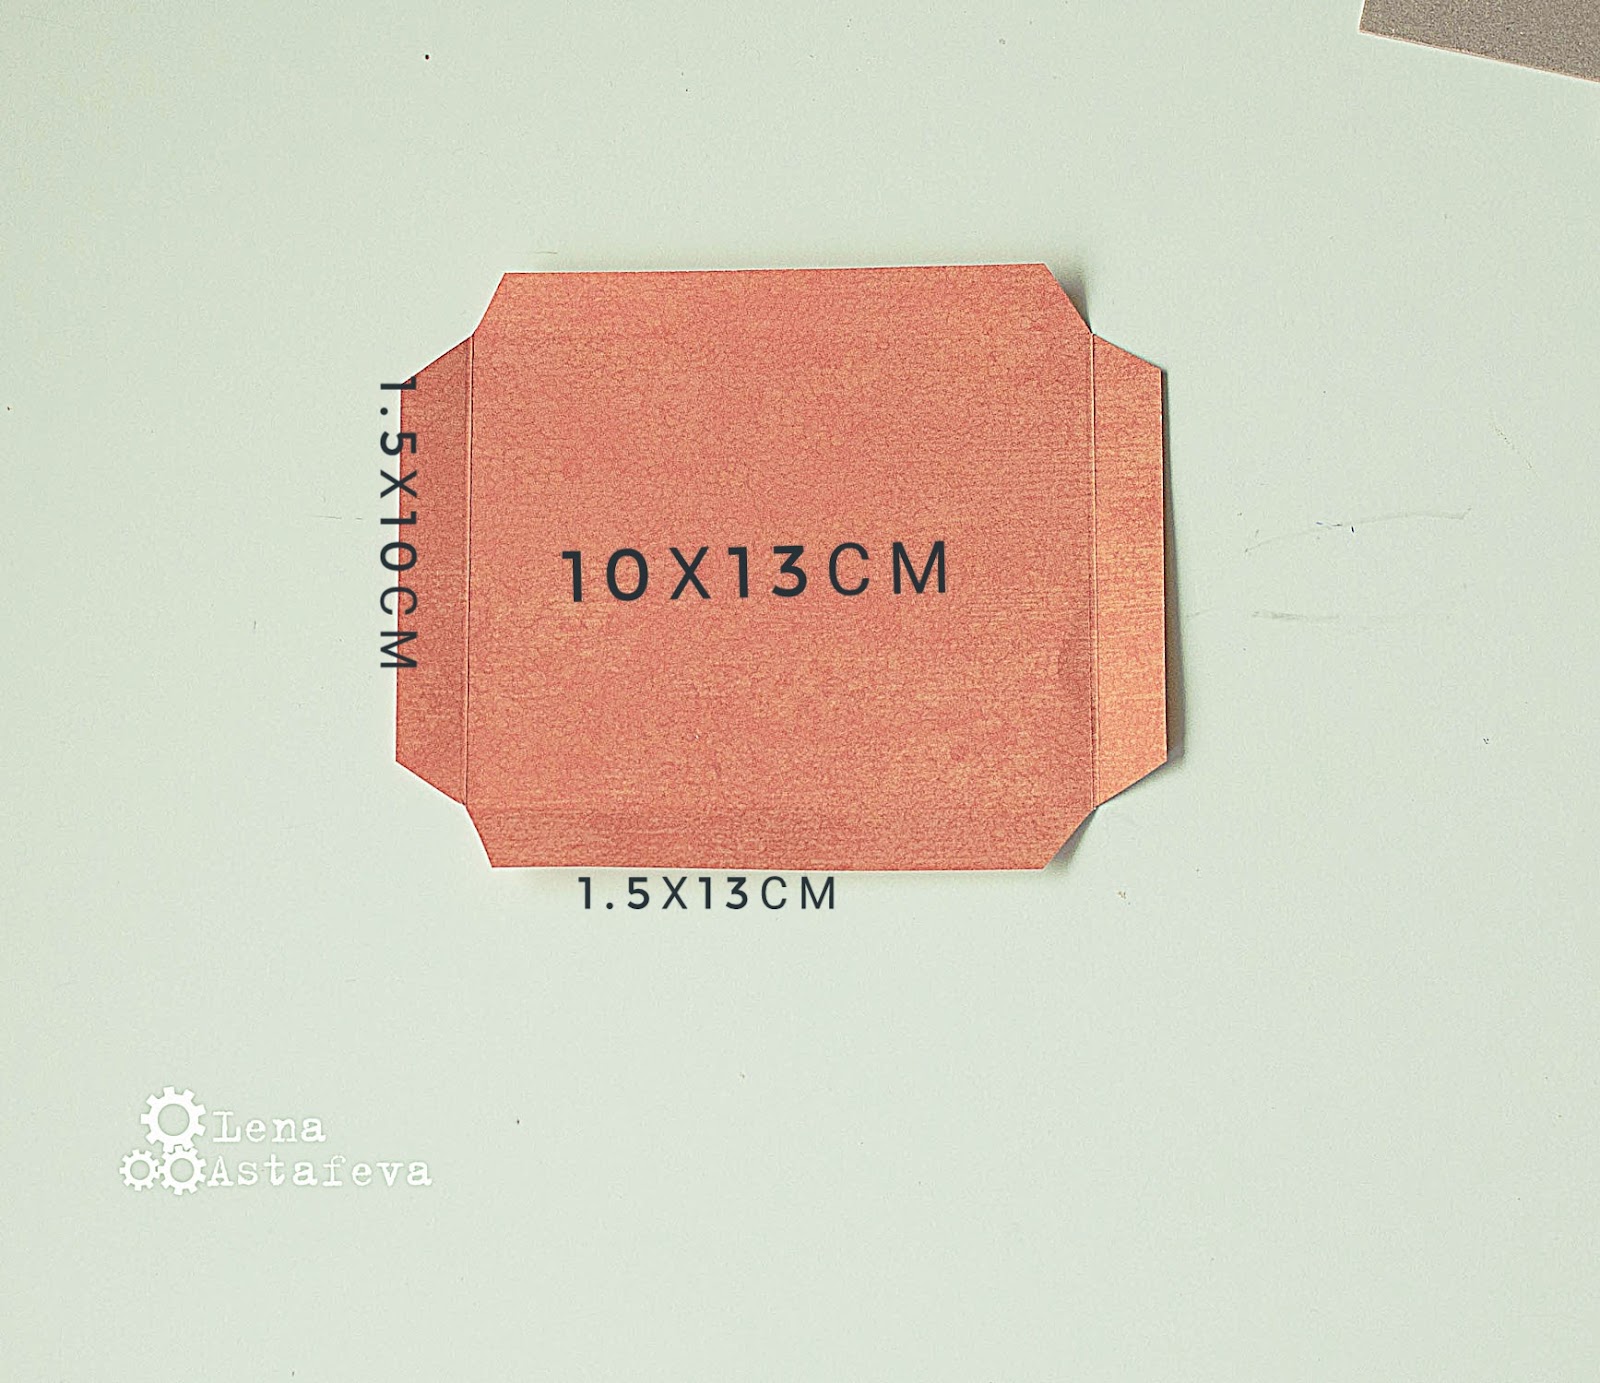
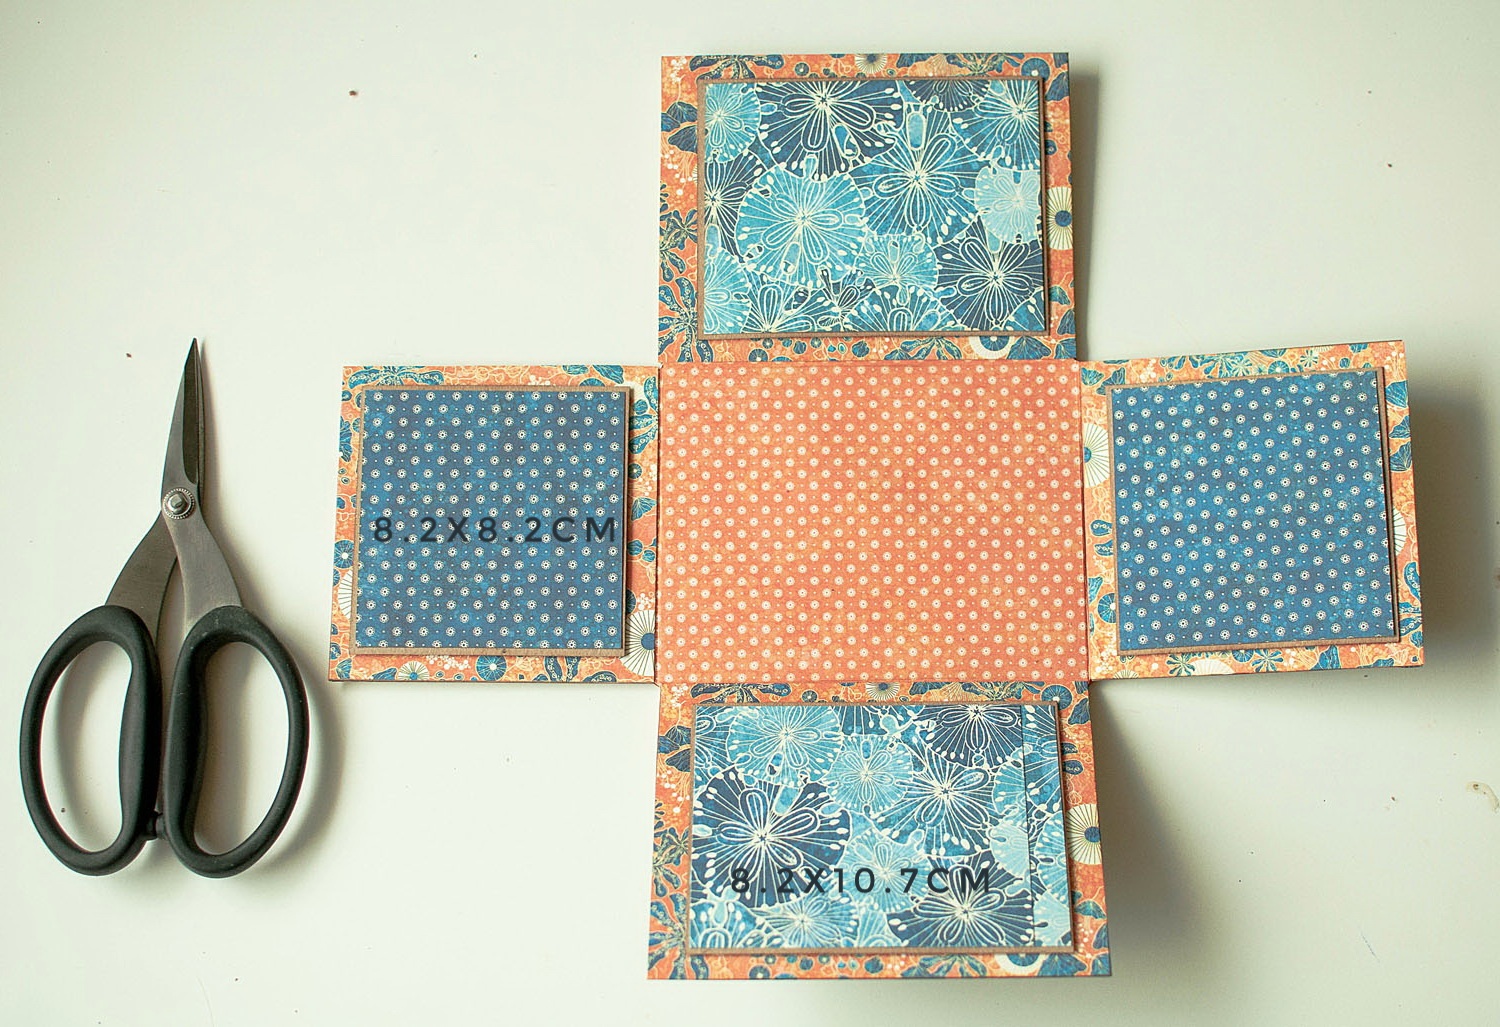
Cute square 8.2 x 8.2 cm and rectangle 8.2 x 10.7 cm of paper Sun Kissed Collection
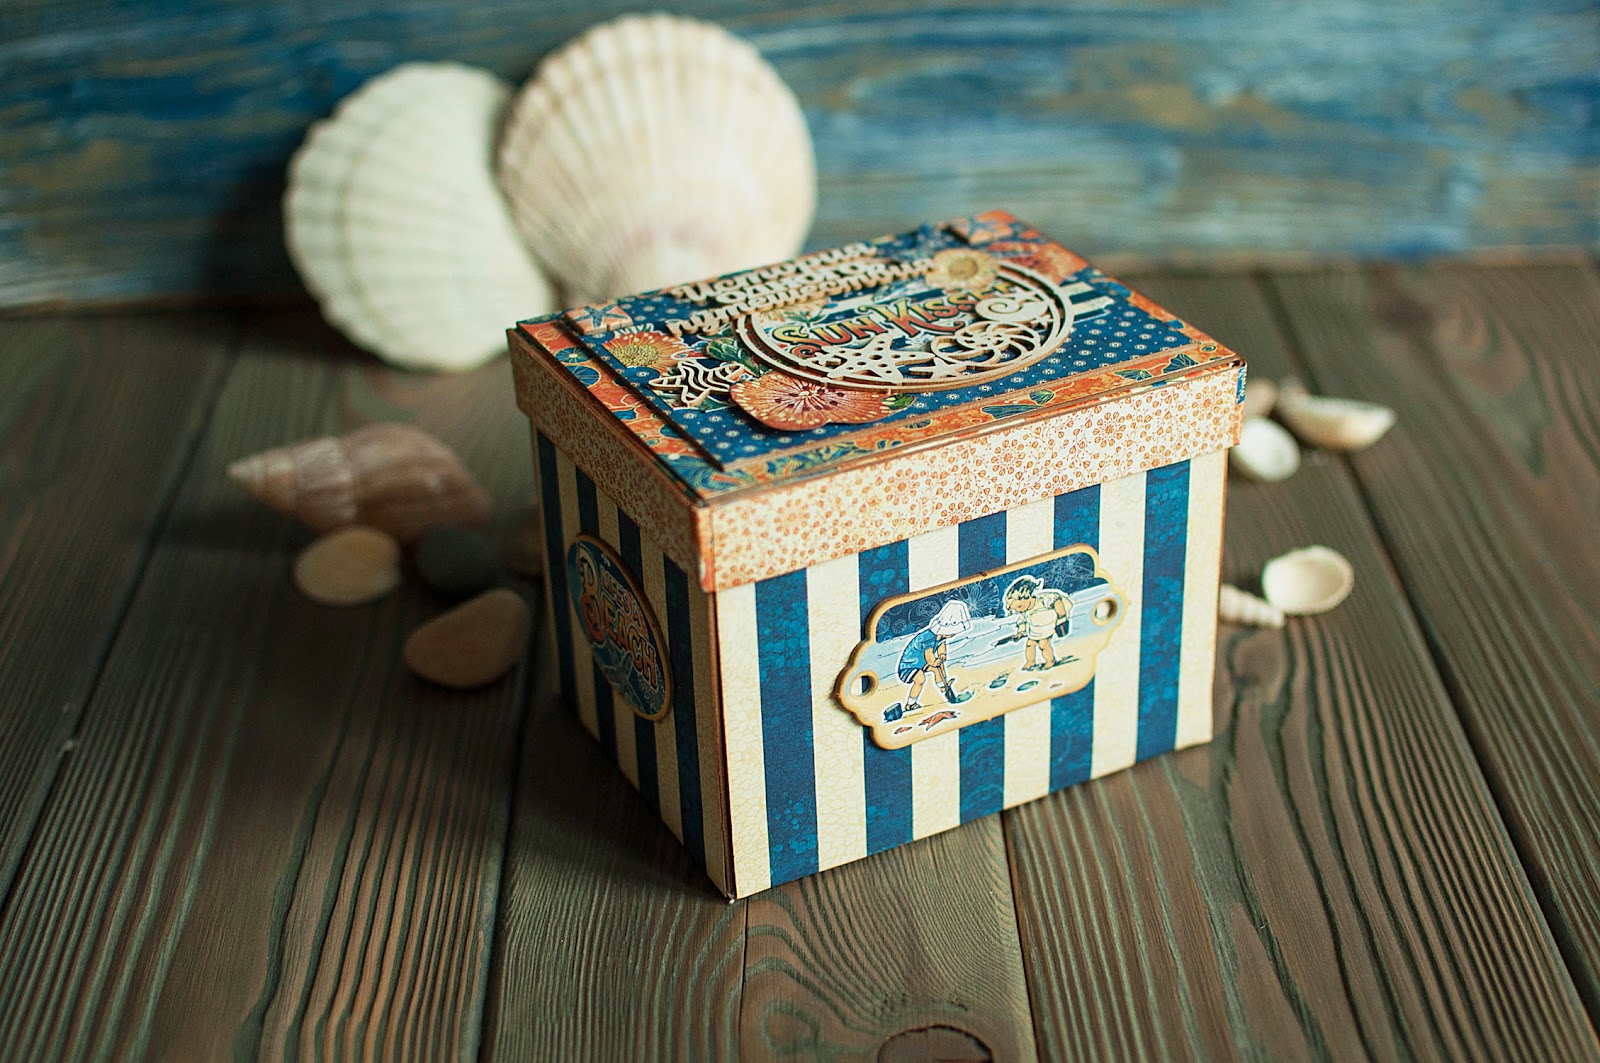
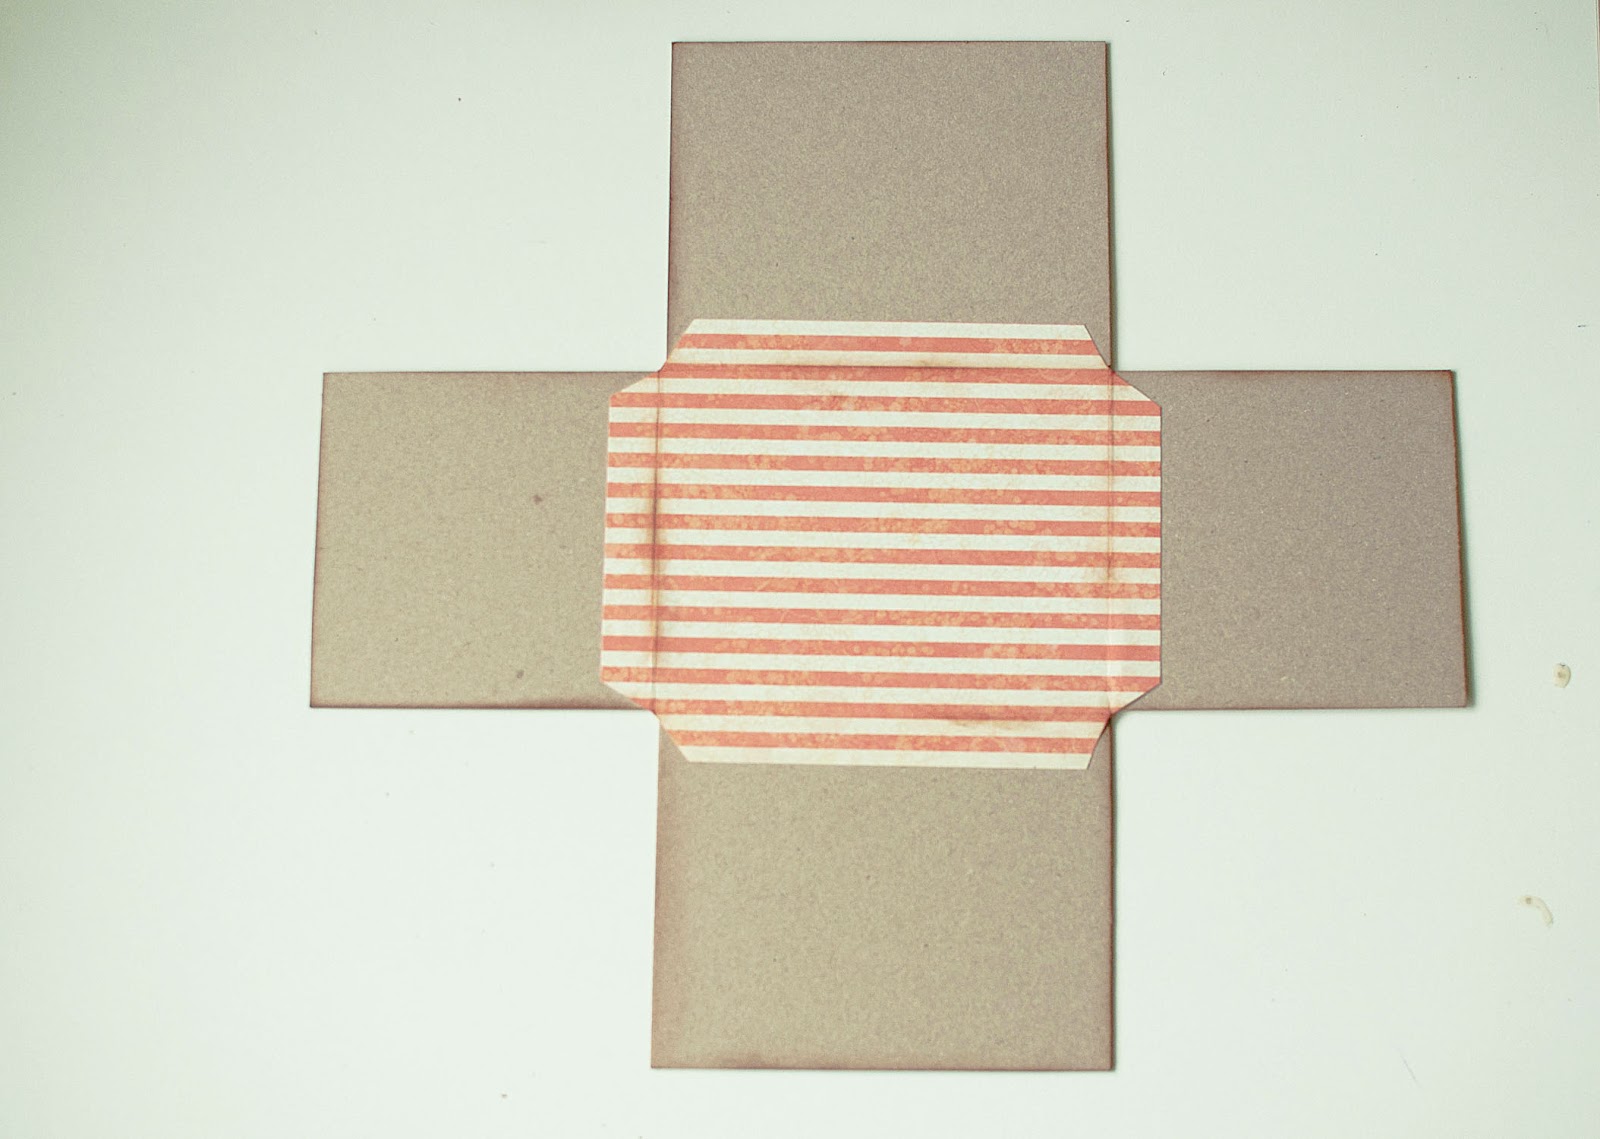
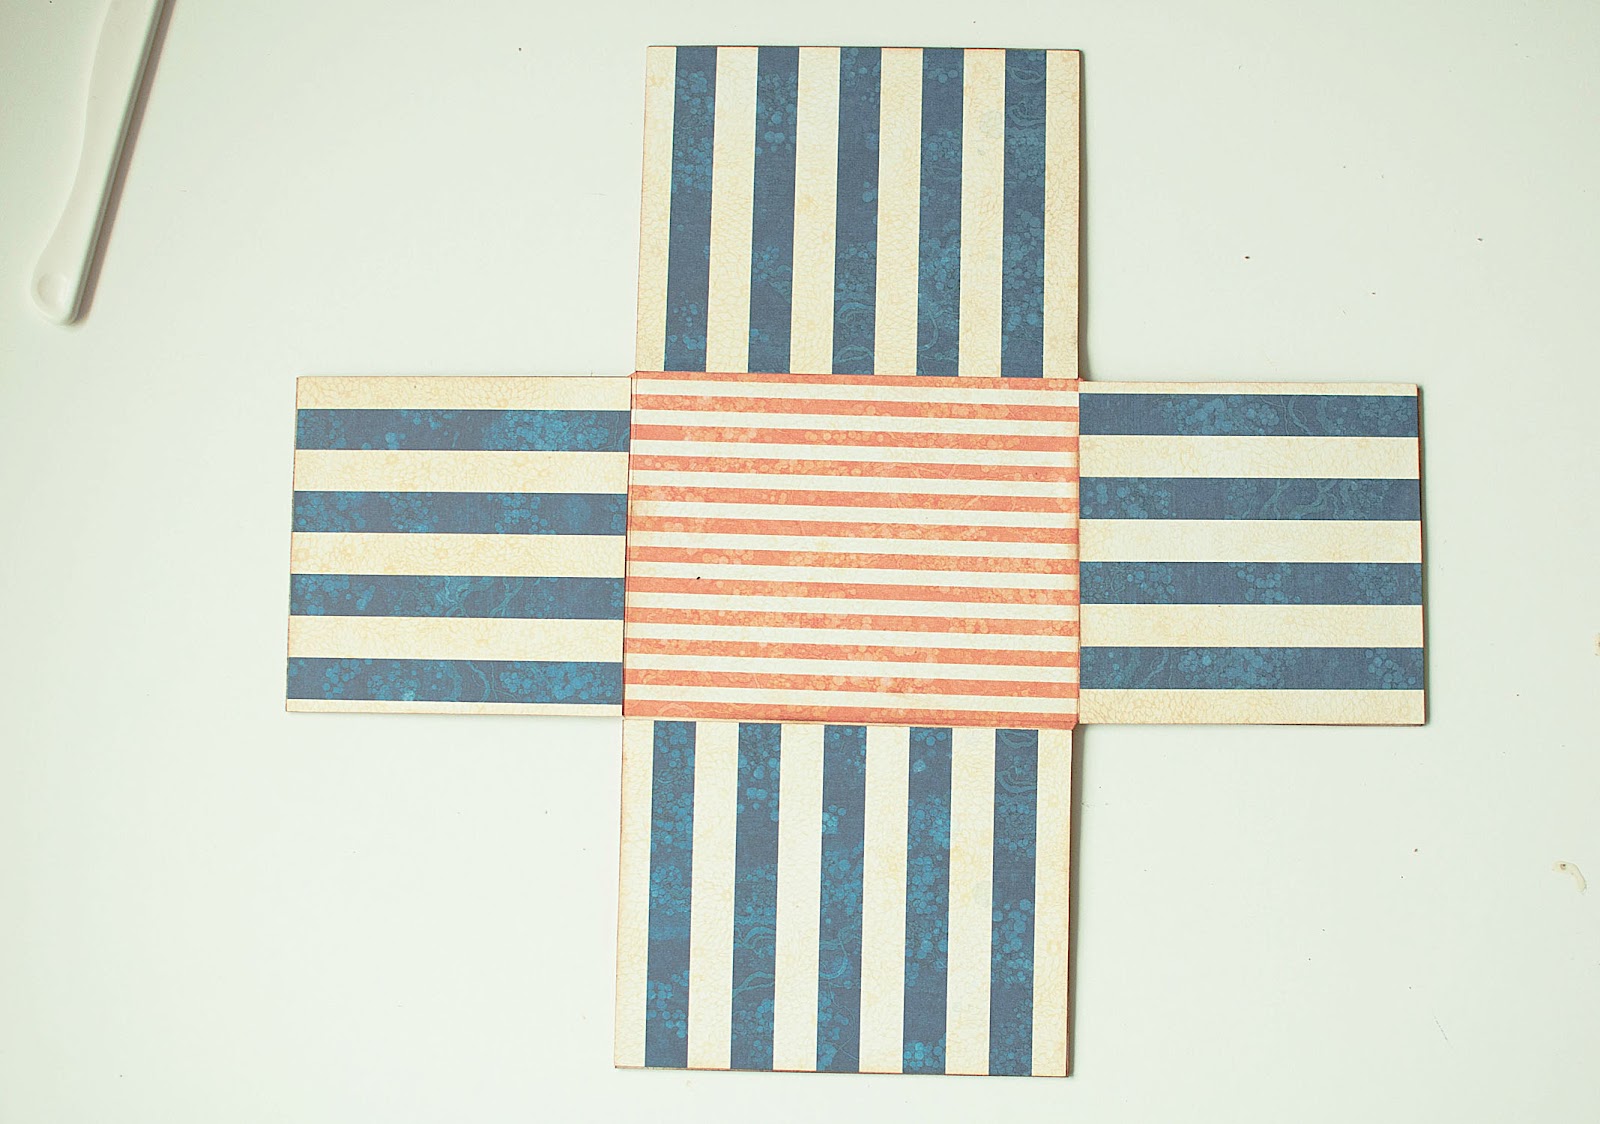
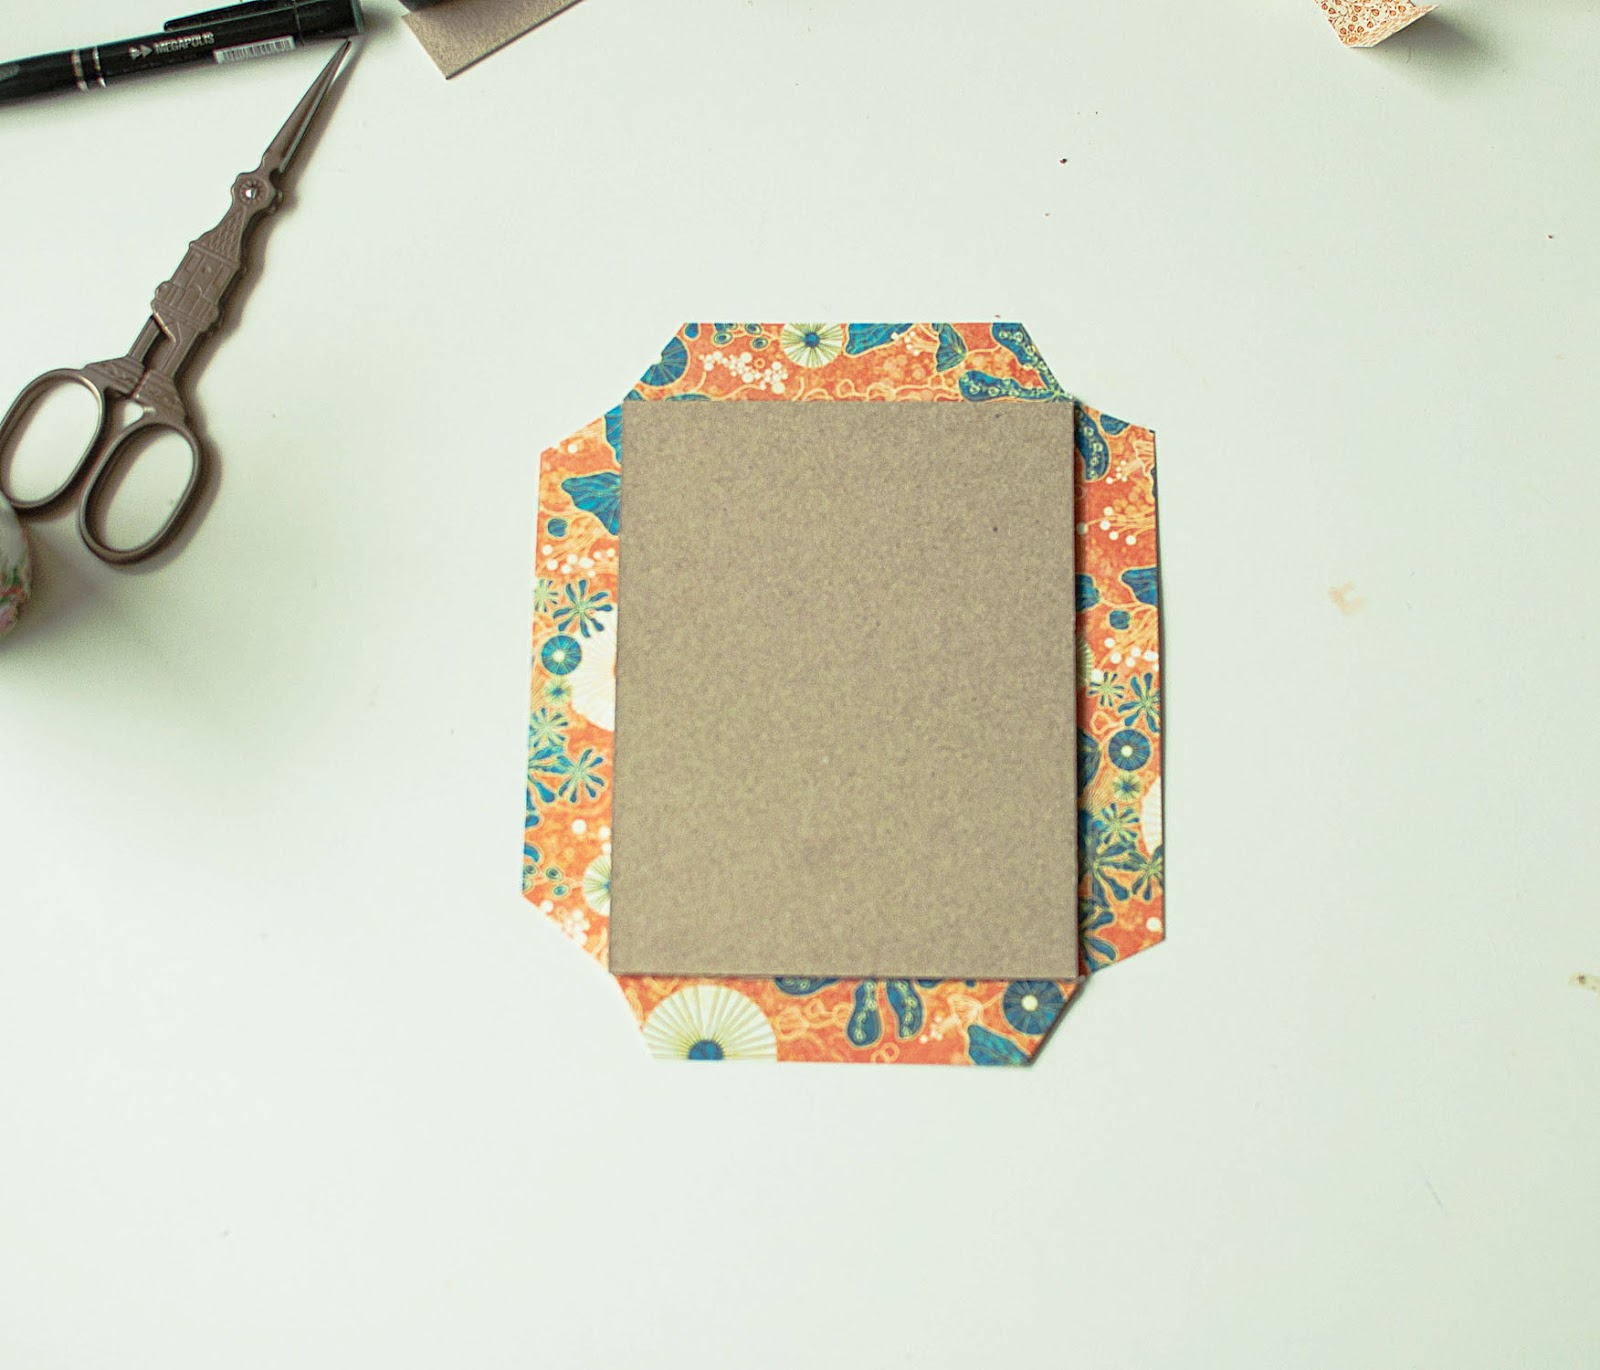
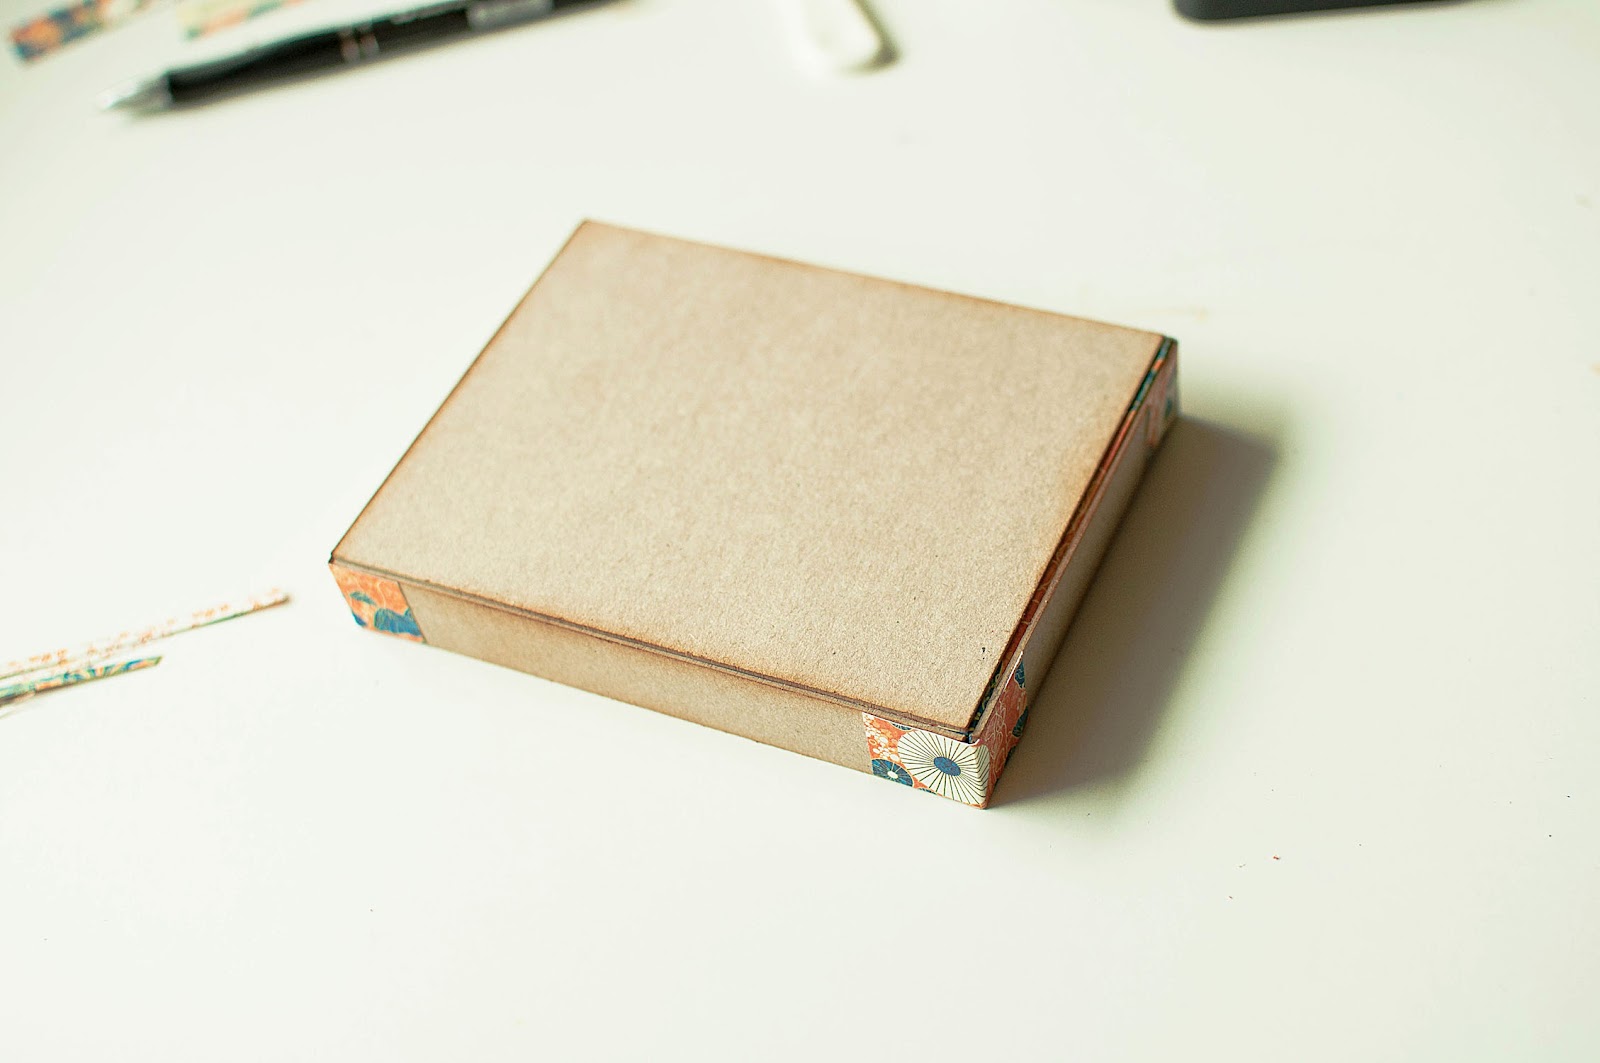
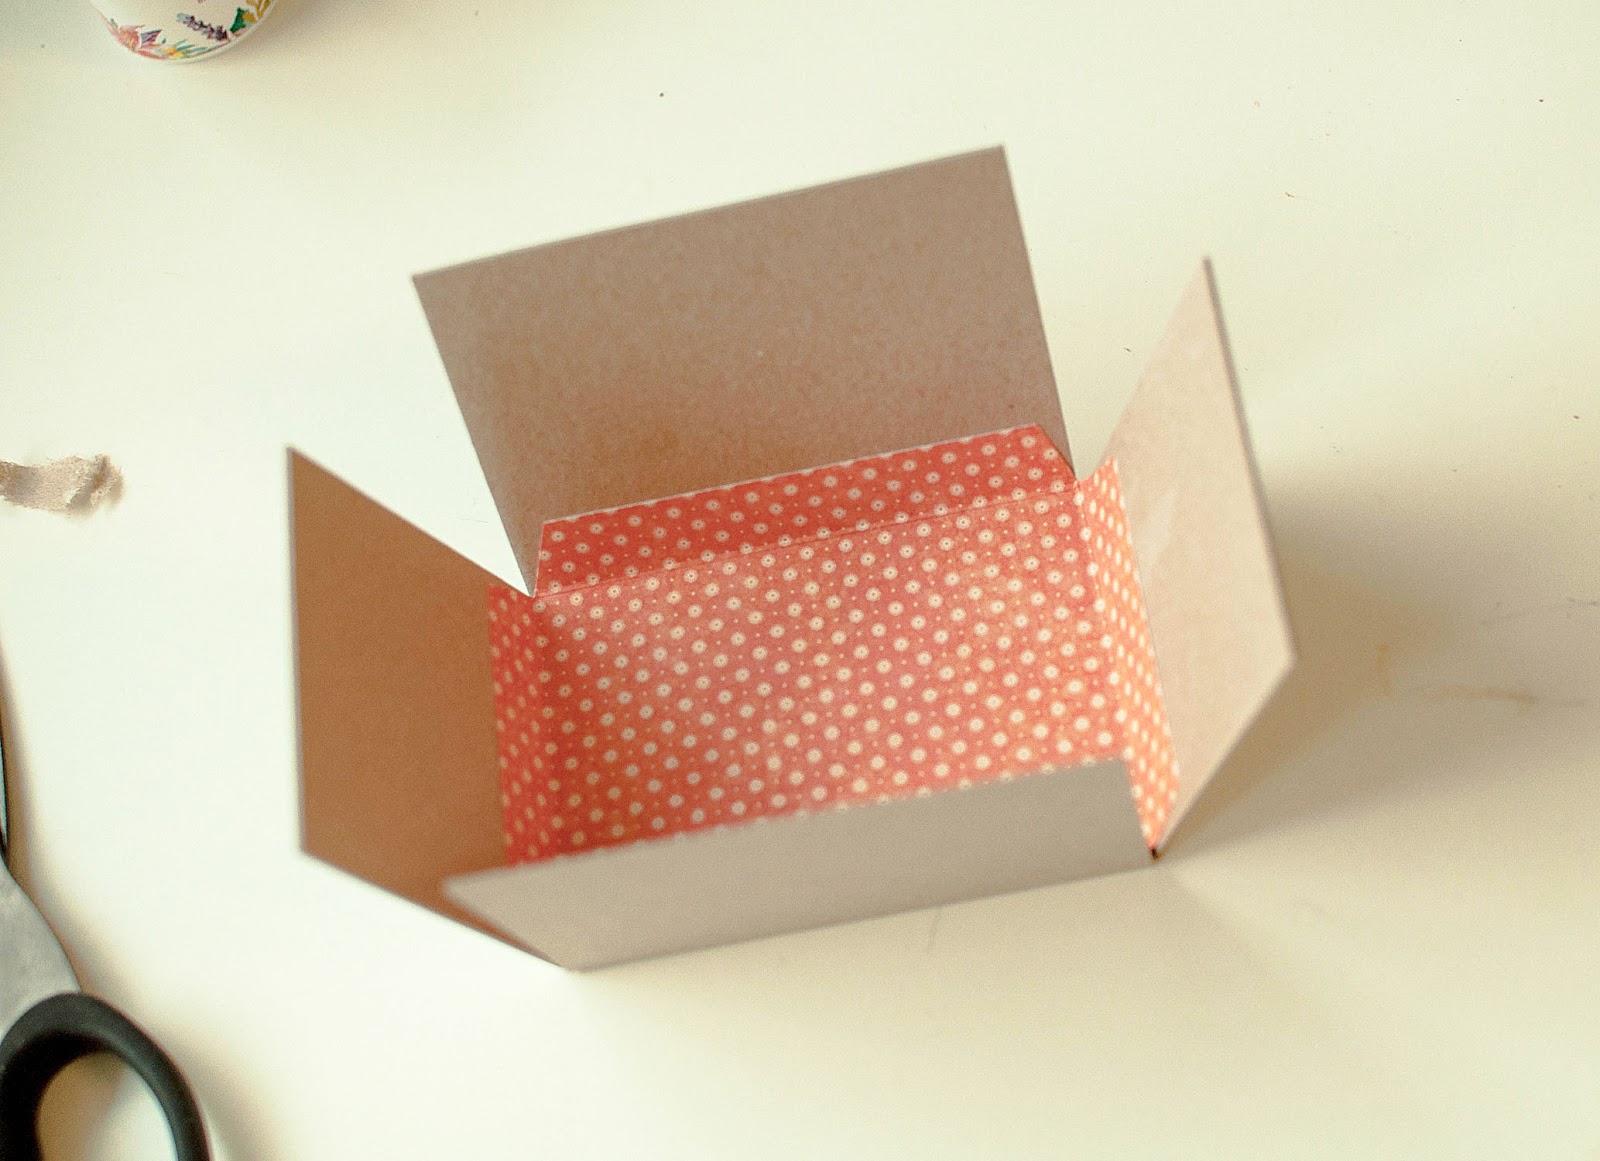
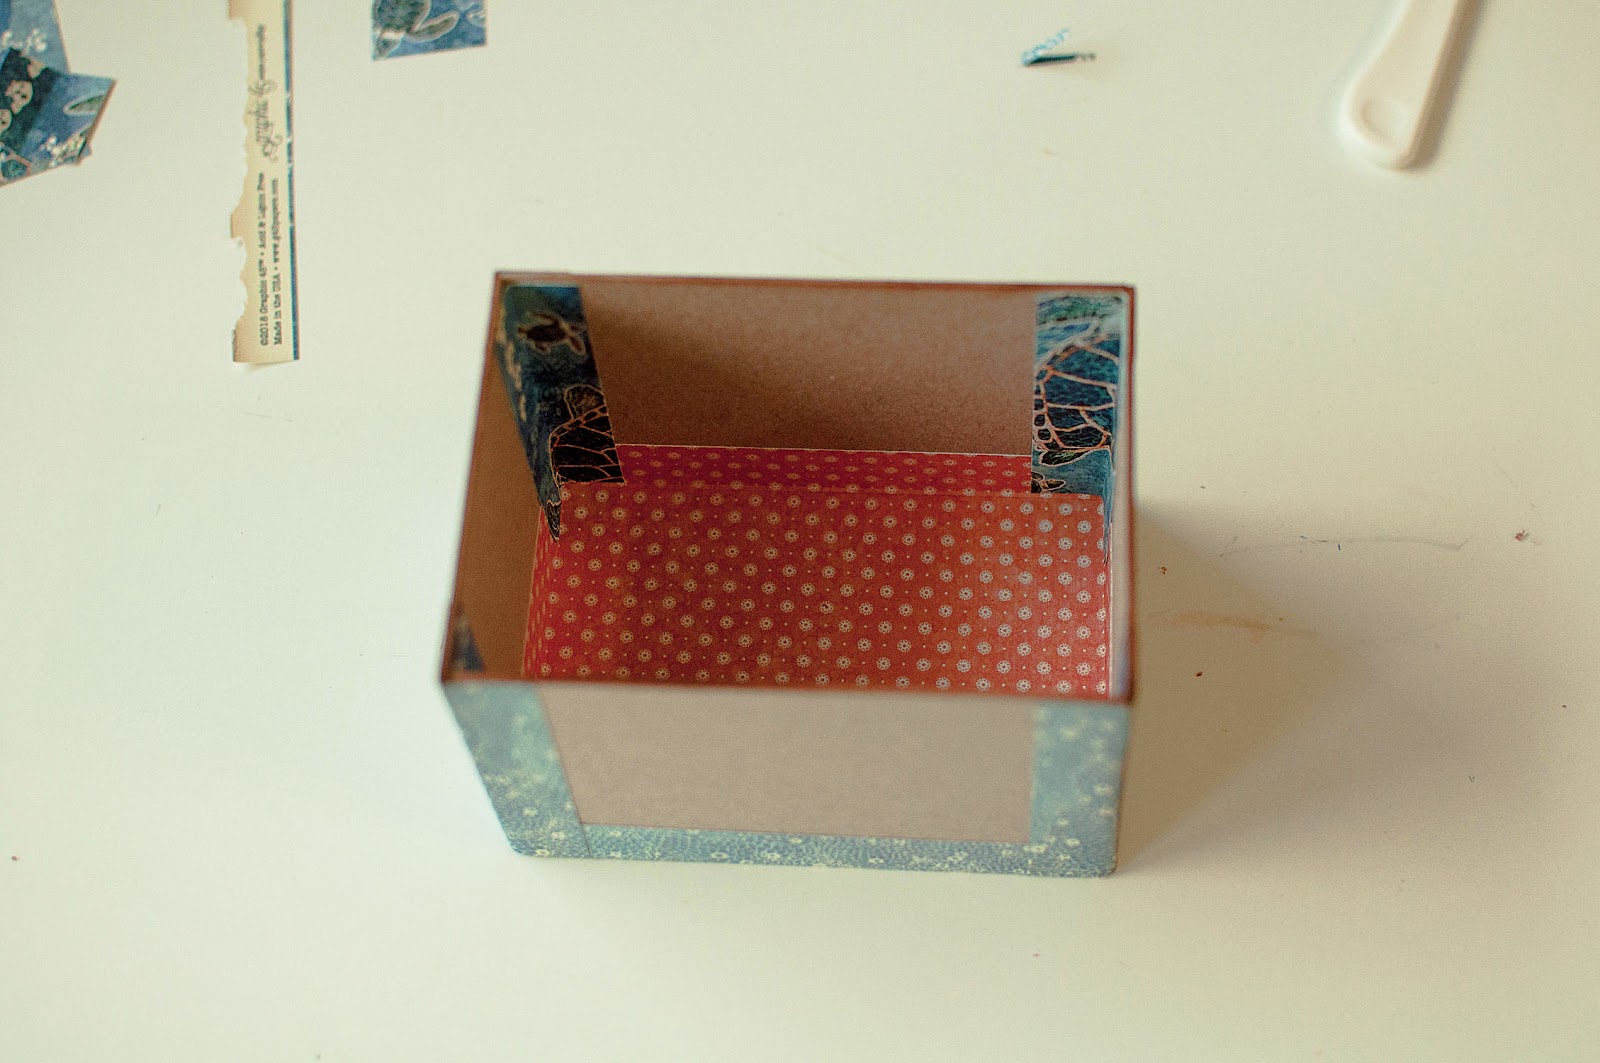
Make small box
Make the lid and decorate
size this lid 8.7x 10.7cm
Graphic 45 Supply List:
Sun Kissed Collection – retired
Sun Kissed, pad 12×12
Sun Kissed, pad 8×8
Chipboards Sun Kissed
Other Supply List:
Chipboard Просто небо
Explosion Box with Mini Album Tutorial
Happy Papercrafting!
Want even more Graphic 45? Sign up for our newsletter here!