Welcome to the latest Graphic 45 blog post featuring the talented crafter and G45 Brand Ambassador Cal Summers and her incredible stamping techniques. We’ll explore a step-by-step guide to creating this stunning ATC Mini Album using unique stamping methods, inspired by the vibrant colors and textures of our Flower Market paper collection. With Cal’s expert guidance, we’ll learn how to use stamping to create unique backgrounds, layering techniques to add depth, and finishing touches that will make your mini album stand out. Whether you’re a seasoned crafter or just starting, this tutorial is sure to inspire you to take your stamping skills to the next level.

“Hey G45ers – hope you are all well and enjoying plenty of crafting time!
This month we are focusing on stamping and you know I am not a card maker so my knowledge of stamping is really really patchy – that’s why I was really excited top have a go at this months challenge.
I’ve taken an ATC book and decorated it with Flower Market – here’s what I used.
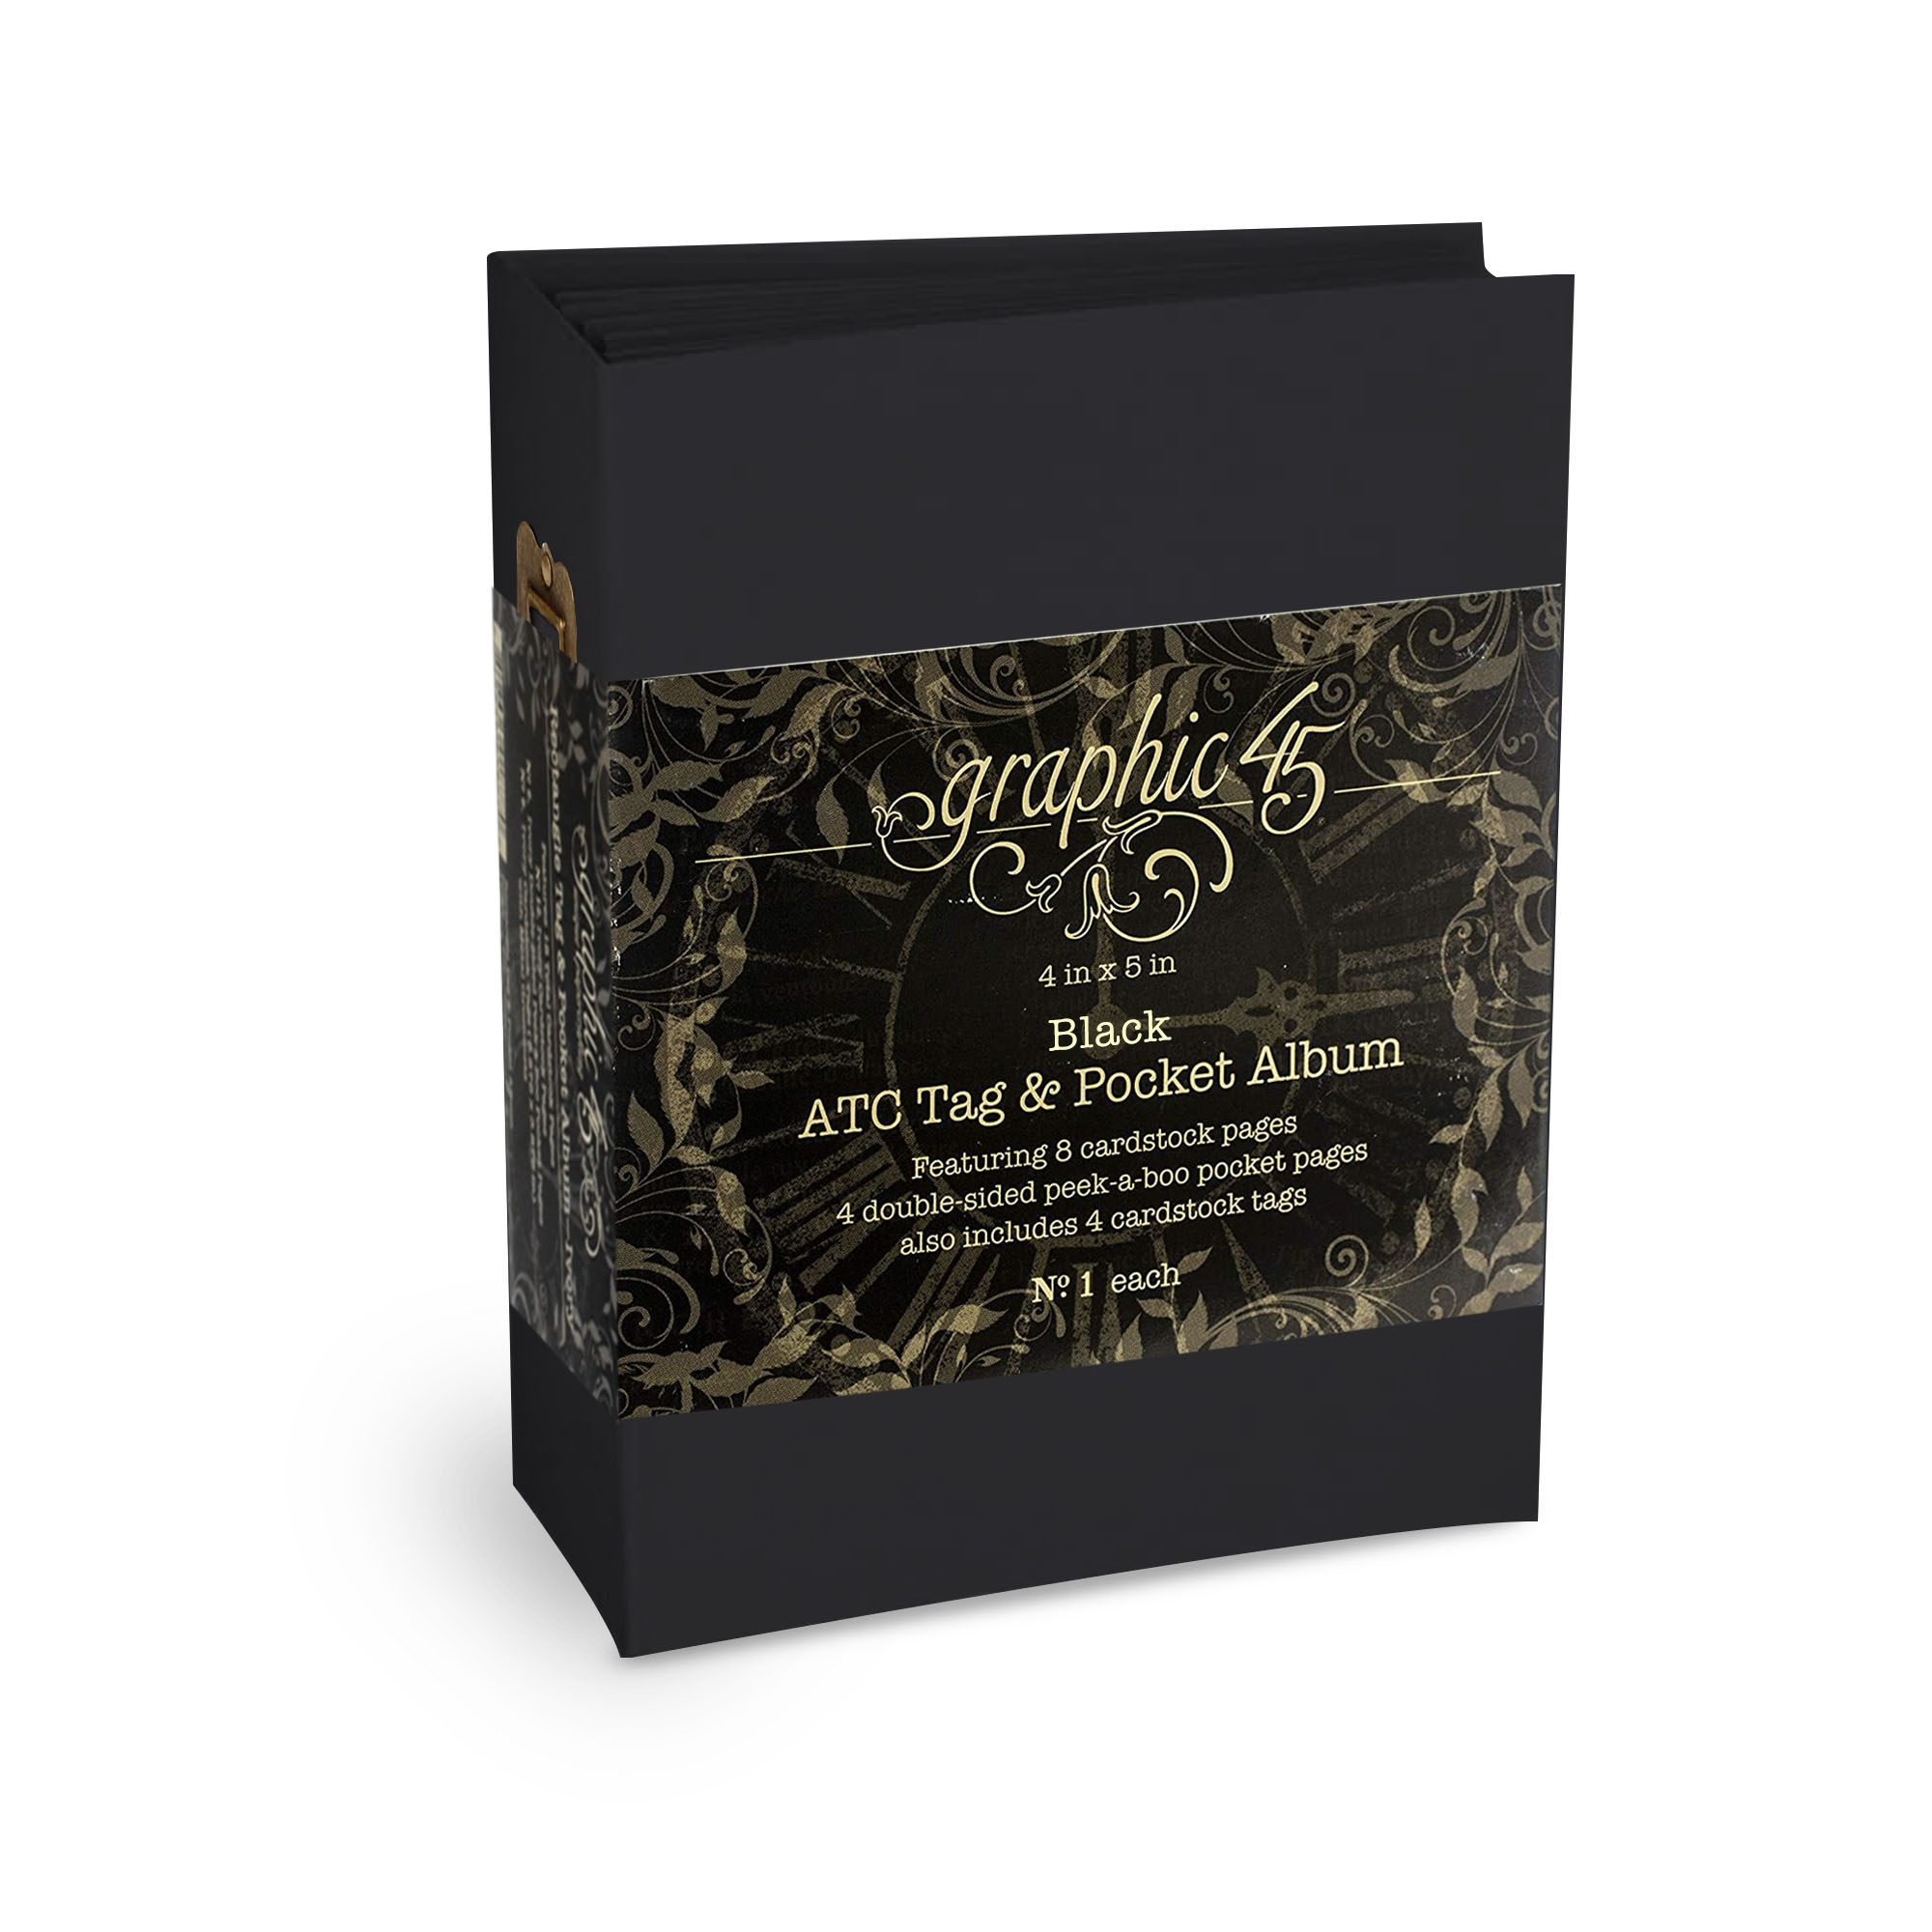
ATC Tag & Pocket Album https://g45papers.com/product/atc-tag-pocket-album-black/
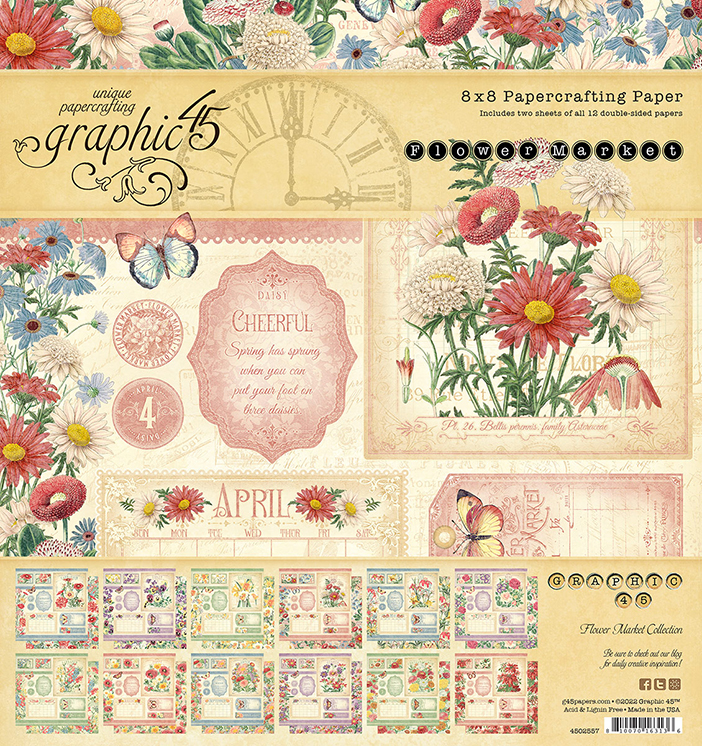
Flower Market 8×8 pad https://g45papers.com/product/flower-market-8×8-collection-pack/
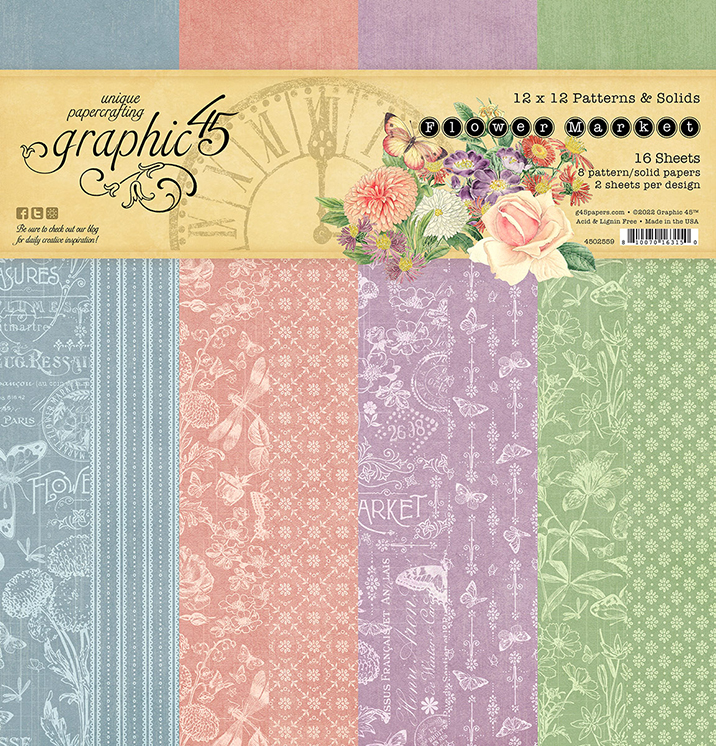
12 x 12 Patterns and Solids https://g45papers.com/product/flower-market-12×12-patterns-solids-pack/
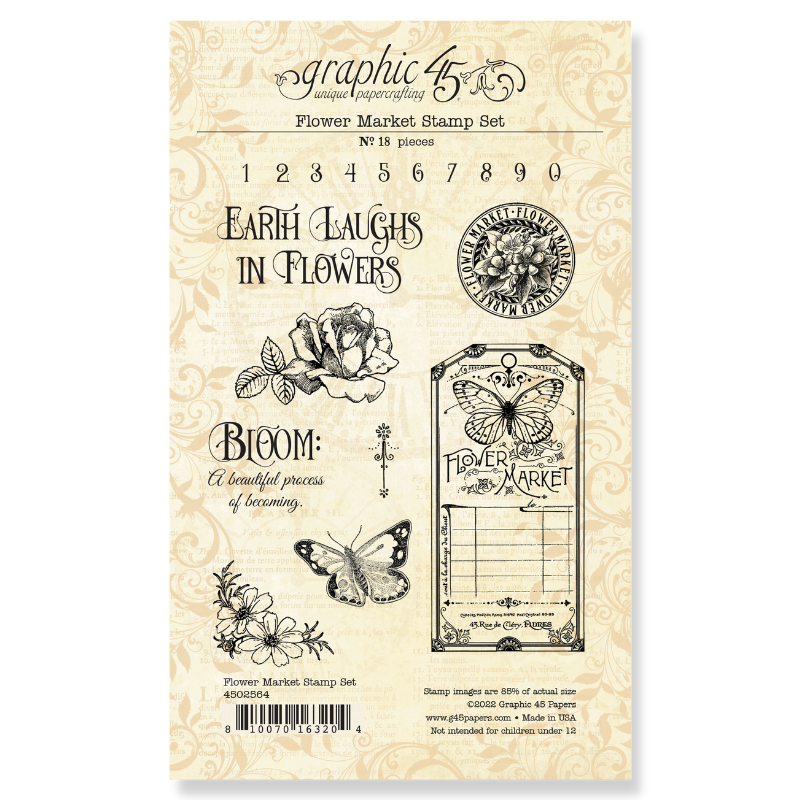
Flower Market Stamp Set https://g45papers.com/product/flower-market-stamp-set/
Flower Market Die Cut Ephemera https://g45papers.com/product/flower-market-ephemera-assortment/
Flower Market Journaling Cards https://g45papers.com/product/flower-market-journaling-cards/
Graphic 45 Ink – Classic Black https://g45papers.com/product/classic-black-inkpad/
Graphic 45 Ink – Natural Linen https://g45papers.com/product/natural-linen-inkpad/
Also some ribbon and a little plain black cardstock.
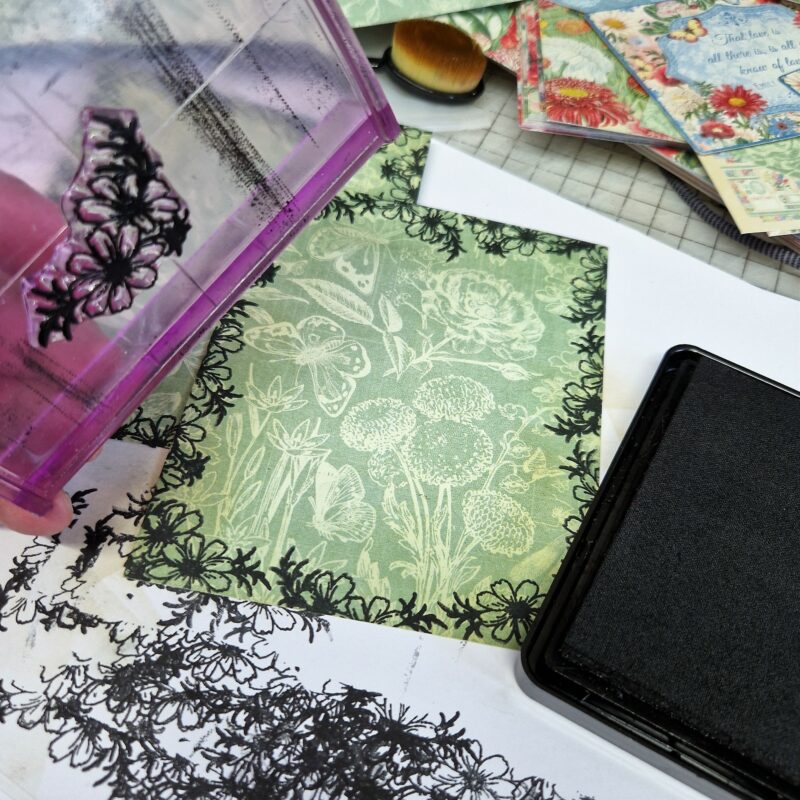
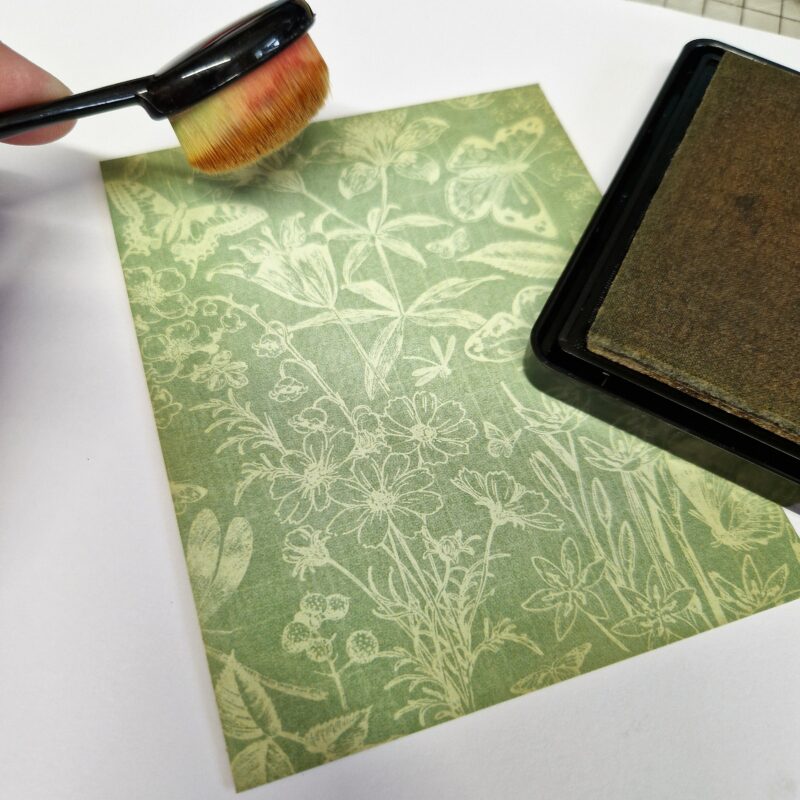
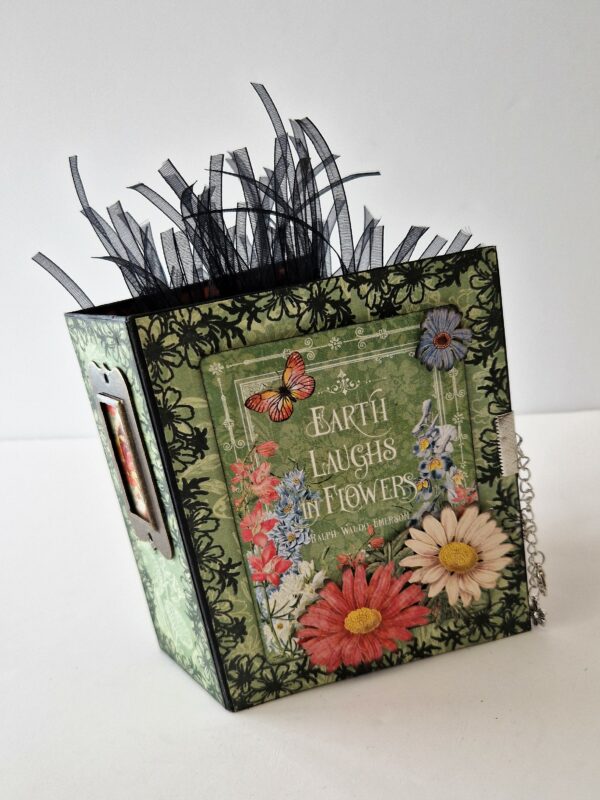
The first thing I did was to decorate my cover. I cut three pieces of patterned paper for the outside cover and two for the inside from the patterns and solids pad. I used the Linen inkpad to add a bit of colour around the edges.
After this I took my Graphic 45 stamps and black inkpad and stamped a border around the outside of the edges of the patterned papers.
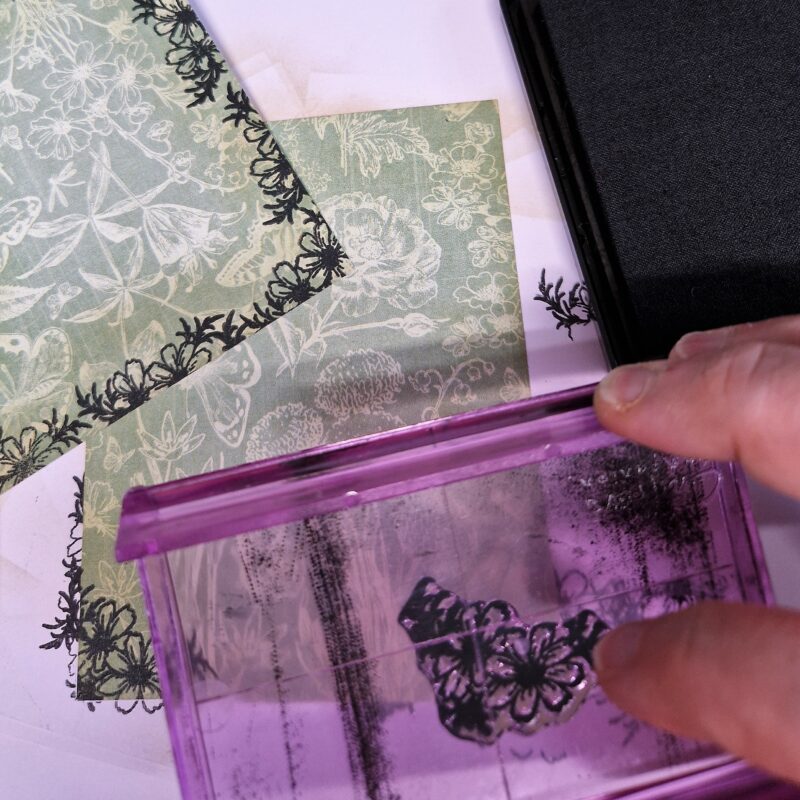
I stuck these onto the outside of my ATC book

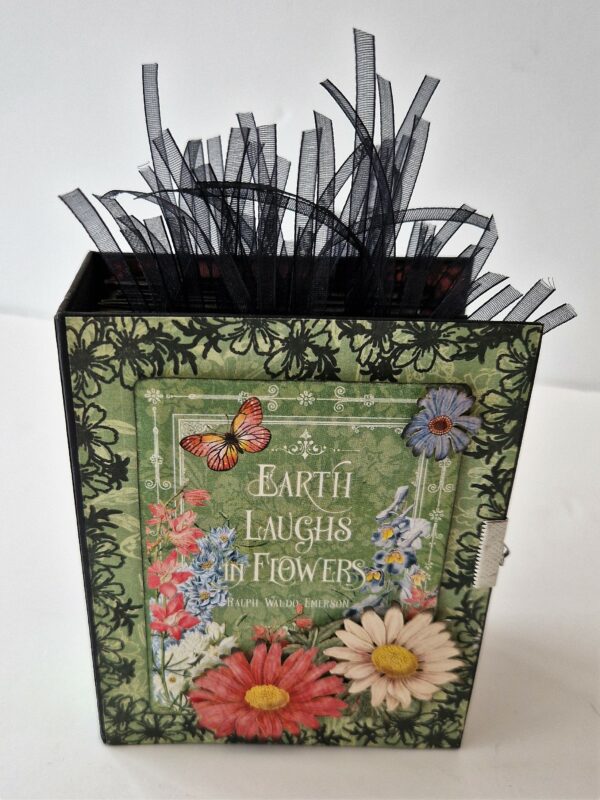
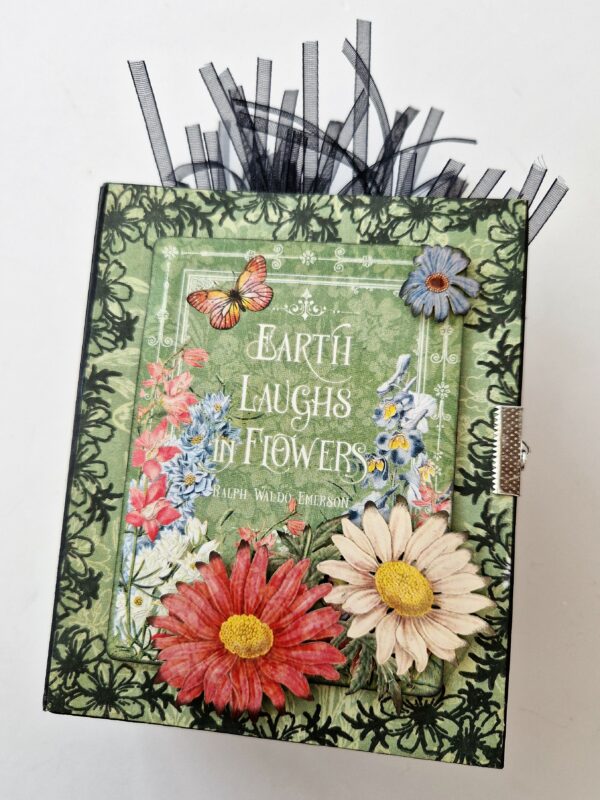
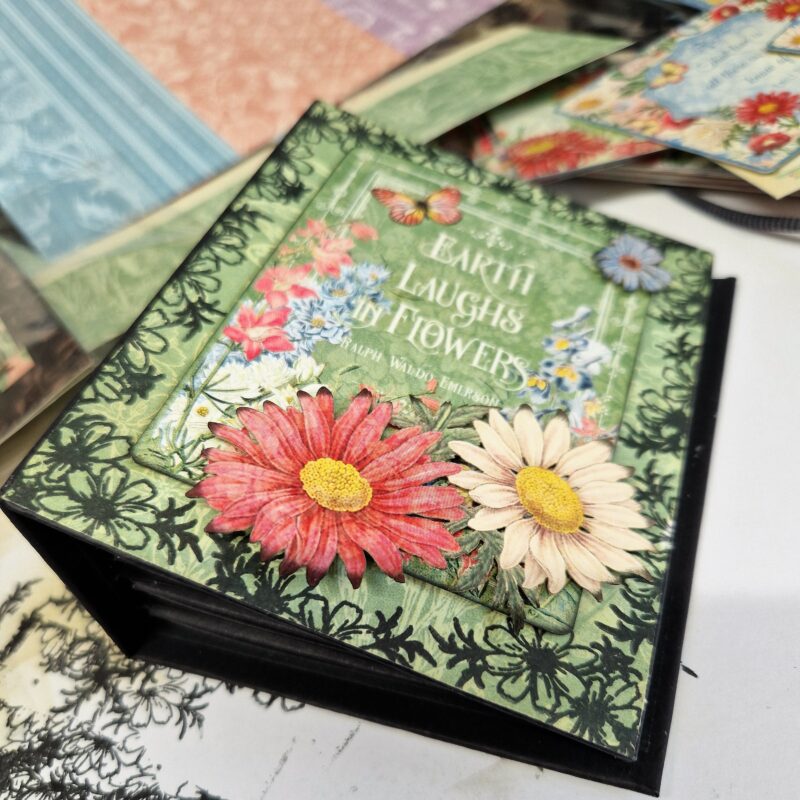
Next, I took my favourite 3 x 4 inch journaling card and used the linen inkpad to colour around the edges of the card. I attached this on some spare chipboard I had to the front of my album, to give some dimension. I then added a couple of pieces of the die cut ephemera to make it look really pretty.
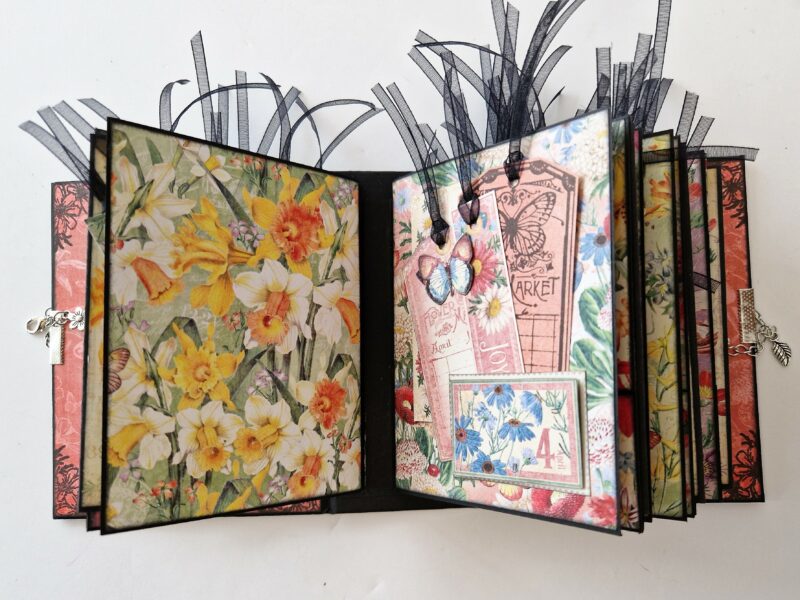
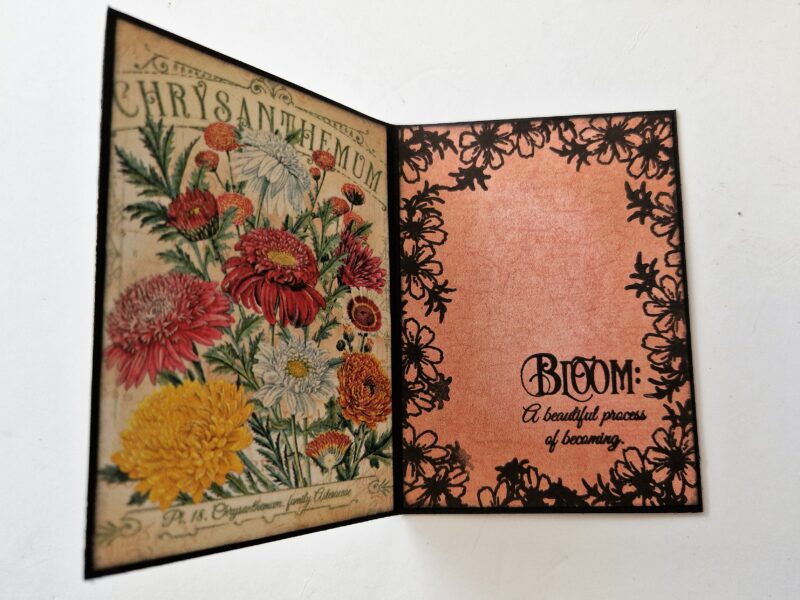
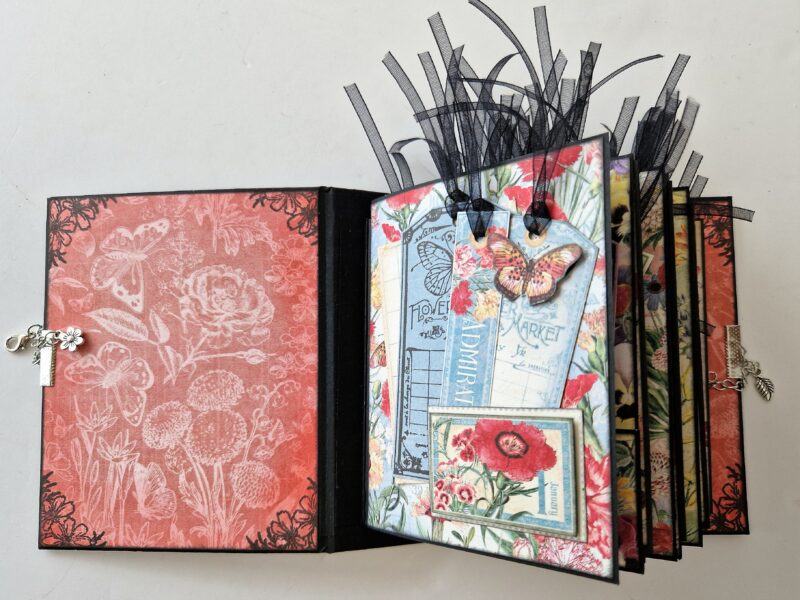
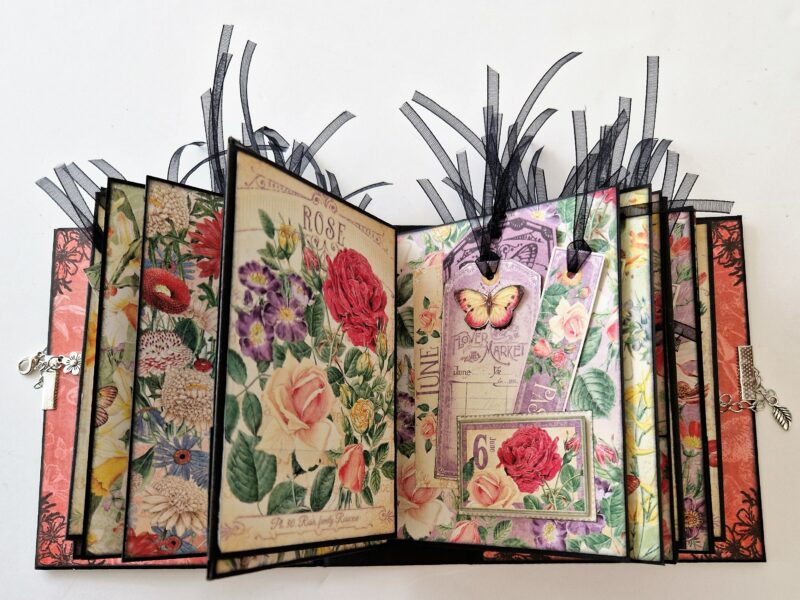
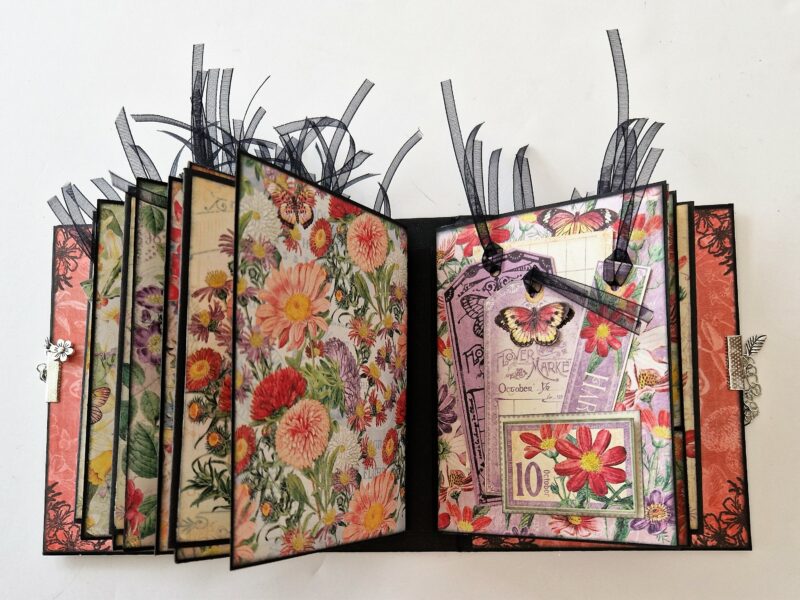
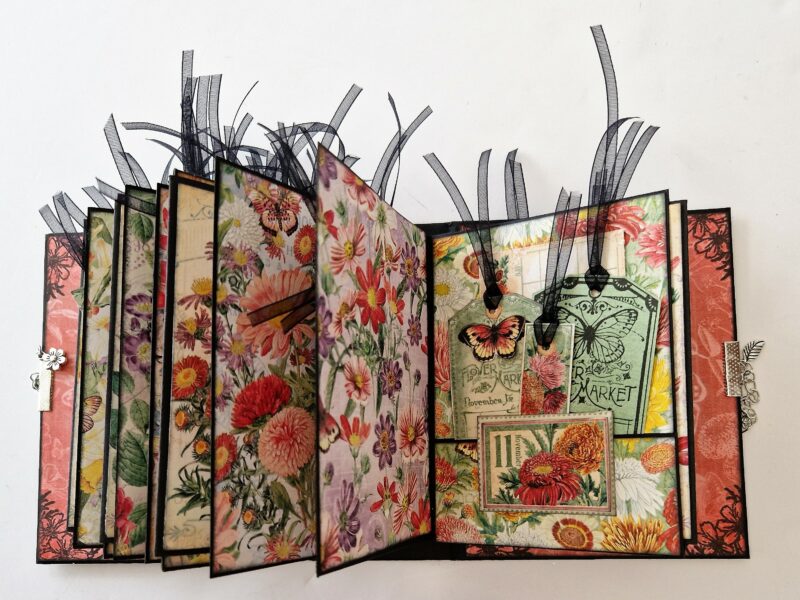
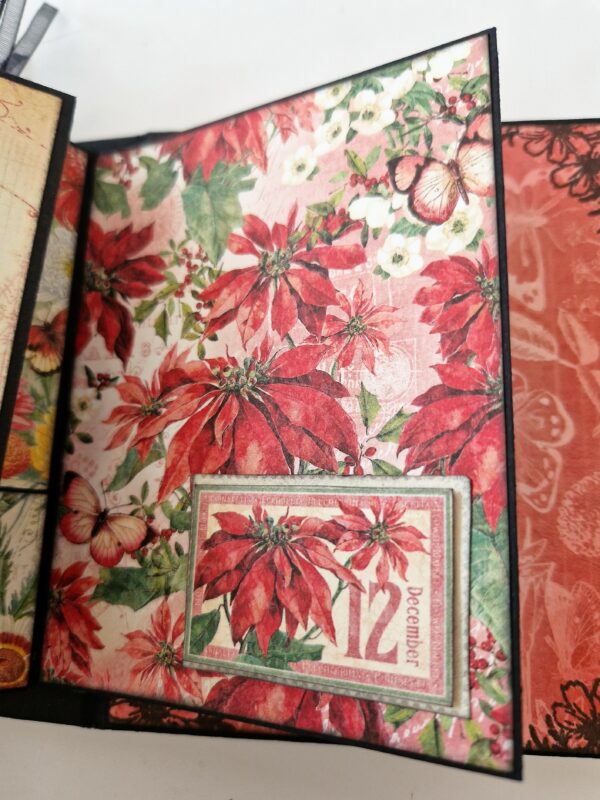
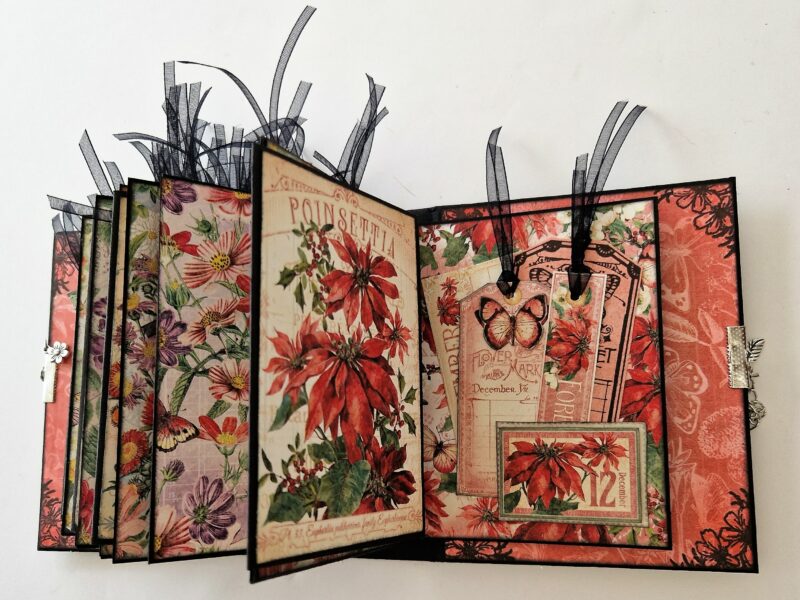
The next thing I did was to mat each of the internal pages with patterned paper. I used the 8 x 8 pad and covered the front and back of each page with the patterned paper that corresponds to each month, so page one was using January paper, page two (which has pockets) February etc. I also added the inside cover papers that I had stamped in the corners.
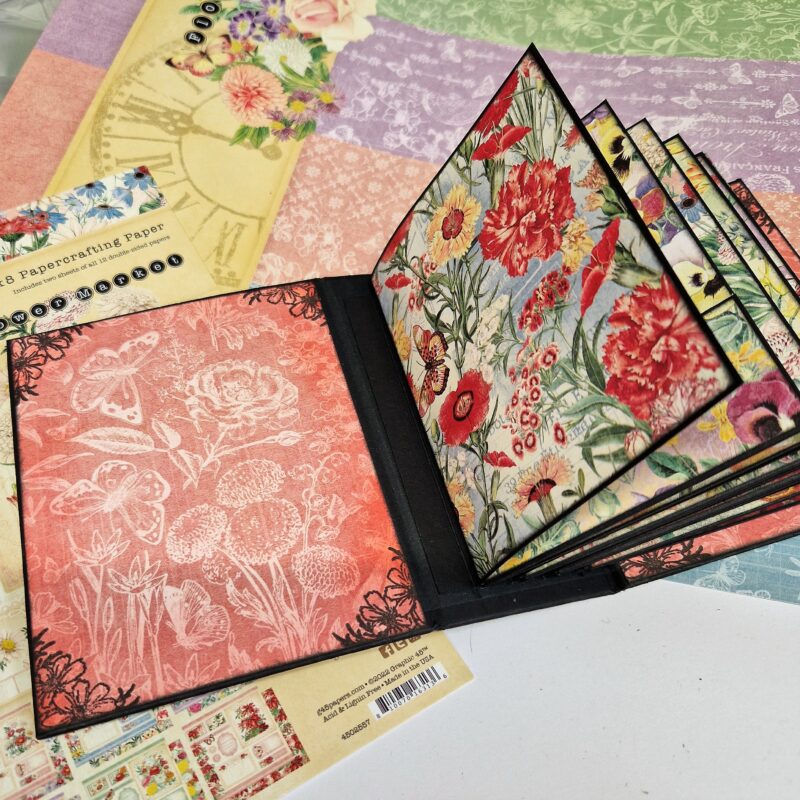
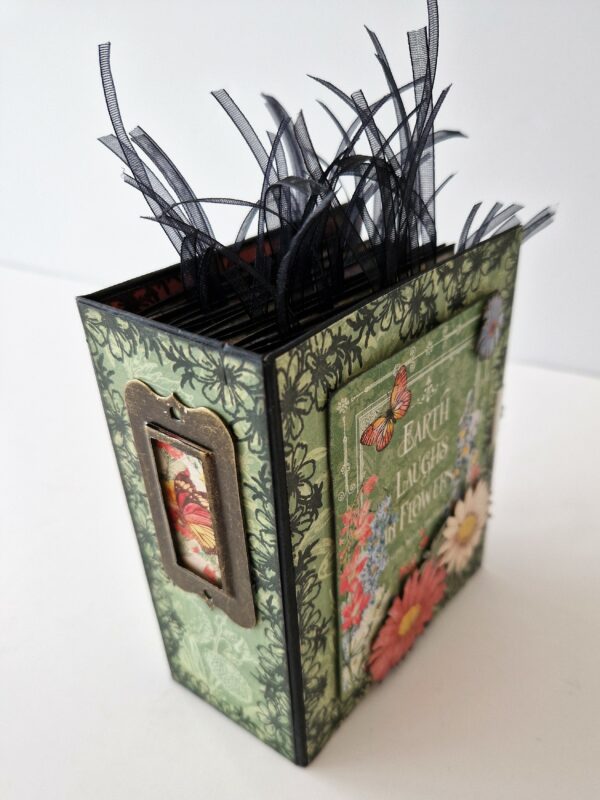
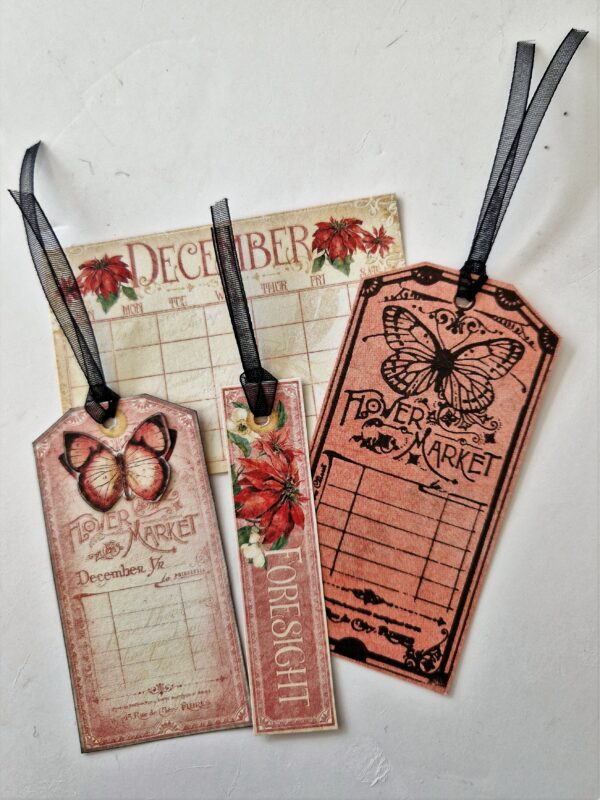
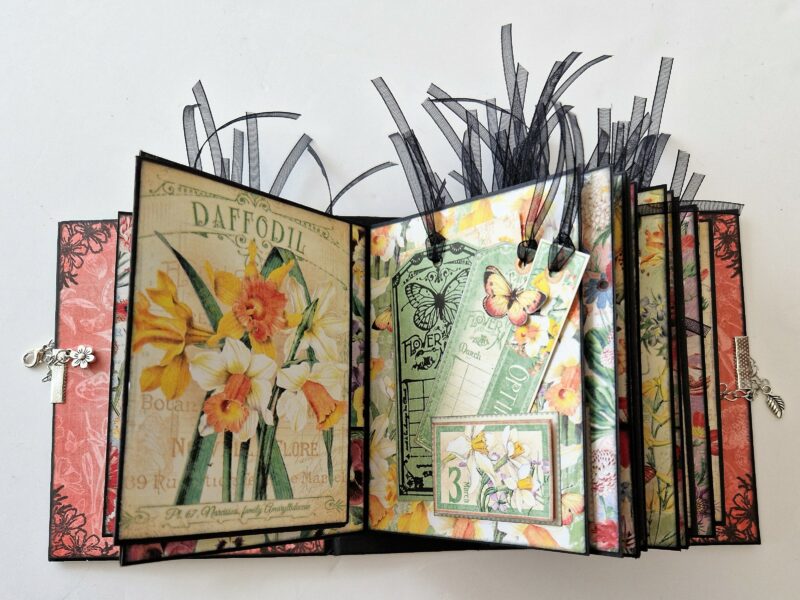
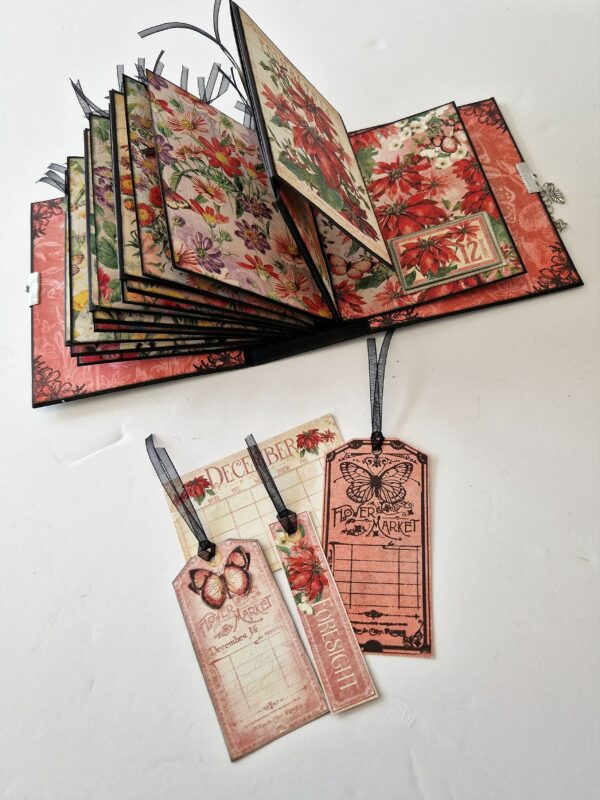
Once that was done I could get on with decorating each month. I did the same for each, so I fussy cut the tag, the slimline word, the small butterfly and the stamp from the back of each of the patterned papers. I added a little bit of ribbon through the top of each tag and slimline word and added the fussy cut butterfly onto the tag to make it look 3d. I glued the stamp image onto each page on just two sides so that I could use it as a tuck spot
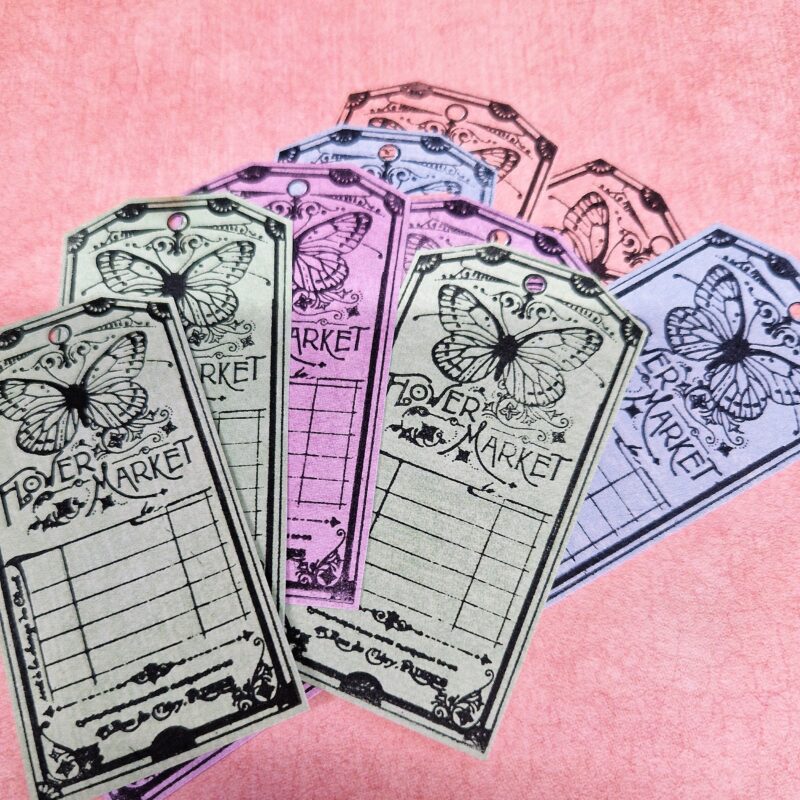
Finally, I stamped the tag from the stamp set onto the corresponding solid colour from the 12 x 12 patterns and solids pad, cut them out and added ribbon.
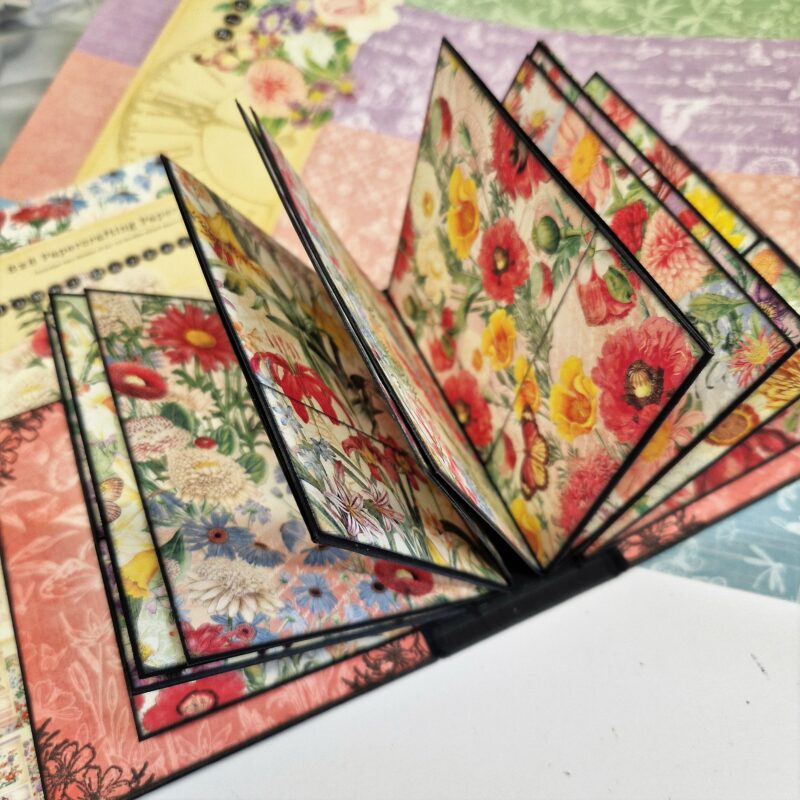
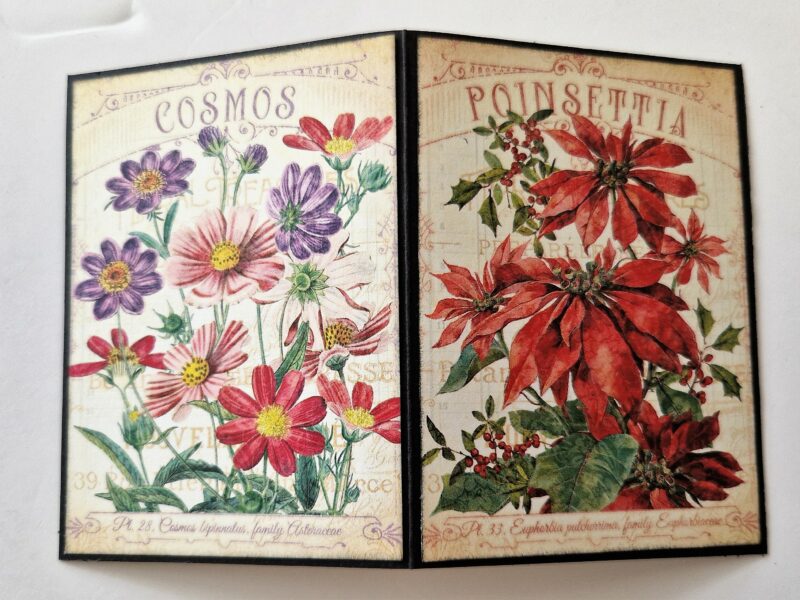
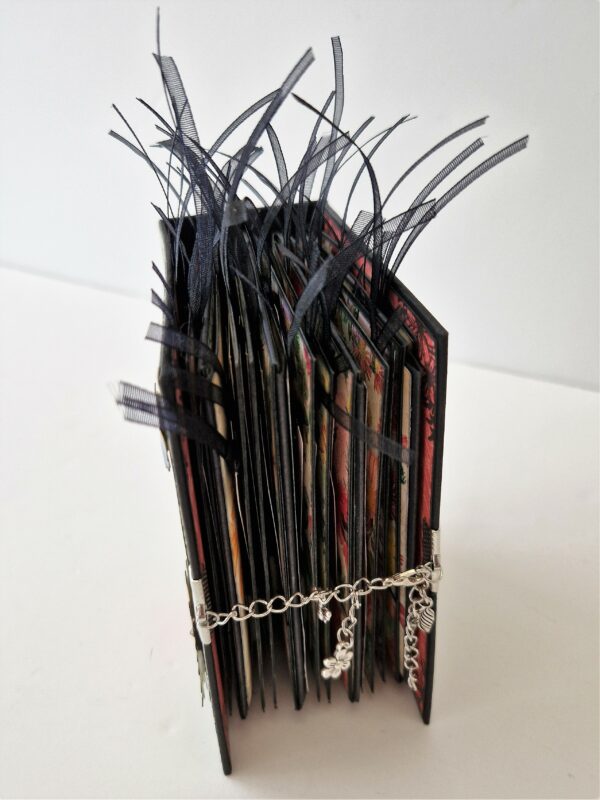
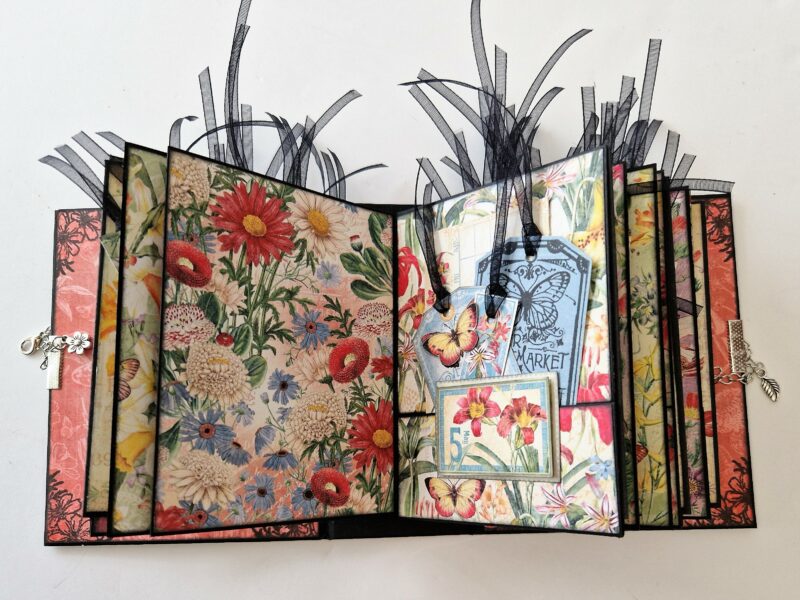
The last thing I did was to make some little inserts to go in the slots between the pocket pages. I cut four pieces of black cardstock at 6 1/8 (width) x 4 ¼ inches (height), I folded these in half on the width and cut out each of the beautiful large flower images from the reverse of the 8 x 8 sheet. I glued these in month order onto the cardstock, three to each insert. I cut four pieces of plain solid and once again stamped around the edges and added a stamped sentiment to create some interest.
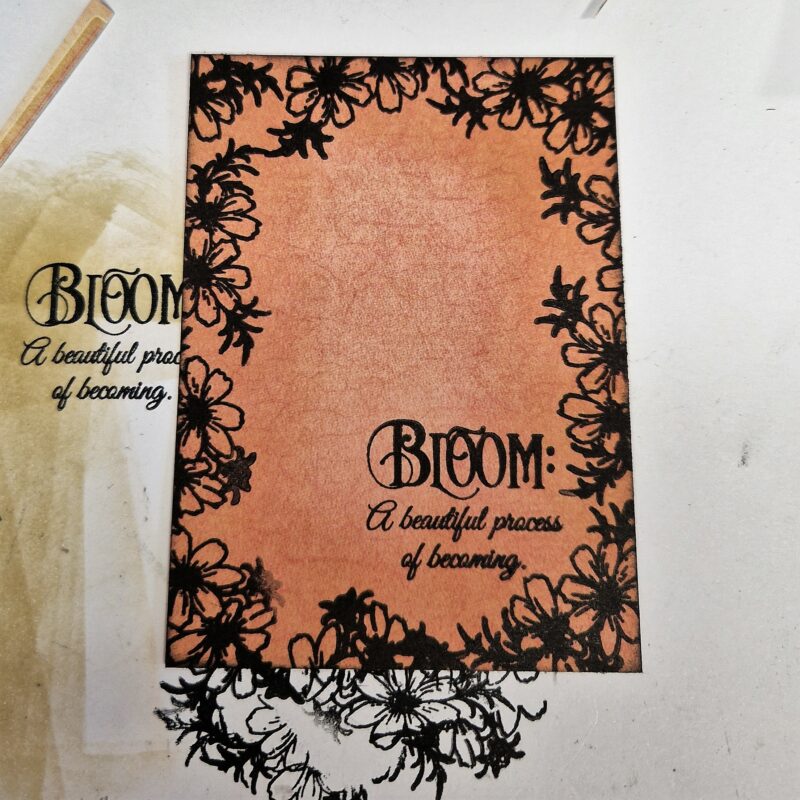
I slotted these into the pocket pages to create extra flaps. This is such a pretty collection you just can’t go wrong with your decorating!
I hope you have a go at the #G45stamping challenge and share your makes on the Facebook Community Page – I can’t wait to be inspired!
Thank you for joining me today – and happy crafting!”

Want even more Graphic 45? Sign up for our newsletter here!


One Response
I love the mini album with all the beautiful flowers. It looks like you stamped in black ink around the paper on the cover. What are the the black cutouts (?) that are not on the album, but around it? Cute clasp. Where can that be purchased?