Hello, G45ers!
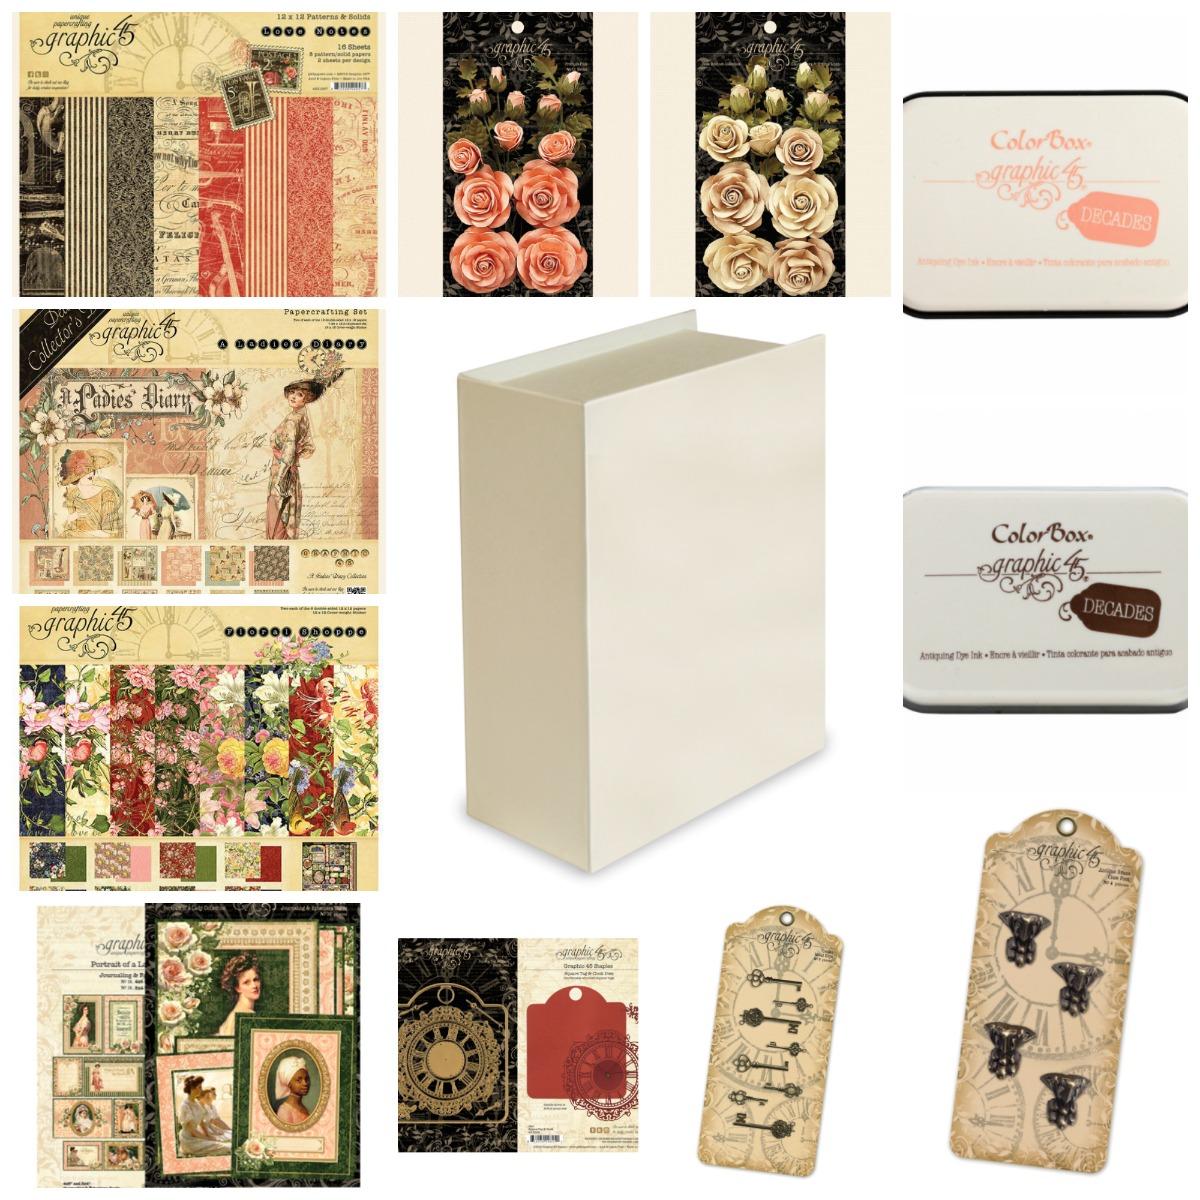
Follow along with this Jewelry Box Video Tutorial to learn how to create beautiful home decor pieces, along with some useful paper crafting tips. Sandi Nagel created this step by step how to video to help get your creative juices flowing for our #G45MixandMatch – April Challenge. Sandi uses scraps from four Graphic 45 paper collections, highlighting our A Ladies’ Diary – Deluxe Collector’s Edition, Floral Shoppe, Love Notes, and A Portrait of a Lady, and of course the Book Box. We hope you pick up a few tips and techniques and try out something new today!
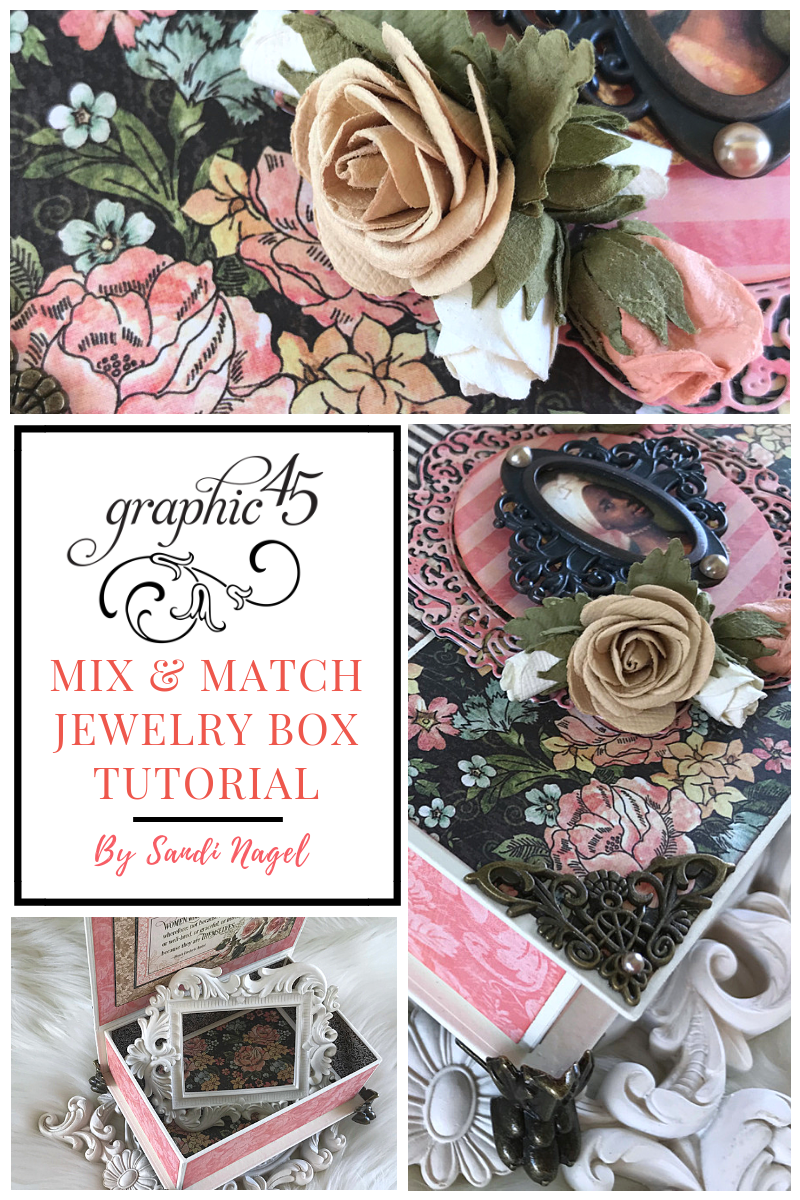
Graphic 45 Jewelry Box Tutorial
By Sandi Nagel
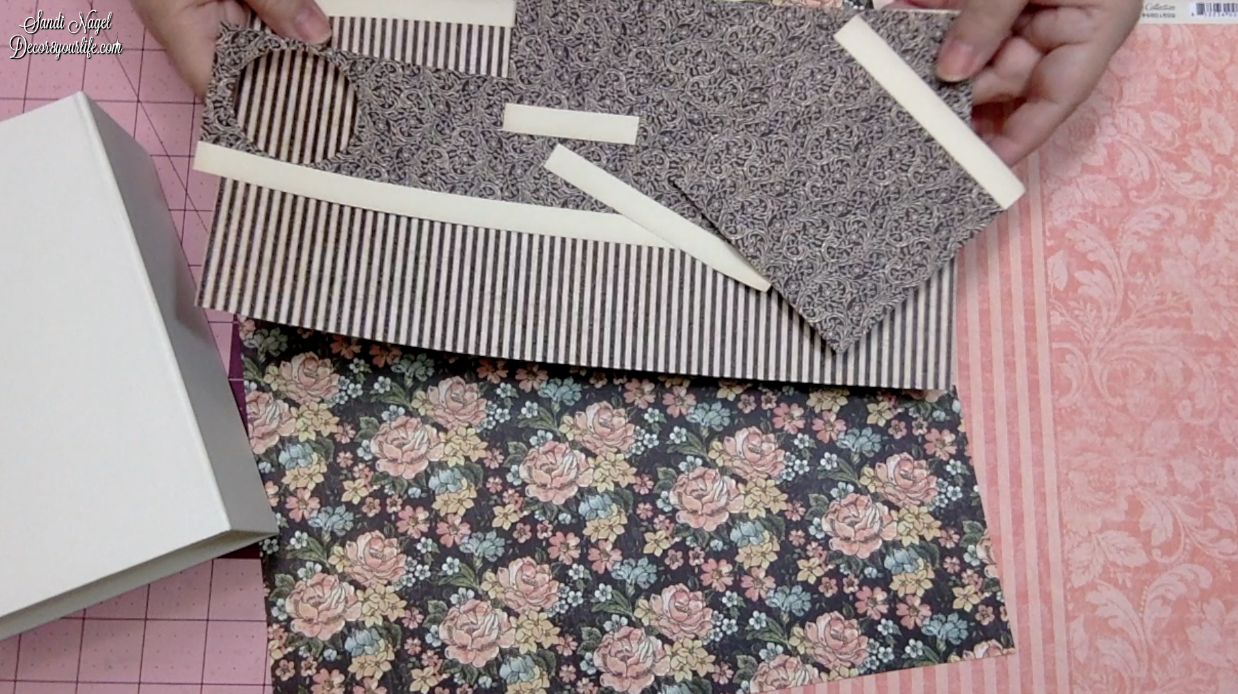
"Hello, paper crafting friends! Today I have a Graphic 45 mix & match project to share with you. This project is going to use leftover papers and scraps that you may have from past paper crafting projects.
We're also going to use the Graphic 45 Book Box, journaling cards, embellishments, inks and dies to complete our Jewelry Box project.
I'm using a mix of Graphic 45 papers, that in my opinion, complement each other extremely well; but you can combine your Graphic 45 collections that you have on hand. And remember to use your scraps.
Tip on how to store your Graphic 45 scraps: Use gallon-size zip-lock bags; and separate your scraps by color.
Outer Lid
Top piece 2 x 6 7/8
Bottom piece 2 7/8 x 6 7/8
Inside Lid
4 7/8 x 6 7/8
Back Side Strip
2 5/16 x 6 7/8
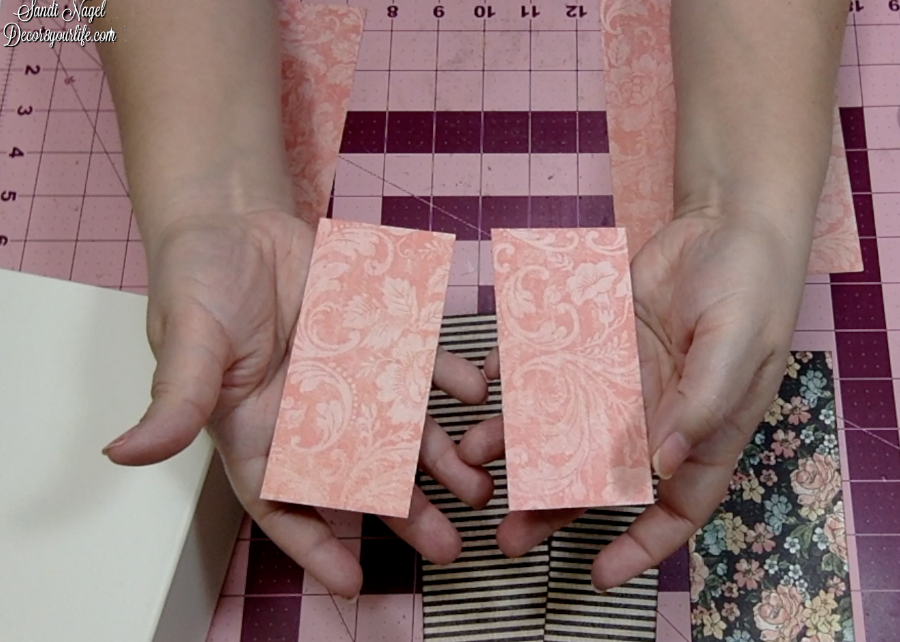
Outer Side Pieces
2 Side Strips 2 1/8 x 4 3/8
1 Front Strip 2 1/8 x 6 3/8
Inside Bottom
4 1/8 x 6 1/4
Inside Side Pieces
2 Strips 2 x 4 5/16
2 Strips 2 x 6 1/4
Outer Bottom
4 7/8 x 6 15/16
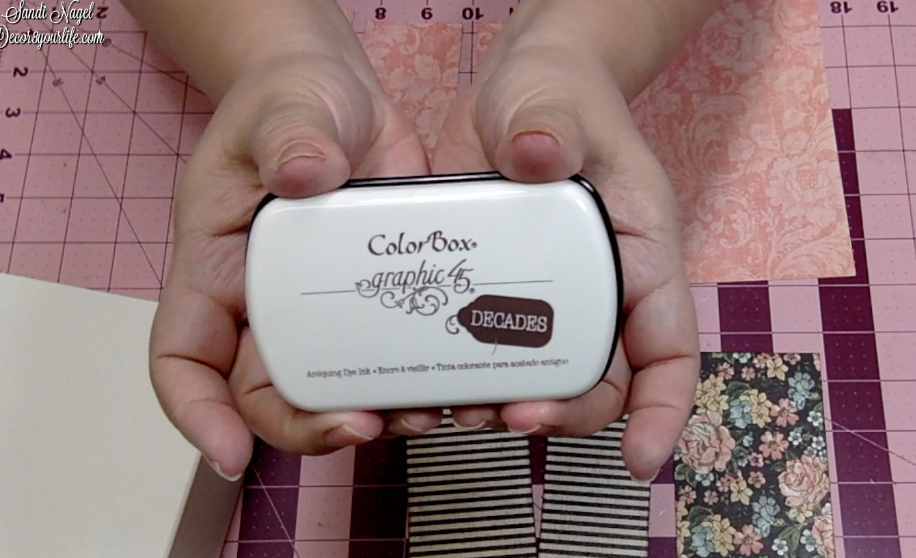
Because I'm using dark and light shades for my Jewelry Box project, I decided to use two different Graphic 45 Ink Pads.
For the darker shades, I use Dark Cashmere; and for the pink shades, I use Precious Pink.
Tip: Graphic 45 carries a wide array of ColorBox inks that coordinate with their paper collections.
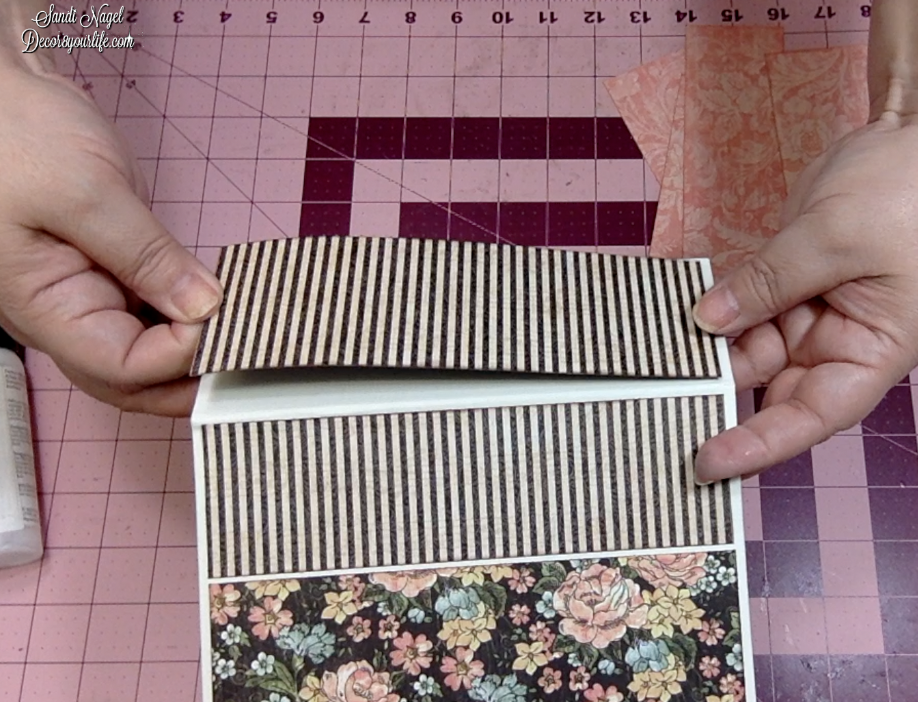
The Tutorial
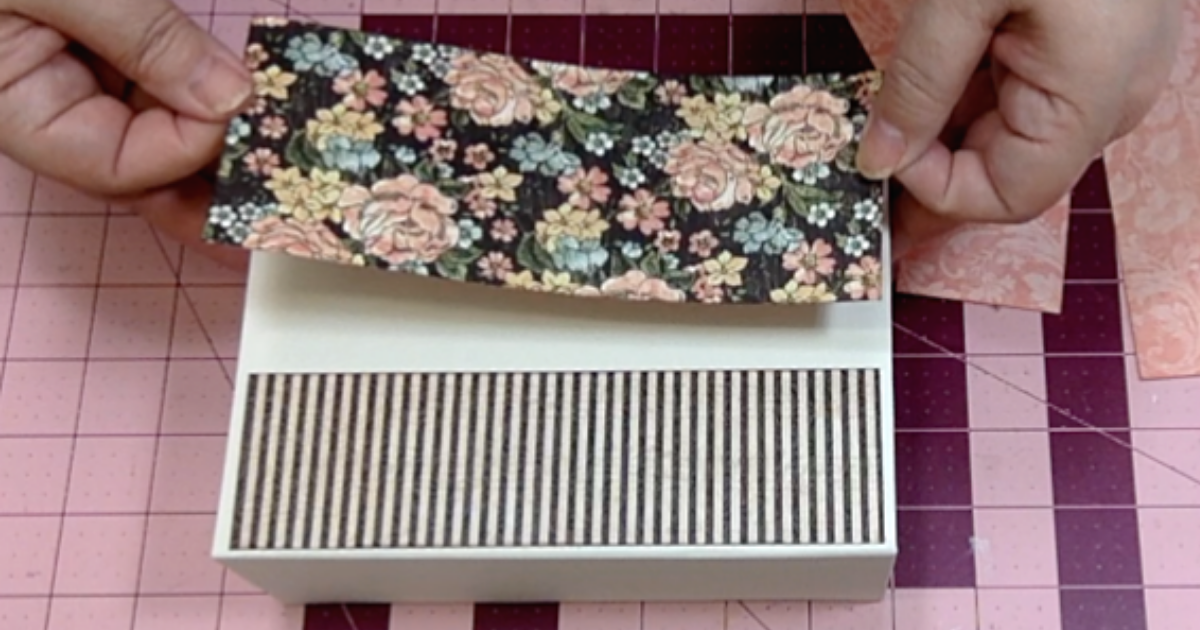
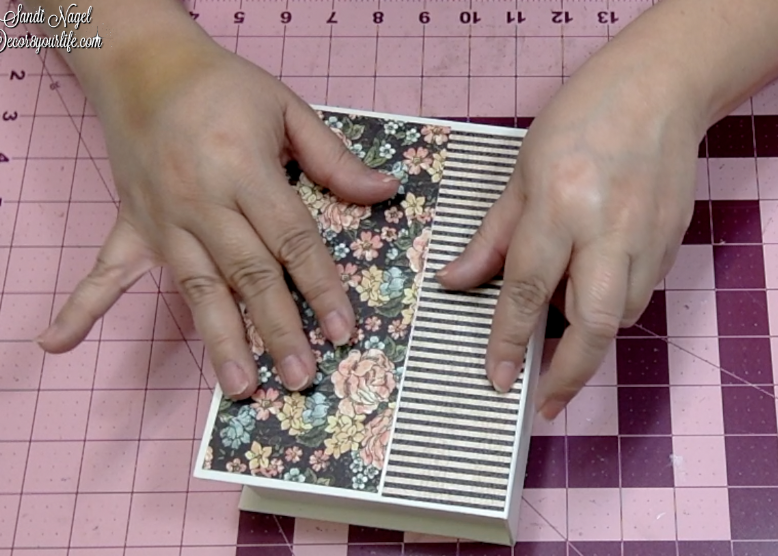
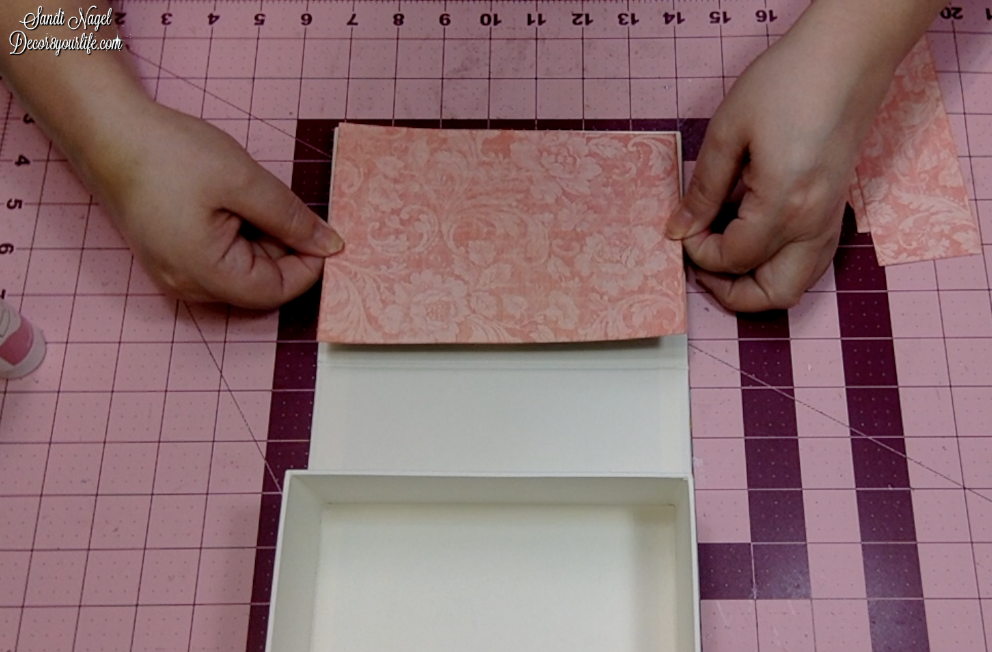
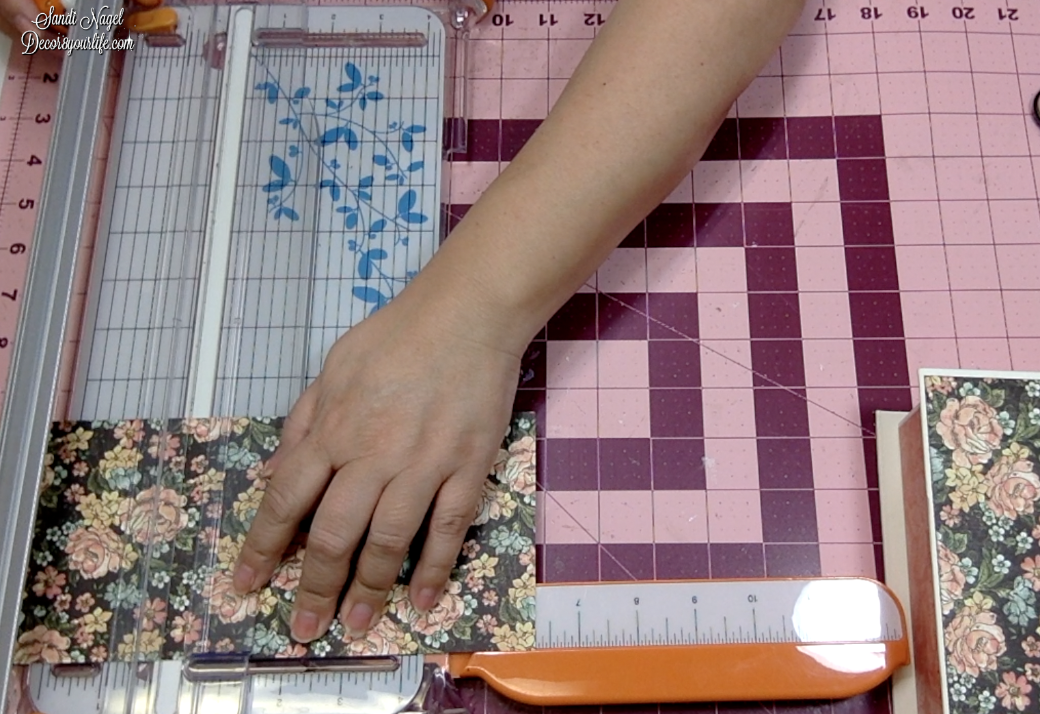
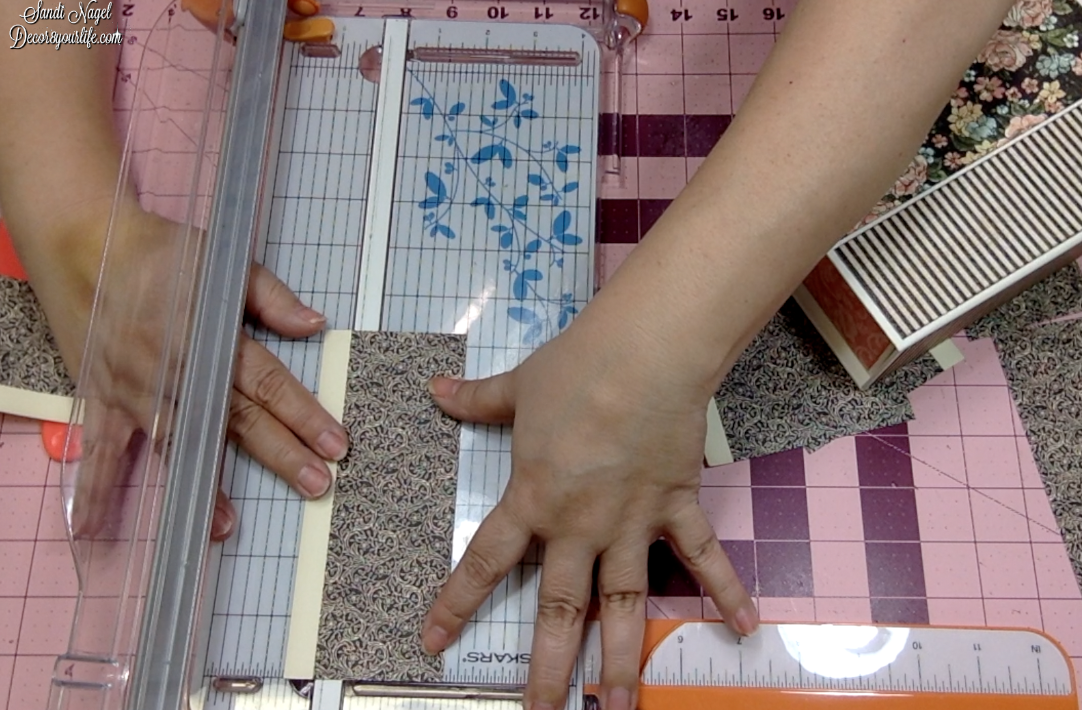
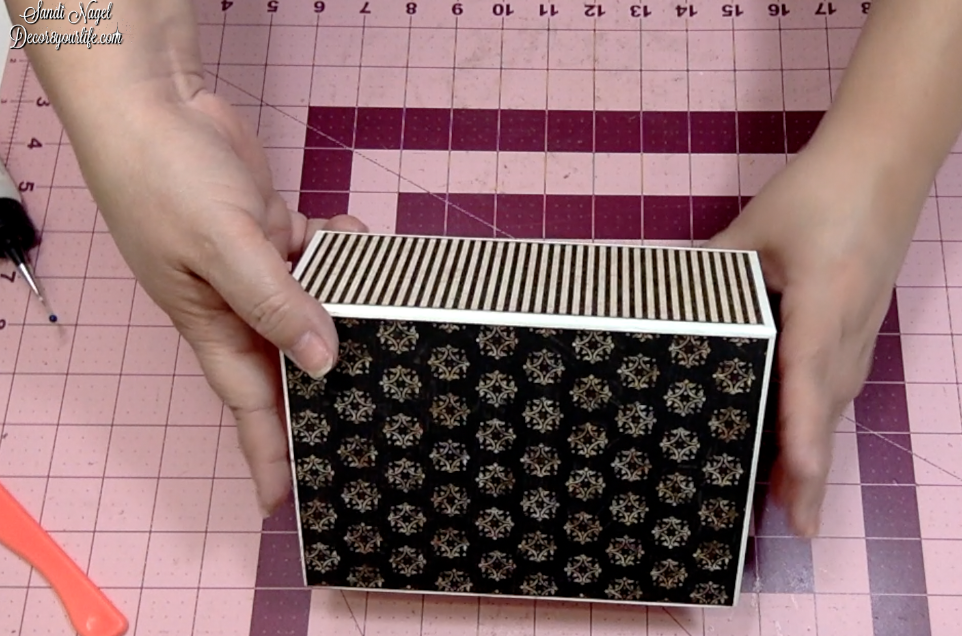
Once you have all your pieces trimmed and inked, the process is fairly simple. Use wet adhesive to glue down all of your pieces.

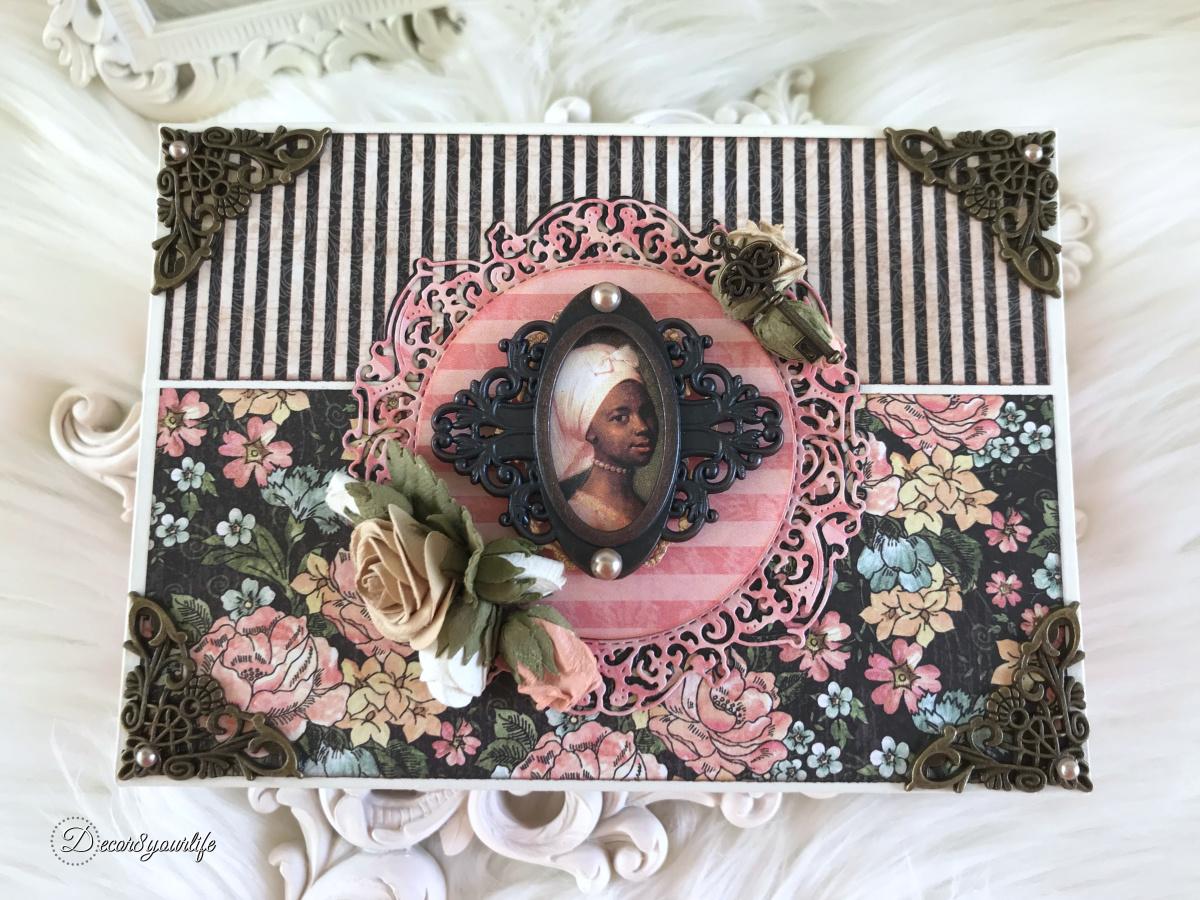
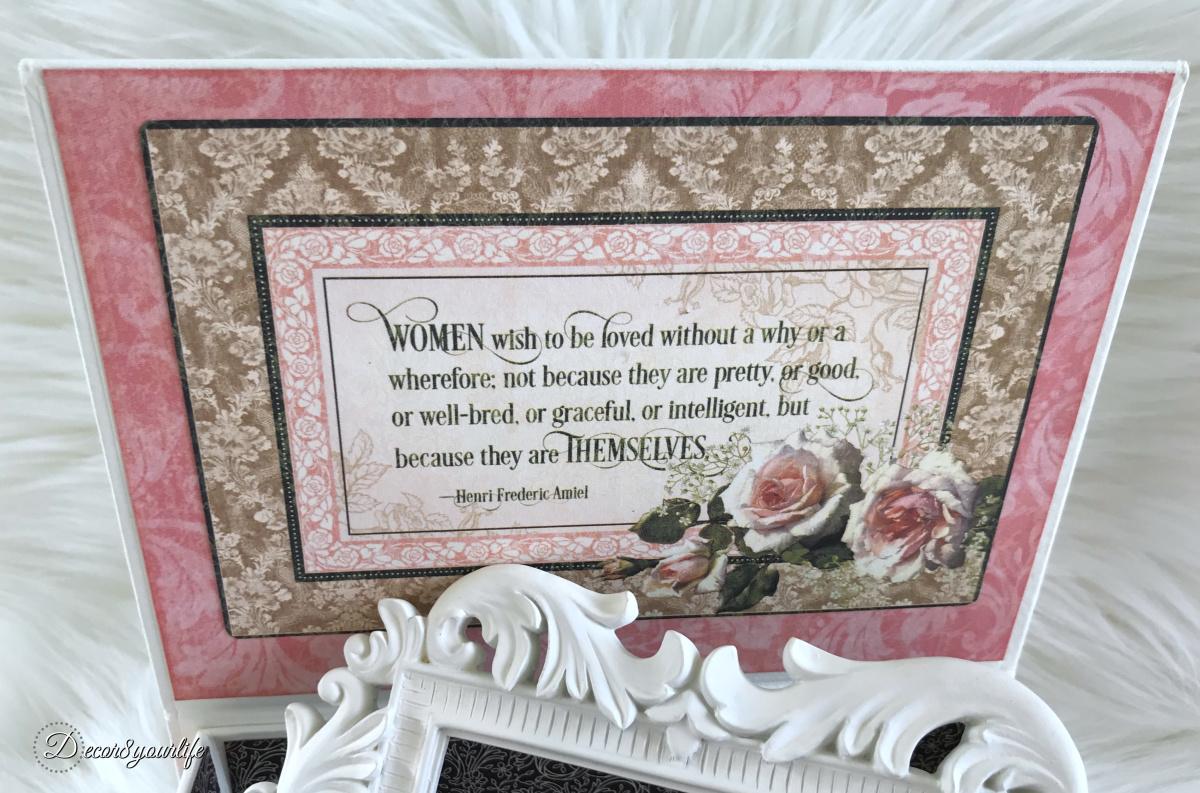
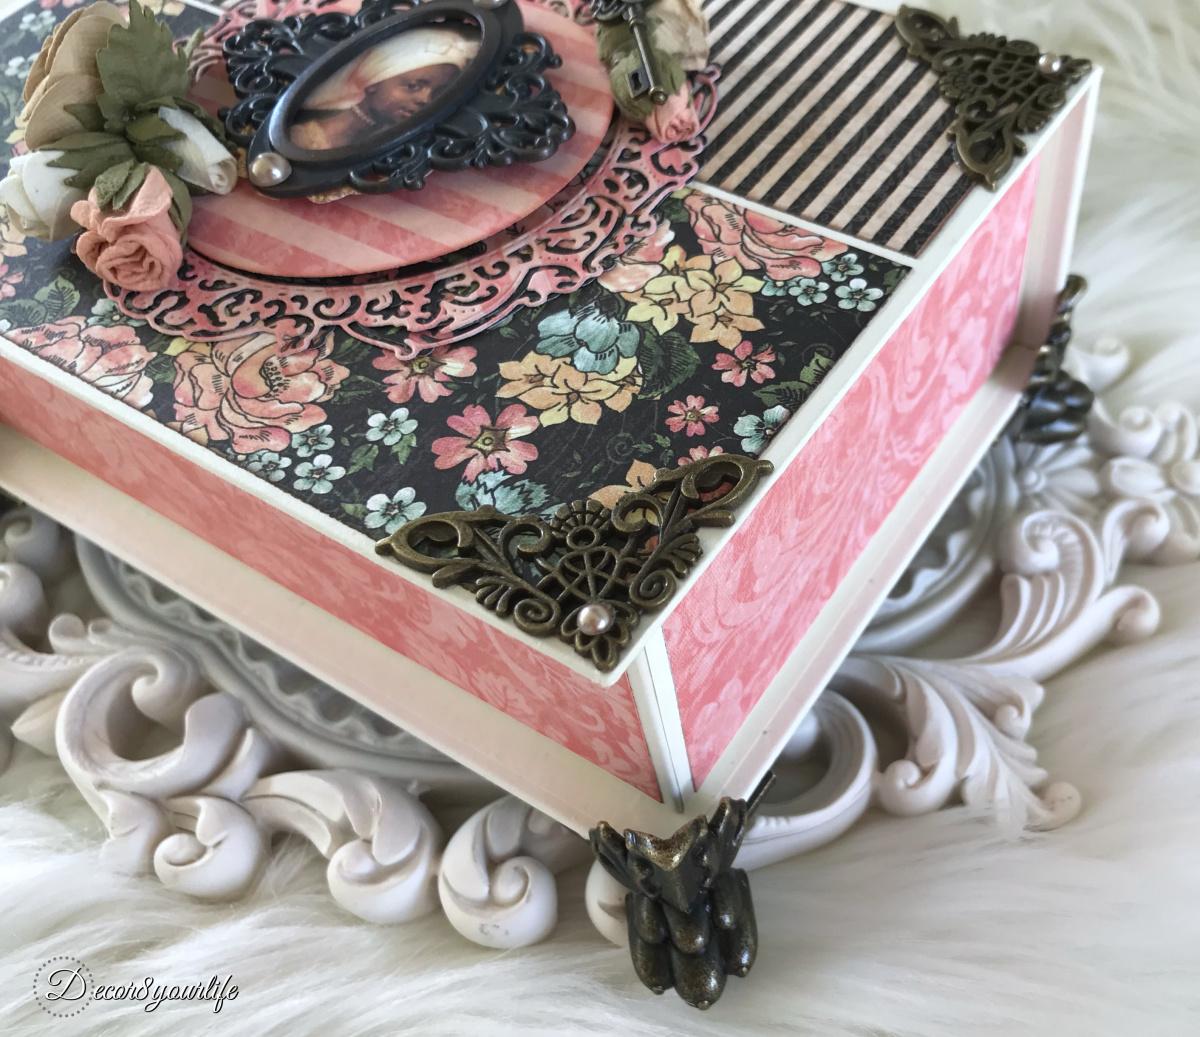
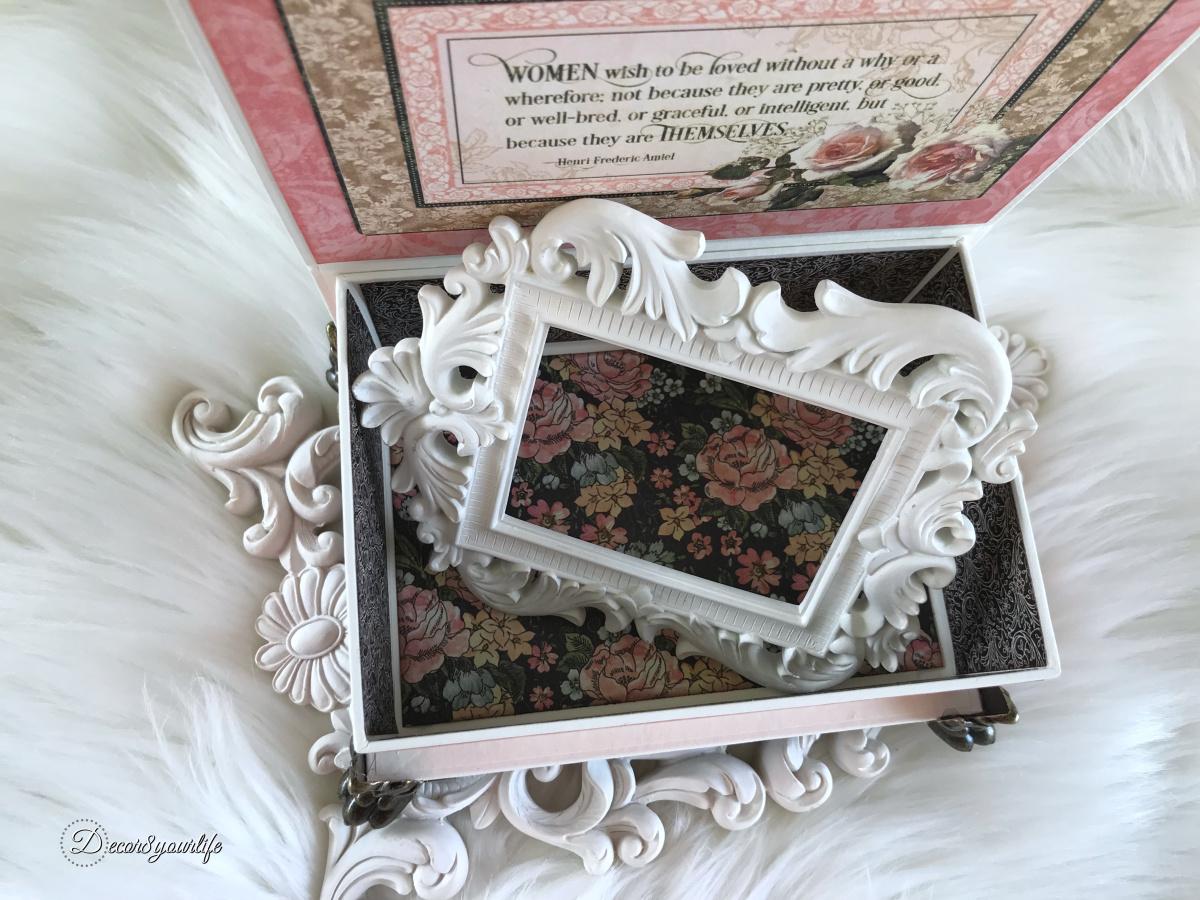
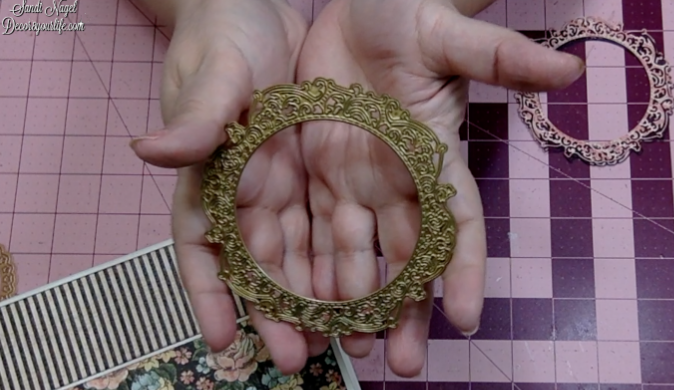
Use your Graphic 45 Clock Die to cut two frame pieces for the center of the lid.

I'm using my Graphic 45 Journaling Cards from A Portrait of a Lady to further embellish my Jewelry Box.

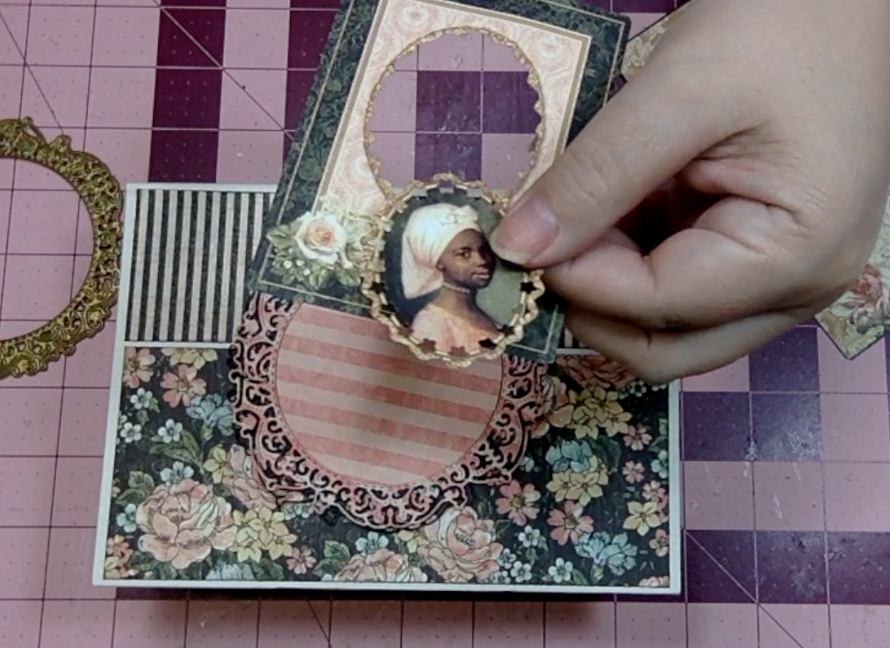
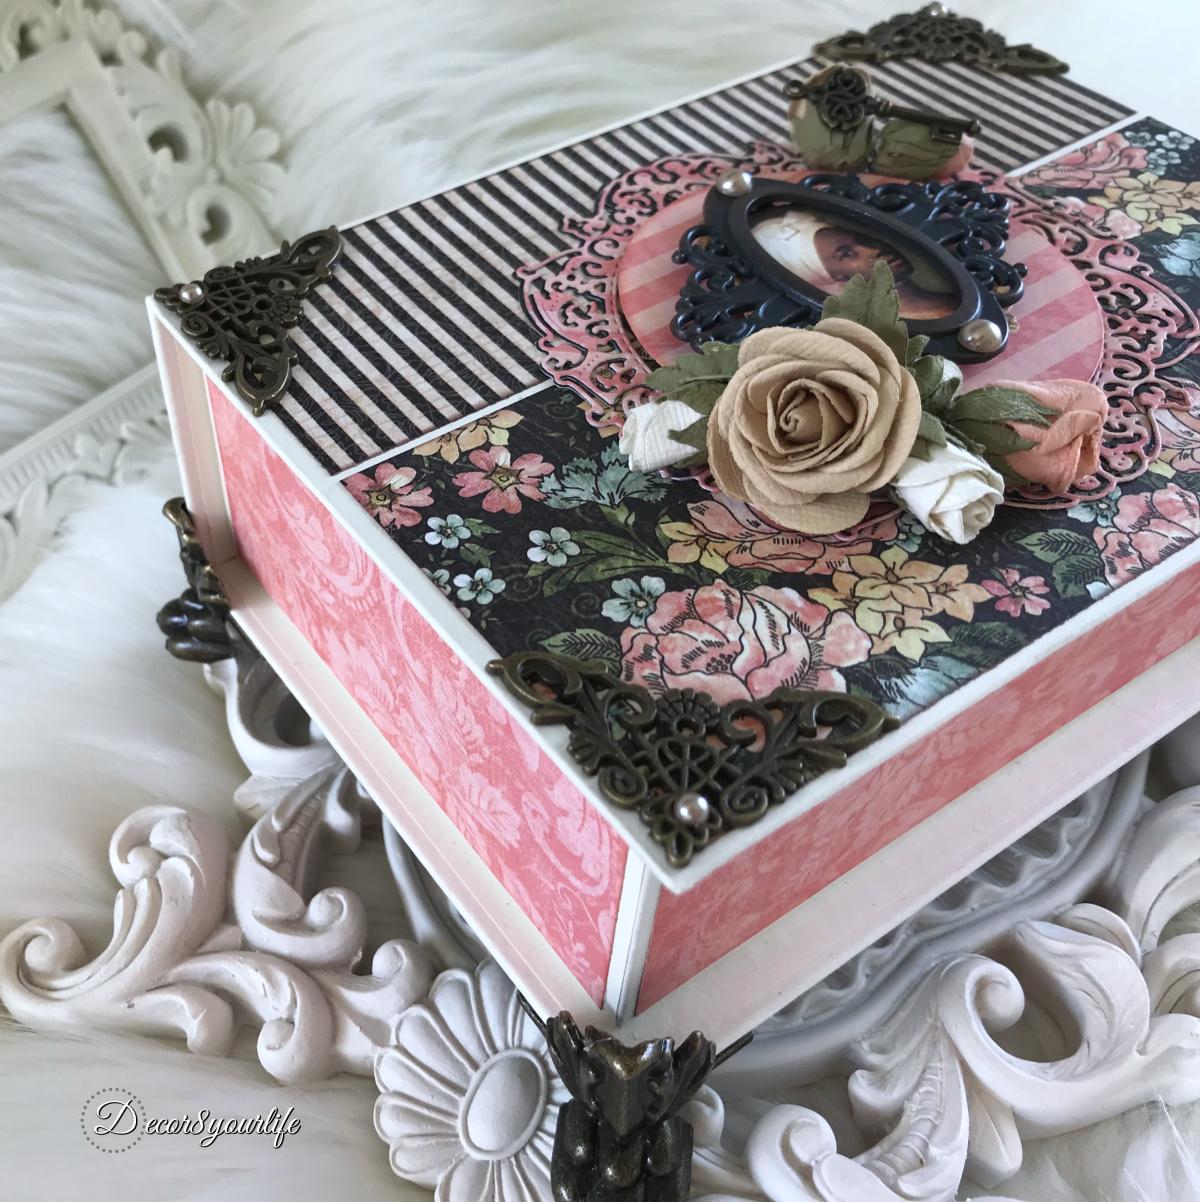
I hot-glue Graphic 45 Flowers for that finishing touch.


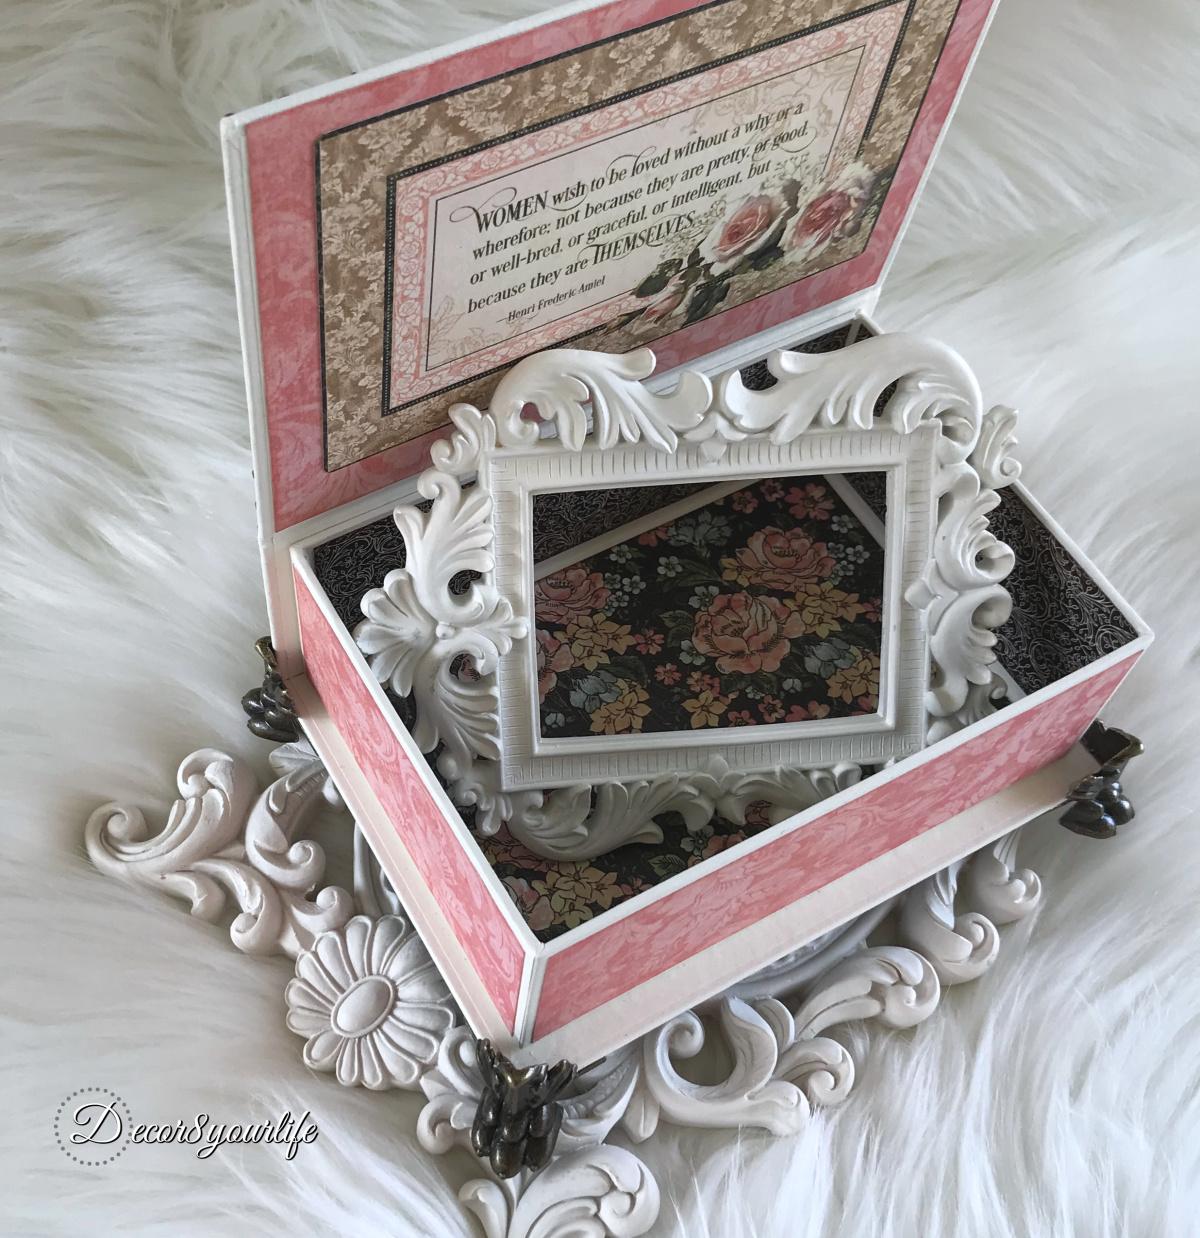
And lastly, I add four of the Graphic 45 Brass Claw Feet to the bottom of my Jewelry Box!

I've put together a video tutorial that details everything that I've done to make this Jewelry Box. I hope that you find this video helpful; and I hope that it inspires you in your very own paper crafting projects. Until next time. Happy Crafting!" ~Sandi
Video Tutorial:
Graphic 45 Jewelry Box Tutorial
Floral Shoppe, Love Notes, A Ladie's Diary, Portrait of a Lady
Supply List:
Graphic 45 Supplies:
Other Supplies:
Let's give Sandi a round of applause for this jewelry box and step by step tutorial. We always love the light and laughter Sandi adds to our paper crafting experience. Thank you for joining us for another dose of daily inspiration. Be sure to pop over to our Graphic 45 – Official Community Page for more #G45MixandMatch inspiration.
Happy Papercrafting!