Hello, G45ers!
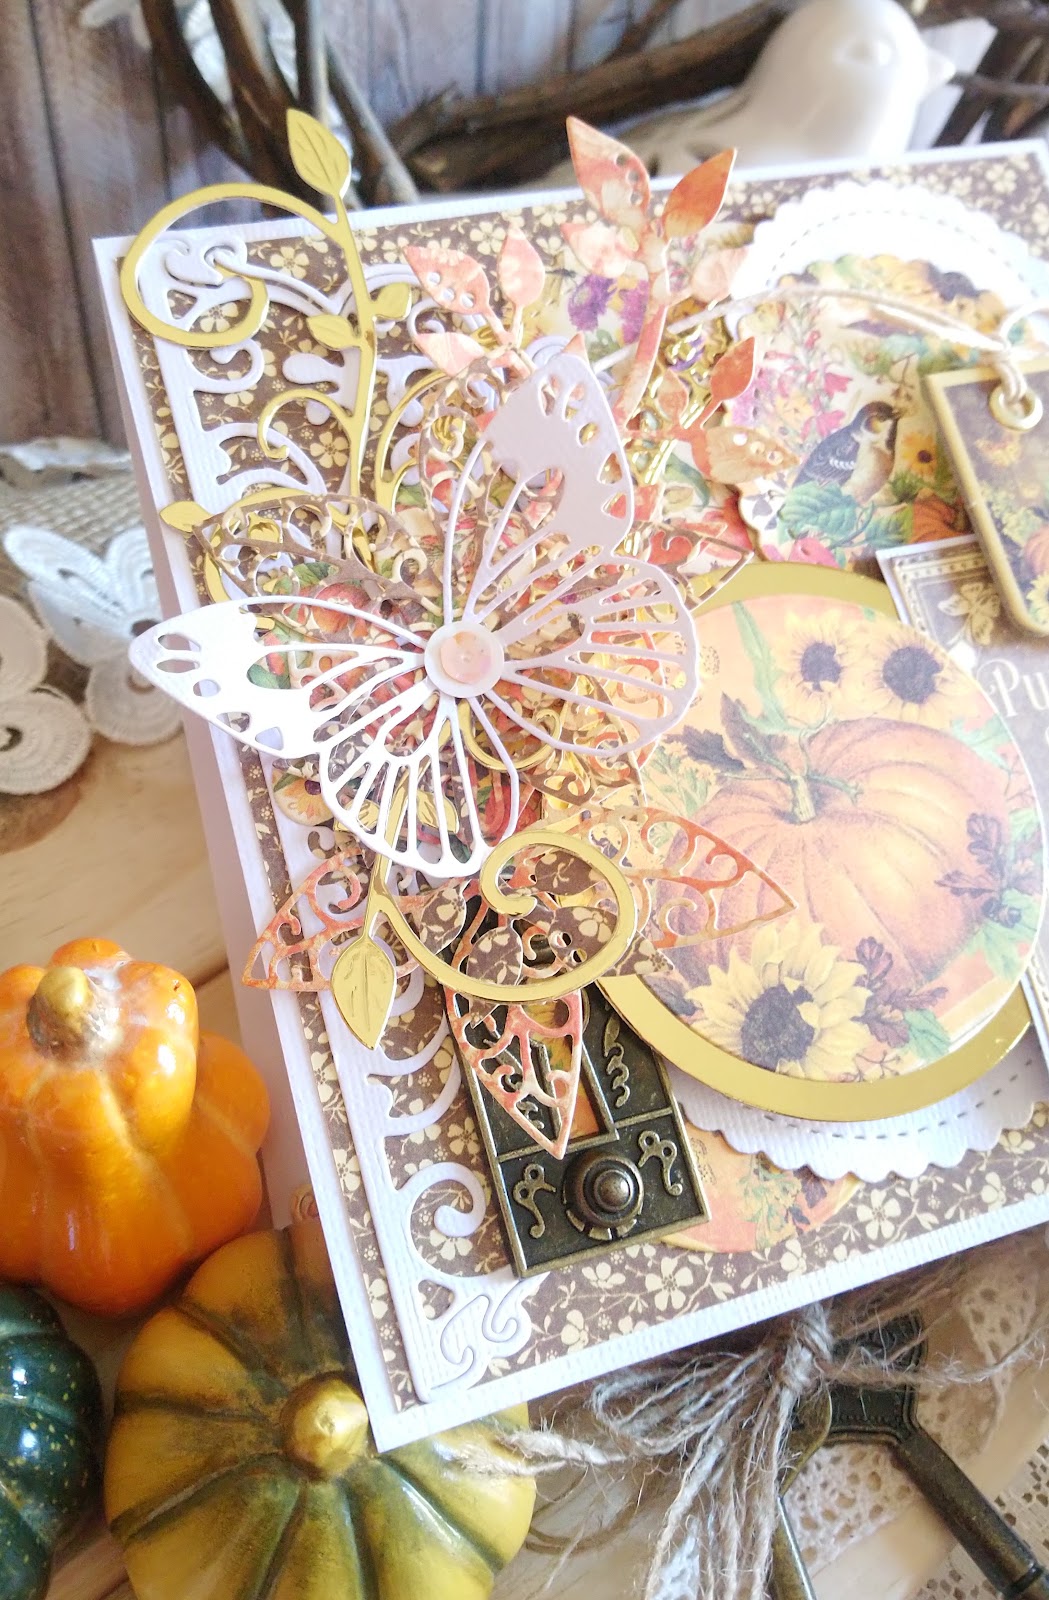
We have a fun-tastic #G45PopUp – September Challenge Pop-Up Cake Card to share with you by the Off the Page Queen, Tanya Cloete. Tanya not only shares this stunning birthday card, but also step by step directions, all using our Seasons paper collection, Metal Staples, and Metal Dies. So pull out your papers and let's create some handmade 3D cards!
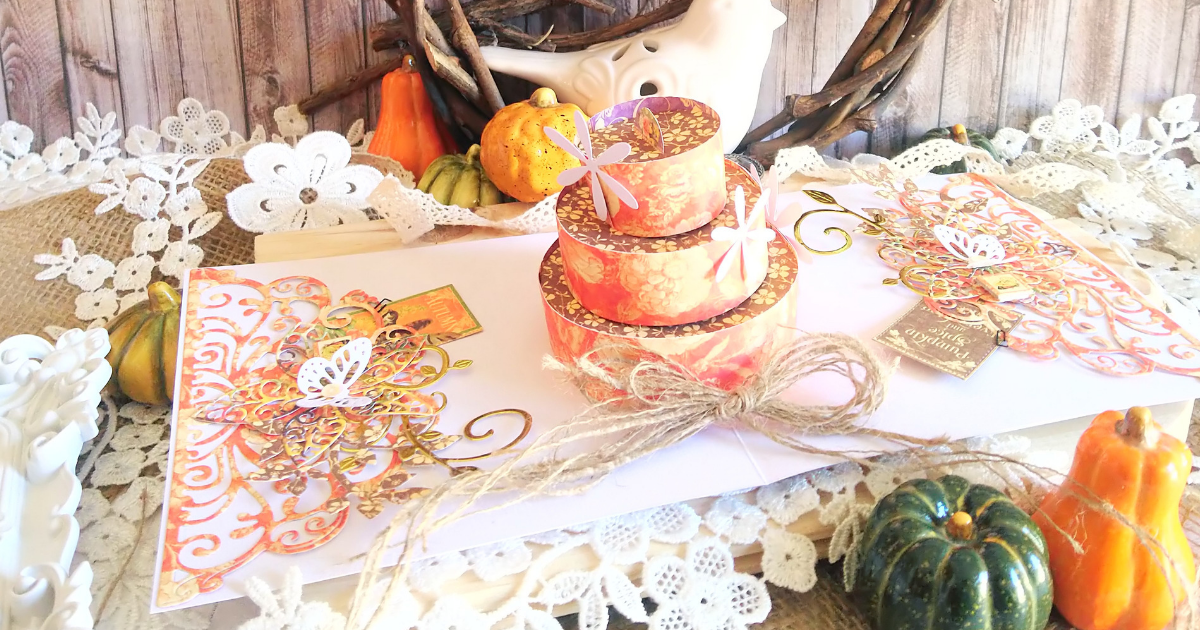
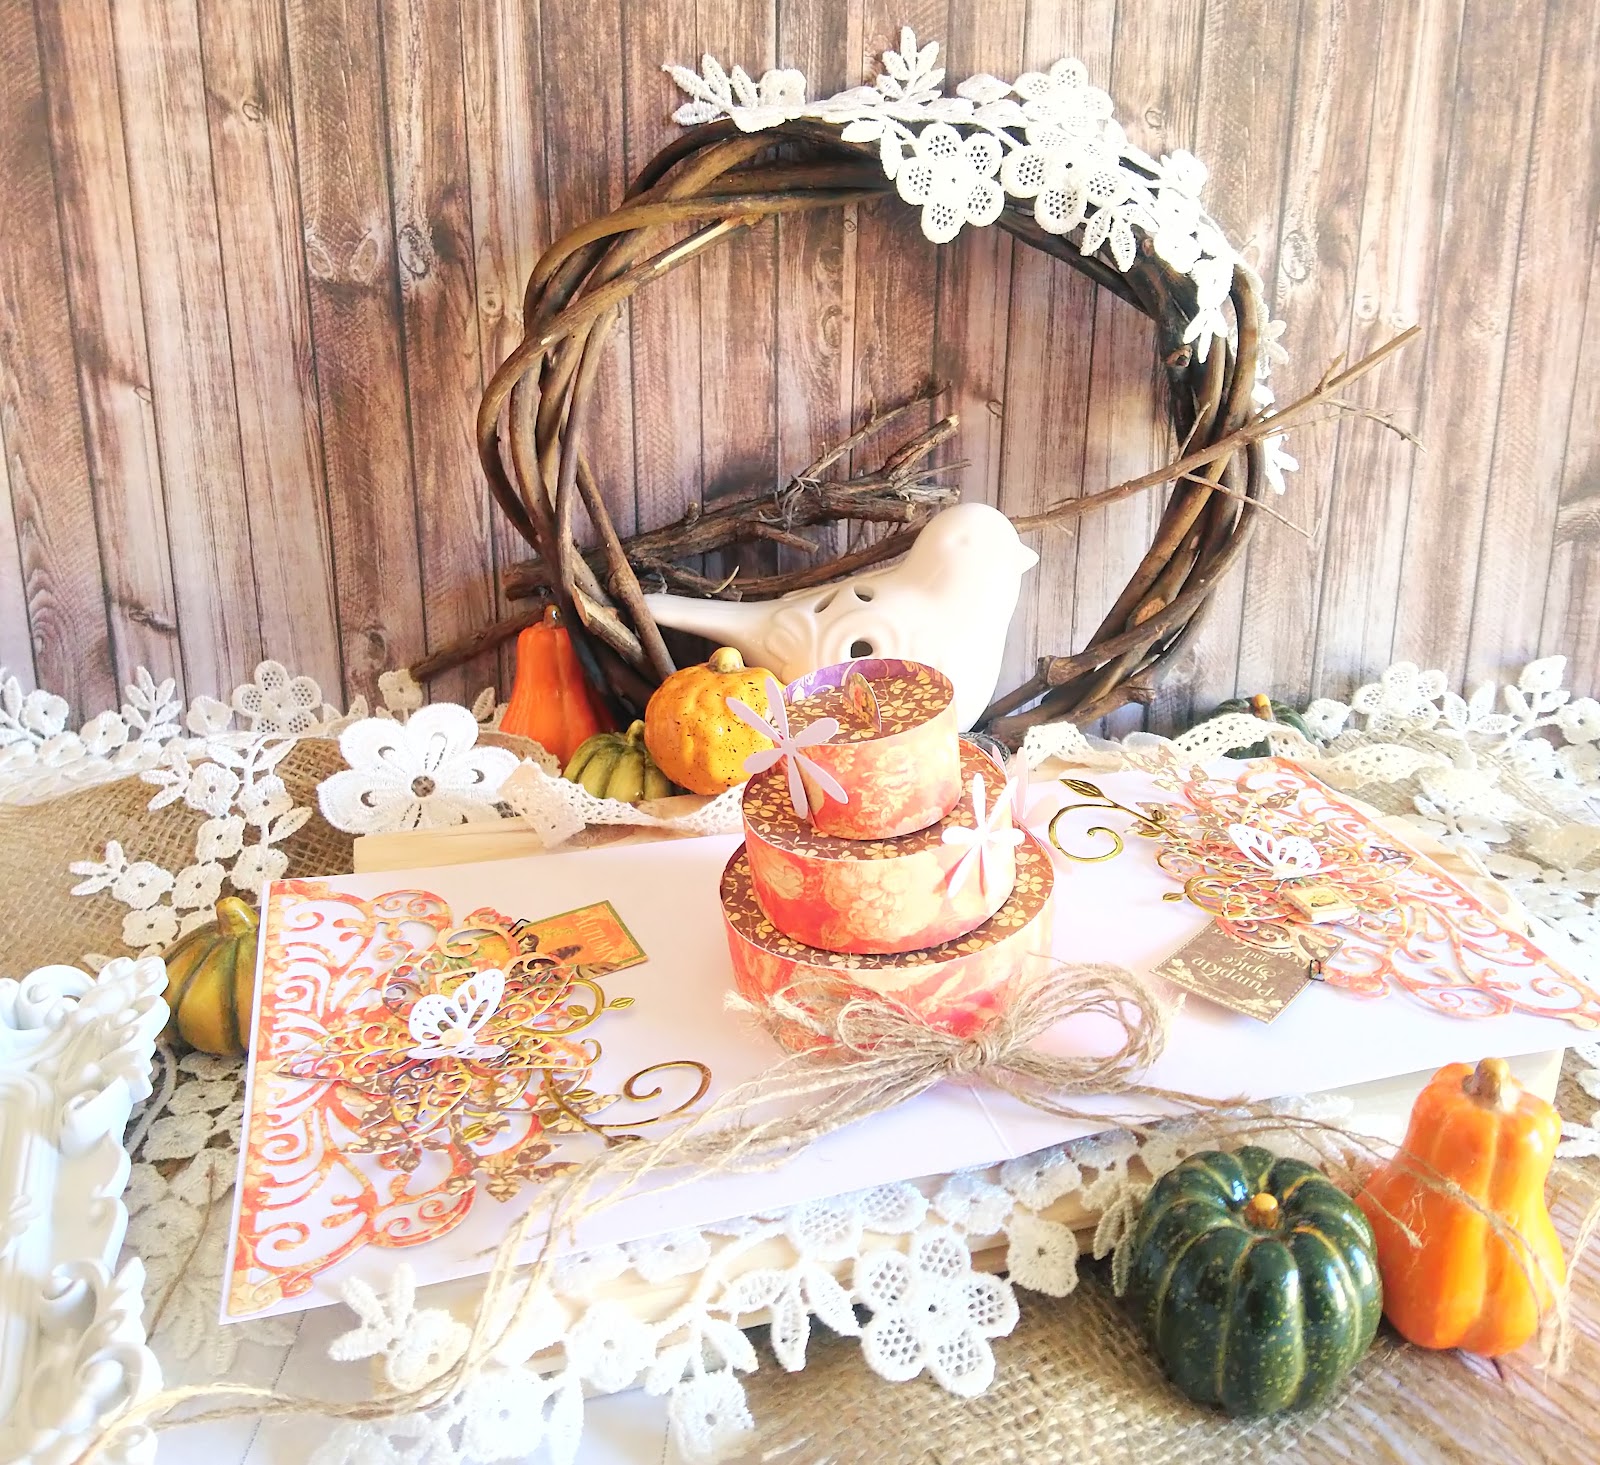
#G45PopUp – Three Tier Pop Up Cake Card
By Tanya Cloete
“Hello, dear G45ers! Excited to share with you my project for this month #G45PopUp featuring the lovely Seasons Collection. This collection is just perfect for making cards. I must say this was quite a challenge as I rarely make pop up cards. I think this is my second one…however I did have a lot of fun putting this together.
Herewith the Supplies and Instructions you may use to recreate such a project:
Graphic 45 Supplies:
Other Supplies:
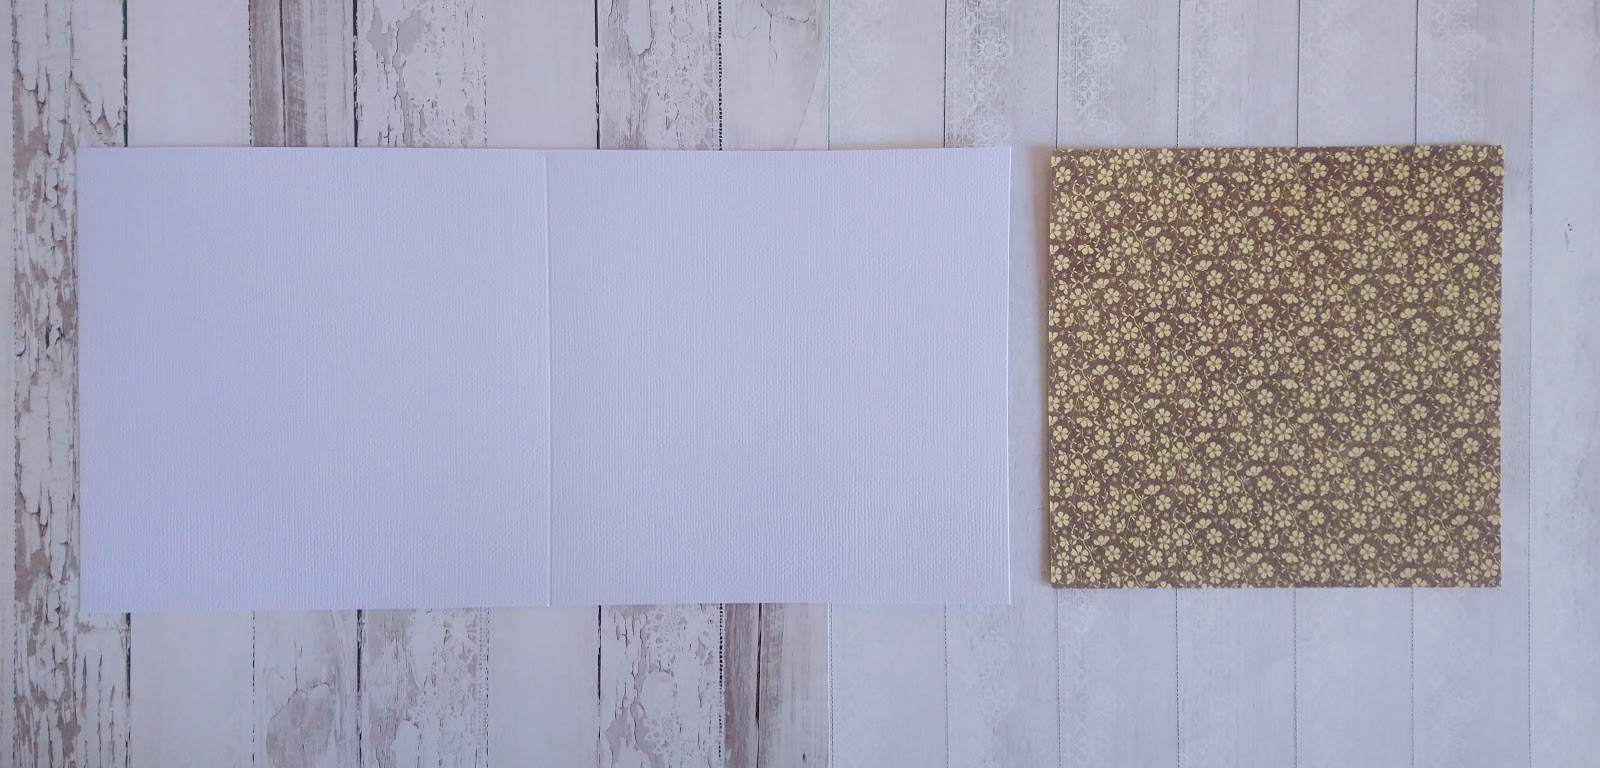
Step 1: Cut a 6×6 card from white cardstock and score in half. Cut a piece to mat from the 8×8 collection pattern sheet to fit the card.
Tip: Cut the mat piece a little smaller leaving a border after adhering. It just looks prettier that way.
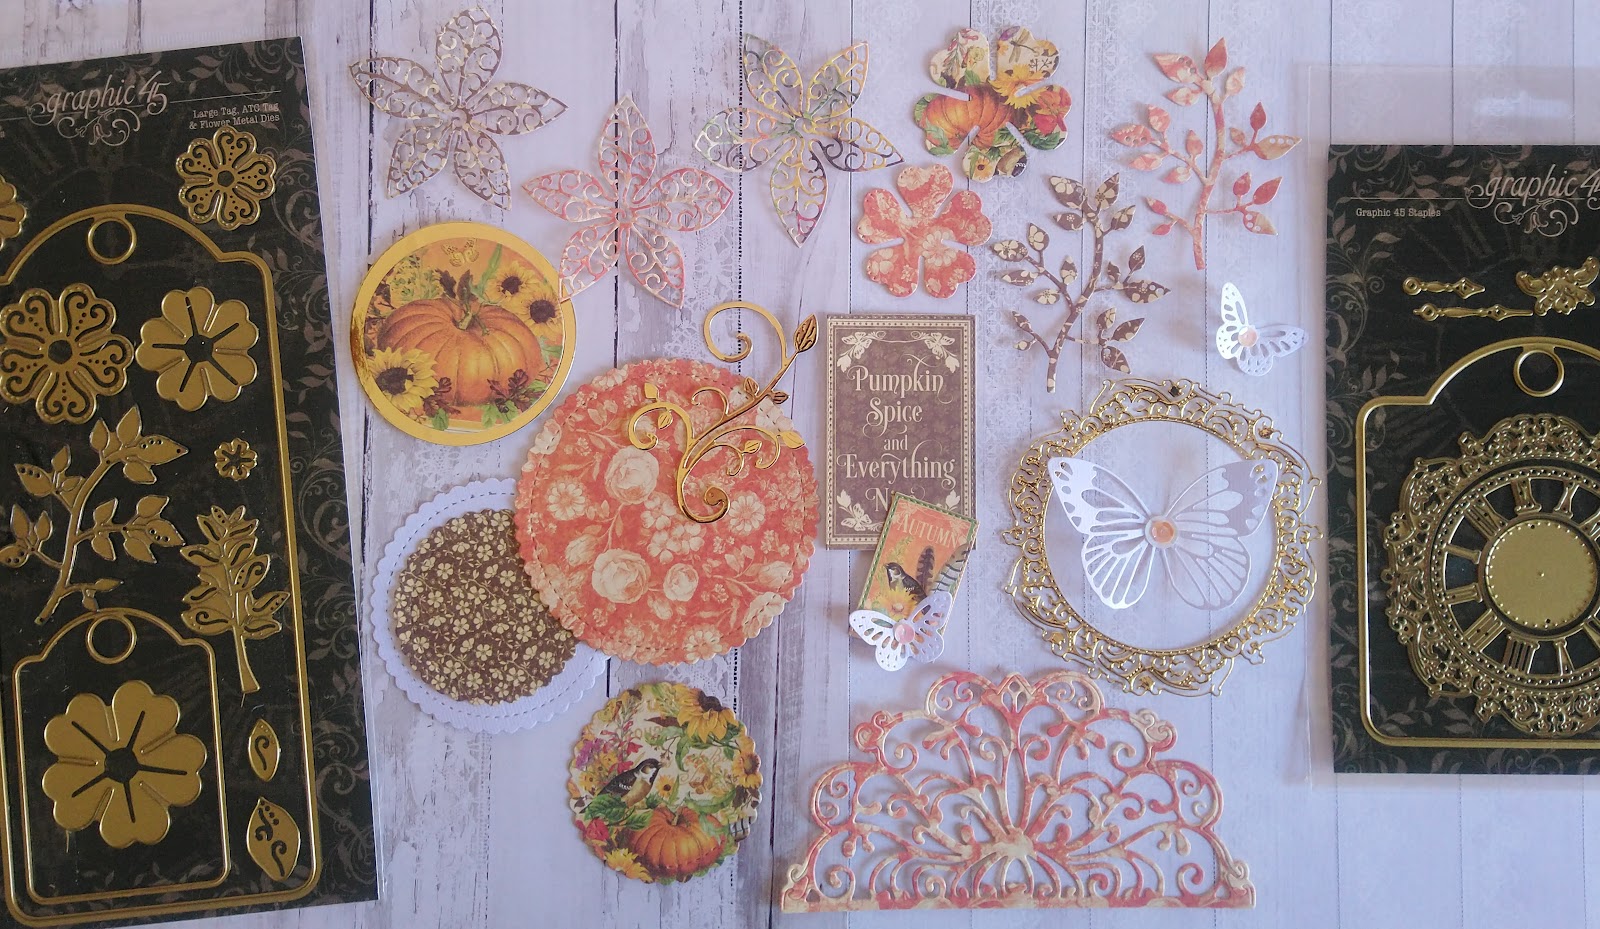
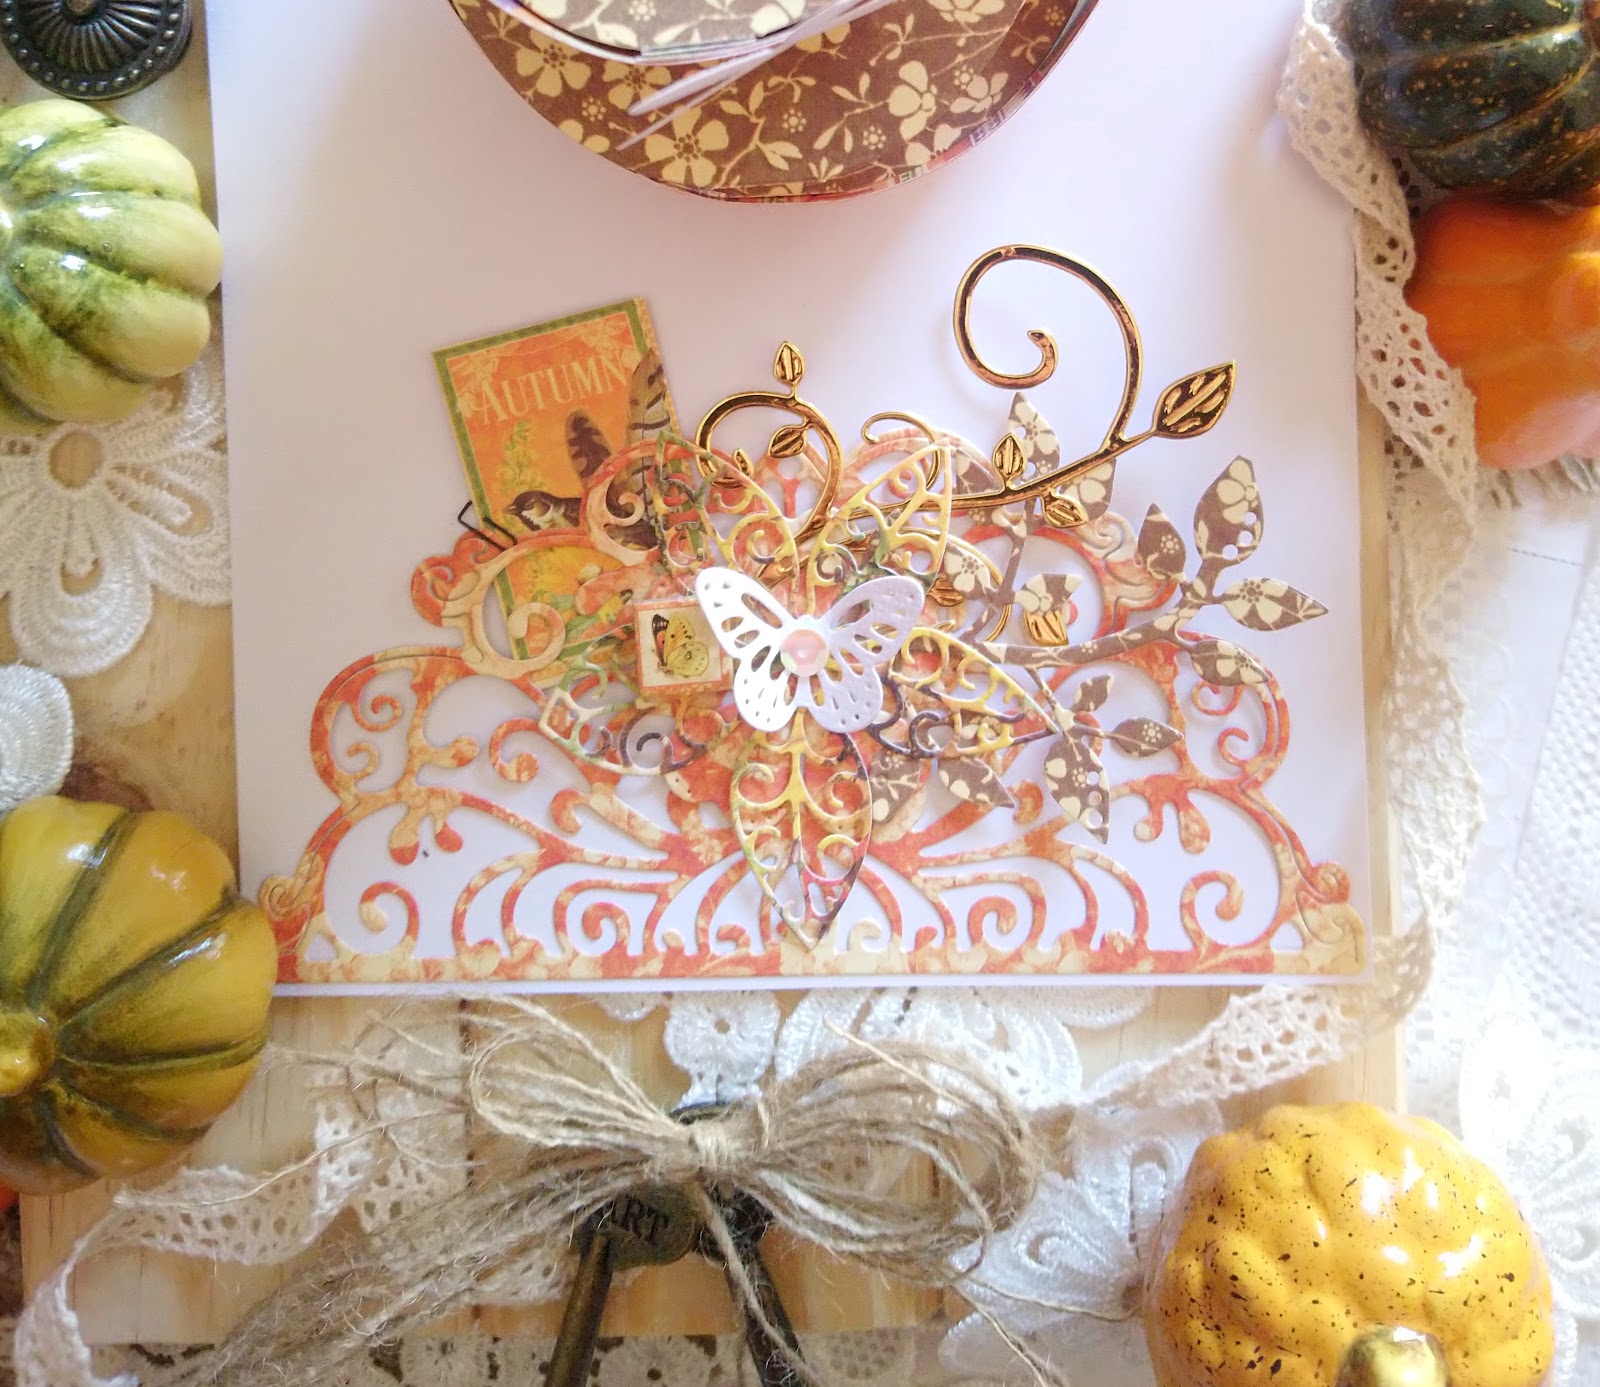
Step 2: Cut a few die cut shapes using the various other and G45 metal dies from the collection sheets, white and gold cardstock.
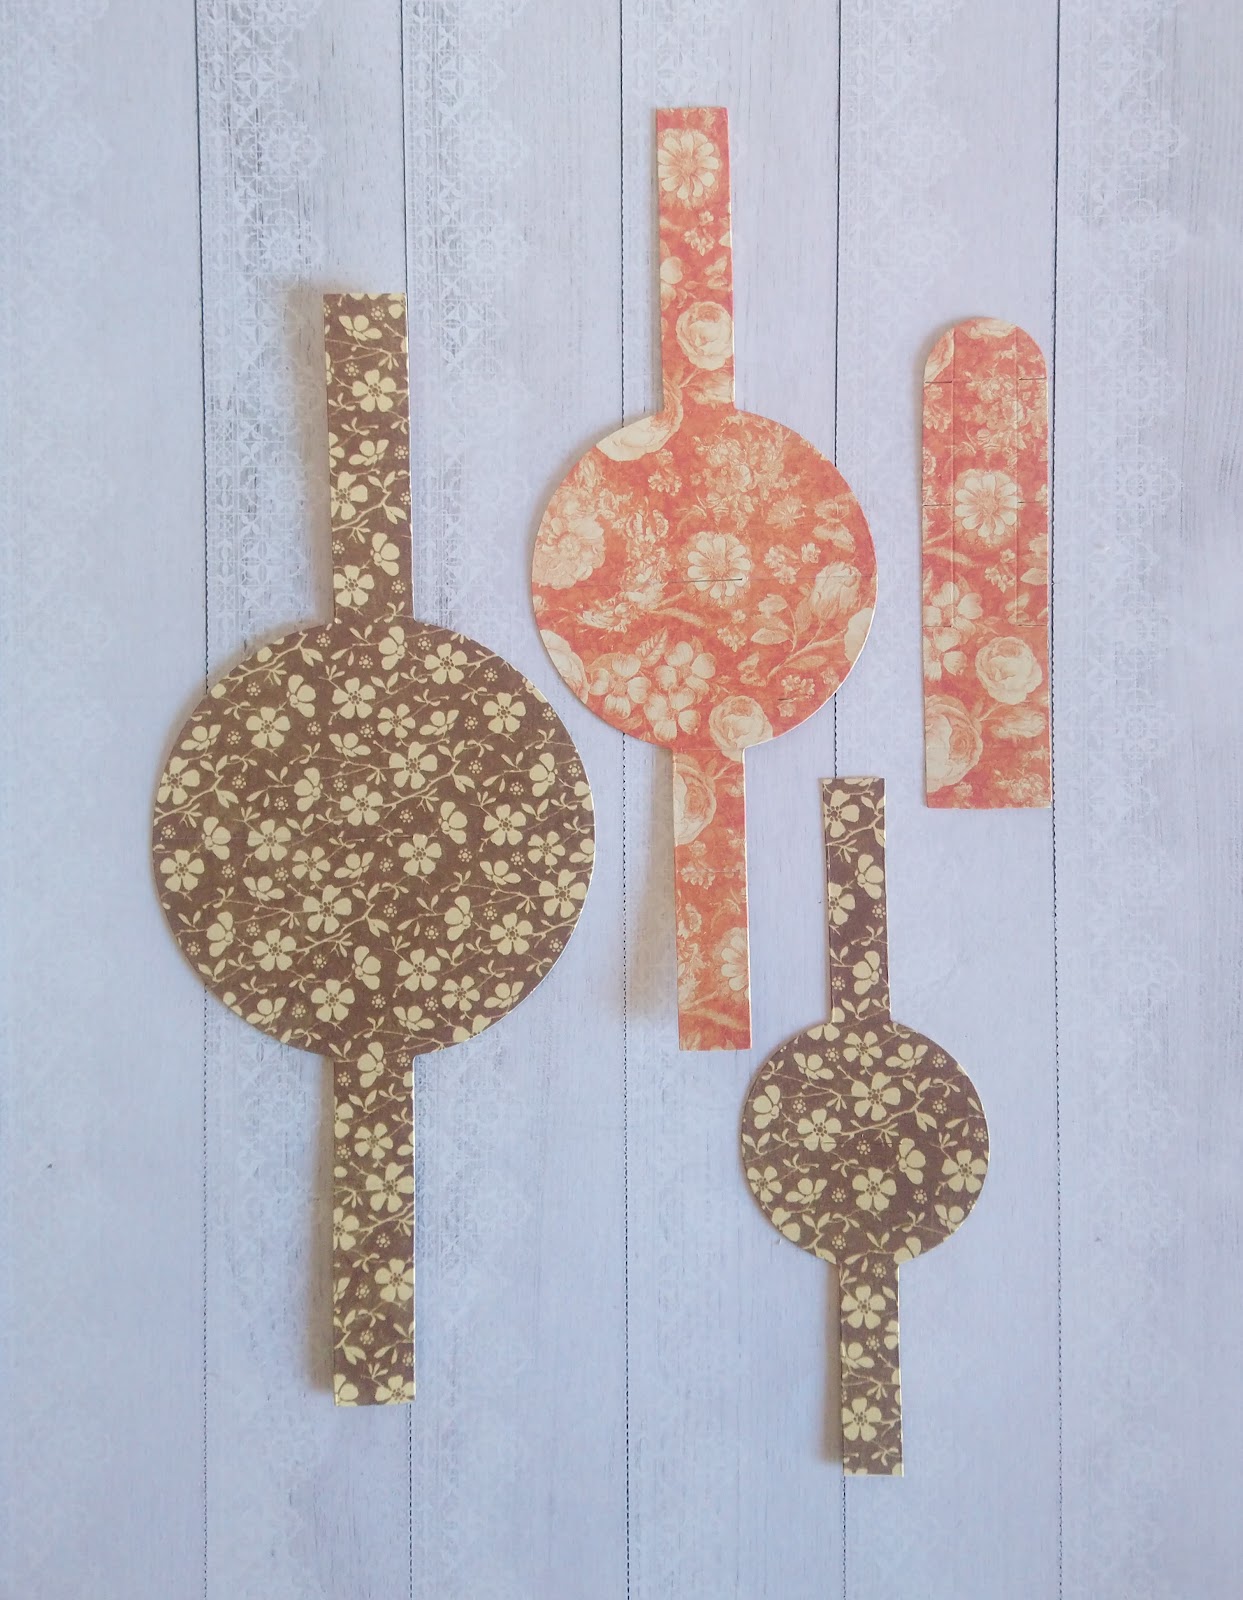
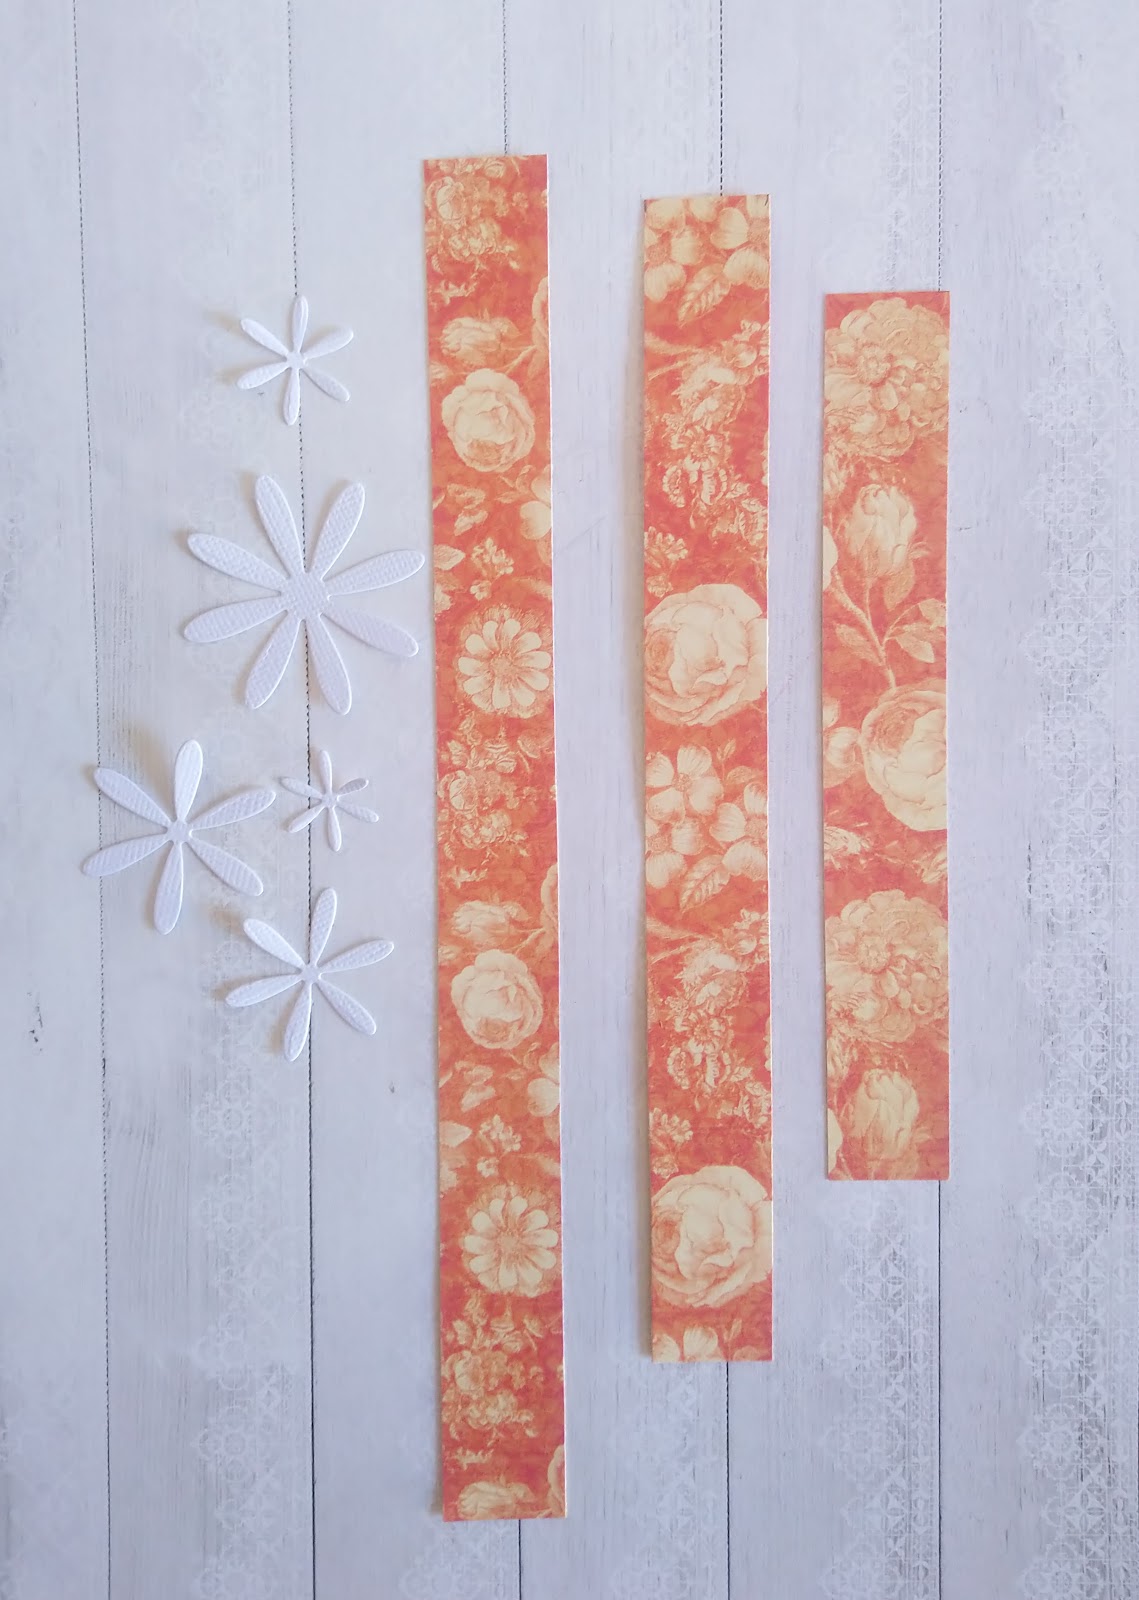
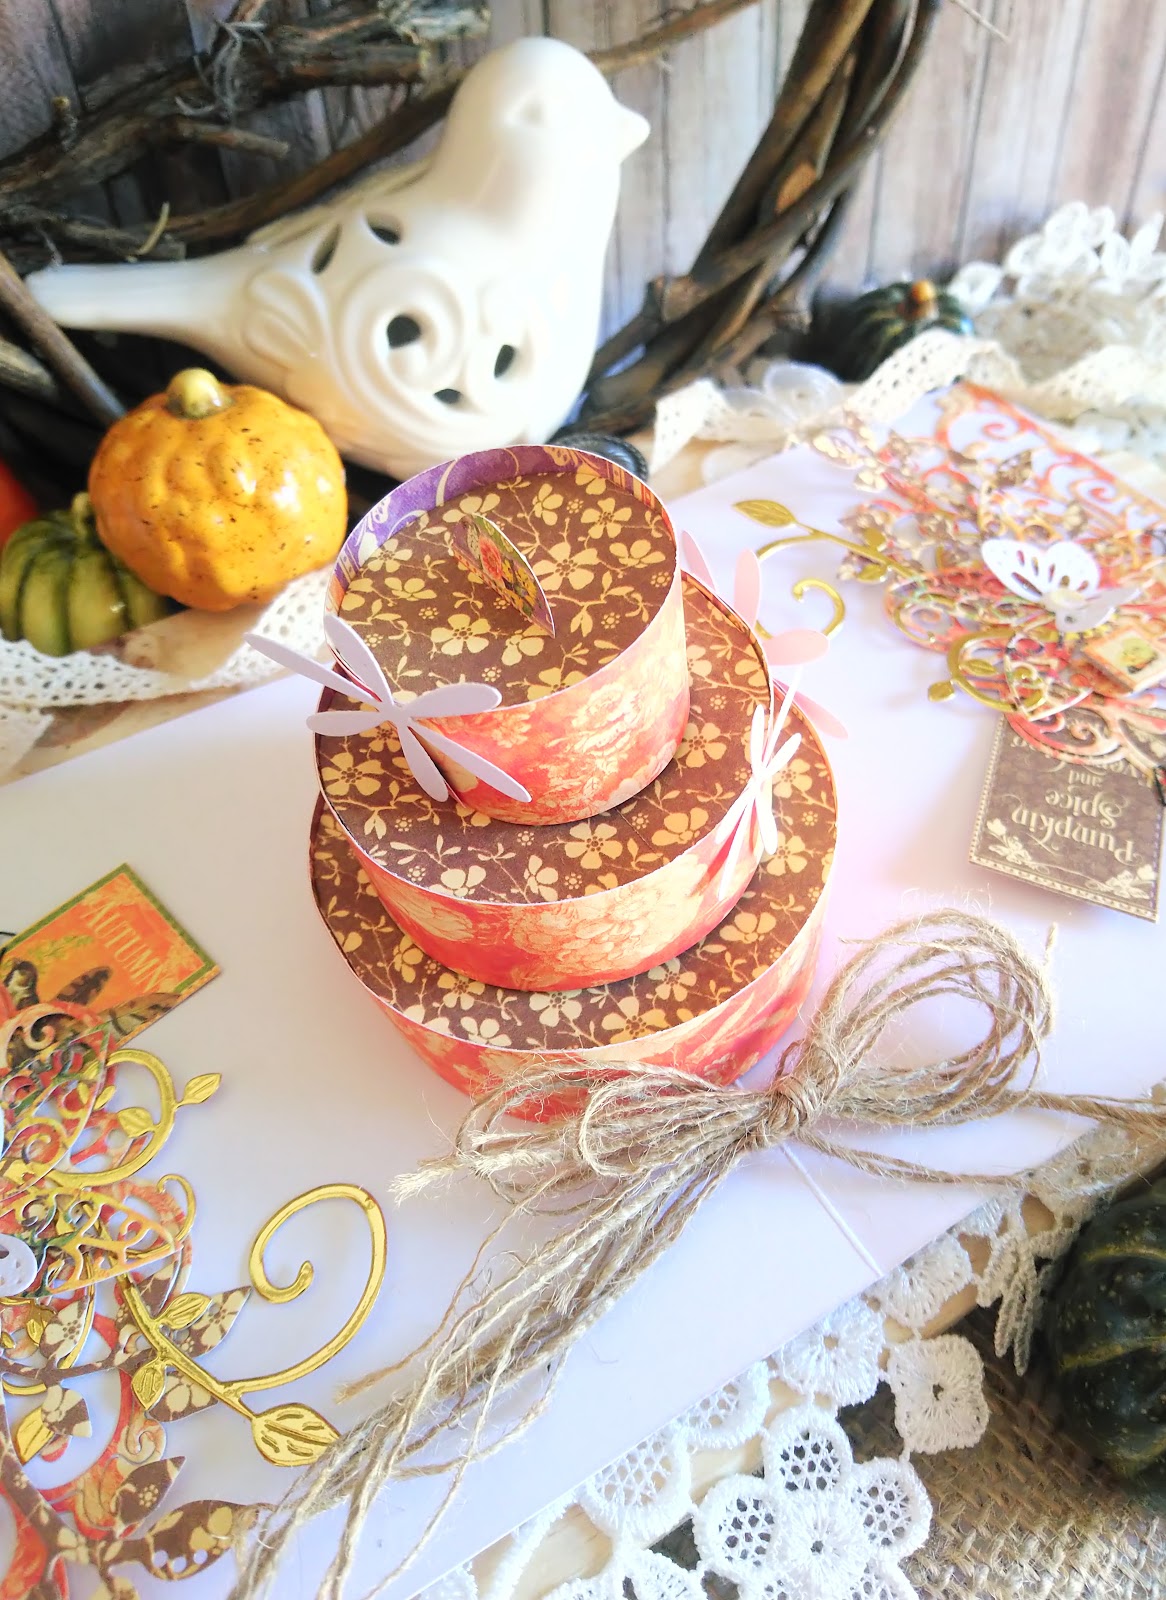
Step 3: Cut the three tier pop up cake using the 12×12 collection pattern sheet and die. Colours optional. I also cut some extra flowers to add to the cake.
Tip: If you have this cutting die the instructions for assembling are included otherwise if you are like me and misplaced it here is a video link you can follow… credit to Donna Griffith.
Sizzix Pop Up Cake Die Tutorial
Tip: Remember to adhere your pieces with a strong double sided tape.
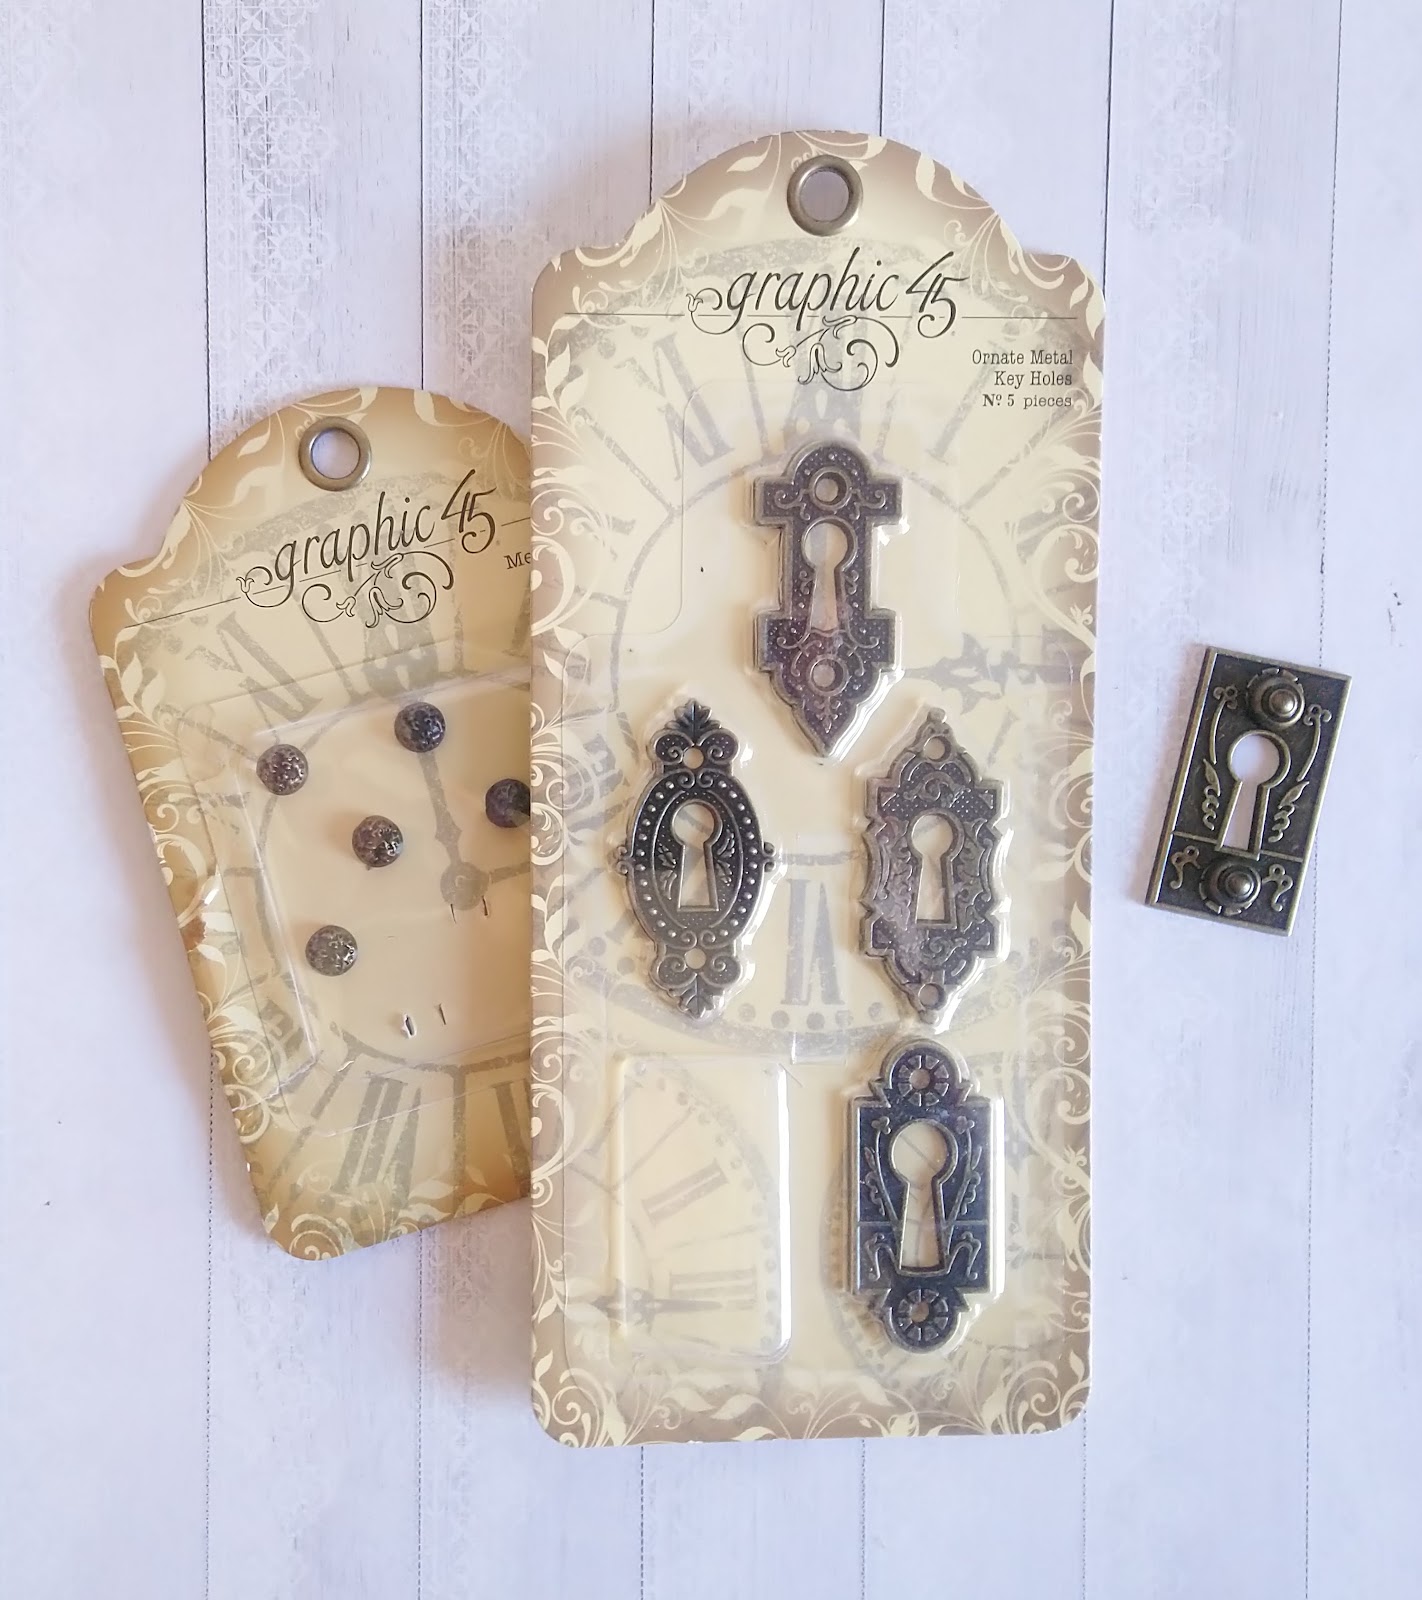
Step 4: Adhere two brads to the ornate keyhole with glossy accents.
Step 5: Add sequins to the center of the butterflies.Adhere the ornate keyhole with glossy accents.
Tip: I prefer using glossy accents to adhere metal pieces on paper ensuring it won't fall off. Alternatively you can also use a heavy body gel.
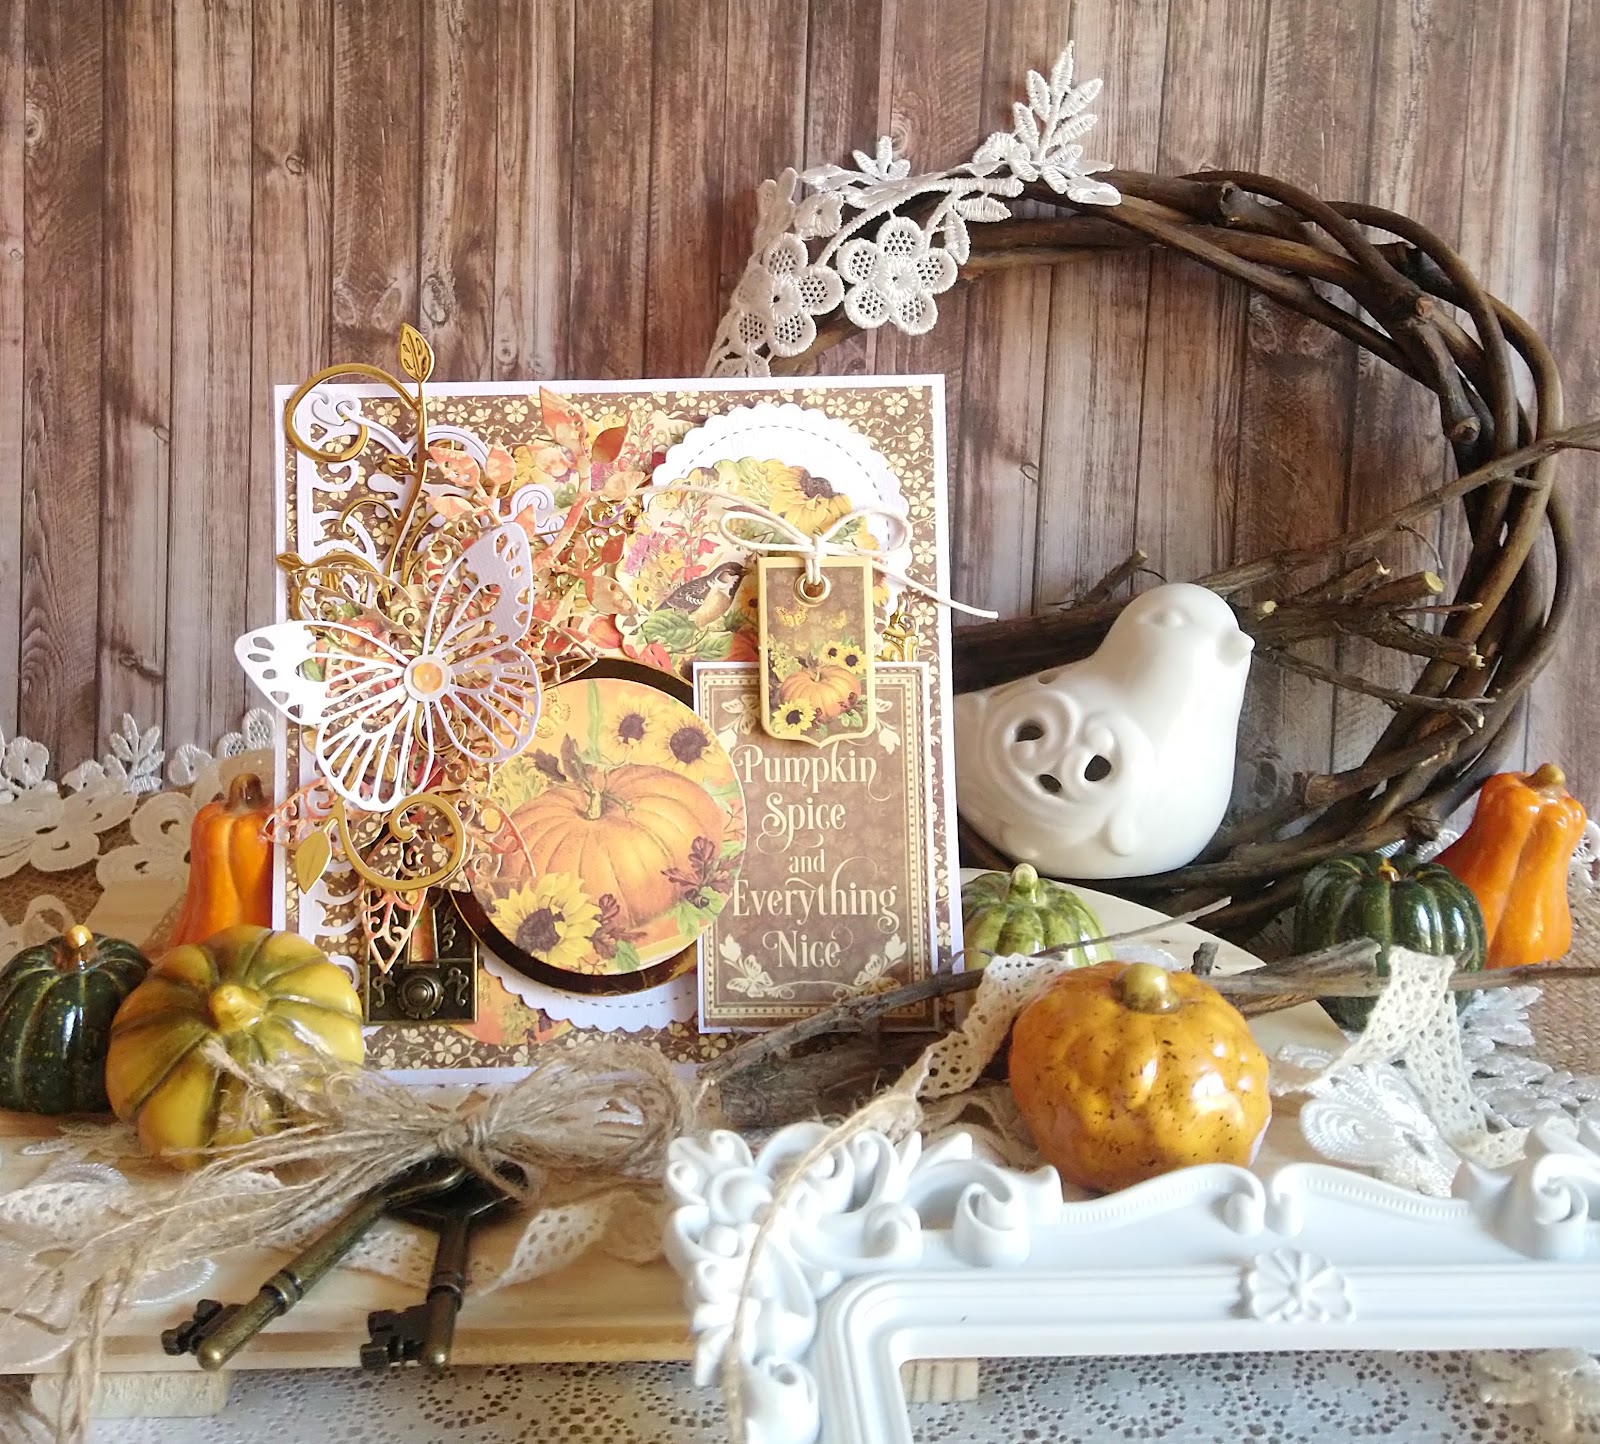
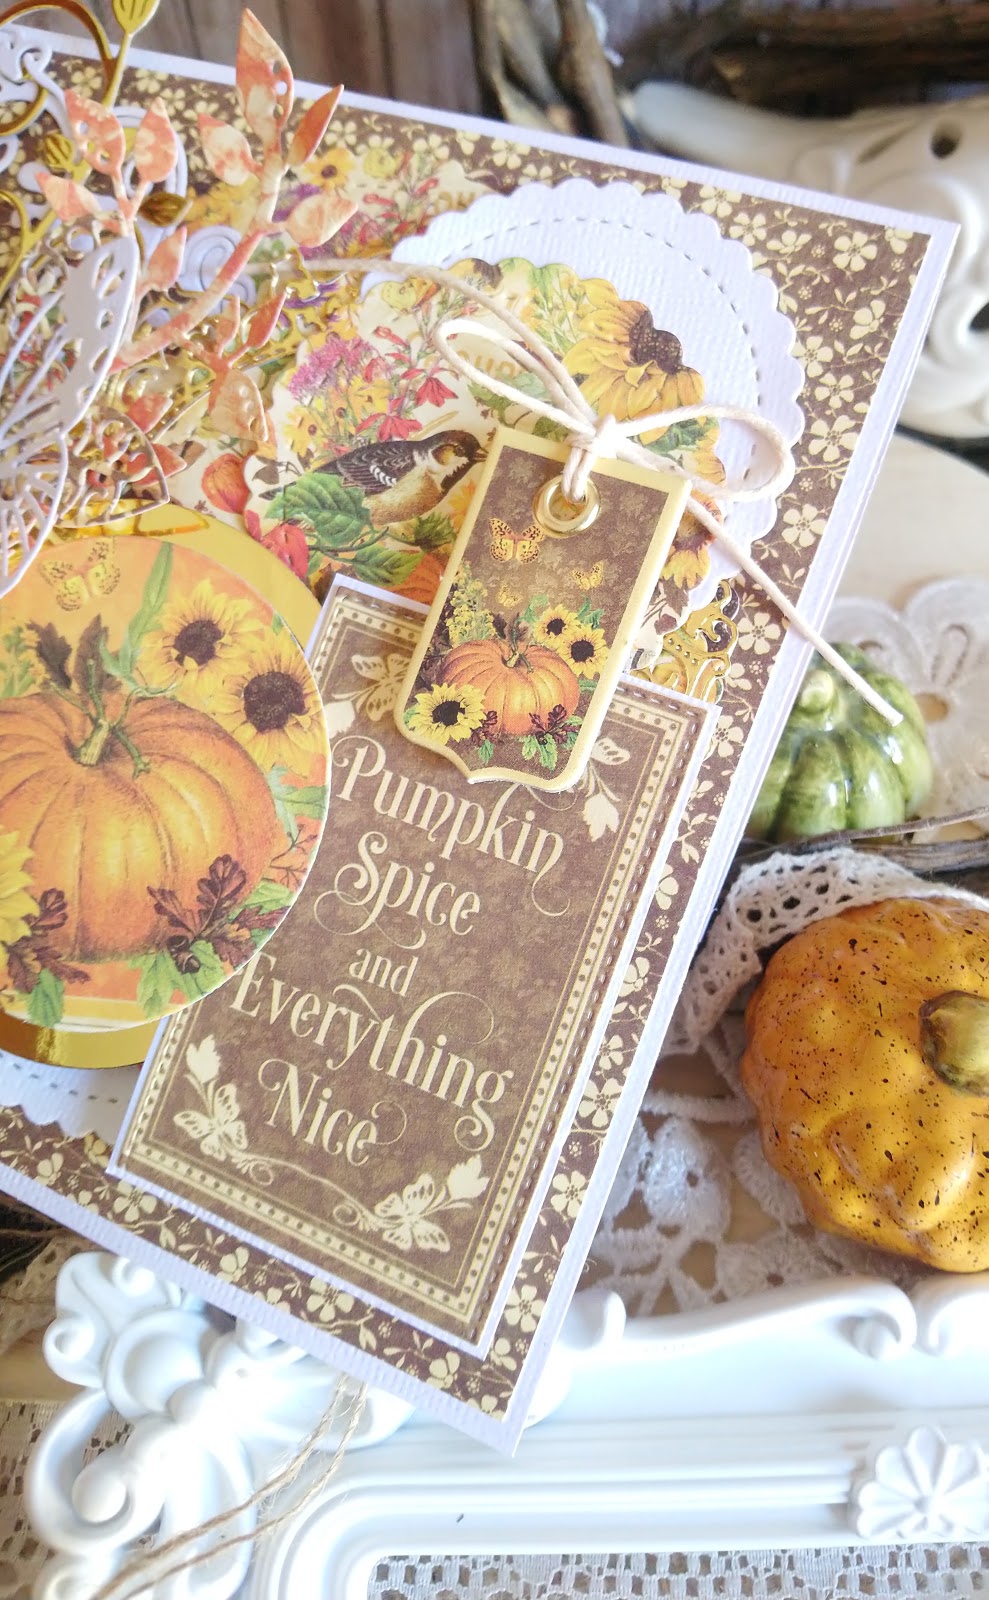
Step 6: Mat the wording piece from the 12×12 collection onto white cardstock leaving a small border. Add an eyelet and string to the chipboard piece.
Step 7: Layer all your die cut elements and adhere with adhesive foam.
Tip: The foam gives the elements dimension. I sometimes add two pieces on top of one another to give it that extra raise.
Step 8: After assembling the three tier pop up cake adhere to the center of the card and follow the last step as per the instructions.
Step 9: Add the flowers to the cake. I only adhered 3.
Tip: Make sure that you adhere them in such a way that it will move easily with the fold.
Step 10: Add some more die cut elements on the inside of the card on both sides for decoration. This will complement the centerpiece.
Thank you for stopping by the G45 blog for your daily dose of inspiration. We want to extend our gratitude to Tanya for sharing this outstanding birthday card. Be sure to leave your feedback in the comments below, we always love to hear from you.
Happy Papercrafting!