Give gifts in style with this handy dandy Gift Card Holder step by step tutorial. This stunning gift has been created for us by the ever so talented, Lea Muskotevc aka Memories By Lea for our #ClubG45LeveledUp Series. This series is all about taking our past Club G45 video tutorials and making them your own by adding new techniques or using different paper collections, in this case our Ephemera Queen paper collection.

“Hello, G45 Crafters!
Today I would like to share with you a Club G45 -Vol 05 project that was previously created by Kathy Clement. Kathy created a beautiful Gift Card Holder.
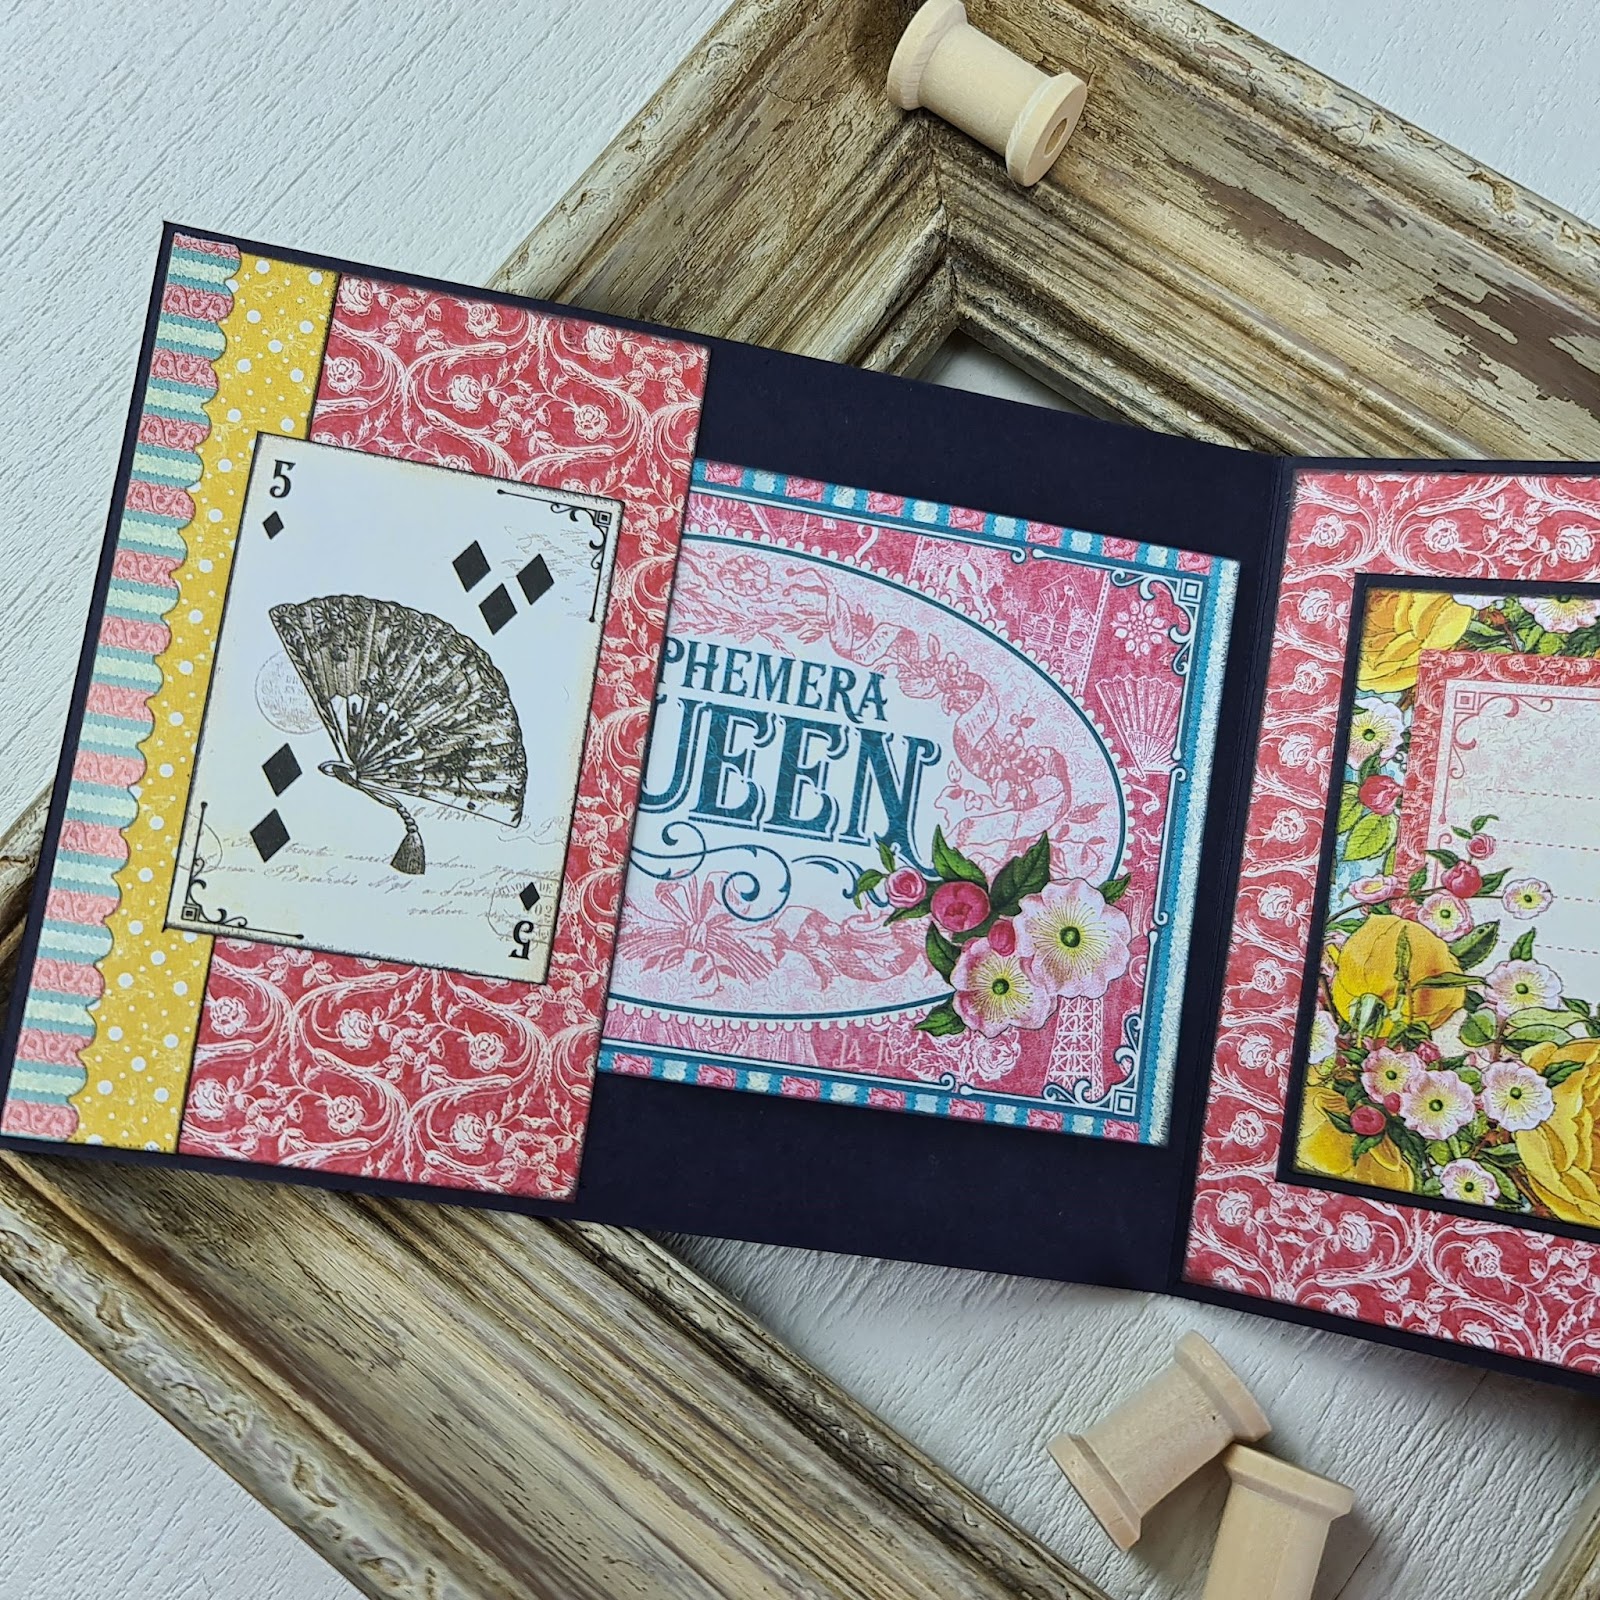
Here is my take on her project. I used the Ephemera Queen collection for my Gift Card Holder.
Tip: The inside pocket could be also used for tucking money into the pocket when given as a gift.
Tip: To the opposite flap add an Ephemera Card for journaling. If your handwriting is not something you are comfortable with then use Ephemera Card with a beautiful quote instead.
To make this quick Gift Card Holder, follow the tutorial below.
Cut a piece of cardstock at 11 x 4 ¼’’
On the 11’’ side make a score line at 5.5’’.
Cut a piece of Ephemera Queen paper at 5 ⅜ x 4 ⅛ ’’.Adhere the paper to cardstock and leave a border of cardstock around the paper.
Cut a piece of Simply the Best paper at 5 x 3 ⅞’’.Adhere the paper to Ephemera Queen paper.
Cut a pieceof Les Chapeaux paper at 4 ¼’’ x 3 ⅛’’. Adhere the paper to the piece of 4 ⅜’’ x 3 ¼’’ cardstock. Adhere both pieces to Simply theBest Paper.
Cut a piece of Treat Yourself paper at 3 ¾’’ x 2 ⅝’’. Then cut a piece of Simply the Best paper at 3 ⅛’’ x 2’’. Adhere the paper to a piece of 3 ¼’’ x 2 ⅛’’ cardstock. Then adhere both pieces to the Treat Yourself paper.
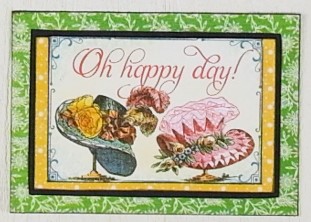
Cut out a tag from Oh Happy Day paper at 2 ¾’’ x 1 ⅞’’. Adhere it to Simply the Best paper.
Adhere all pieces to Les Chapeaux paper.
Take two stickers and add them to upper and bottom corner of the ephemera card.
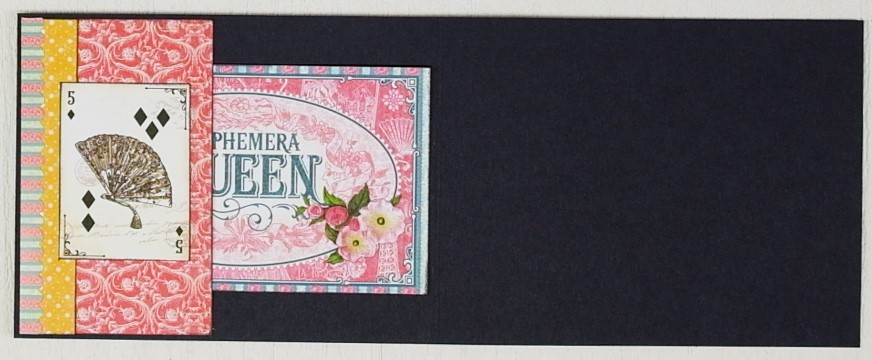
On the left side of the inside of the card, you will create a pocket.
Cut a piece of Ephemera Queen paper at 2 ½’’ x 4 ⅛’’. Adhere it to left section of the flap. Apply glue around left, upper, and bottom edges of the paper. Opening of the pocket should be on the right hand side.
Then cut a piece of Simply the Best paper at ¾’’ x 4 ⅛’’. Adhere it to left edge of the pocket.
Cut out an image from Oh Happy Day paper and adhere it on top of the pocket.
Take a sticker and adhere it on top of the paper.
Cut an Ephemera Card at 4 ⅞’’ x 3’’. Take the card into the pocket opening.
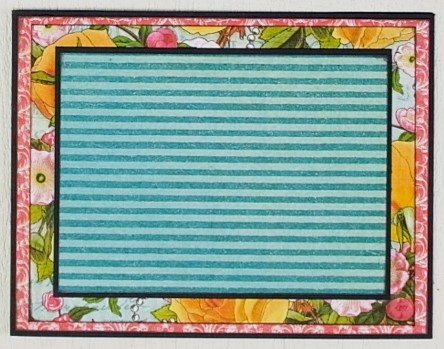
For the right side of the inside of the card, you will cut a piece of Ephemera Queen paper at
5 ⅜ ’’ x 4 ⅛’’. Adhere it to the flap.
Then cut a piece of Simply the Best paper at ¾’’ x 4 ⅛’’. Adhere it to right edge of the flap.
Take a sticker and adhere it on top of the paper.
Cut a card from Oh Happy Day paper at 3 ⅞’’ x 2 ⅞’’ and adhere it to 4 x3’’ cardstock.
I hope you enjoyed the tutorial.
Thank you for stopping by!” ~Lea
Graphic 45 Supply List:
Ephemera Queen 12″x12″ Collection Pack
Other Supplies:
Black cardstock