Capturing Memories in Craft: Linda Roos showcases her creativity with two inspiring projects! Dive into the wonderful world of her Hidden Shadow Box Album, where Life’s a Bowl of Cherries comes to life. Plus, join her on a creative journey as she guides you through her Double Fold Out Envelope Album tutorial, a heartwarming tribute to Little One. Don’t miss these captivating video tutorials and let your imagination soar!
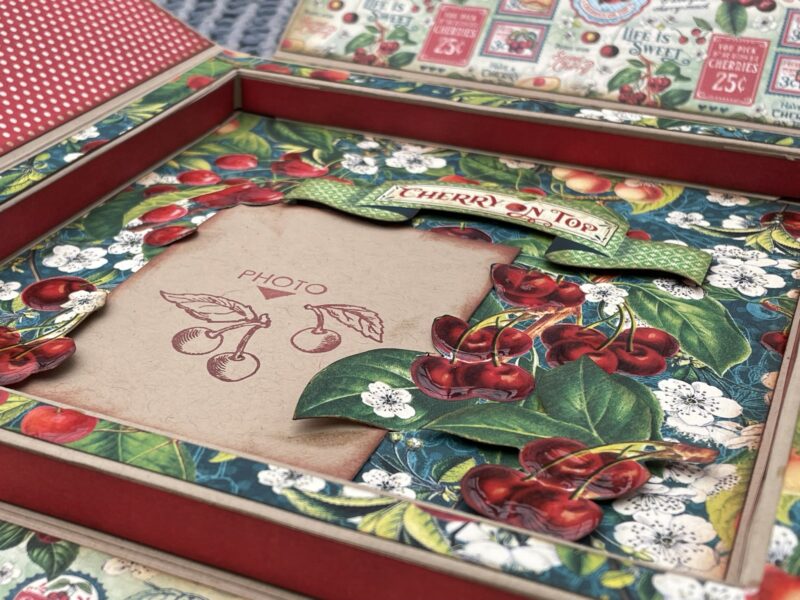
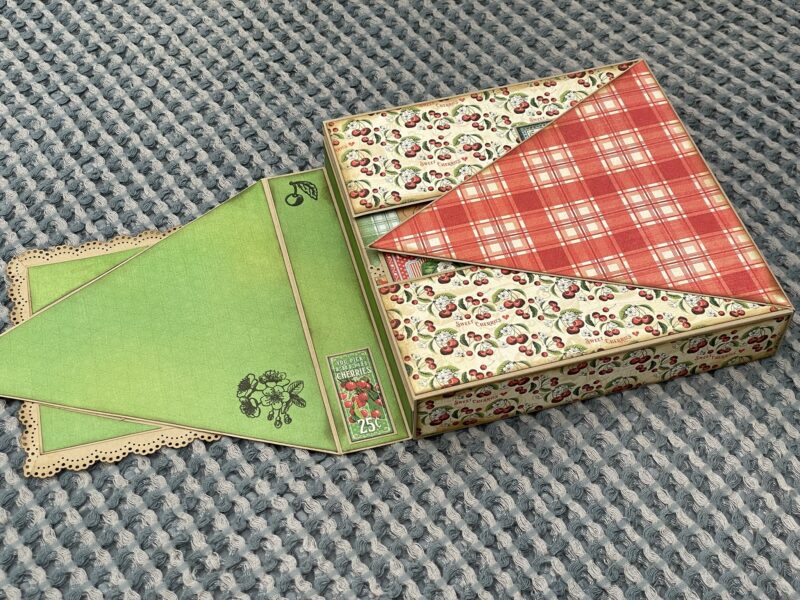
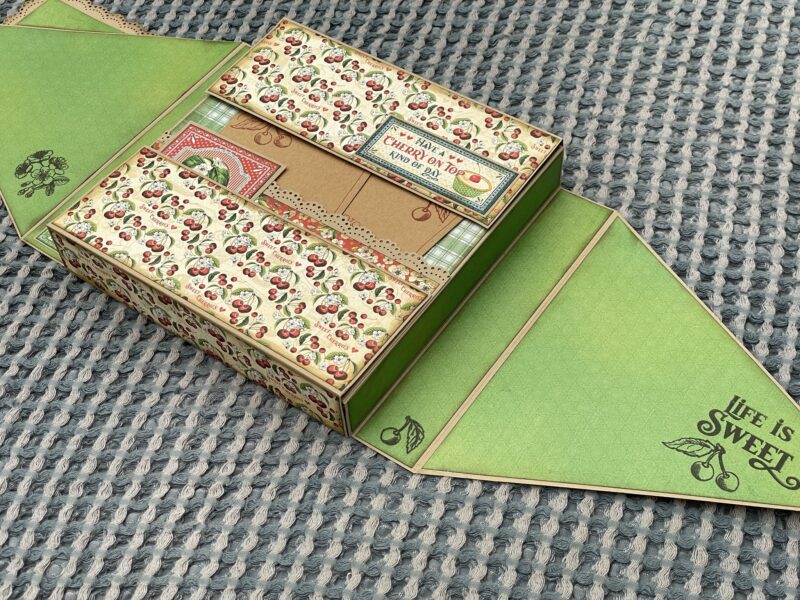
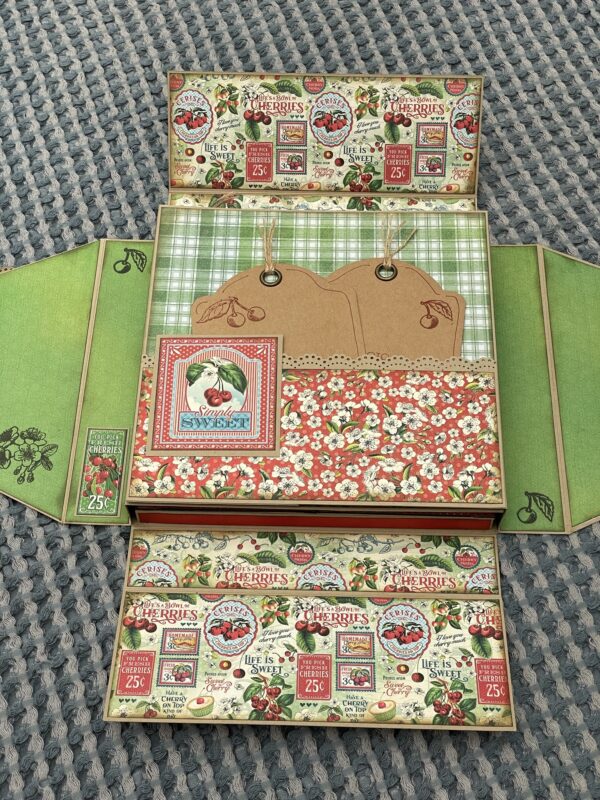
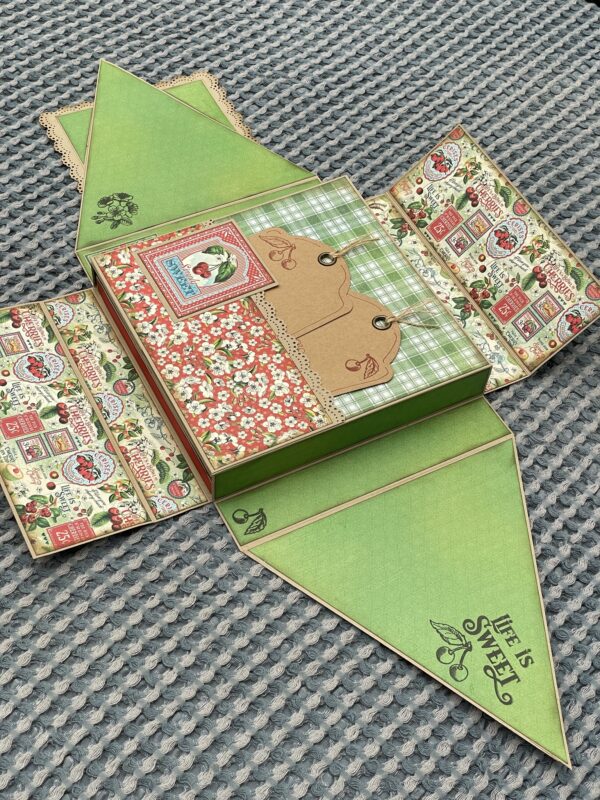
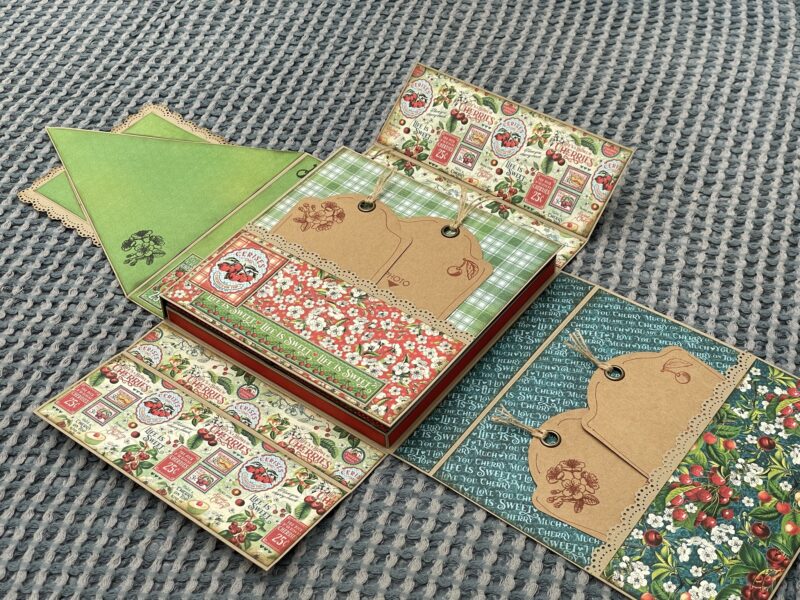
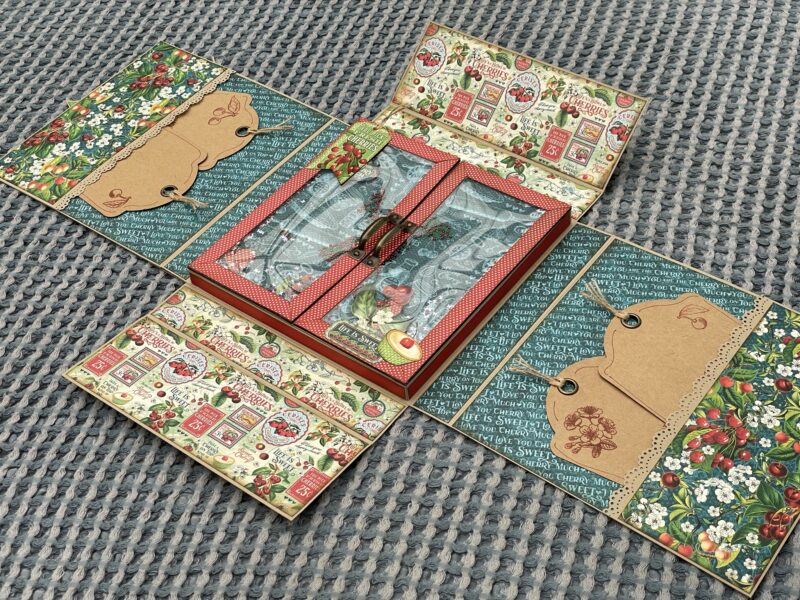
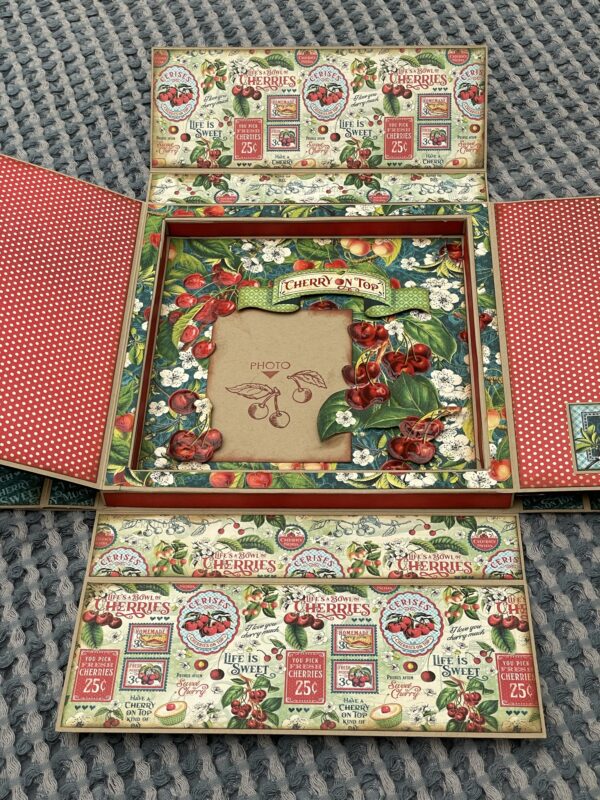
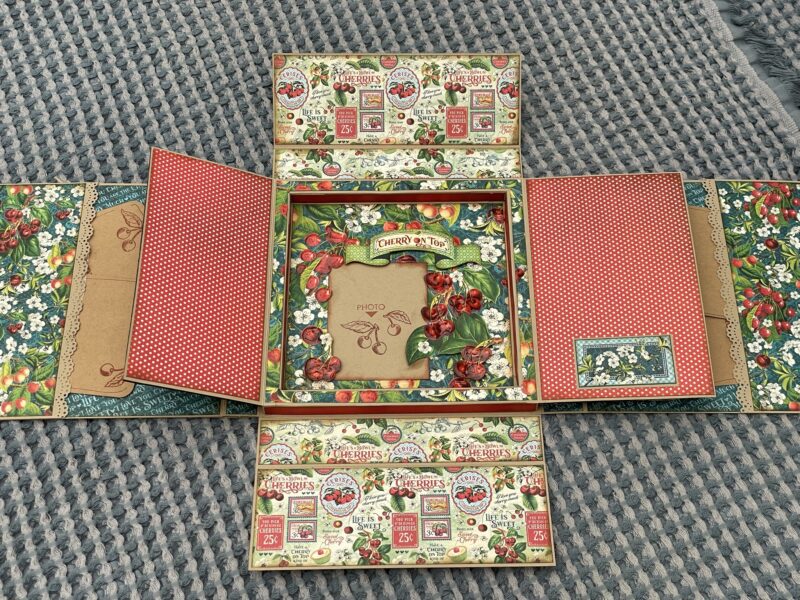
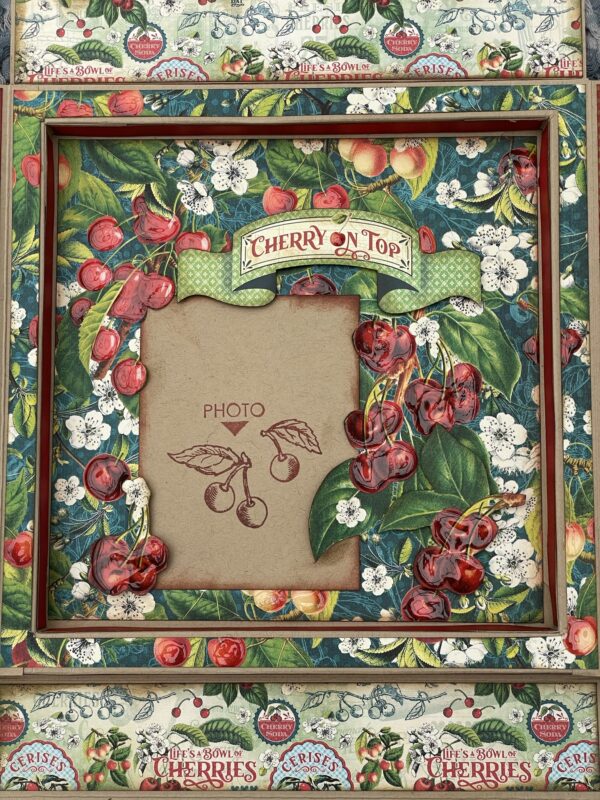
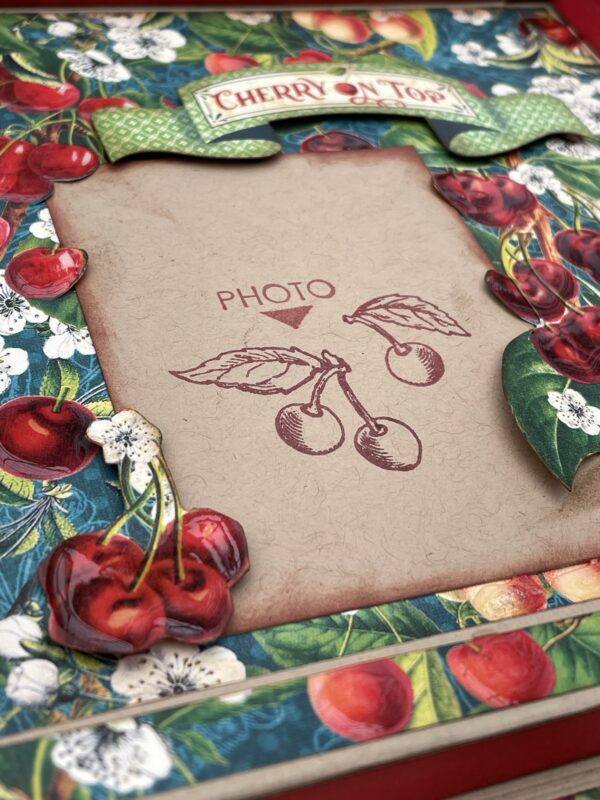
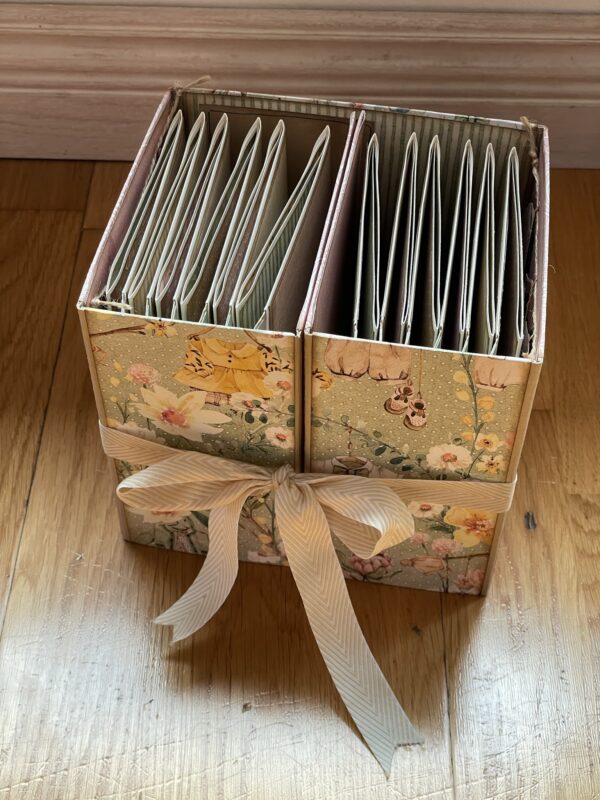
“Hi! I’m back and this time I made an album for you with a hidden shadow box 8 x 8. When you start unpacking this album you will end up in front of a shaker double door and opening it reveals a shadow box where you can place the most important photo of them all.
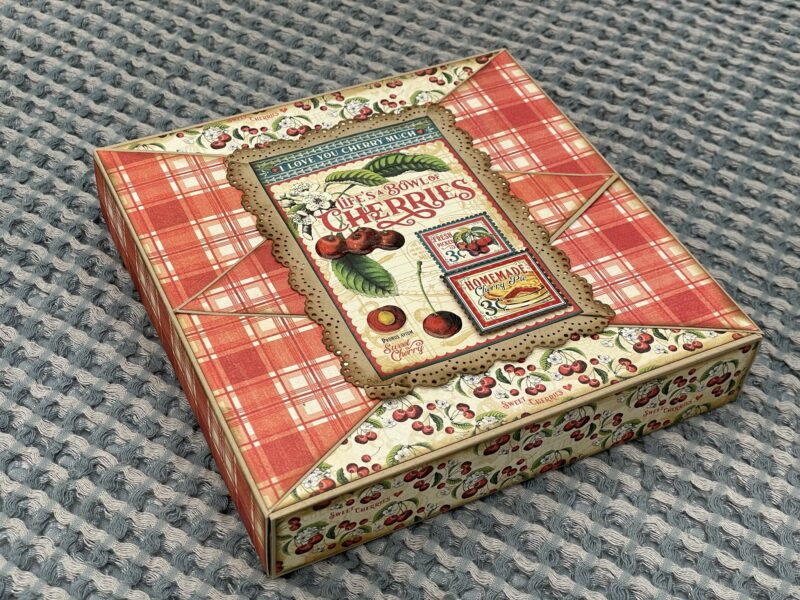
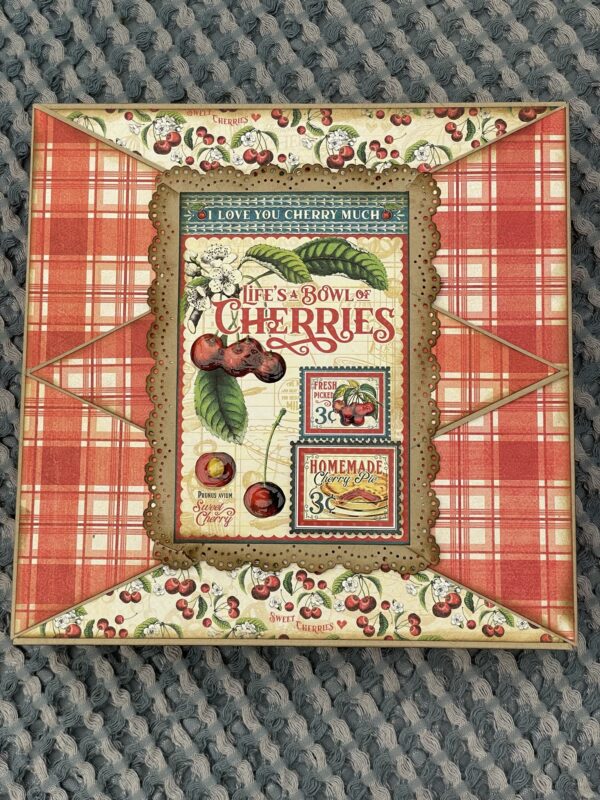
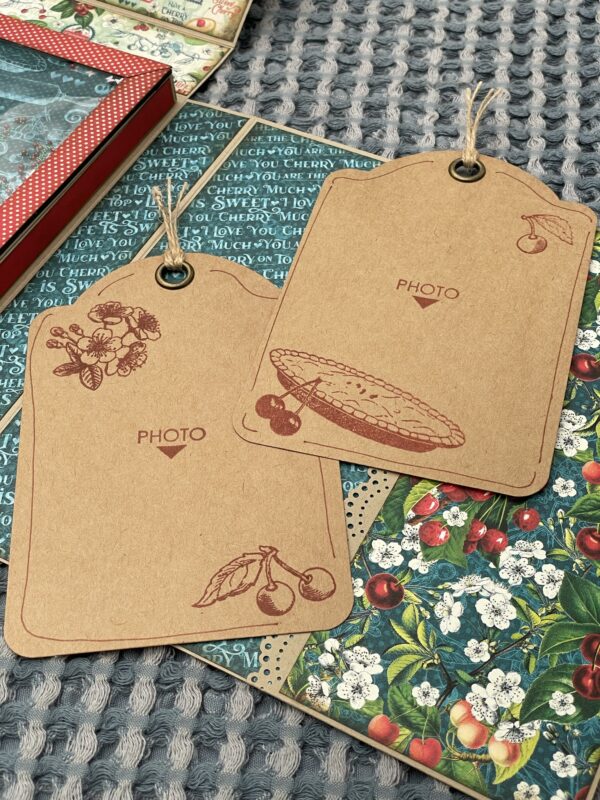
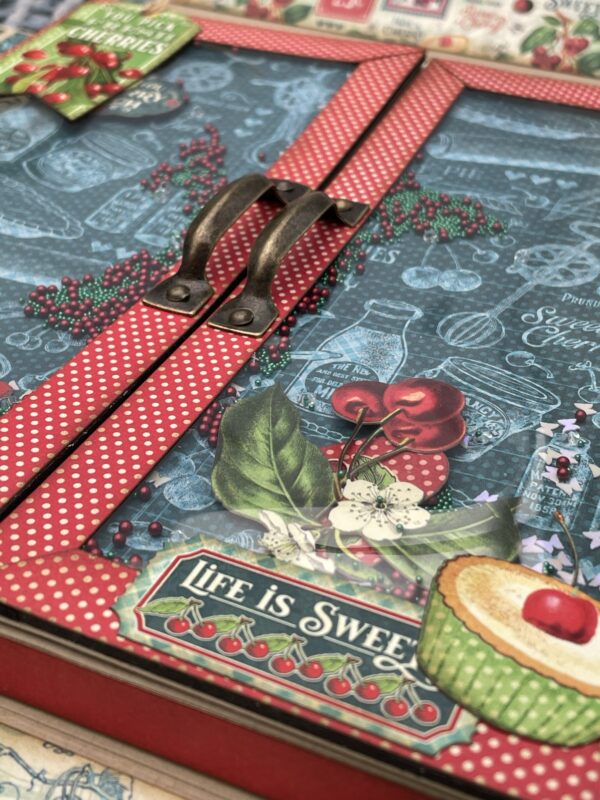
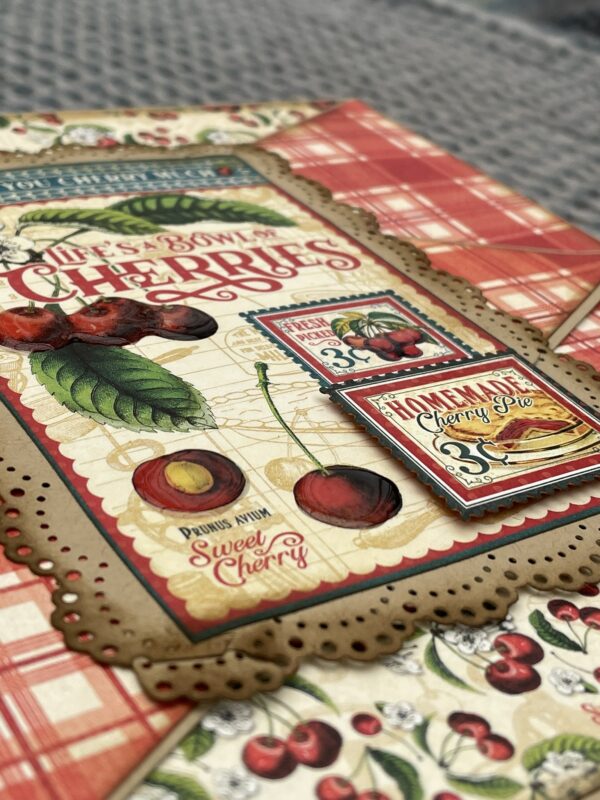
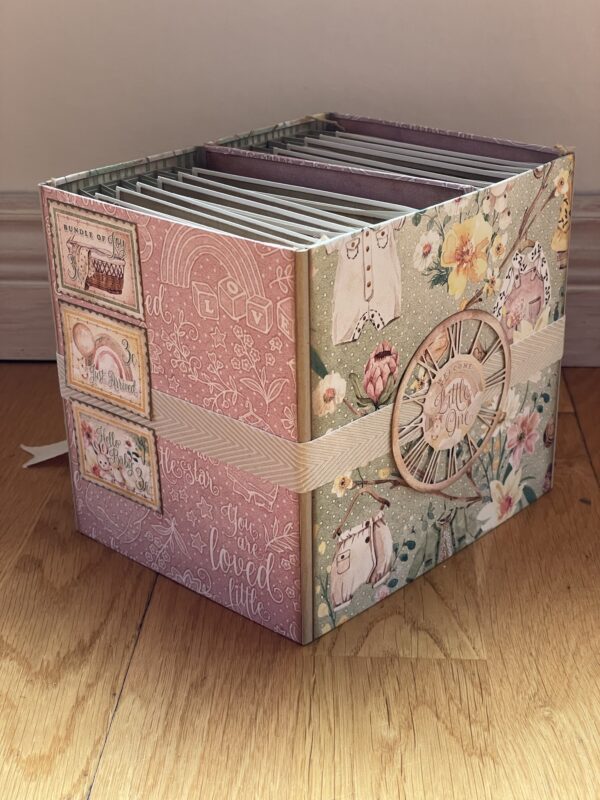
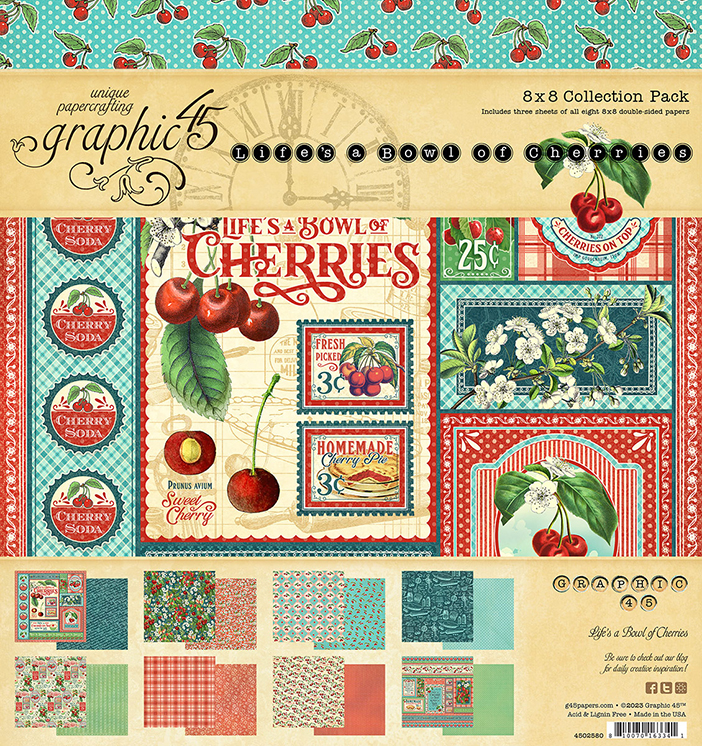
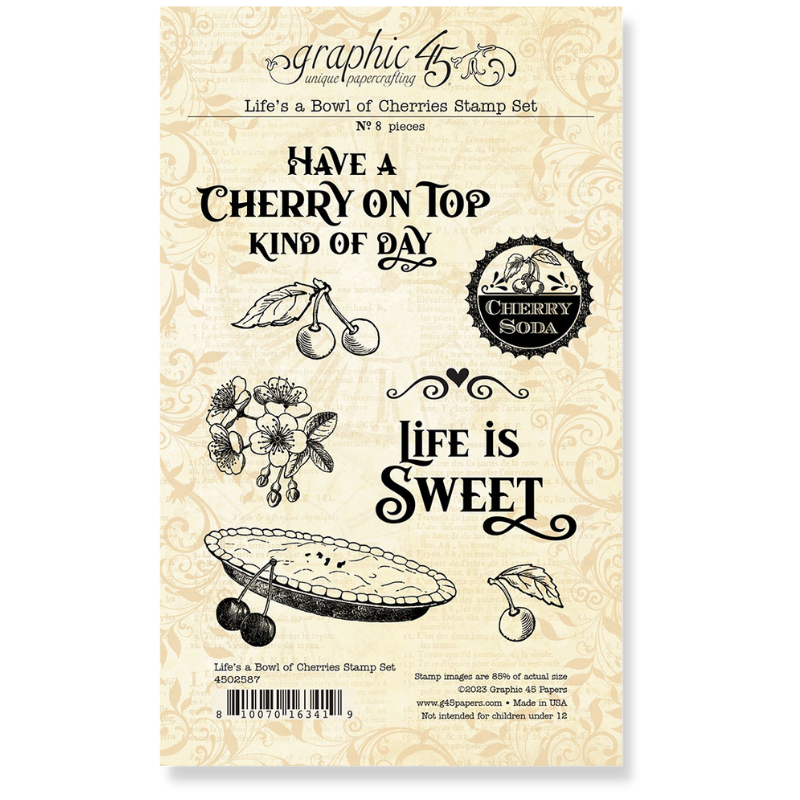
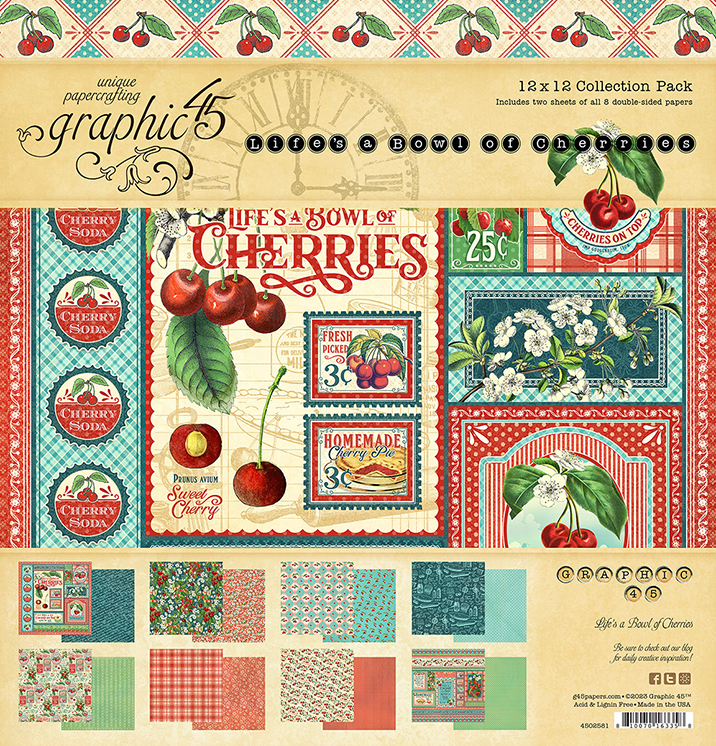
I have used the paper, Life’s A bowl of cherries, that is absolutely stunning and so cute to use in an album with photos of your loved ones. Or maybe as a recipe box or book. All of the cherries in this paper make me so happy. But I dont like to eat dem 🙂 only love to look at them.
Cherries make me happy and so does chocolate. So I was thinking of a box of chocolate when I was designing this album. I wanted the nice feeling of a box of cherries and chocolate in my hand when it was finished. I also wanted the feeling of curiosity of not knowing what’s inside this magical box, the feeling that you don’t immediately know how to open it. I Am happy with the result and hoping that you feel the same feeling and want to try it out as well.
I have one tutorial for you but i also made one video separate for you that will give you some help decorating the album. That you will find on my youtube channel, Lindas scrapproom.
Here comes a walkthrough and tutorial video.
To create this project here are the measurements and the supply list:
The measurement with a line under is the measurement that will be up against the scoringboard when scoring.
The measurement that’s in the parentheses is the scoring lines
Hope you like it and find some inspiration for your own projects, happy crafting until next time!
Love, Linda Roos

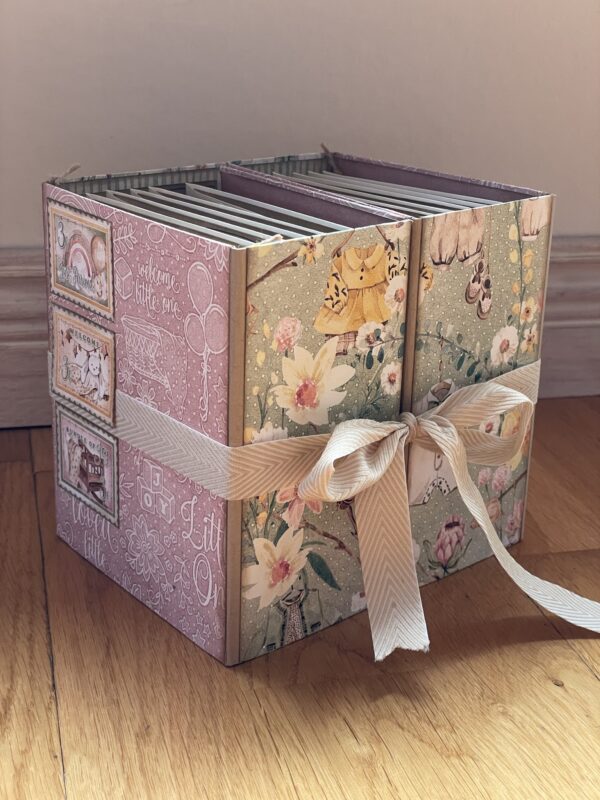
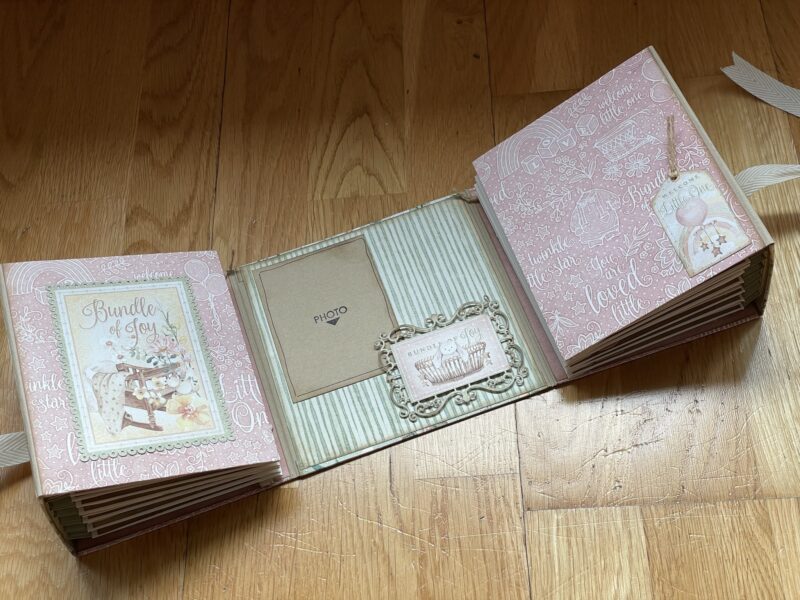
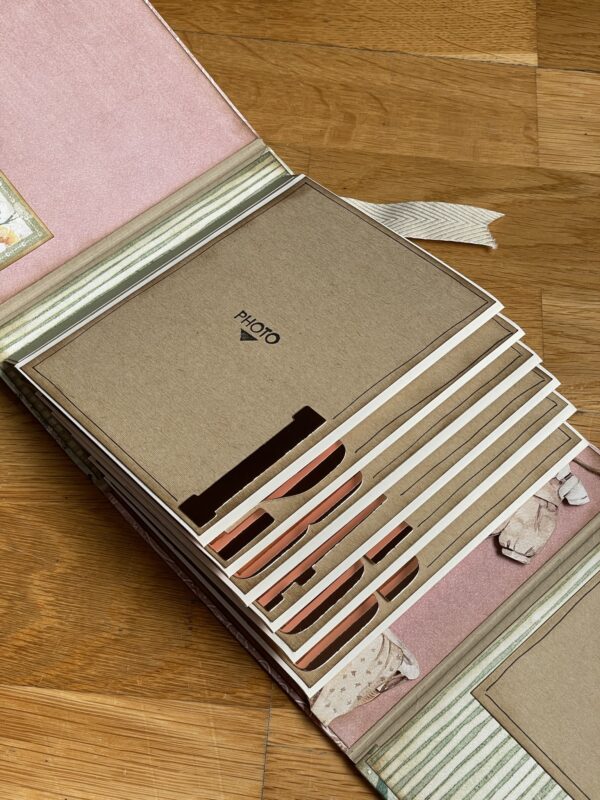
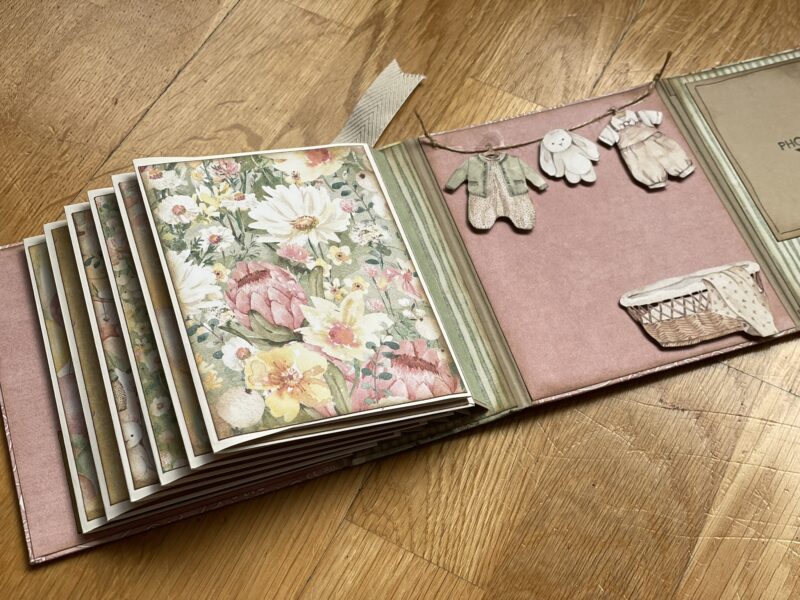
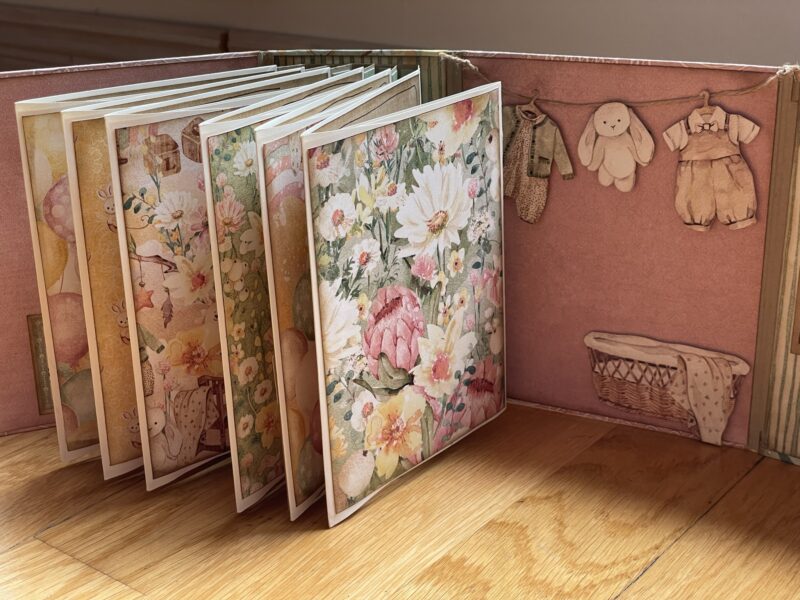
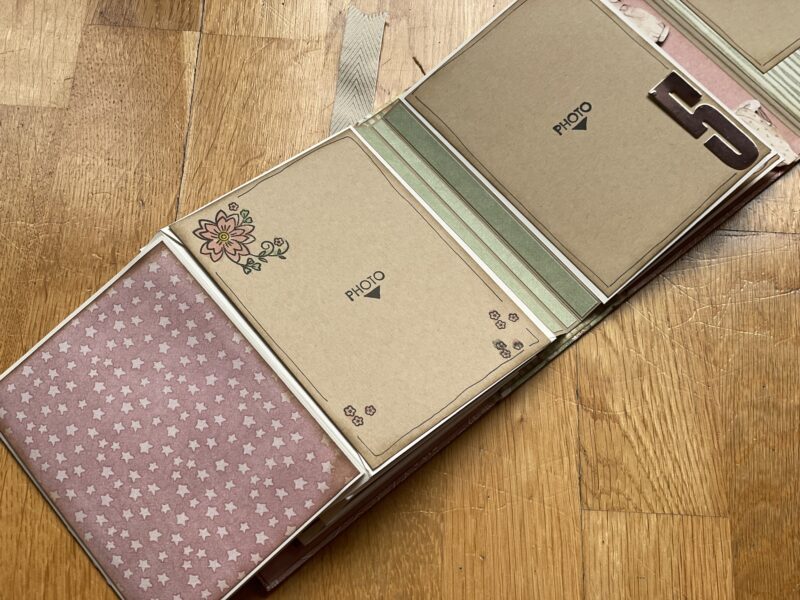
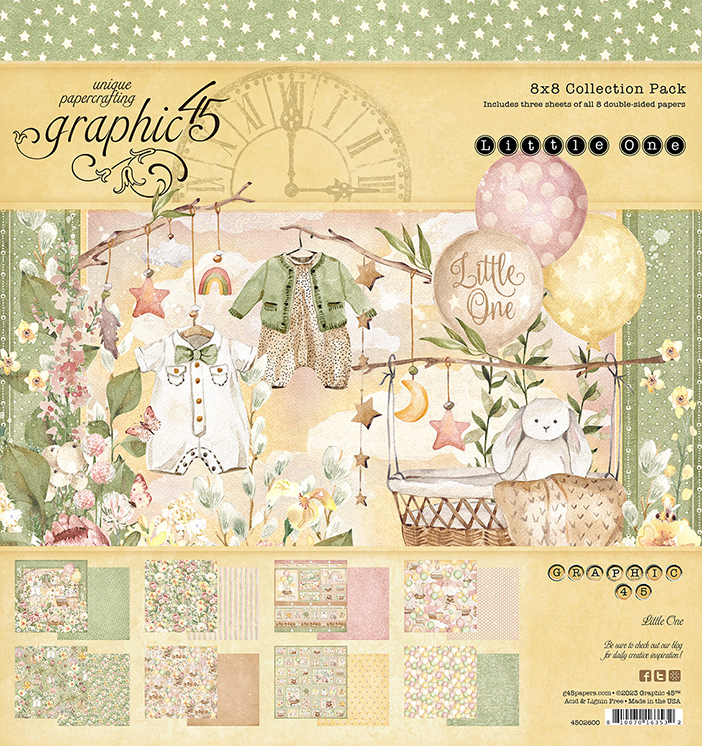
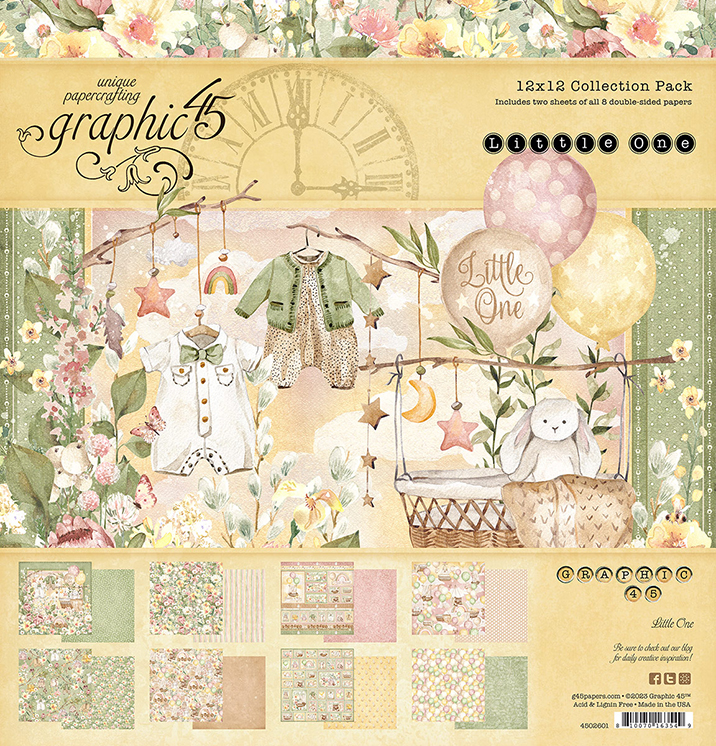
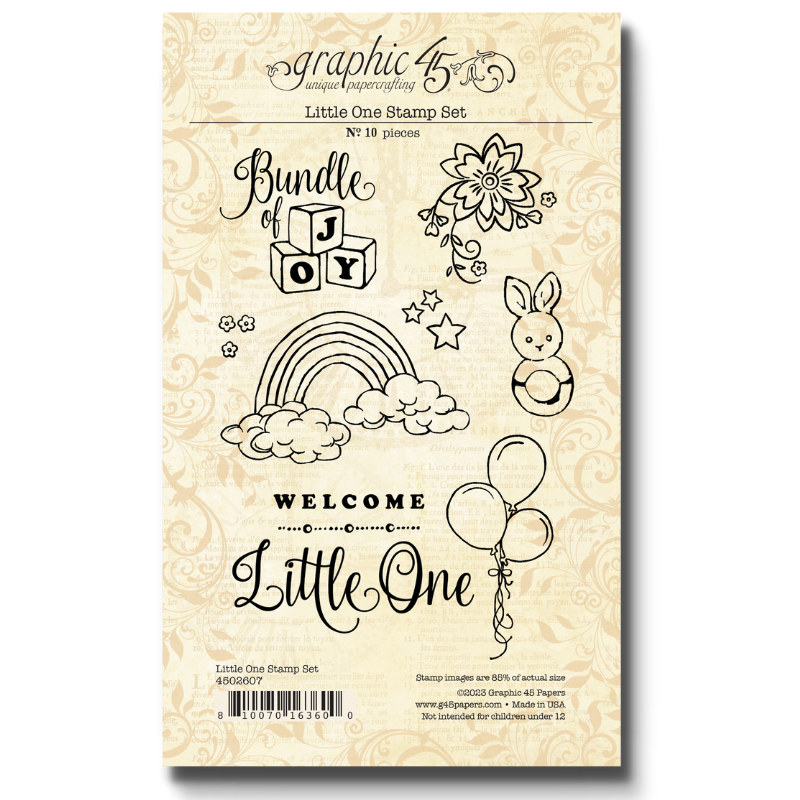
“Hi! I’m back with a new album for you! I was inspired by #G45Lady and #G45Gentelman but in a different way as in a mother and father of a newborn baby. So If you are looking for a baby album for your baby’s first year or looking for a tutorial to make on for a friend or family member that fits 6 fotos a month I have the perfect one for you.
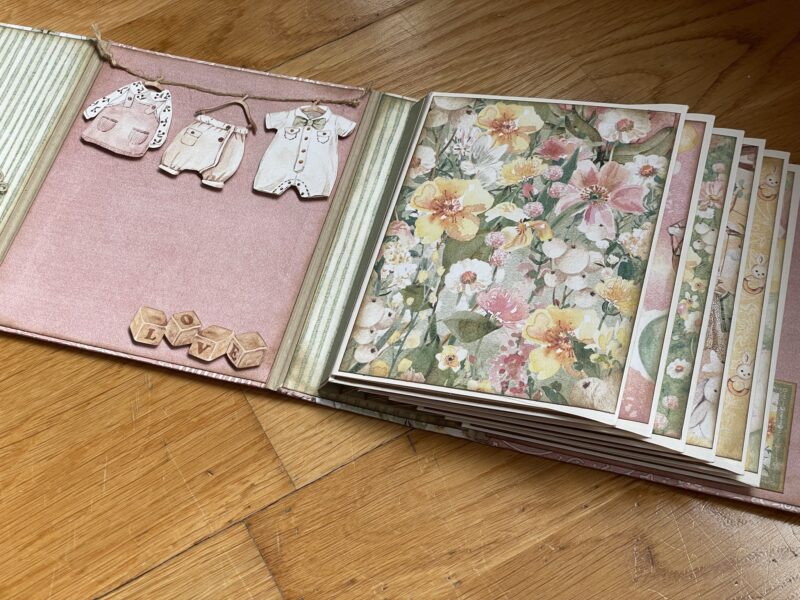
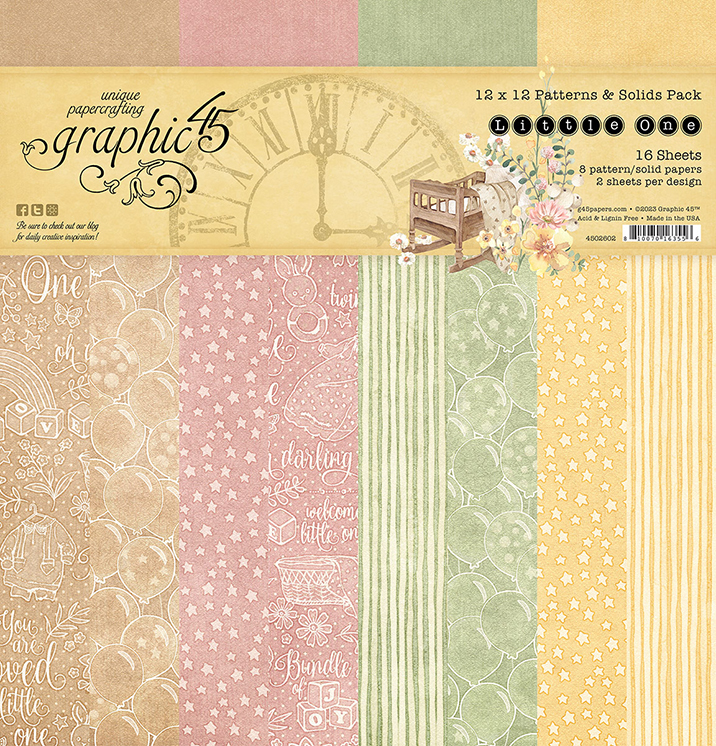
When the paper Little One came out I just knew that I had to do a baby’s first year album! This might be the most gorgeous baby paper I have seen, I mean just look at the balloons!!! It takes your breath away.
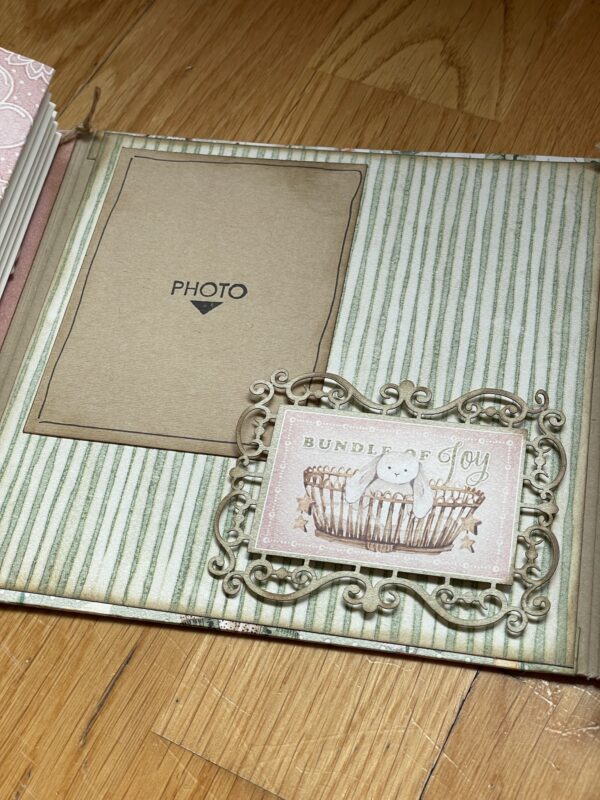
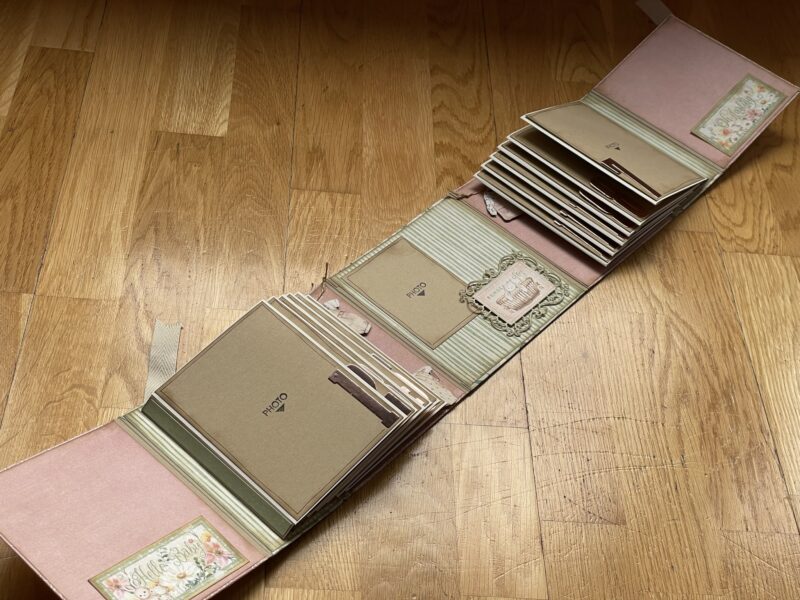
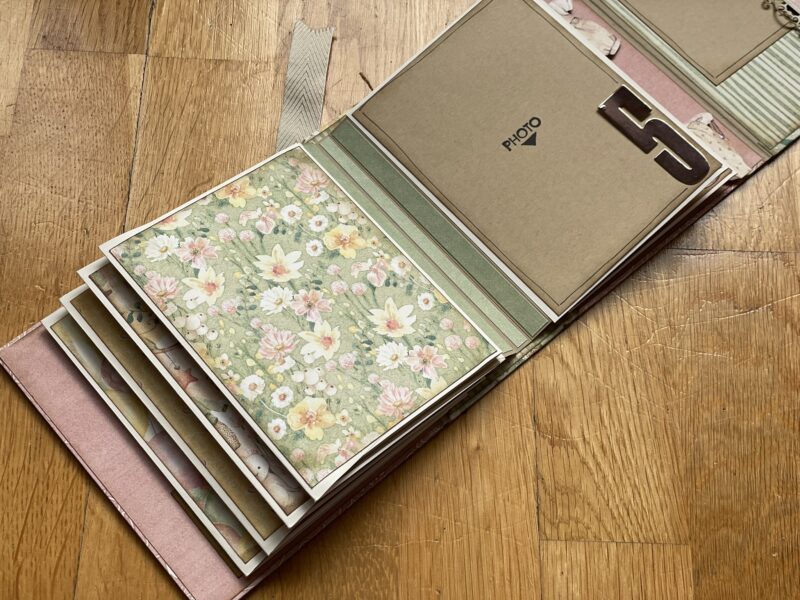
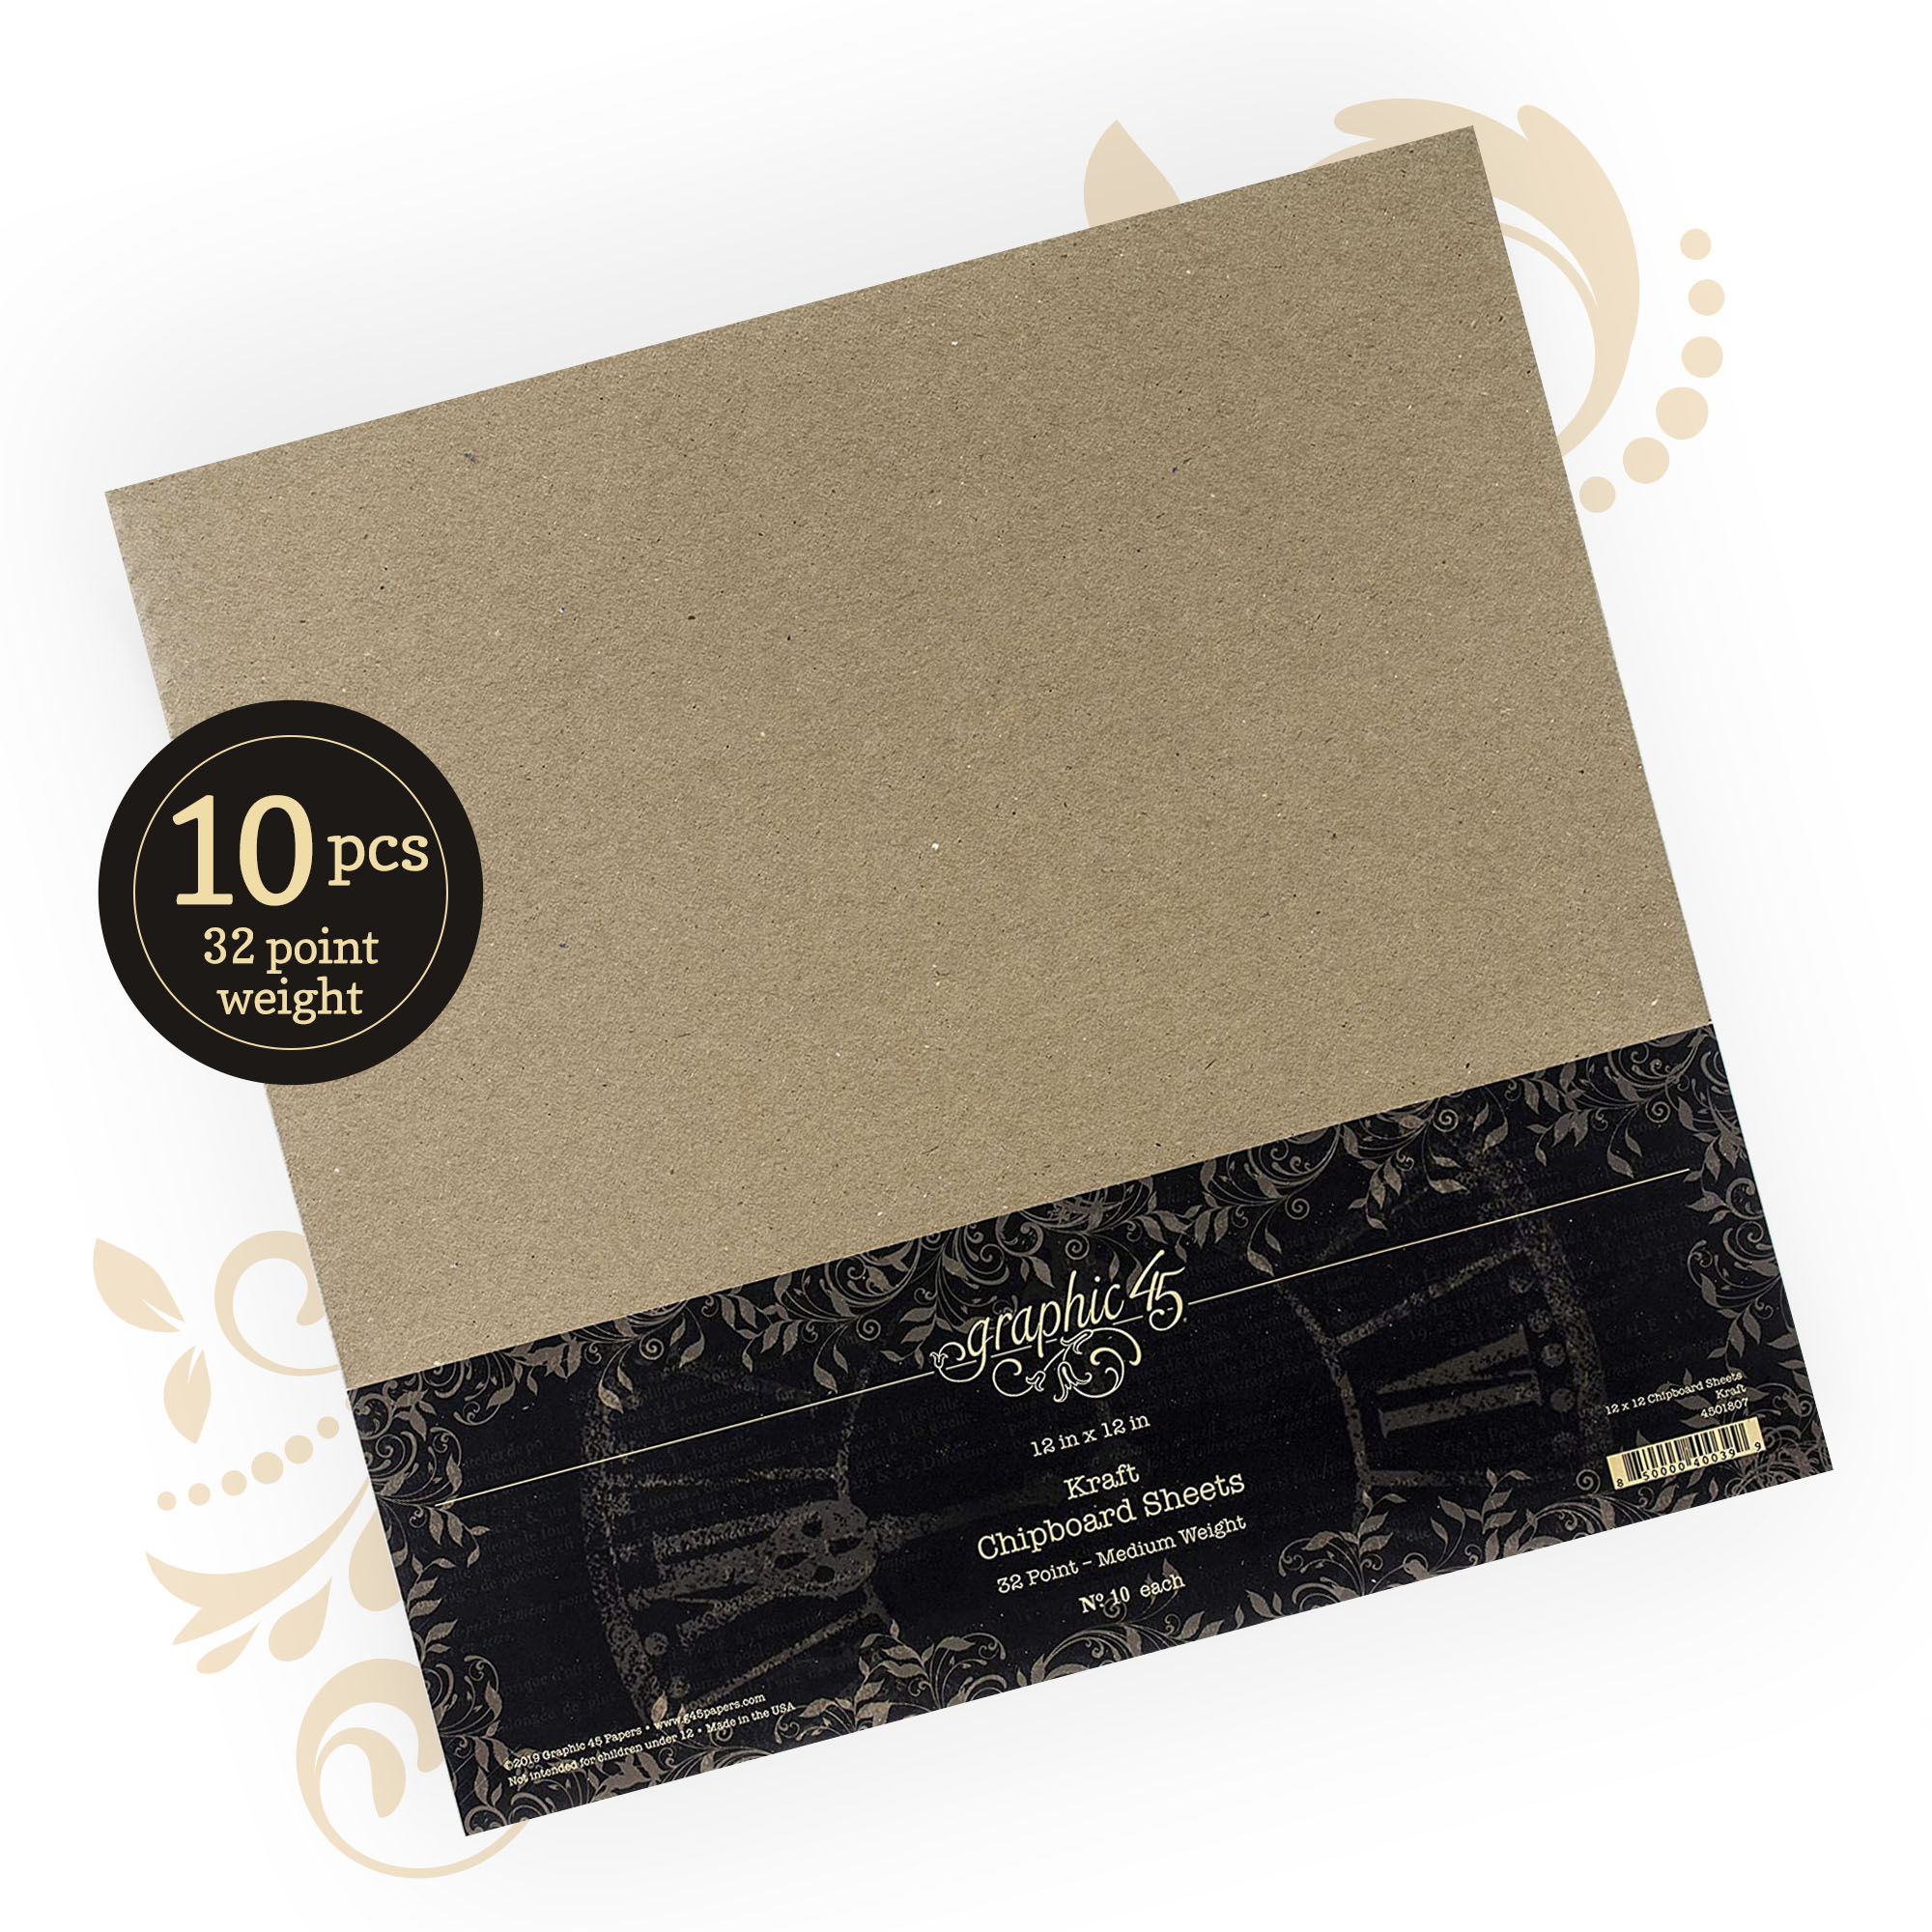
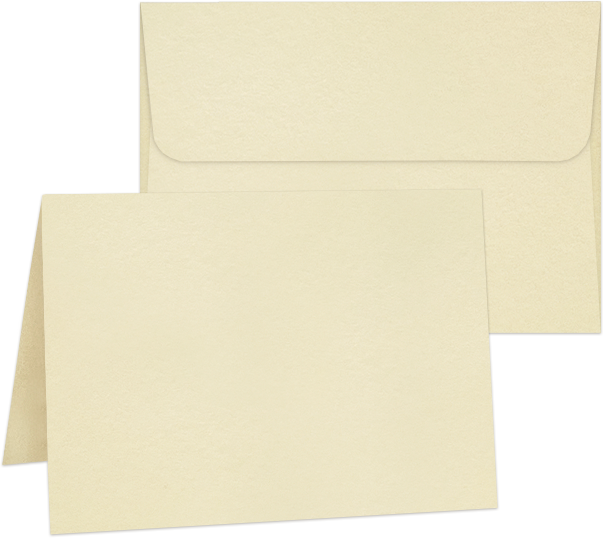
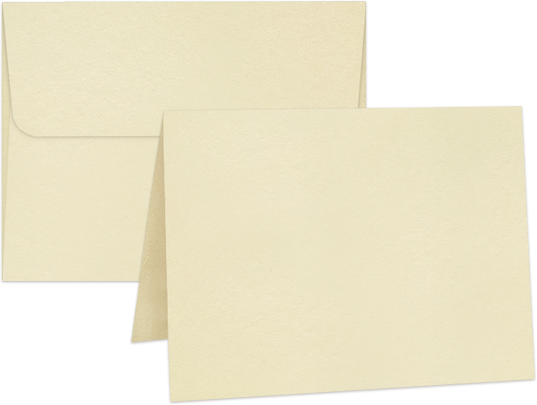
This is an easy album to put together. It might not look like that in the first look but go to the tutorial and you will see. I have made it with a chipboard but chose an easy way to put it together and the pages are made with Graphic45´s cardstock and envelope base.
Just because I made this into a baby album does not mean that you have to. You can make it with any papers you like and create whatever type of them you prefer, just make your imagination fly! And I was thinking of making a base with some beautiful metal feets and maybe a top as well but I decided to end it like this, but feel free to make this and twist it however you like and cheer, I would be happy to see how you do!
Here comes a walkthrough and tutorial video.
To create this project here are the measurements and the supply list:
Chipboard
4 pieces – 5 x 6
2 pieces – 2 ½ x 6
1 piece – 5 x 6
Cardstock
12 pieces – 1 x 6
Cardstock – hinge
2 pieces – 2 ⅜ x 5 ⅝
2 pieces – 3 ⅛ x 5 ⅝
2 pieces – 3 ⅞ x 5 ⅝
Tips for the measurement of the papers on the pages: (if you want to the same way as I did)
foto mats kraft papers – 24 pieces 4 ⅛ x 5 ⅝
pattern paper – 48 pieces 4 ⅛ x 5 ⅜


Hope you like it and find some inspiration for your own projects, happy crafting until next time!
Love, Linda Roos

Want even more Graphic 45? Sign up for our newsletter here!


One Response
Linda both of your projects are just stunning. But I was really captivated by the Cherries Hidden Photo Shadow Box. That is one of the most clever designs, use of paper, and perfectly executed project. You really created a wonderful project for family photos.