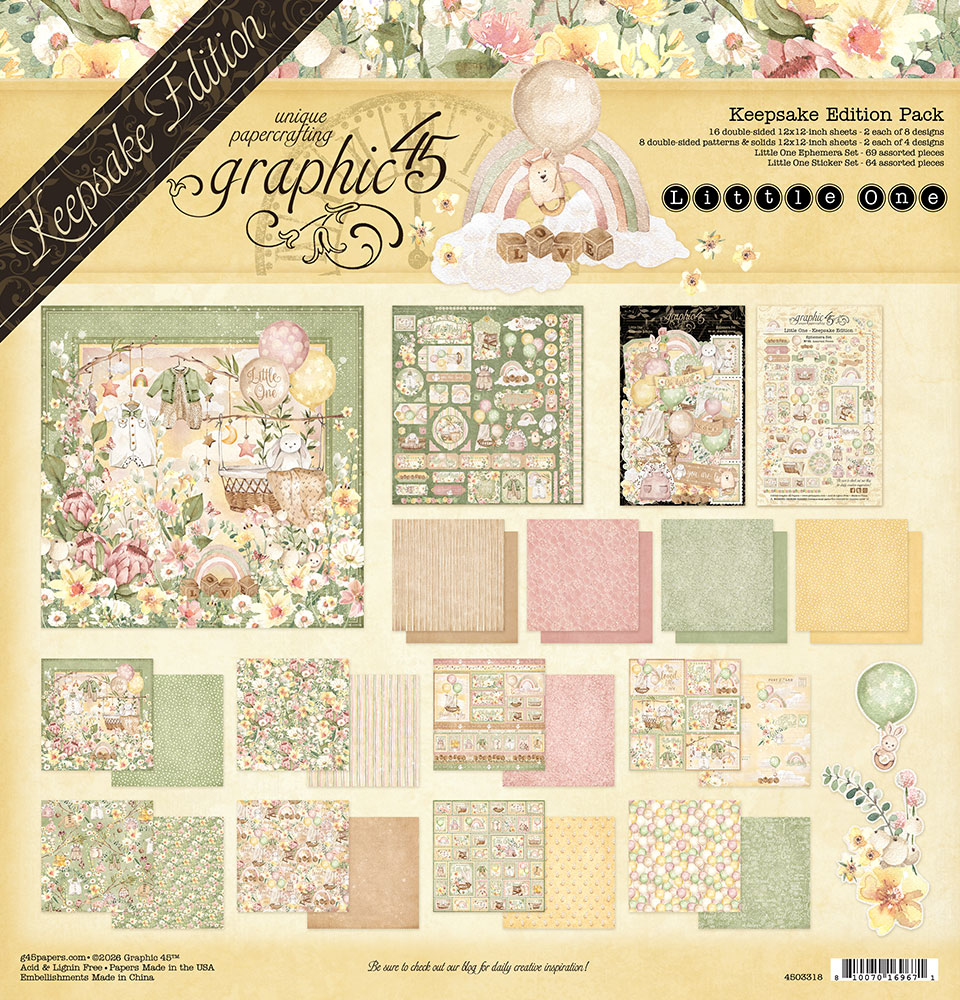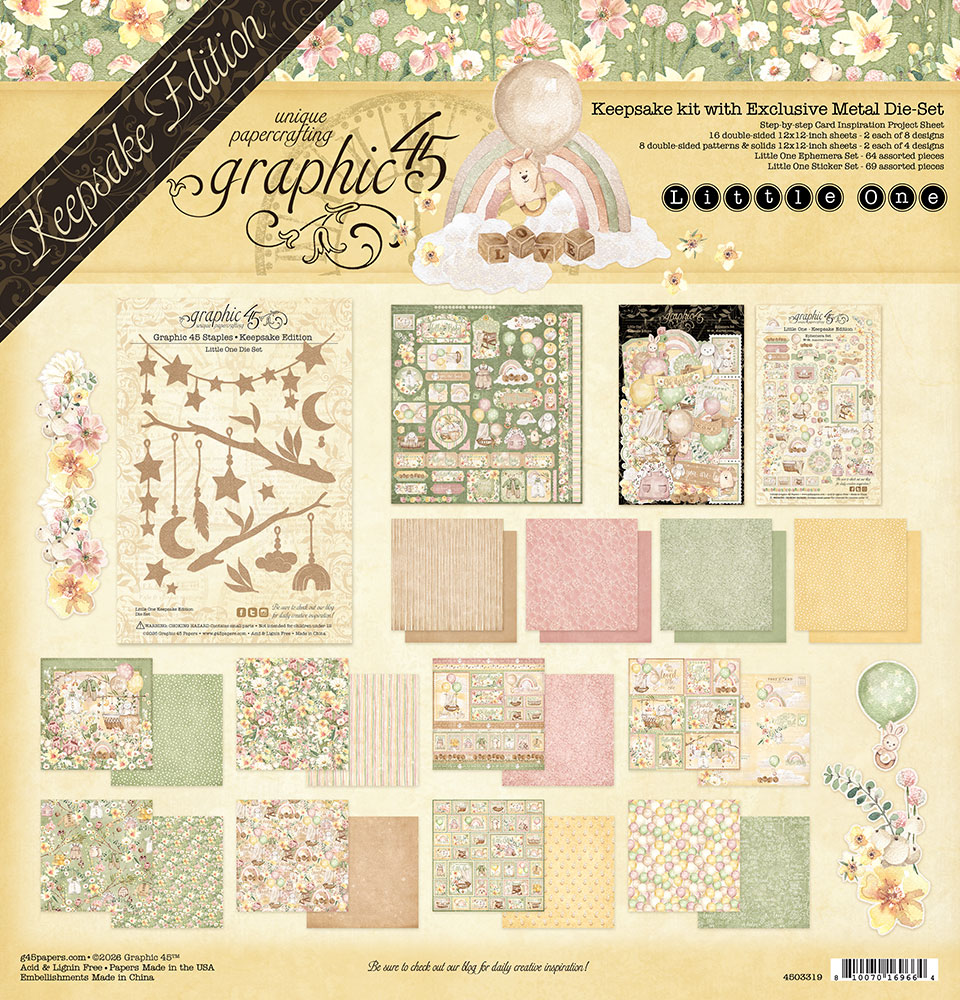
Ready to add a little extra stitch of personality to your scrapbook pages? Graphic 45 Brand Ambassador Kristine Woods is showing us how to add paper stitching to a scrapbook layout using our sweet Little One – Keepsake. In this step-by-step scrapbook tutorial, you’ll learn how to pierce simple star designs and hand stitch directly onto patterned paper, adding beautiful texture and handmade detail without overpowering your photos. Paired with soft scrapbook papers, layered photo mats, ephemera, stickers, and exclusive metal dies, this technique turns precious memories into a page worth treasuring. Best of all, paper stitching works with almost any collection—imagine stitched stars on Merry-ful Greetings Christmas layouts, florals on spring projects, or geometric designs on your next memory keeping page!
Hi crafty friends. It’s Kristine, and today I want to share one of my favorite new techniques with you. A friend of mine recently introduced me to the world of paper stitching and I’ve been enjoying not only the finished product, but also slowing down and taking the time to hand stitch on my projects.
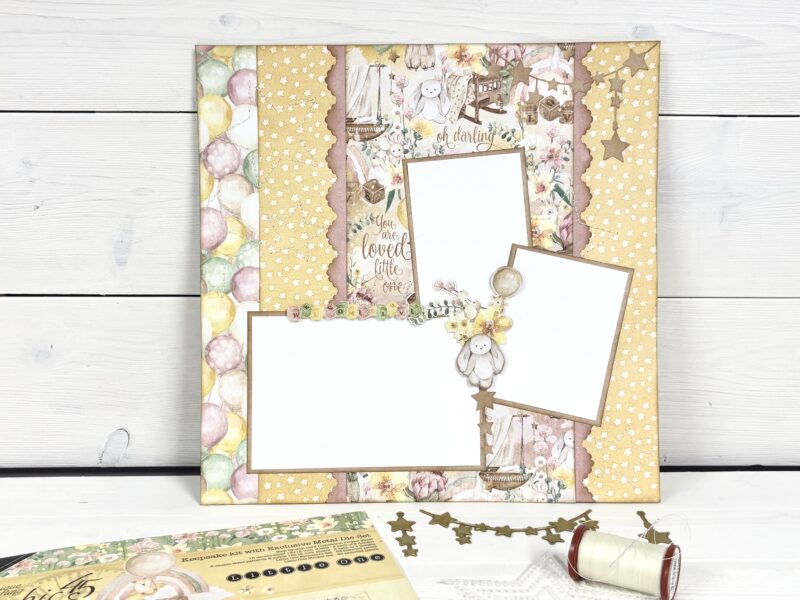
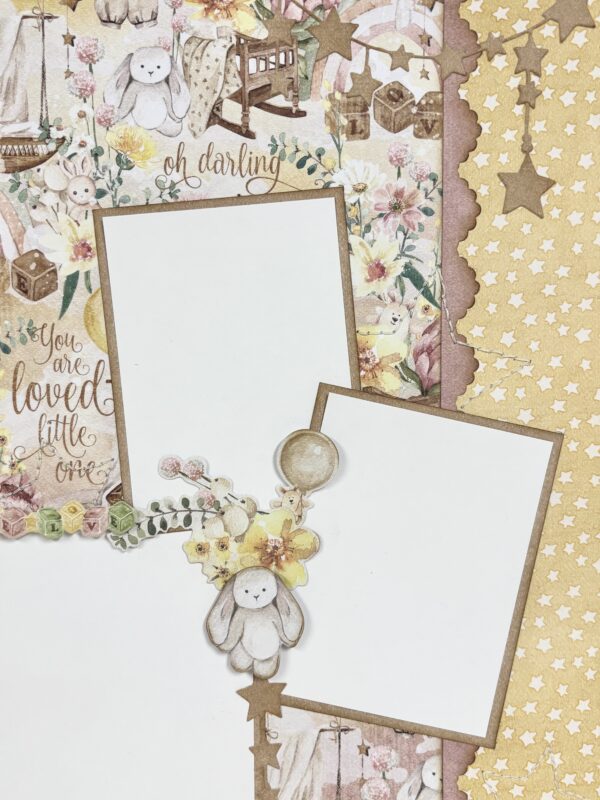
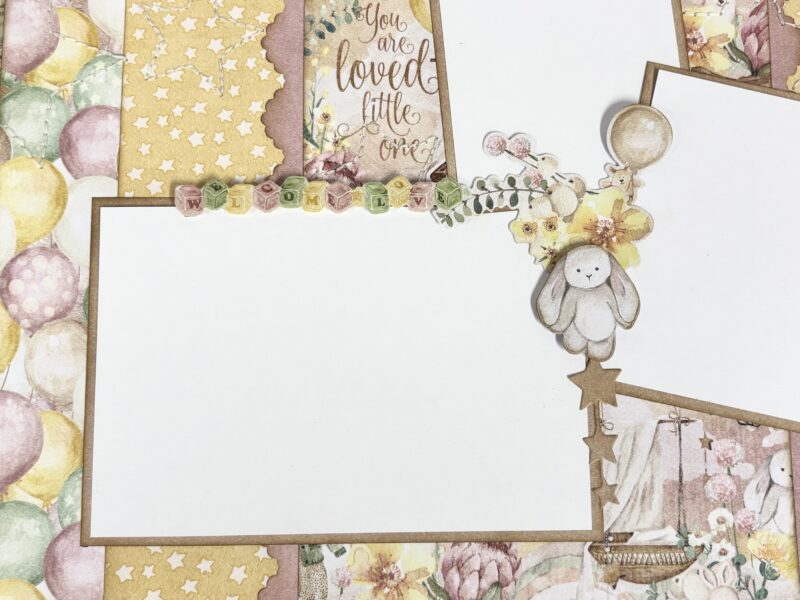
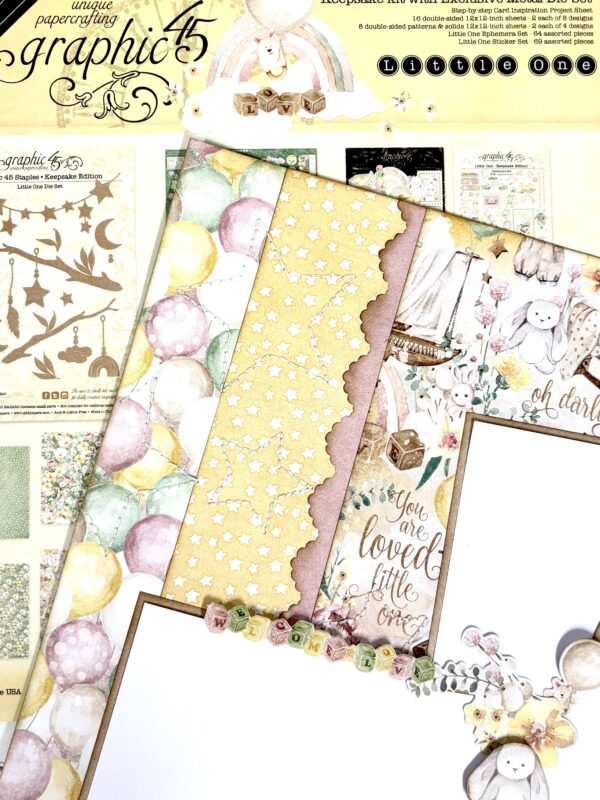
For the tutorial, I will show you how I made a sweet baby layout using the new Little One Keepsake Kit with Metal Dies. I used an acrylic start shaped paper stitching template to pierce my stitching holes, but you can make your own template with any shape using cardstock. I hope you will gather up some supplies and join me in the tutorial.
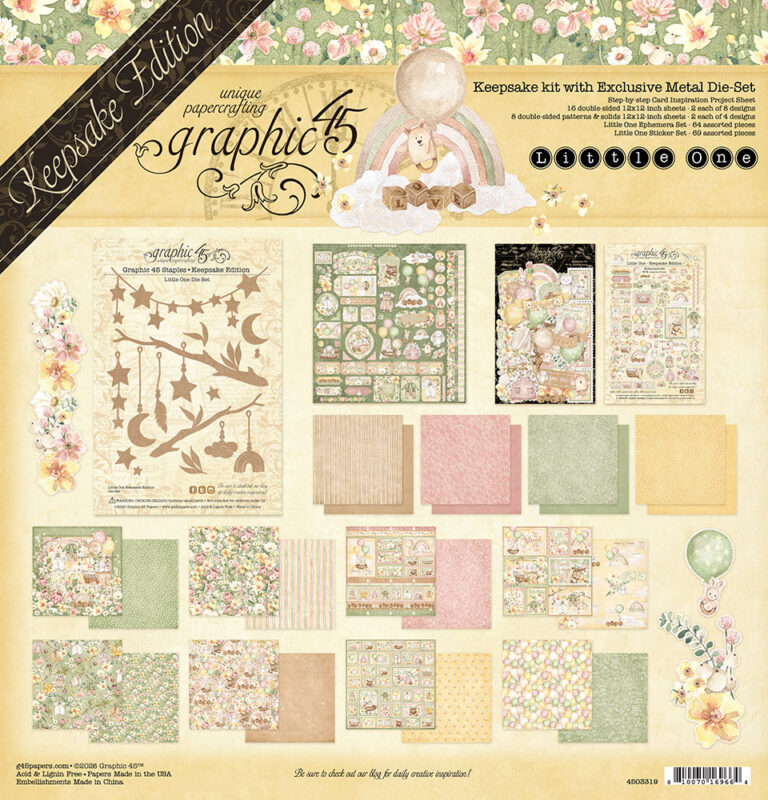
Little One Keepsake Kit with Metal Dies
Paper stitching template or homemade template (star shaped, any size)
Piercing tool and foam block
Needle and thread (embroidery thread or similar is recommended)
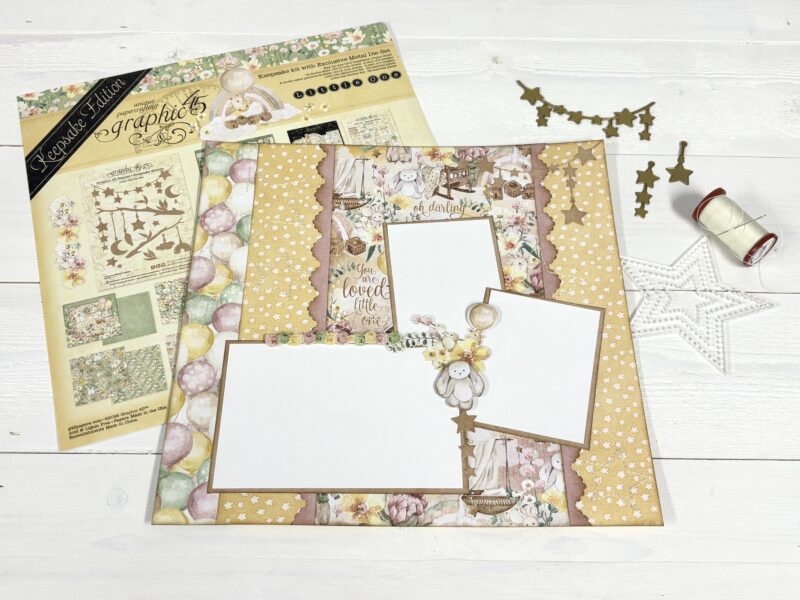
Using papers from the Little One Keepsake Kit, we will piece together the background. You will need to cut the following pieces:
To give the layout more detail, I used a scalloped border punch down both sides of the pink solid paper. You can use any border punch or leave the edges straight if you don’t have a punch.
TIP: use a neutral shade of ink such as Vintage Photo to provide a subtle contrast in color between the papers.
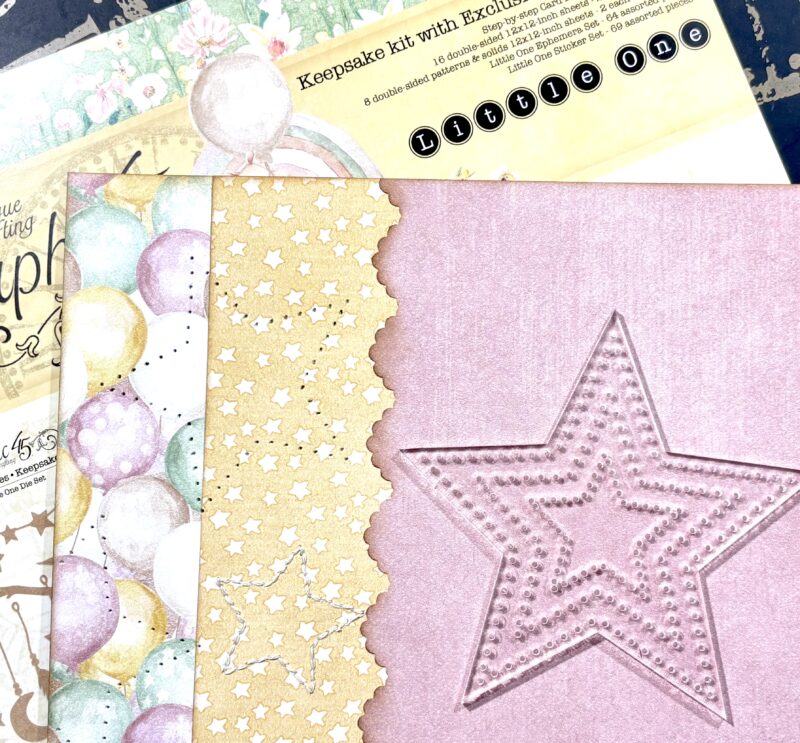
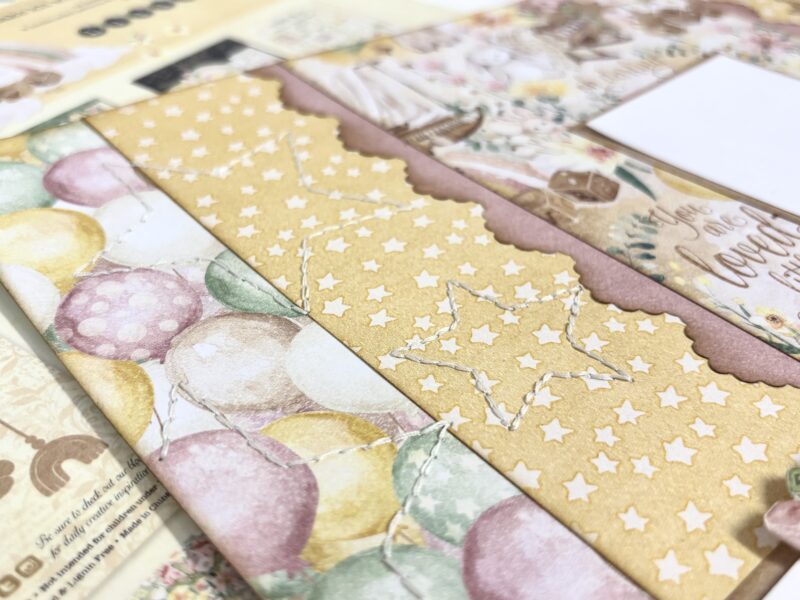
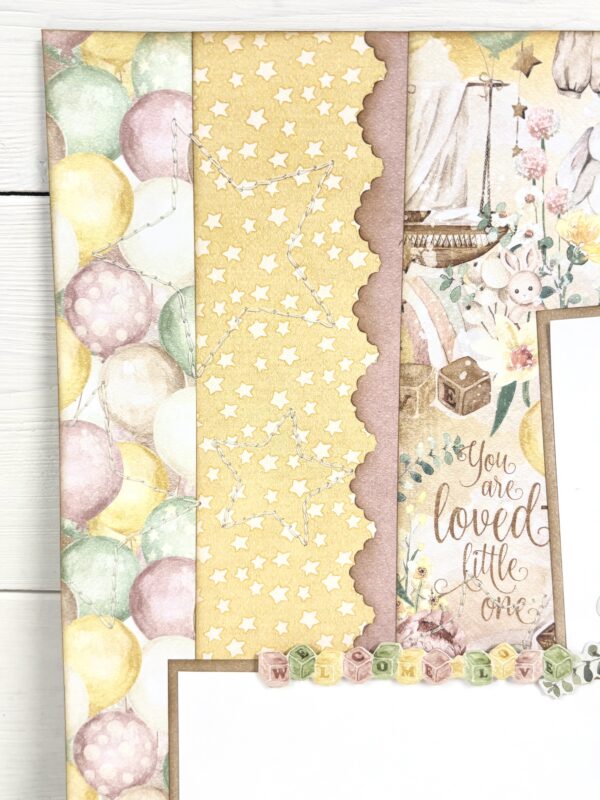
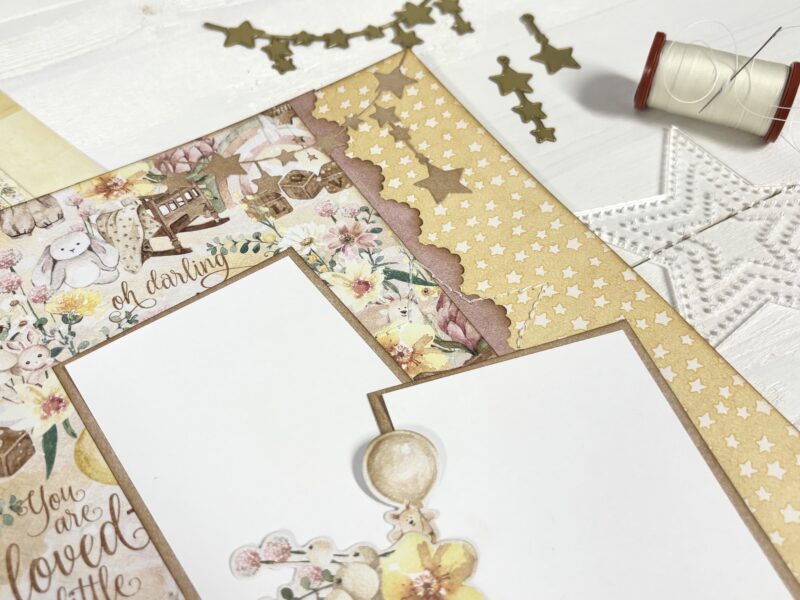
Next comes the fun part – piercing the holes and stitching the star design onto the paper! Arrange the photo mats on the background. Place the template in the area to be stitched. Carefully pierce holes around the star shape and repeat to add multiple stars. Remove the photo mats, thread your needle, and begin stitching your design.
TIP: use Washi tape (or similar) to hold your template in place to prevent slipping during piercing.
Check out the tutorial to see the process of layering the background papers, piercing the stitching holes, and various parts of the stitching process. Then, I will finish by embellishing the layout with the ephemera, stickers, and metal die cut pieces.
Paper Stitching Tutorial | Add Hand-Stitched Details to Scrapbook Pages
I love the little bit of texture that paper stitching gives to my projects. For a layout, using a neutral thread color, such as the ivory color I chose, adds a bit of extra detail but doesn’t take away from the beautiful Little One papers. I hope you will give paper stitching a try on your next Graphic 45 project. Don’t forget to share photos and tag Graphic 45 on social media so we can see your work! Until next time, happy crafting! ~Kristine
Make your own template. No paper stitching template? No problem! Cut or draw a simple shape on cardstock and use it as your guide. Stars, hearts, circles, flowers, and geometric shapes are all great places to start.
Keep your template from slipping. Secure it temporarily with a little washi tape before piercing your holes. This will help keep your design crisp and evenly spaced.
Let the paper shine. A neutral embroidery thread, like Kristine’s ivory, adds texture without competing with your patterned papers. Or choose a contrasting thread when you want the stitching to become a focal point.
Pierce before you stitch. Place a foam block beneath your paper and create all your holes first. This makes stitching easier and helps prevent unwanted creases or tears.
Try it beyond baby layouts. Once you learn the technique, put it to work on handmade cards, mini albums, journals, Christmas scrapbook pages, and more. A stitched star would be especially charming with Merry-ful Greetings!

https://youtu.be/4–cvoH_N88?si=i9ux8hOtqt0ivD9U
Sometimes it’s the smallest handmade details that make a scrapbook page feel extra special. We love how Kristine’s delicate stitching adds texture and dimension while still letting those adorable Little One papers—and your favorite baby photos—take center stage. Watch the video tutorial, grab a needle and thread, and give paper stitching a try on your next Graphic 45 project. Then tag @Graphic45 when you share your finished creation so we can see what you stitch up!
Share your finished projects in the Graphic 45 Official Community Page on Facebook.
Want even more Graphic 45? Sign up for our newsletter here!