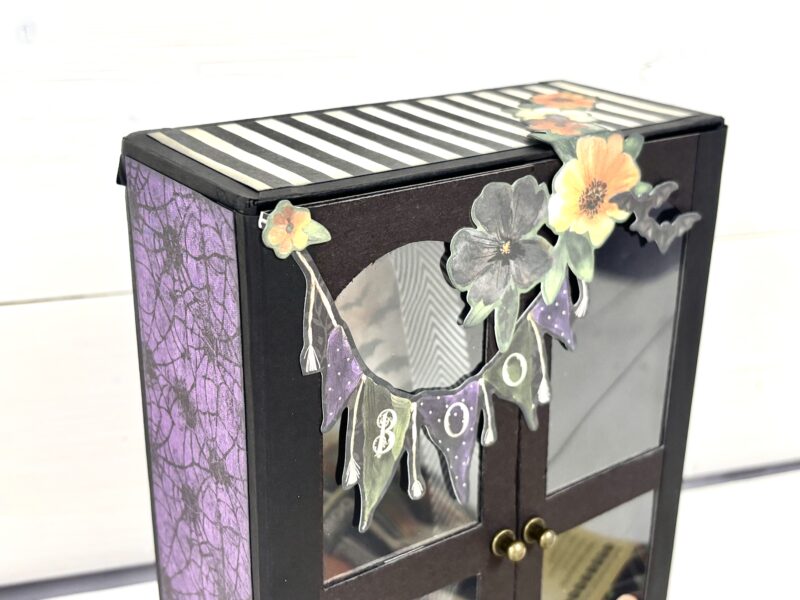
Who knew a few sheets of chipboard and scrapbook paper could turn into something this fabulous? Today, Graphic 45 Brand Ambassador Kristine Woods is showing us how to build a charming DIY mini storage cabinet using our BOOtiful Greetings paper collection and Graphic 45 black chipboard sheets! Originally designed to hold a mini scrapbook album, this handmade cabinet is also perfect for storing jewelry, craft supplies, tiny treasures, or adding a little spooky charm to your Halloween home decor. In this step-by-step video tutorial, you’ll learn how to transform simple chipboard sheets into a sturdy, functional, and beautifully decorated keepsake cabinet. The best part? You can customize this DIY chipboard craft with any Graphic 45 paper collection for a one-of-a-kind creation you’ll love displaying year-round!
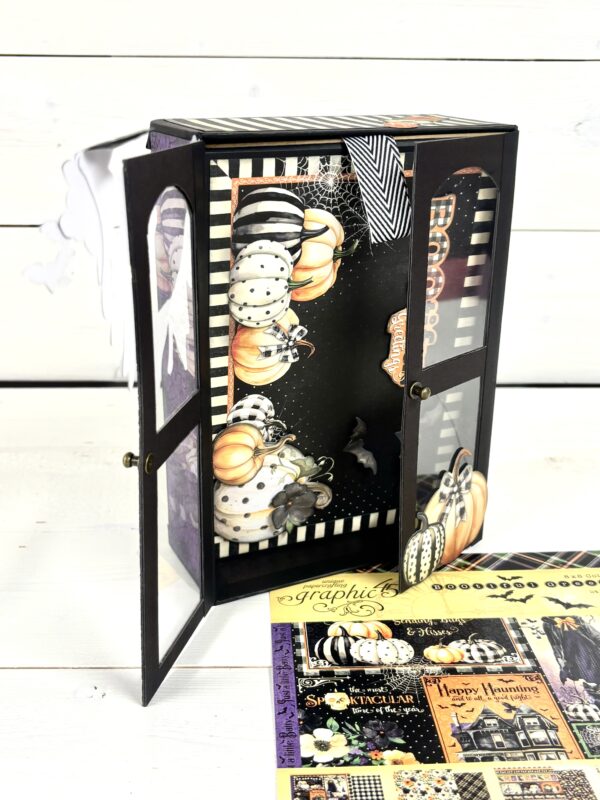
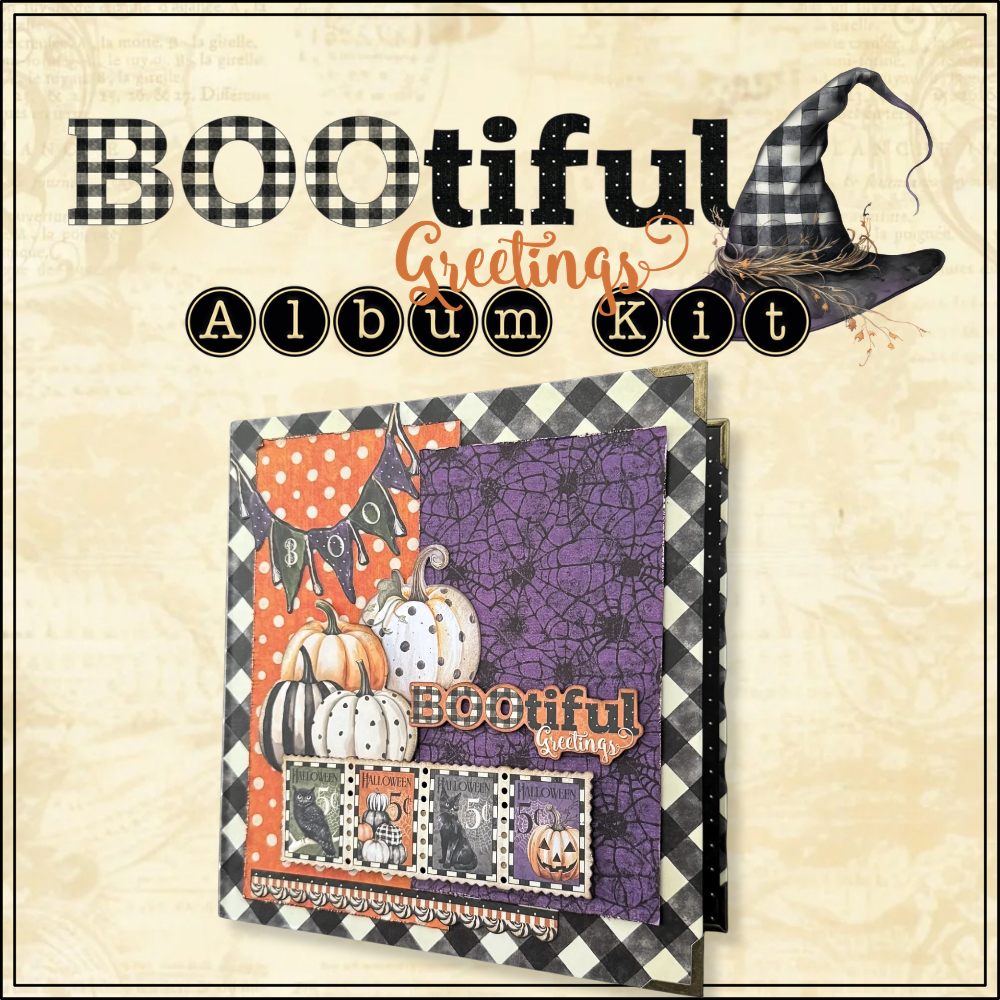
“Hi crafty friends. With Halloween right around the corner, I decided to cut into the adorable new BOOtiful Greetings collection and give you a full video tutorial of the project. Using the Graphic 45 black chipboard sheets, I created a cabinet perfectly sized to fit my next mini album also featuring the BOOtiful Greetings collection. I hope you will grab your supplies and join me in the tutorial. This one can be made with any Graphic 45 collection!
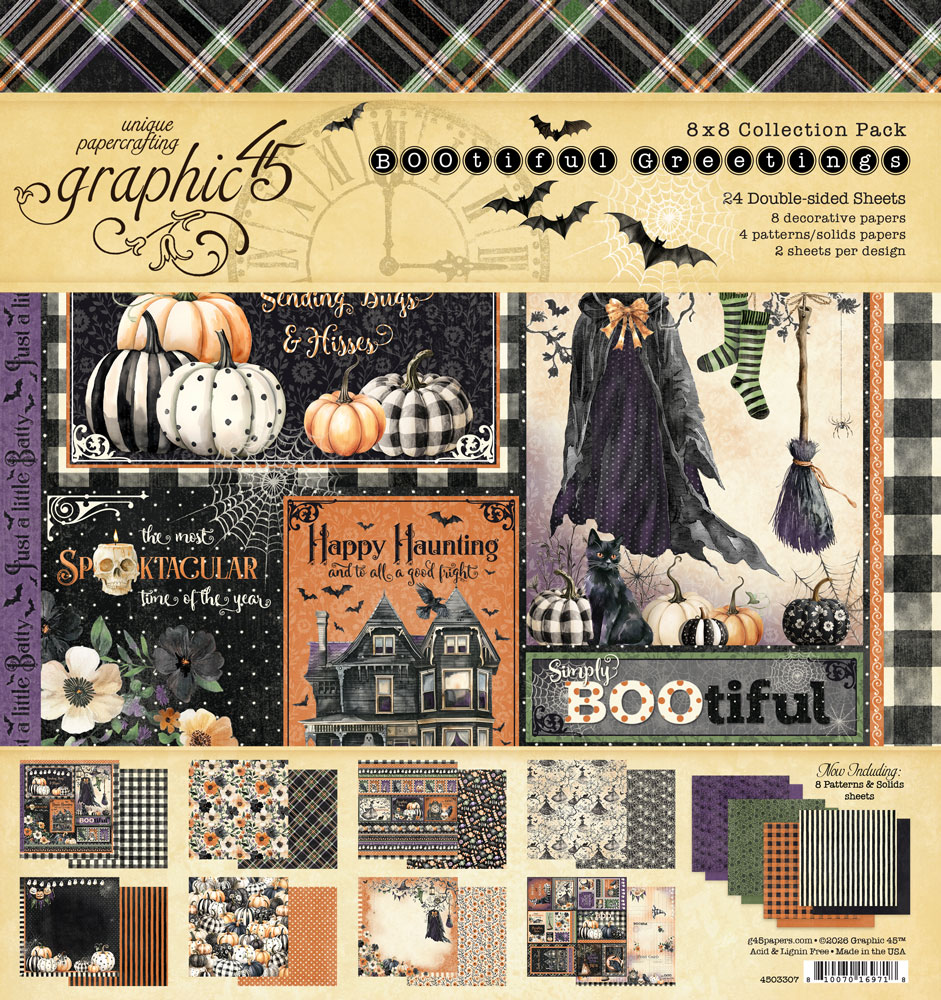
Bootiful Greetings 8×8 Collection Pack
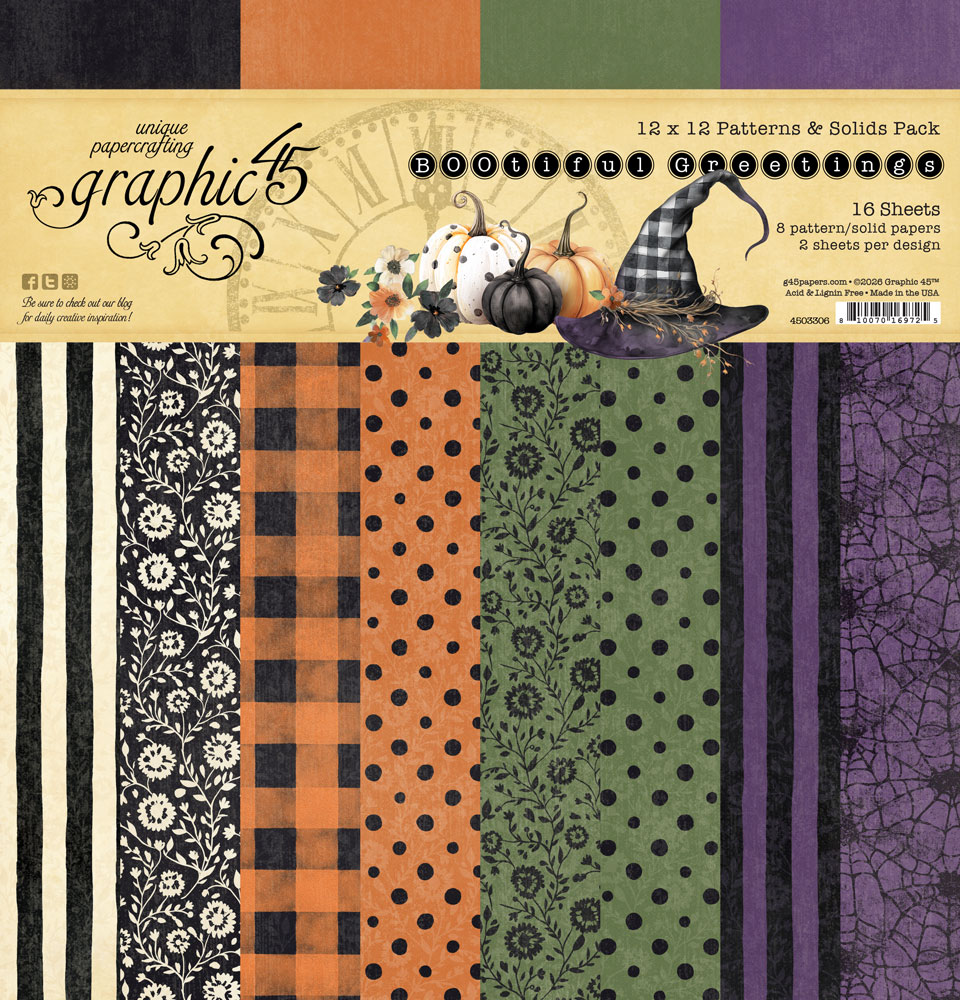
Bootiful Greetings Patterns & Solids Pack
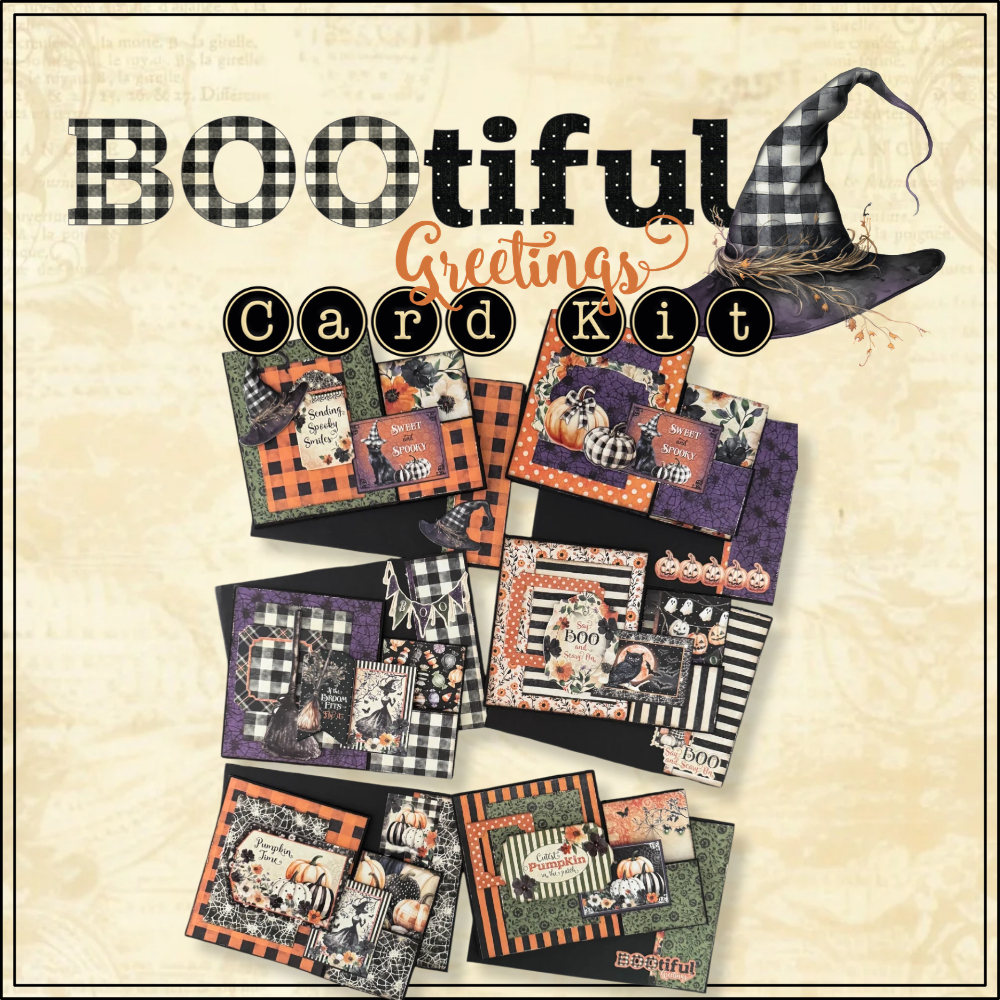
Bootiful Greetings Ephemera Assortment (sold-out)
Acetate
Black cardstock
2 magnets
Optional: door knob hardware or ring fasteners for handles
Basic craft supplies: scissors/craft knife, scoring tool, ruler, adhesive
Before I began assembling my chipboard box, I pre-cut all of my chipboard and cardstock pieces. Doing so made the assembly process much quicker. Cut each of the following:
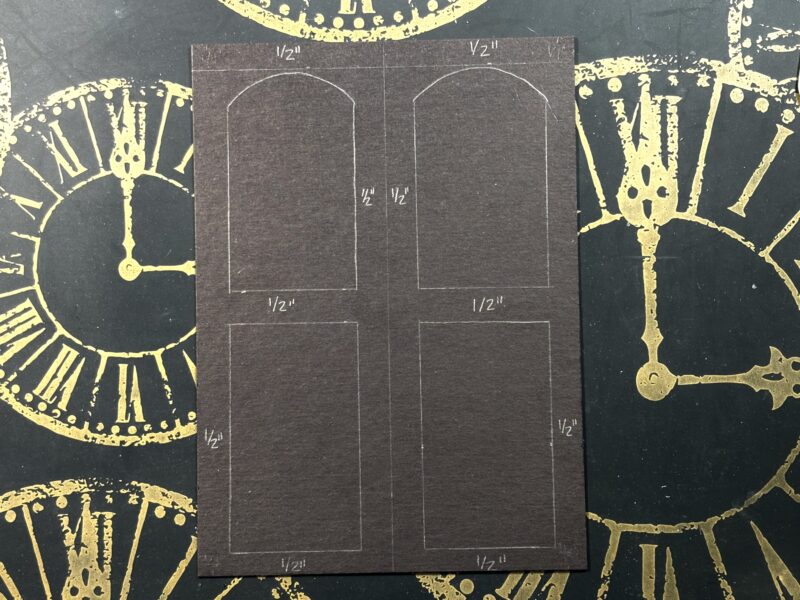
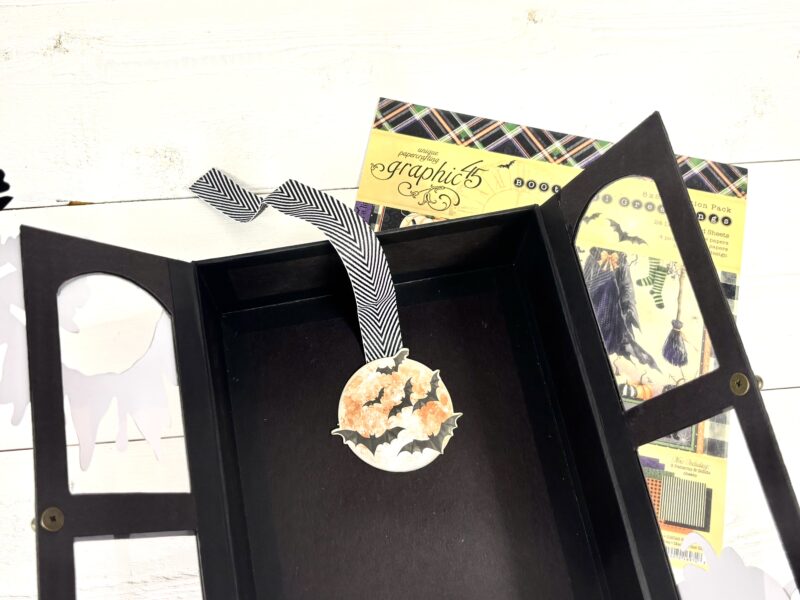
The base of the cabinet is easily assembled using the chipboard pieces and connecting them with the cardstock strips. All edges will be wrapped when finished to hide the cut edges. Take your time when cutting and assembling the doors. You may need to adjust them slightly after the doors are adhered to the cabinet, and slight trimming in the center may be necessary.
The video tutorial will walk you through the entire process from the base of the cabinet to cutting and assembling the doors.
How to Build a Mini Storage Cabinet with Chipboard and Scrapbook Paper
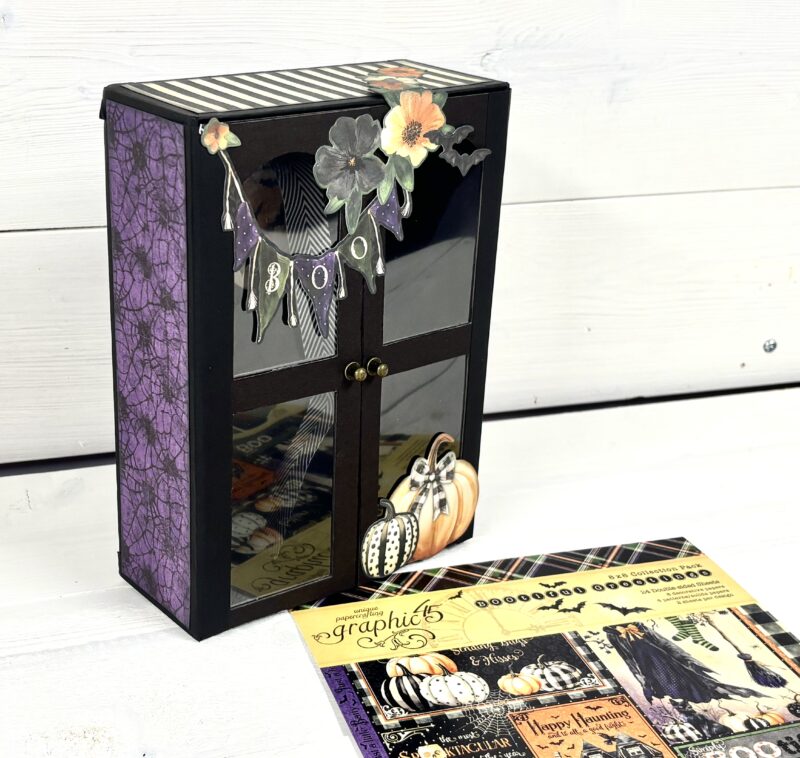
Once the cabinet is assembled, add the decorative papers to the sides, top, and back. You can also cut additional papers for the inside of your cabinet. Covering the chipboard on the doors is optional. I chose to leave the front of my doors plain black chipboard so the album cover inside the cabinet stands out. The final step is to add your embellishments. I chose to use the Ephemera Assortment, but you can use the stickers, rub-on transfers, metal hardware, gems, flowers, and any other supplies you choose. The possibilities are endless.
TIP: this cute cabinet is fully customizable, too. For example, you can create shelves using more of the 12×12 chipboard sheets.
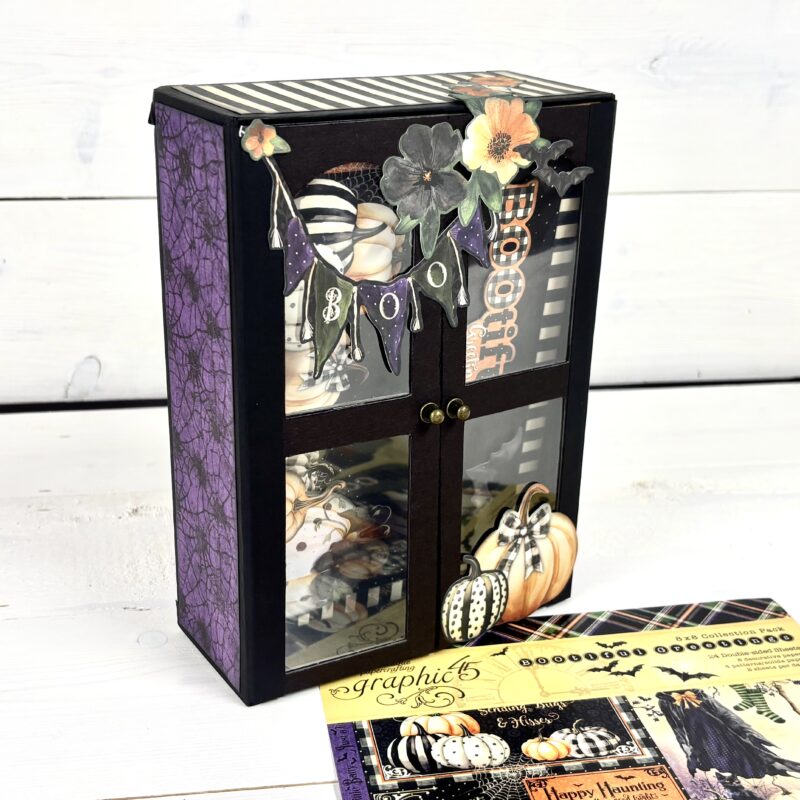
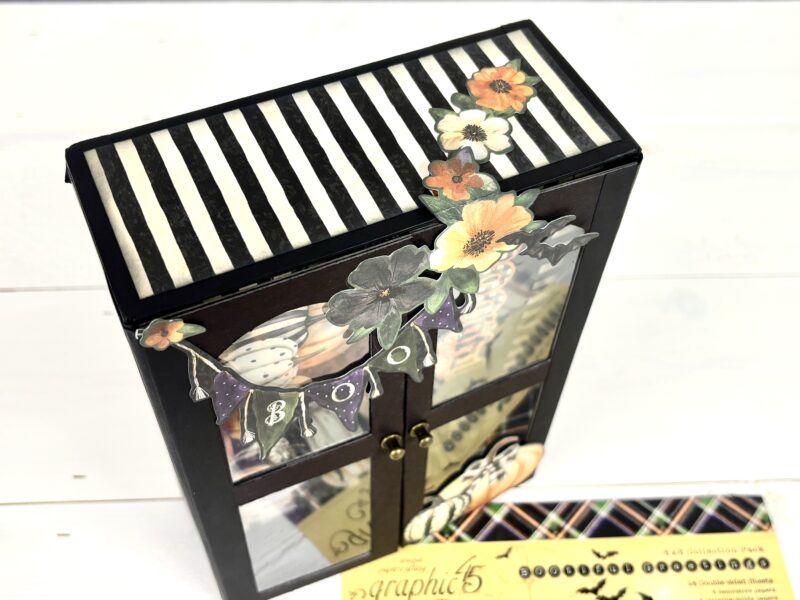
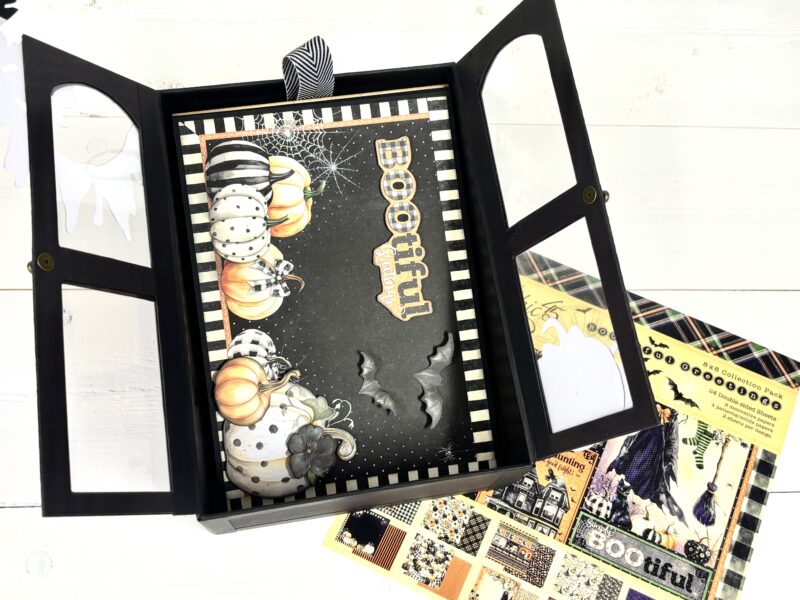
I hope you’ll give the tutorial a try and share photos of your cabinet on social media. Don’t forget to tag Graphic 45 on social media so we can see what collections you’re using! As always, happy crafting! ~Kristine

Ready to turn chipboard into something extraordinary? Grab your favorite Graphic 45 papers, stock up on Black Chipboard Sheets, and follow along with Kristine’s step-by-step video tutorial to create your own mini storage cabinet! Whether you’re making a home for your mini albums, organizing crafty treasures, or adding a little handmade charm to your decor, the possibilities are endless. We’d love to know: What would YOU store in your mini cabinet? Tell us in the comments, and don’t forget to tag @Graphic45 when you share your creation.