Learn how to create paper beads today with Graphic 45 Brand Ambassador, Kristine Woods. These paper beads are too cute and can be used in so many ways, for example this show stopping Let it Bee Wall Hanging. So grab some paper and have fun with us! Before we jump in to a peek at Kristine’s latest unboxing video.
First Brand Ambassador Box from Graphic 45! – SO MUCH STUFF!!
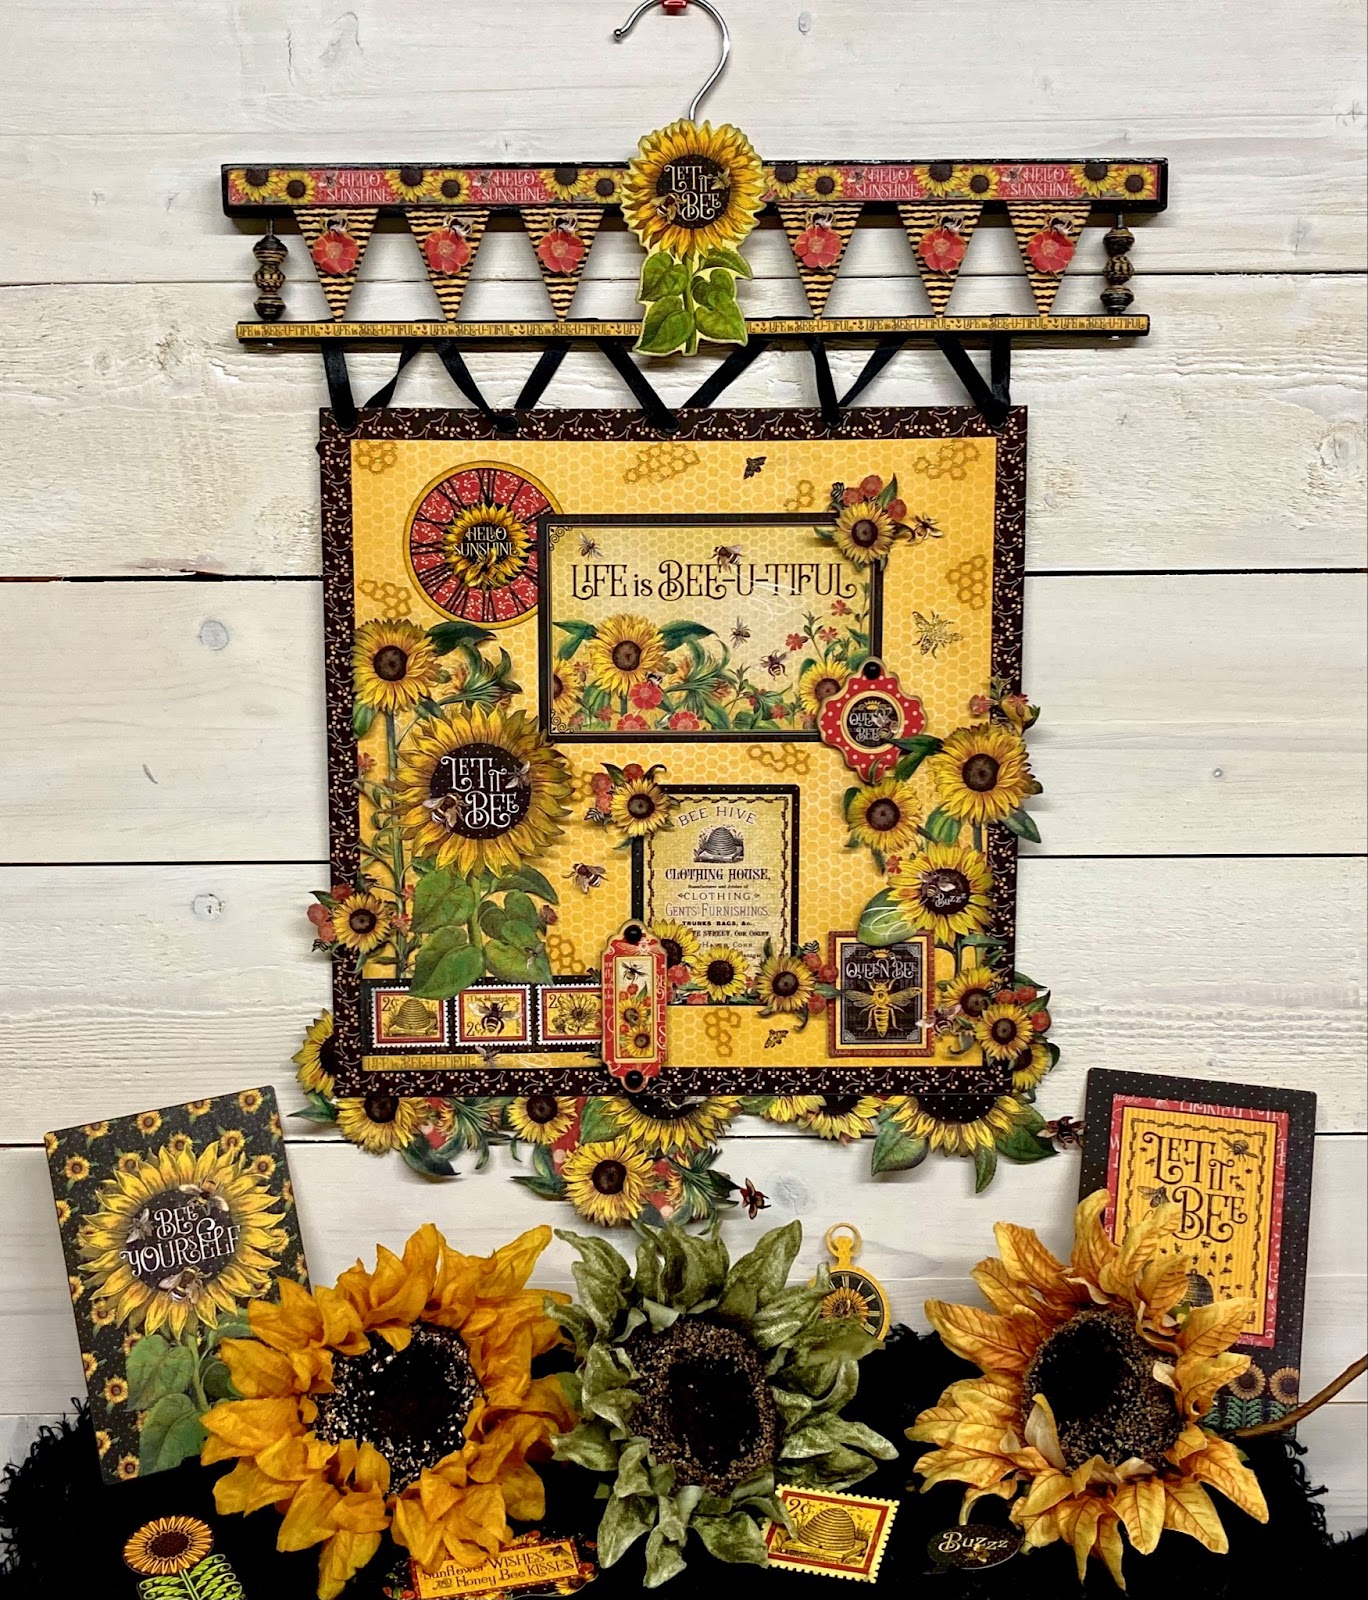
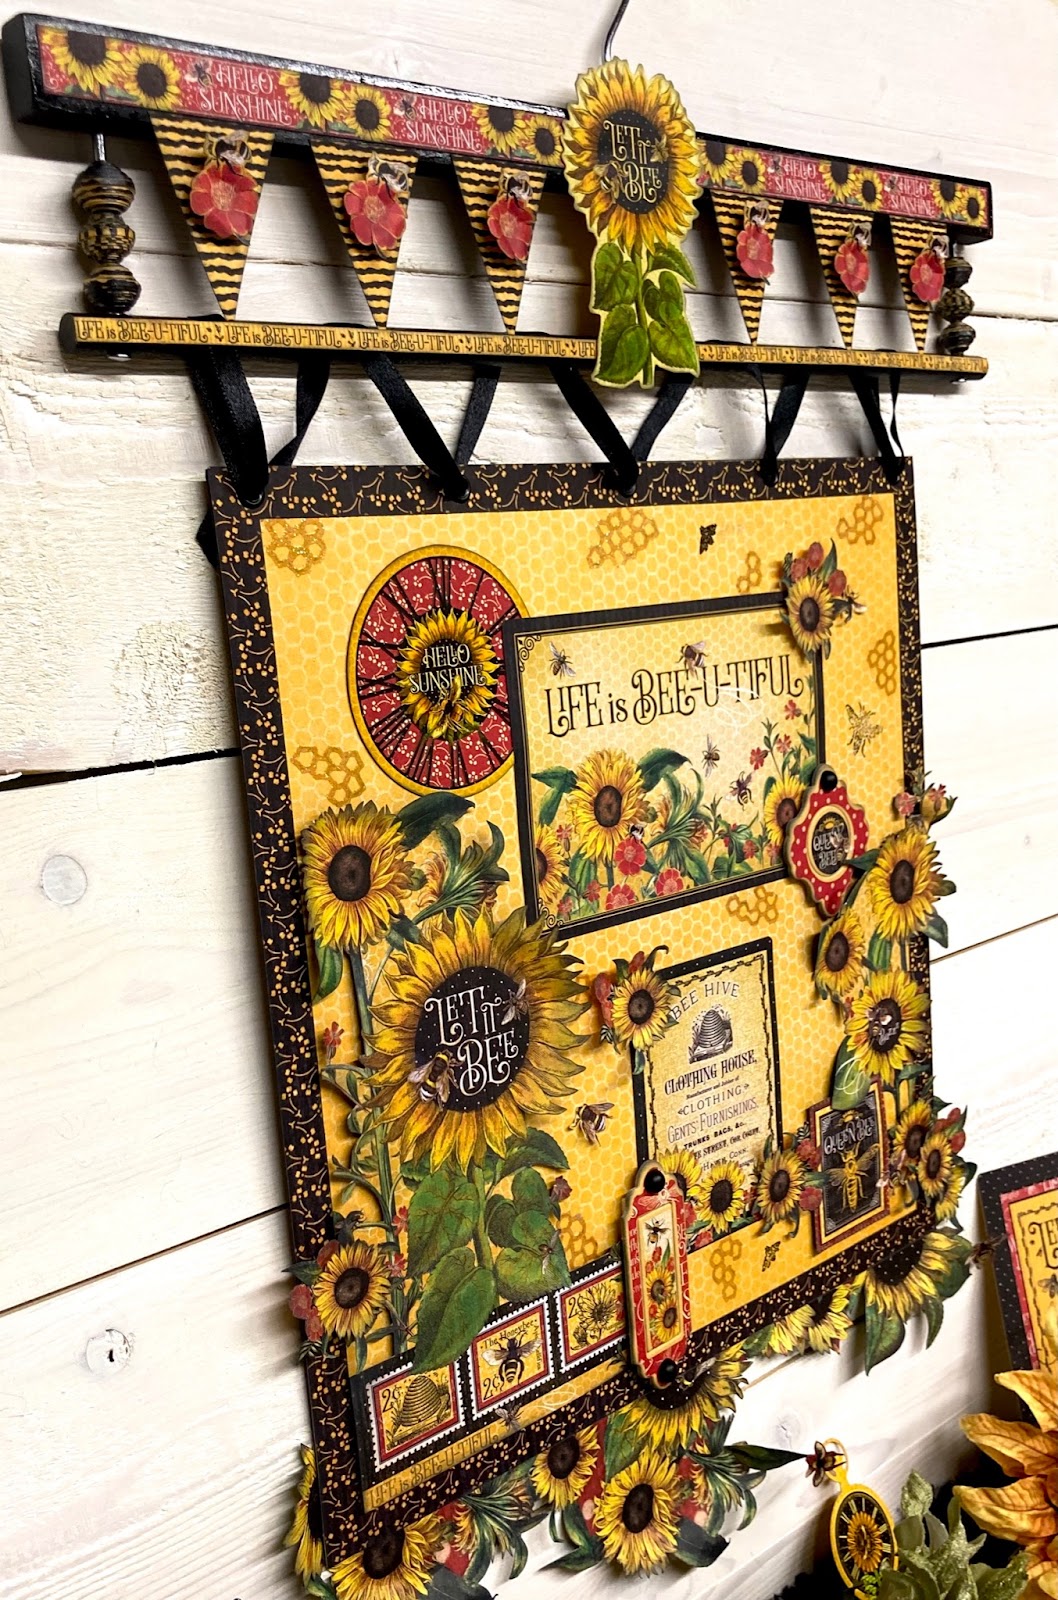
“Hi crafty friends. It’s Kristine and today I’m excited to feature all of the gorgeous products from the Let it Bee collection. With the vibrant yellows and bold reds, paired with the gorgeous sunflower and bee images, these papers are ideal for summer. So, I decided to turn an old wooden hanger into a lovely summer wall hanging. With so much beauty in one collection, I decided to use a little bit of everything! There’s a full process video to see how I made my wall hanging, and I’ll show you how to make paper beads from the paper collection.
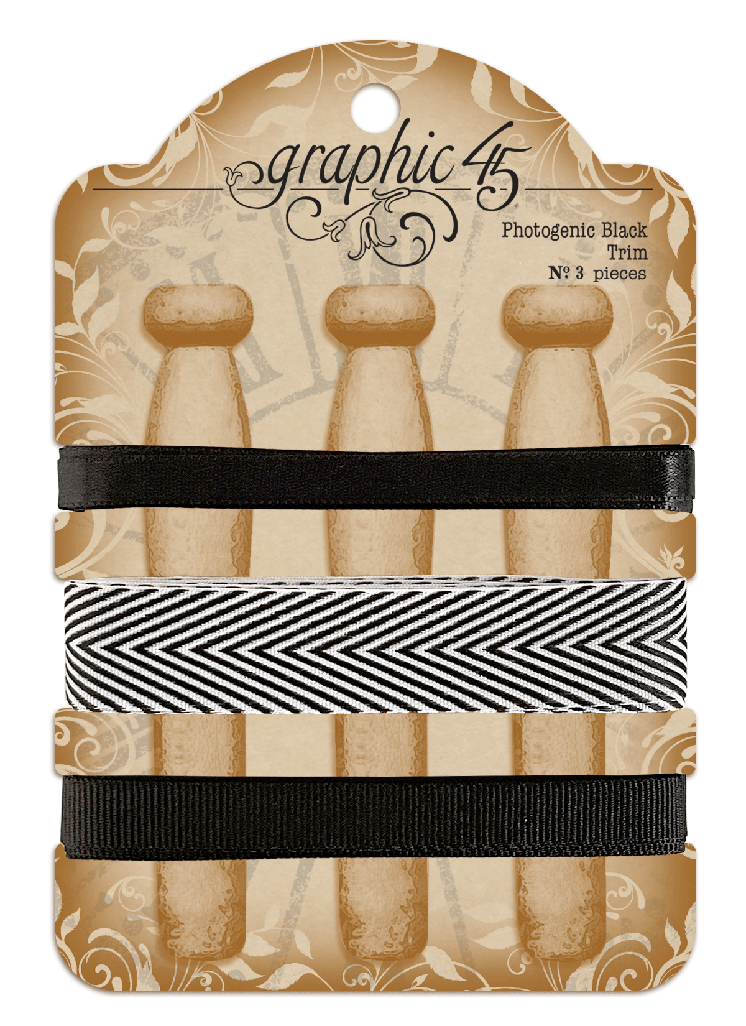
Graphic 45 Photogenic Black Trim
Graphic 45 Matte Pearl Gems
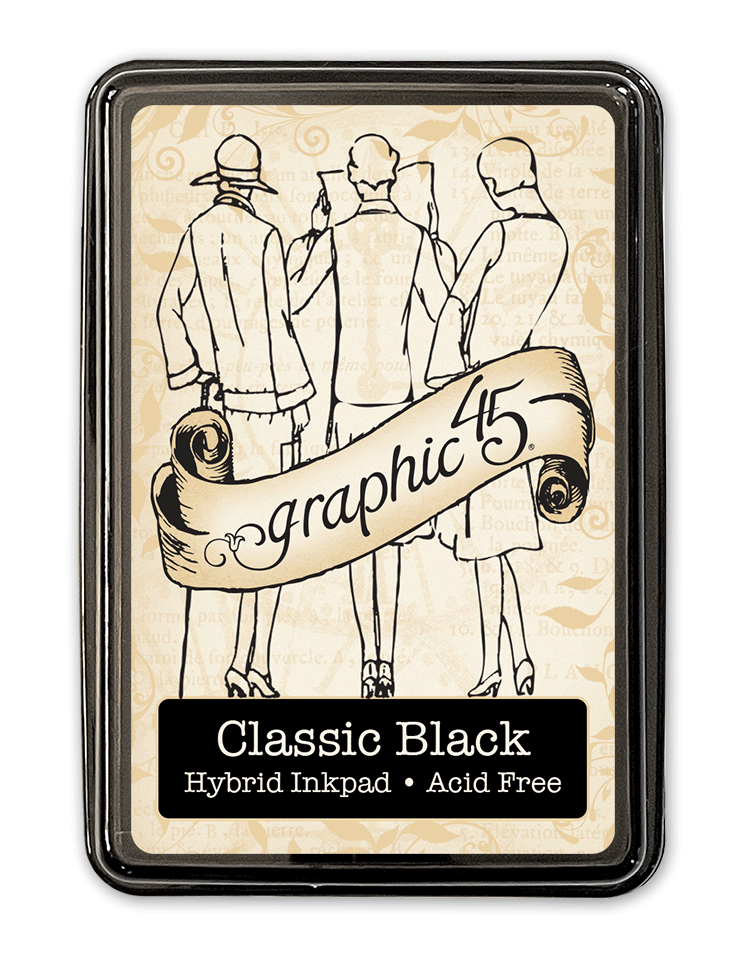
Black distress ink
5 eyelets and a tool to set them (Crop-a-dile or similar)
Black embossing powder
Gold embossing powder
Embossing ink
Heat gun
Wooden Hanger
Basic craft supplies: scissors, ruler, craft knife, wet glue, foam tape
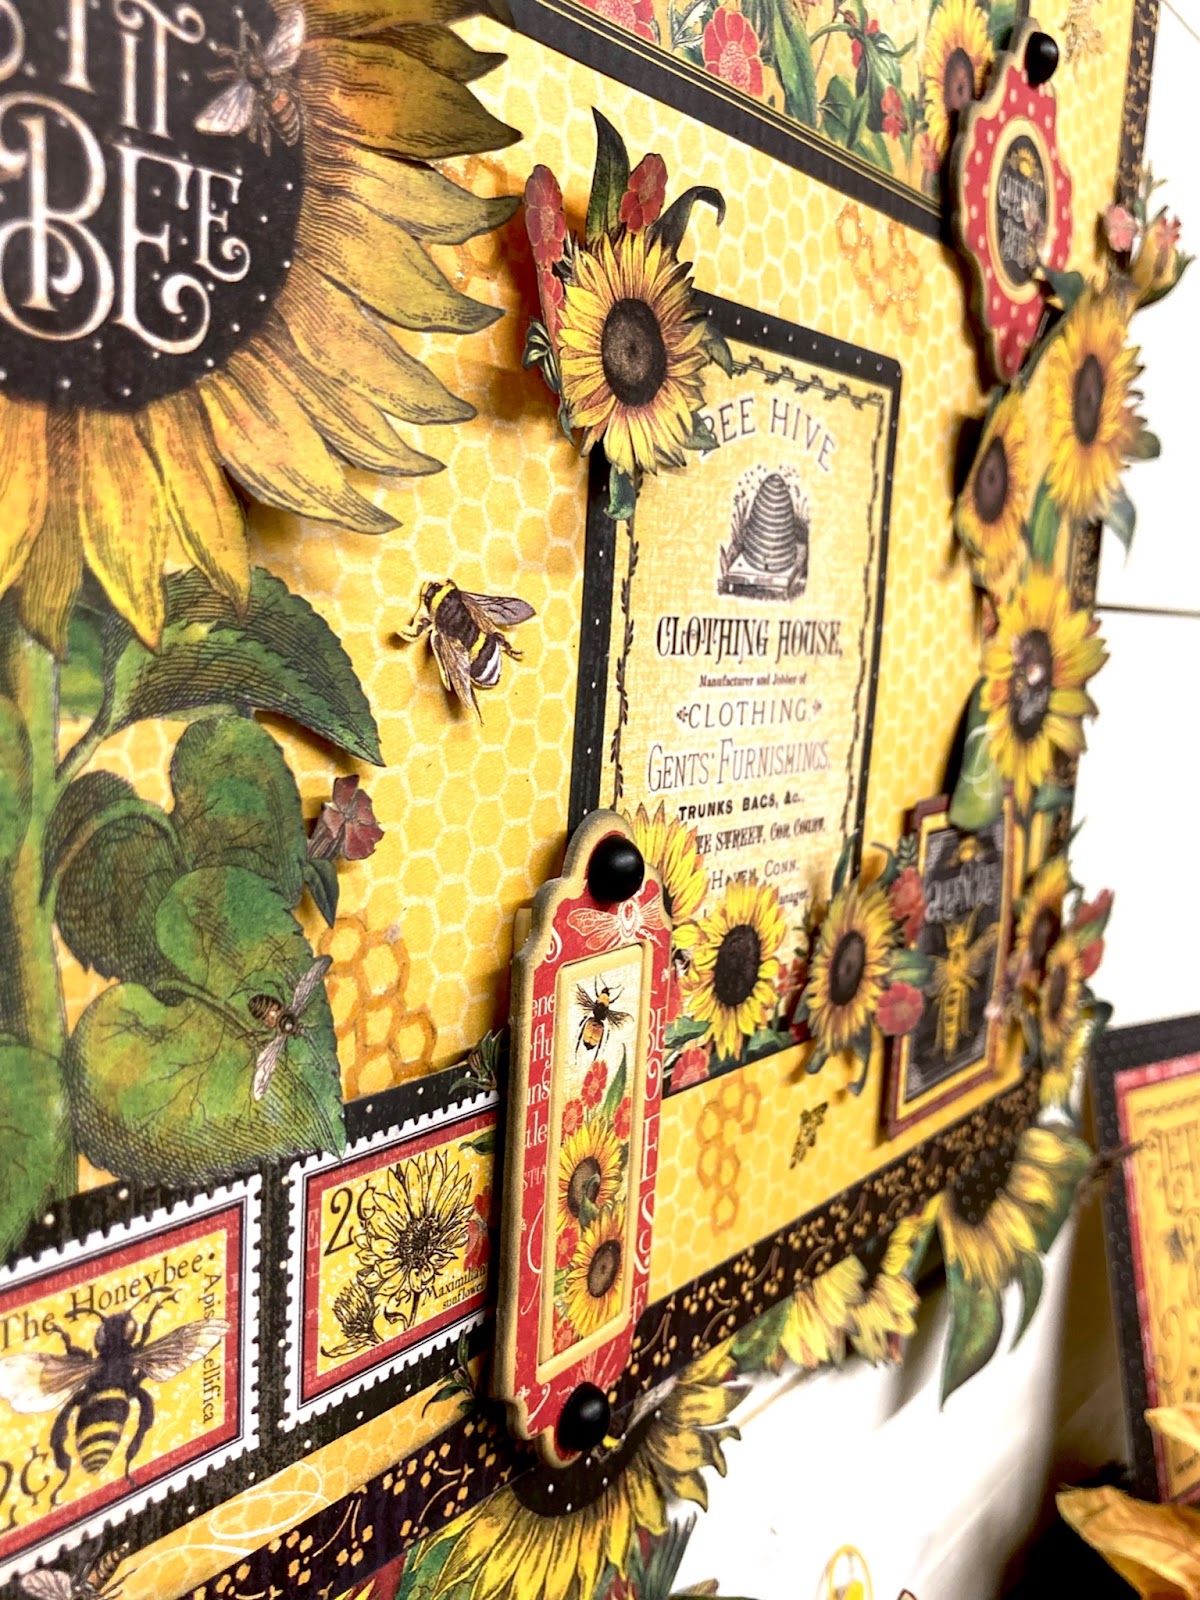
By now, if you’ve seen some of my previous Graphic 45 projects, you will know how much I love fussy cutting! This project is no exception. Those sunflower images are just perfect for fussy cutting! I used mostly the 12×12 papers from the Collection. However, I did use the signature page from the 8×8 collection since the smaller images fit better for my wall hanging.
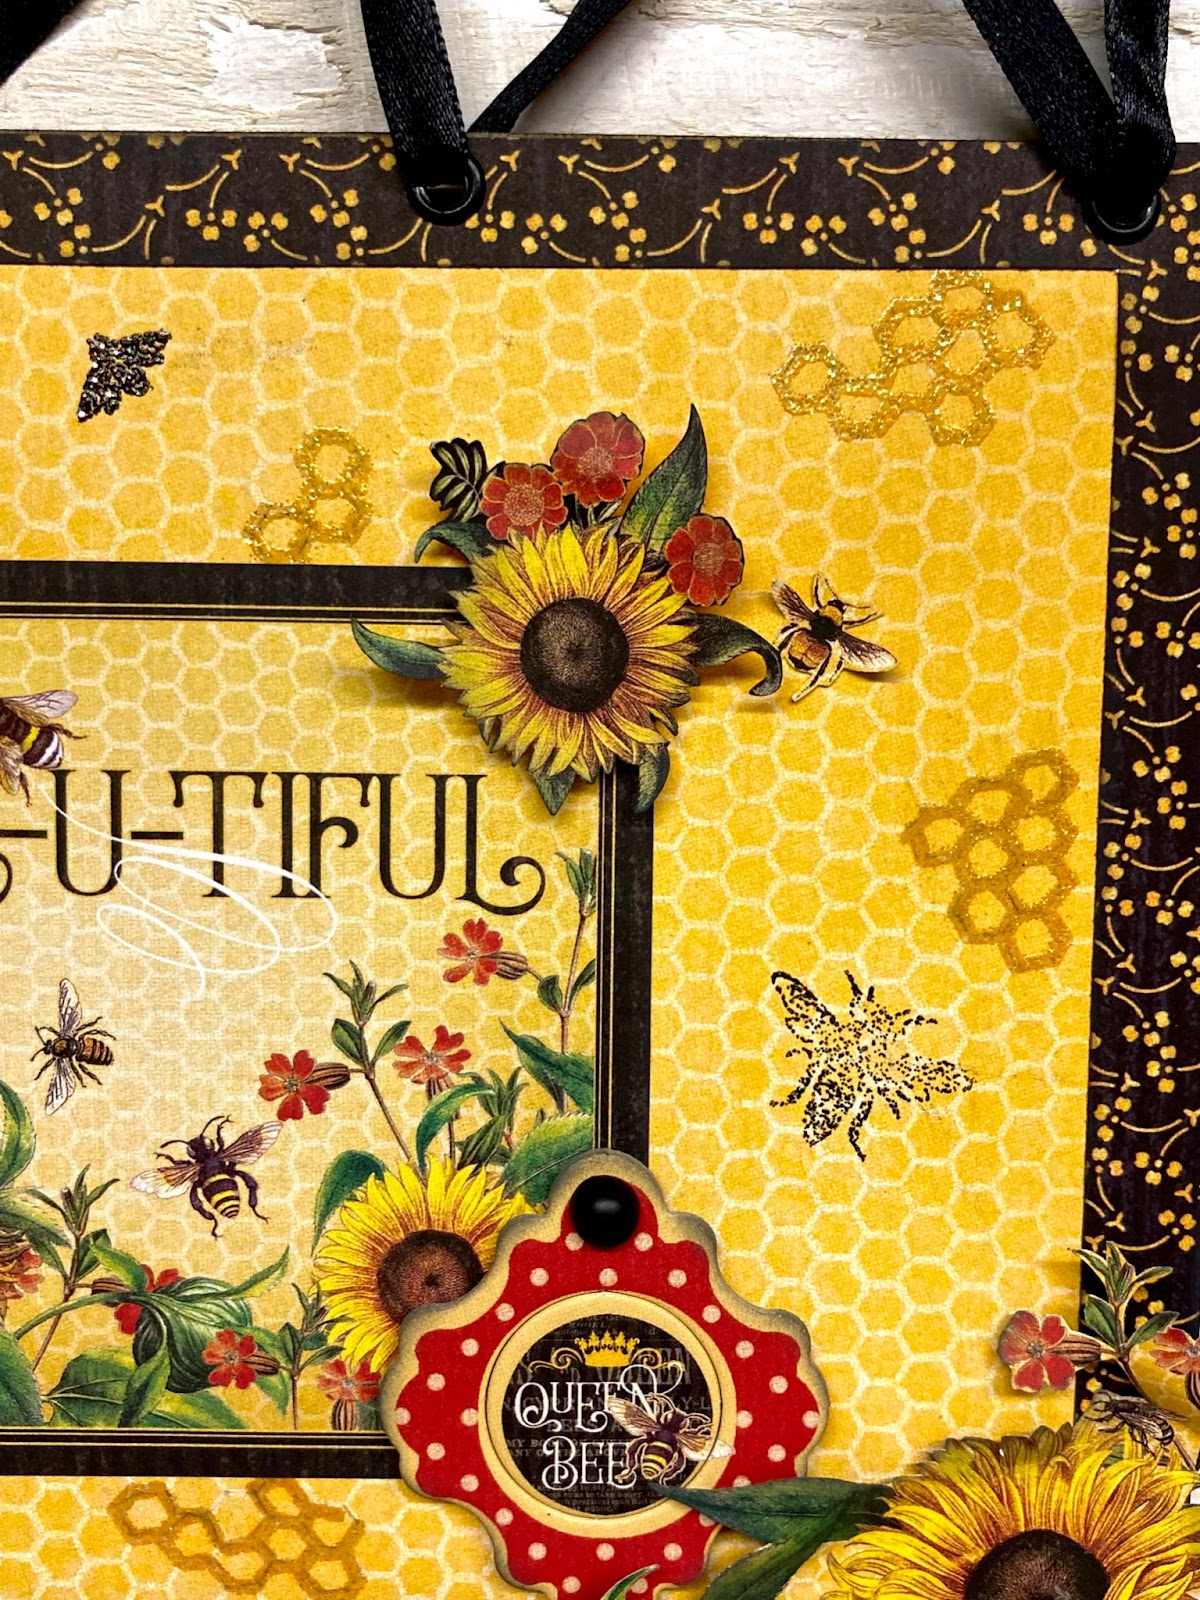
Once my pieces were fussy cut, I moved on to the background. First, I made a ½” frame using the black Patterns & Solids. Then, I added gold embossing powder on some of the honeycombs throughout the background for a bit darker color. After that, I used the black embossing powder to stamp some bees onto my background.
Next, it’s time to start layering my pieces. All of my pieces are inked with black distress ink so they stand out from the background. Foam tape really helps some of my fussy cut images to pop out of the background and adds dimension.
TIP: arrange all of the pieces on the page before you begin gluing any of them down. Then take a photo with your phone that you can look at it when you are gluing the layers down.
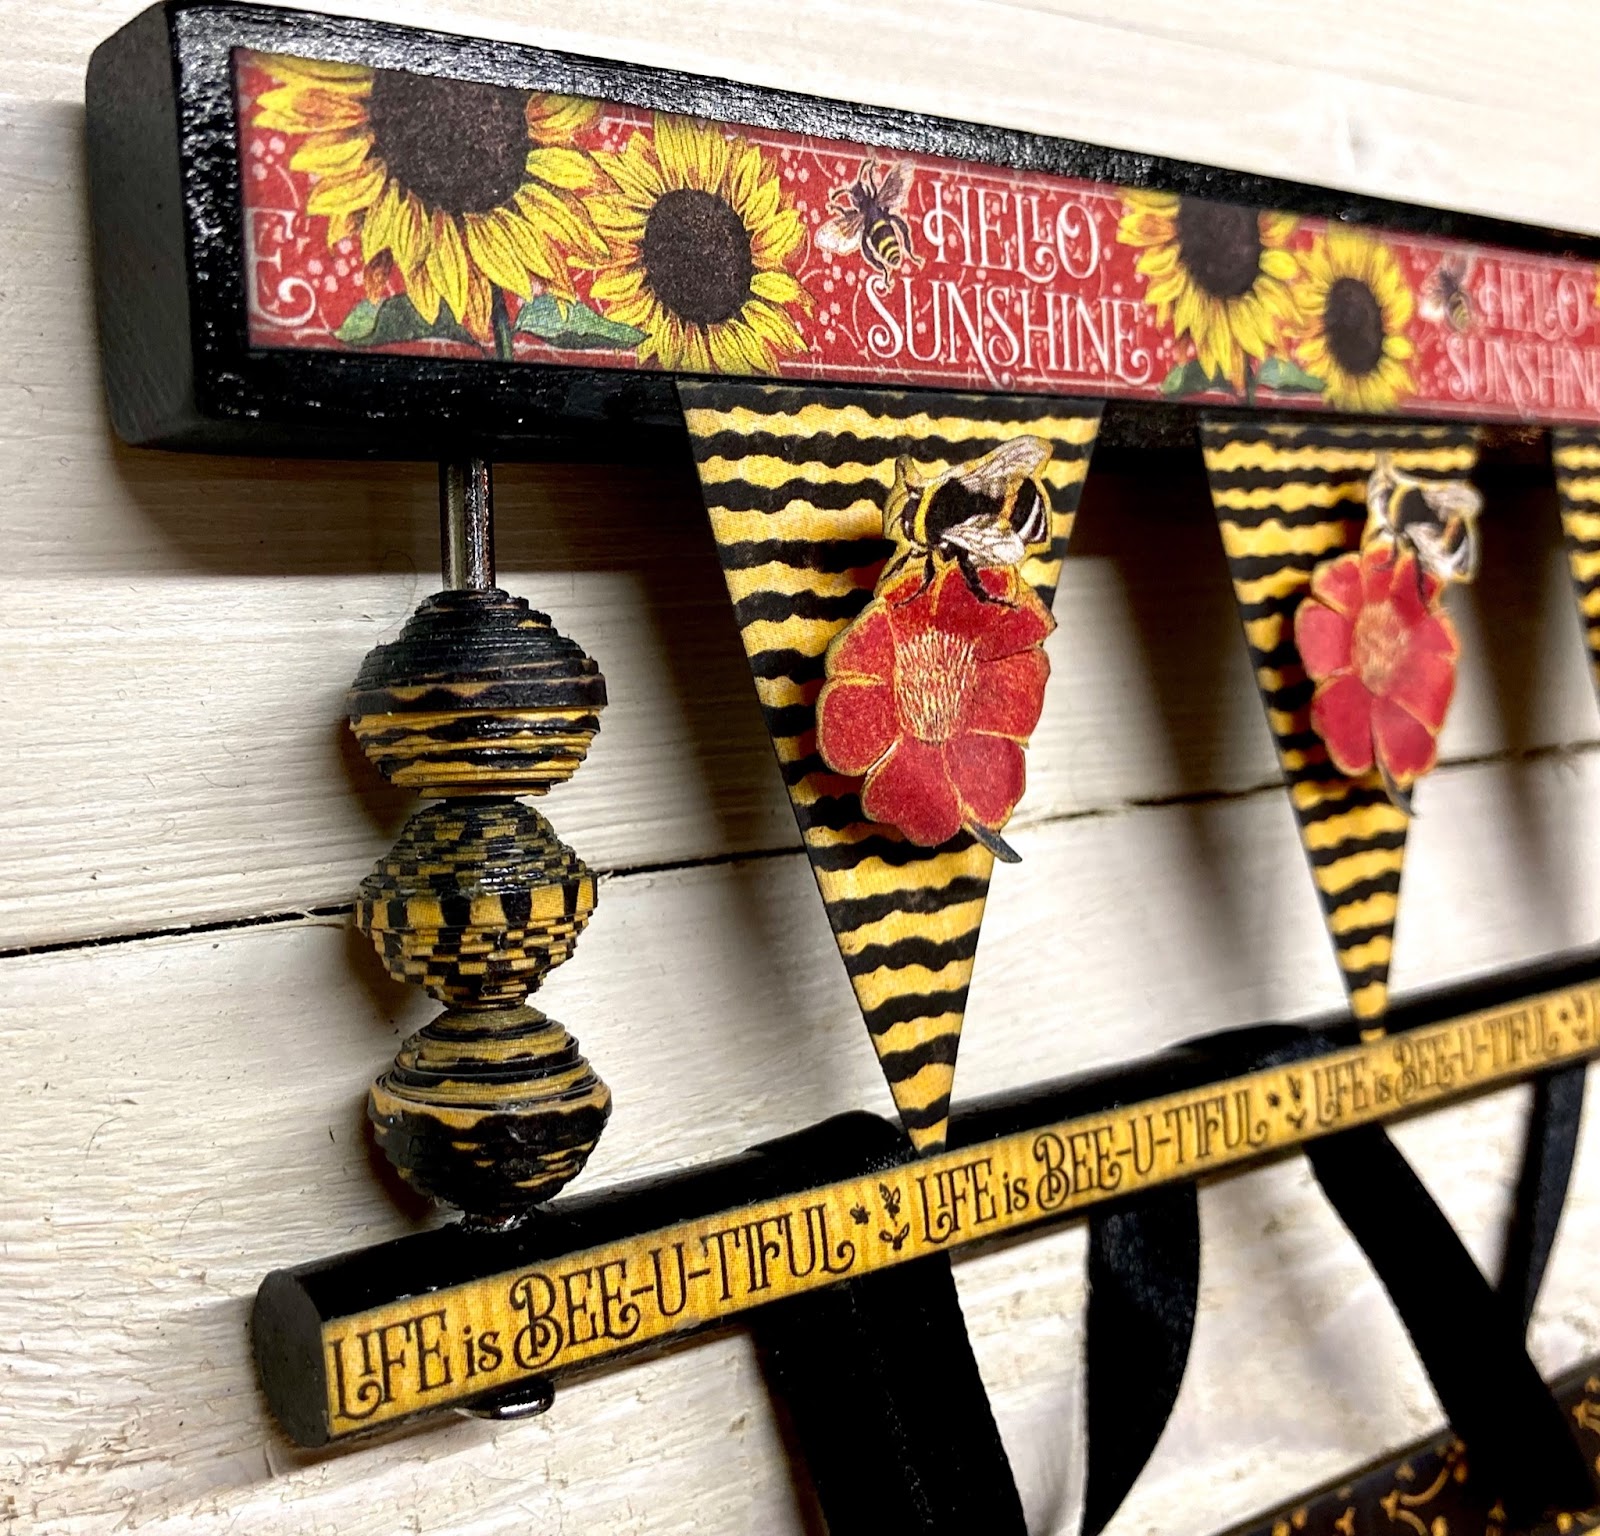
The final step is putting the wall hanging together. I set my eyelets ½” from the top of my wall hanging and then used the black ribbon to secure it to the wooden hanger. Then, I added some embellishments to the hanger to complete the project.
To see the process from start to finish, and to learn how to make the paper beads on my wooden hanger, please check out the video.
Kristine Woods – Featured Collection Let It Bee Wall Hanging with Paper Bead Tutorial
This wall hanging could easily be adapted into a 12×12 scrapbook layout. Simply remove the fussy cut flowers at the bottom and leave out the eyelets at the top! Replace the journaling card with a 4×6 photo and you’ve got a layout! I hope you have found this project and video helpful and inspiring!
Until next time, happy crafting!
Want even more Graphic 45? Sign up for our newsletter here.
One Response
Wonderful and creative project Kristine! Thanks for sharing!