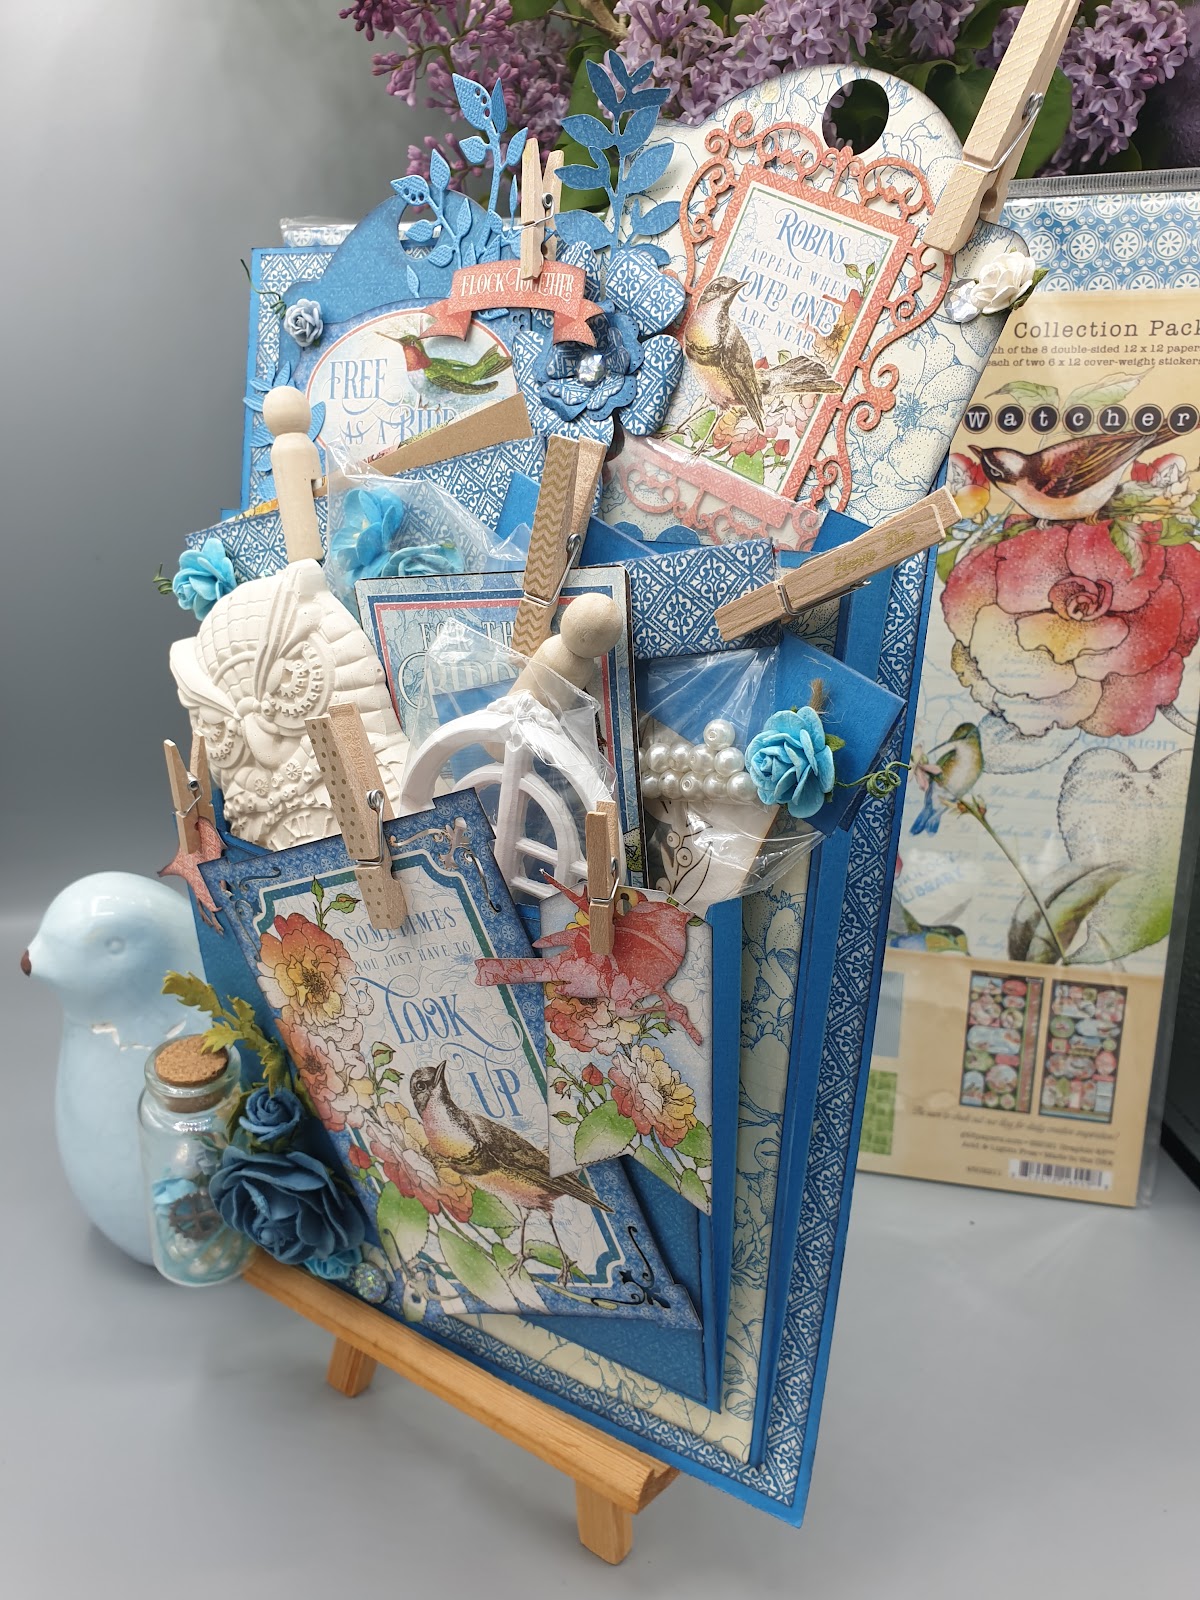
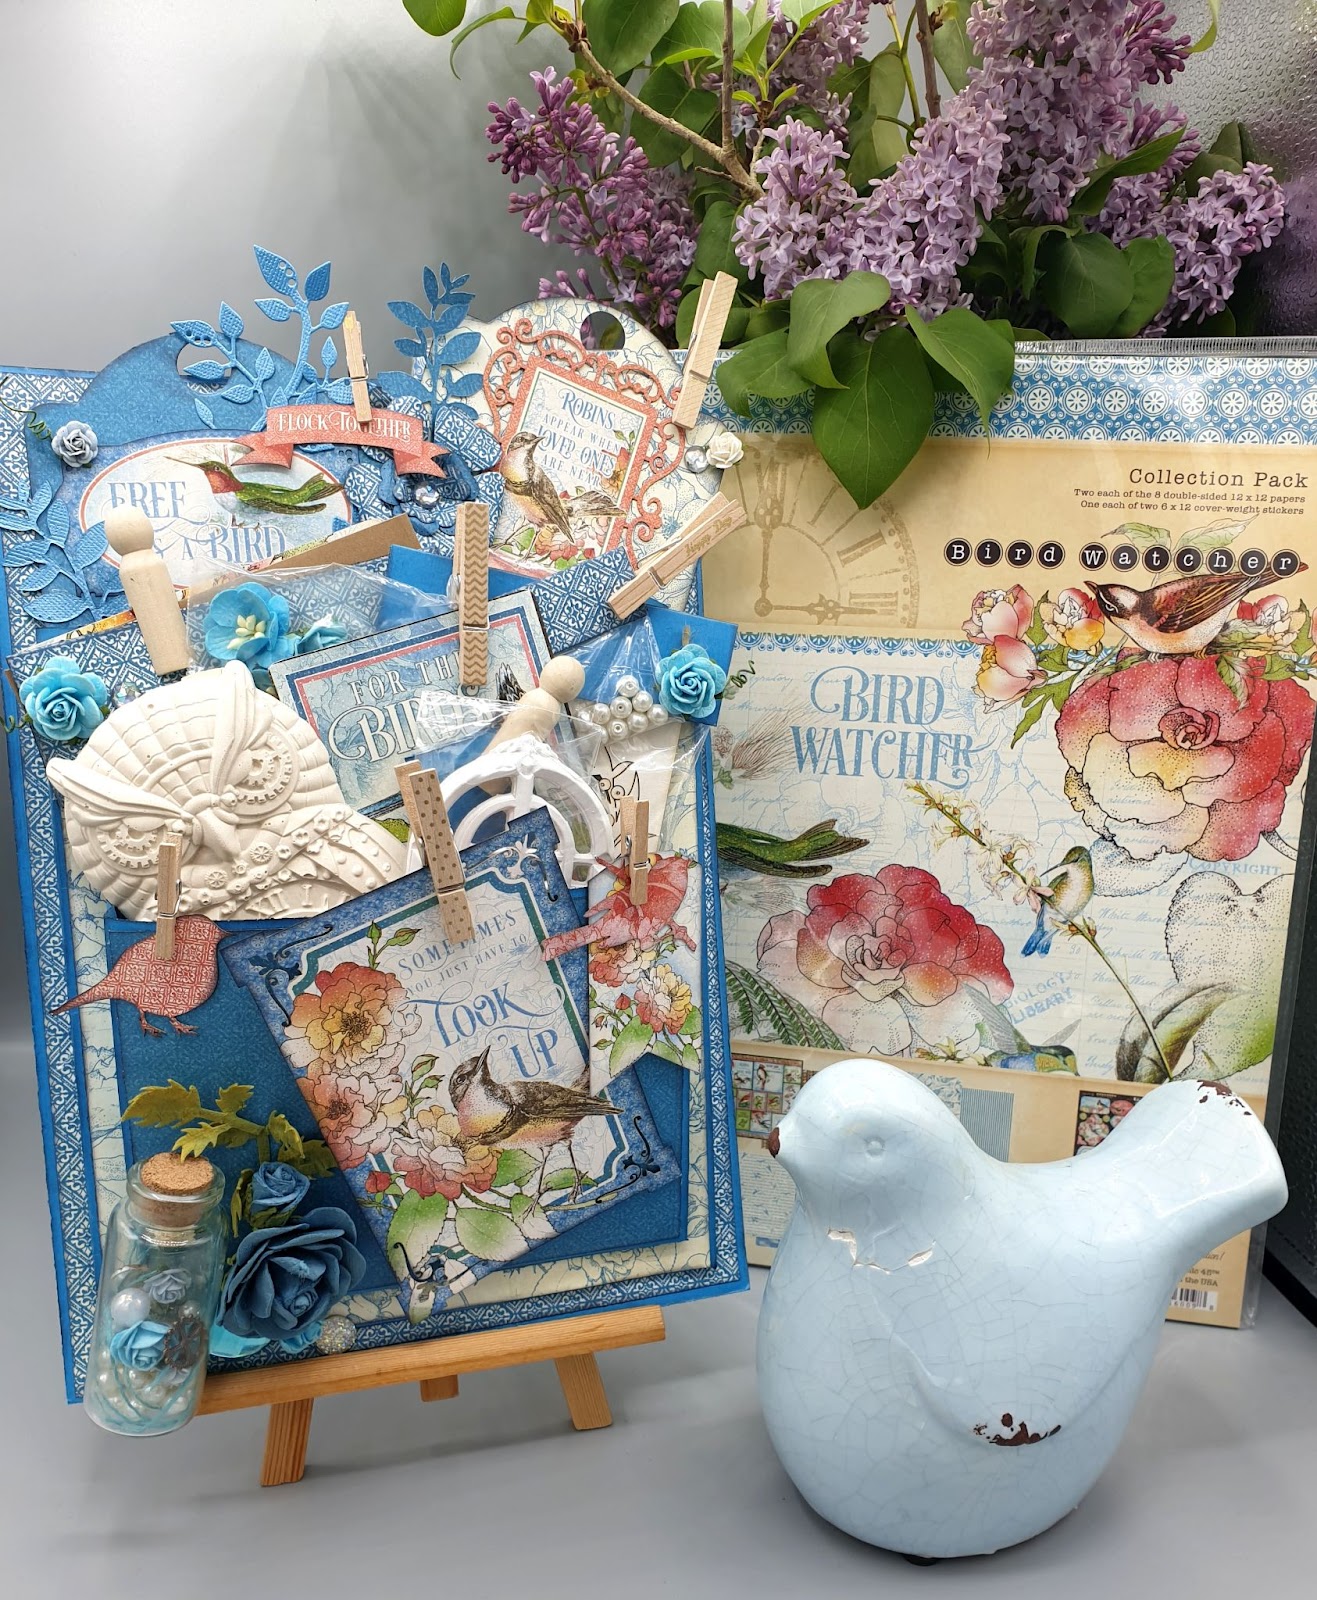
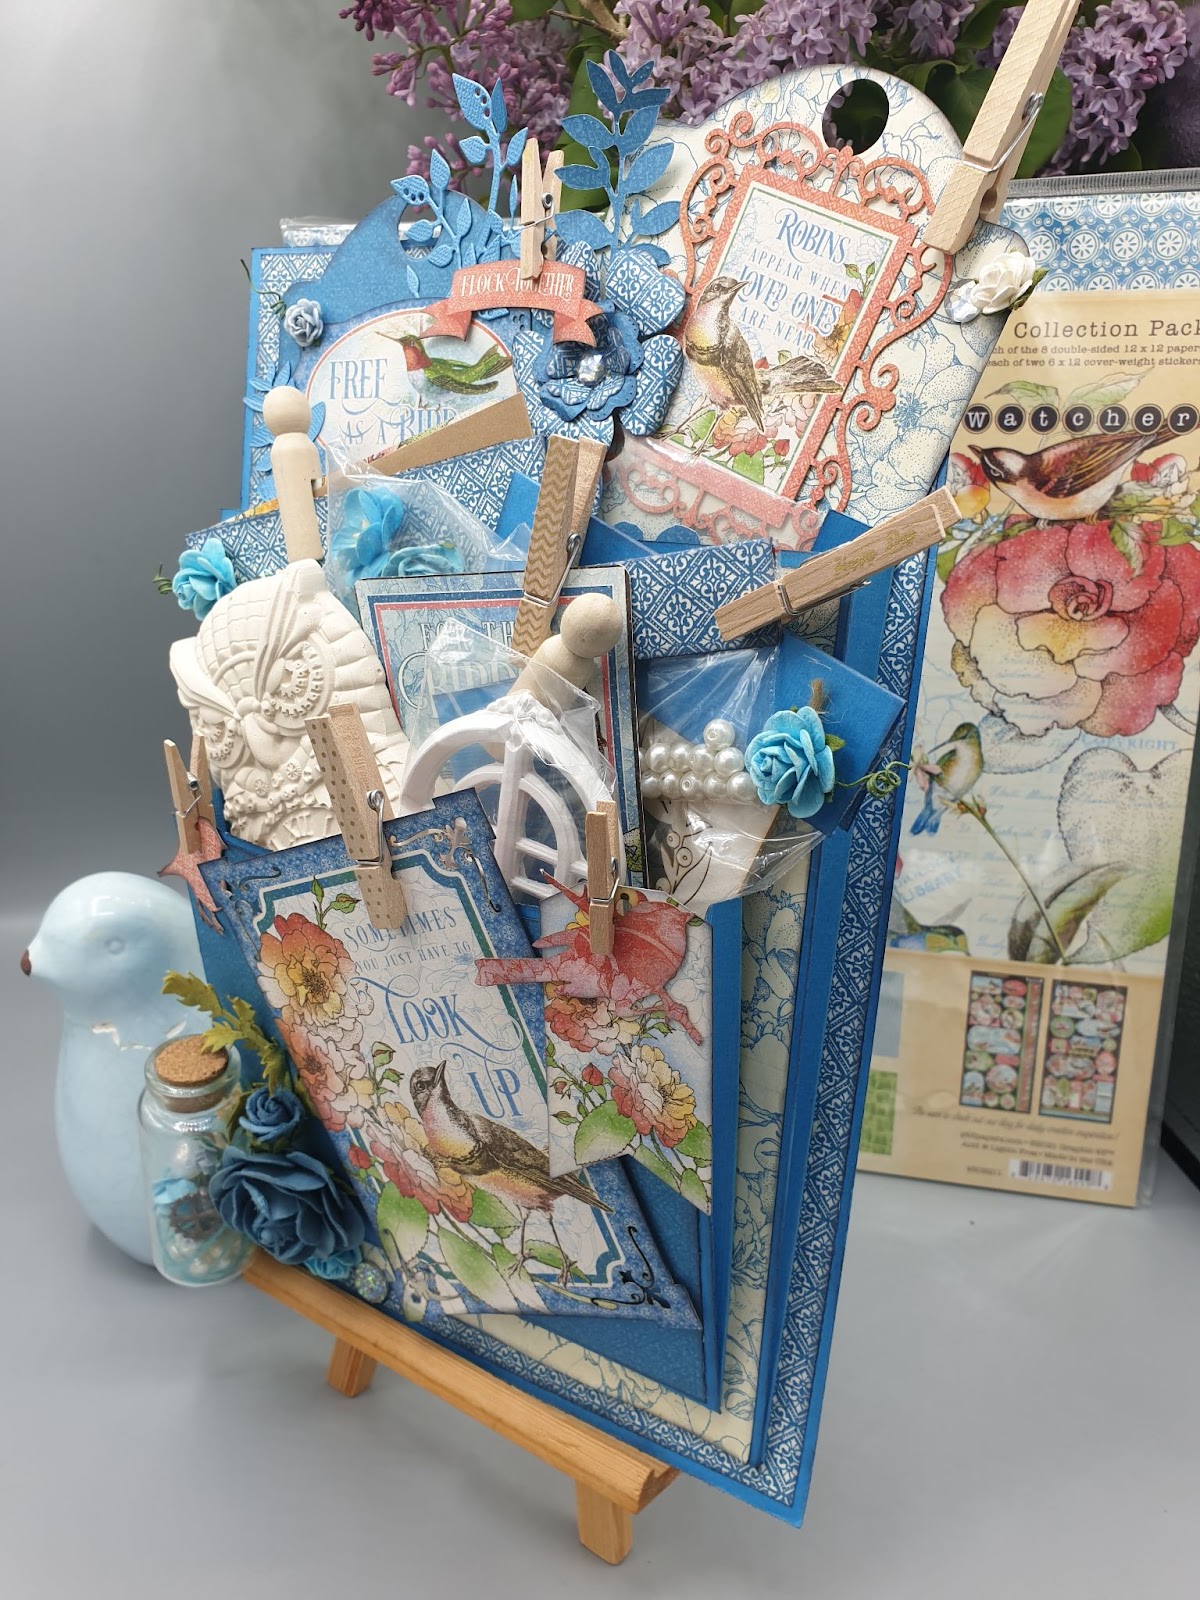
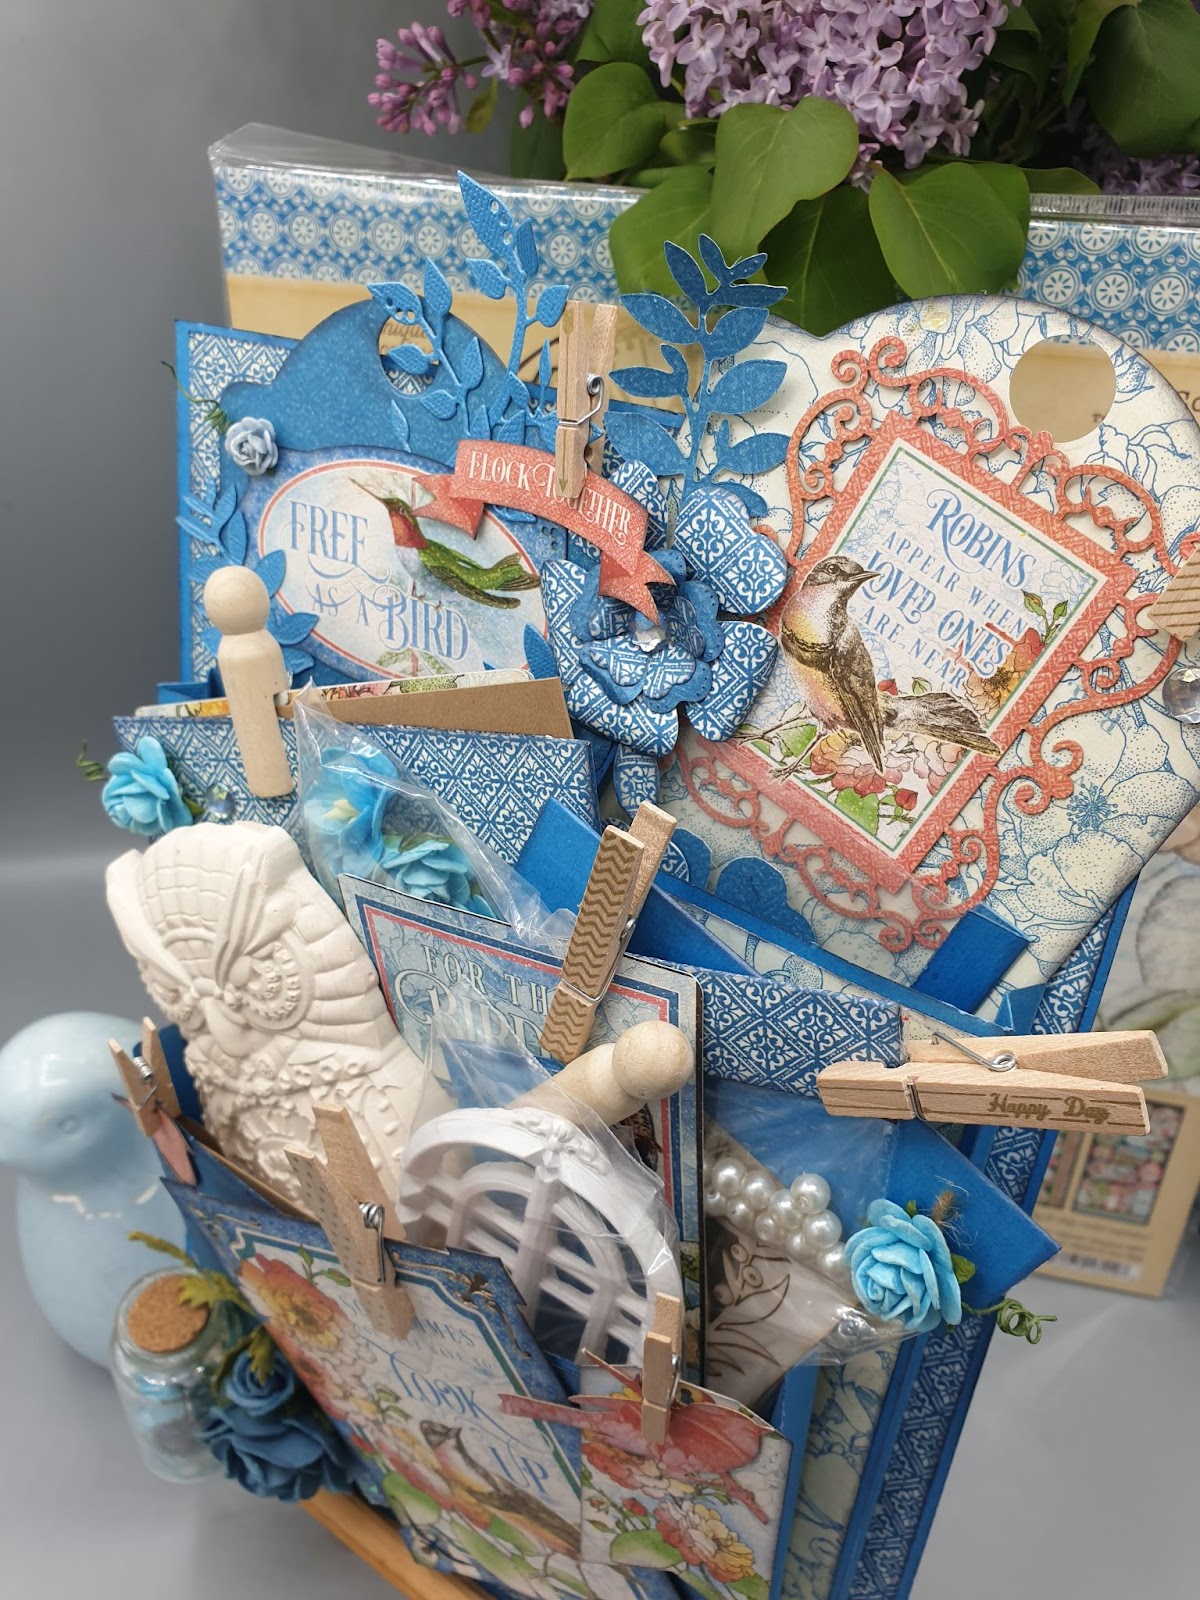
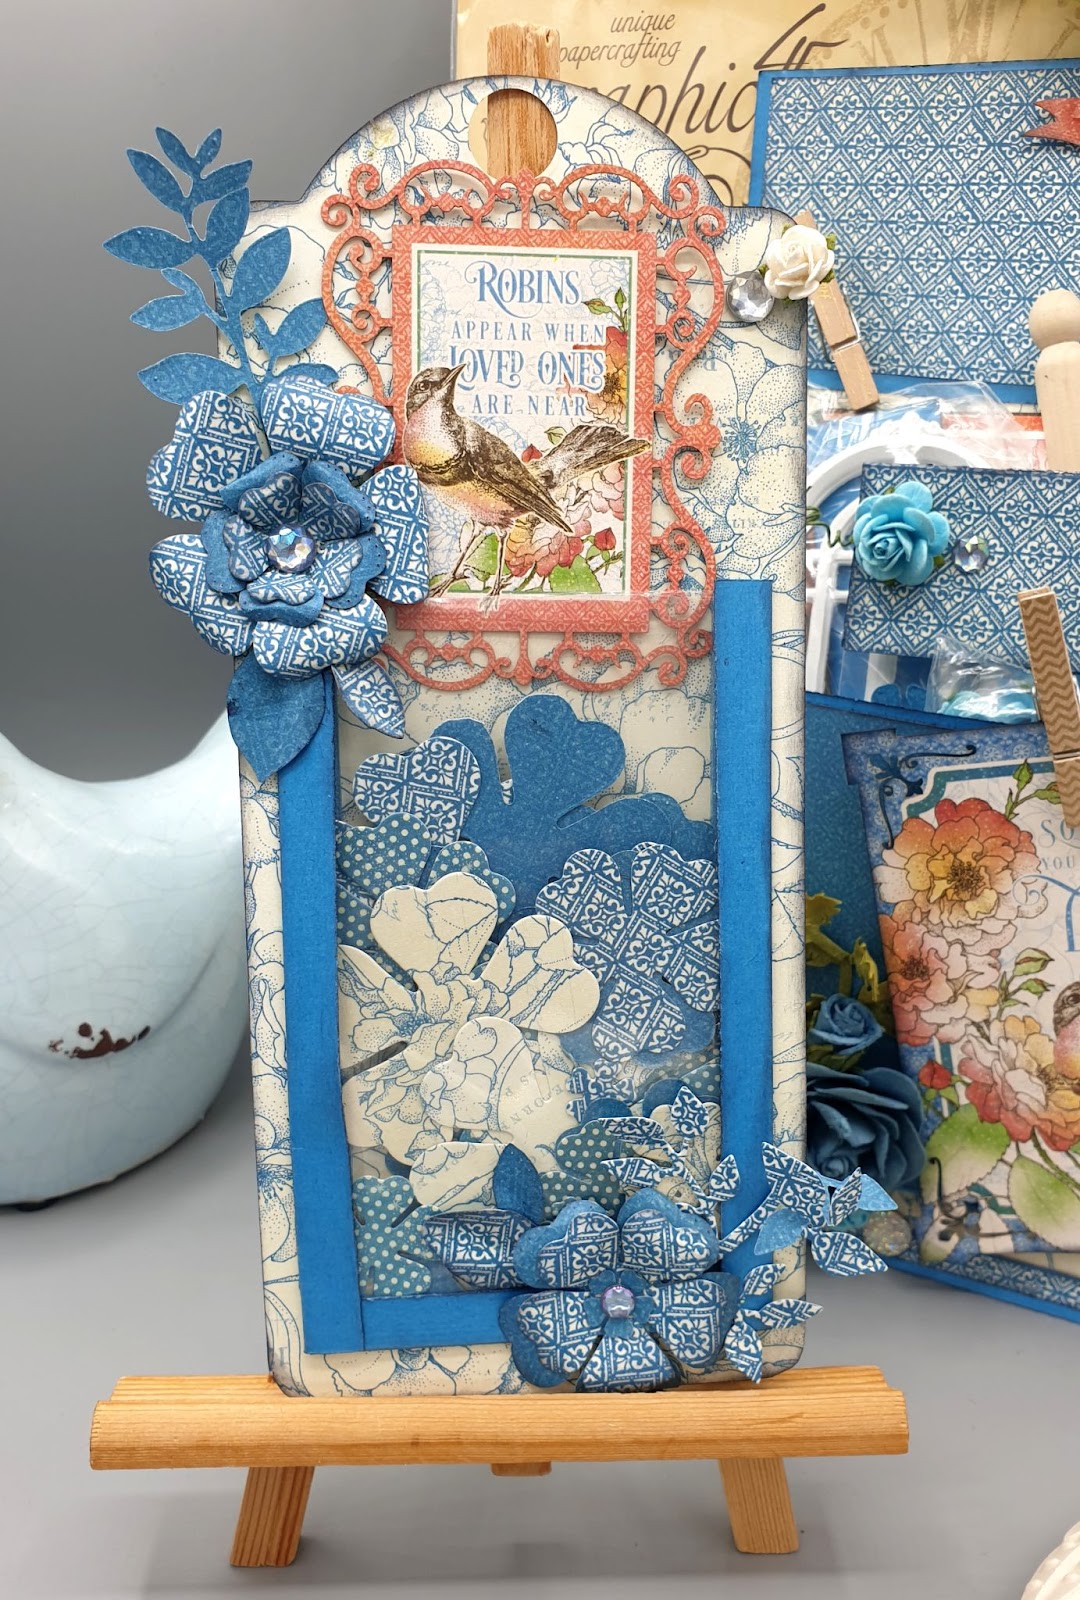
Are you looking for a few fabulous and fun gift ideas? Try out this Loaded Envelope Tutorial, these are great for gifts or to keep for yourself and use the individual pieces as needed for upcoming events. Graphic 45 Brand Ambassador, Boule de Scrap has created this envelope and stuffed with DIY Gift Bags, Cards, Tags, and so much more all with our new Bird Watcher paper collection.
“Hello friends, today I come to present my new project to you.This is a project to teach you the technique of making a “Loaded Envelope”, as well as gift bags to put inside.This gift envelope is made with the sublime collection Bird Watcher.
For the story of the creation of this project, I wanted to thank my Instagram subscribers for this fabulous year of creations with them and with Graphic45.
So I decided to organize a giveaway with a lot full of surprises. I hope that many of you will join us on my Instagram account to try your luck.
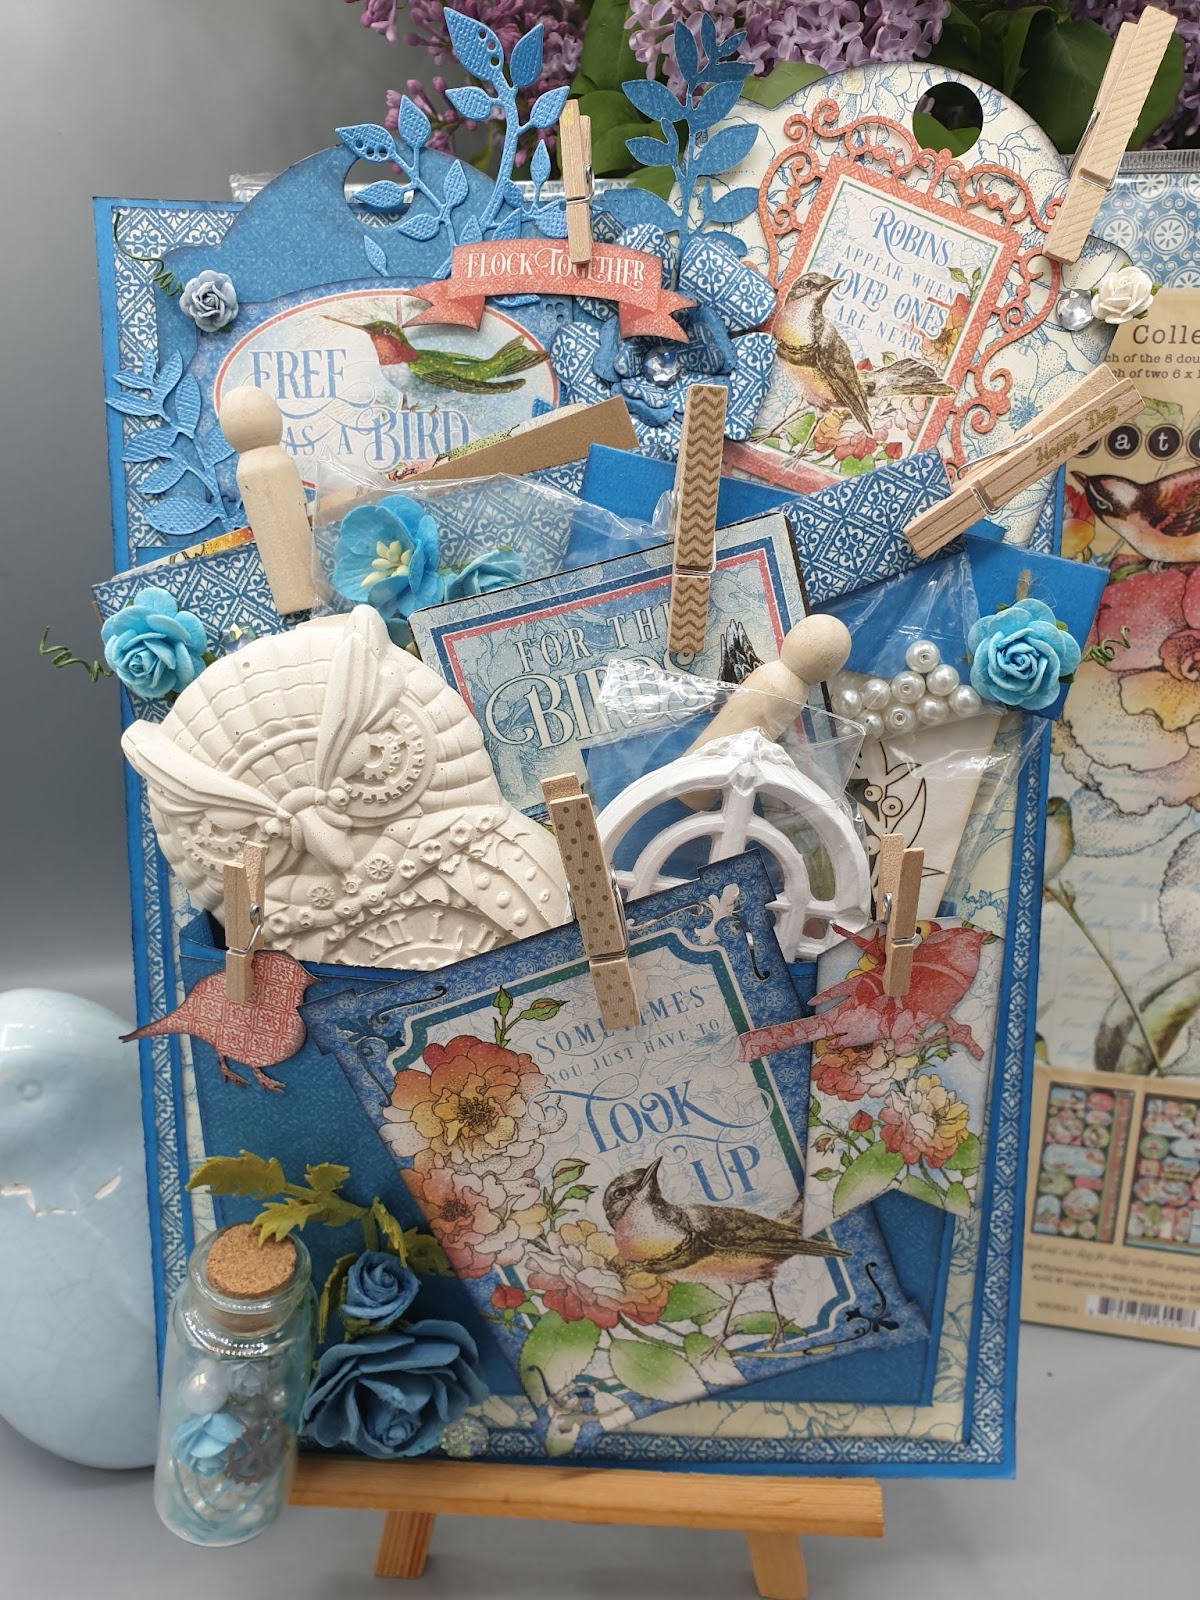
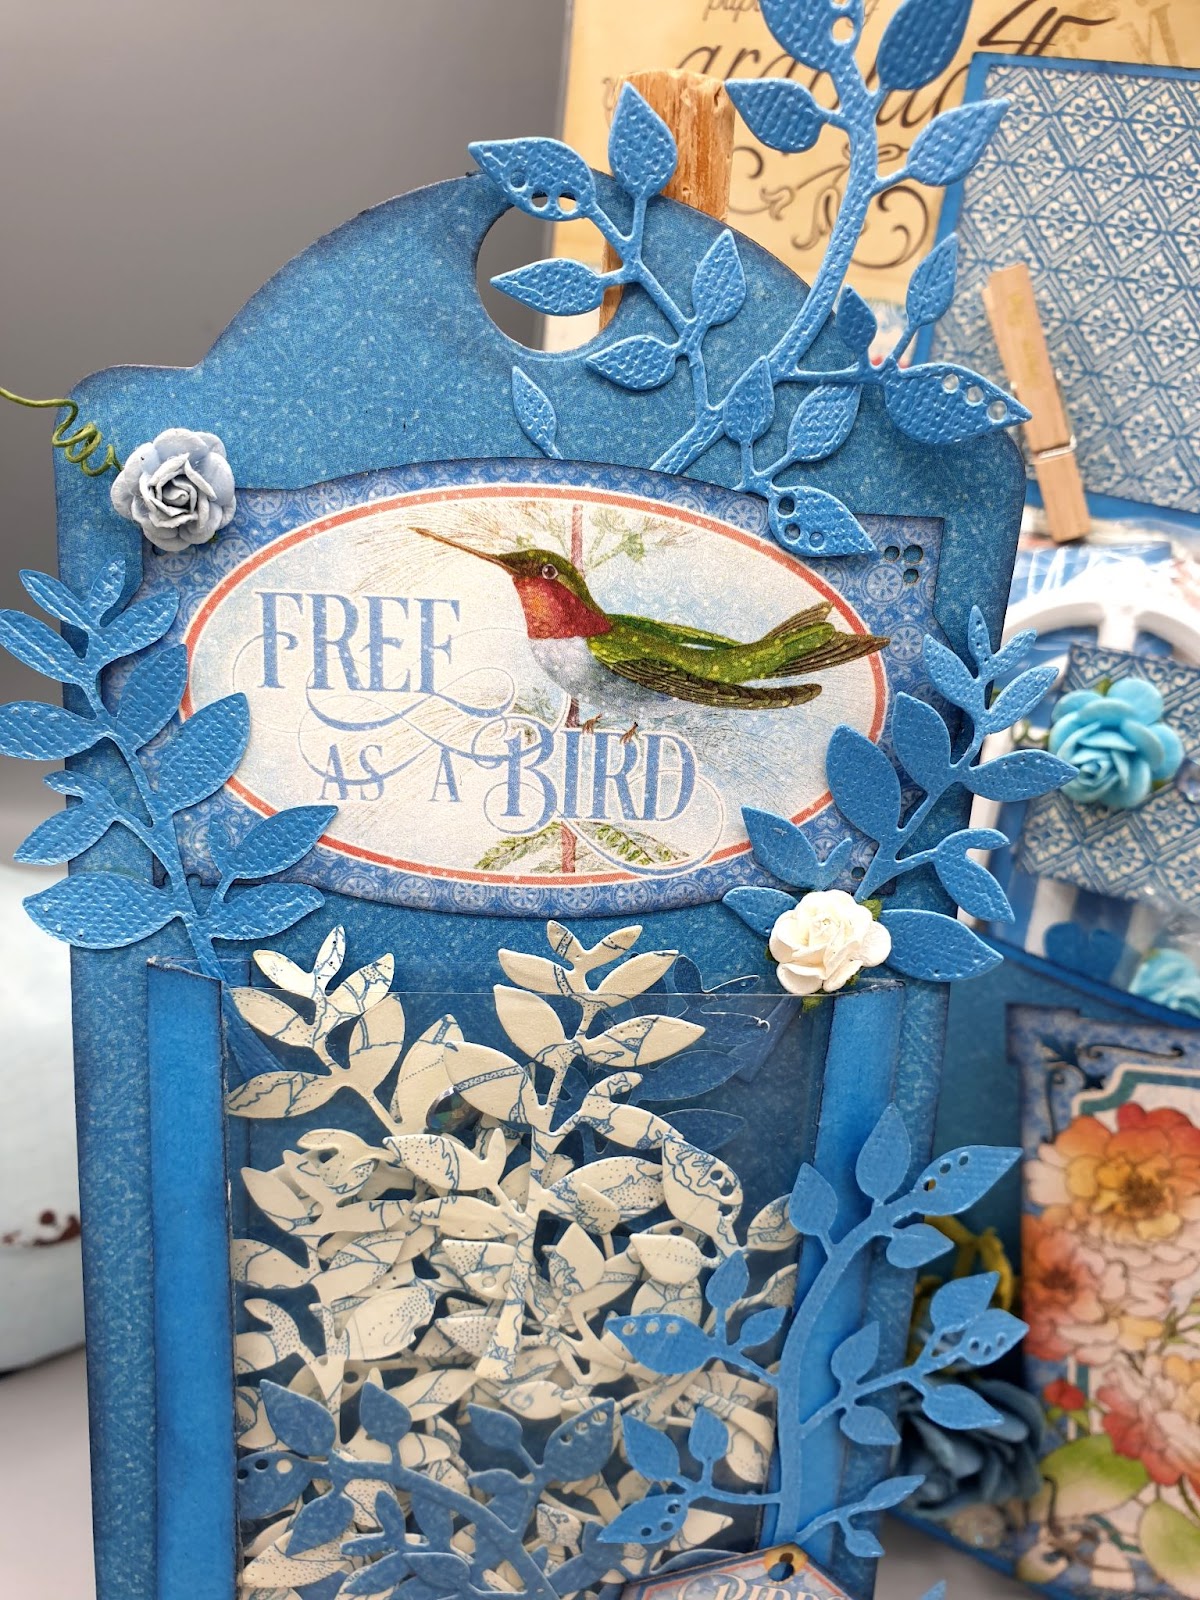
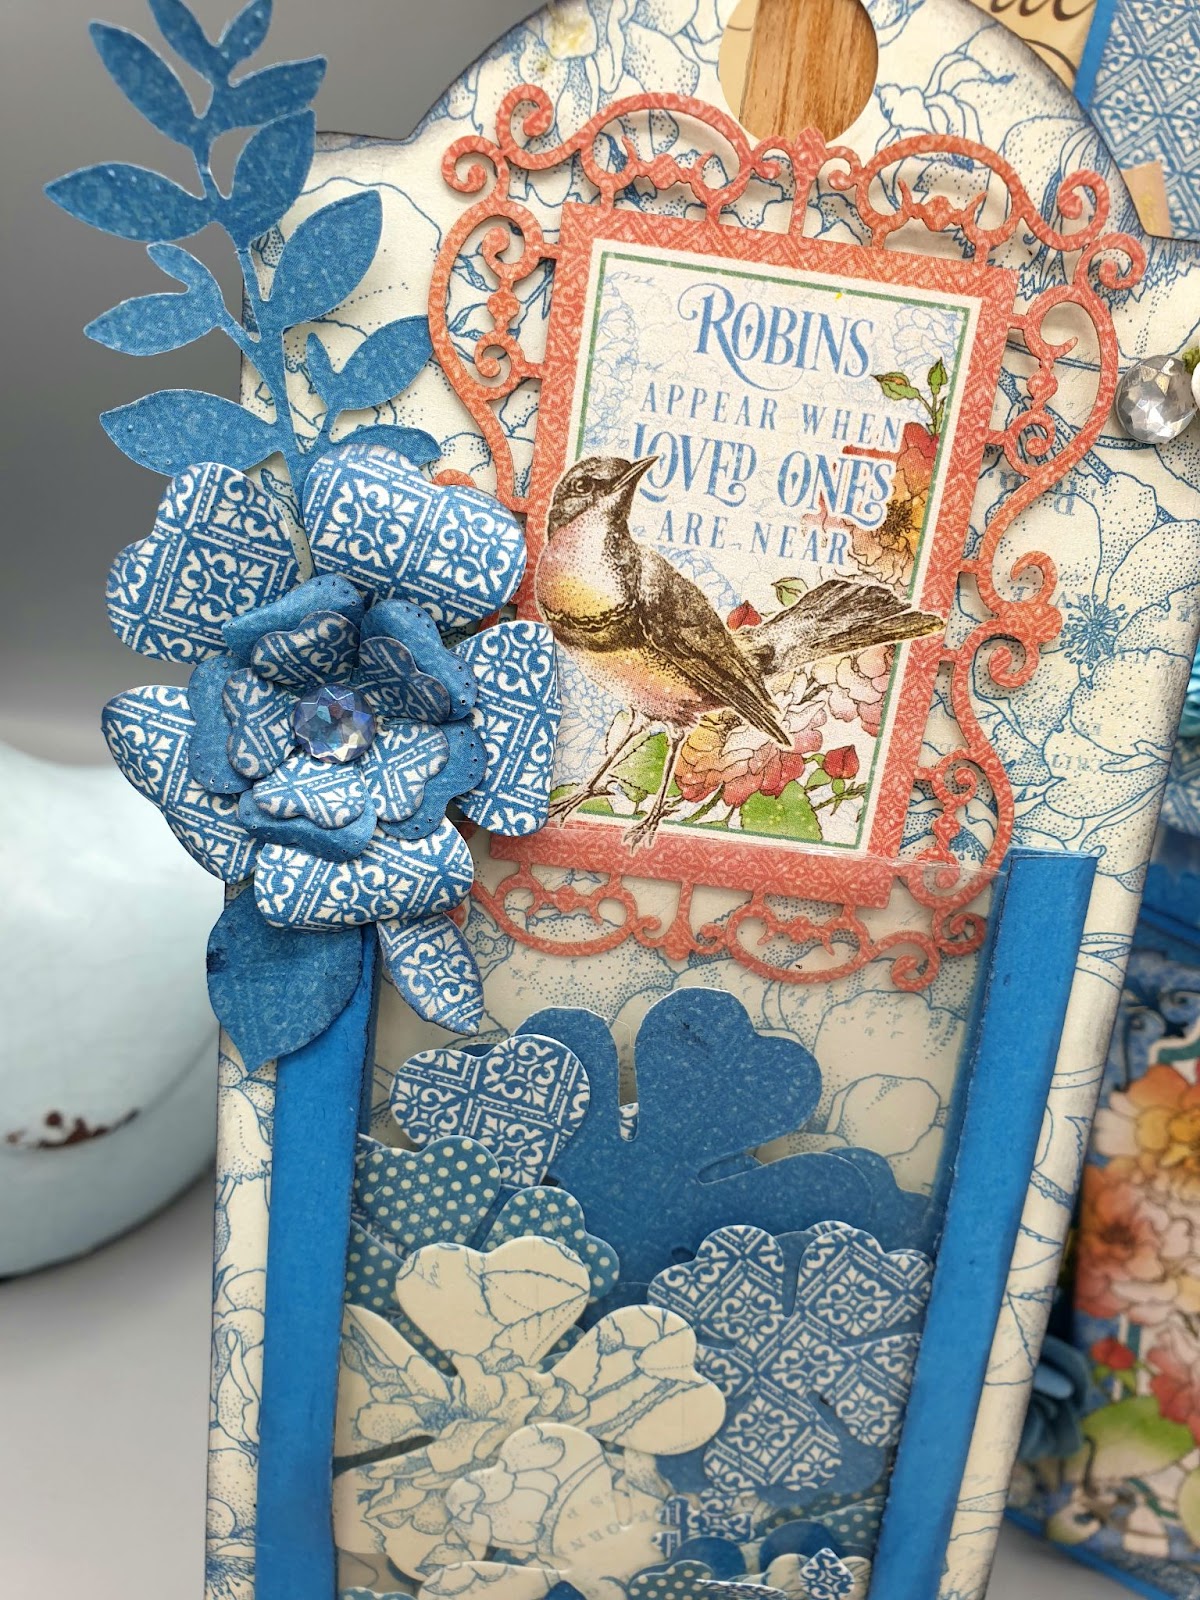
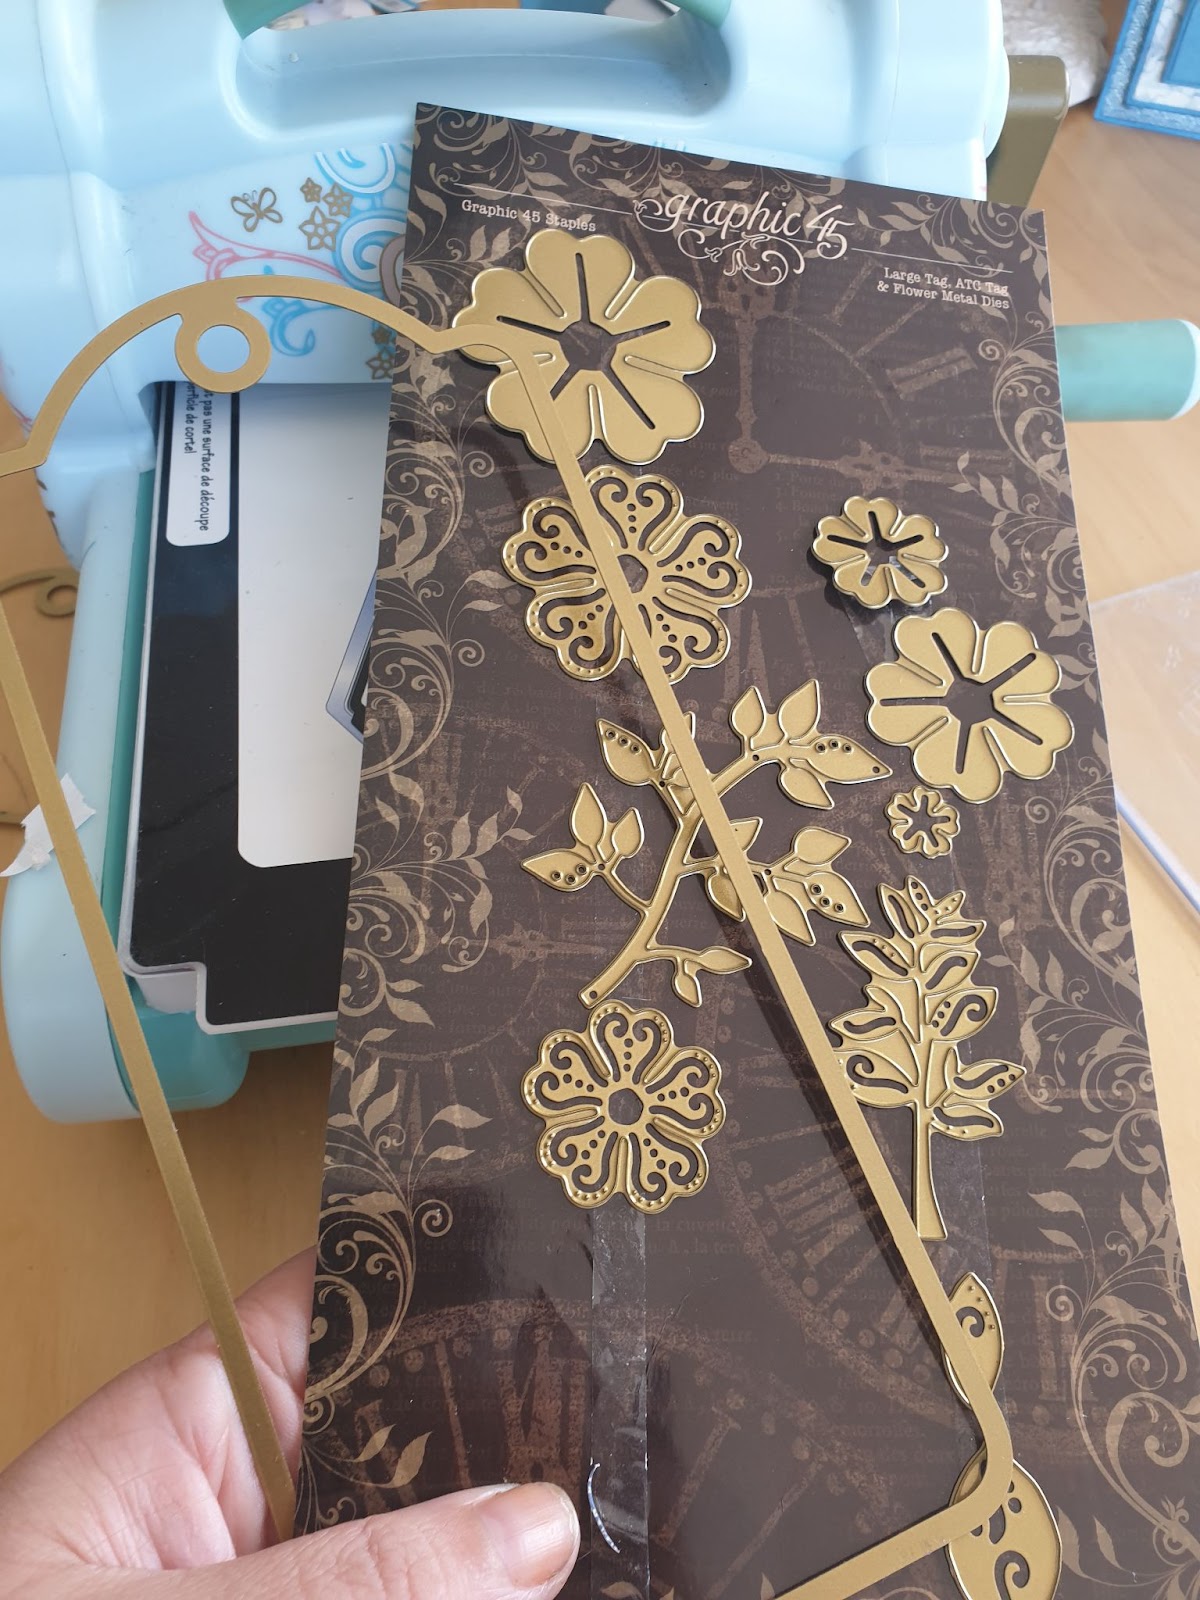
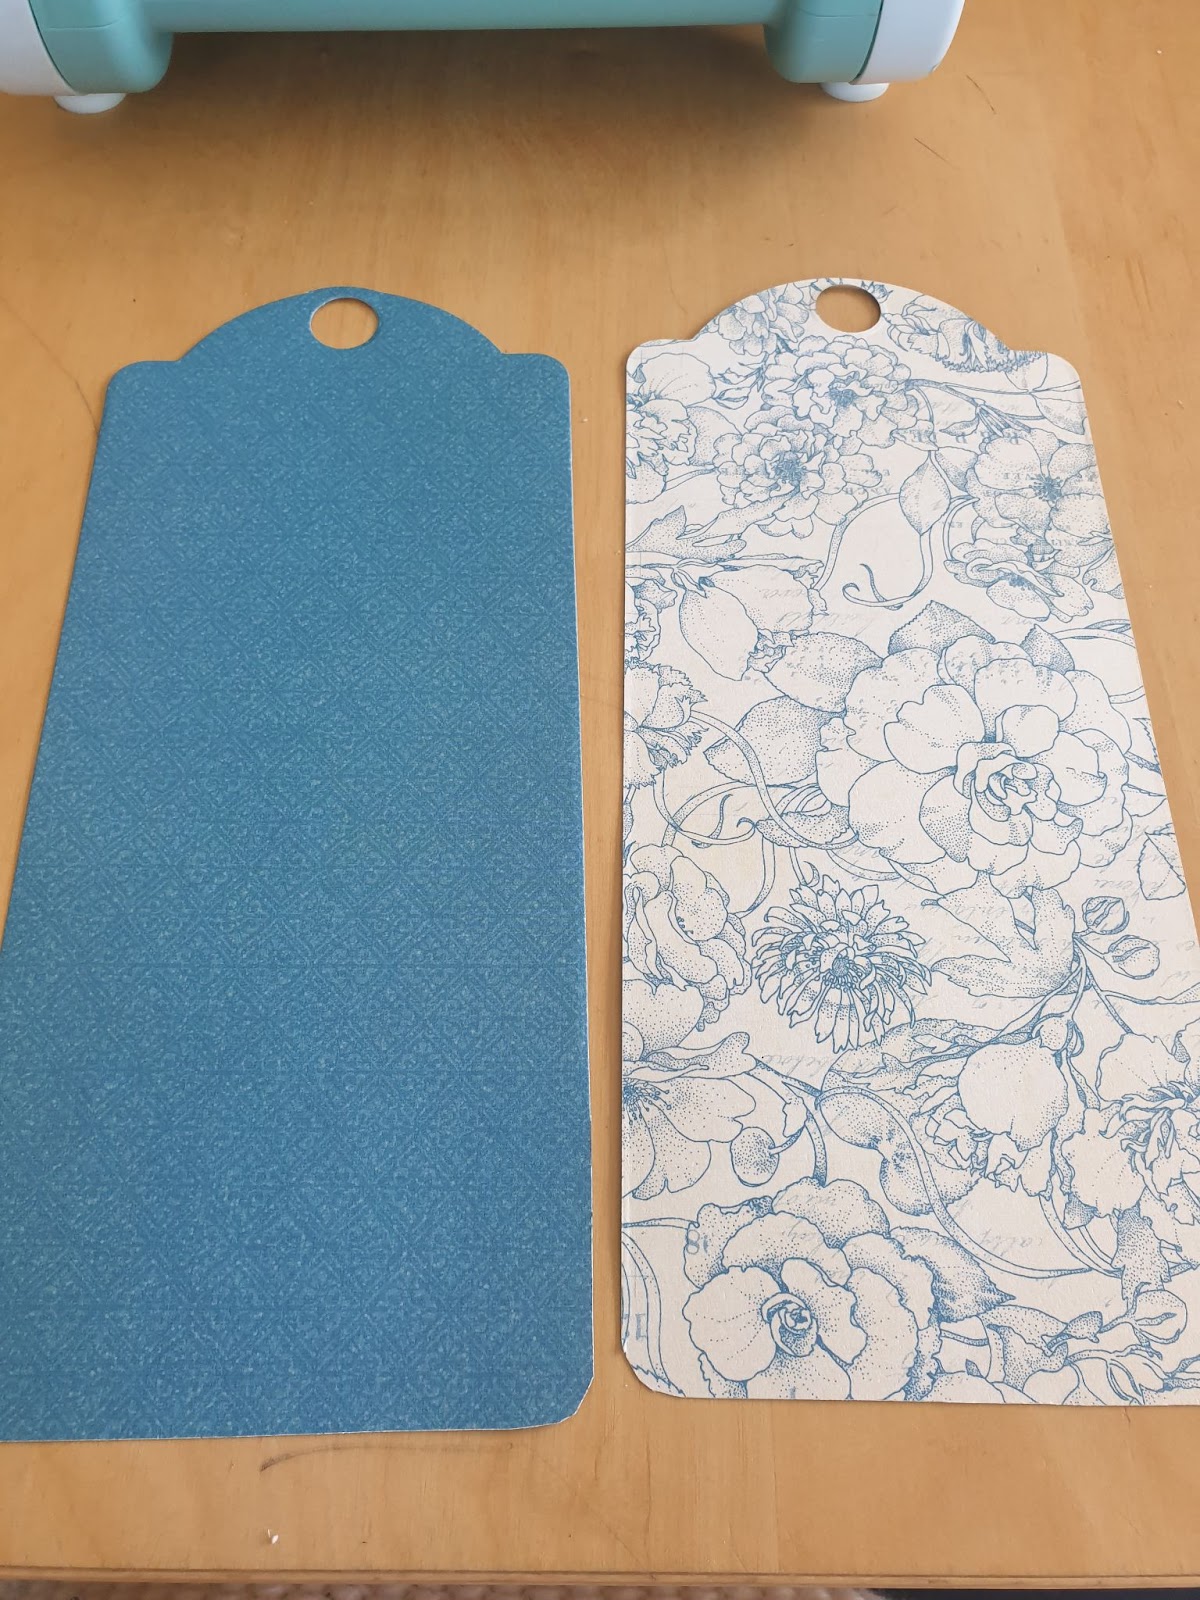
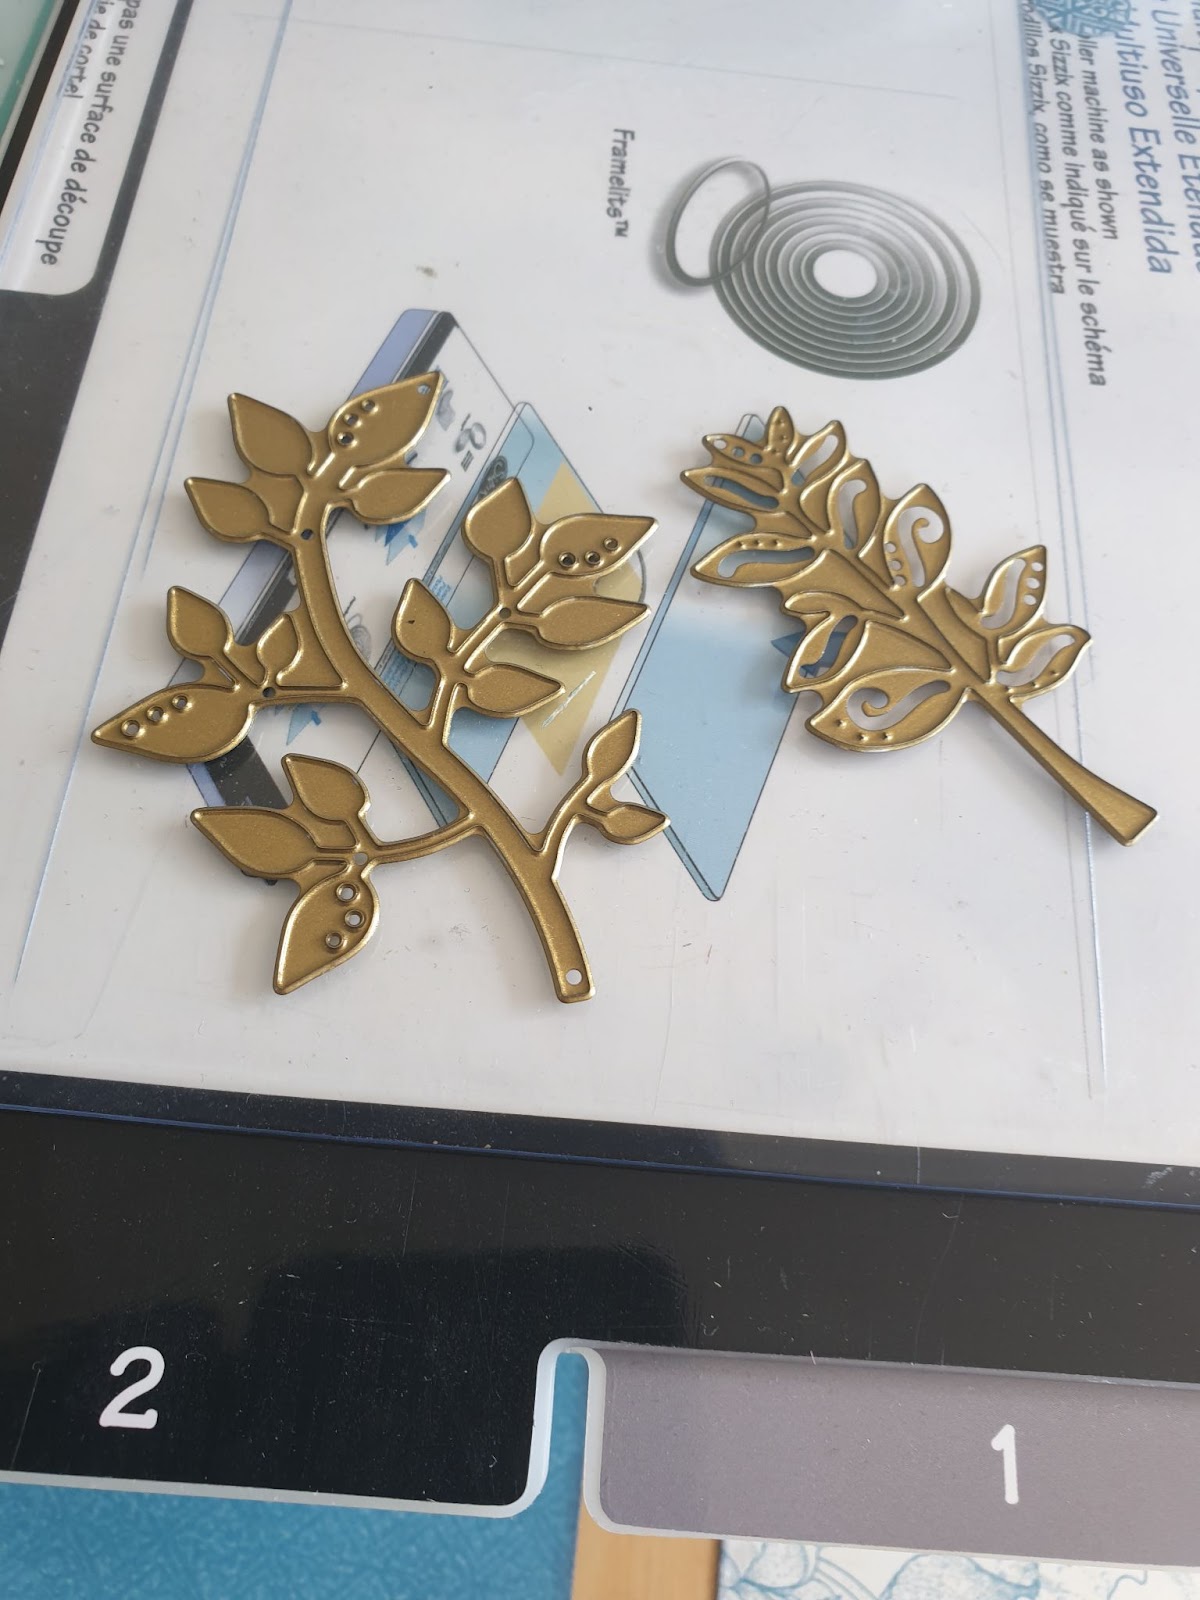
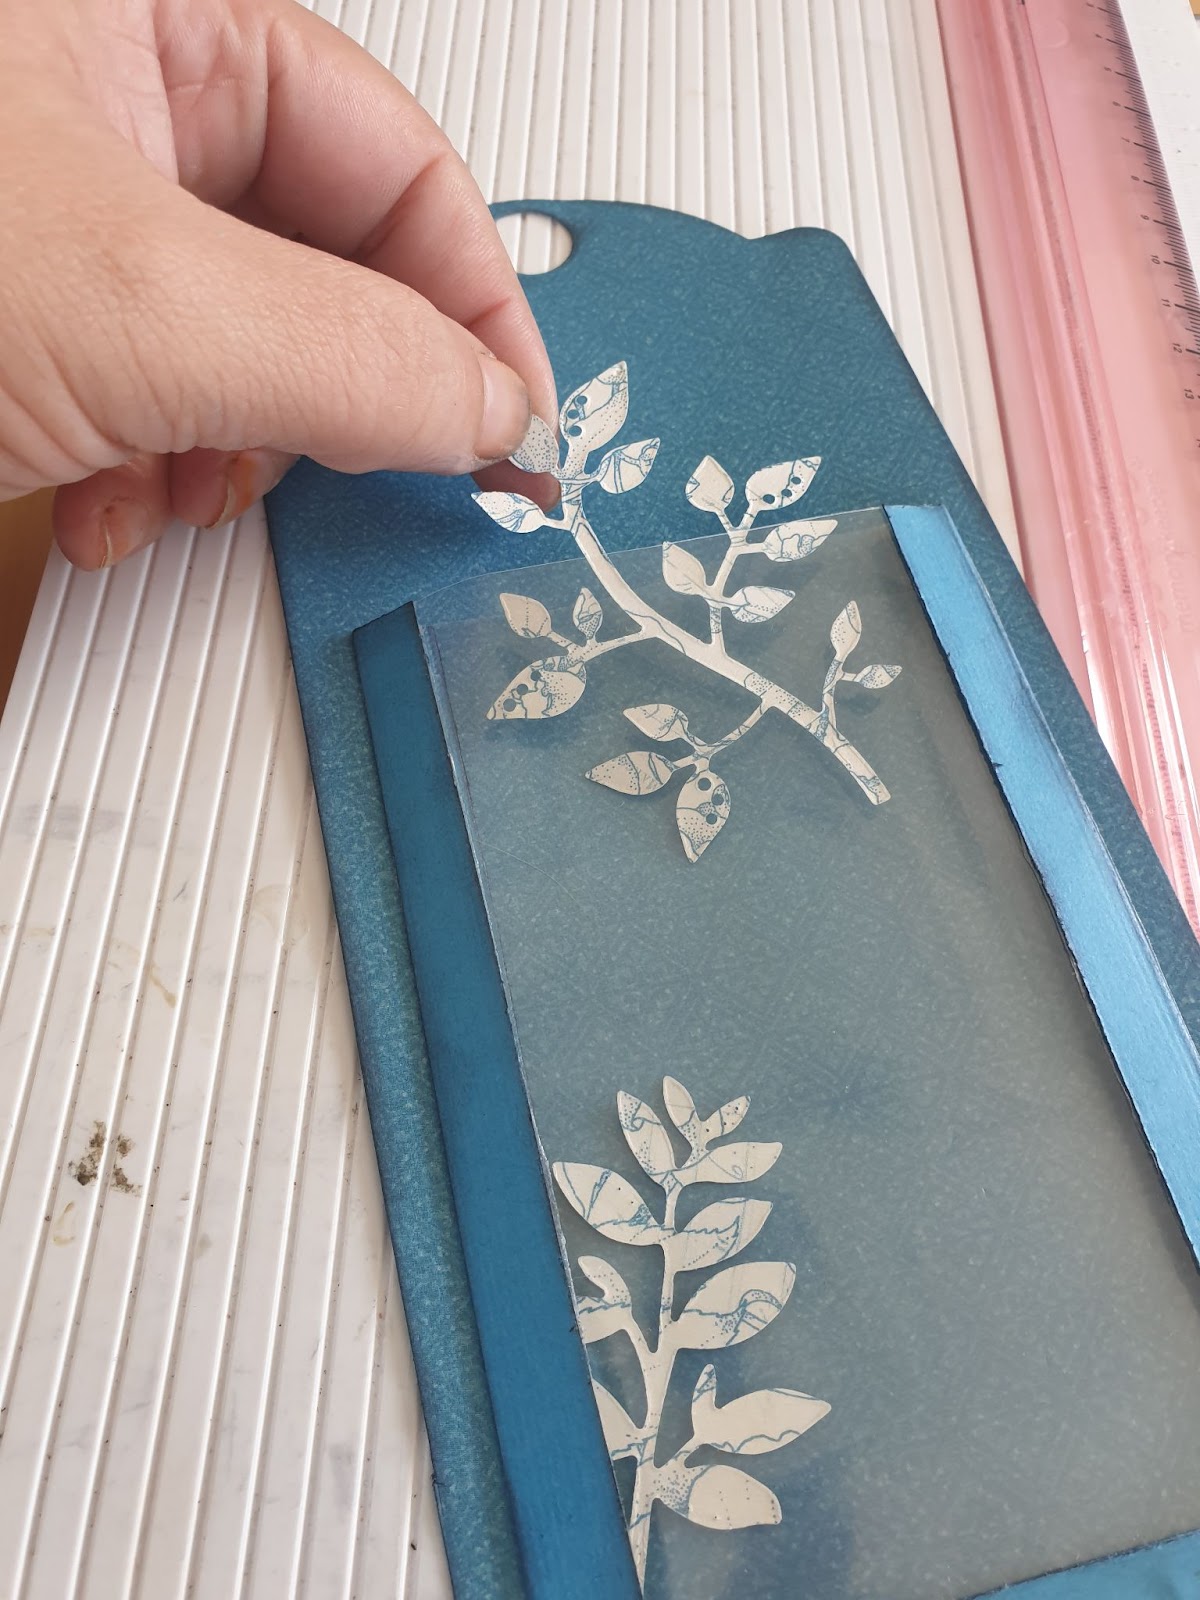
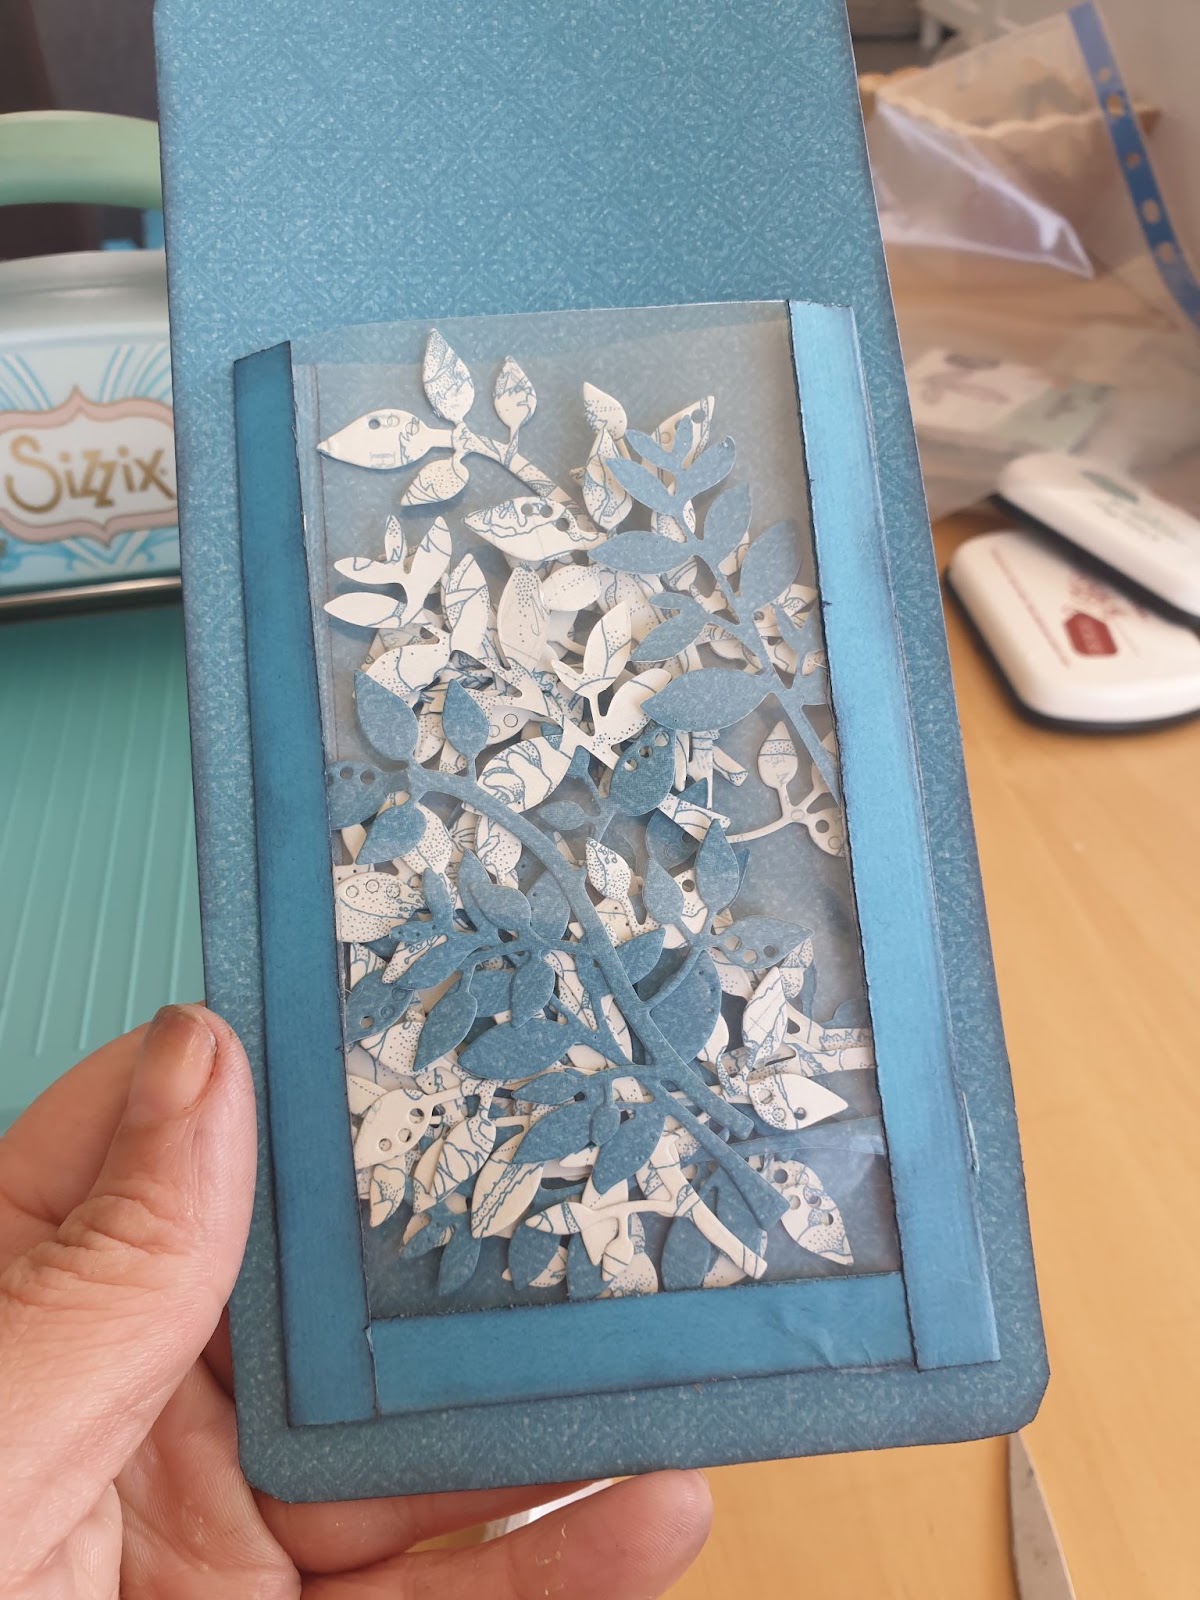
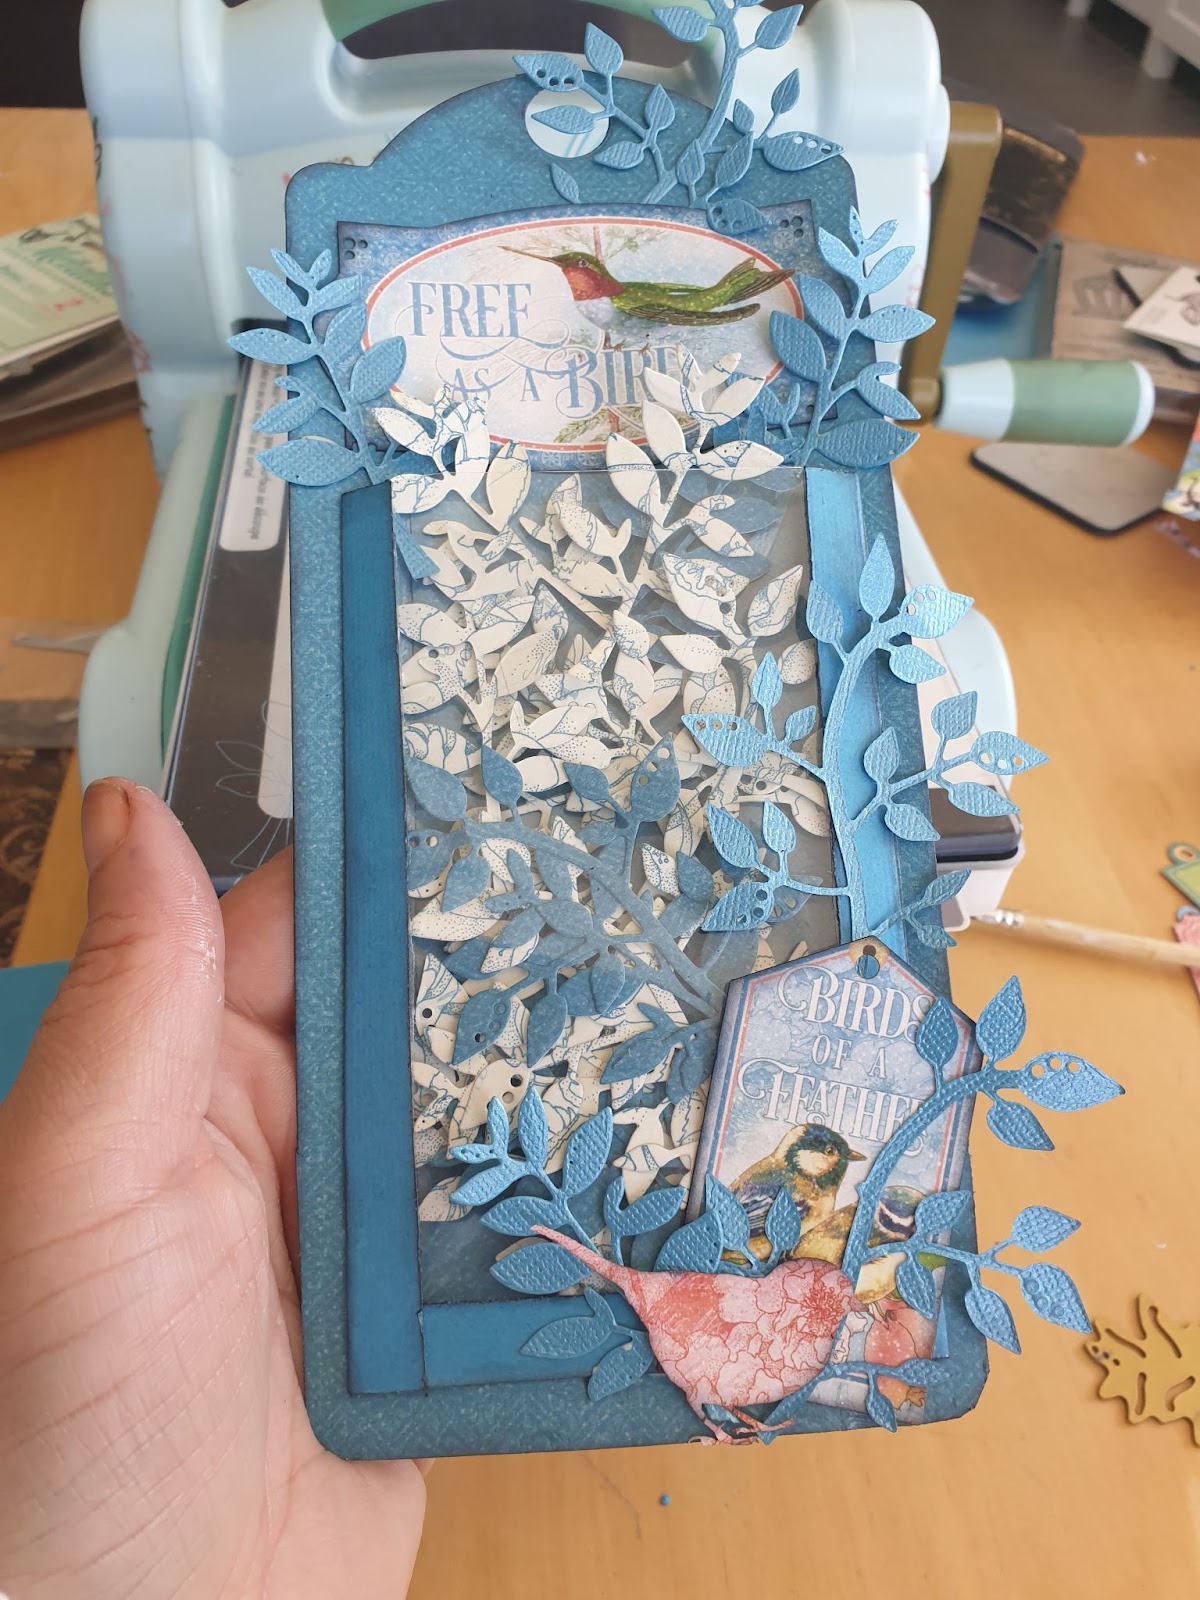
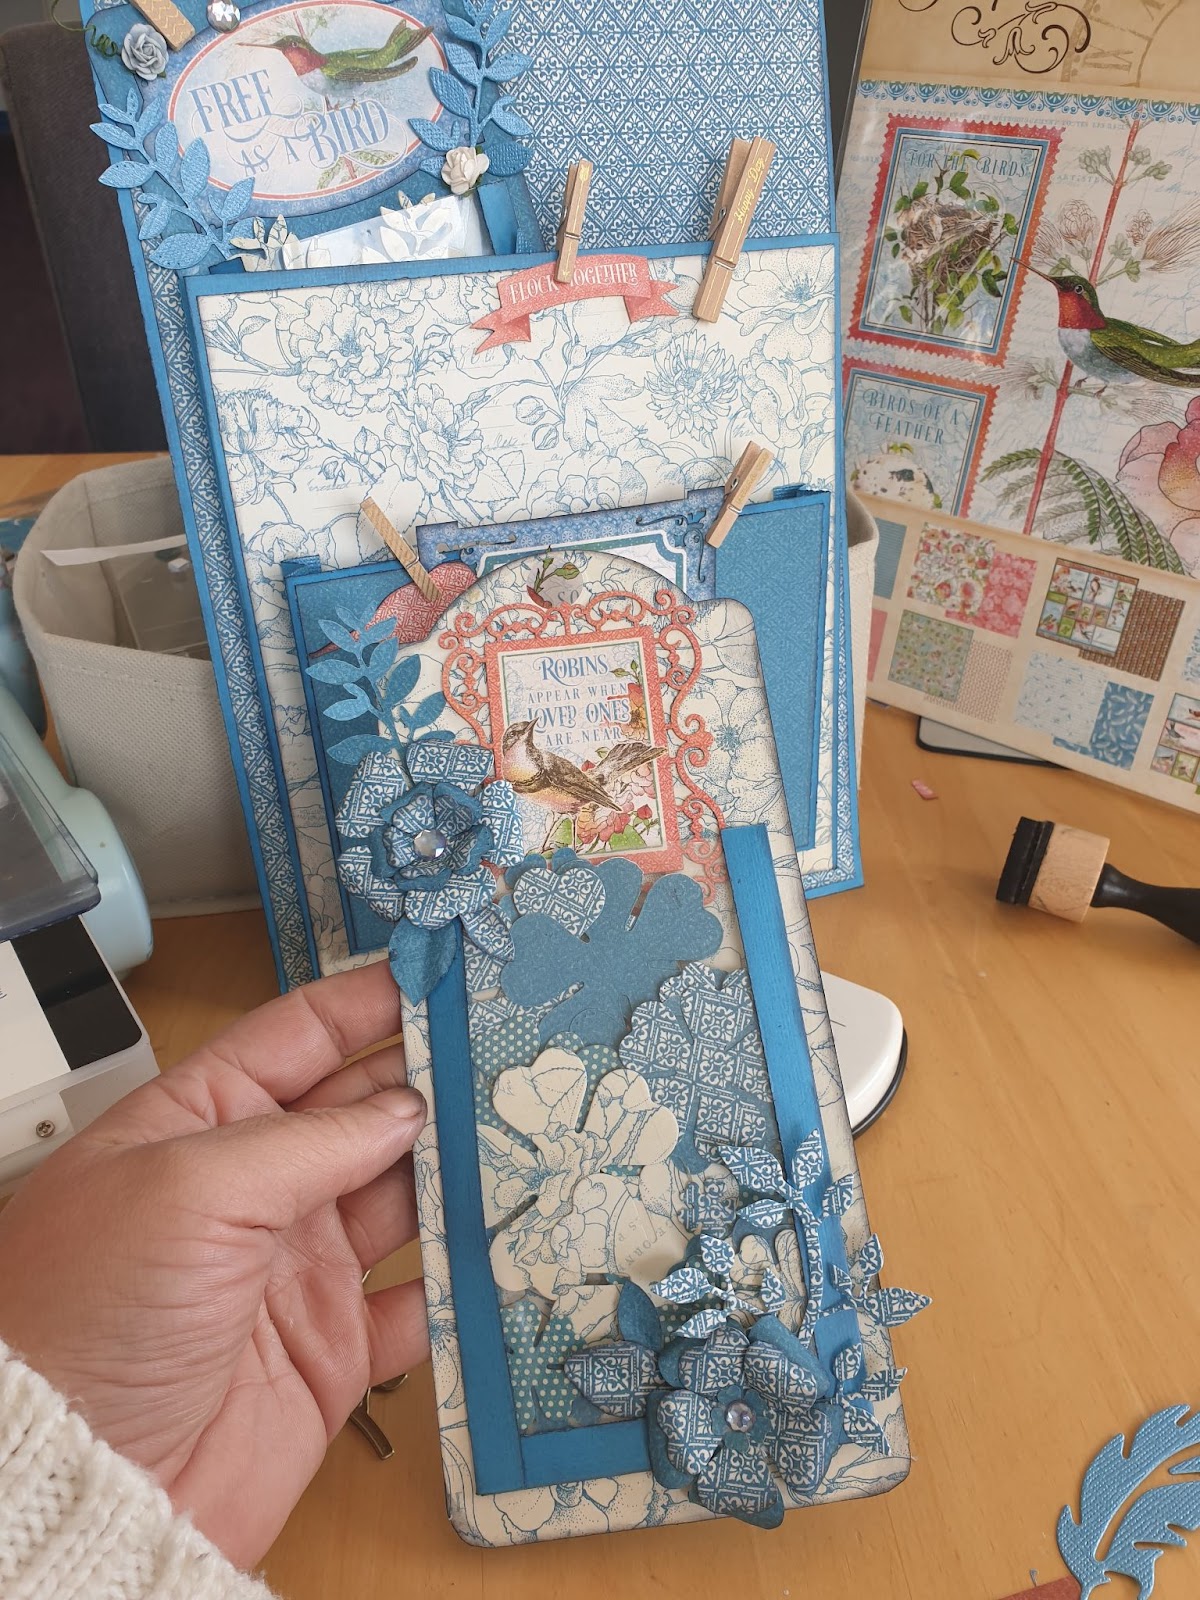
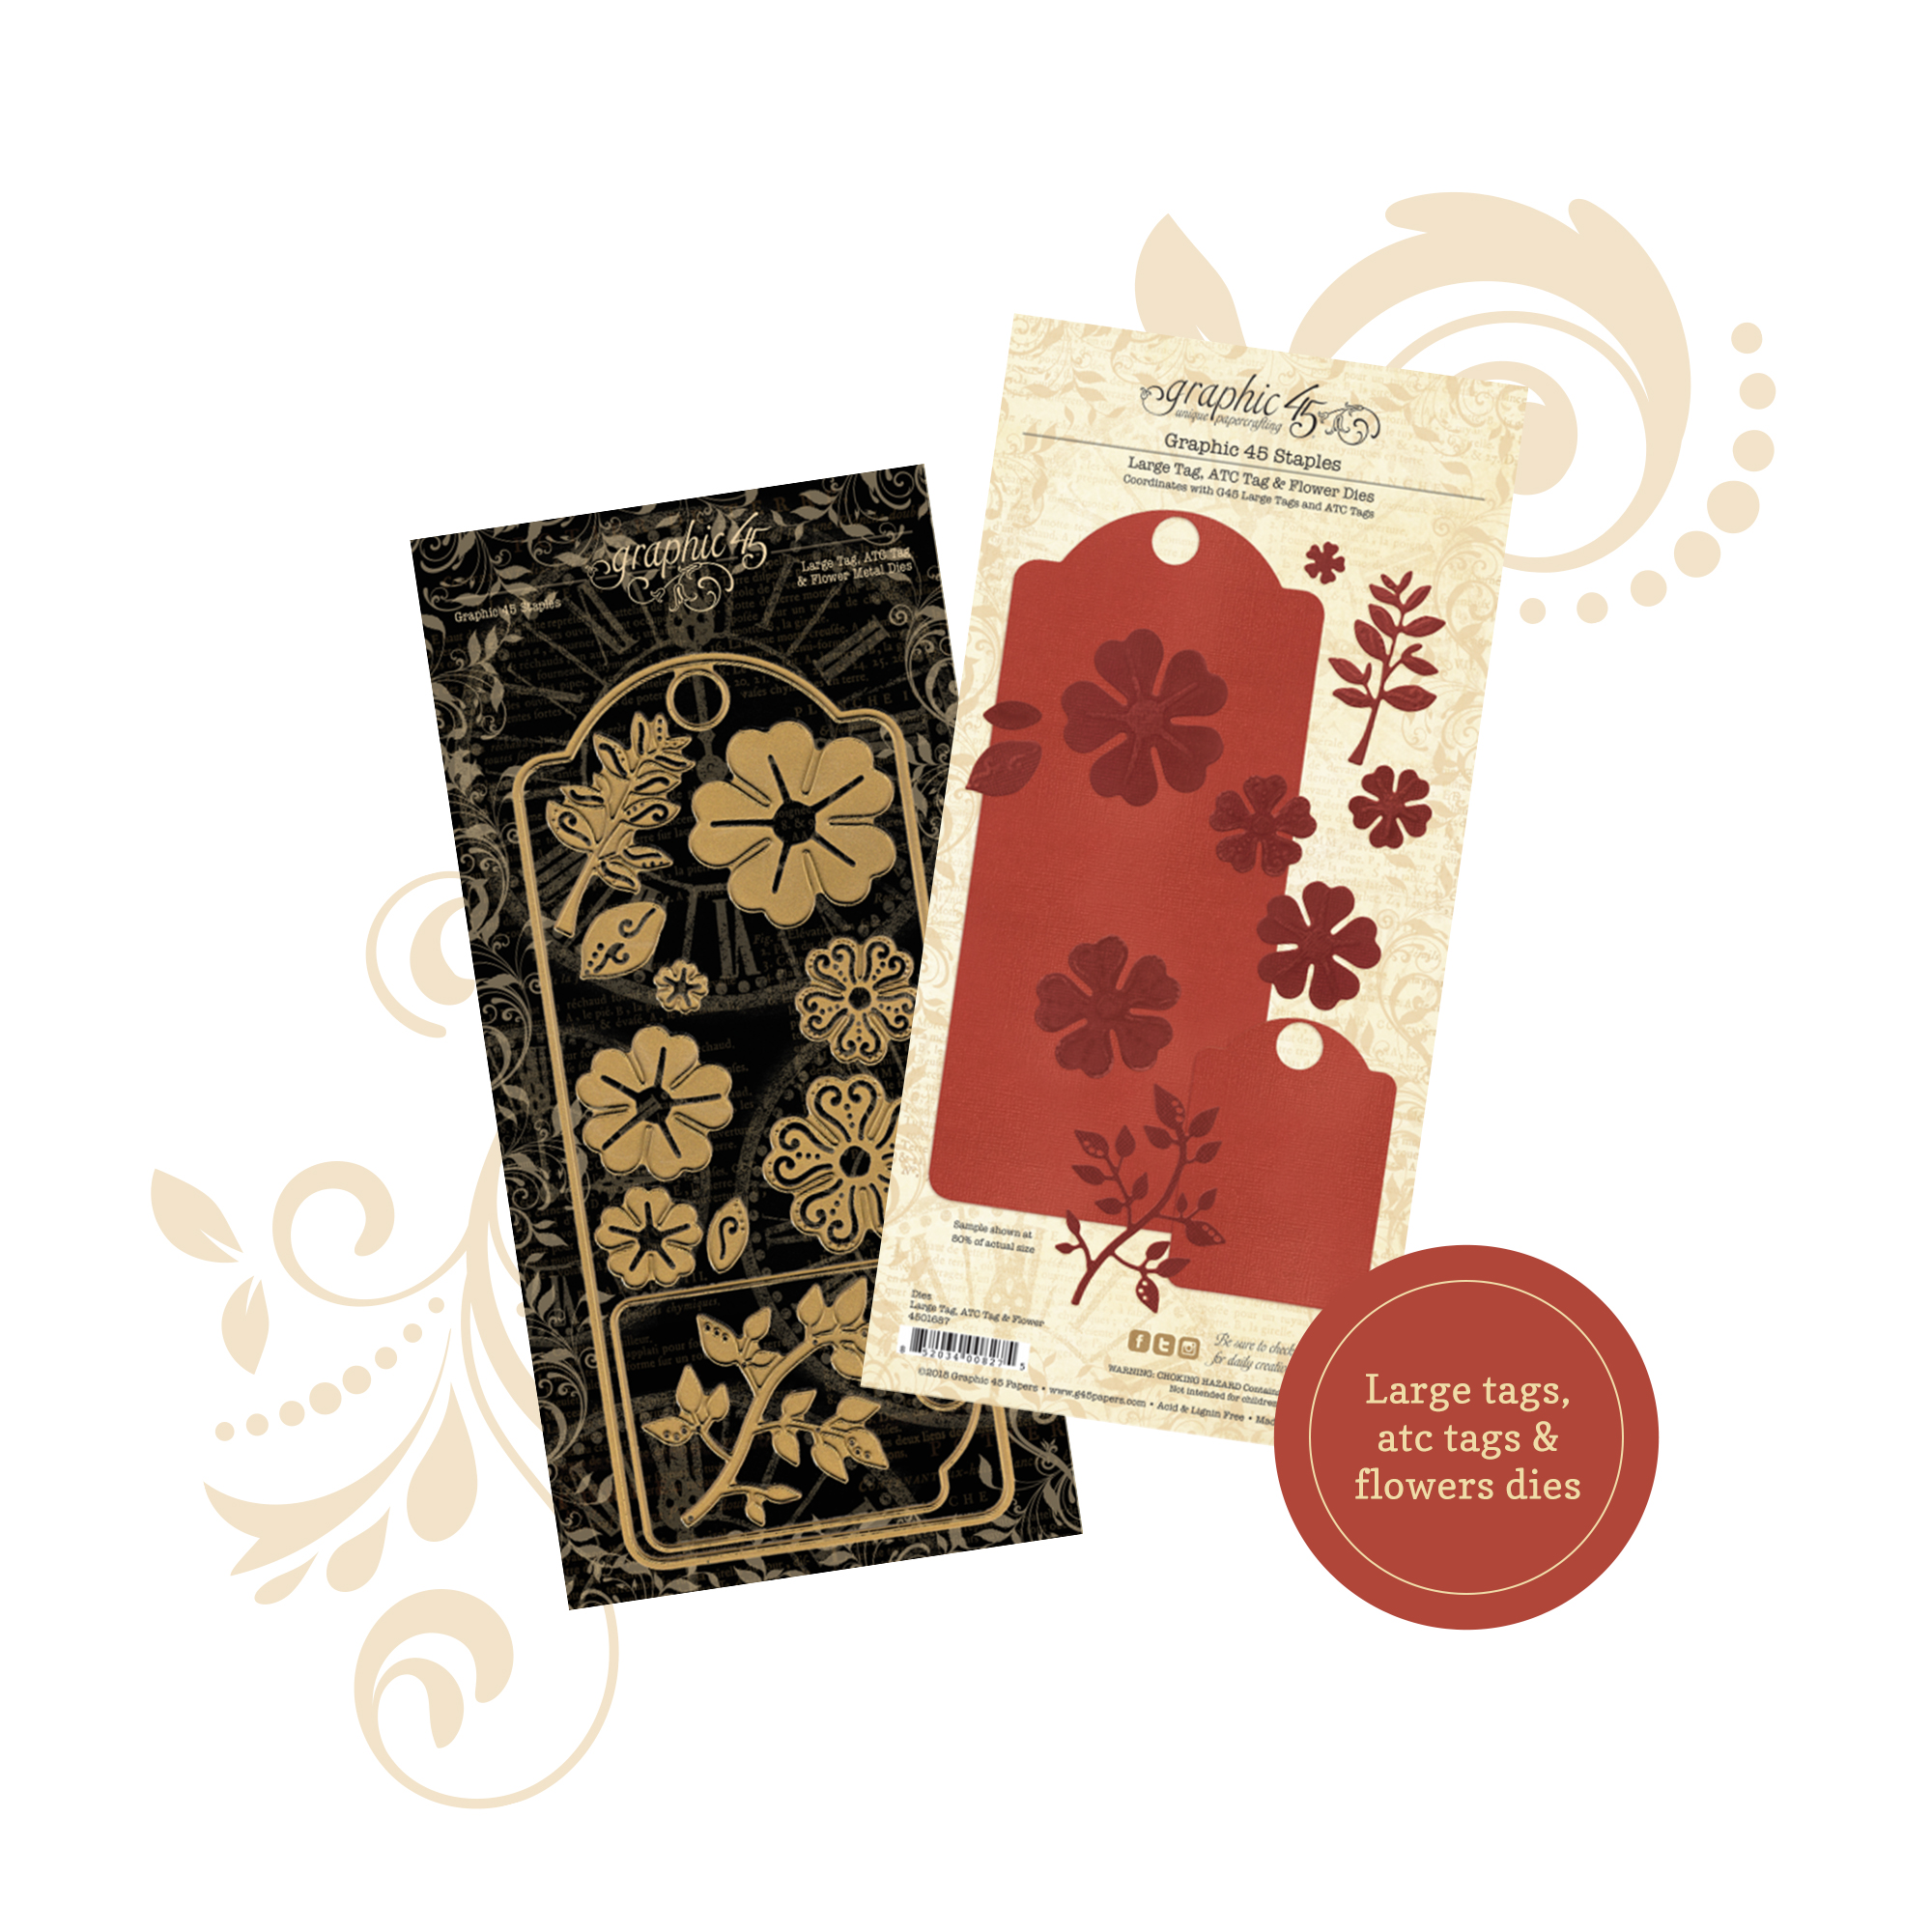
I suggest you discover the envelope in photos and the gifts in videos. You can find the fabulous cutouts of the metal Large Tag, ATC Tag, and Flower dies.
Bird Watcher 12×12 Patterns & Solids
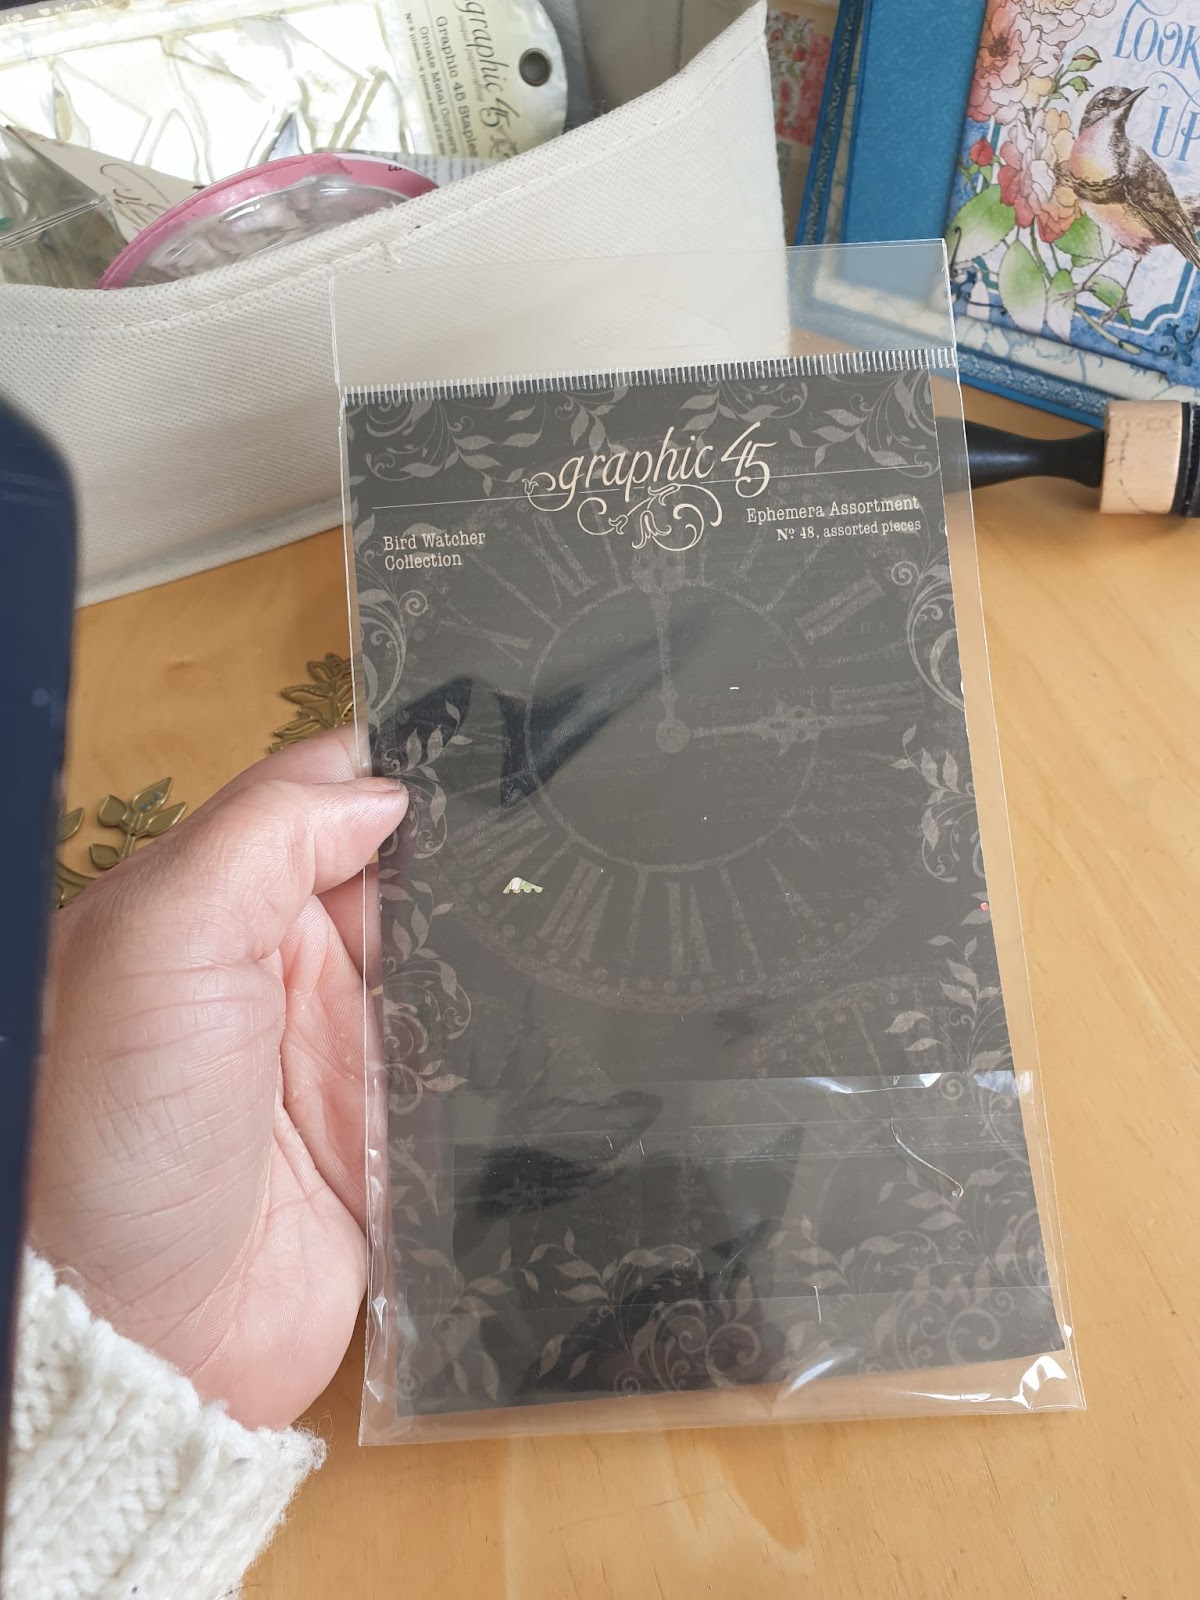
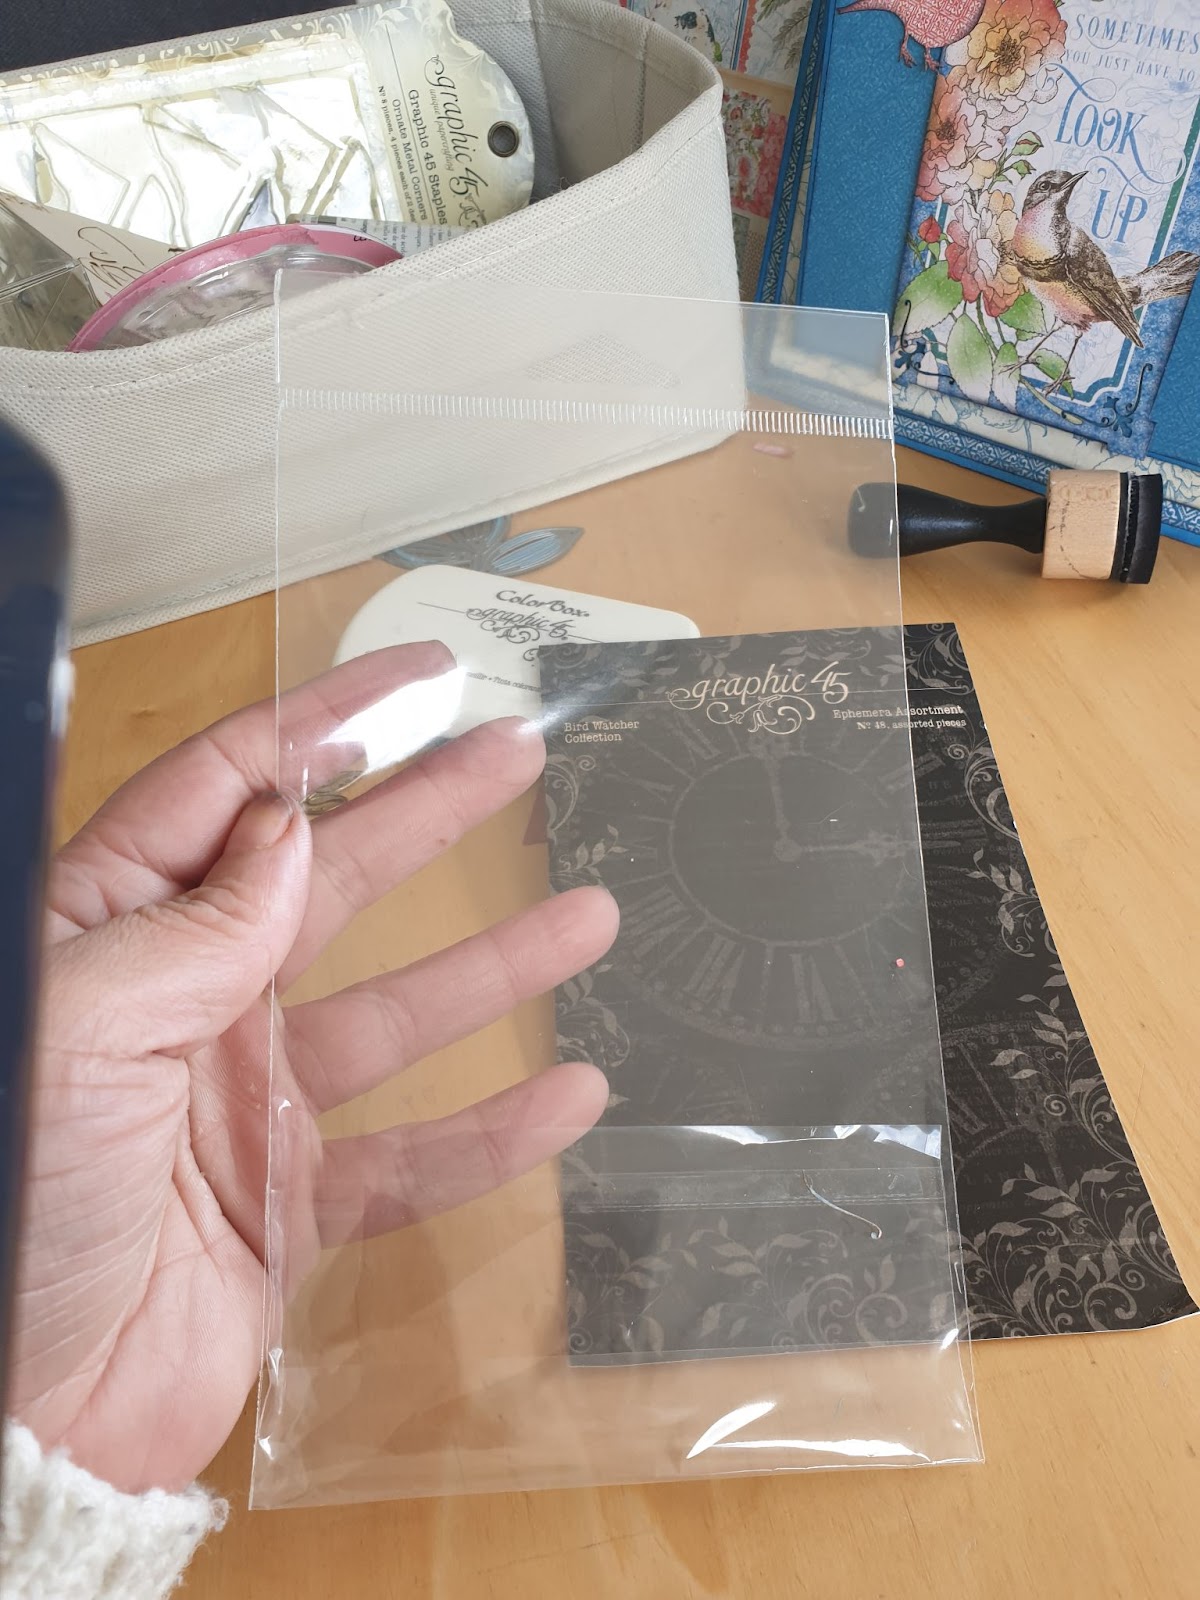
Bird Watcher Ephemera Assortment
Metal Dies / Large Tag, ATC Tag, and Flower Dies
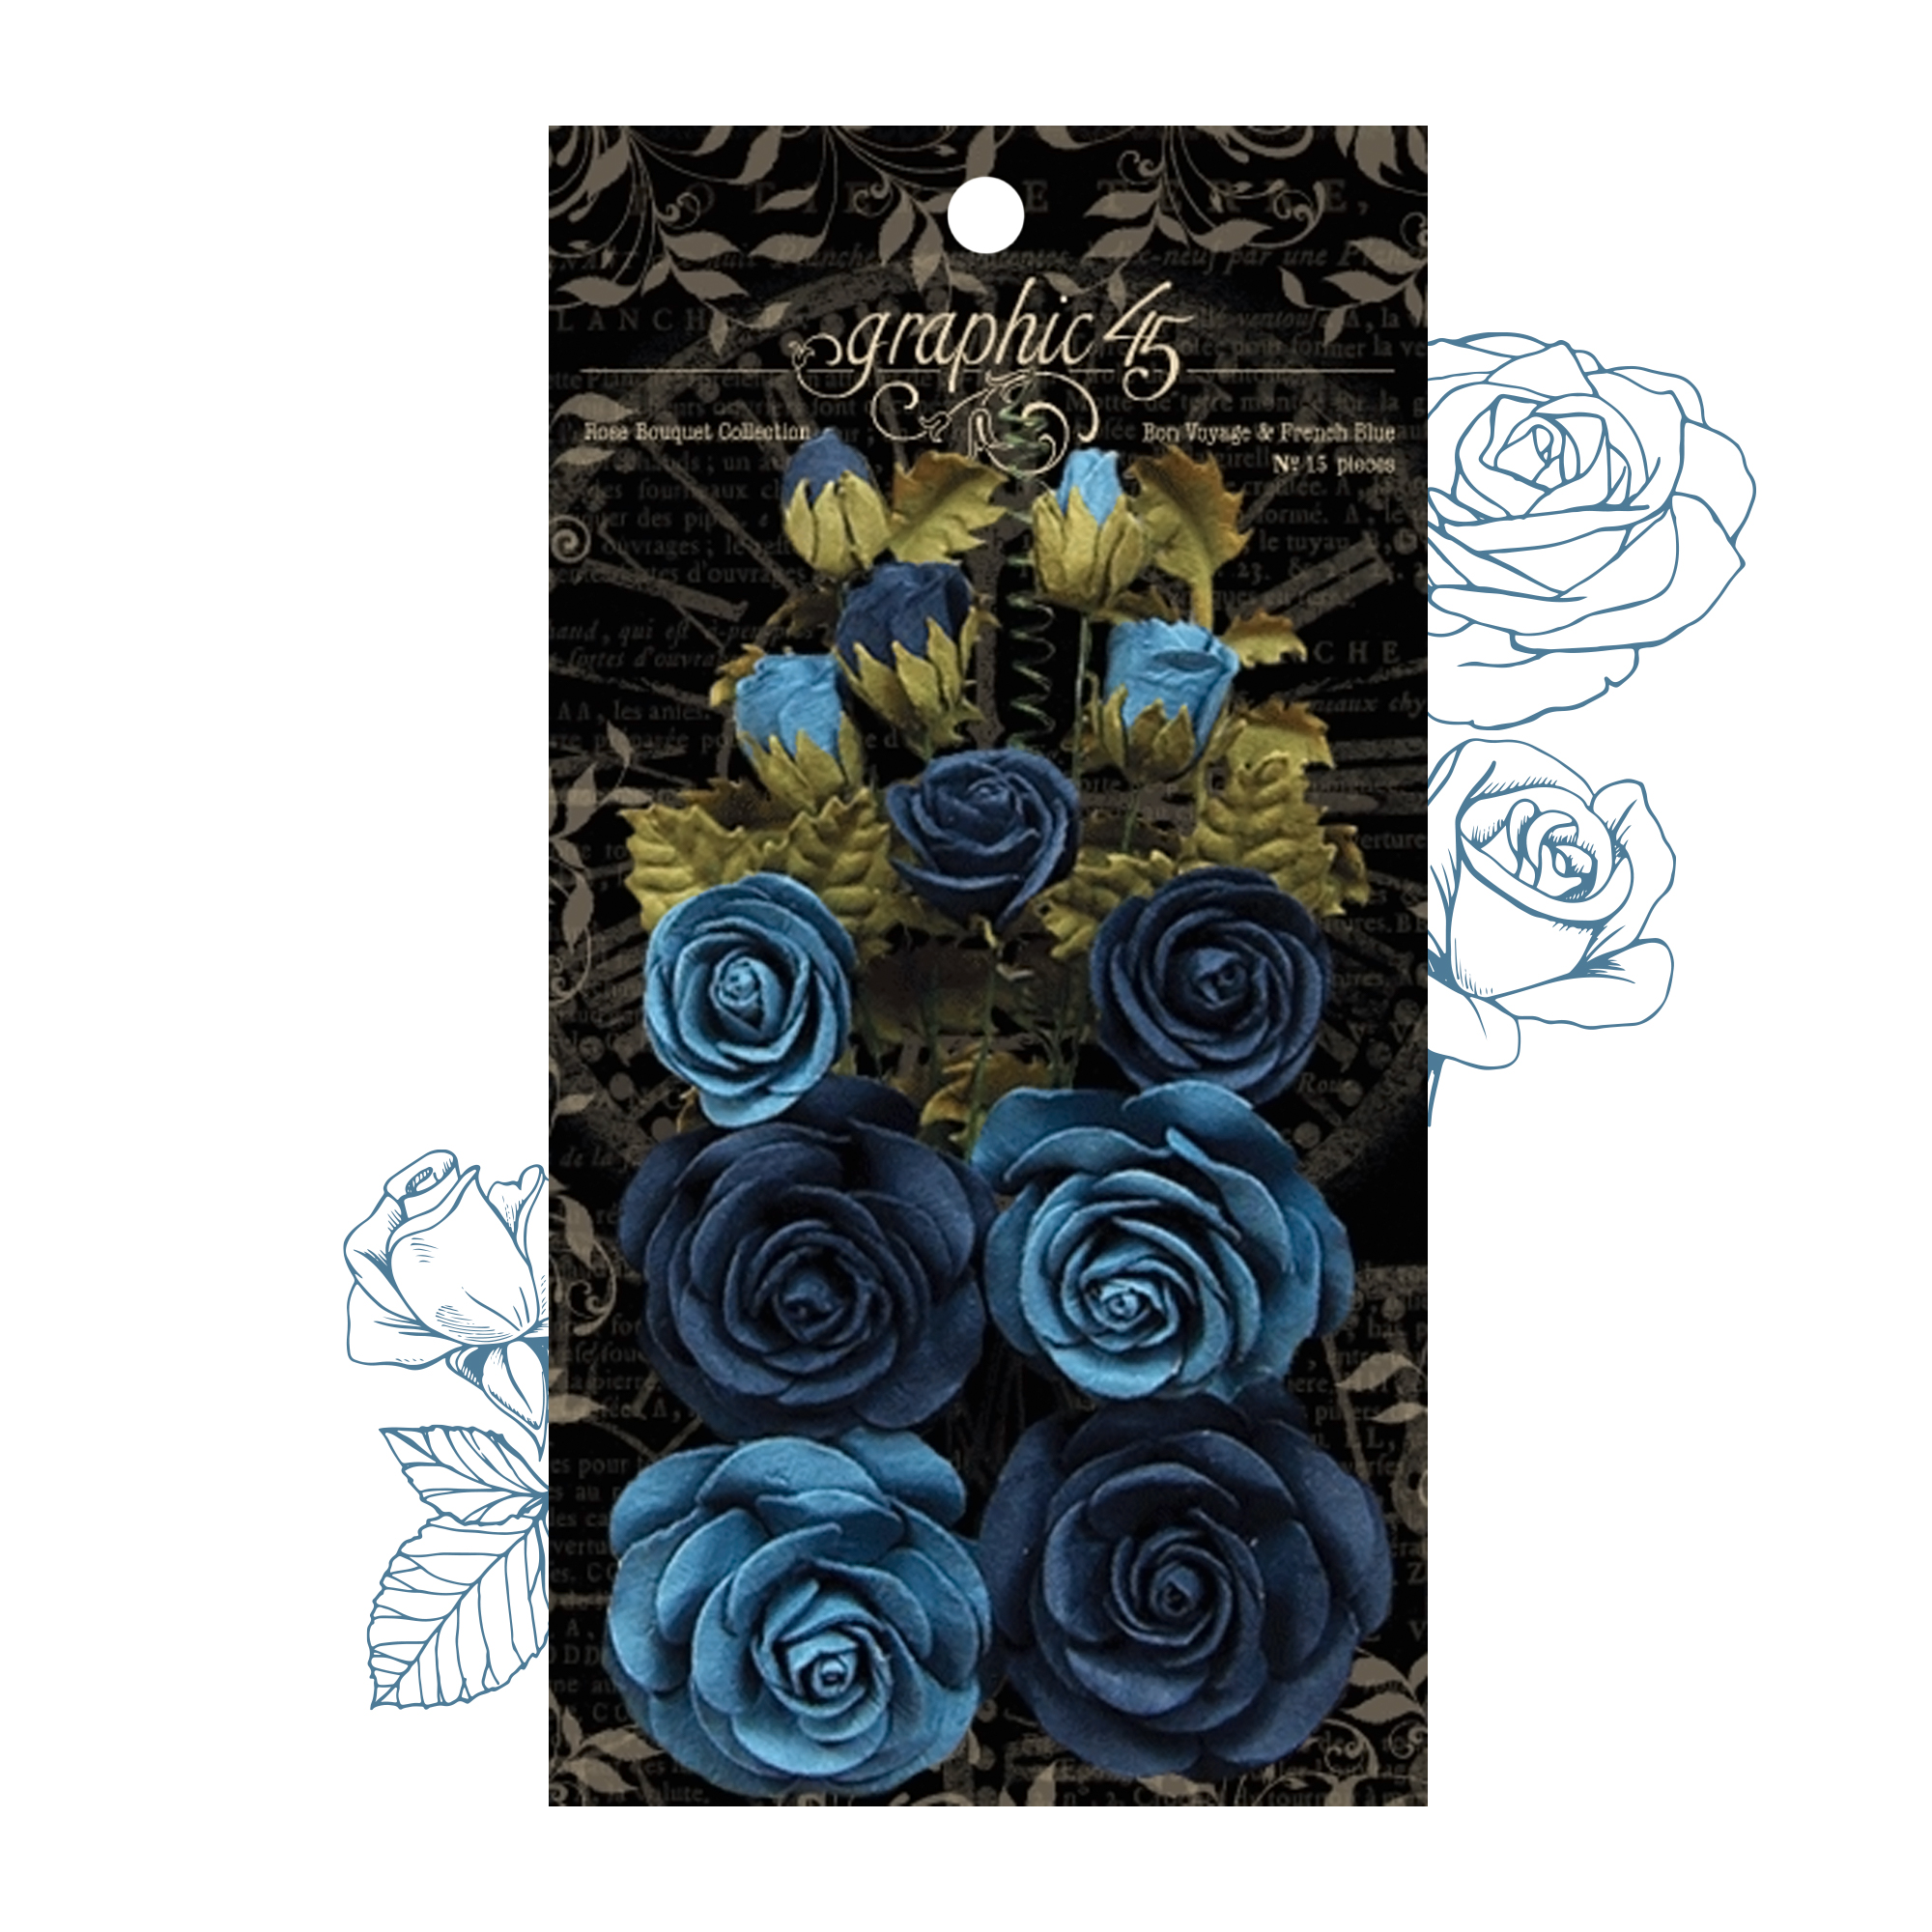
Rose Bouquet Collection on Voyage & French Blue
Premium Double- Sided Tape 1/8″
Clothespins
Mini bottle (Embellishment)
Pearls
Strass
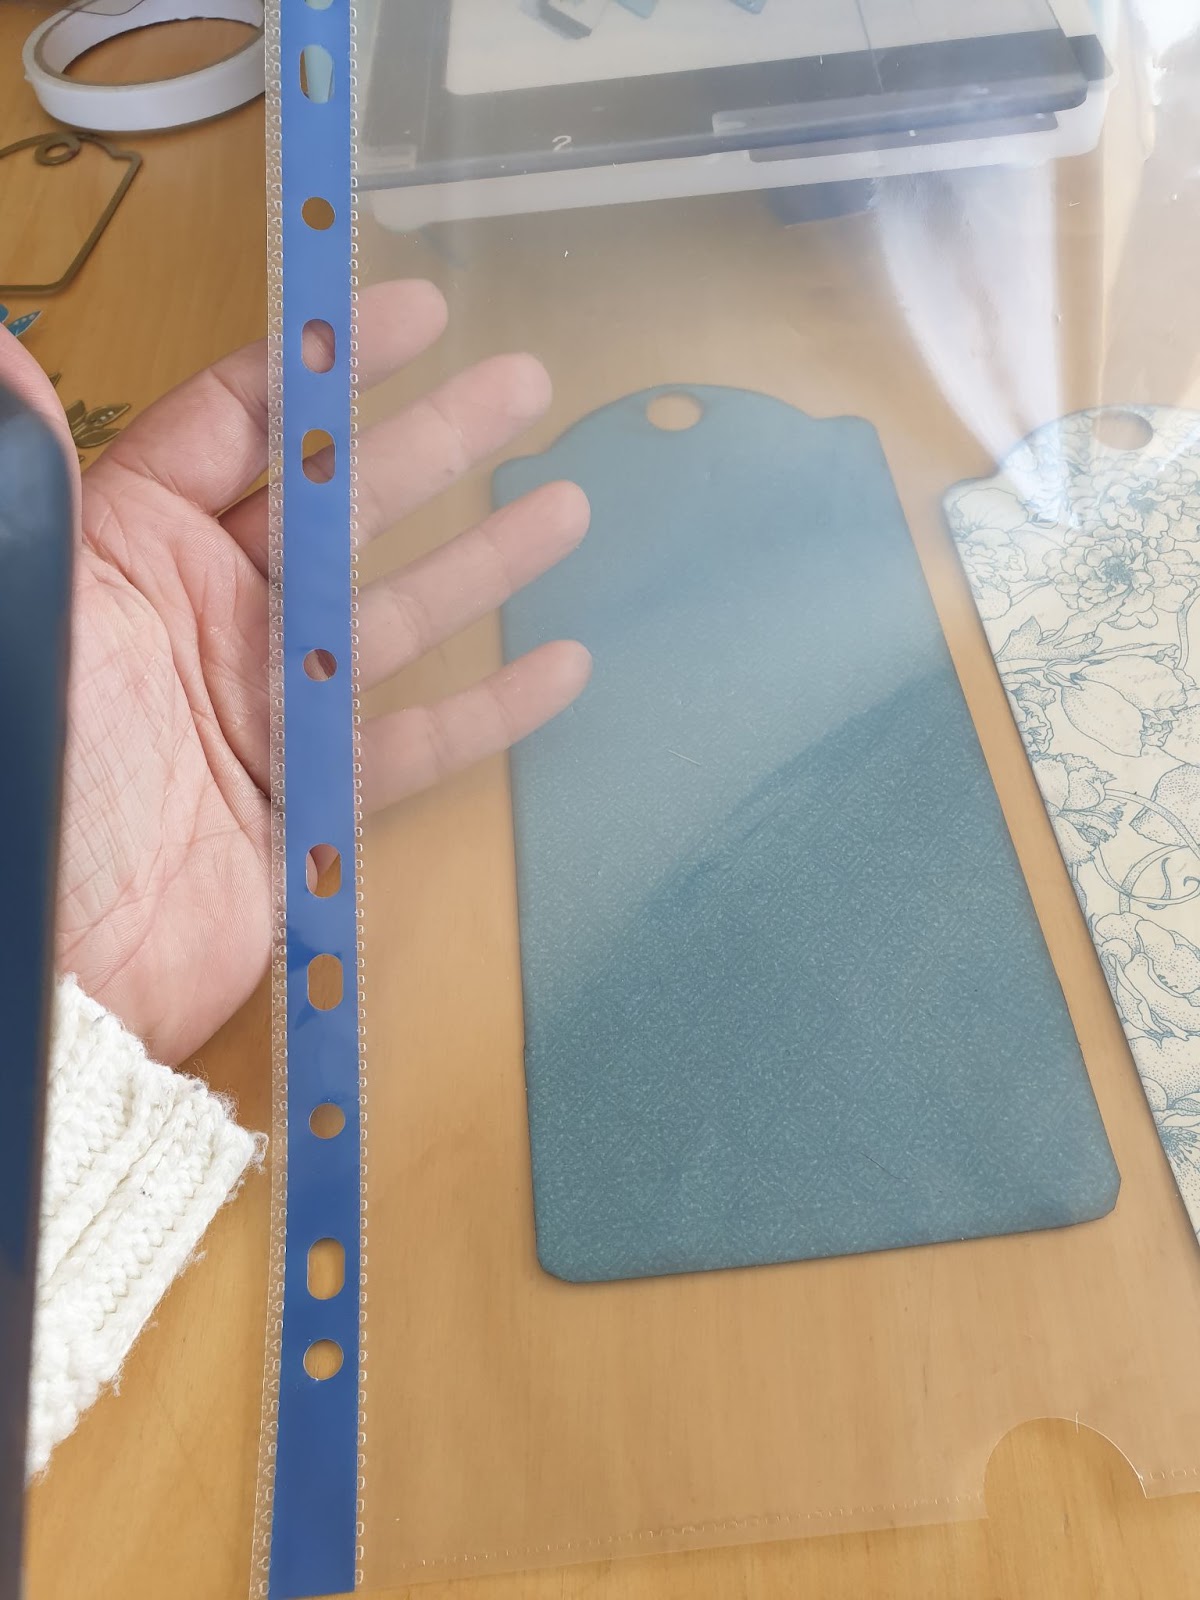
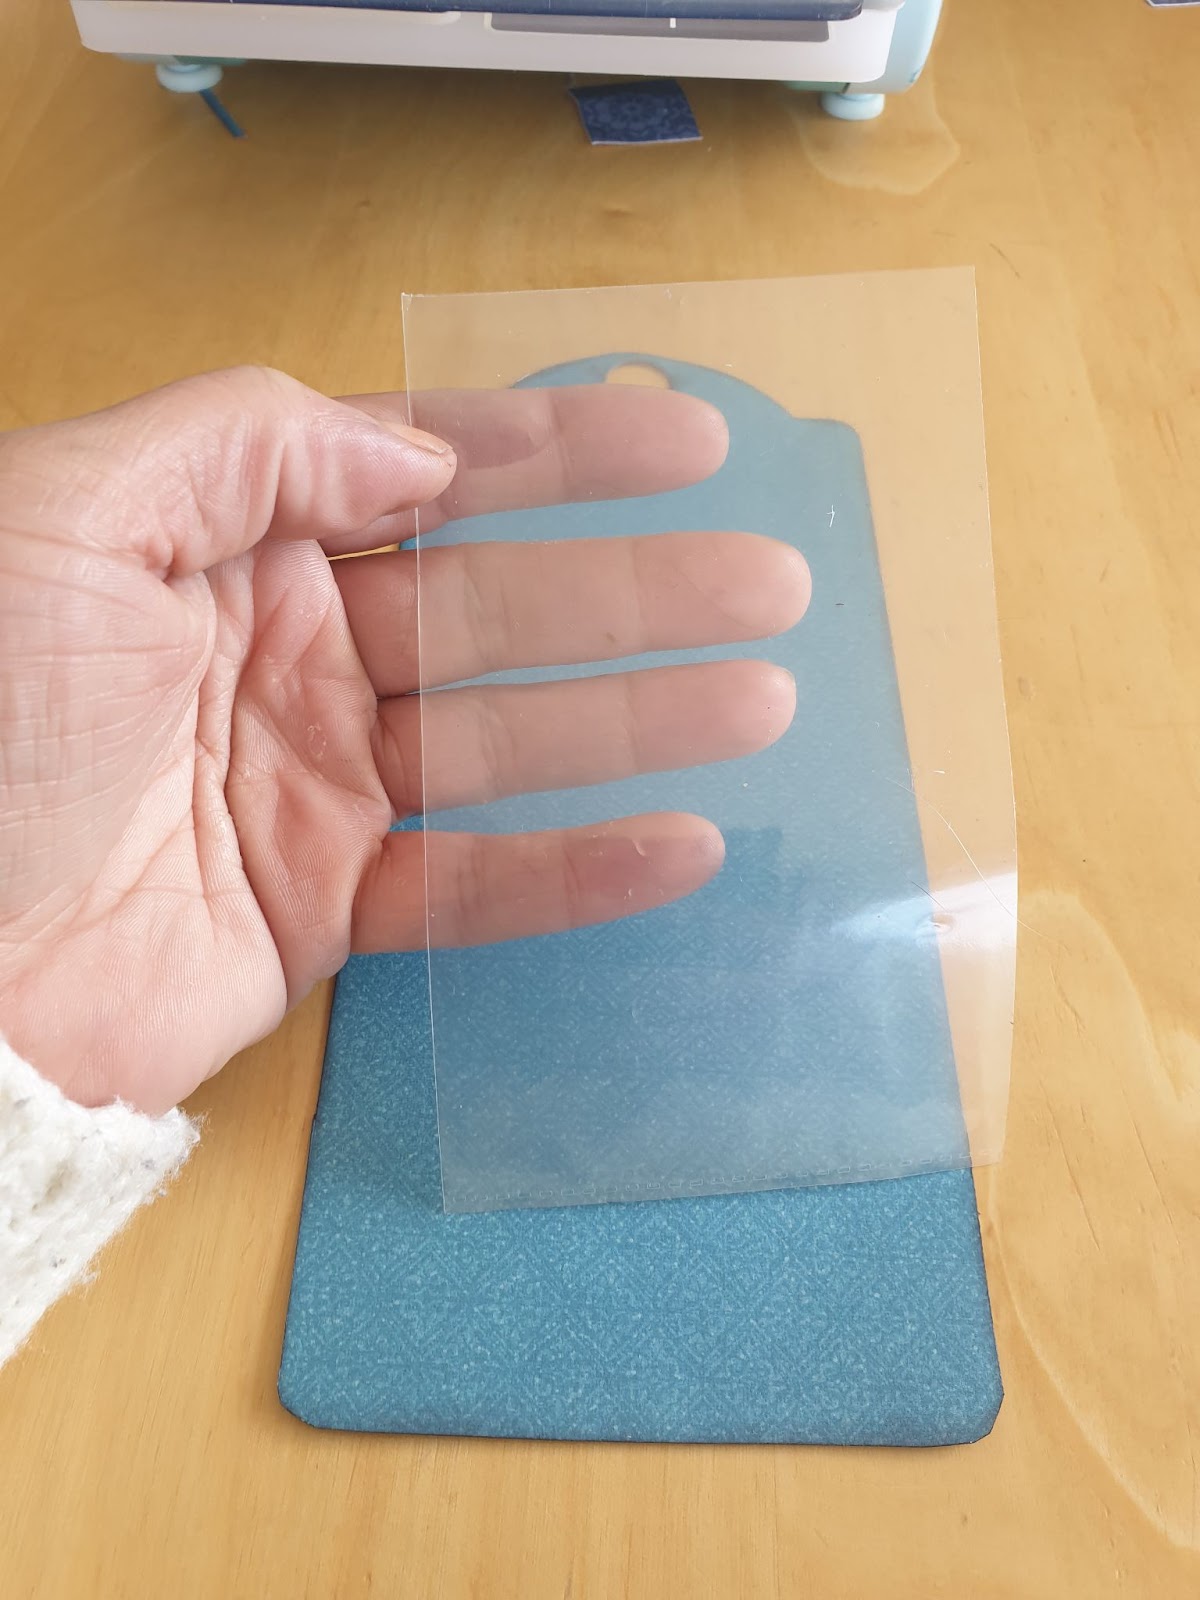
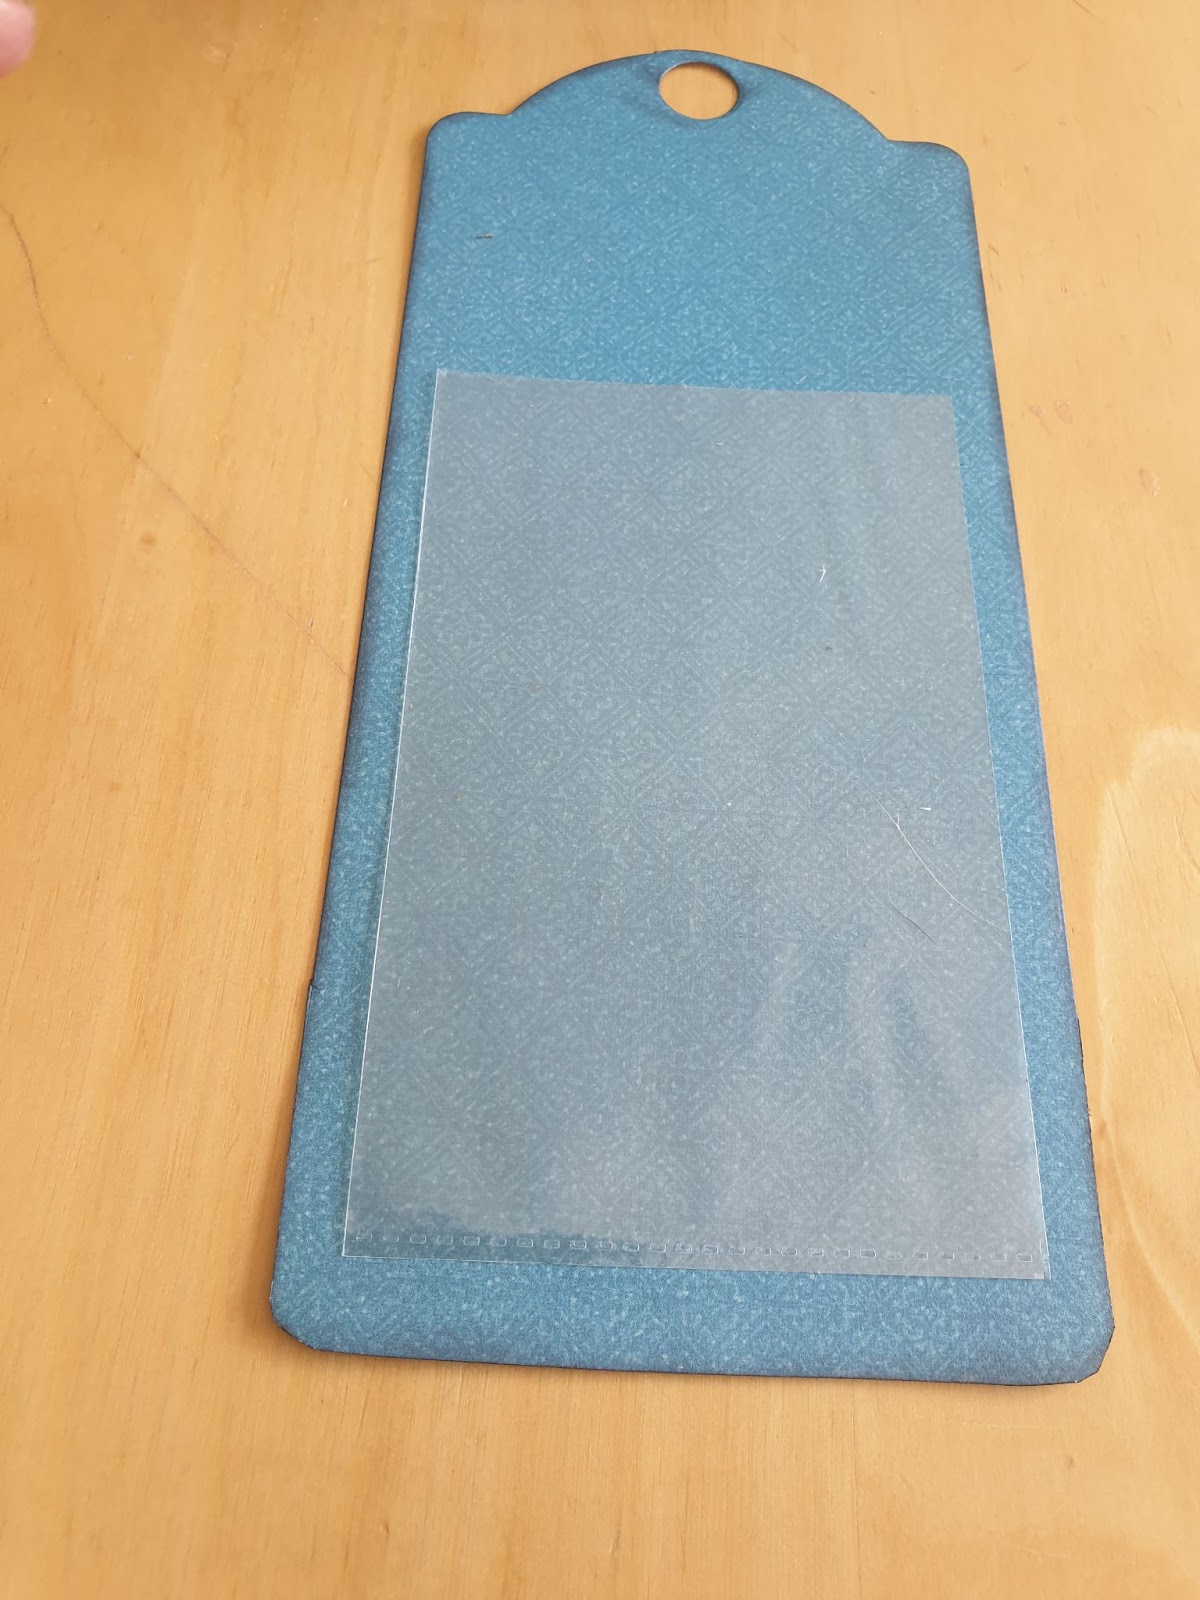
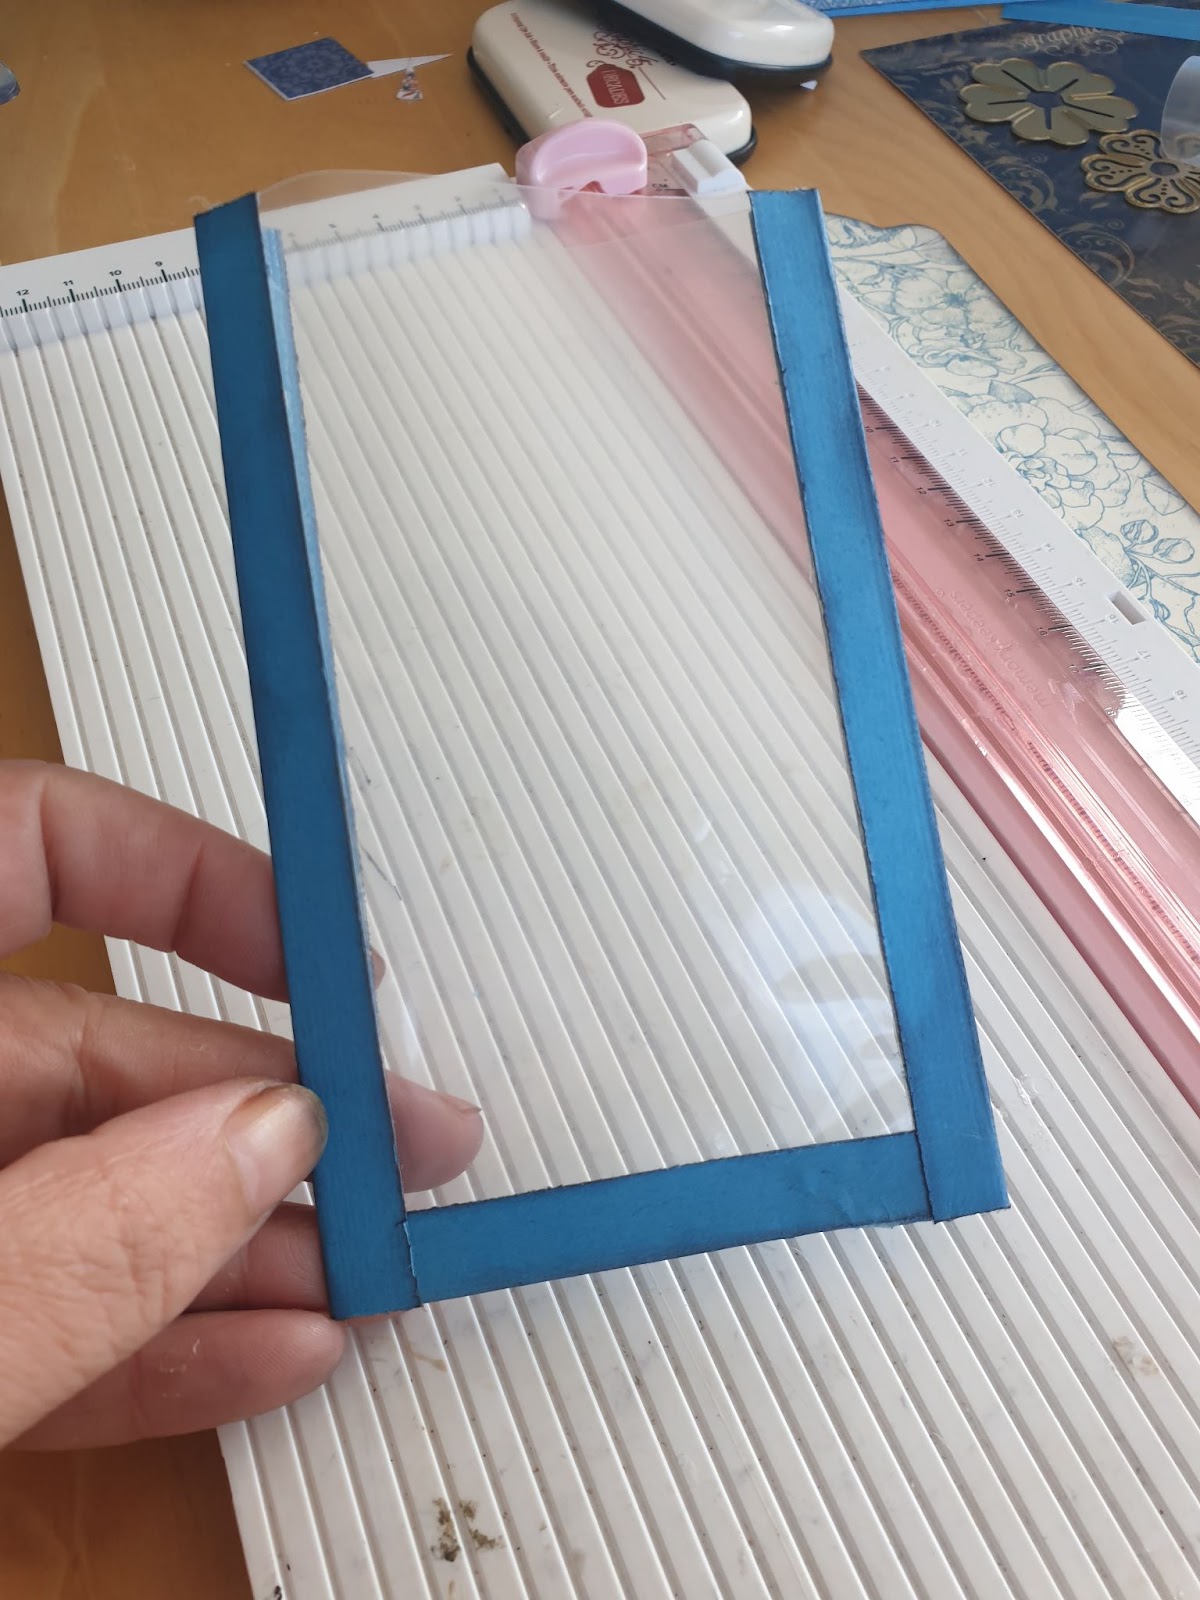
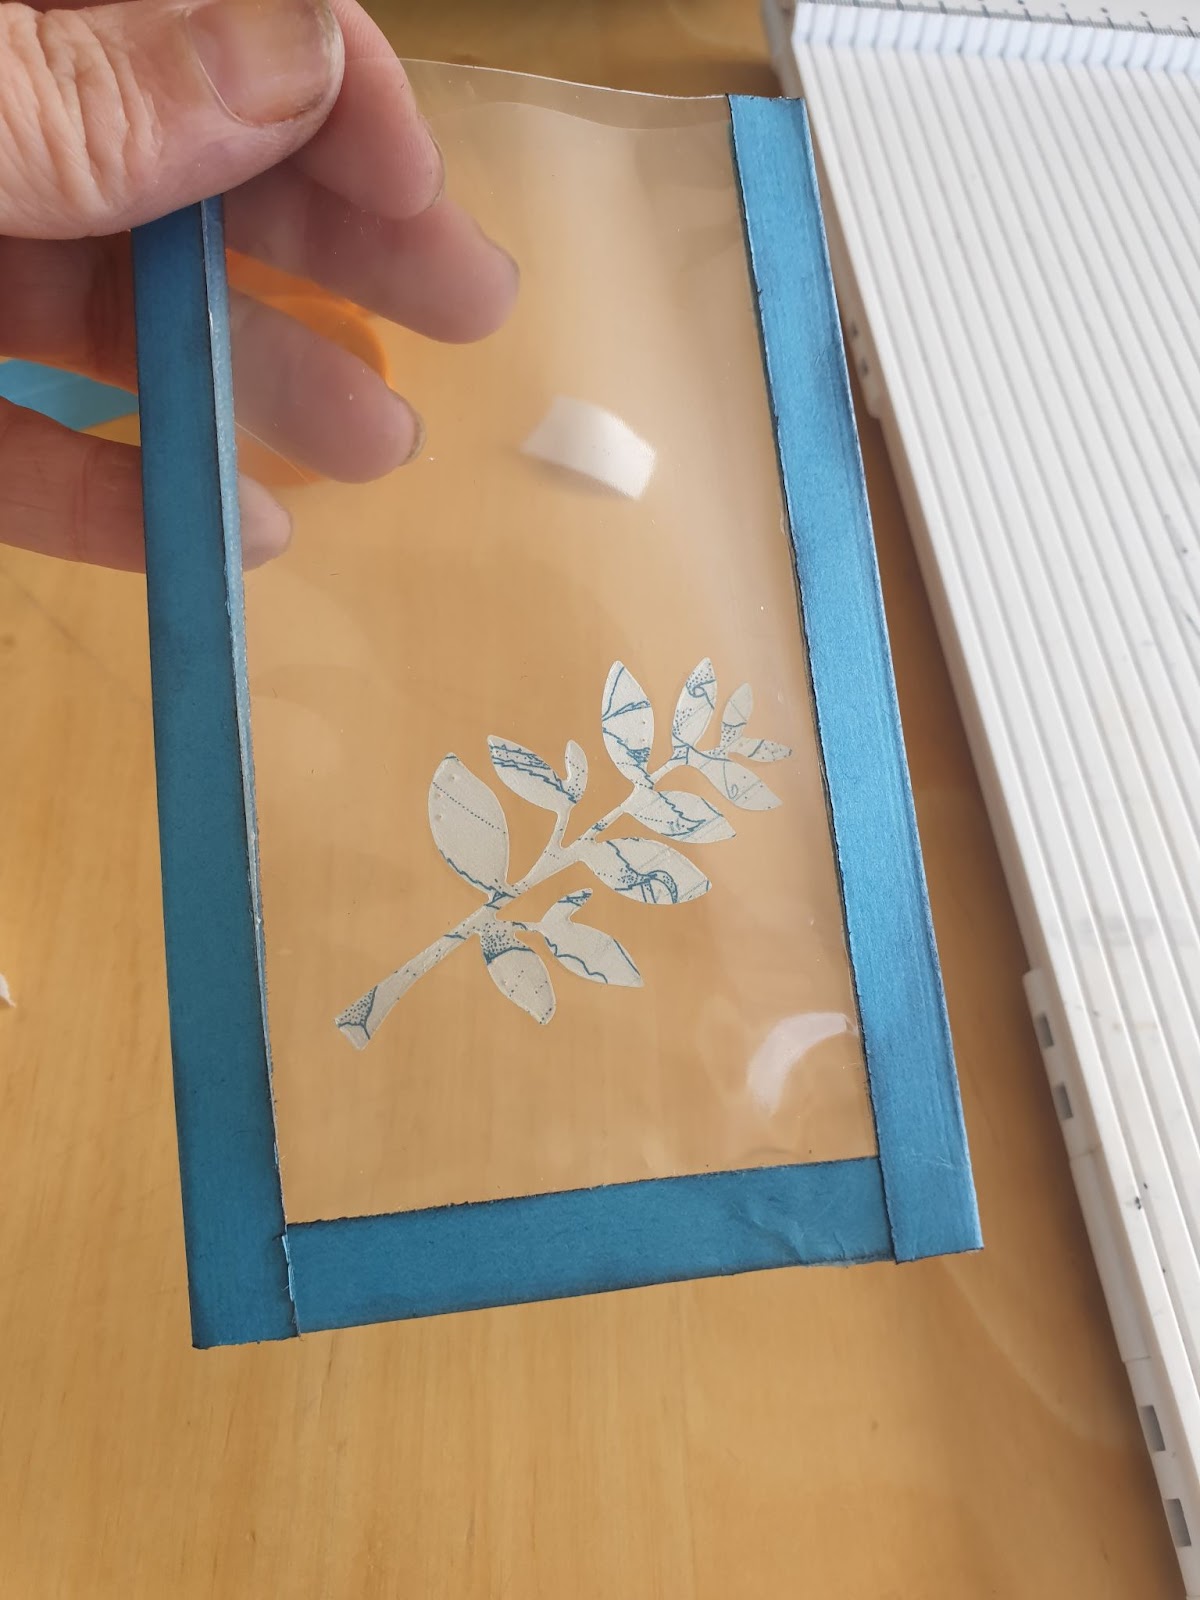
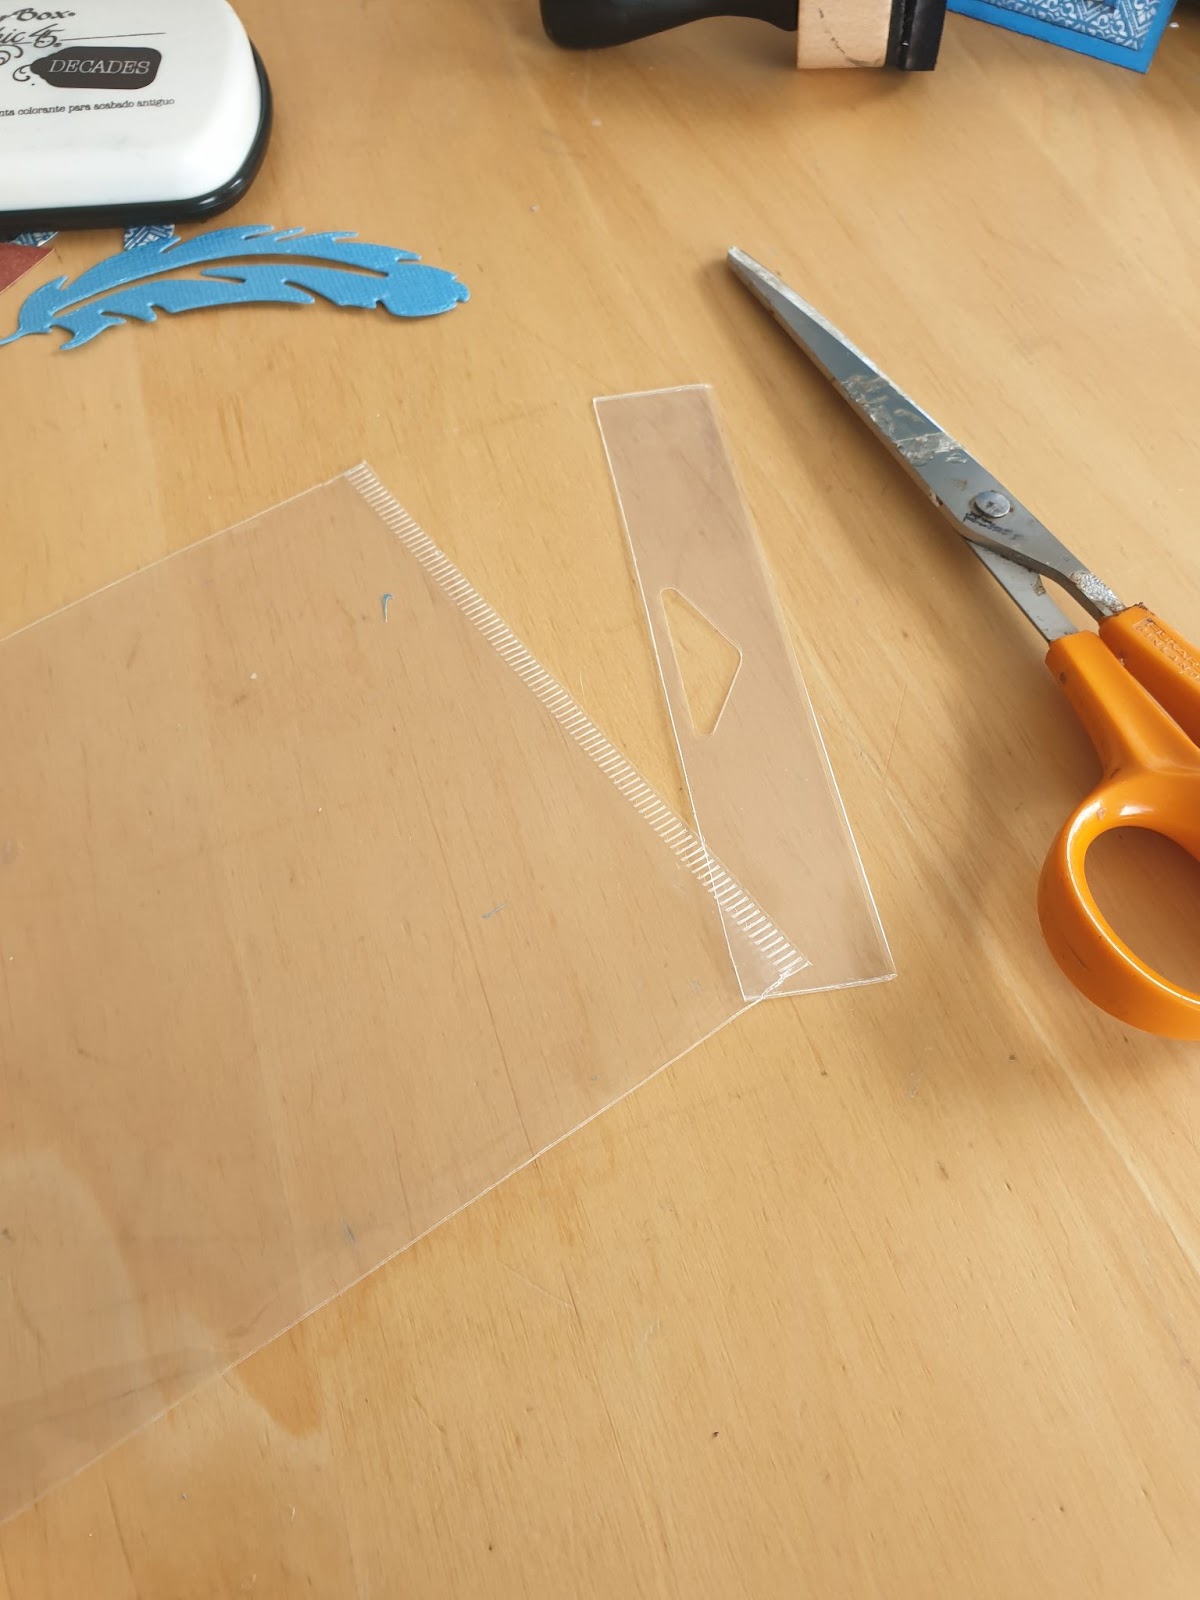
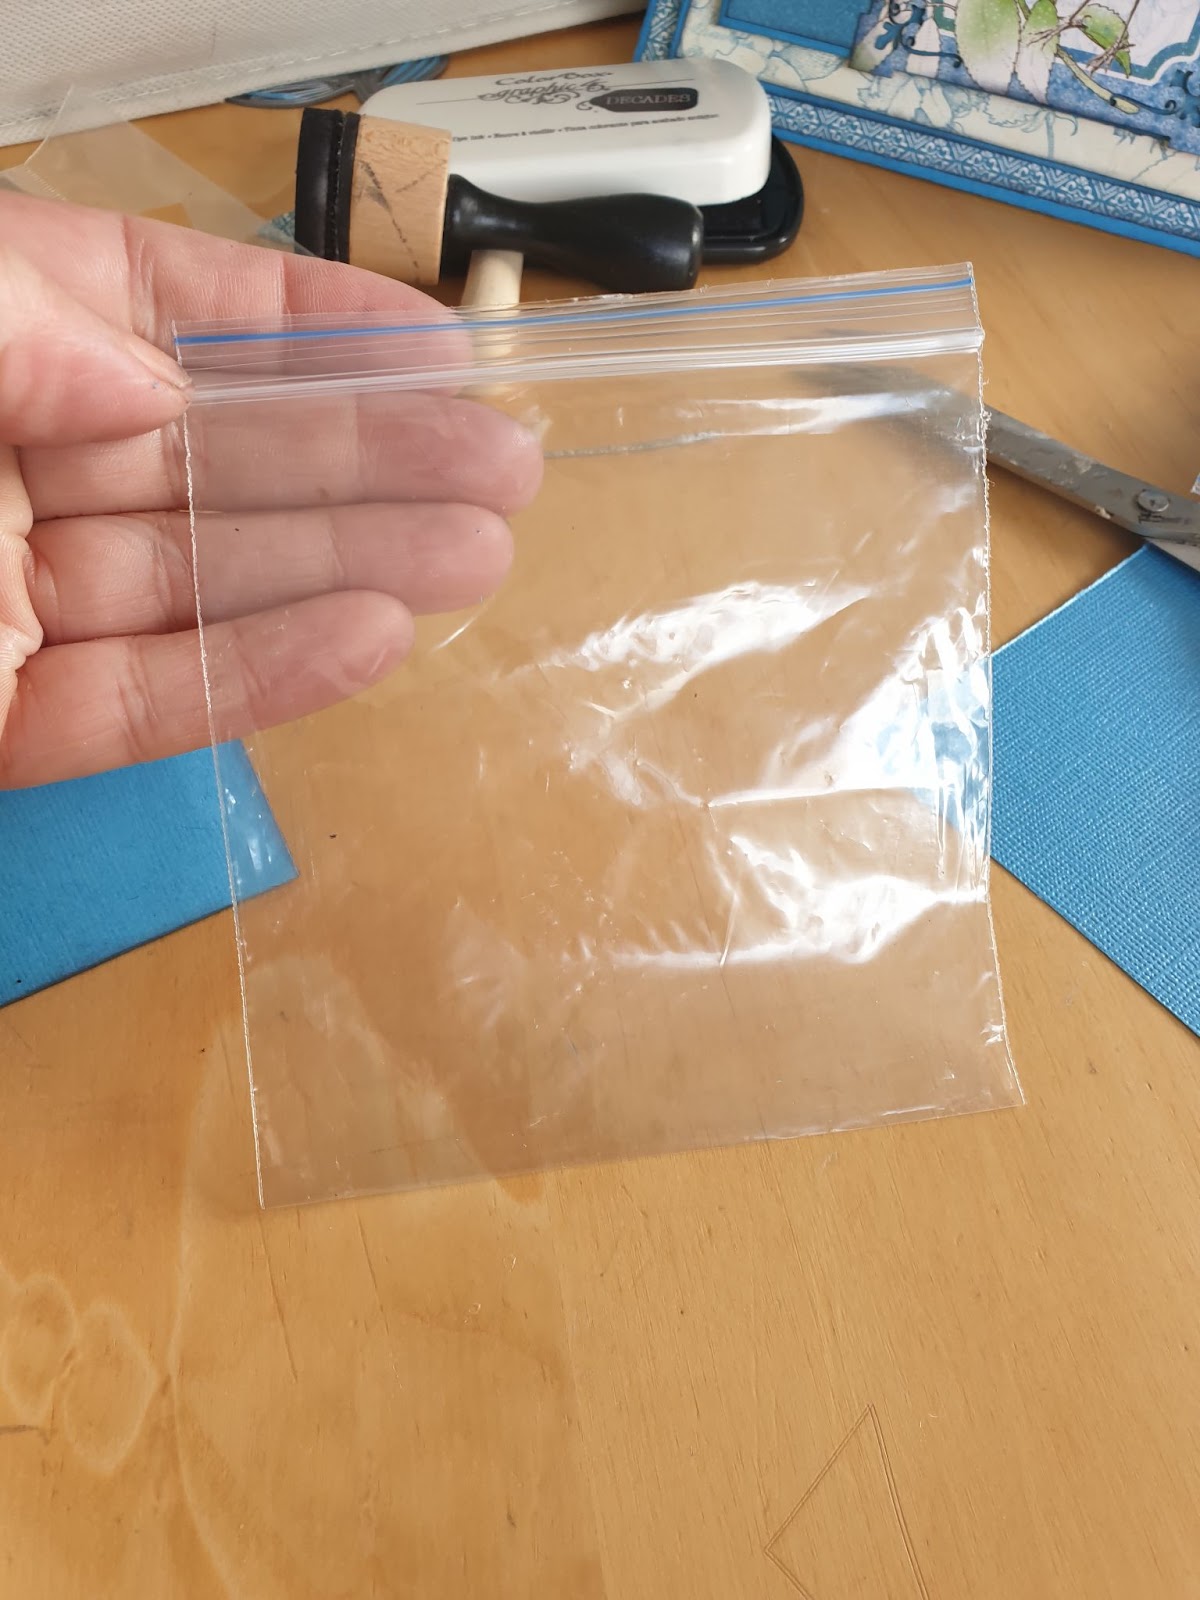
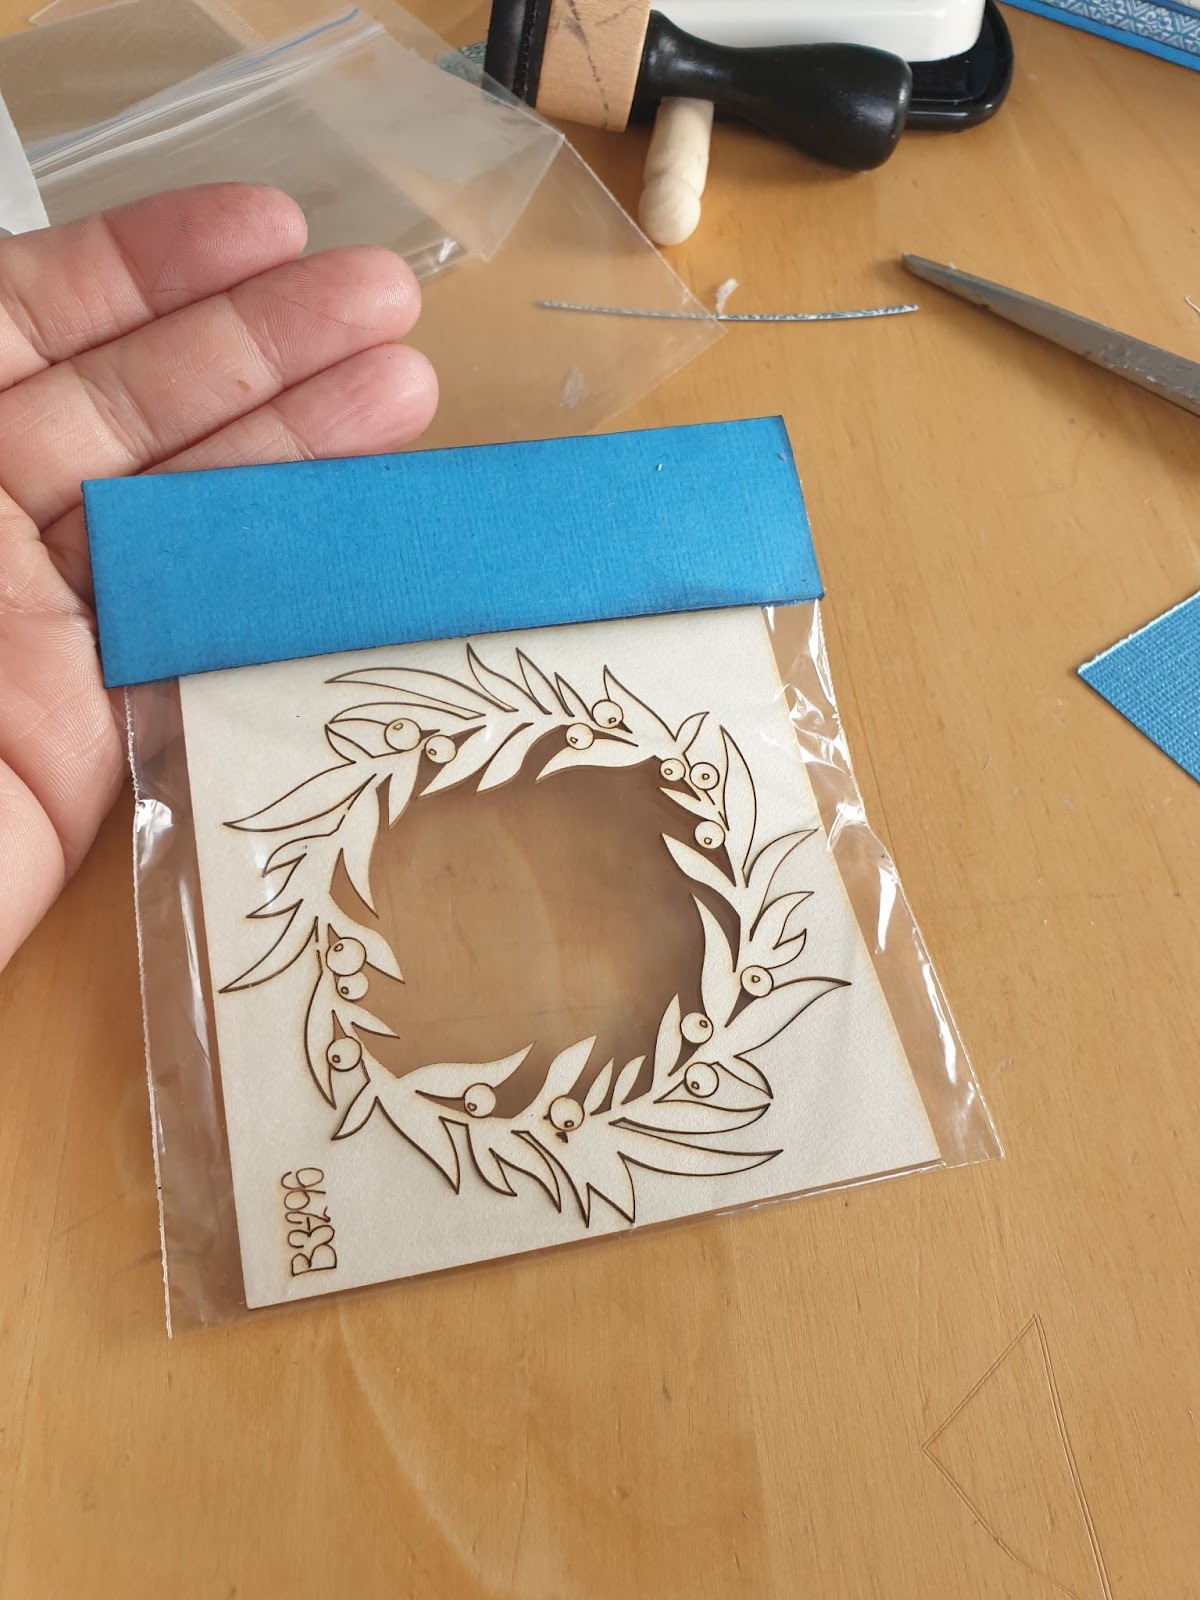
Punched pocket
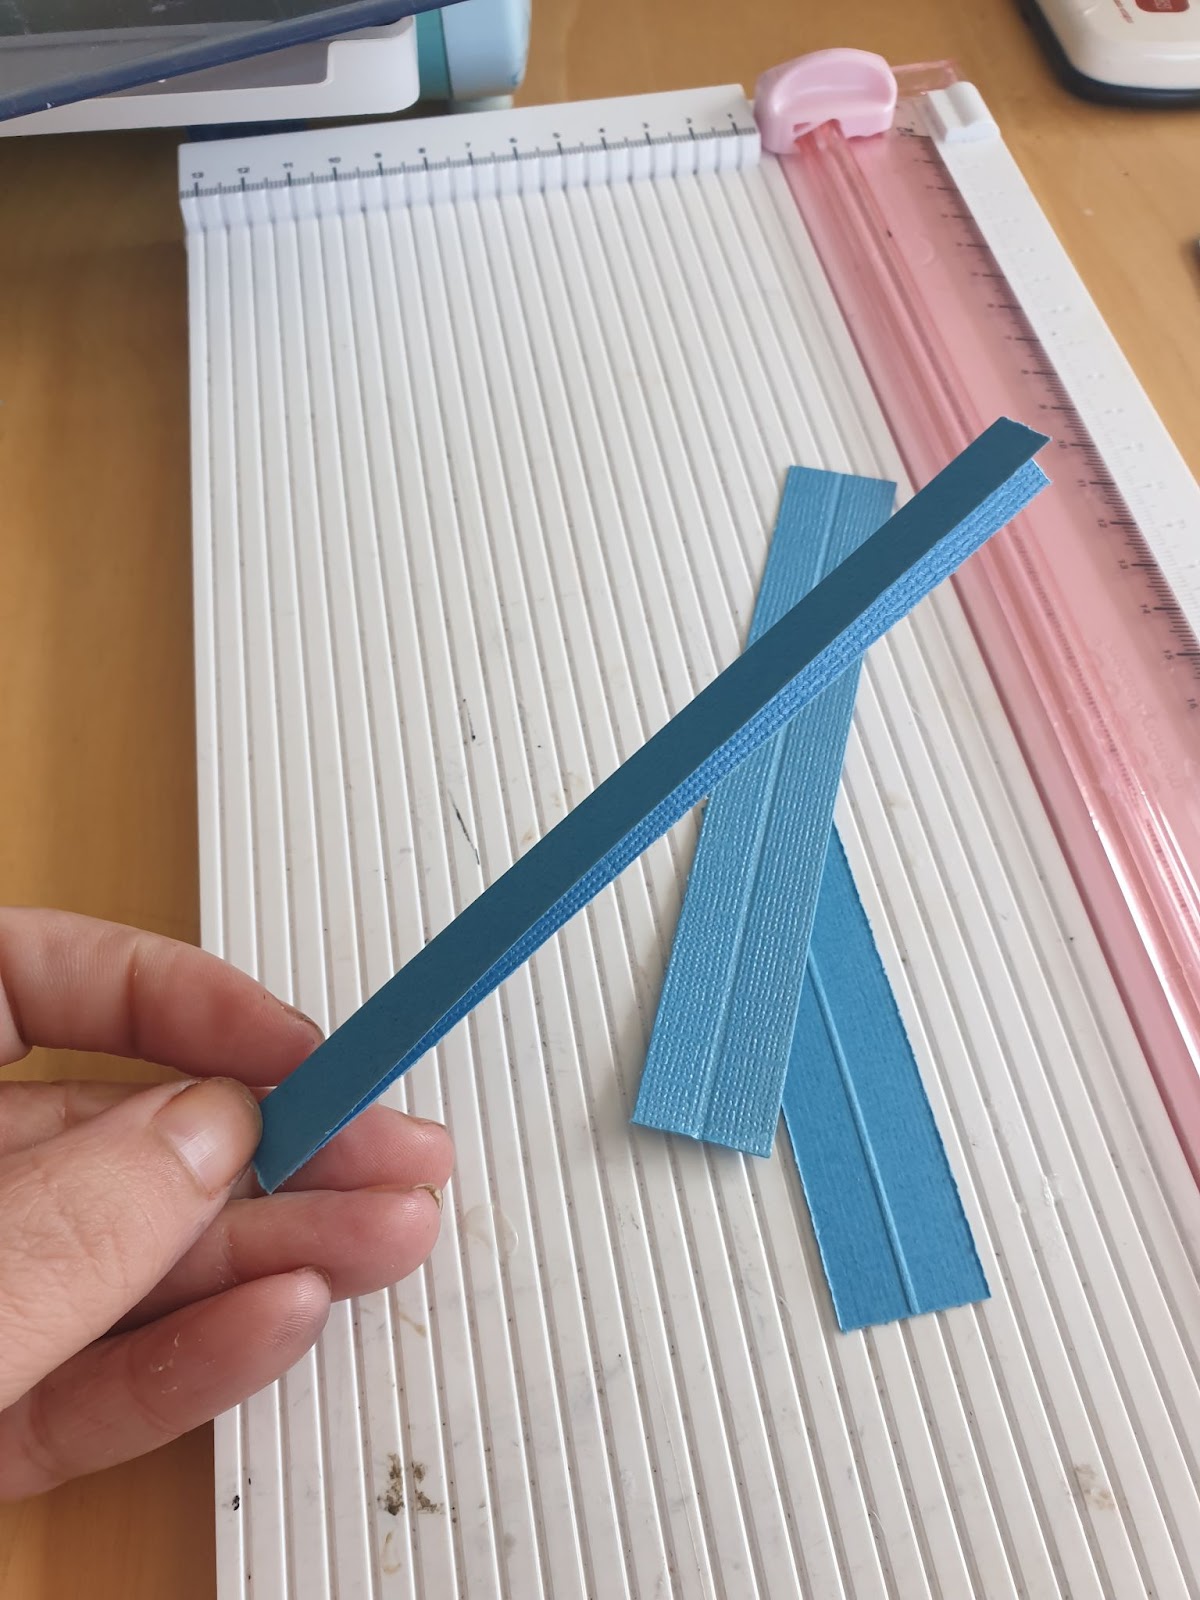
Blue cardstock
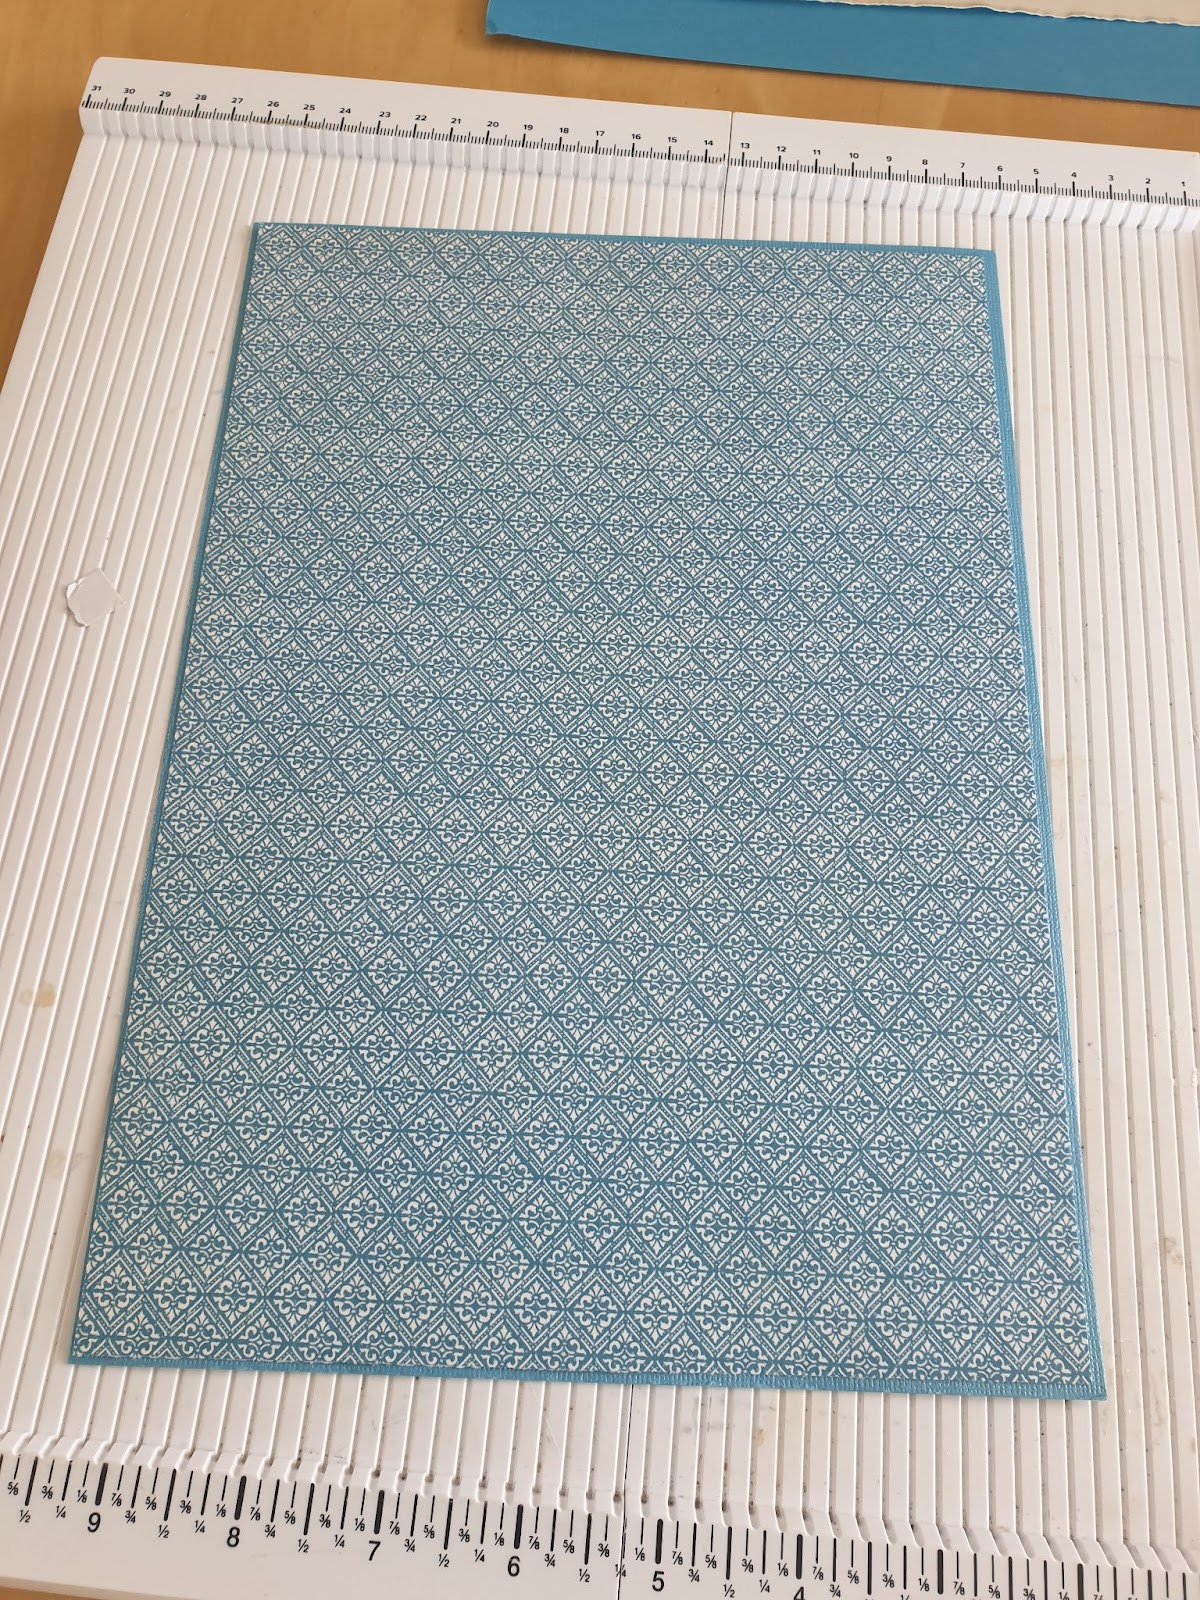
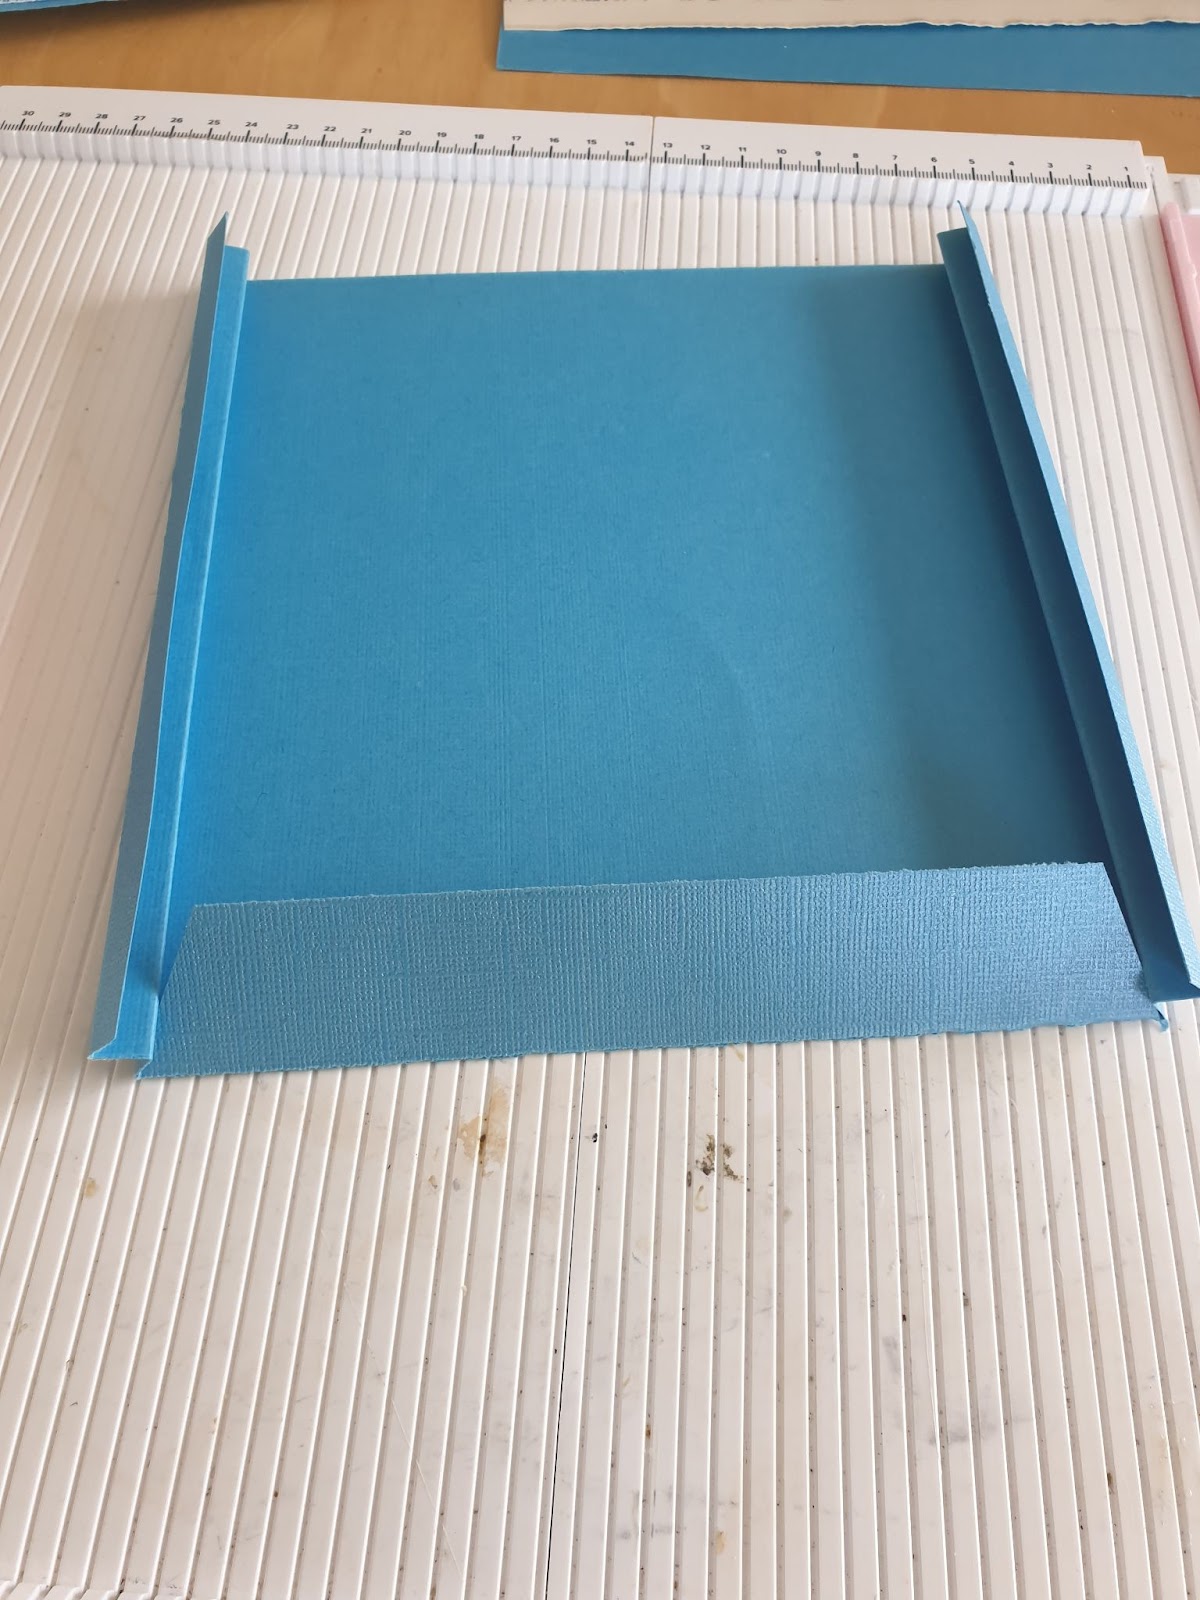
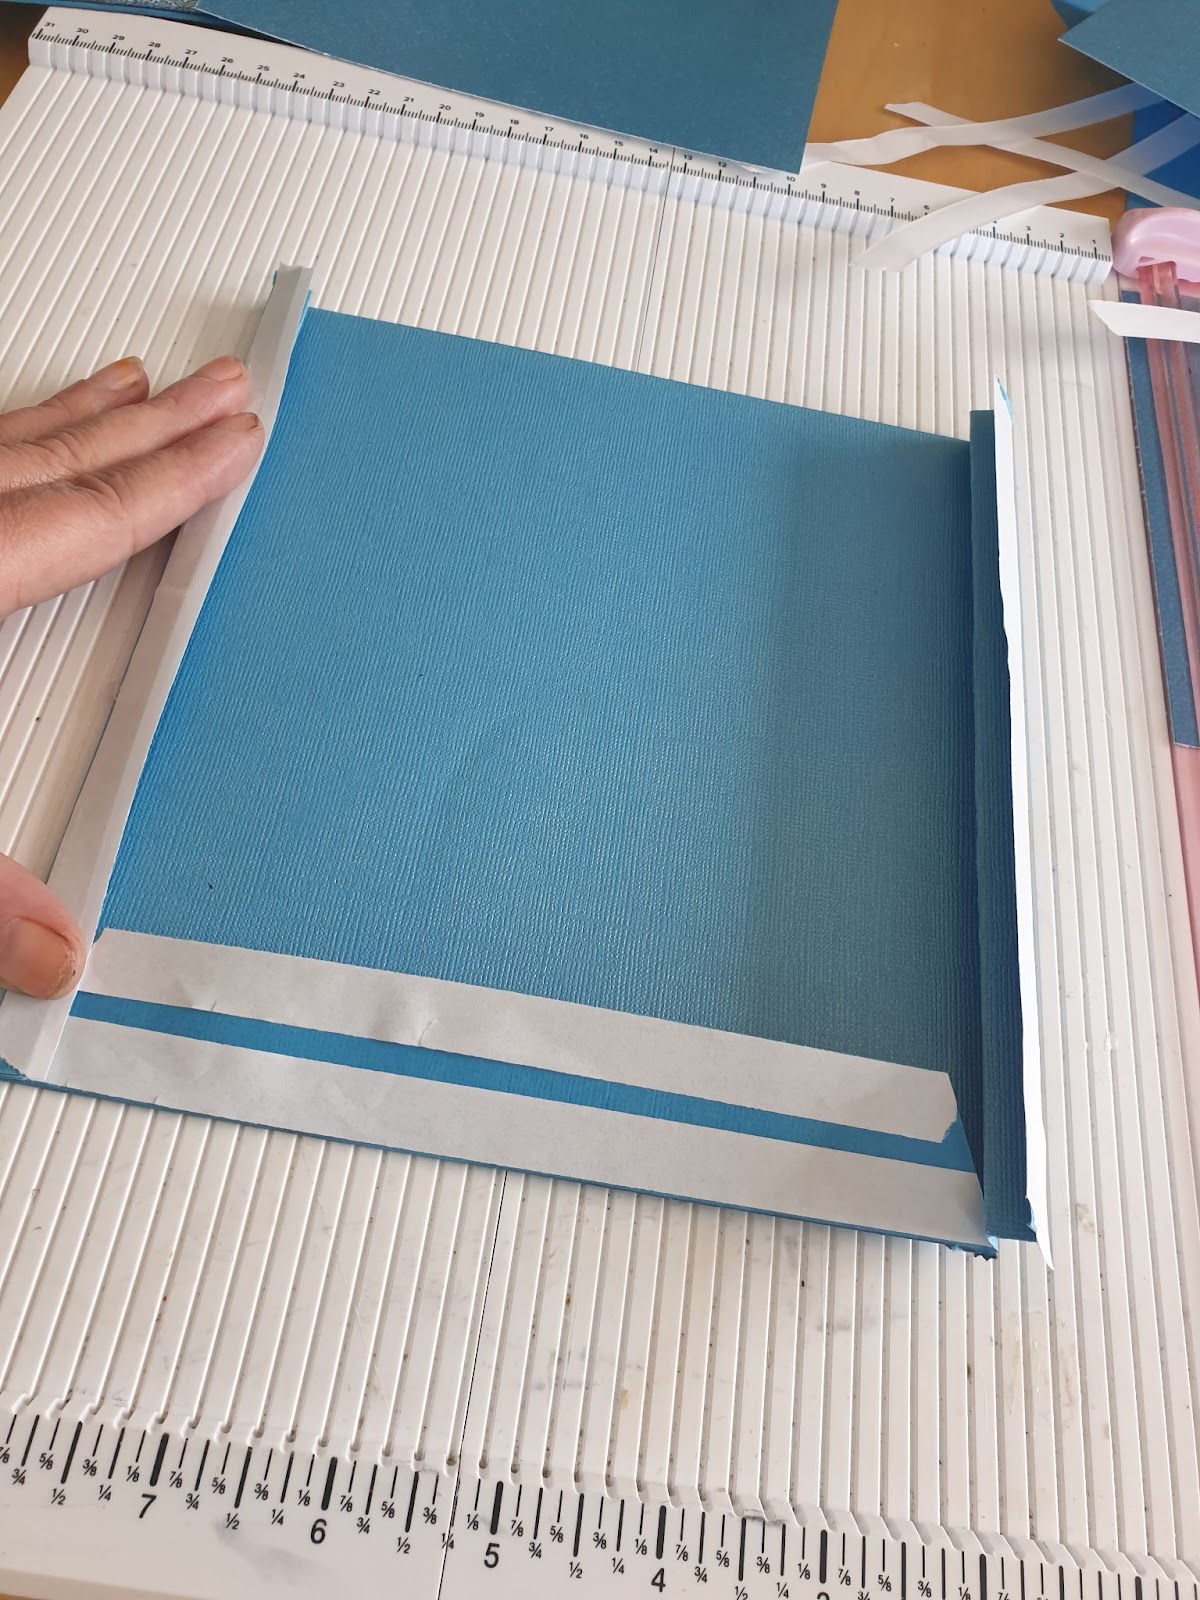
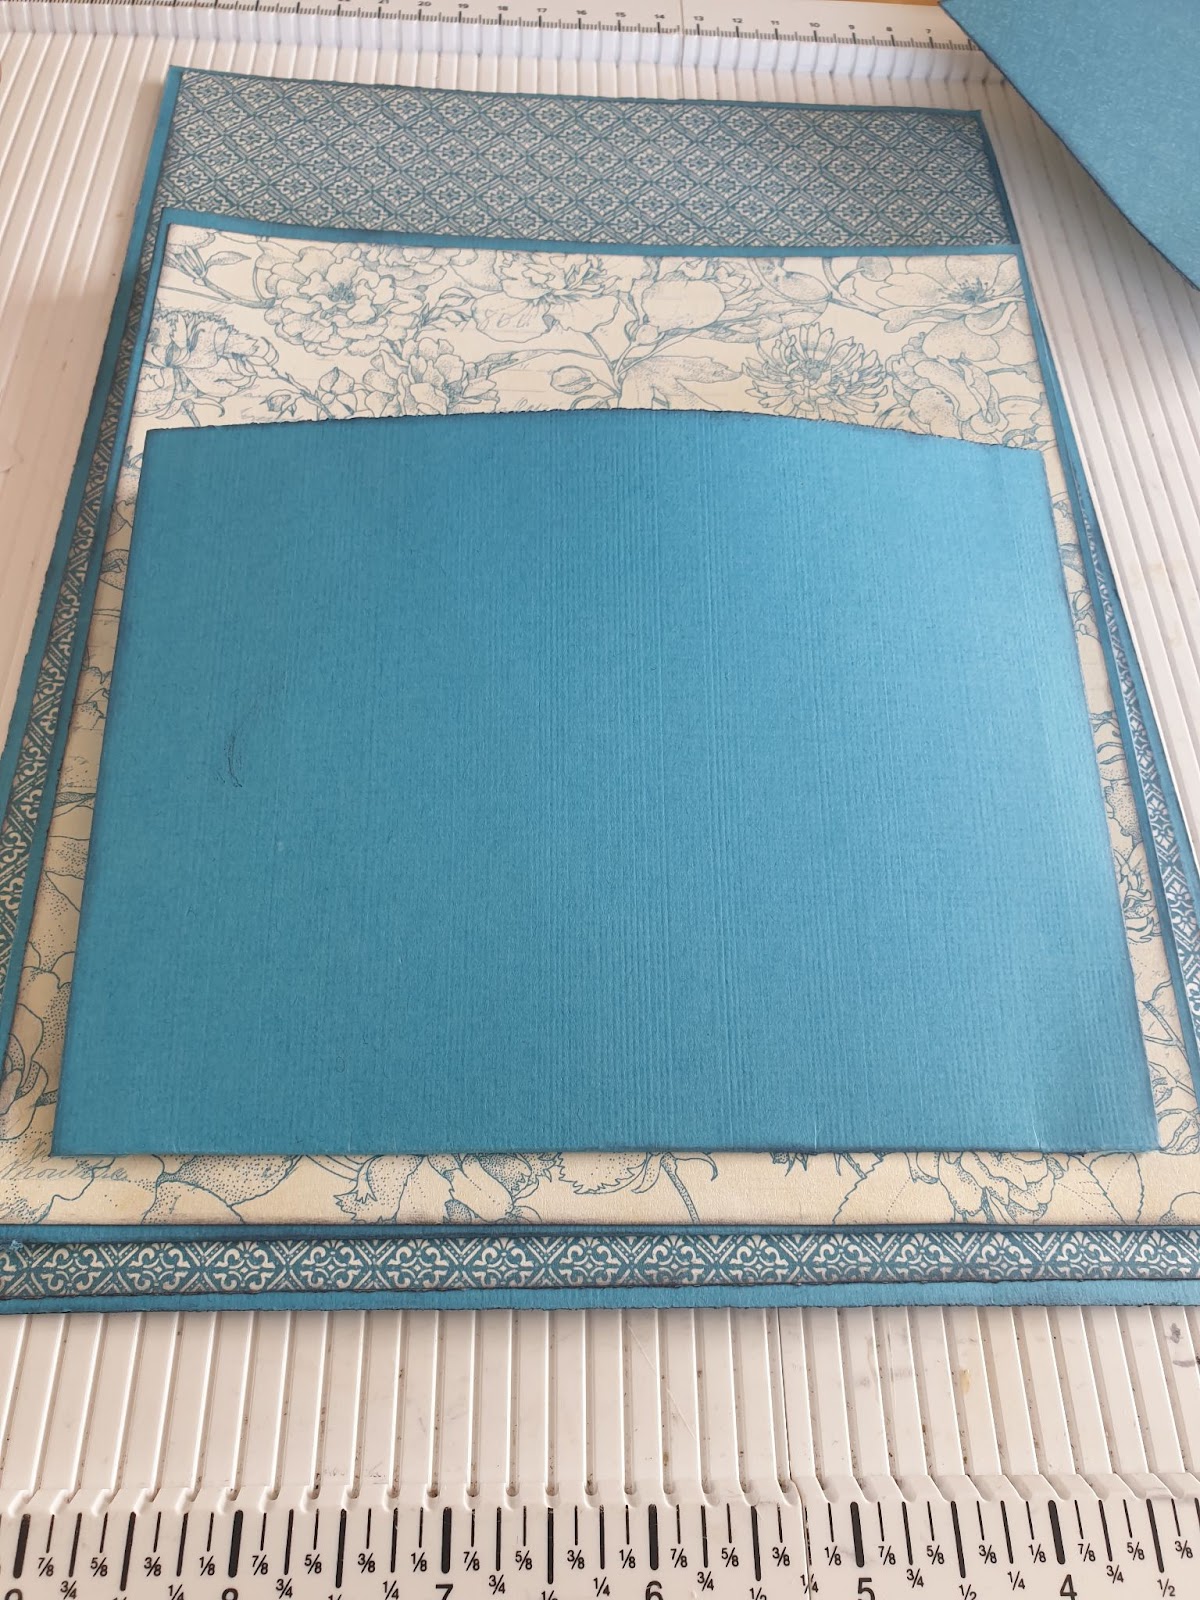
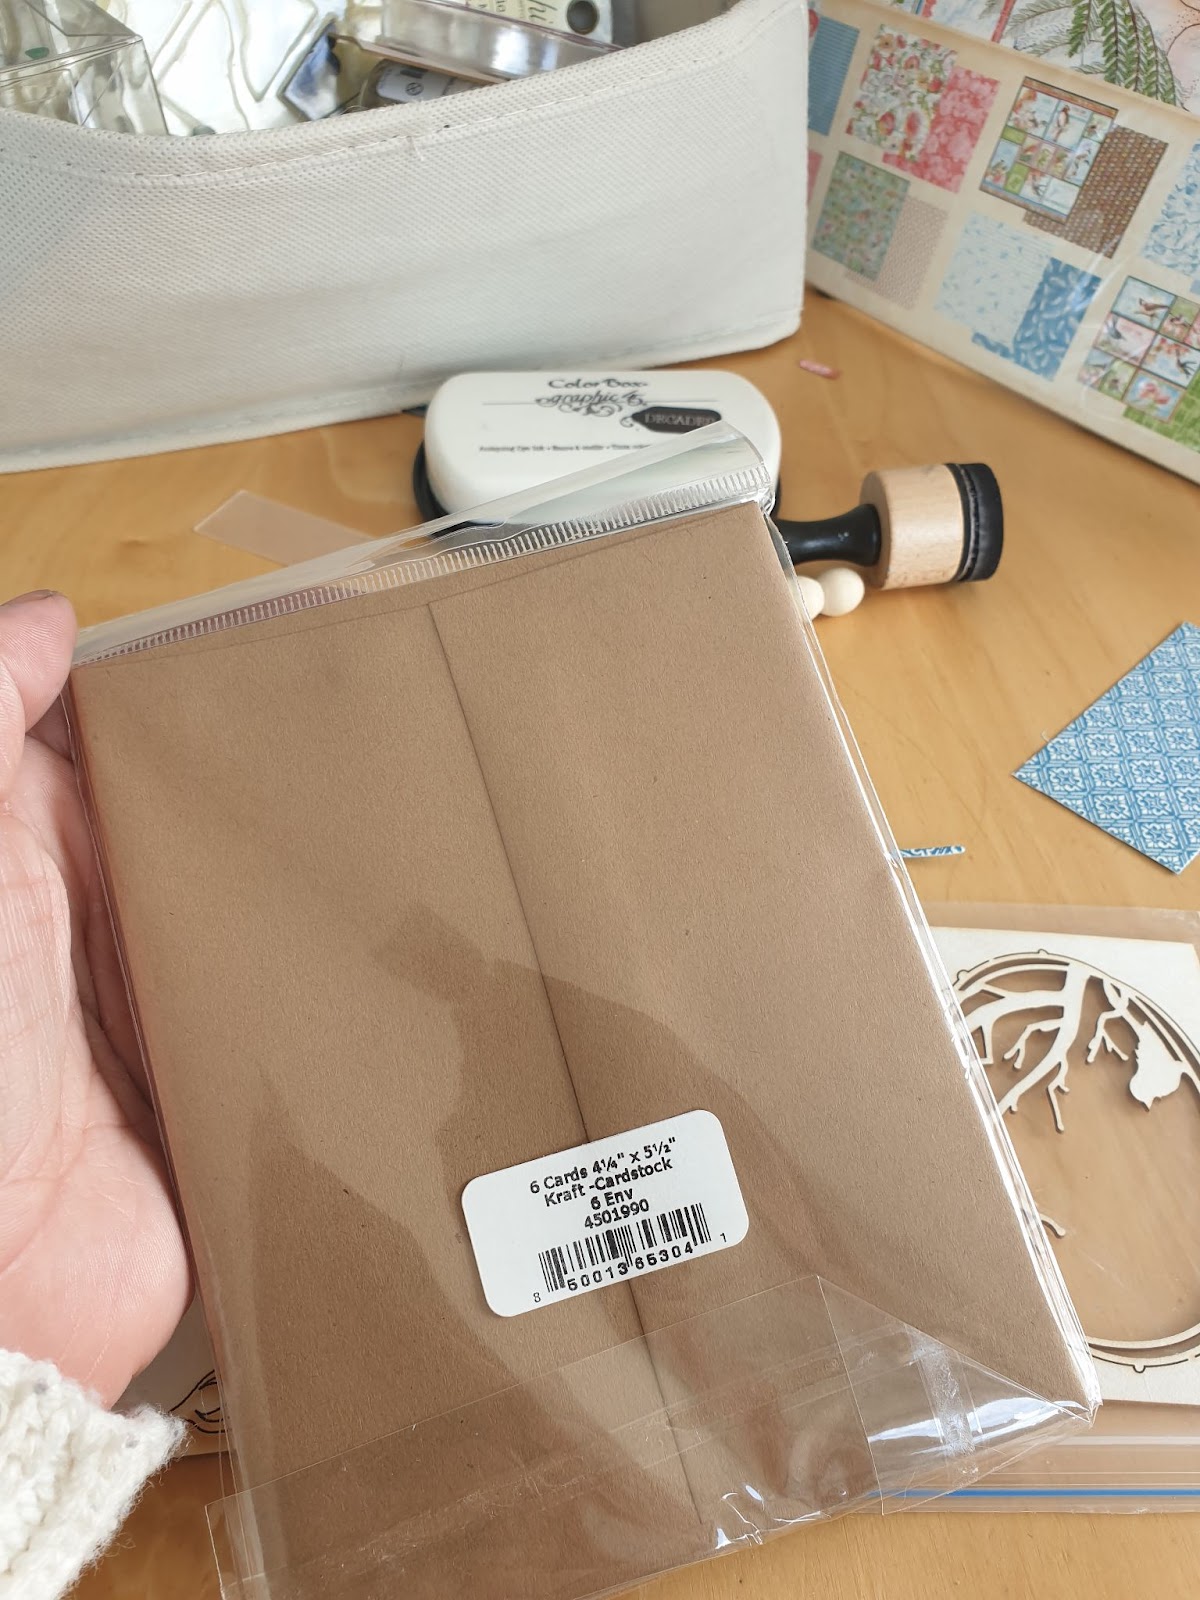
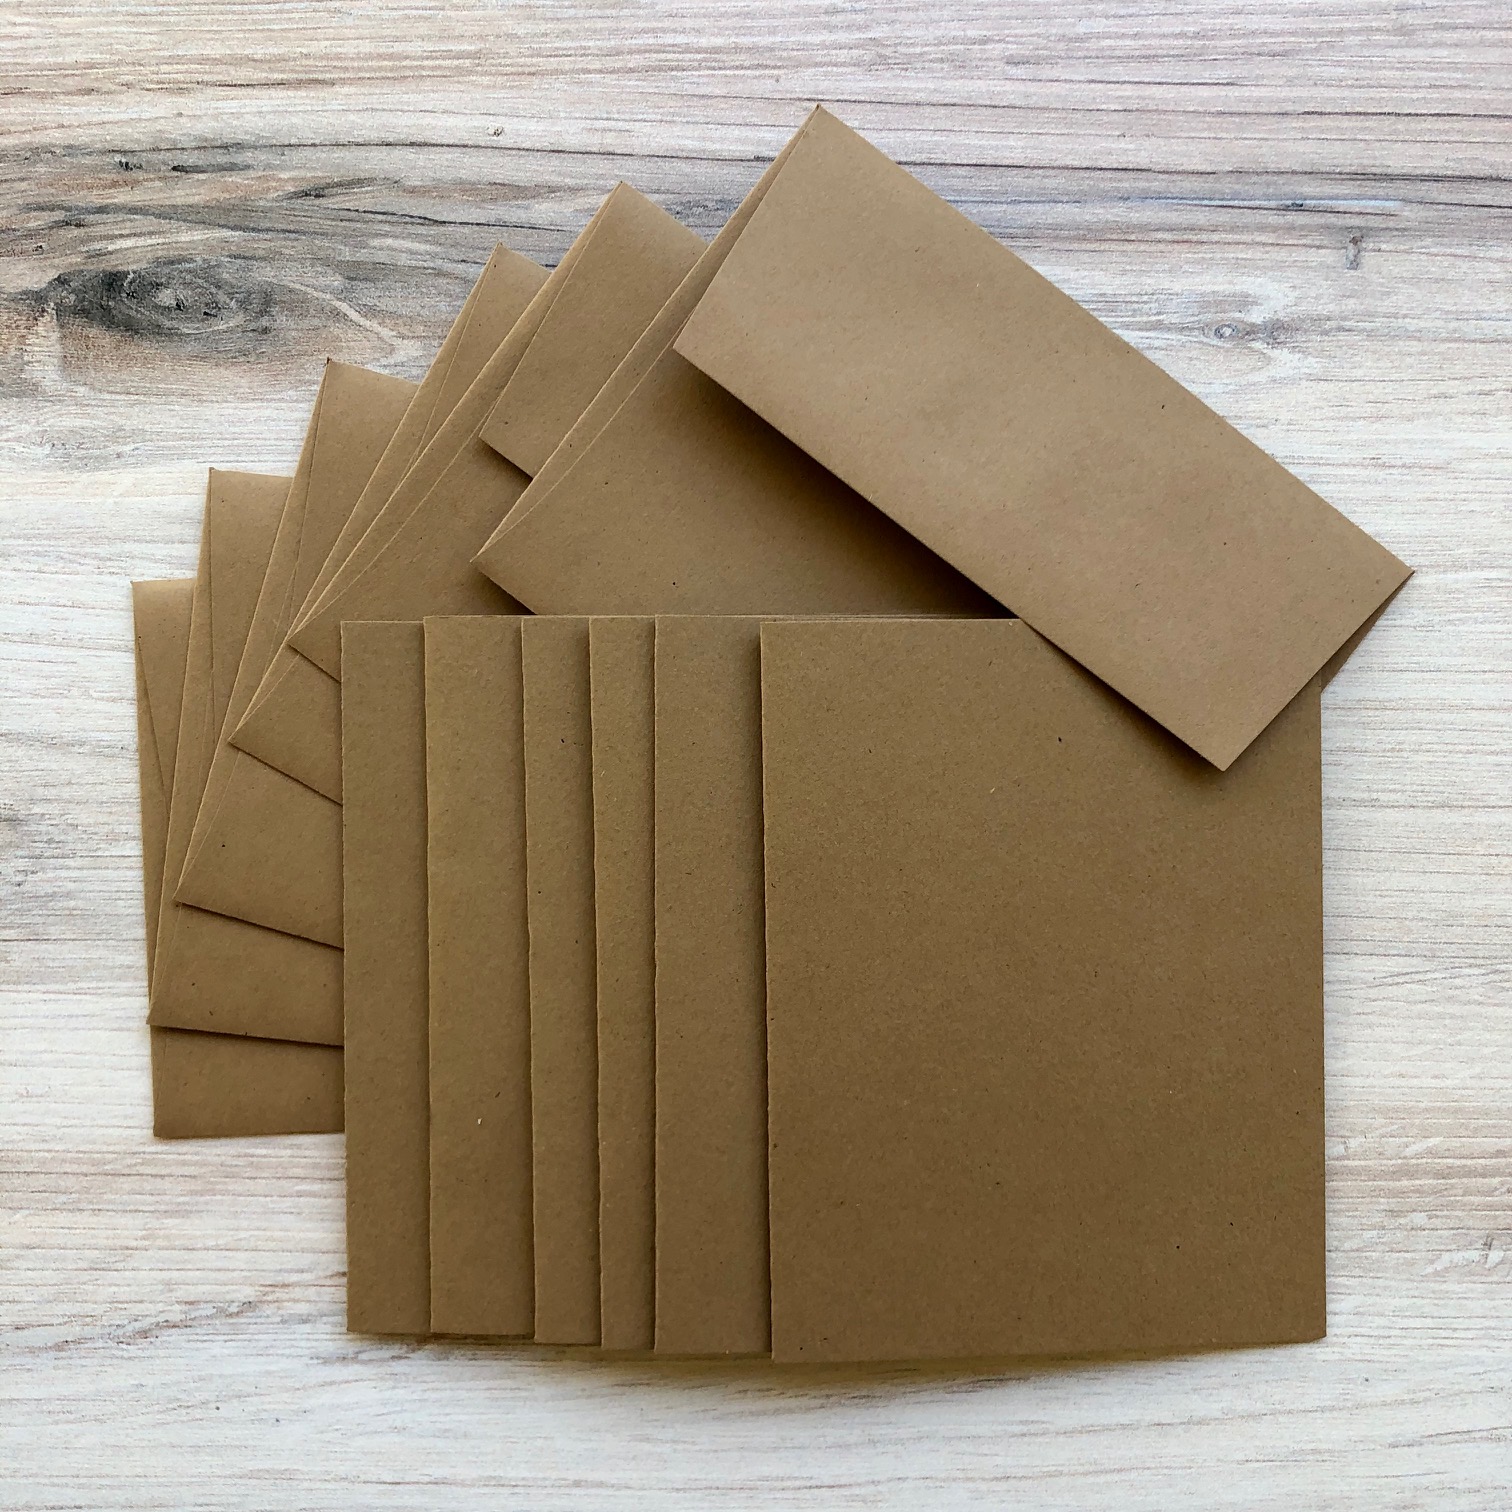
Cut a 20 x 28 cm piece of cardstock (7.87 inch x 11 inch) and cut a 19.5cm x 27.5 cm piece of paper “Bird Watcher” ( 7.48 inch x 10.63 inch).
We are not gluing any paper at the moment, because we will ink the edges later.
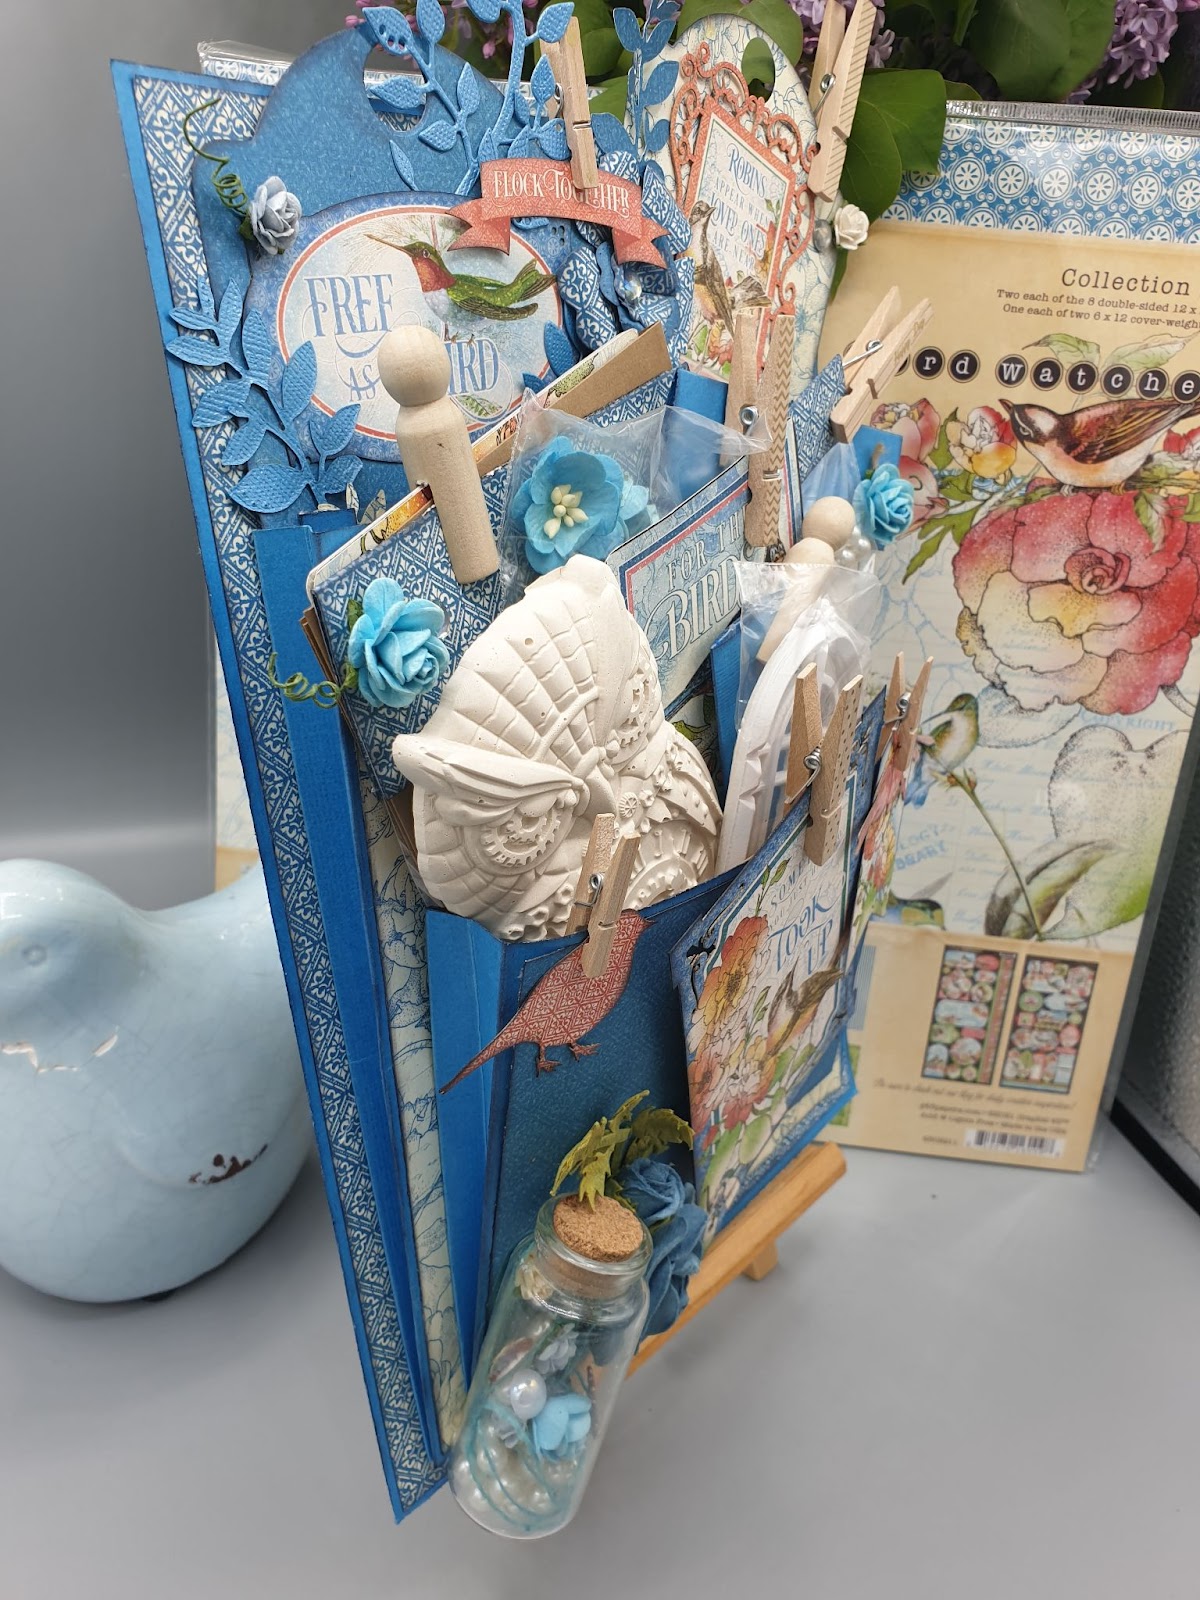
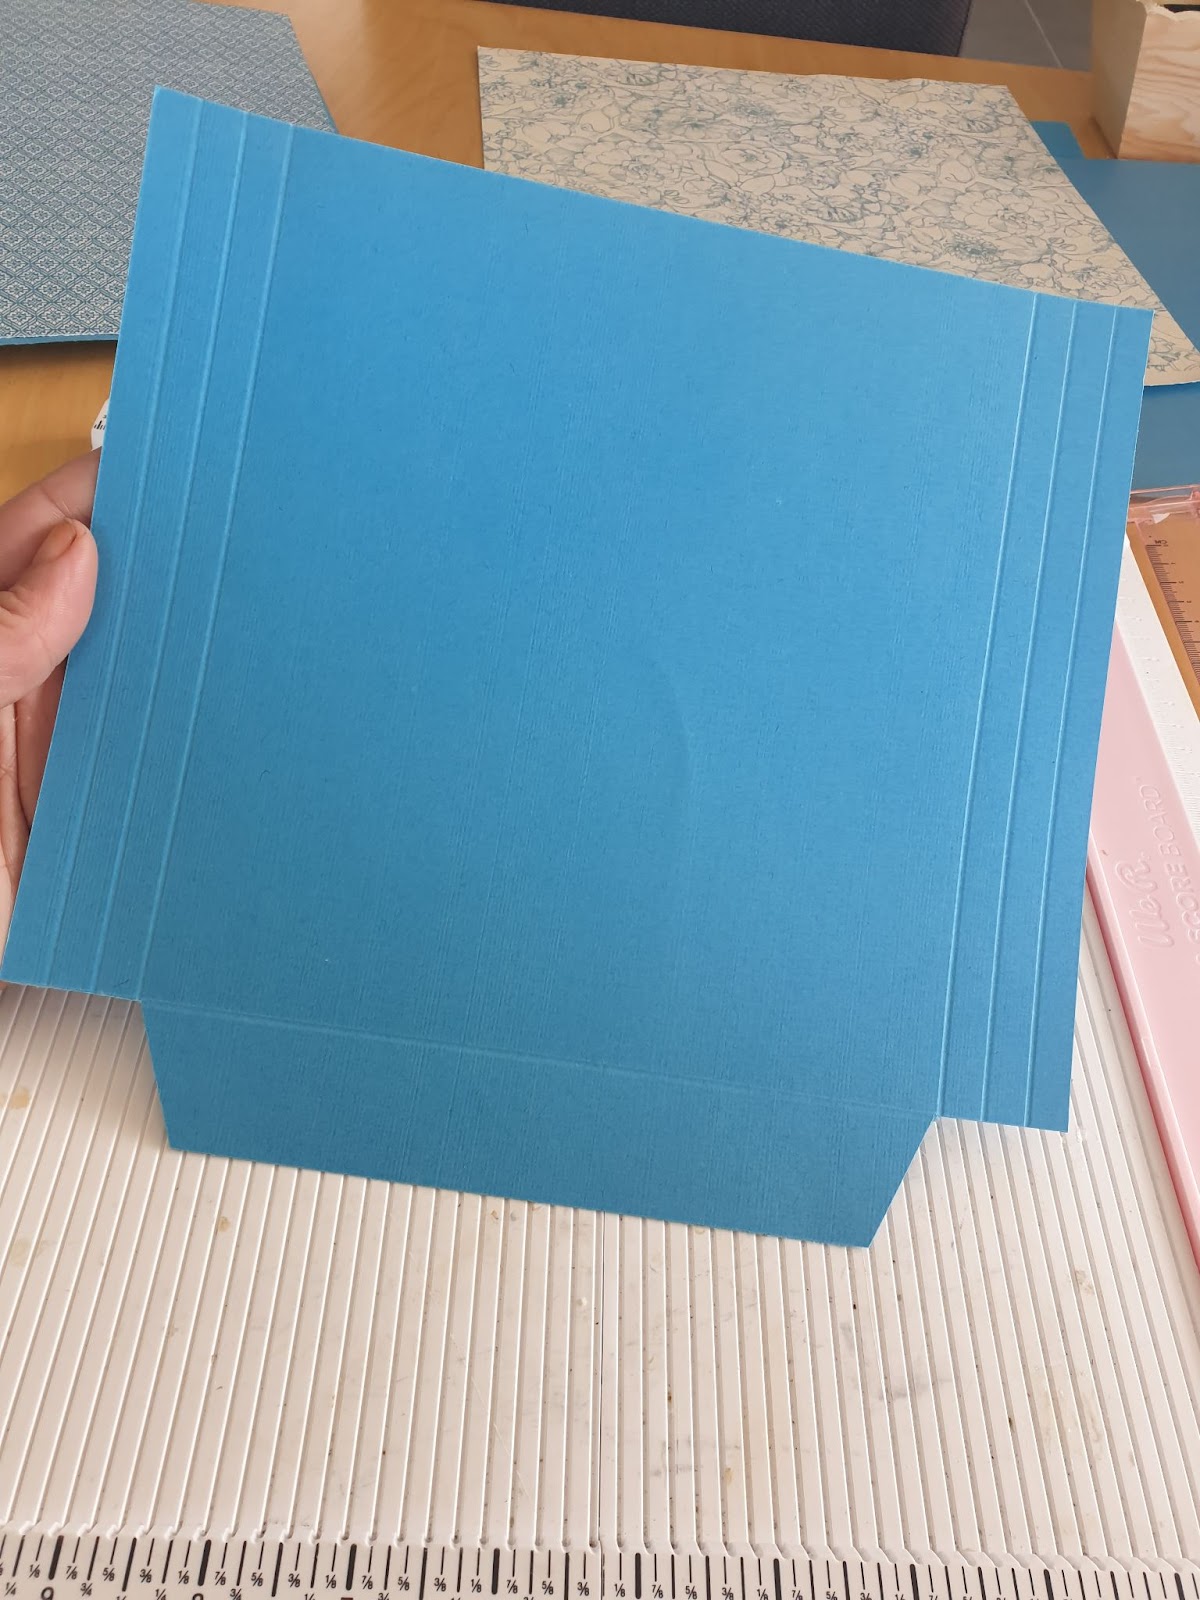
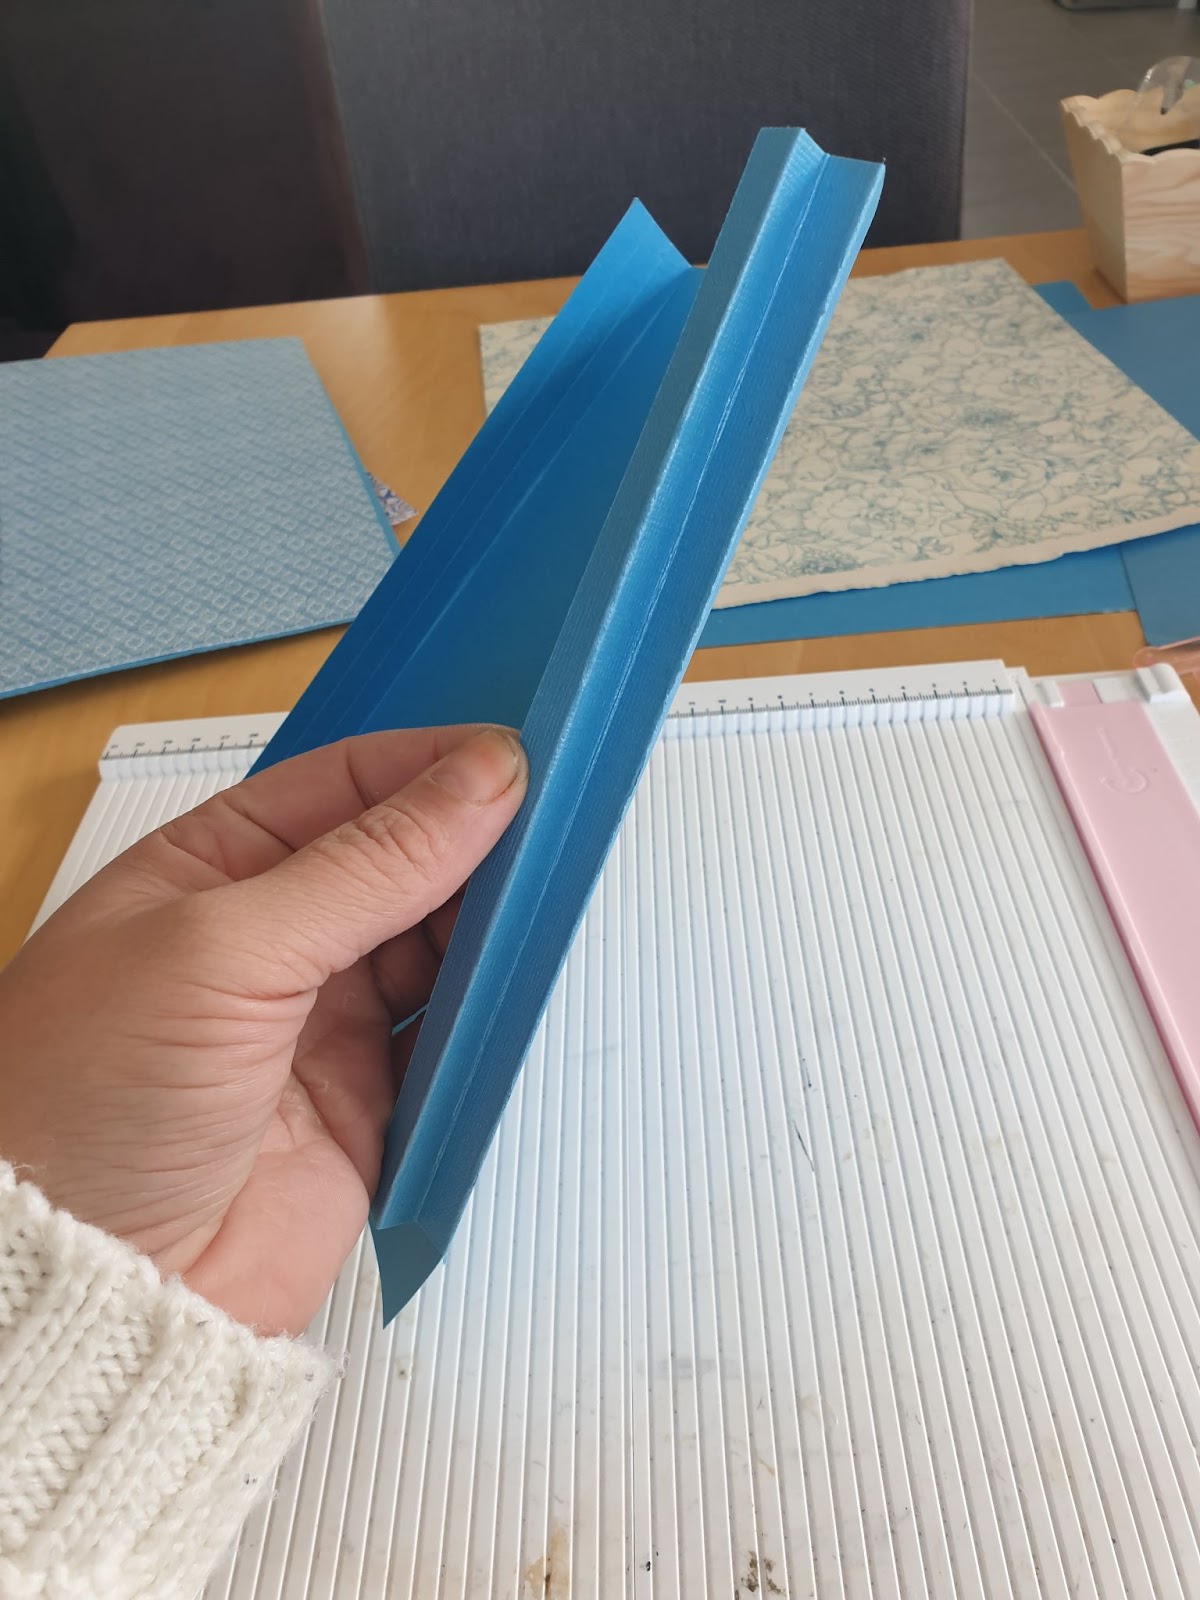
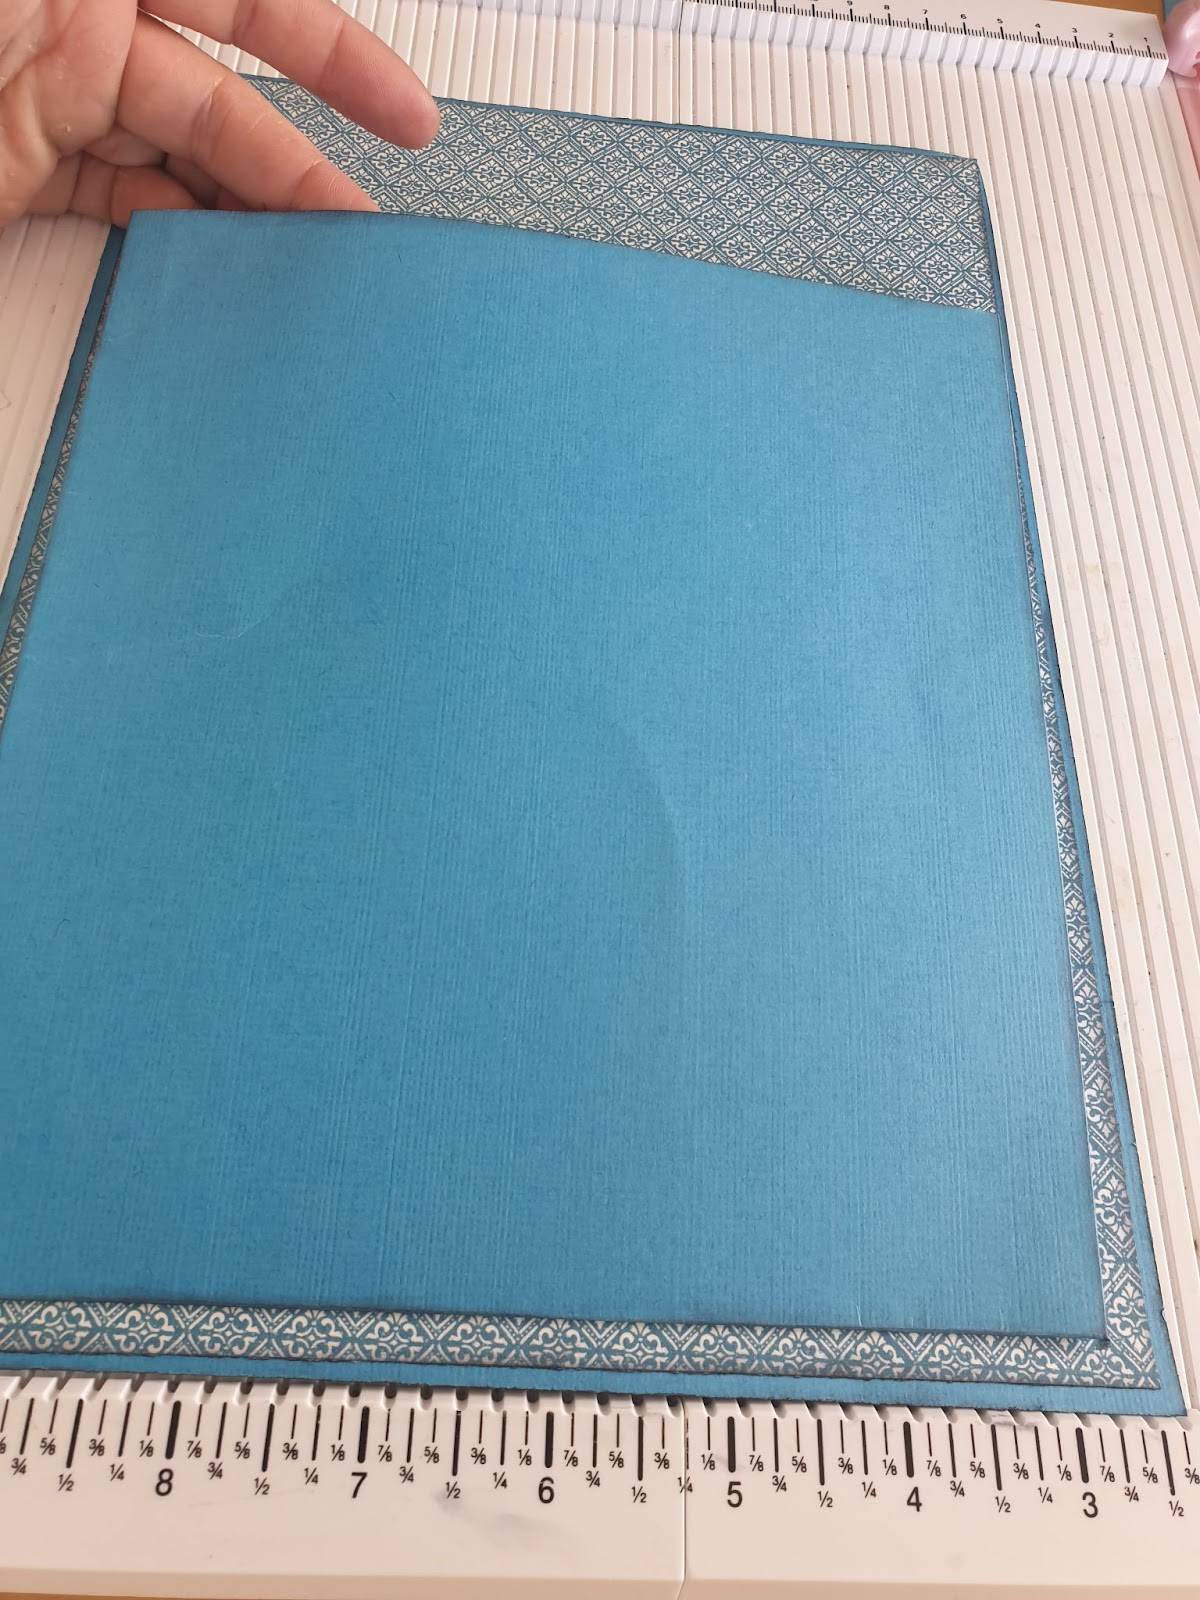
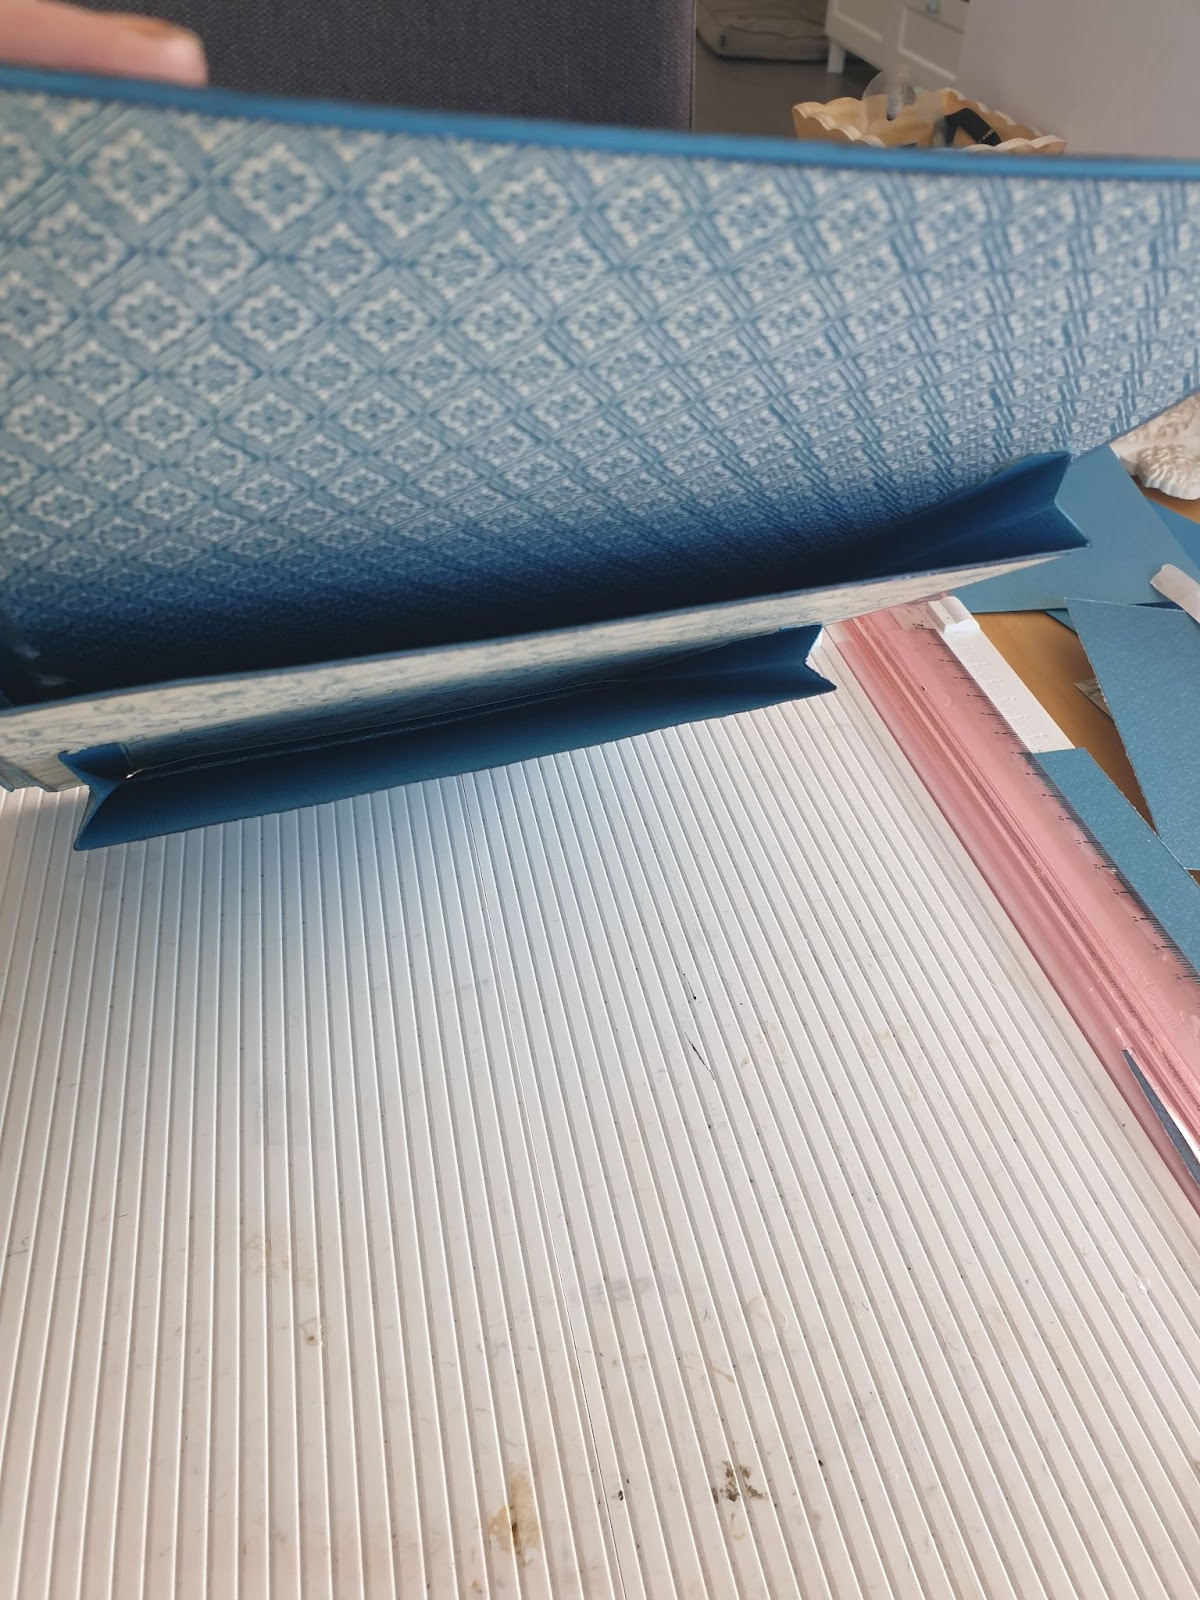
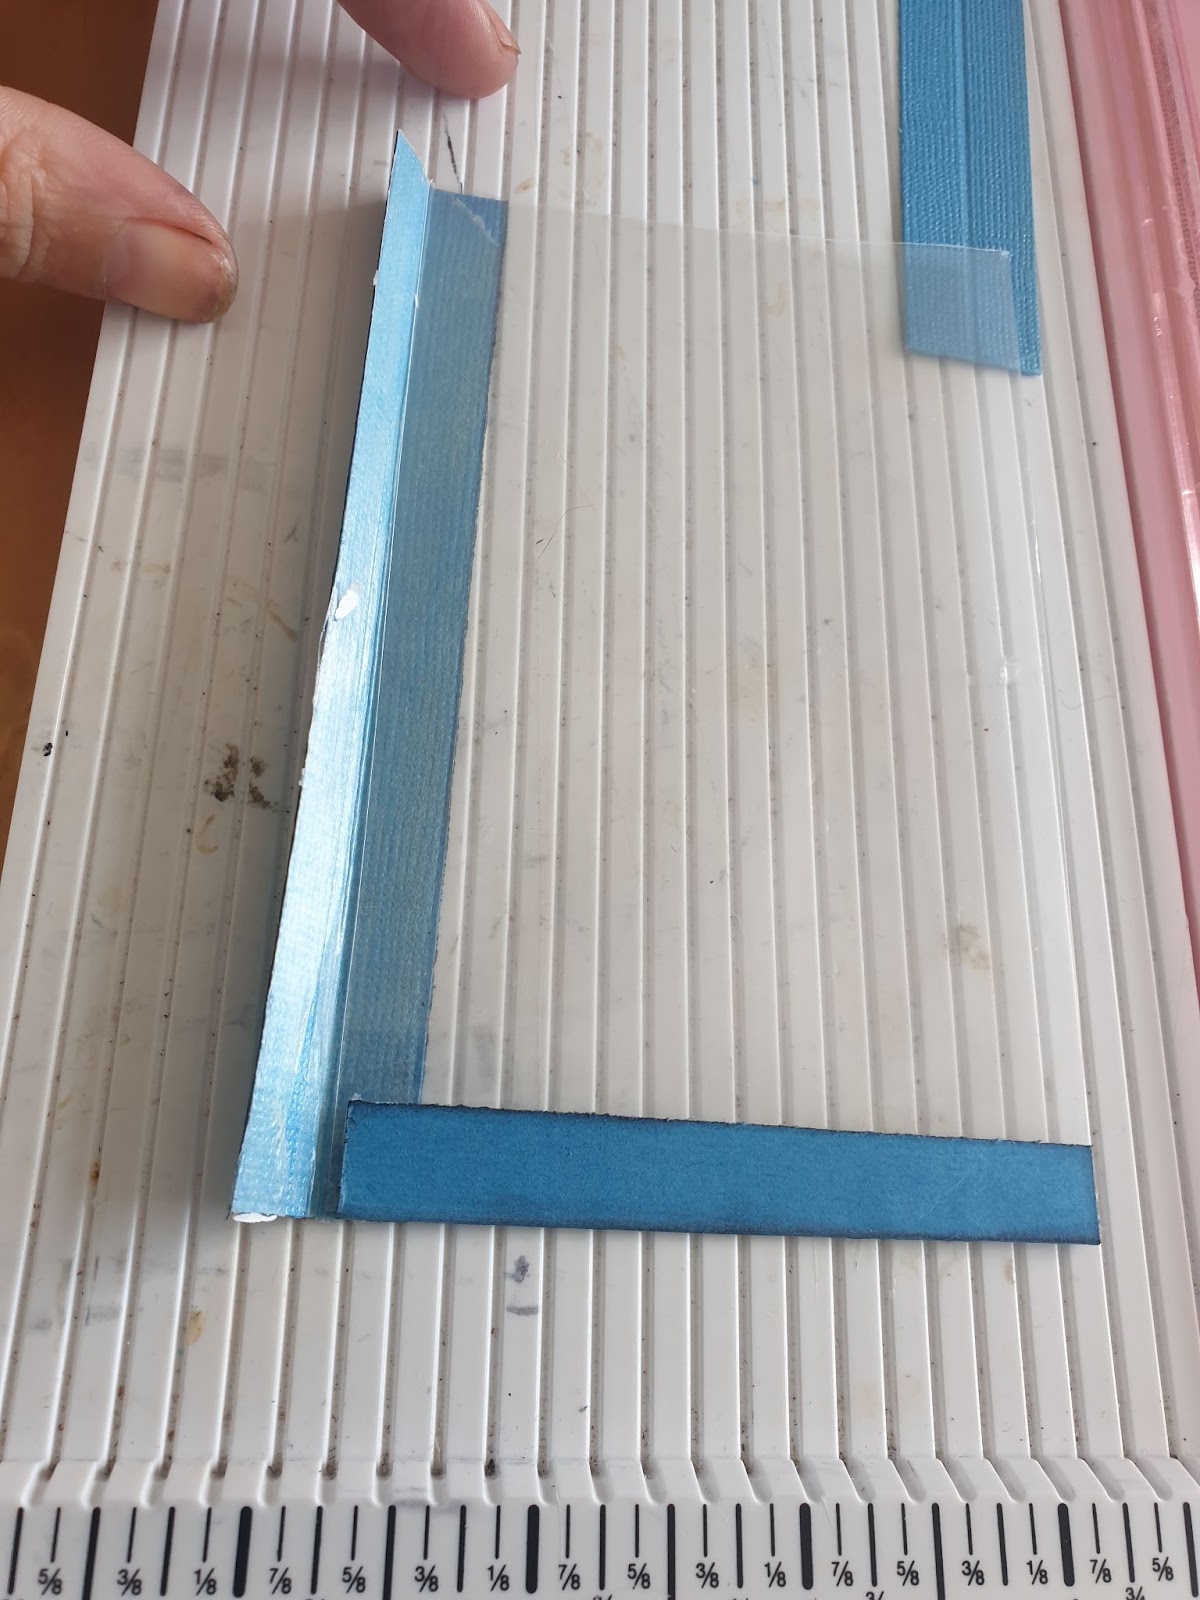
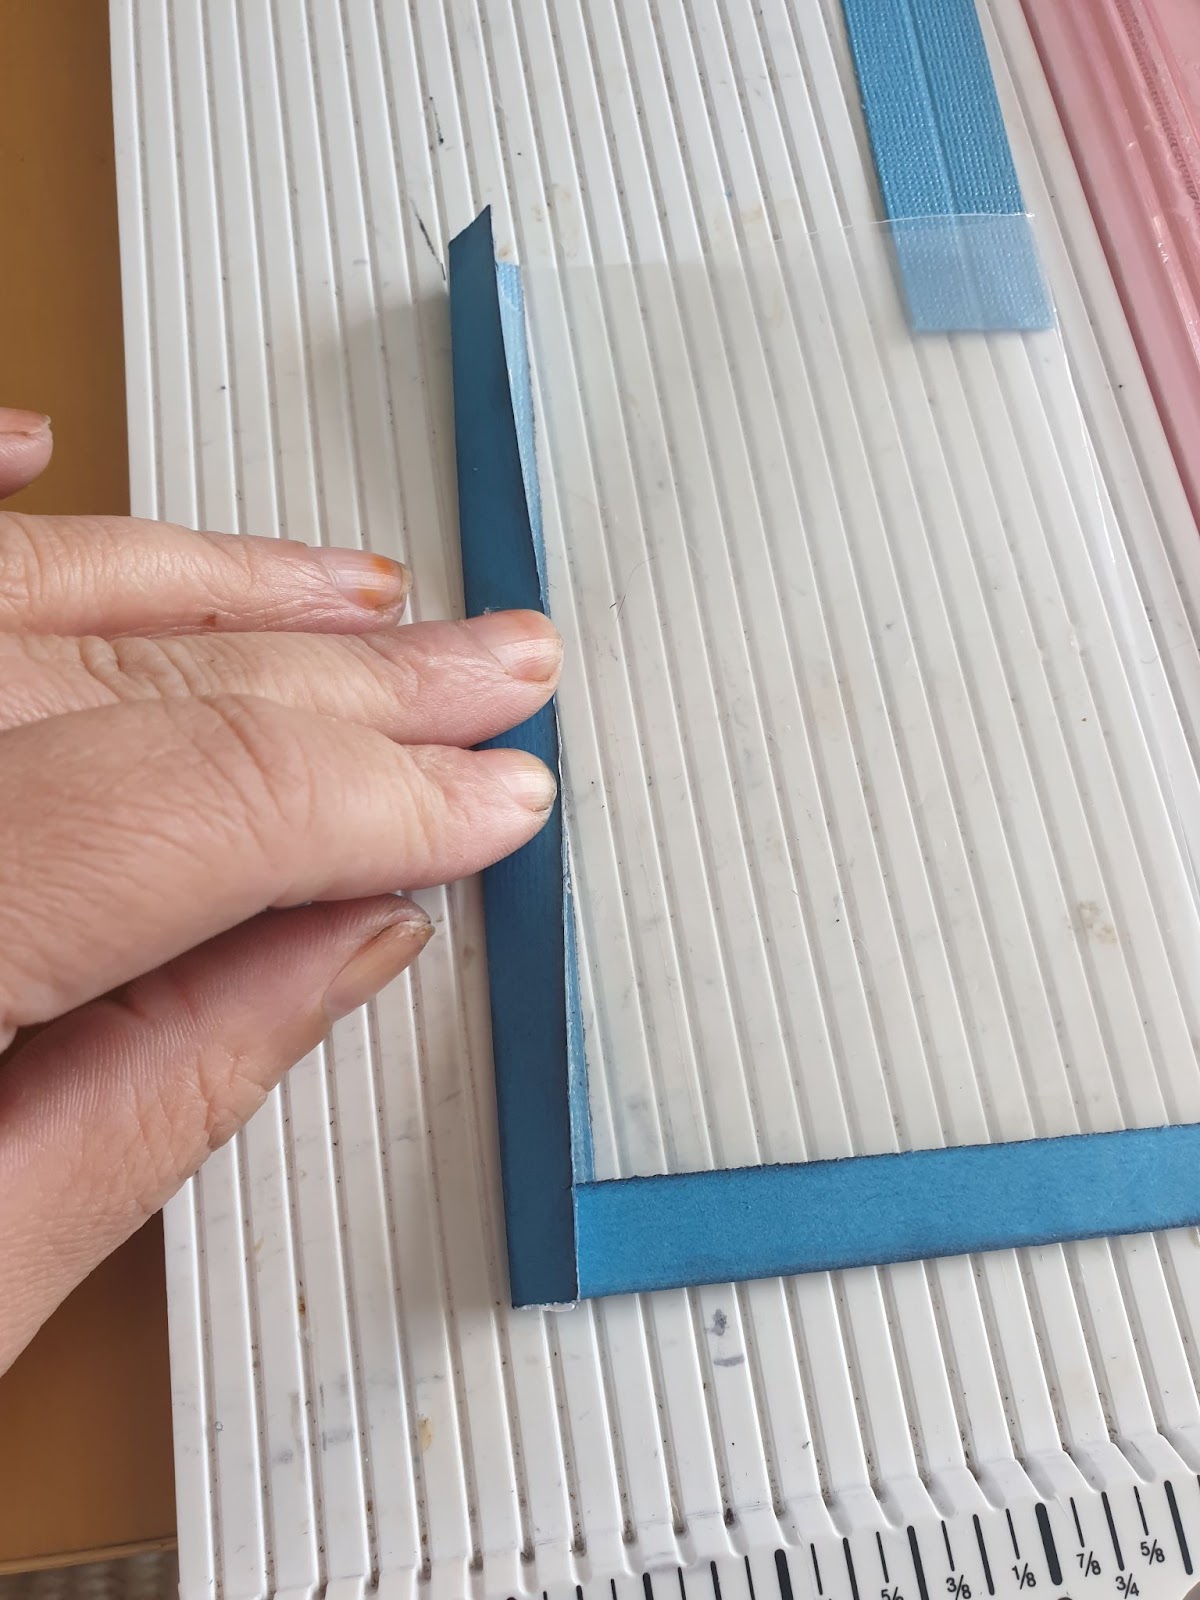
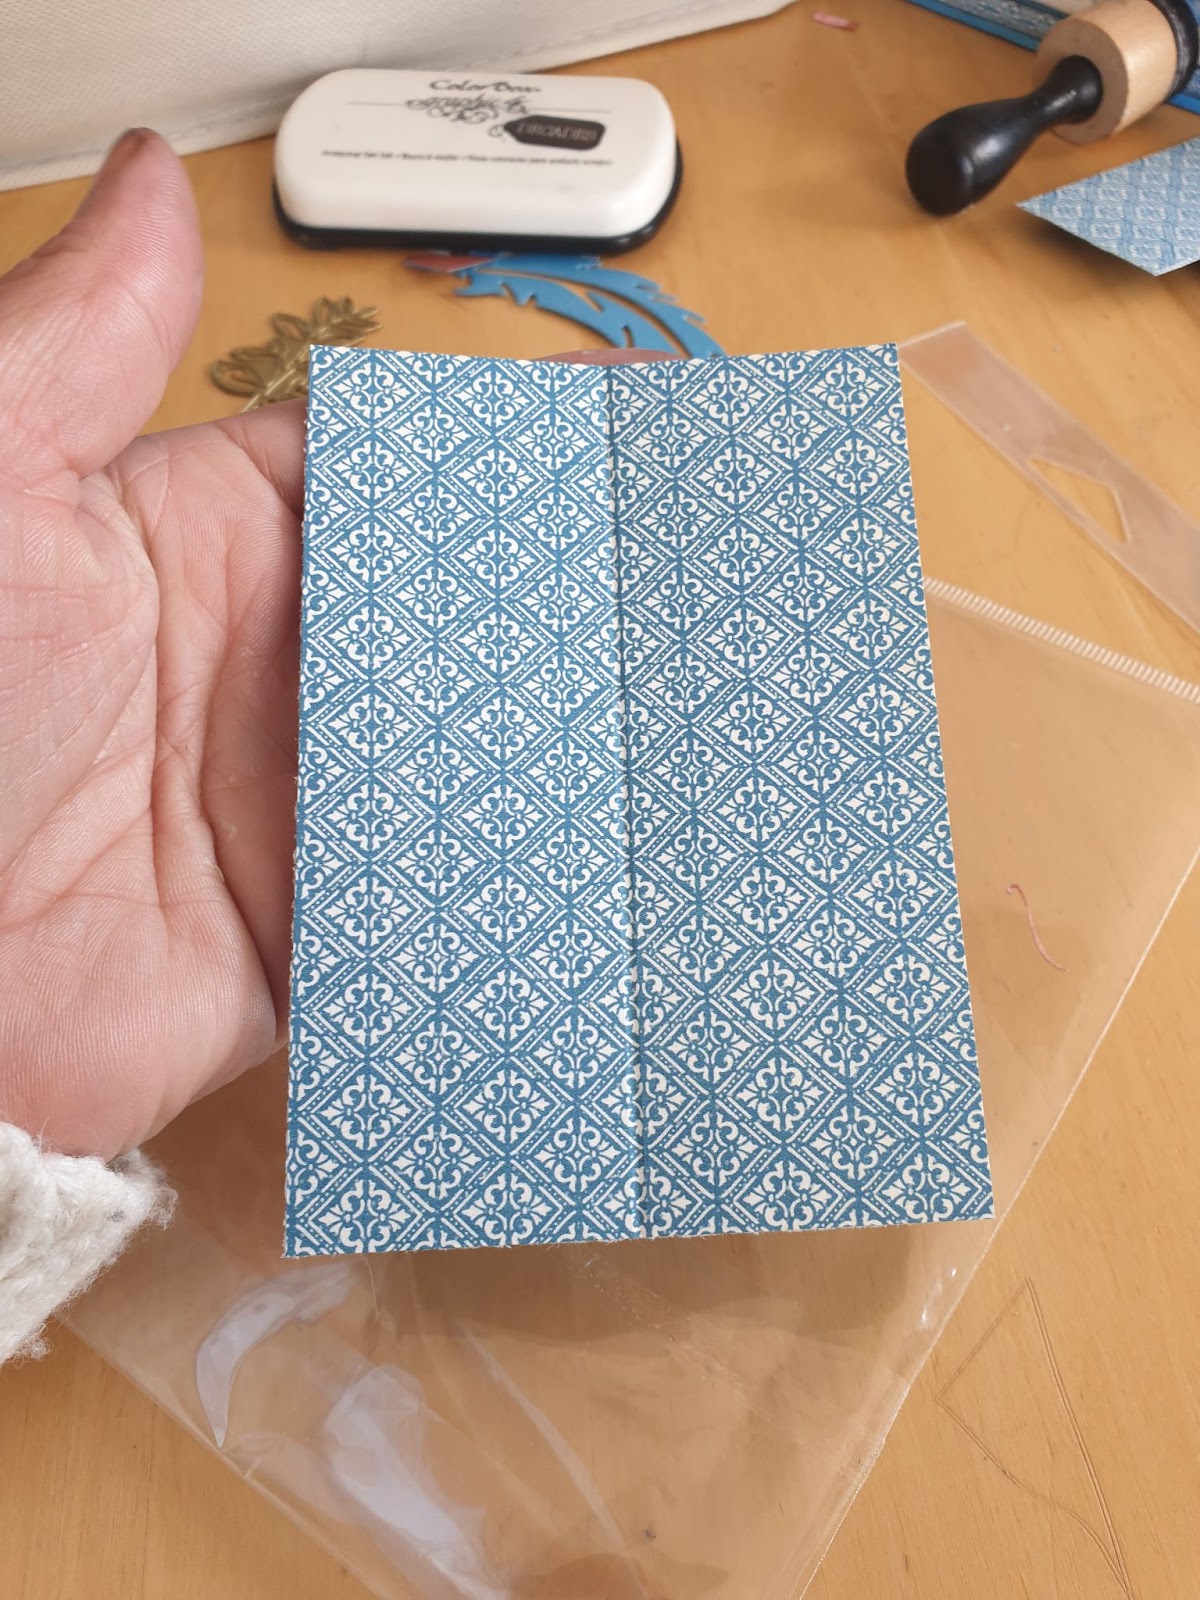
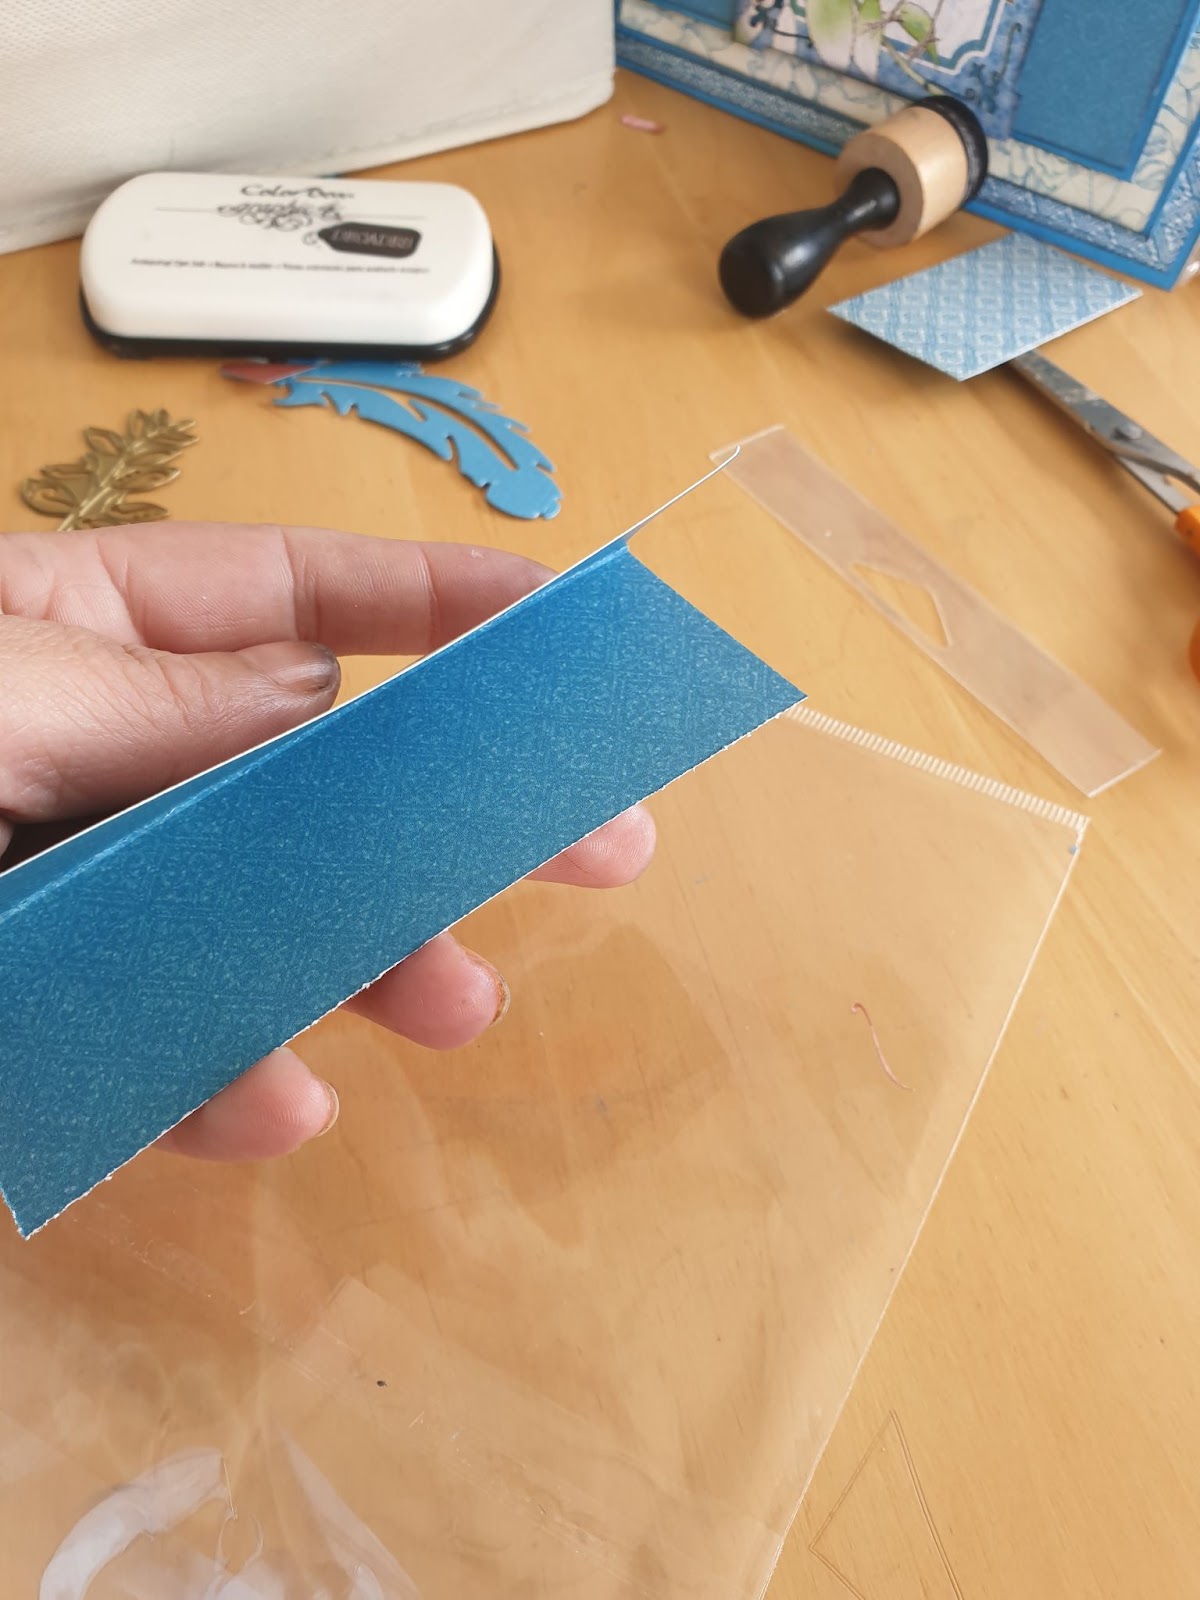
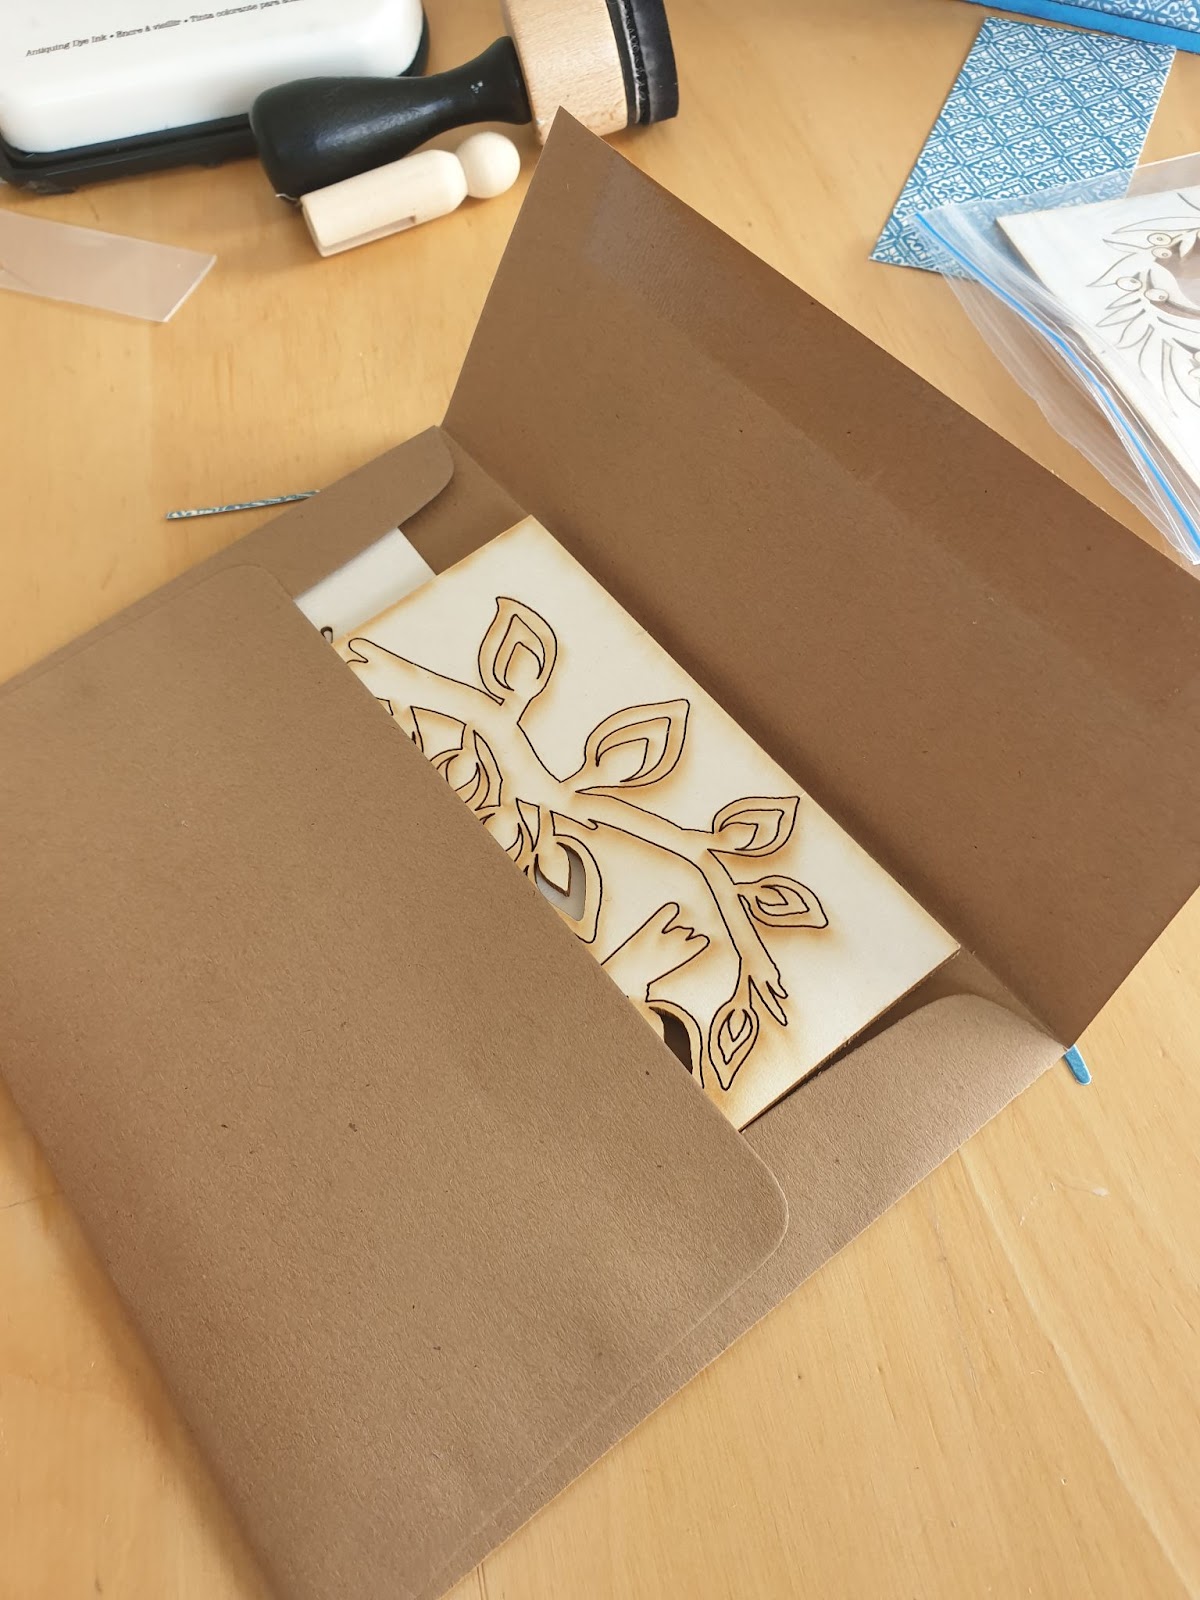
To create pocket 1, cut a piece of 24 cm x 23 cm (9.45 inch x 9 inch)paper, and make the folds as in the photo.The parts to be folded on the sides measure 3 cm (1.18 inch), to be folded every 1 cm(0.39 inch). The bottom part also measures 3 cm (1.18 inch).
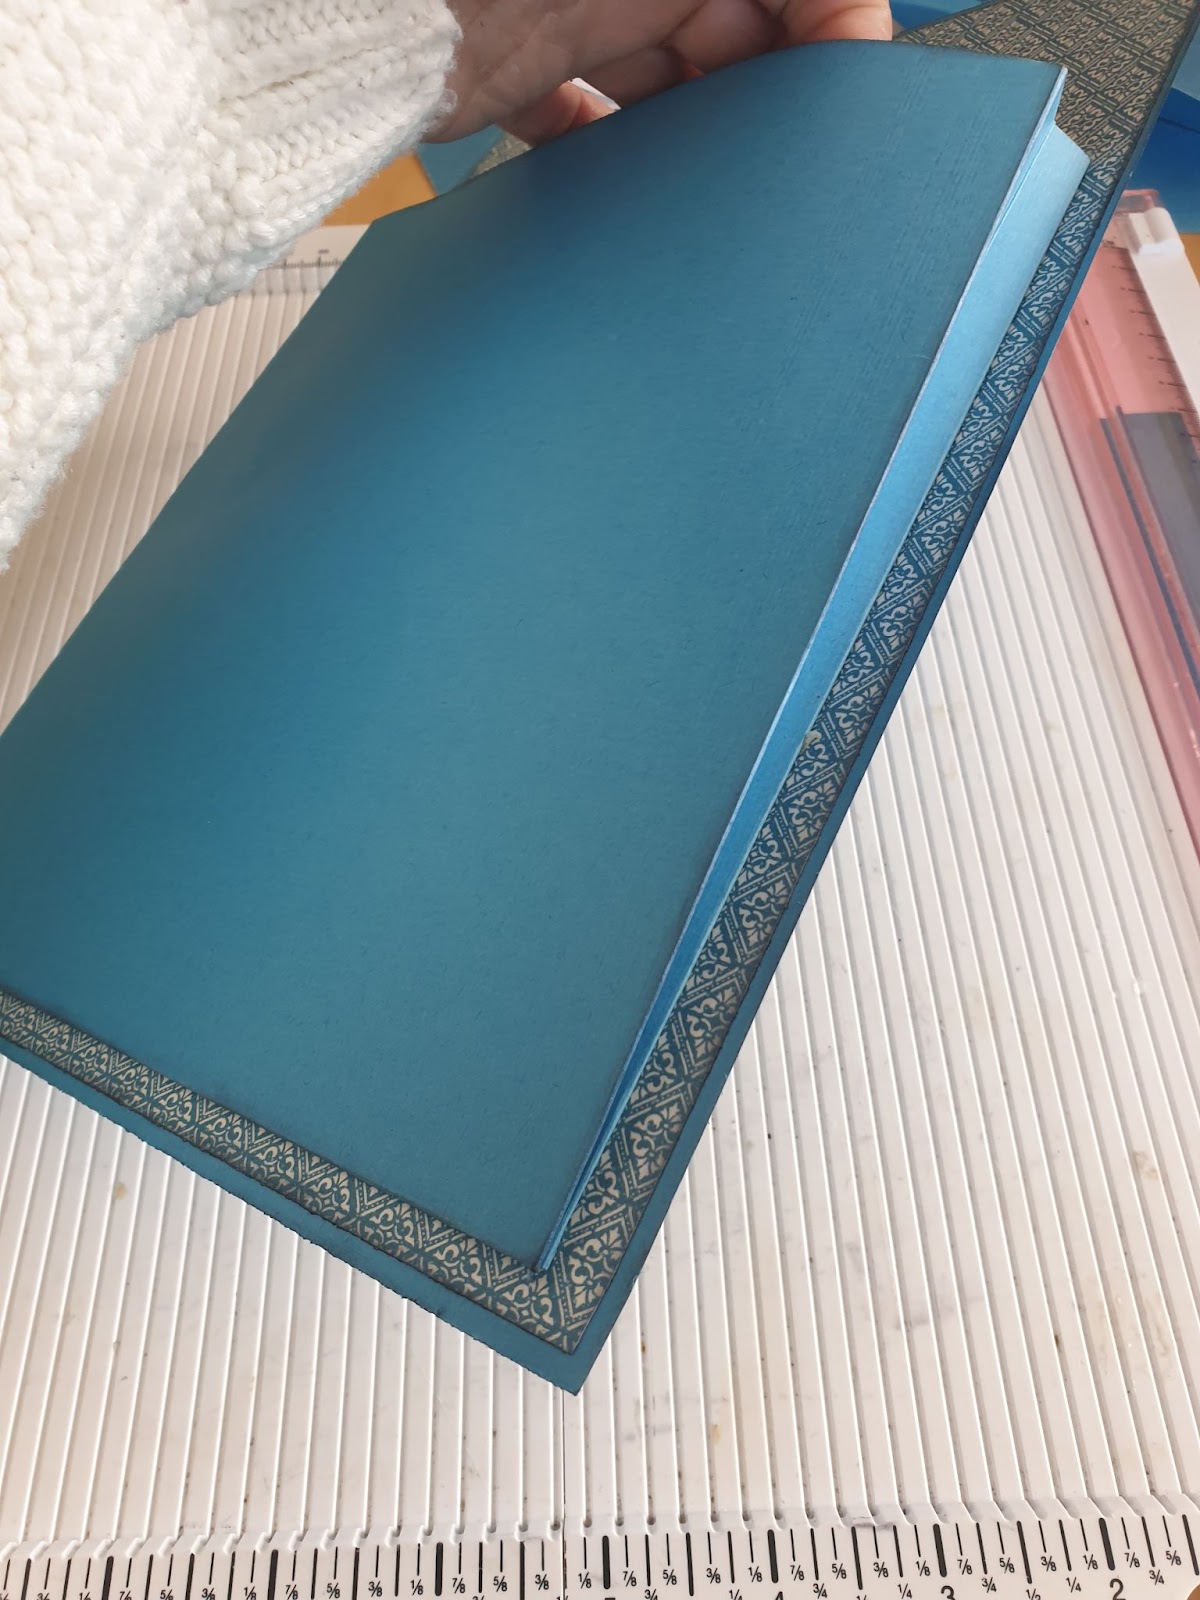
We fold like in the photos. To decorate the front of our pouch, we are going to cut out a piece of paper measuring 17.5 cm (6.69 inch)x 19.5 cm (7.48 inch).
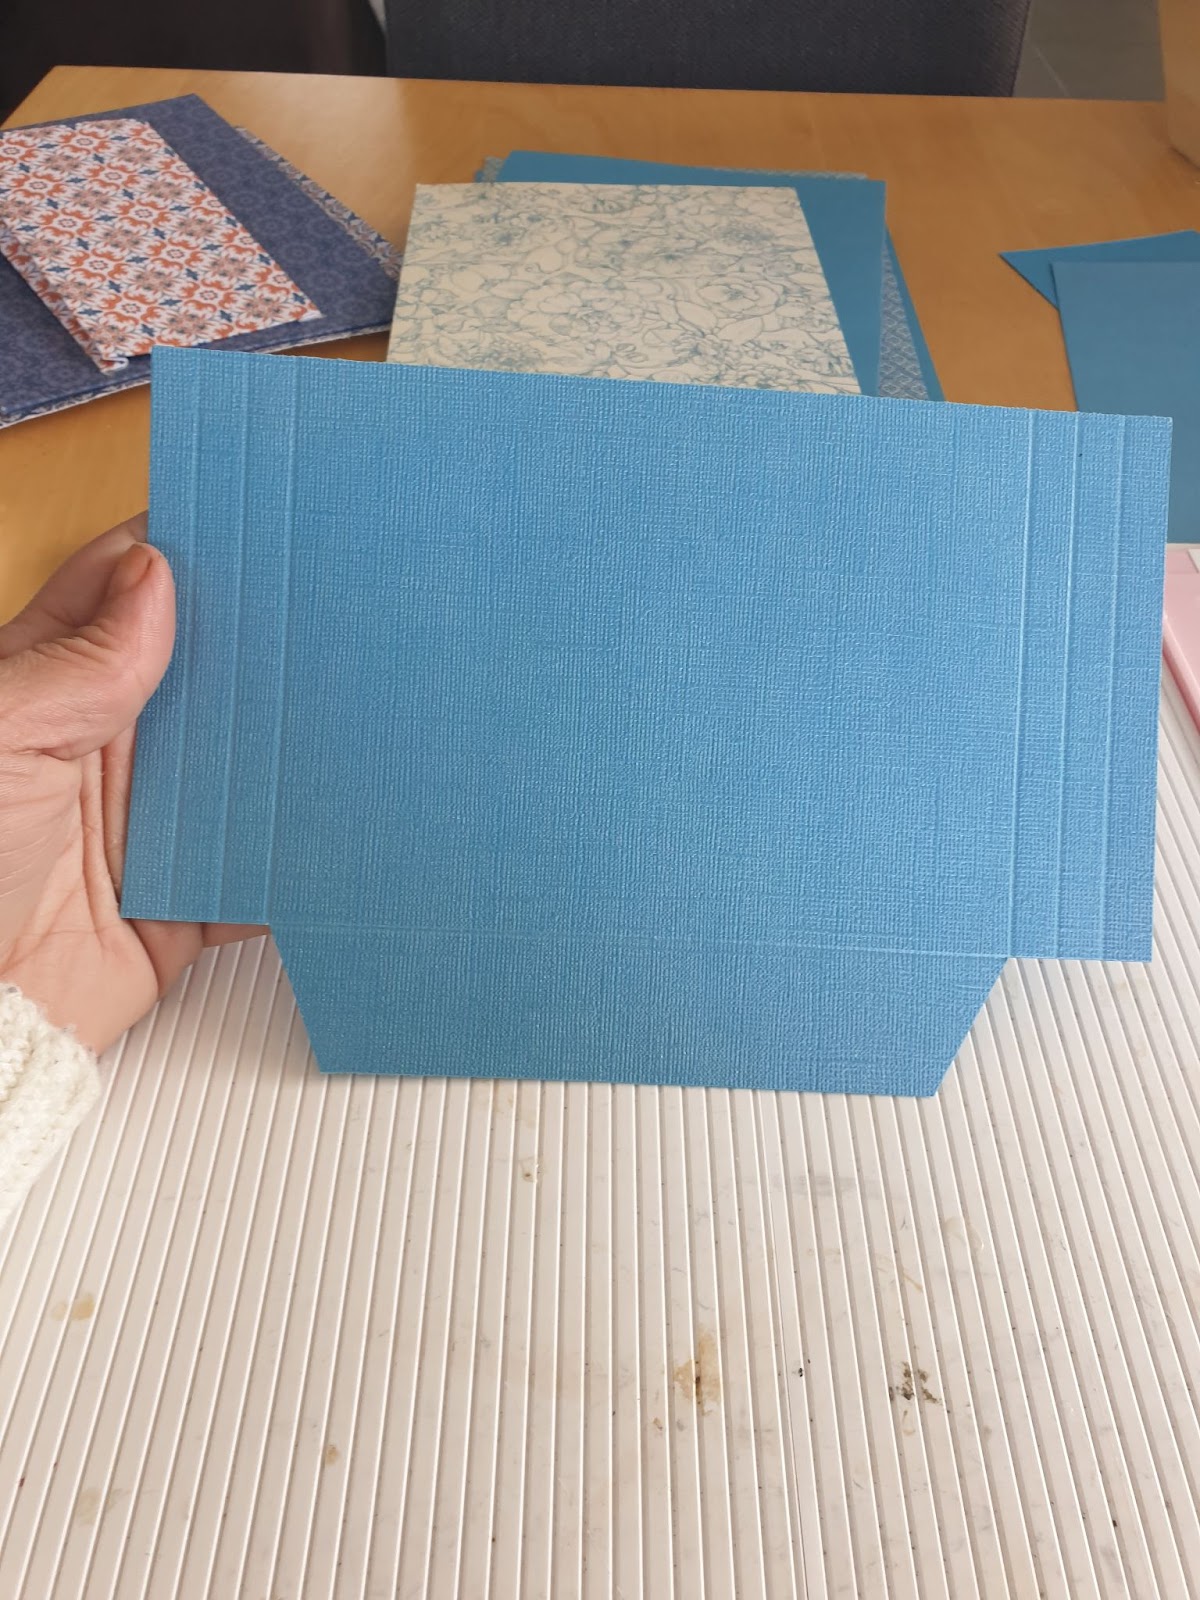
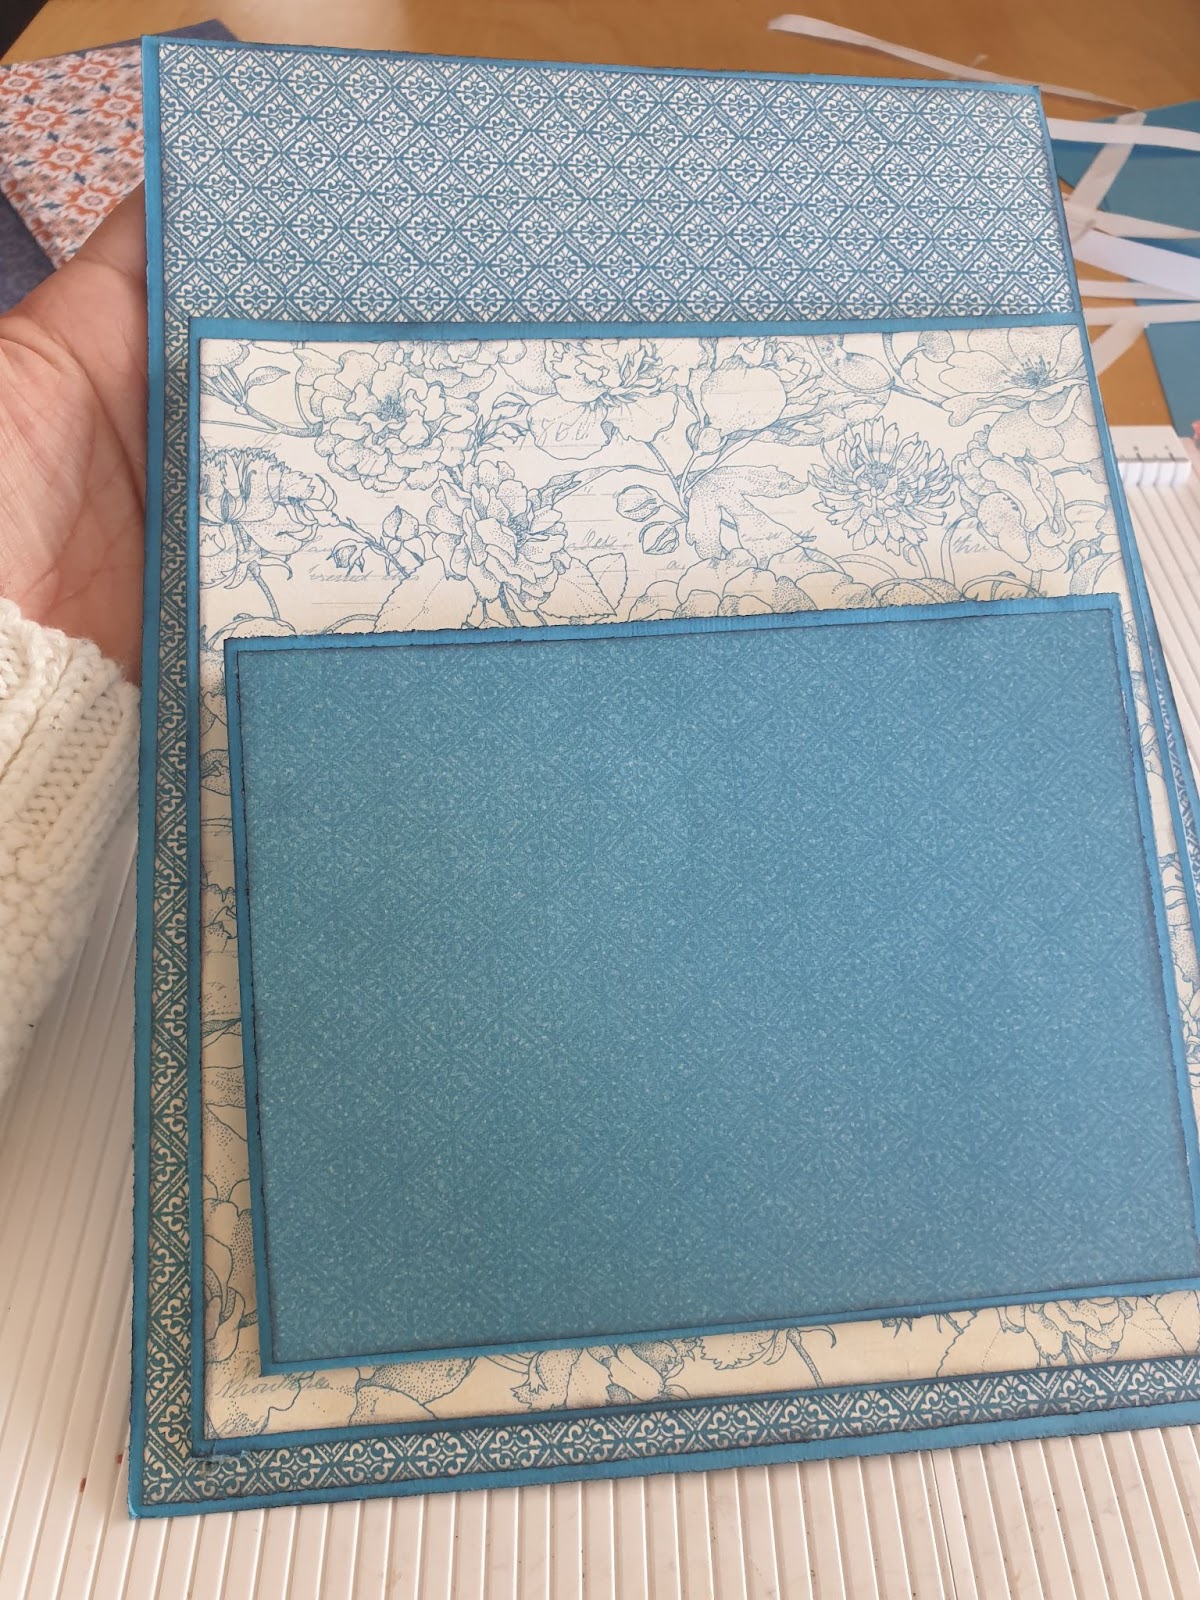
For the creation of the second pocket, we will proceed in the same way, only the dimension of this one will change, it will be 22 cm (8.66 inch) x 15 cm (5.90 inch).To decorate the front of it, we are going to cut out a 15.5 cm (5.90 inch)x 11.5 cm (4.33 inch) piece of paper.
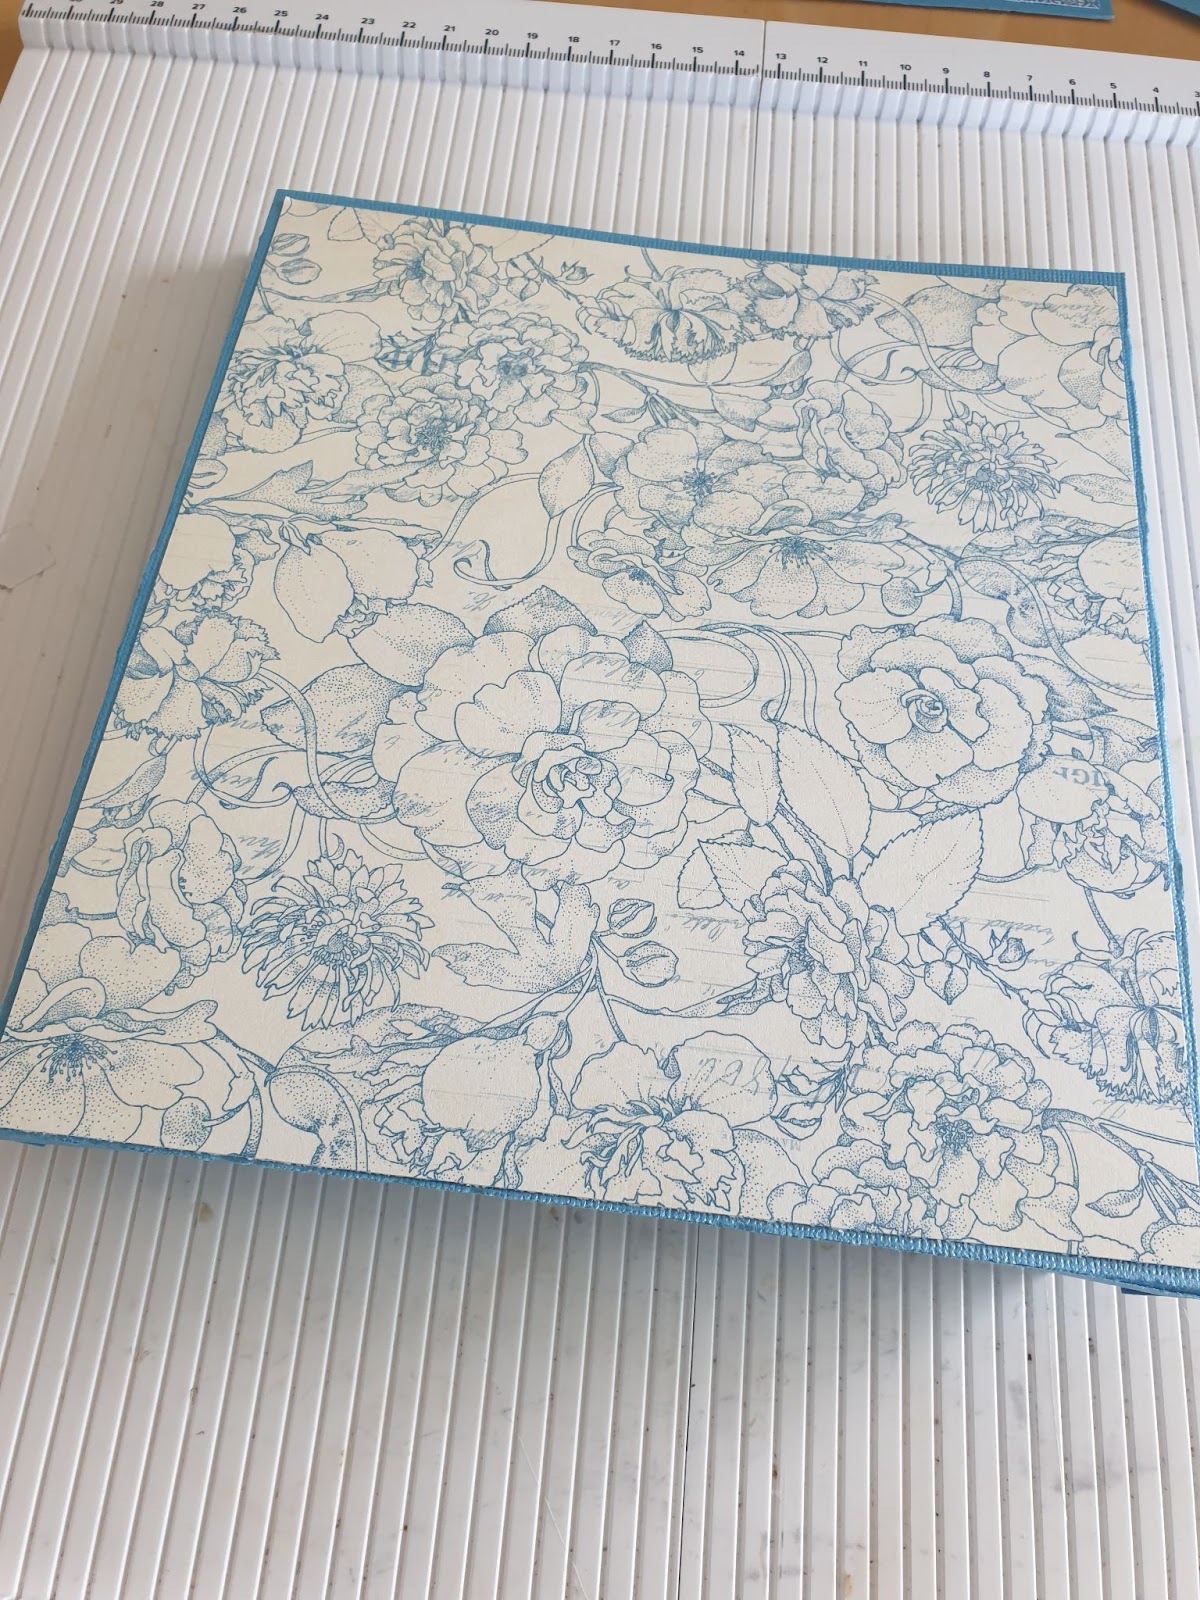
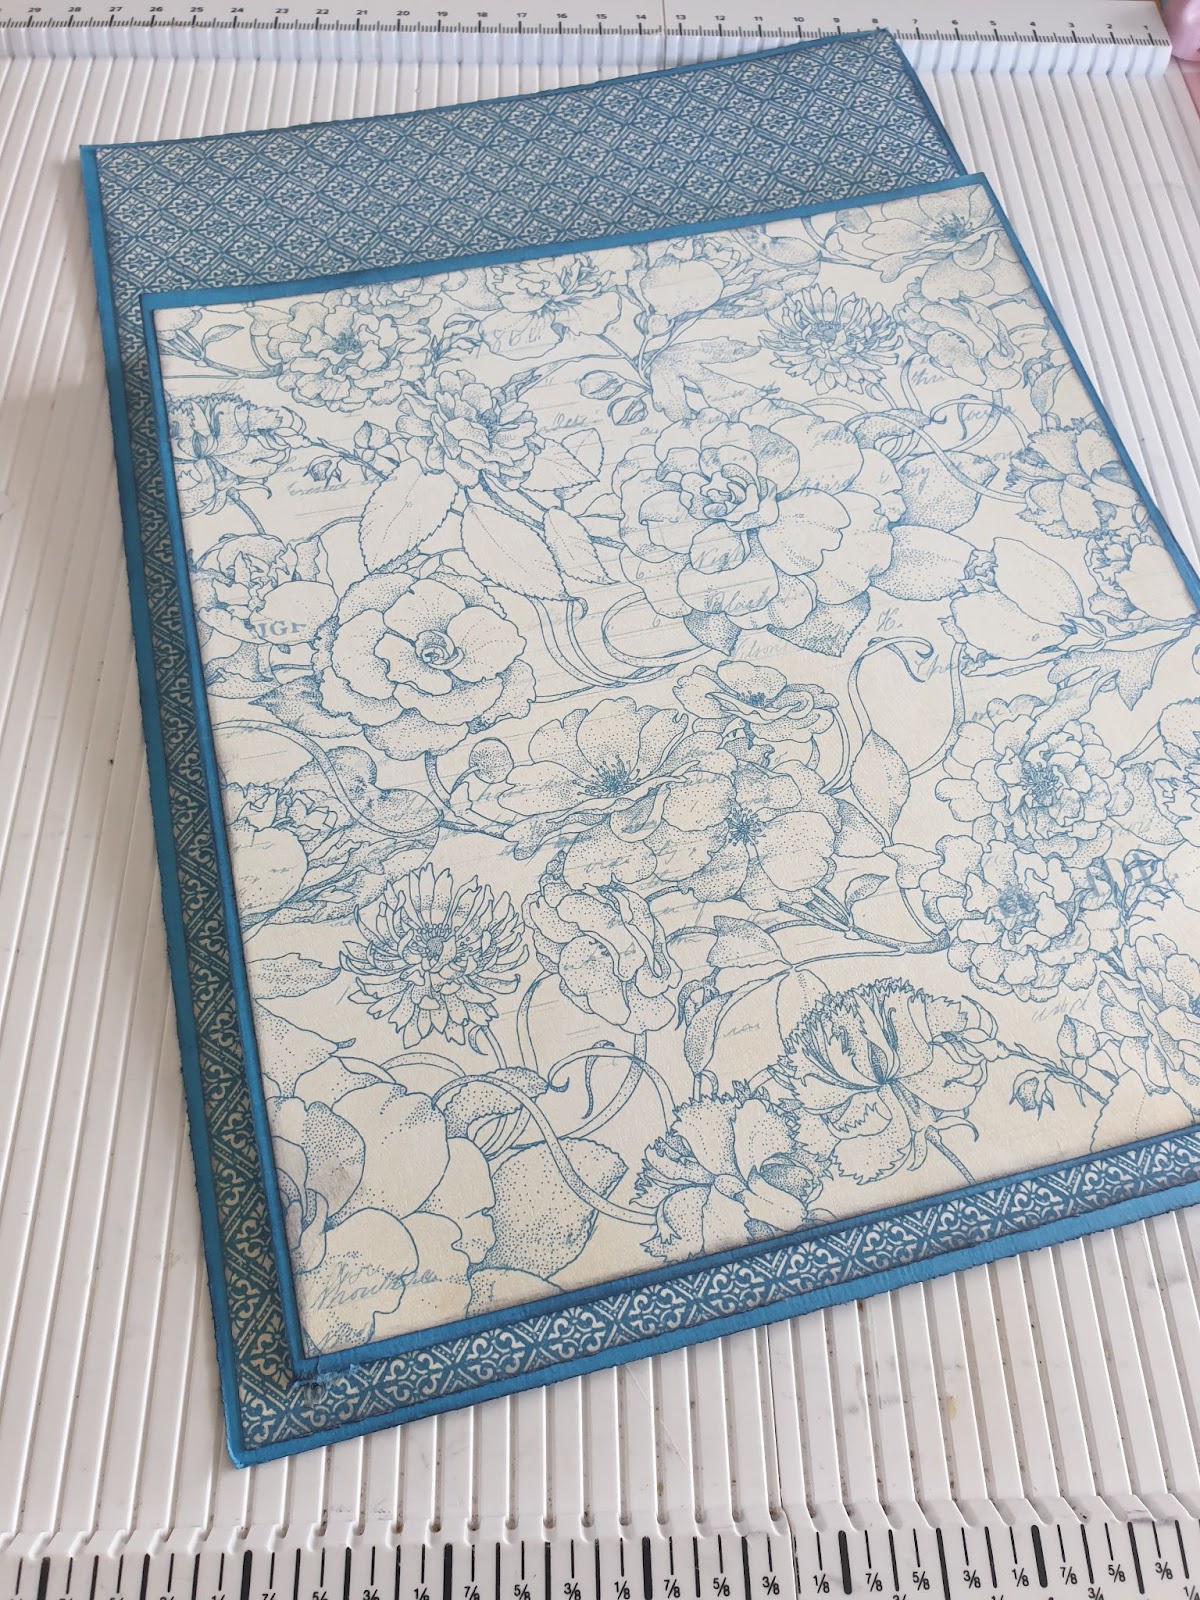
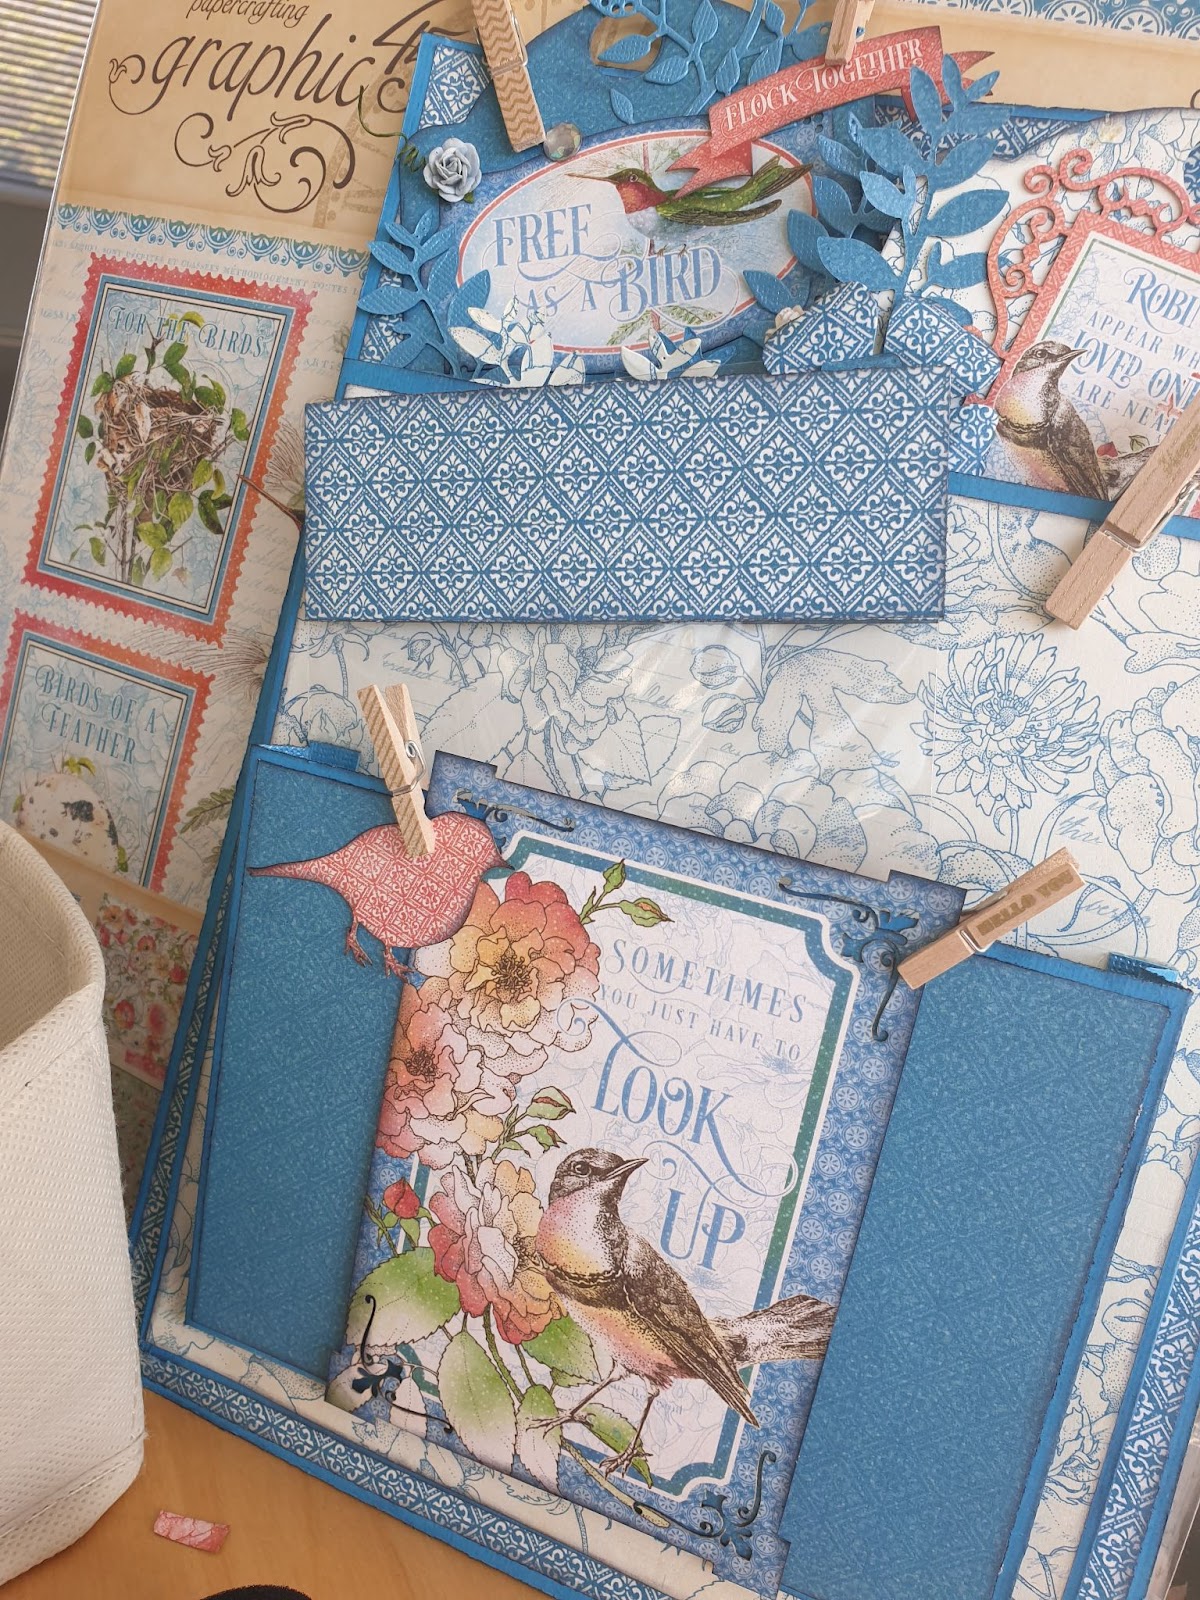
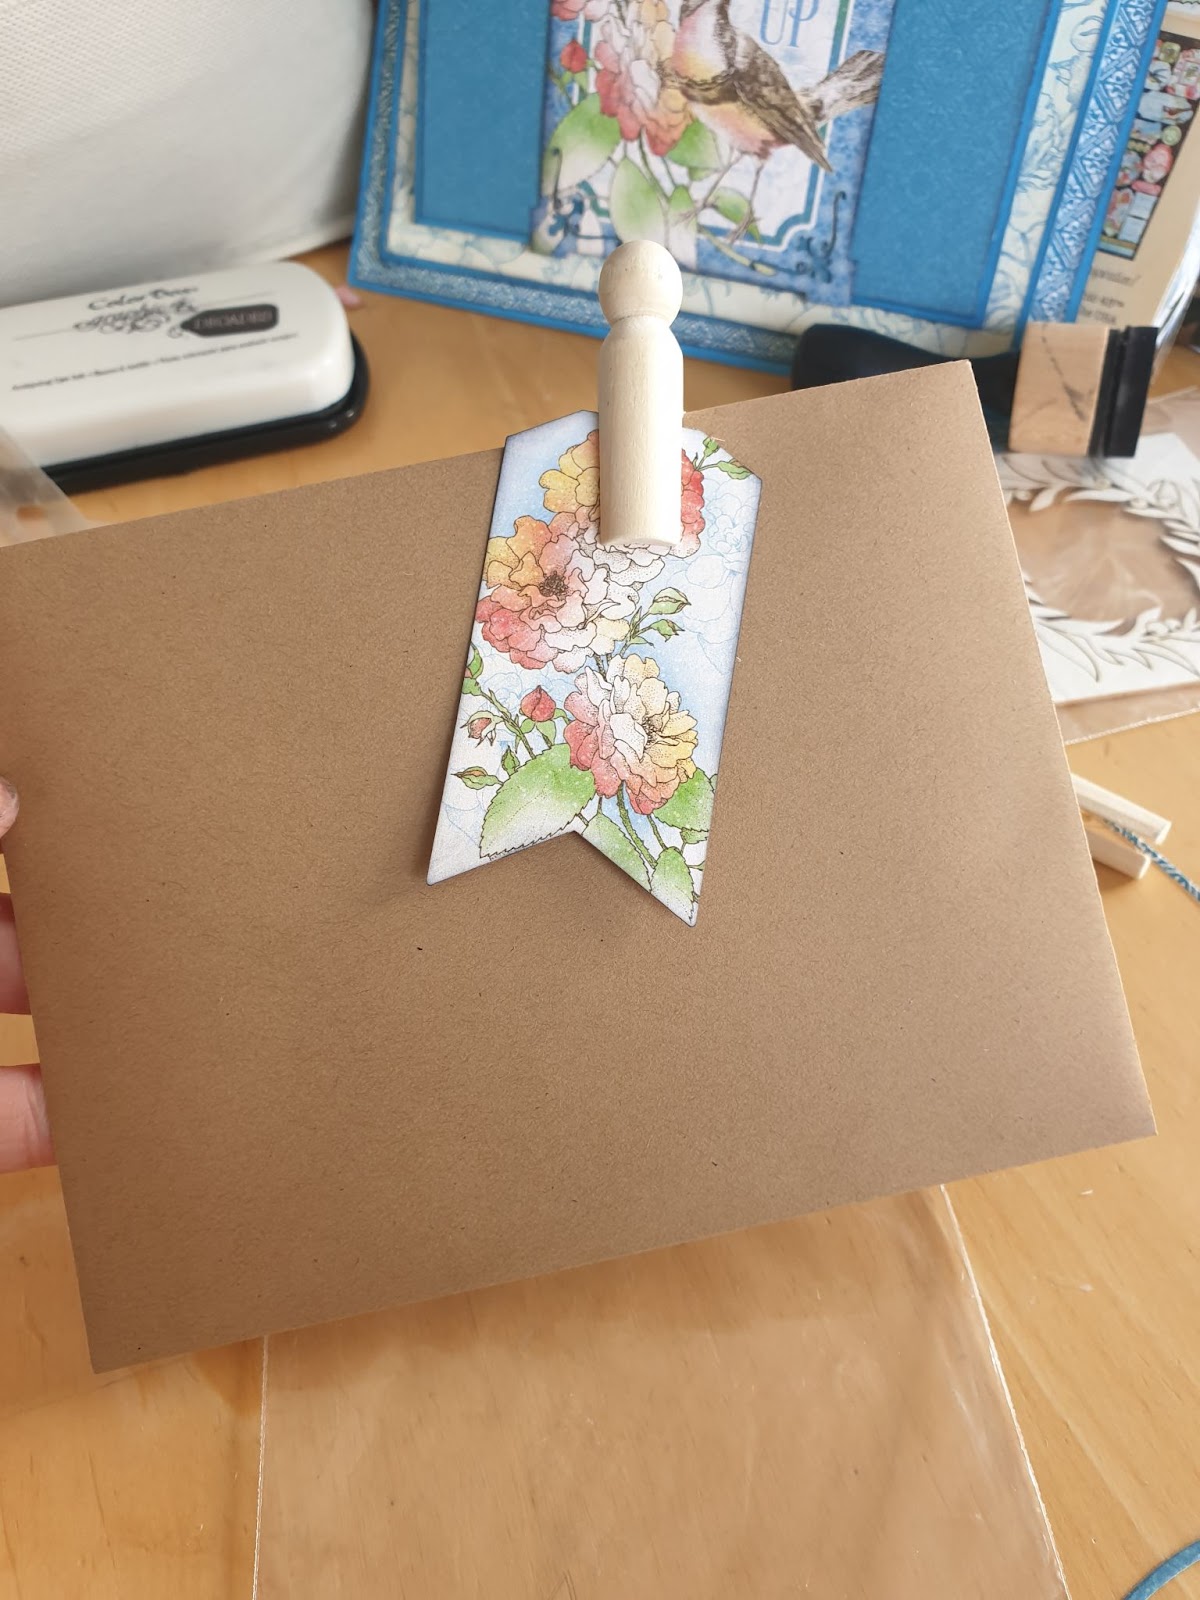
We ink the edges, and you can proceed to gluing.
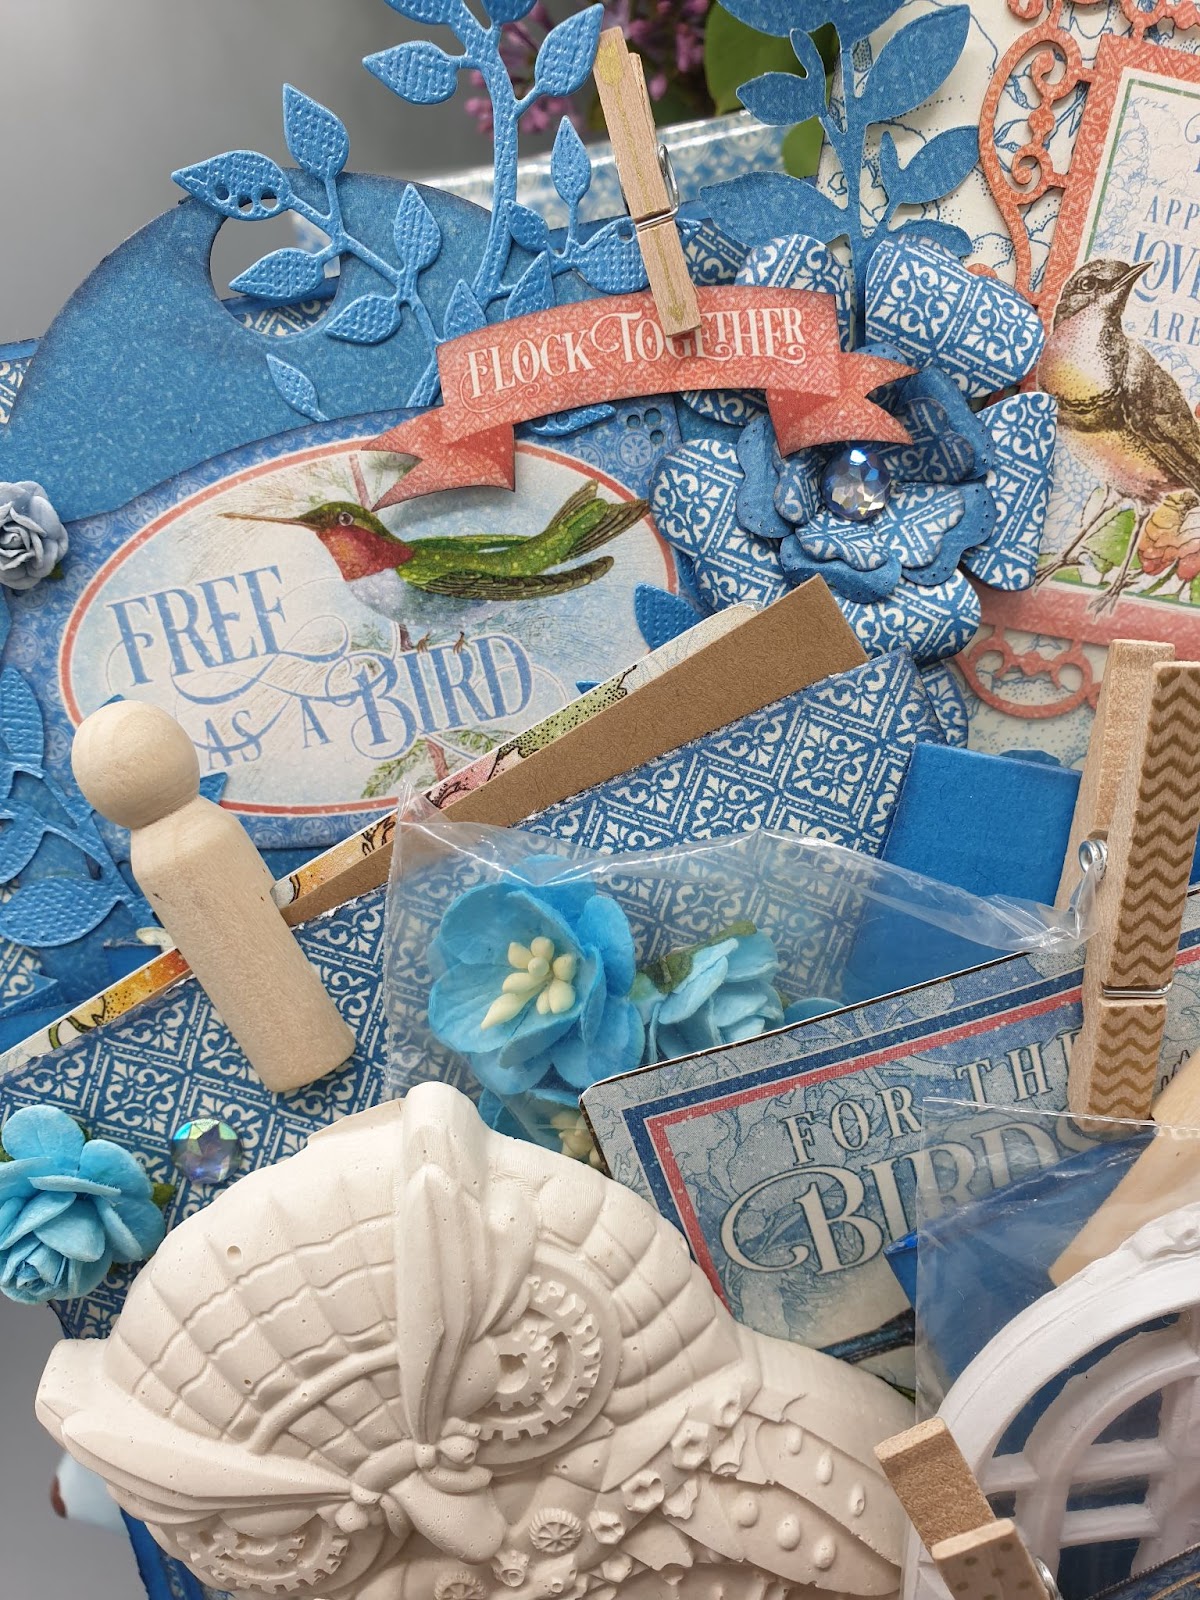
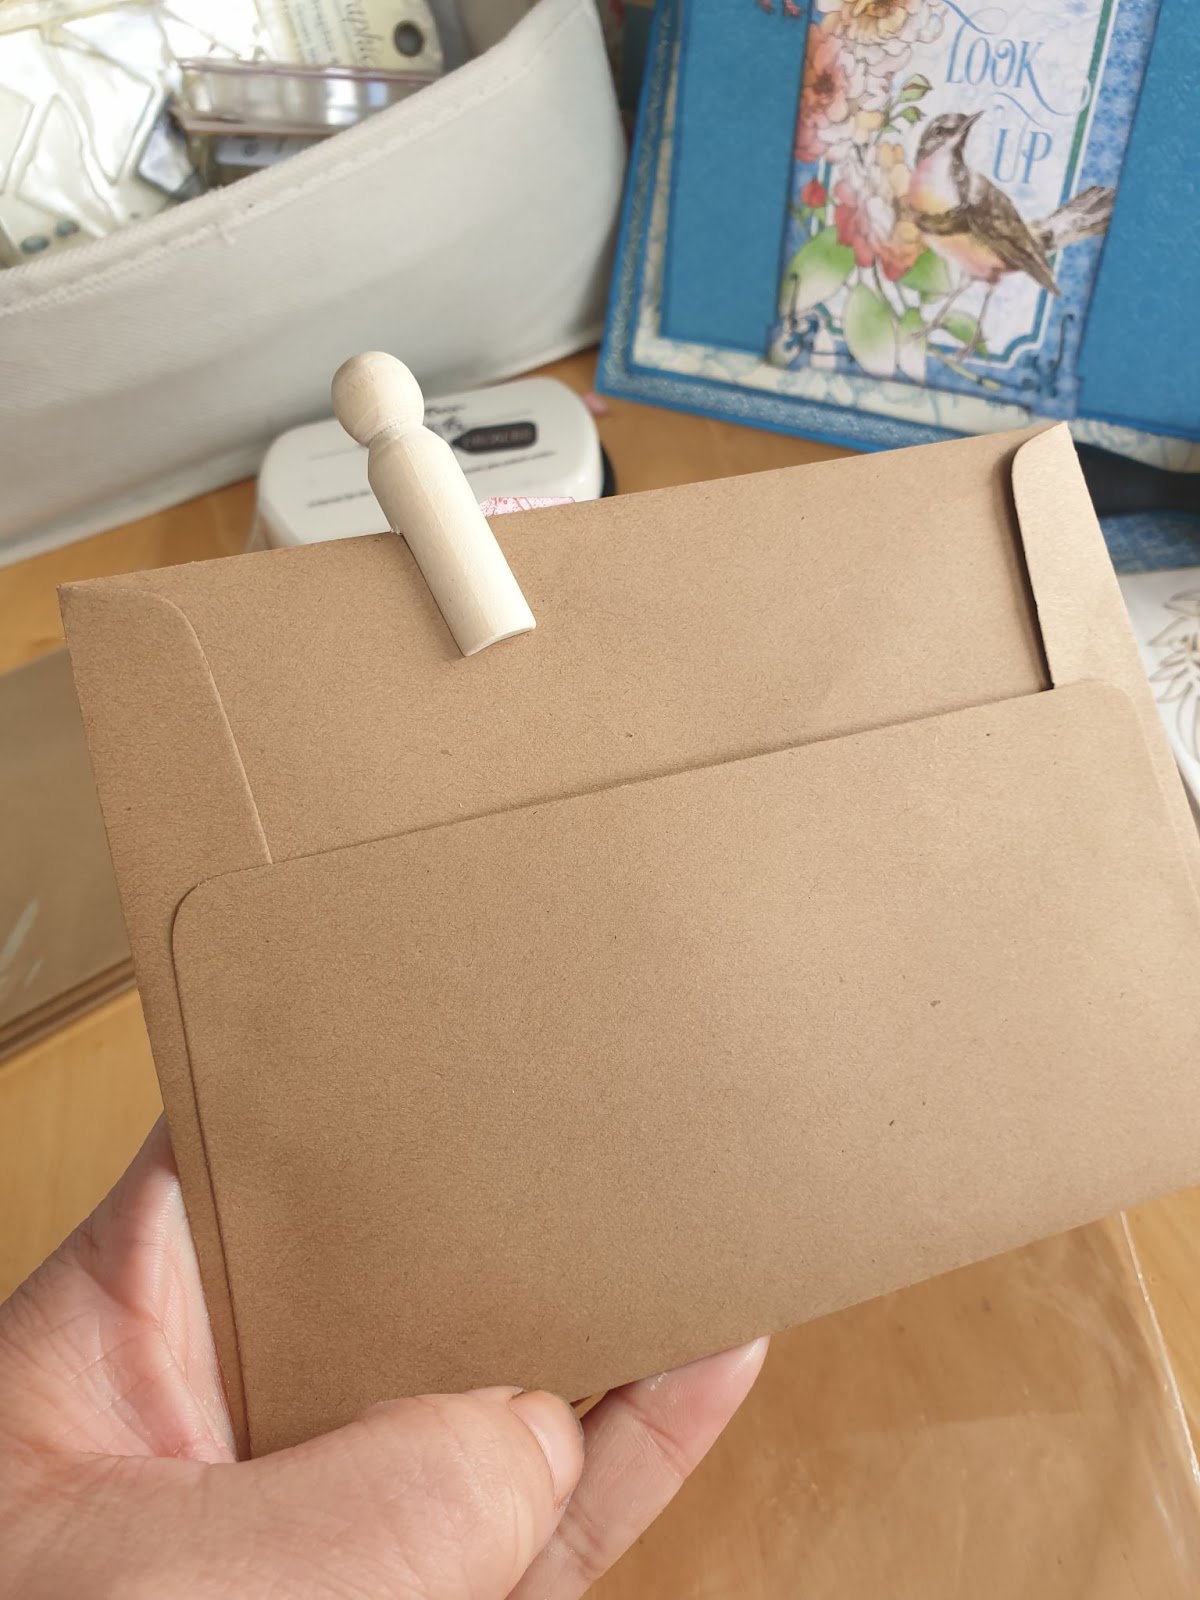
Once your loaded envelope is complete, all you need to do is create surprise pockets. You will see in photos some creative ideas, with tags, envelopes, cards, recycled punched pocket.
Happy Papercrafting!


One Response
Hallo,
Your creation is so stunning and full off details, colors and GOOD TIPS!!!
Thank you so much for sharing this with us.
I hope too see more off you.
Mvg Gina Belgium 🇧🇪 💐👏👏👏👏👏👏👏👏👏🤩🤩🤩🤩