Introducing three incredible projects by the talented Graphic 45 Brand Ambassador, Jenn DuBell!
Grab your scissors and paper and join in the fun!
“Hello Graphic 45 Friends and Fans!!
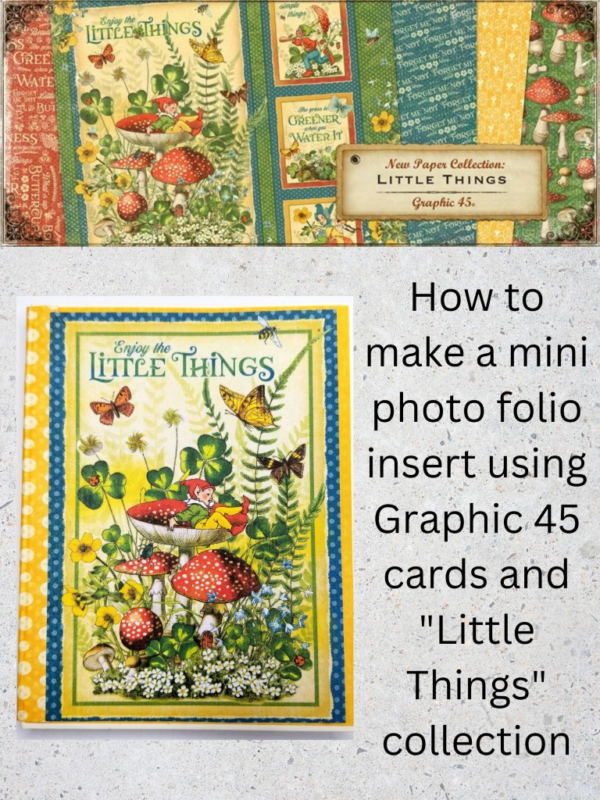
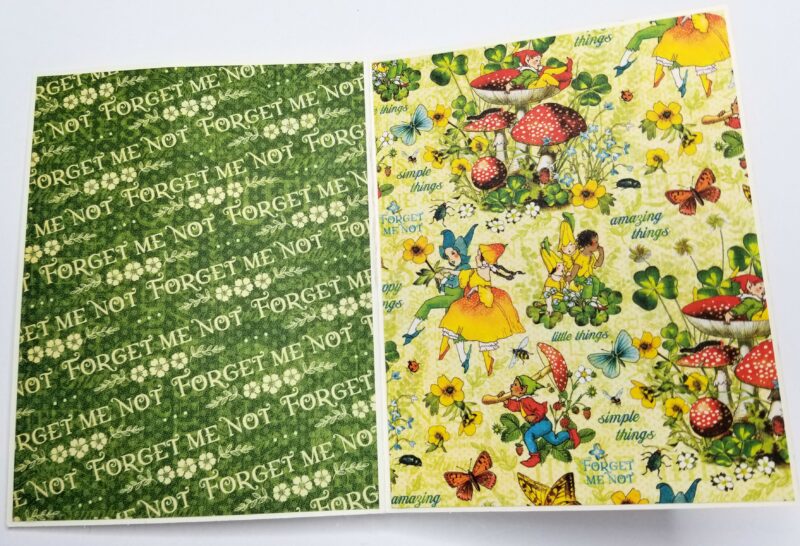
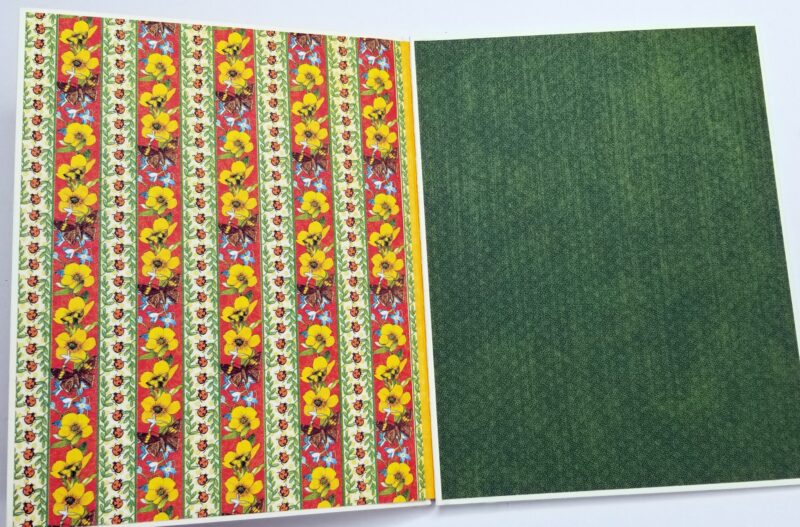
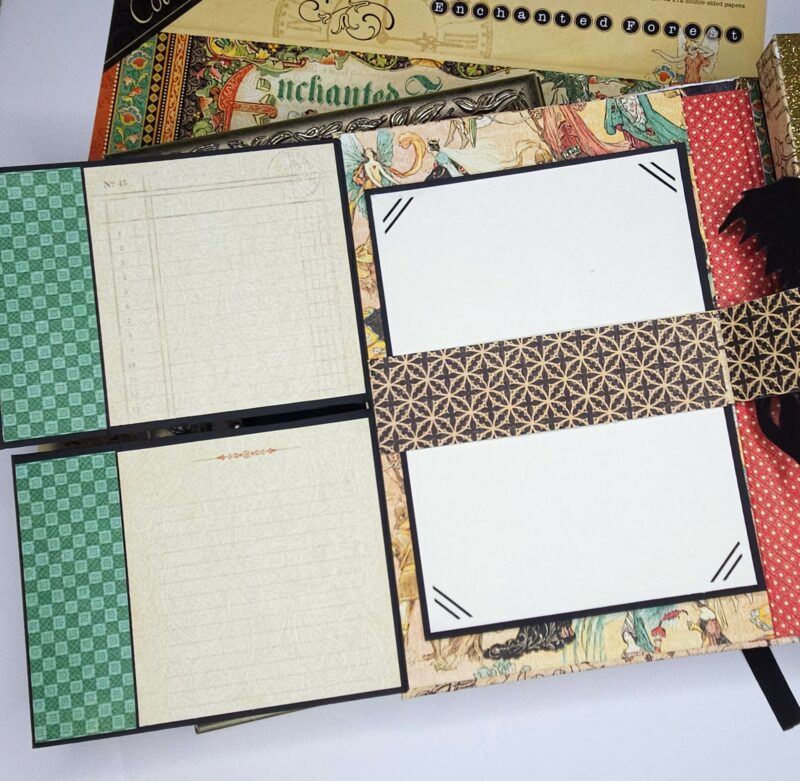
Jenn here today sharing a fun way to make inserts for you mini albums and folios. This fun little insert is simple to create and has 10 pages for photos!
Grab your favorite G45 paper collection, G45 cards, and supplies!
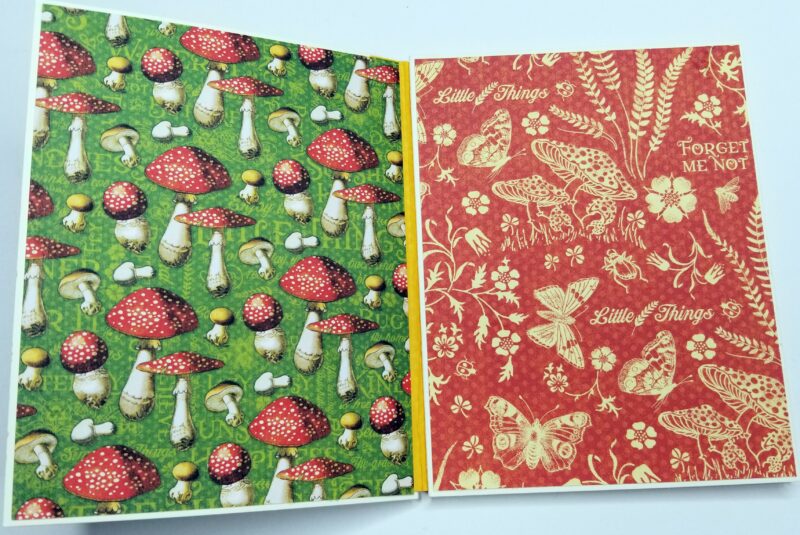
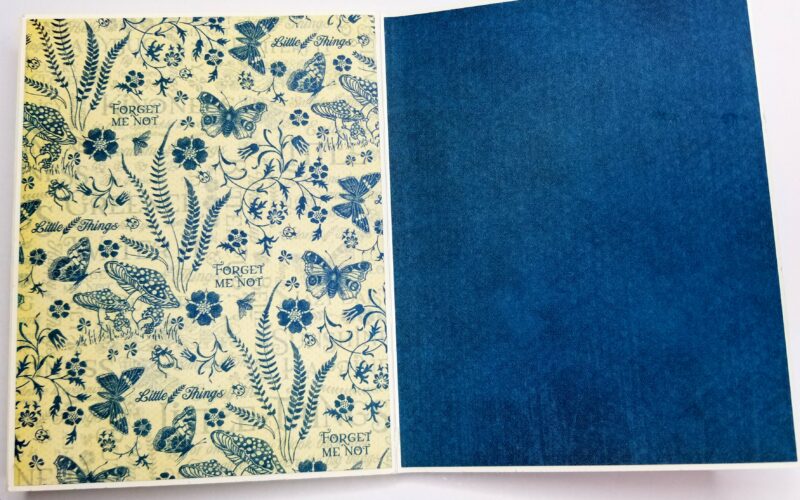
12 pieces at 4 ⅛”X5 ⅜”
1 piece at 3”X5 ⅜” scored lengthwise at ½”,1”,1 ½”,2”,and 2 ½”
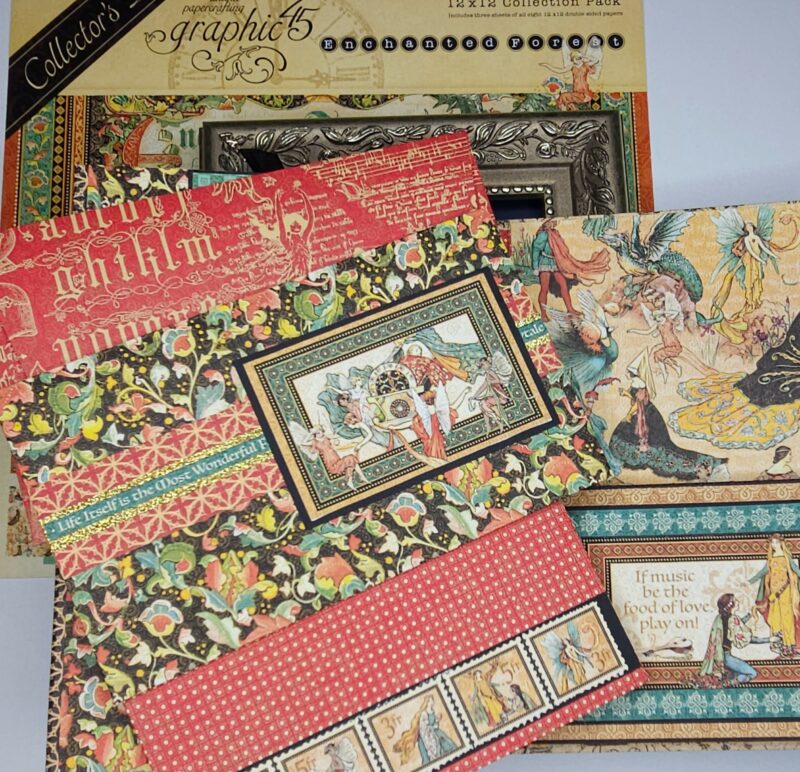
Cut one decorative cover to fit from the 12X12 cut apart sheet. I used one from You are My sunshine.
Graphic 45 Supplies
Little Things 12X12 Patterns & Solids Pack
Little Things 12X12 Collection Pack
Little Things 8X8 Collection Pack
Additional Supplies
Glue
Scoreboard and Bone Folder
“Hello Everyone!
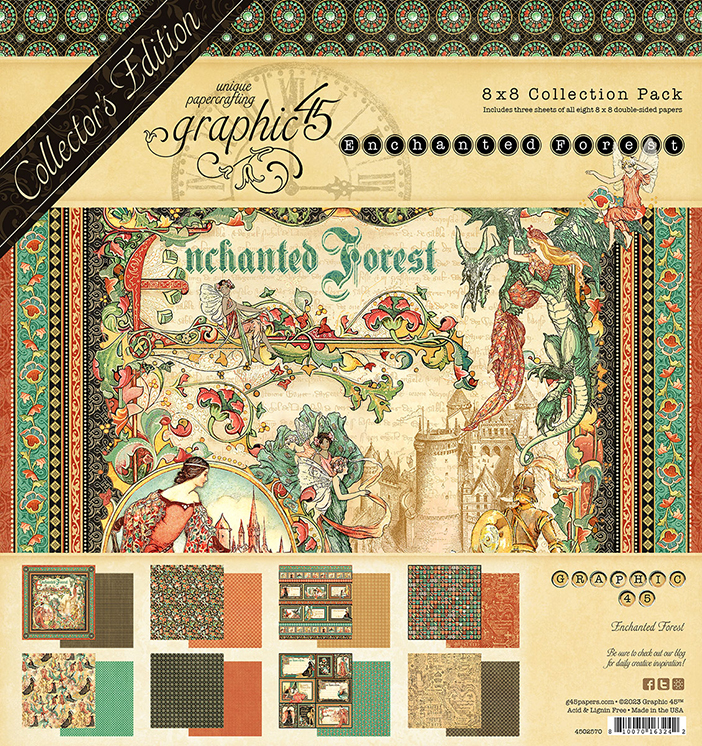
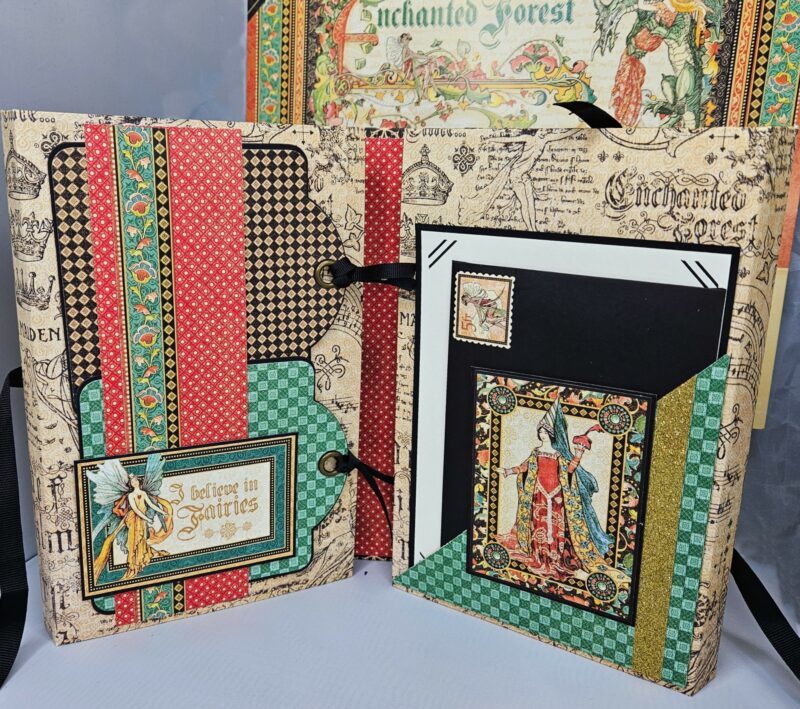
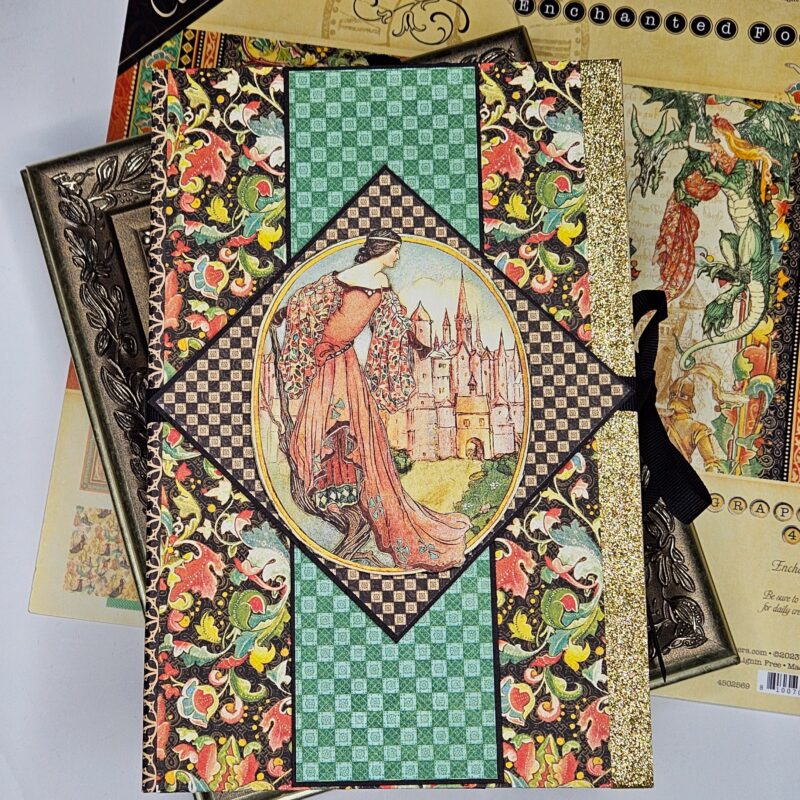
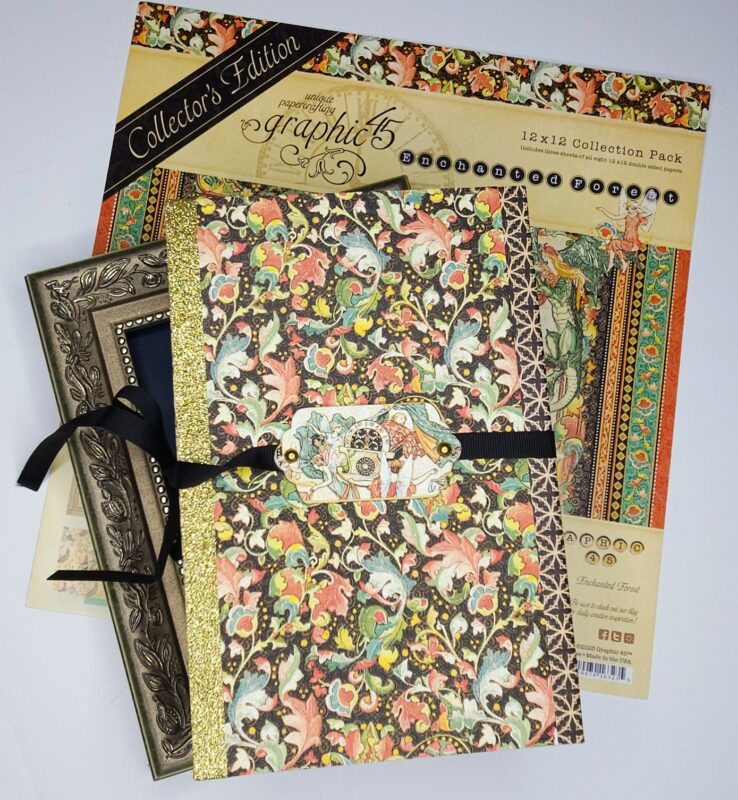
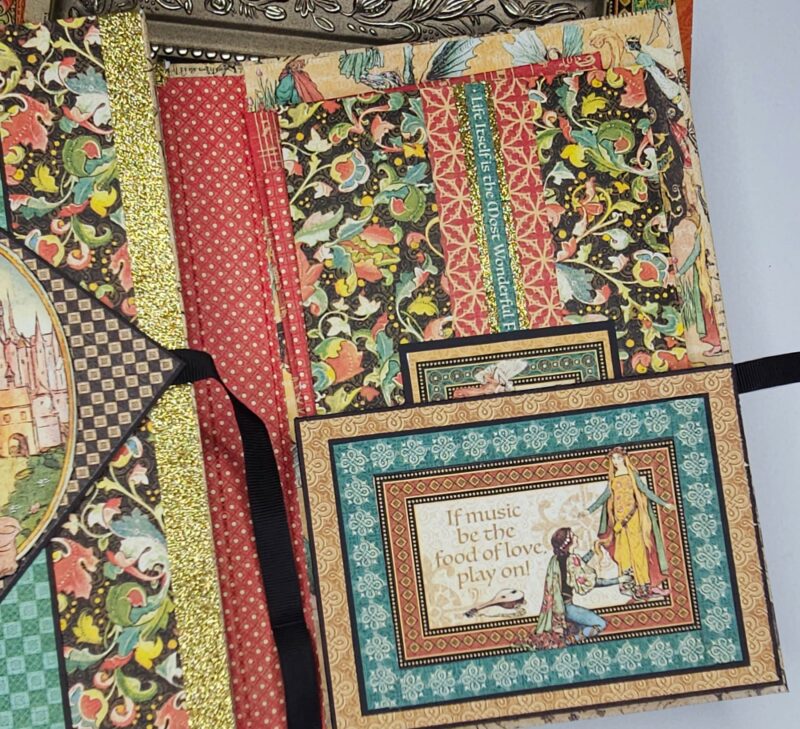
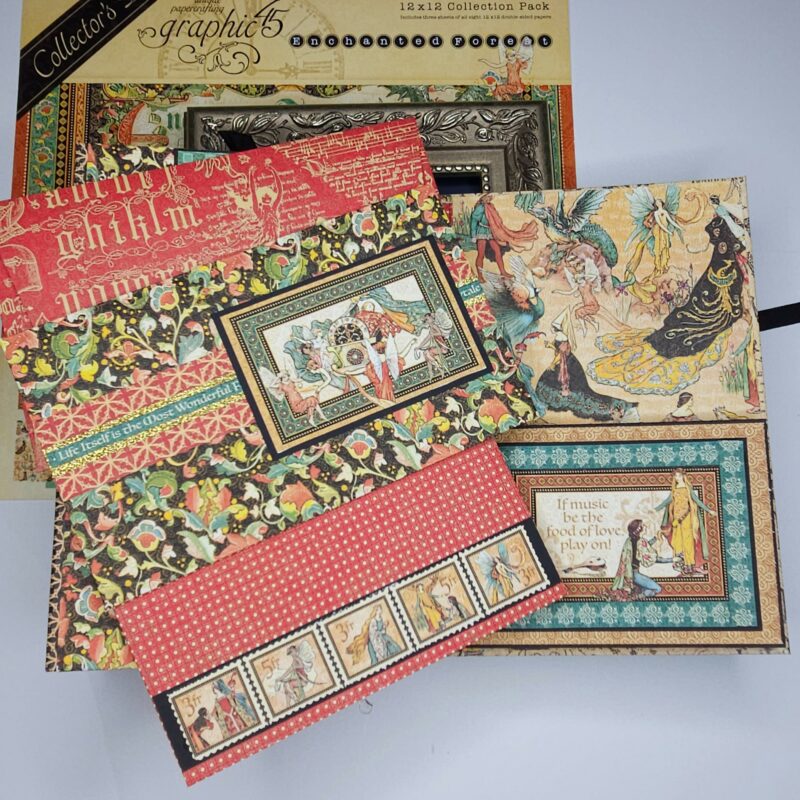
Today I have a walkthrough of my #G45leveledup project to share with you. For my project I have chosen the Club G45 2022 Vol 12 by Carla La Vera
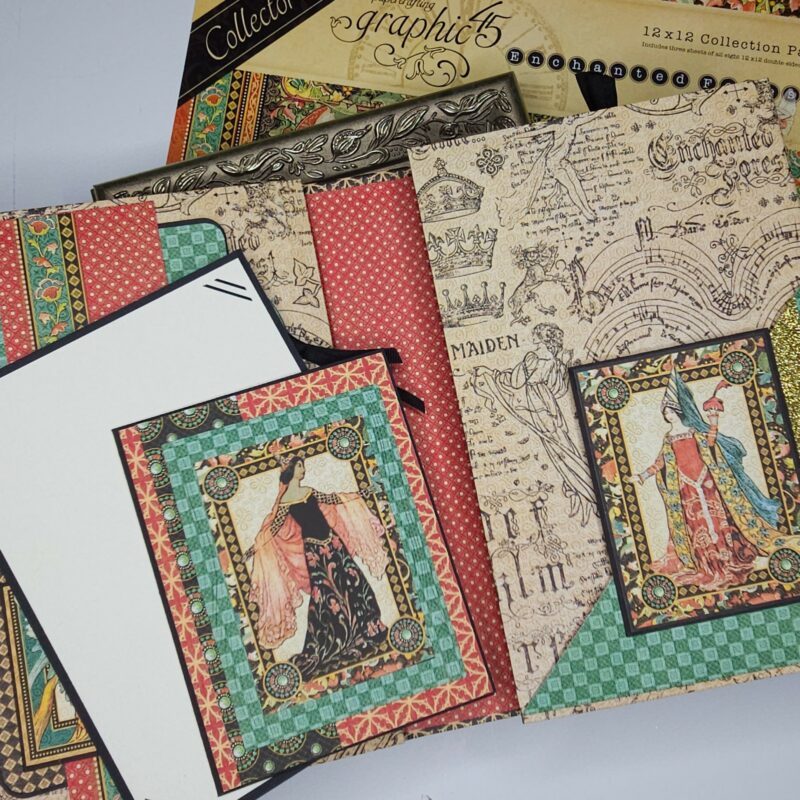
This is such a fun album style to work with. I have used the 12X12 Enchanted Forest collection in place of Mon Amour for mine. My version has the same measurements as the original for the chipboards and papers to create the base album.
In my video I will show you each page of the album and explain my changes as well.
Mon Amour Quad-Folio Interactive Album – Original Printable PDF
As previously stated, I have done my album base the same size using the black chipboard pieces cut in step 1 of the original project.
Papers used – 2- 8 ½”X10 ½” – Medieval Splendor (A)
1 – 3 ½”X10 ½” – Medieval Splendor (B)
2 5 ⅝”X10 ½” Sumptuous Floral (A)
I added the gold washi as shown in my video.
Step 4. I did this the same size as the original with the following:
Brilliant Gem(B)
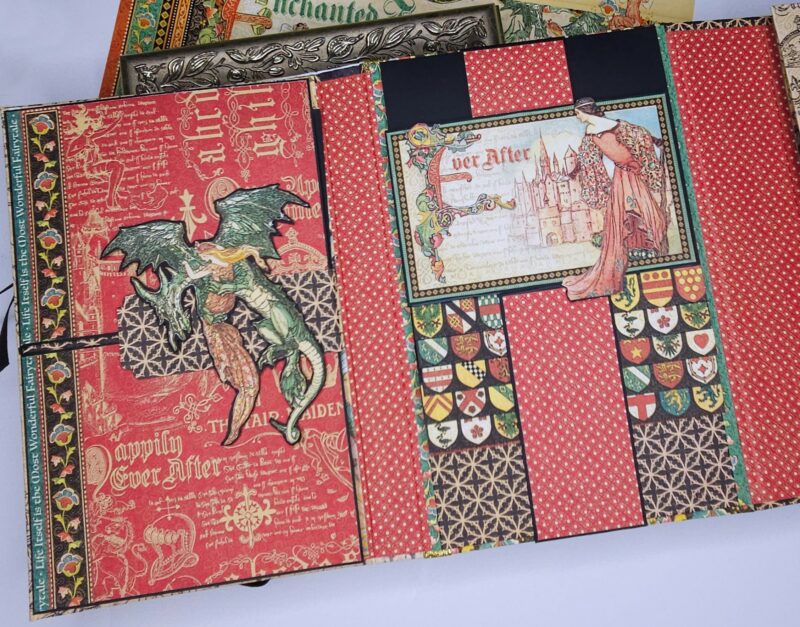
Black chipboard middle strip 2 ½”X9” Dazzling Damsel (B) 2 ⅜”X8 ⅞”
Black chipboard square 4 ¼”X4 ¼” Enchanted Forest (B) 4 ⅛”X4 ⅛” This was turned to look like a diamond shape.
Fussy cut image from Enchanted Forest (A) adhered to black chipboard to pop it up. Adhere fussy cut image to the chipboard then trim to create the oval.
For the back cover, I added an image from a scrap to a piece of chipboard that I had from an older collection, added G45 gold matte gems and adhered it over my ribbon as was done in the original project.
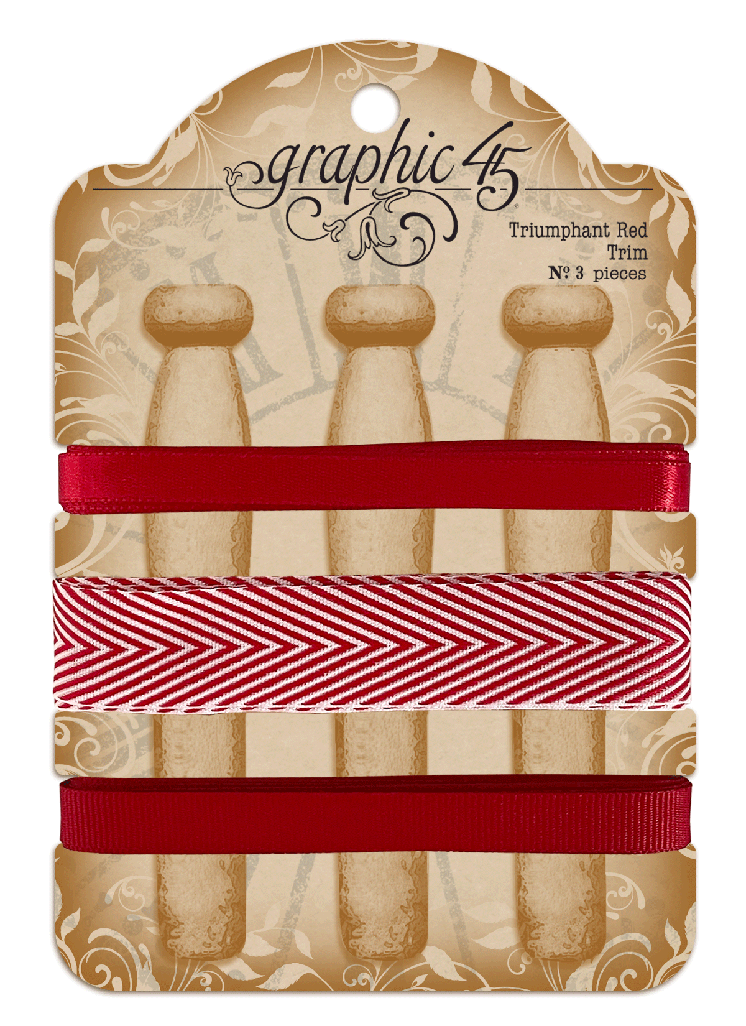
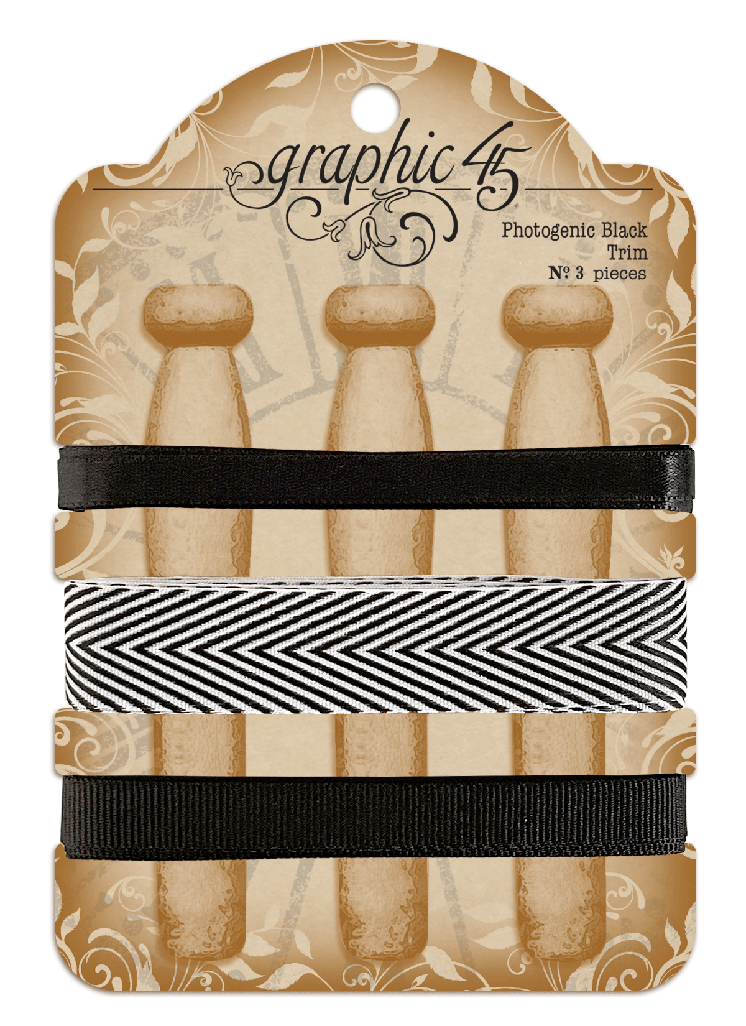
For the first panel inside, I have done something similar to the original. Cut a piece Brilliant Gem (B) 2 ½”X8 ¾”. Adhere as a belly band by only placing adhesive on the top and bottom and place on the panel approximately 1” from the left side.Cut a piece of black chipboard to 4”X2 ⅝” and adhere the cut apart “I Believe in Fairies” from Gilded Grandeur (A). Cut a border saved from the Enchanted Forest (A) to 8 ¾” and add to the strip off center.Add adhesive to the cut apart on chipboard to adhere it only to the belly band. If you place it on the belly band and use a pencil to make small lines to follow it is easier to ensure it does not glue down to the page. For this belly band I also covered two G45 black square tags in paper and slipped them in the pocket. The black trim was also used on these.
For the second inside panel, I used Dazzling Damsel (B) to create an angled pocket, added a strip of gold washi and another cut apart popped up on black chipboard. Inside is a 5”X7” photo matte with picture slots and a card and envelope created with the black G45 card and envelope set.
This page was done quite differently from the original. First a piece of black cardstock was cut to 6 ⅛”X8 ⅞” and scored at ½” down the left side. Next,cut a ⅛” sliver of this out of the middle to create two flip outs. Adhere to the folio page on the left side then add base piece under the flaps covering the ½” flap. The paper I used is Dazzling Damsel (A) 5 ⅜”X8 ⅞”. All of the main background papers in my 4 inside pages I cut to 8 ⅞” height rather than the original 8 ¾”.
The flap fronts are covered using Exquisite Epoch (B). For the backs as explained in my walkthrough, I have used journaling cards from an older collection cut down and scrap strips on the sides. Under the flaps, I created a 1 ½” belly band that wraps forward and has magnets to secure the flaps. The dragon image was fussy cut from Enchanted Forest (A) after it was fussy cut from the paper and adhered to black chipboard. A 5”X7” photo matte with picture slots was created to place in the belly band under the flaps as well.
This section was done in a similar way as the original. The 5 ⅝”X8 ⅞” piece is cut from gallant Knight (B).There are 5 waterfall pages here that are cut from black cardstock to 5 ¼”X5 3/4” and scored at ½” on the tops. Cut strips of the shields from Exquisite Epoch (A) to adhere to the bottom of each. A pocket was also added under the waterfall by cutting a 6 ¼”X3 ½” piece of Medieval Splendor (B) and scoring at ½” on three sides. Miter the corners where the score lines meet and burnish.The closure was created by cutting down one of the cut aparts as shown. This was adhered to black cardstock 1 -5 ¼”X8 ⅛”. Score with the 8 ⅛” across scoreboard at 3 ¼” turn the paper so the 5 ¼” is across the top of the scoreboard and score at 1 ⅞” and 3 ⅞”. Then cut the outer pieces away to create the piece shown below. Score the bottom of the 2” strip at ½” and adhere the ½” flap so that it will be covered by the pocket. A second 2”X 4 ½” piece of black cardstock was cut and scored at ½” and adhered to the top under the middle of the waterfall. Be sure to add this before adhering the waterfall down to the page.

Adhere the pocket to the page to fit directly even with the bottom of the waterfall. A smaller photo matte was made for this pocket. The band closure has magnets as explained in the video. The paper used on the band is Brilliant Gem (B).

First a split sliding belly band closure was made as follows. Cut one of the saved borders from Enchanted Forest (A) to two pieces. 1 at 4 ¾” scored at ½” on one end and the other at 3” scored at ½” as well. Adhere by the ½” flap to the page, the longer on the right and shorter on the left. Be sure to line these up so they will close together. Add another cut apart to a piece of black chipboard. Cut a strip of black cardstock or scrap and wrap it around the belly band to measure.Once it is fit and slides easily over the two pieces close it and adhere it to the chipboard piece. Add a G45 ornate keyhole for weight. This will hold the pages down.
Next, I created a similar pull out element. A total of 4 pieces were cut and scored at ½” on alternating sides from left to right to create an accordion style page system. Cut as follows: listed from top to bottom.
Medieval Splendor (A) 4 ½”X6” scored at ½” on right side
Brilliant Gem (B) 5 ¼”X7” scored at ½” on the left side
Sumptuous Floral (A) 5 ½”X7 ½” scored at ½” on the right side For this page a pocket was added using a piece of black cardstock 5 ¼”X3 ½” scored on three sides, mitered corners and adhered. This pocket houses a cut down black G45 large tag.
Dazzling Damsel 6”X8 ¾” scored at ½” on the left side.
These were connected at the ½” flaps and then the unit was adhered to the left side of the page followed by the 5 ⅝”X8 ⅞” piece of Gallant Knight (B).

For the final section, I have done the same as the original with a pocket and loaded envelope as well as adding a couple more envelopes as seen in my video. For the 5 ¾”X8 ⅞” background paper here I used Dazzling Damsel (A).
Happy papercrafting!
~Jenn
Hello G45er’s!
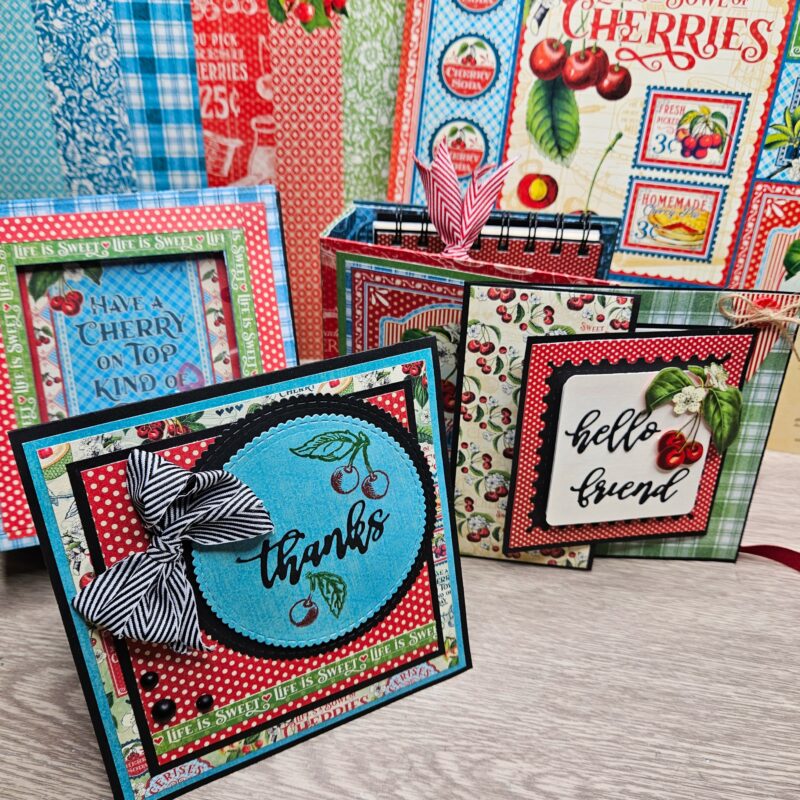
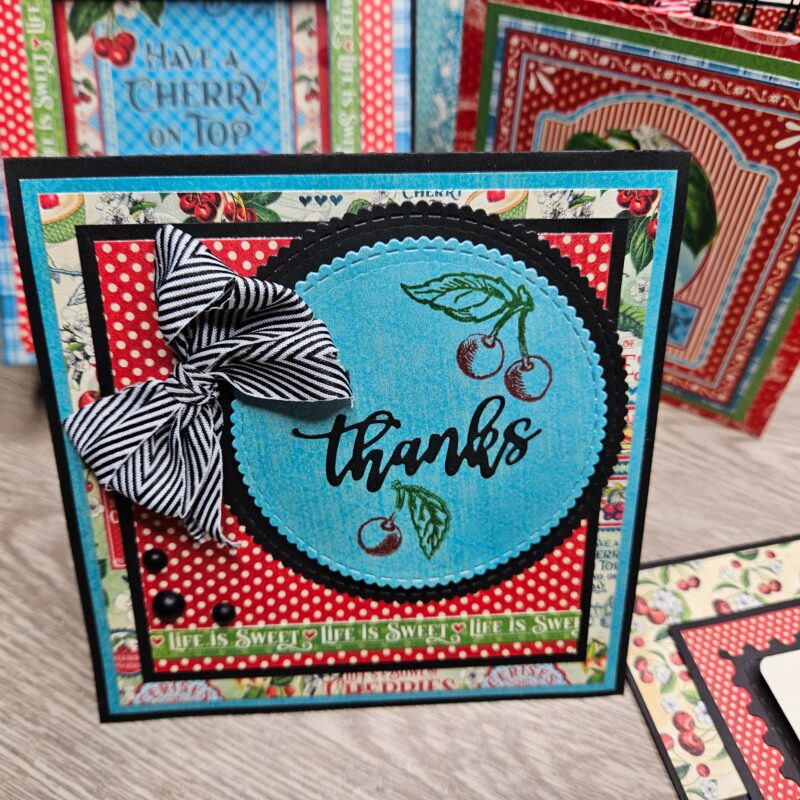
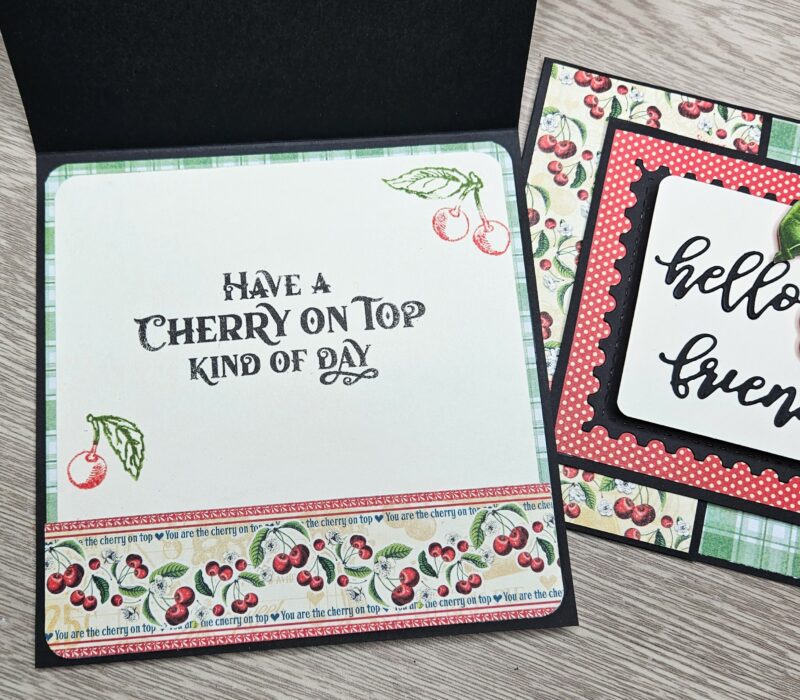
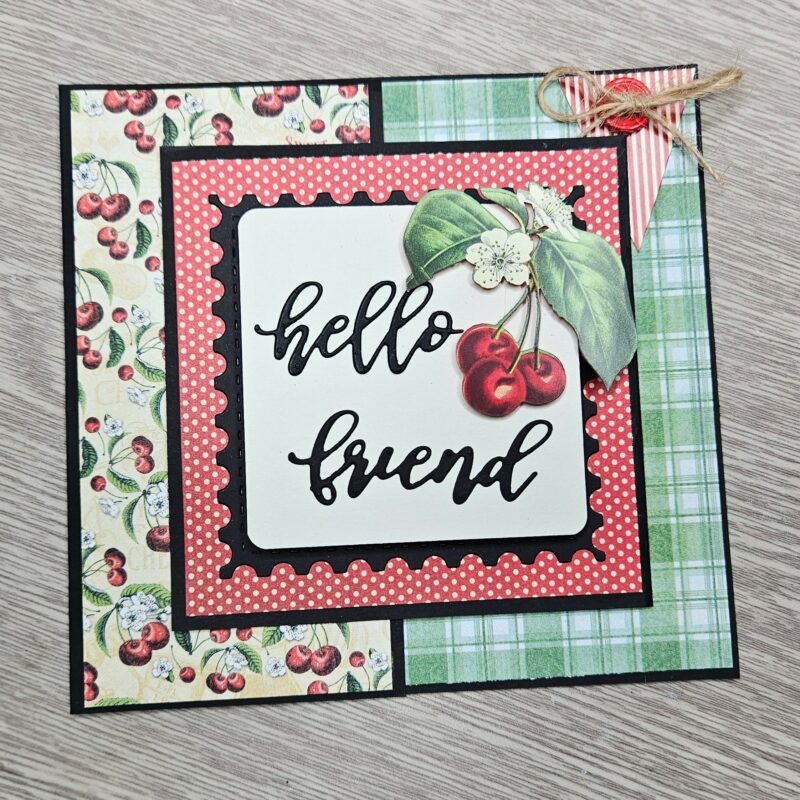
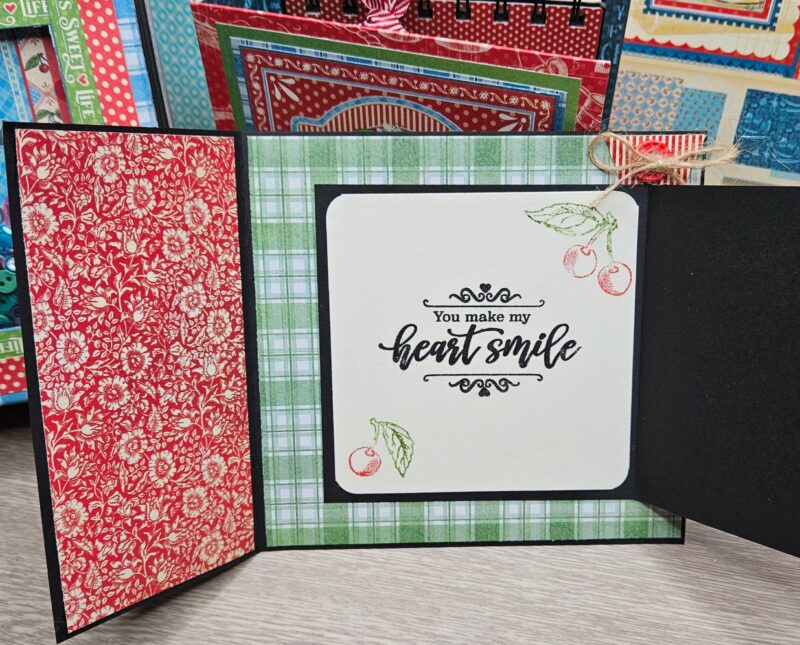
Jenn here today sharing a fun collection of projects featuring the gorgeous Life’s a Bowl of Cherries Collection!
An album in a box,tags, cards, and a fun little folio with a notebook tucked inside were all created using this collection in combination with dies and stamps.
The video will show you a full walkthrough of the projects as well as a way to create a shaker box top and some fun cards using your scraps.
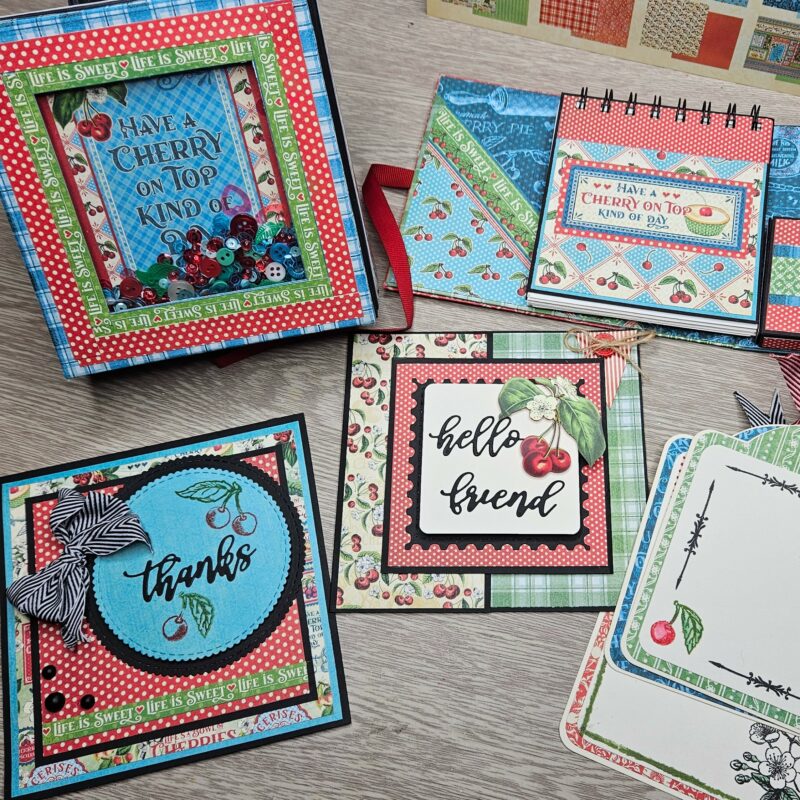
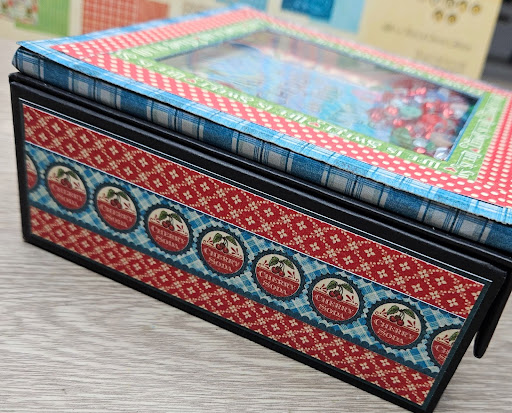
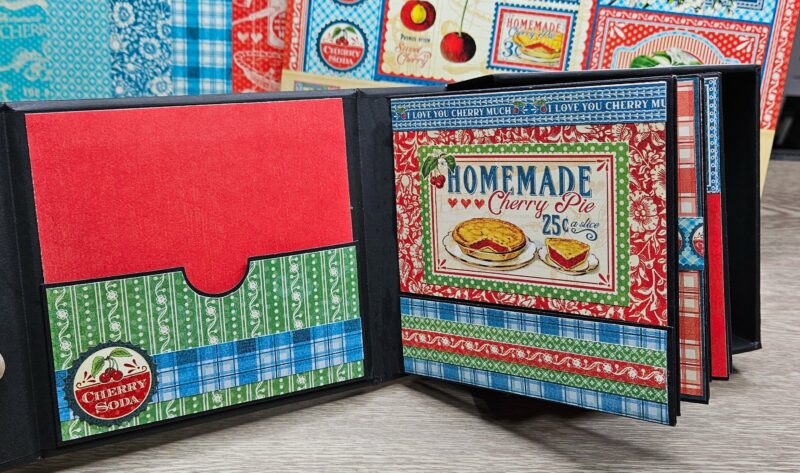
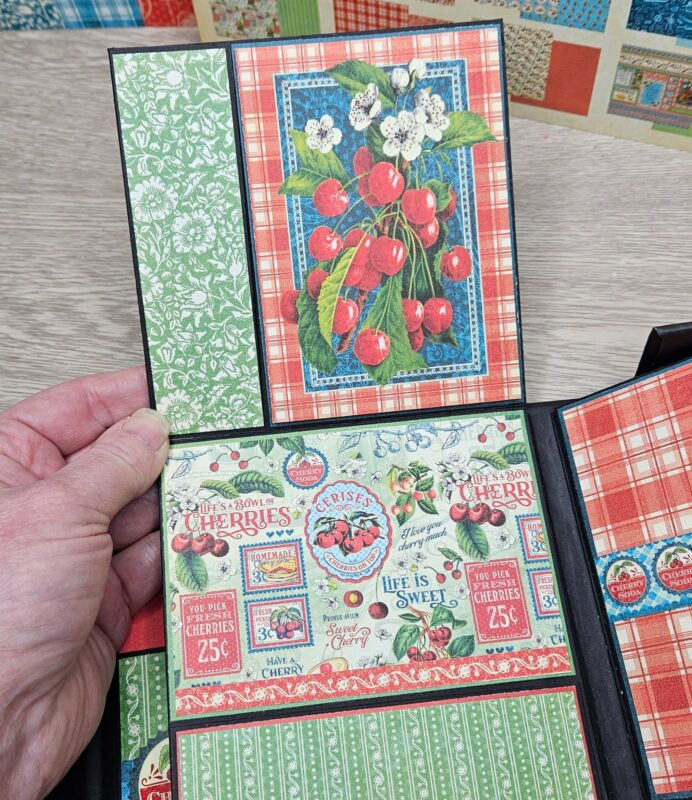
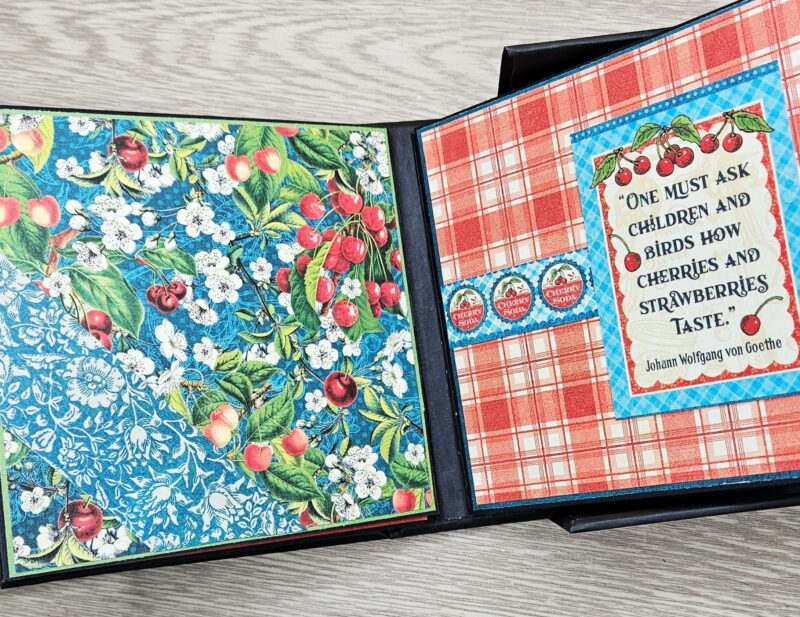
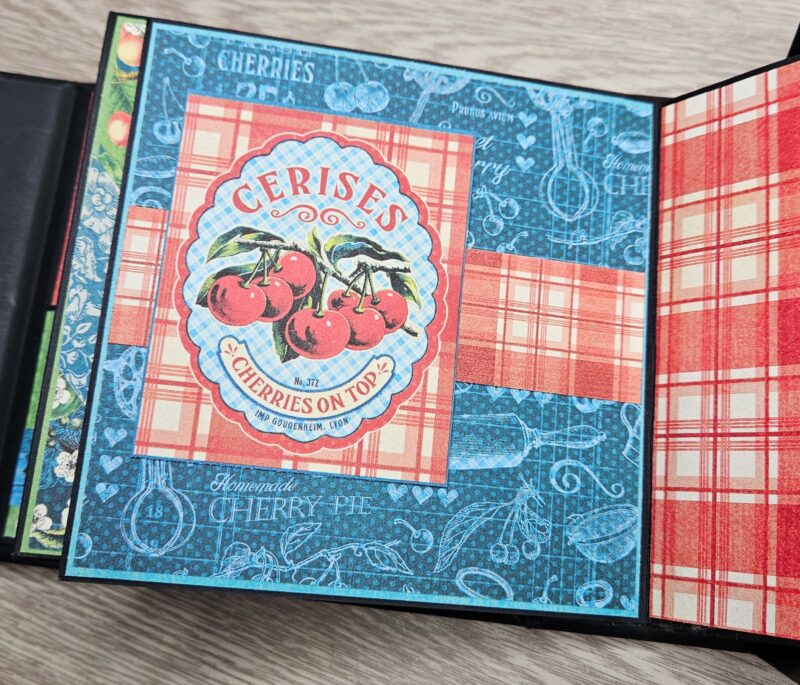
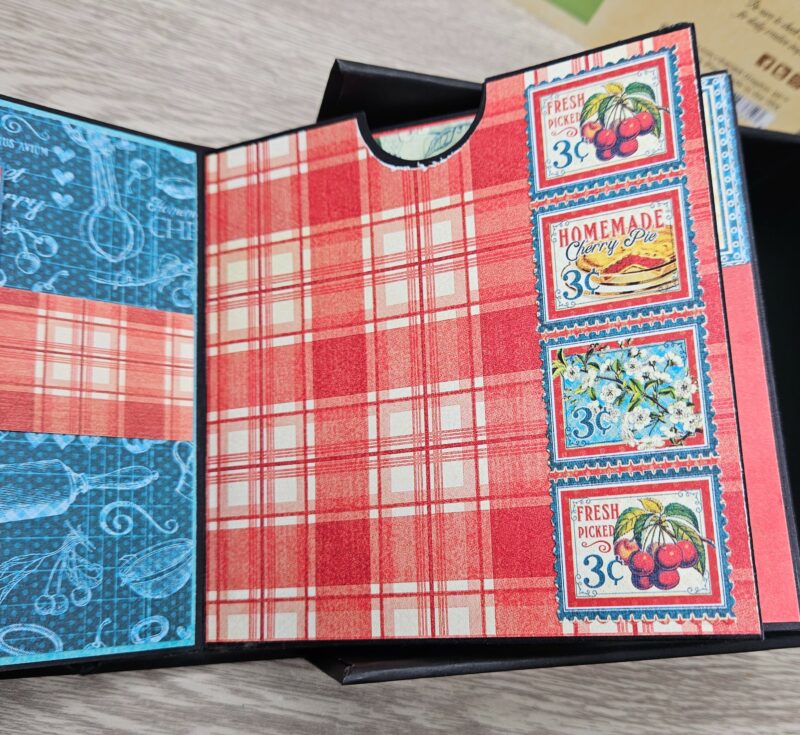
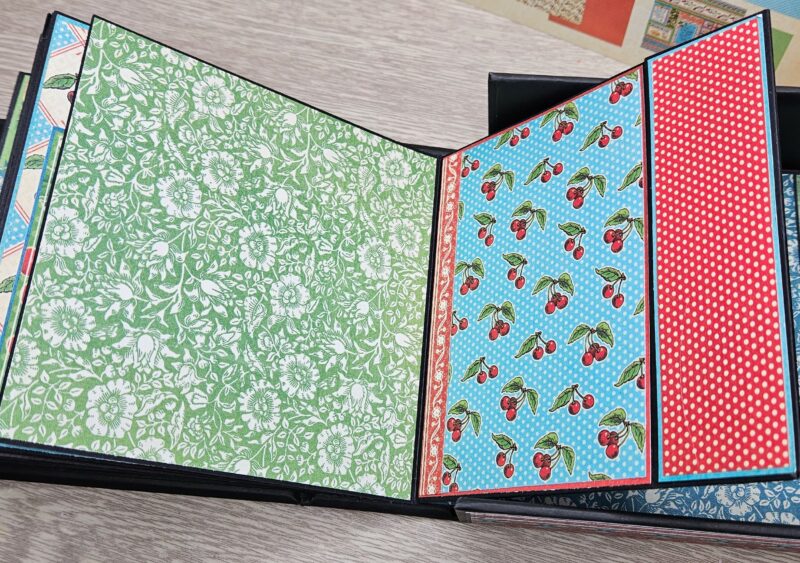
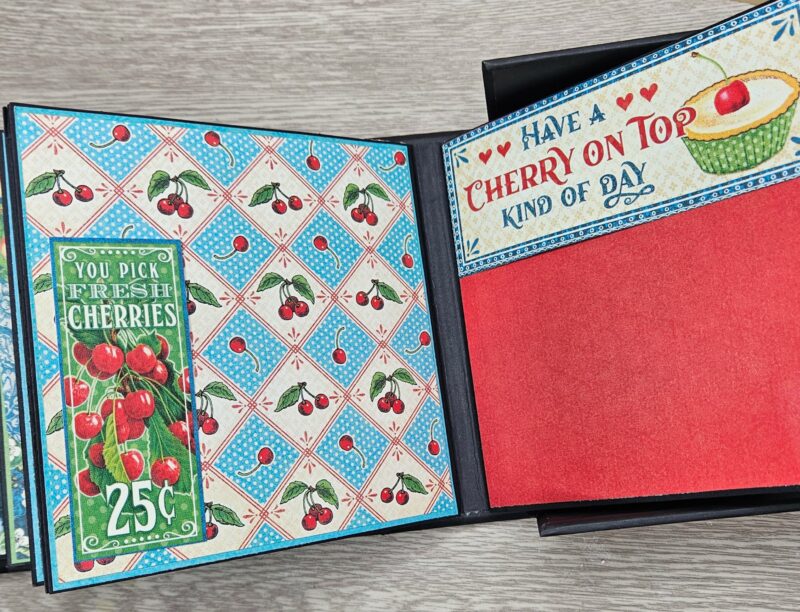
The first project I created in this group was the album in a box. Below are pictures showing how I chose to decorate mine.
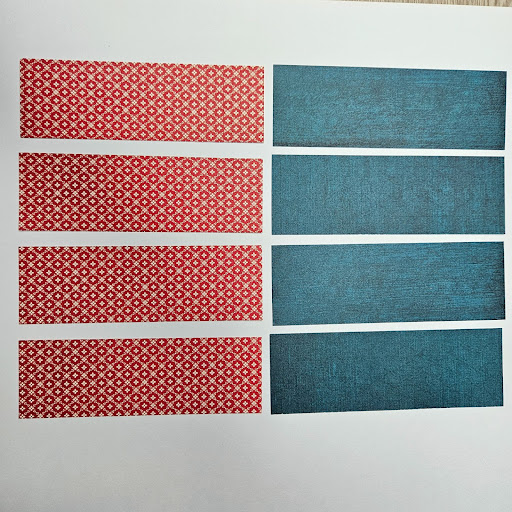
For the 4 outside panels of the box:
Patterns and Solids Blue Solid – 4 at 5 ¼”X1 ¾”
Patterns and Solids Red&White Small Print – 5 ⅛”X1 ⅝”
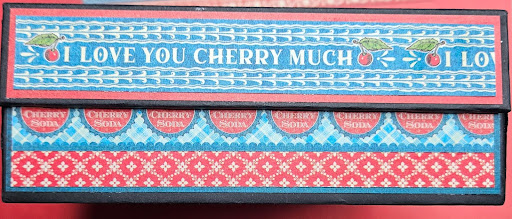
Add border strips cut from the 8” I Love You Cherry Much side A to 5 ⅛” long as shown below.
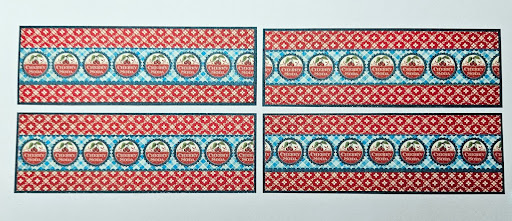
Adhere these together as shown and then on the panels. For the magnetic flap I used the red from the patterns and solids and a border strip.
Decorate your album and inside of the box and add it to the box.
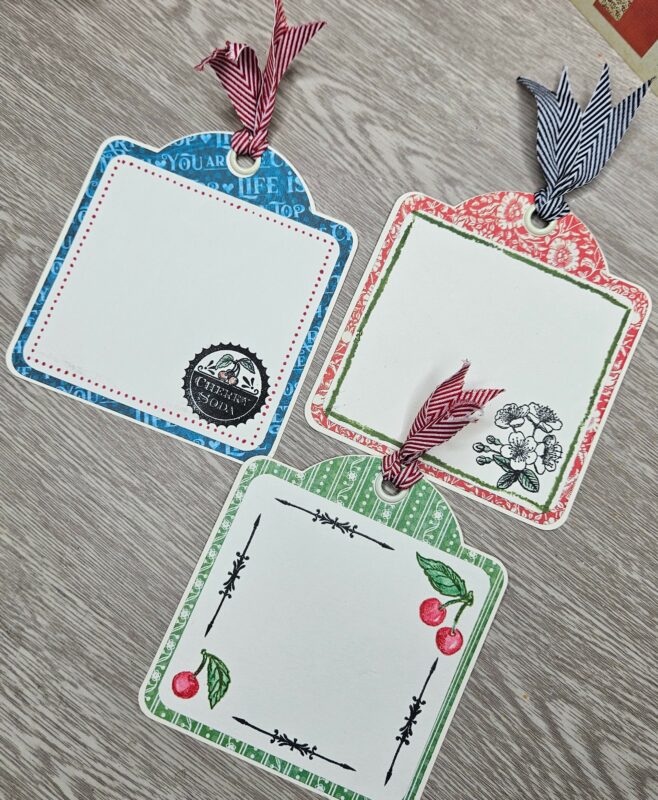
Next I created some fun tags using G45 Ivory Square tags. I explain these further in the video.
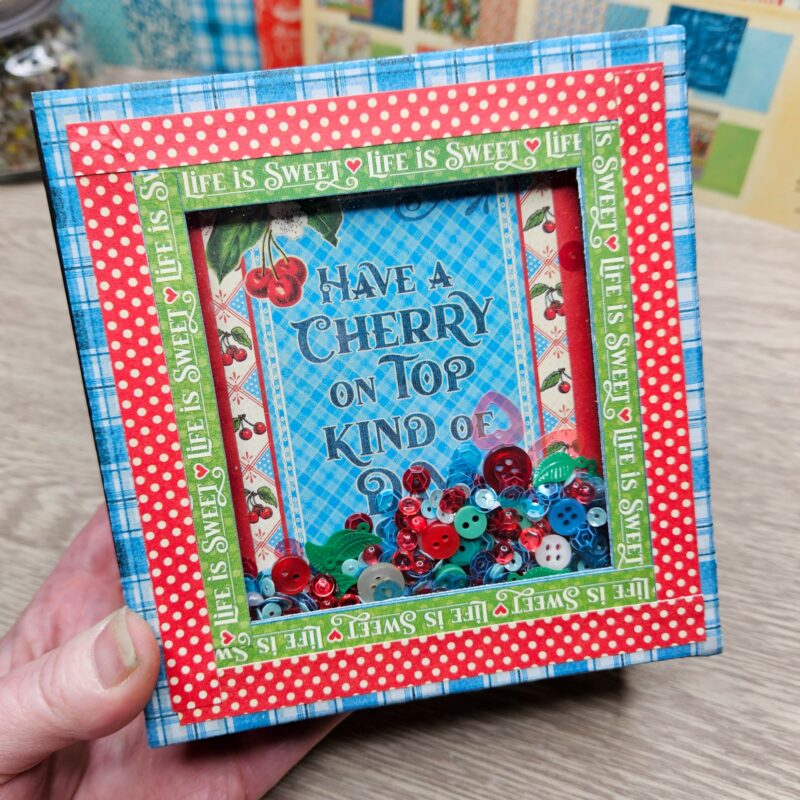
In the video I will show you a couple of card styles made from scraps as well. A small folio was also made. Originally I wanted to put a chipboard cover on my album inside the box and once I did I preferred it without it. Rather than tossing it, I added a box pocket and created a small notebook to tuck inside.
Supplies:
Additional Tools and Supplies:
Scoreboard
Bone Folder
Drying Clips
Adhesives
Ruler
Scissors
Corner Rounder
Ivory heavy cardstock
Thanks so much for viewing my project today!
Happy Papercrafting!”
~Jenn