Hello, G45ers!
We here at G45 love a thoughtful handmade gift or card, and today on the blog we have a handmade card that also doubles as a gift. Graphic 45 Brand Ambassador, Boule de Scrap has created an impressive Christmas Time Shadow Box Card. This Card is filled with gorgeous steampunk details and fun pockets. We hope this step by step tutorial inspires you to create your own Box Card and just in time for our #G45Card Challenge.
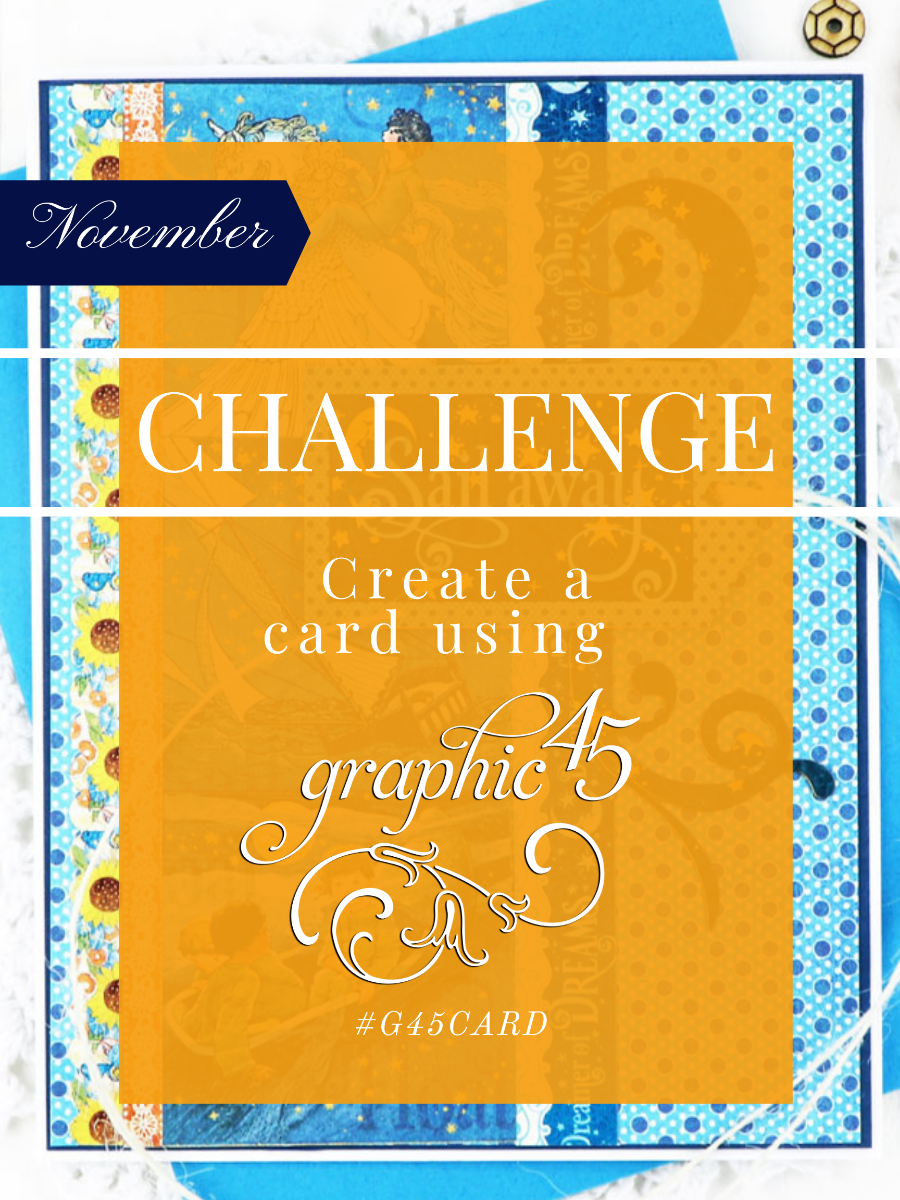
#G45Card
Join our Challenge!
Create a card using Graphic 45 product
Upload your project to Graphic 45 – Official Community Page on Facebook using #G45card
WIN a $150 prize pack, one winner will be selected randomly
Deadline: December 4th, 2020
You can enter multiple times
Winner will be announced in the December 7th, 2020 newsletter
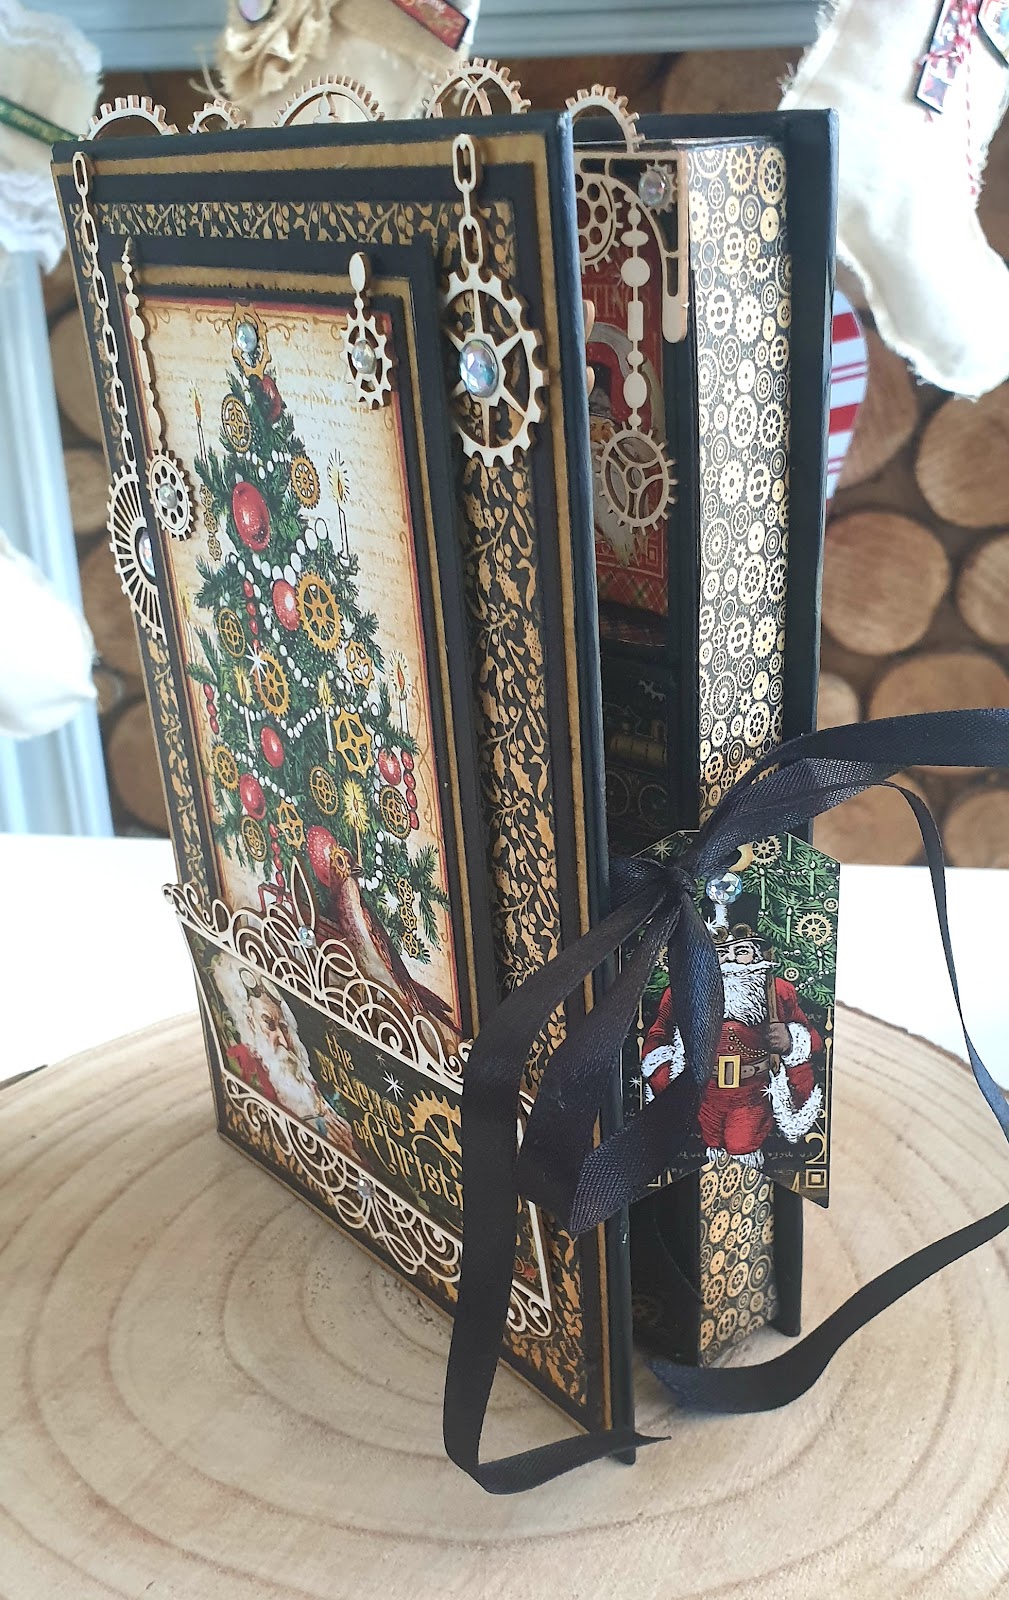
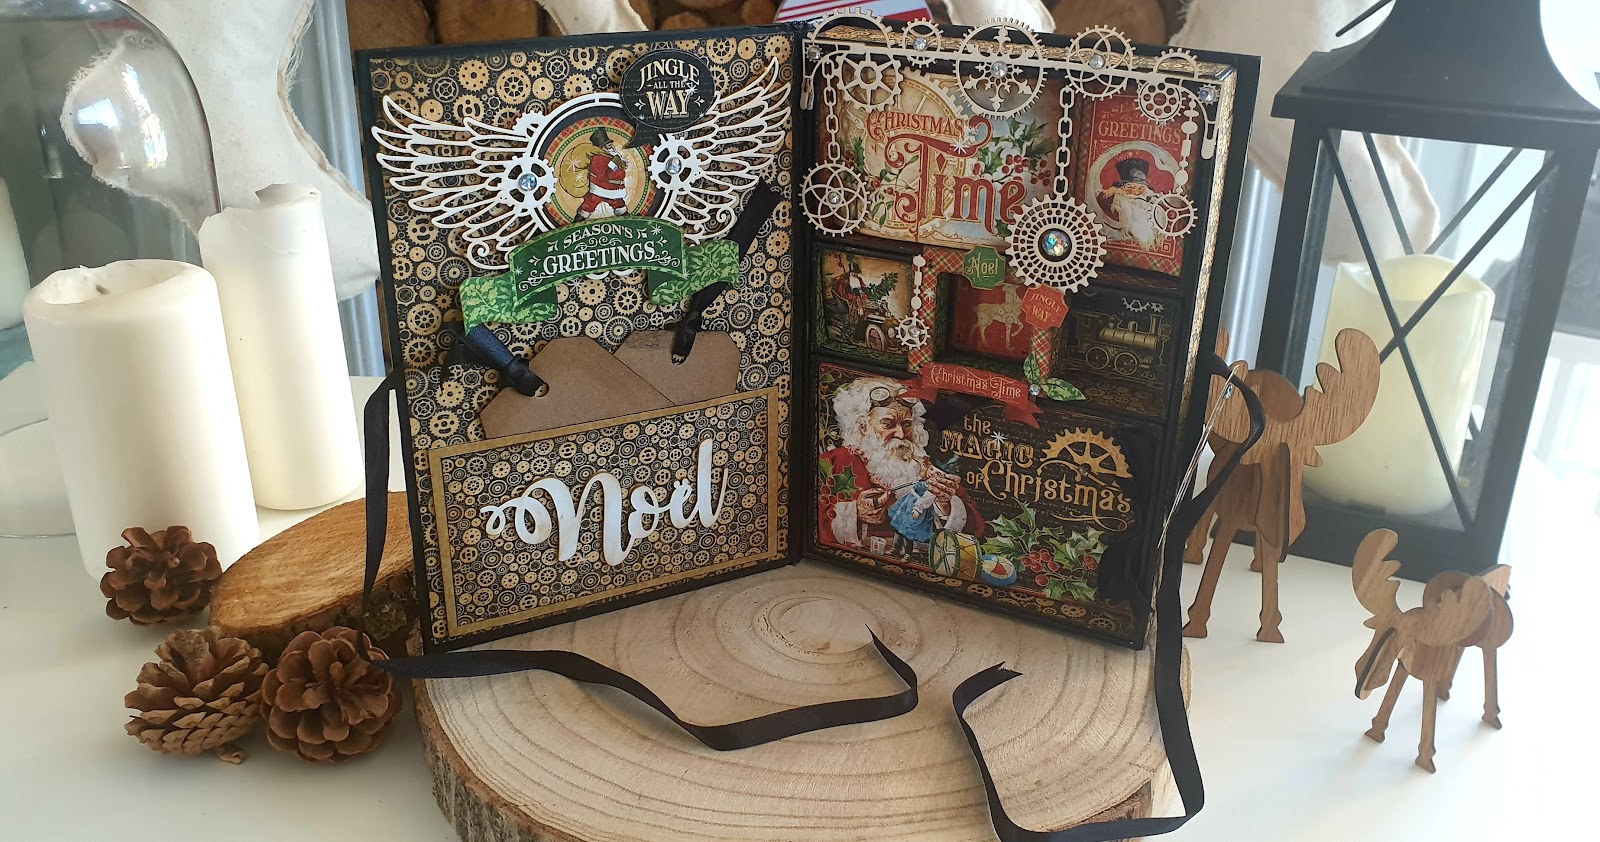
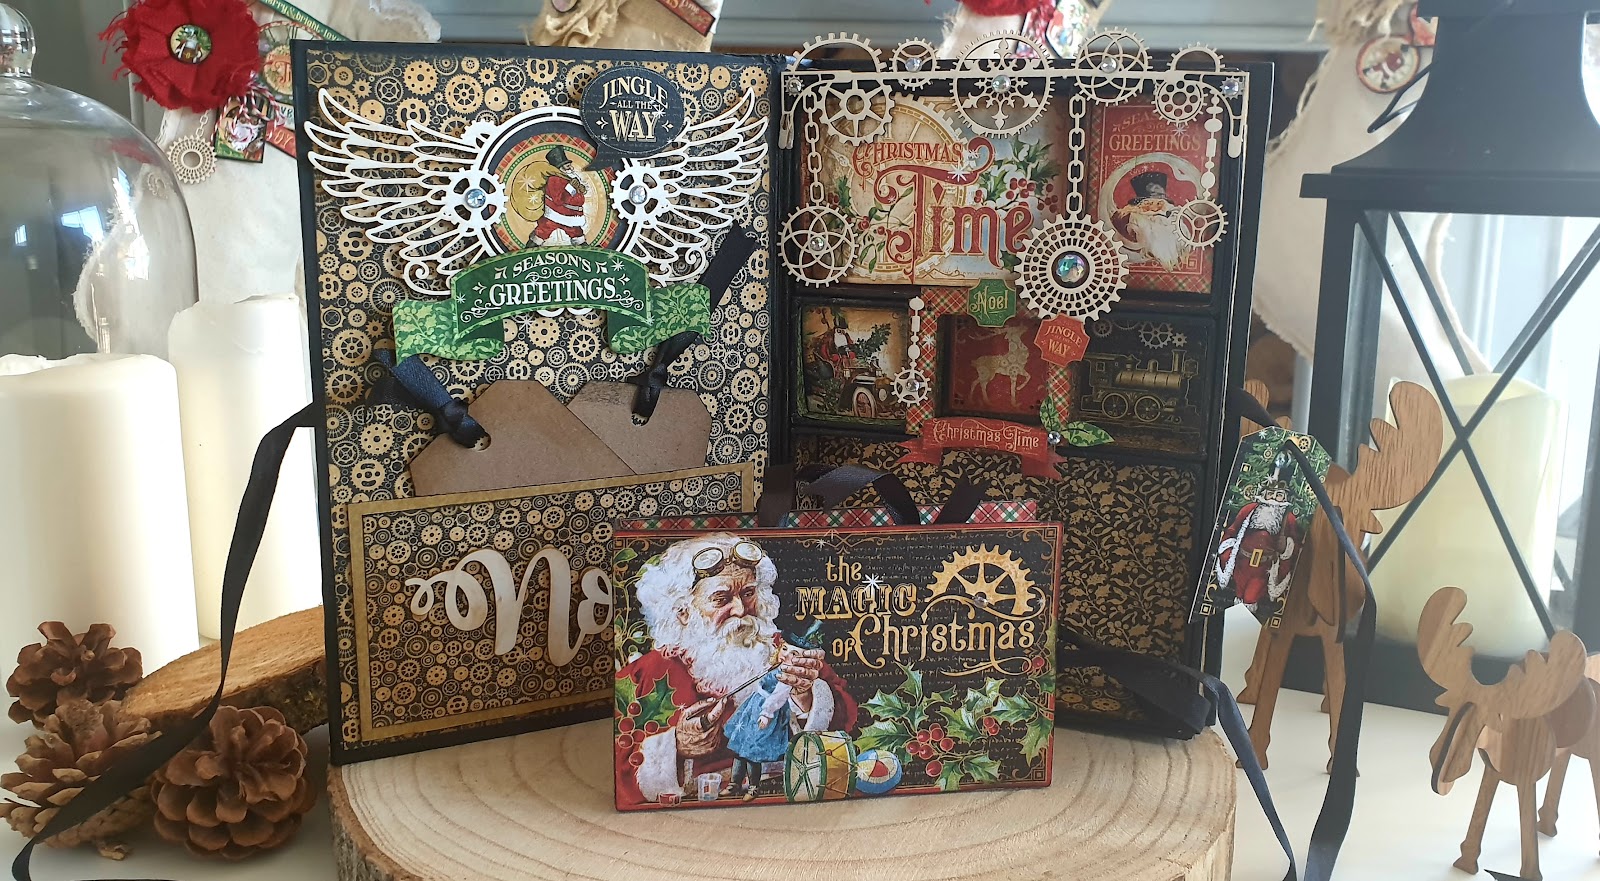
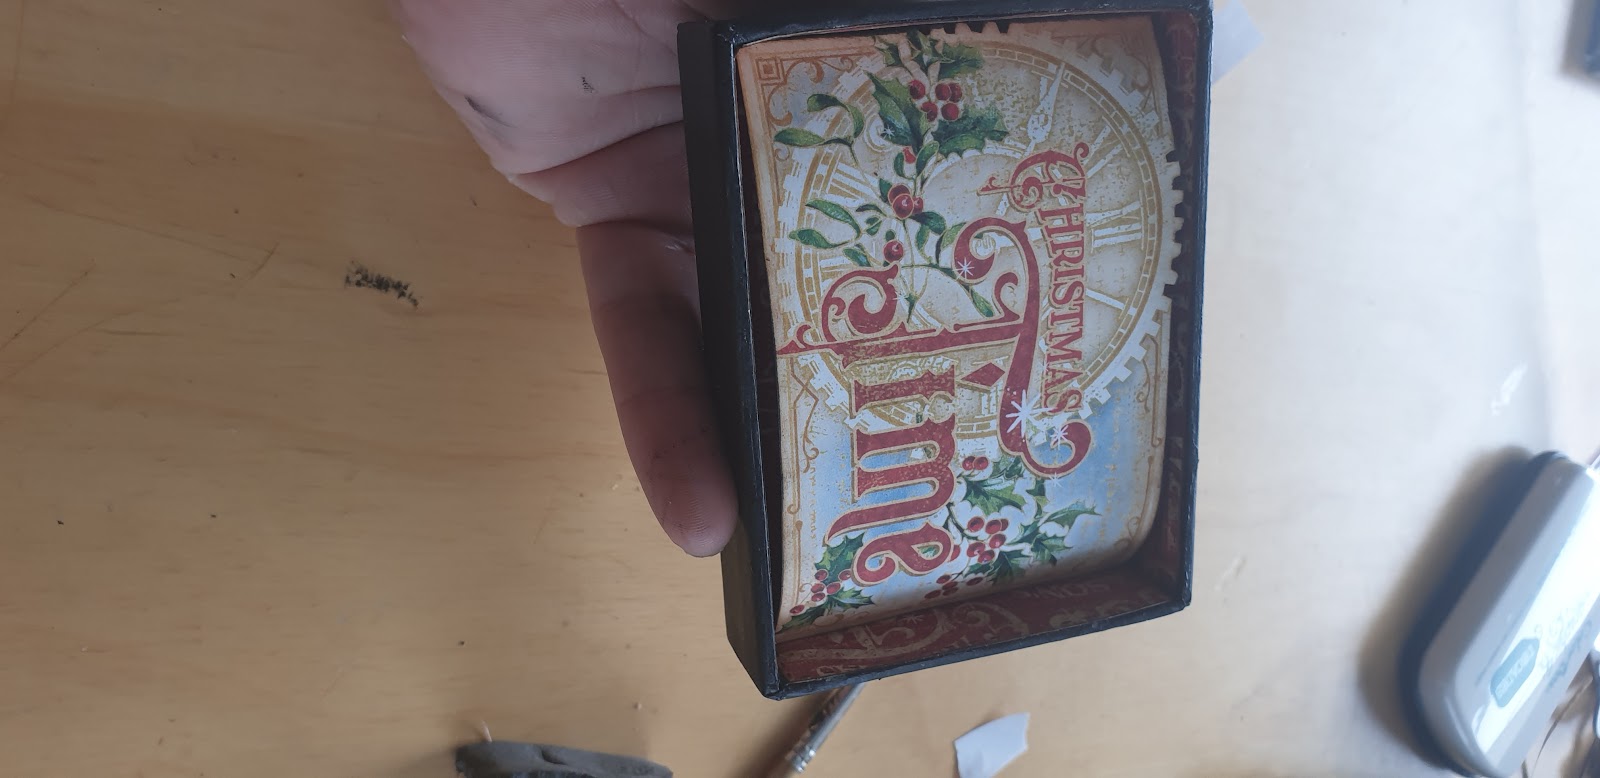
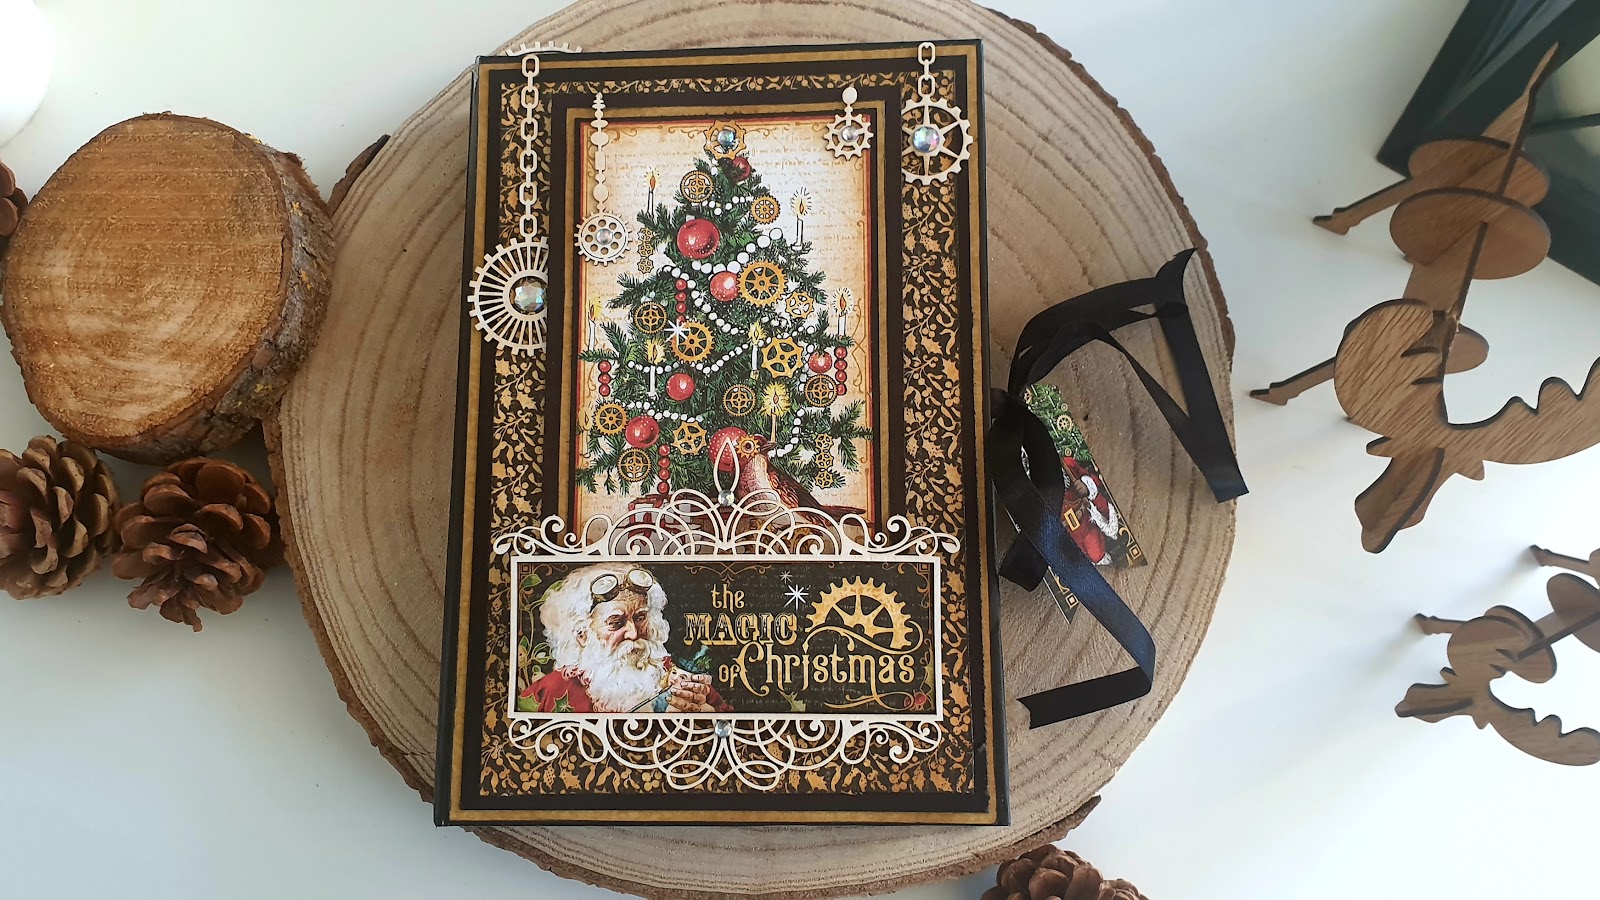
Christmas Time Card Box
“Today, I present to you as a project for the challenge of the month #G45card.
I love making cards, especially at this Christmas Time. The challenge, therefore, inspired me enormously, and I hope you will like my project.
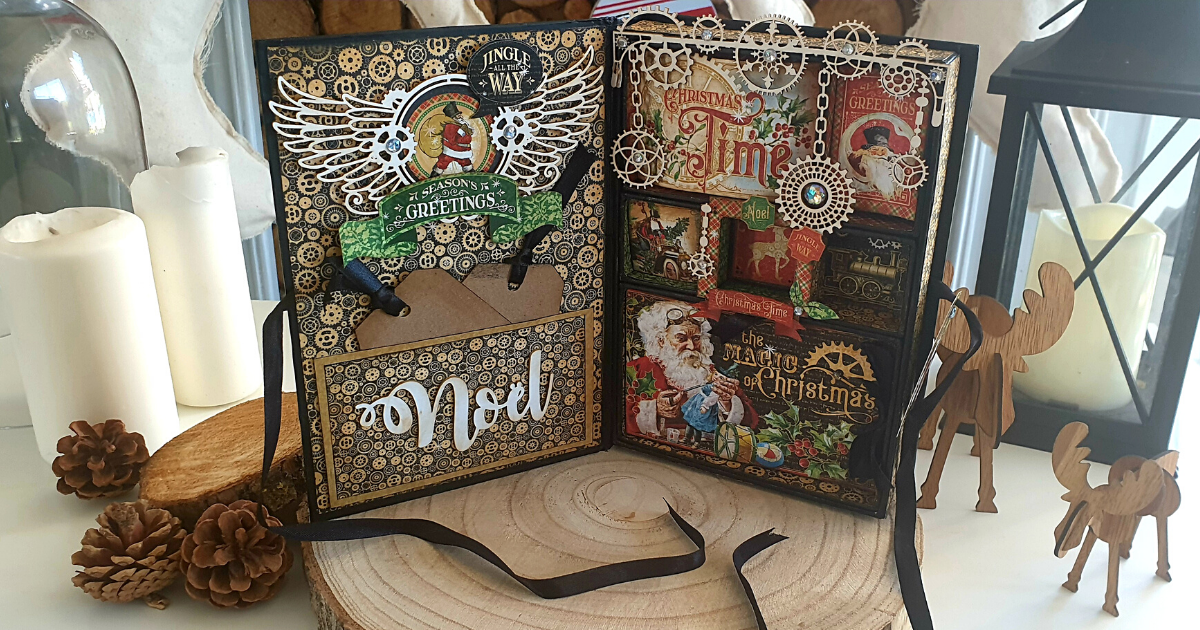
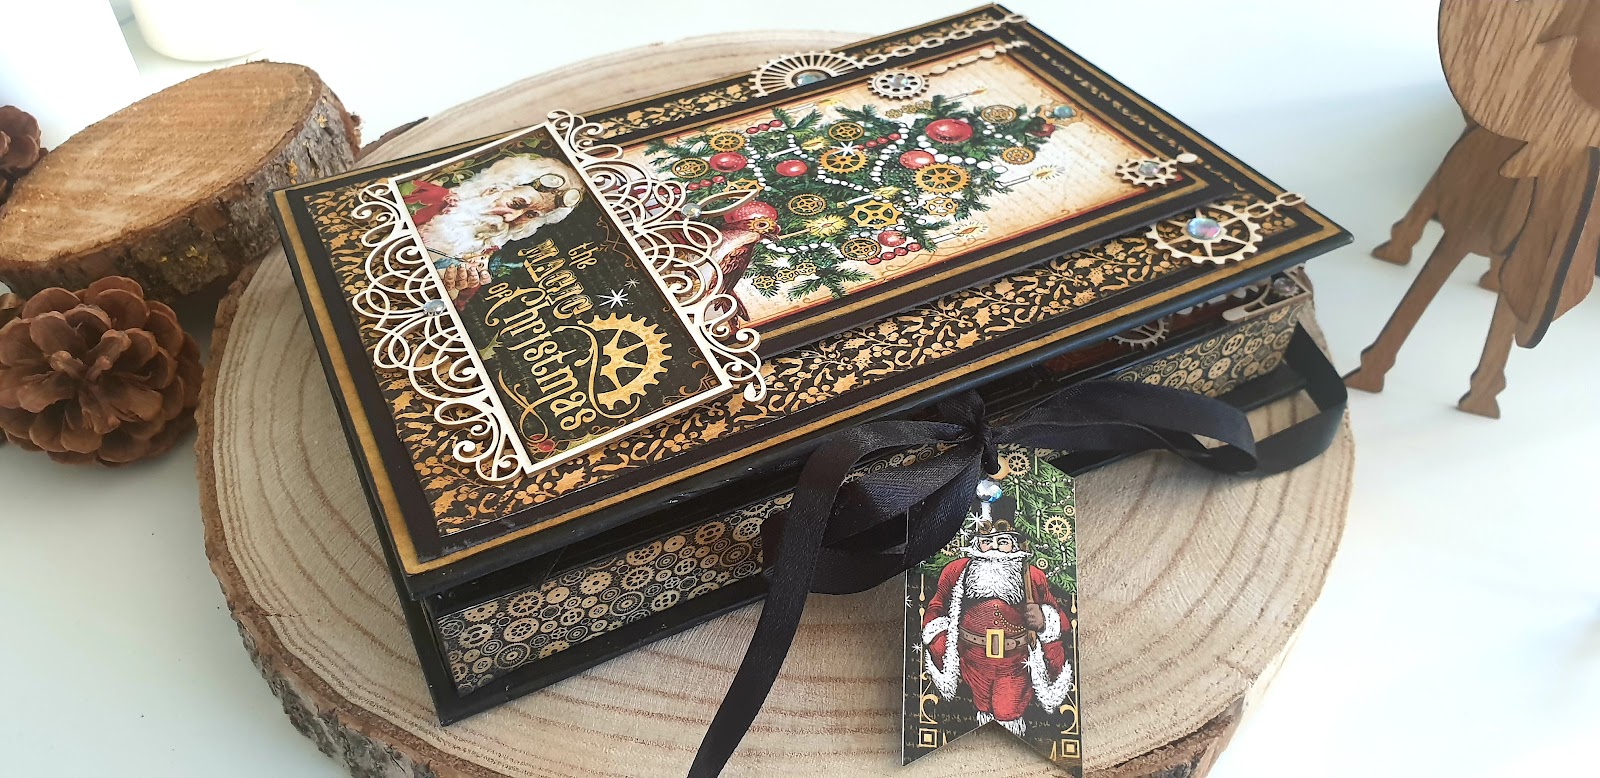
I wanted to make a map that looks like me, a map that matches my passion for 3D. So I made a greeting card like a box. I have to use an old box that I completely redesigned.
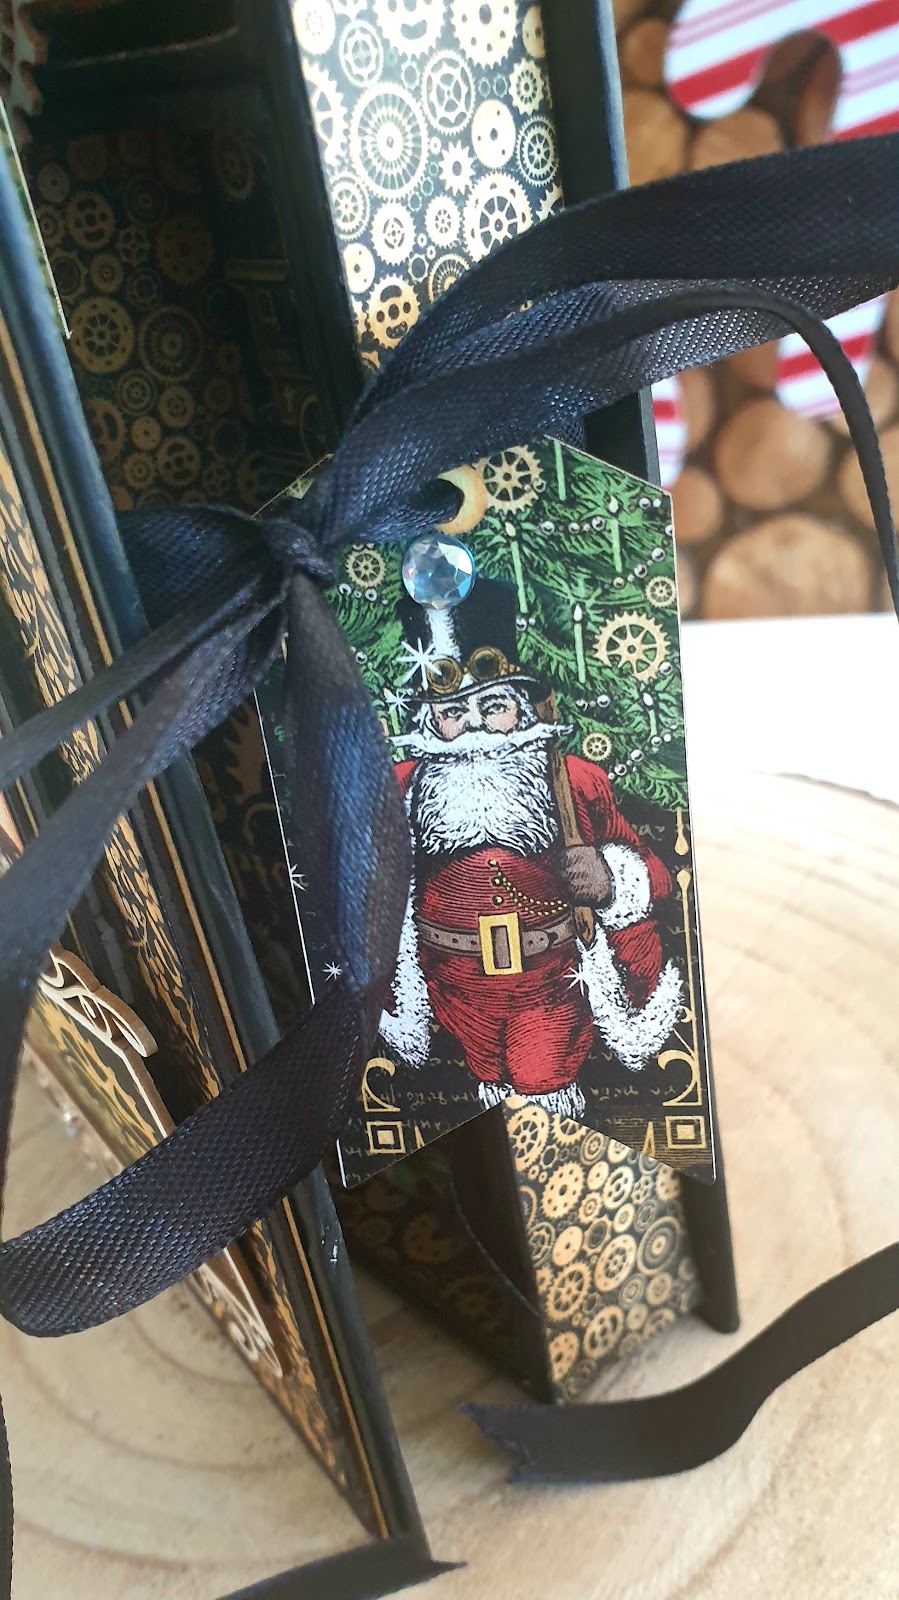
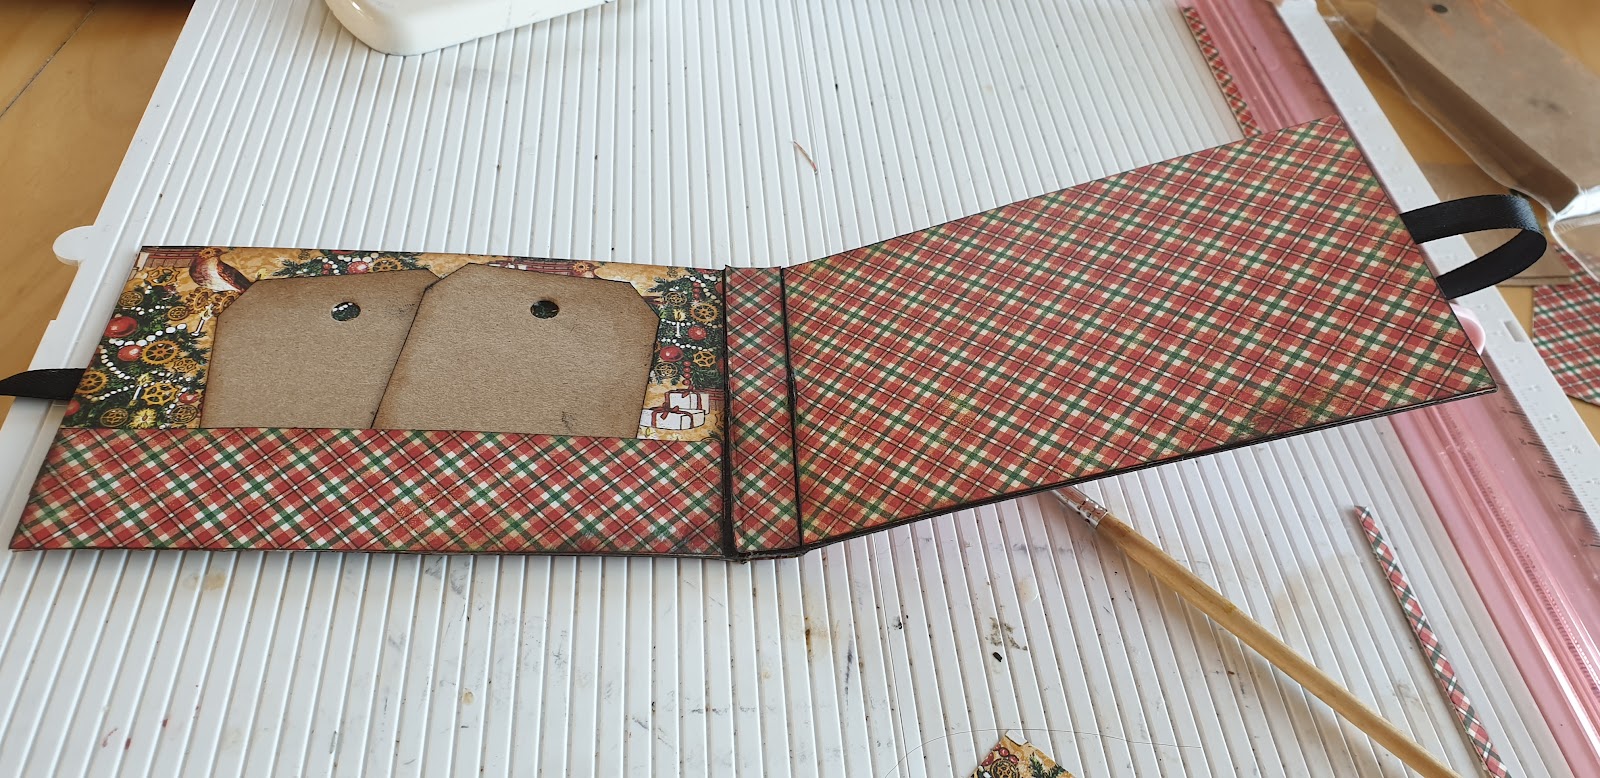
On the two tags that are on the inside cover, I will write my best wishes for the holiday season. I also slipped into this card a mini photo album, on which I would put a family photo. This card is intended for the paternal grandparents of my children who live very far from us.
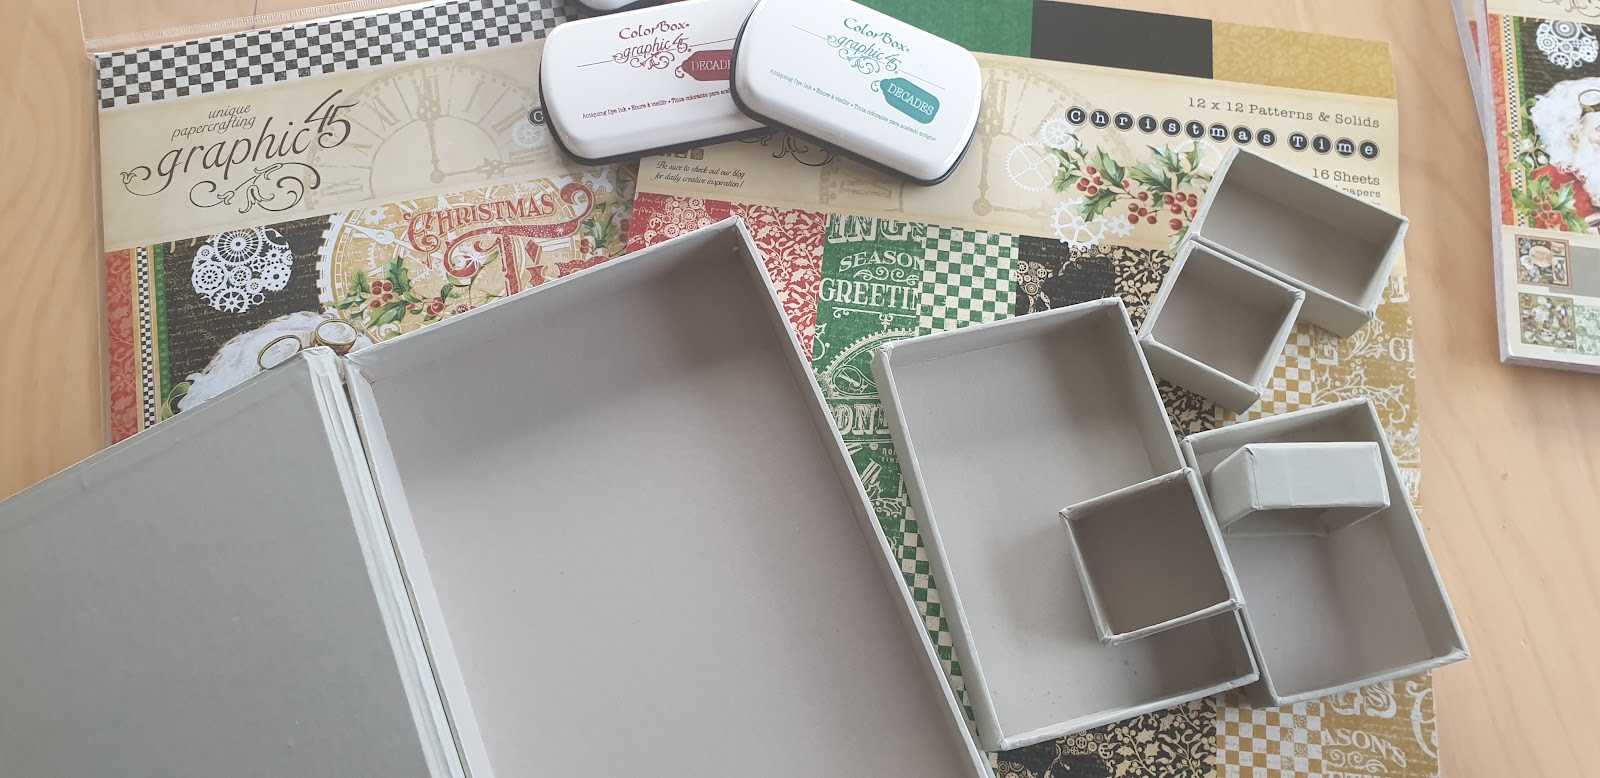
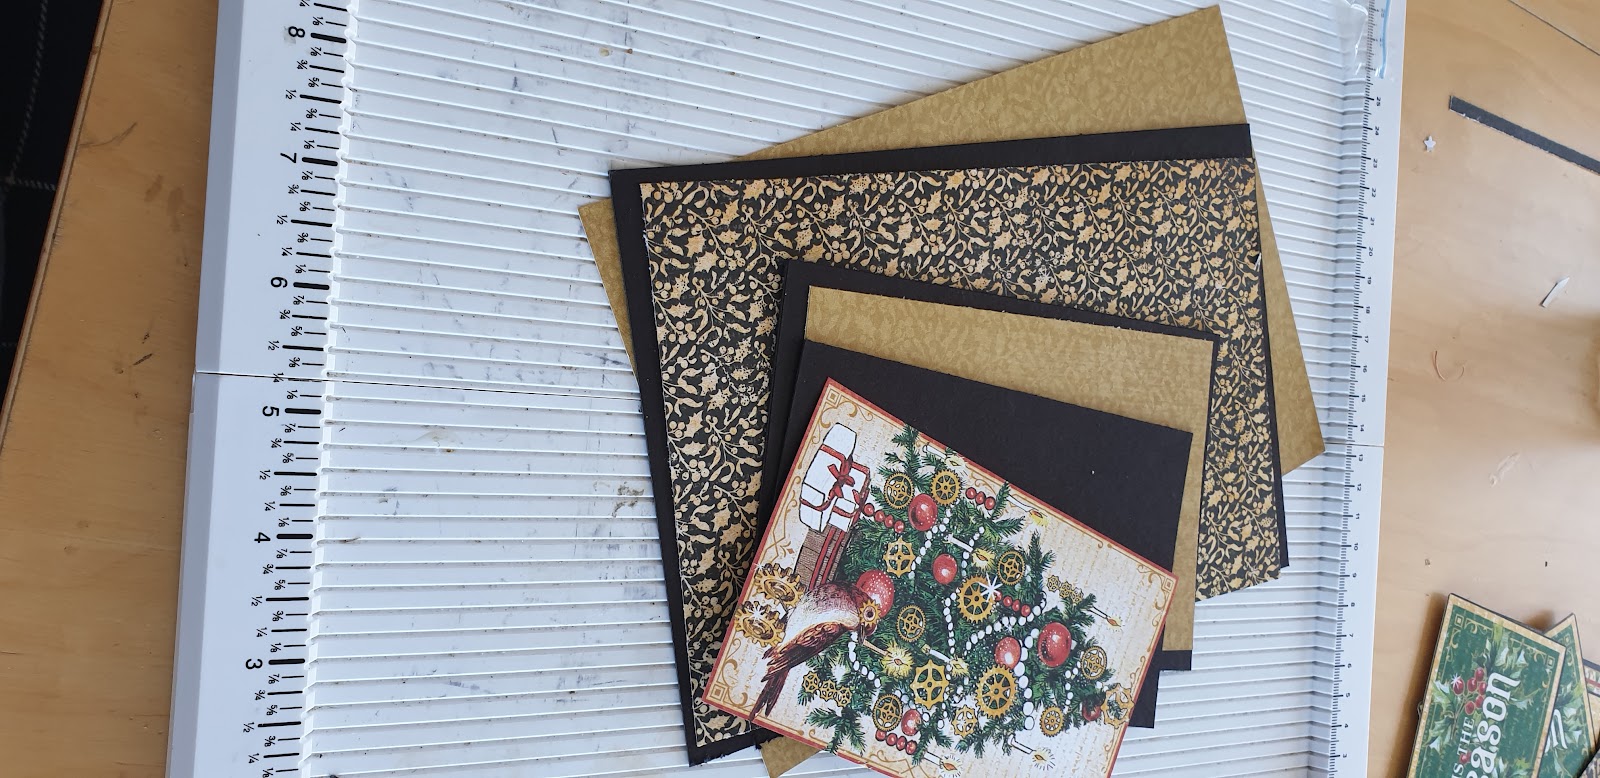
Graphic 45 Supplies:
Other Supplies:
Strass
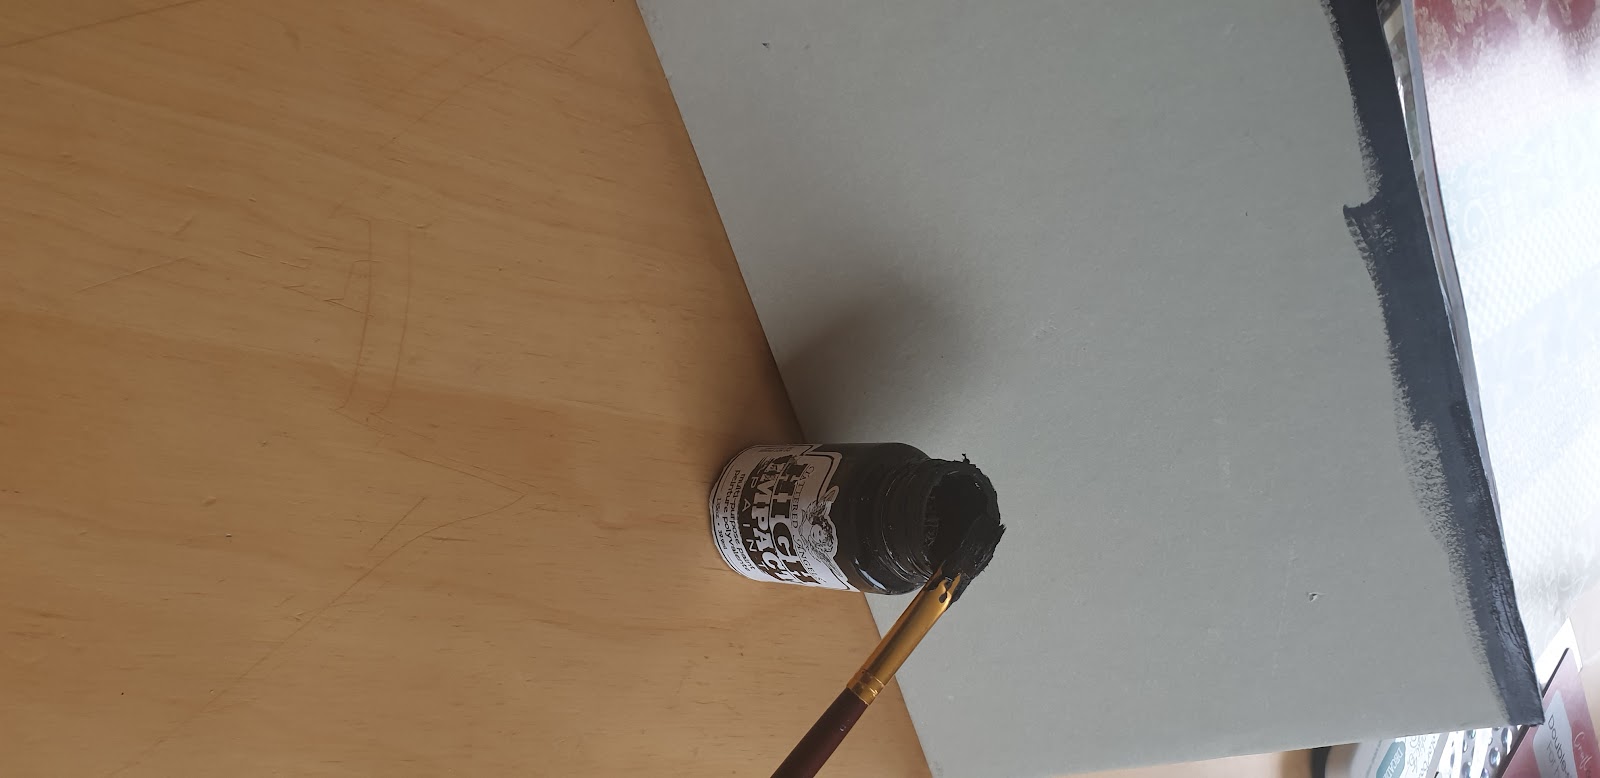
Black paint
Black cardstock
Glue
Step by Step Tutorial:
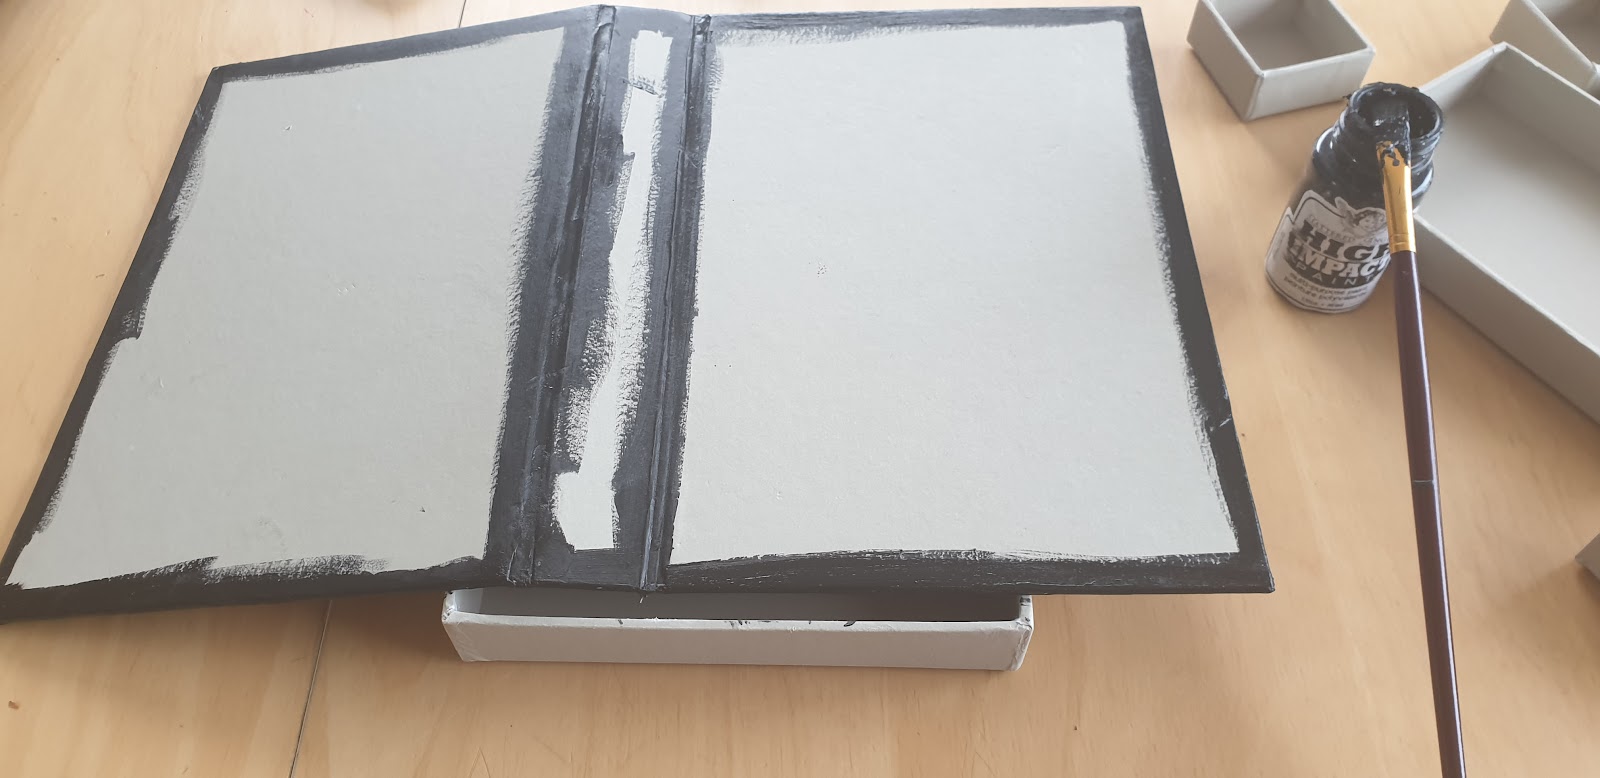
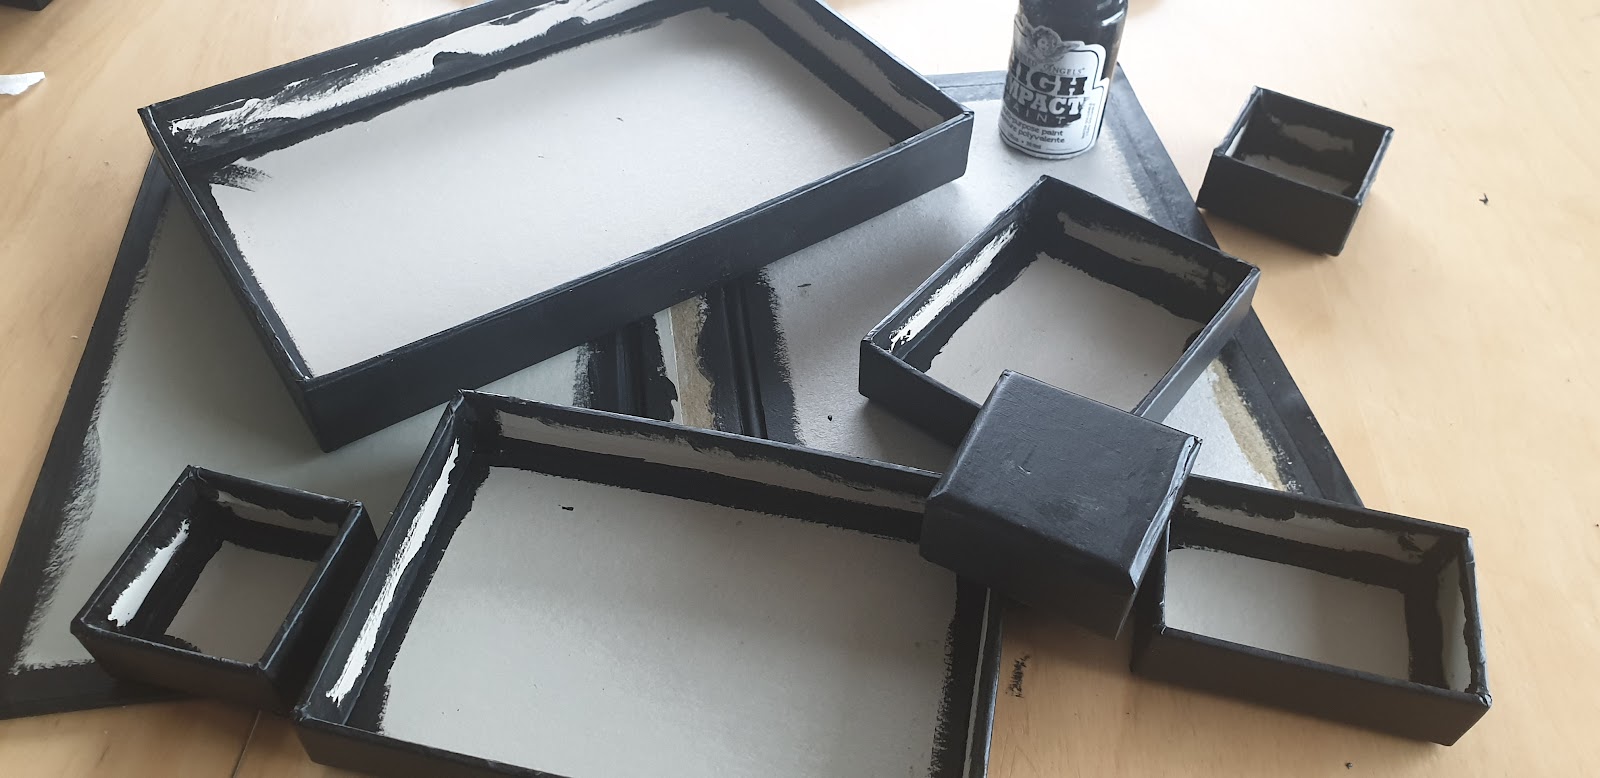
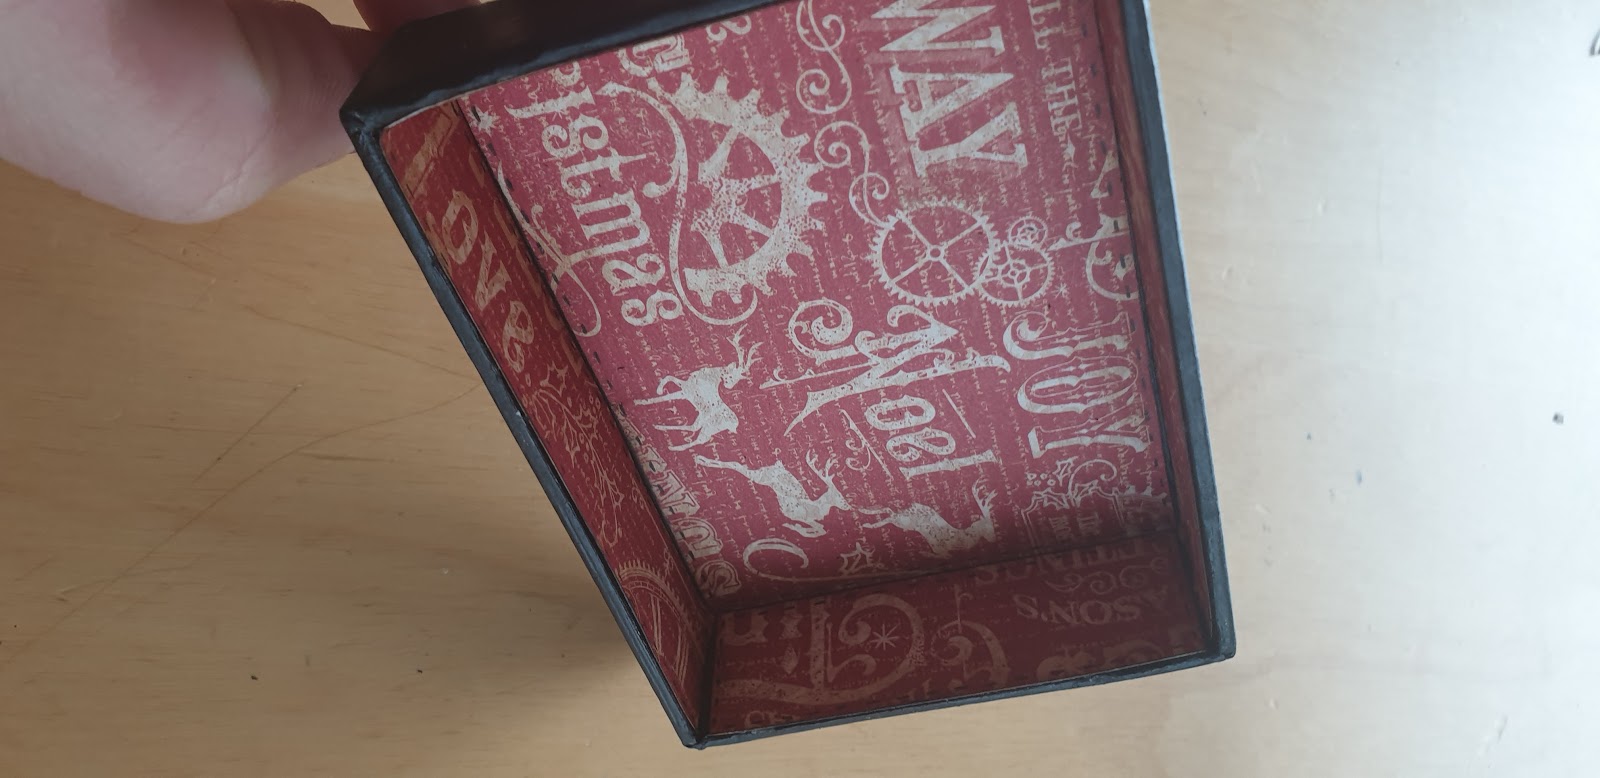
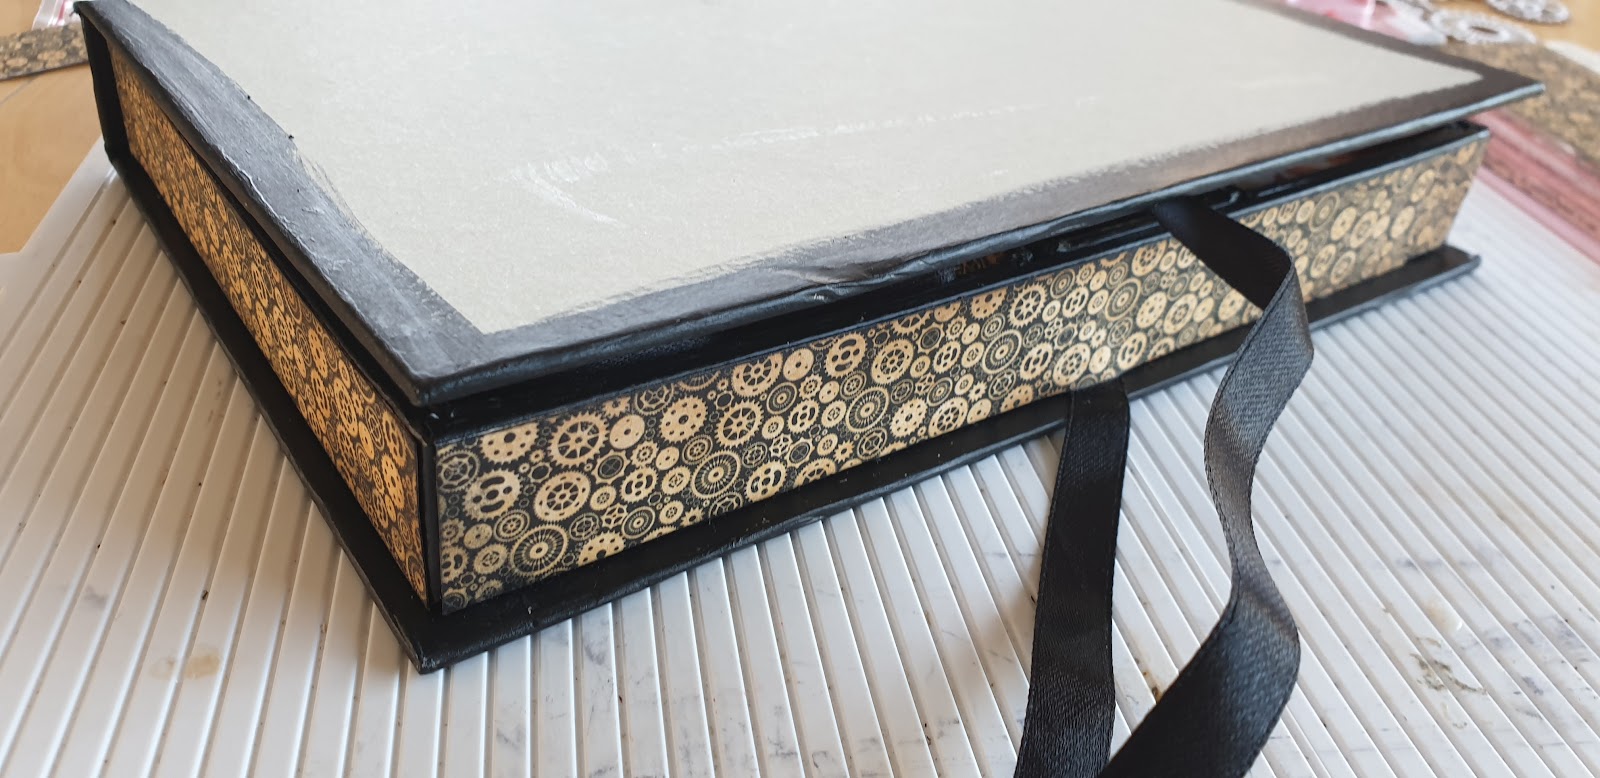
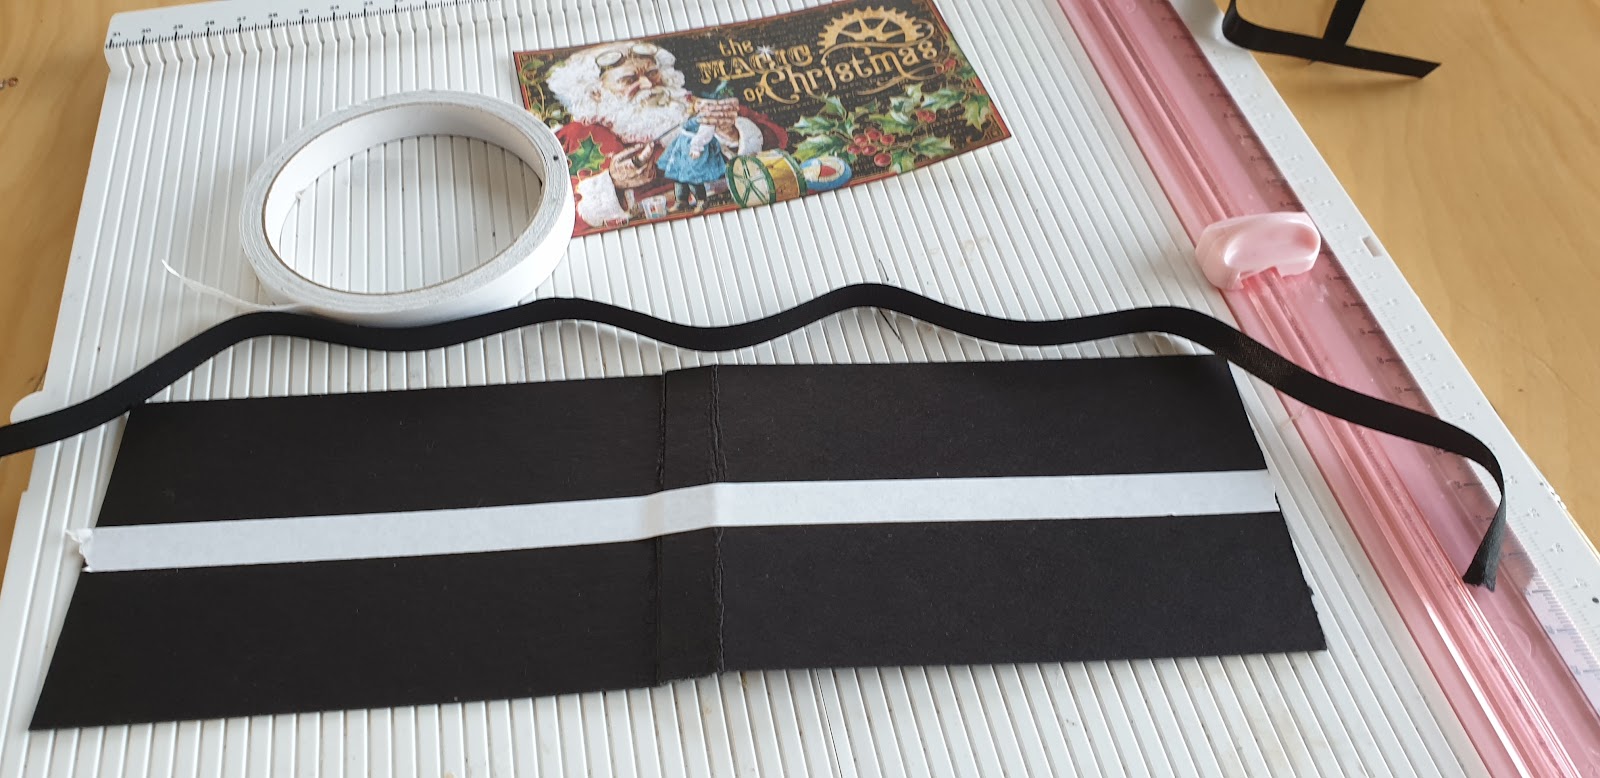
The first step will be to paint in black all the edges of our box. So that when we are going to cover it with papers, the angles are in the same colors as the rest of the project.
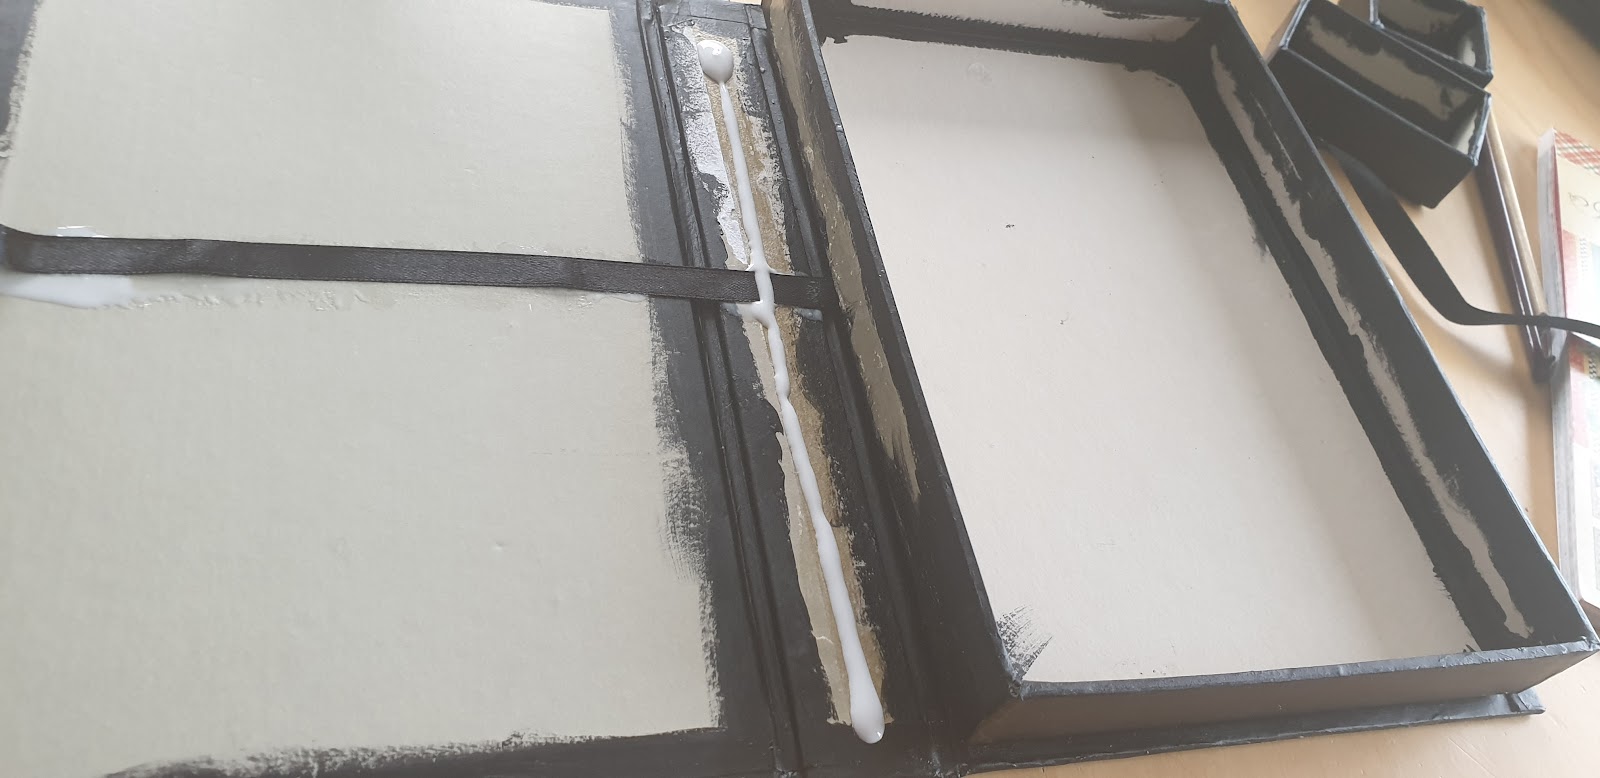
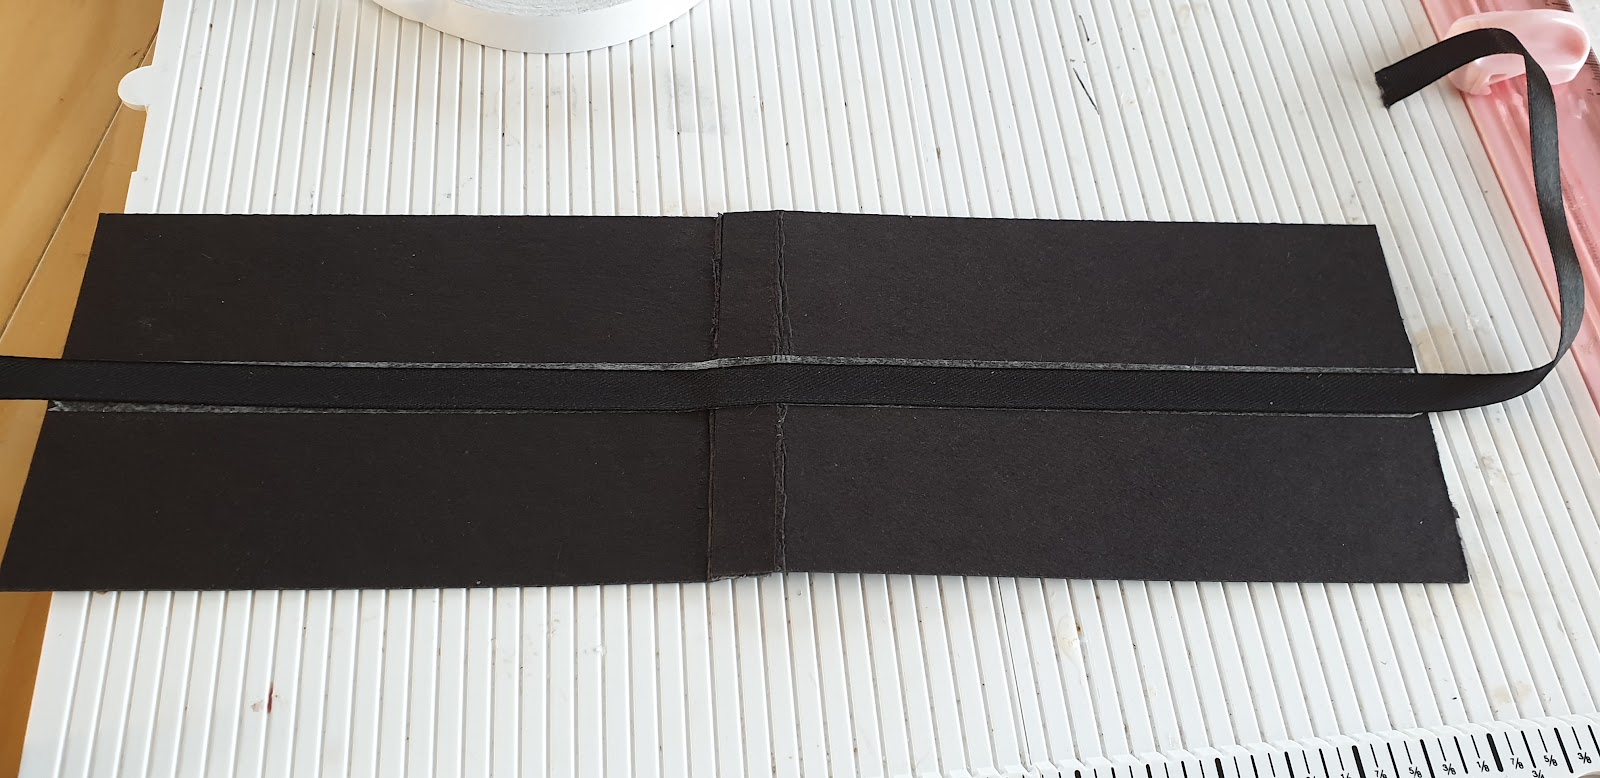
We will stick inside our box, a ribbon that will allow us to close our box later. It is important to put it at this step, like this, once the paper is glued inside, the ribbon will not be visible.
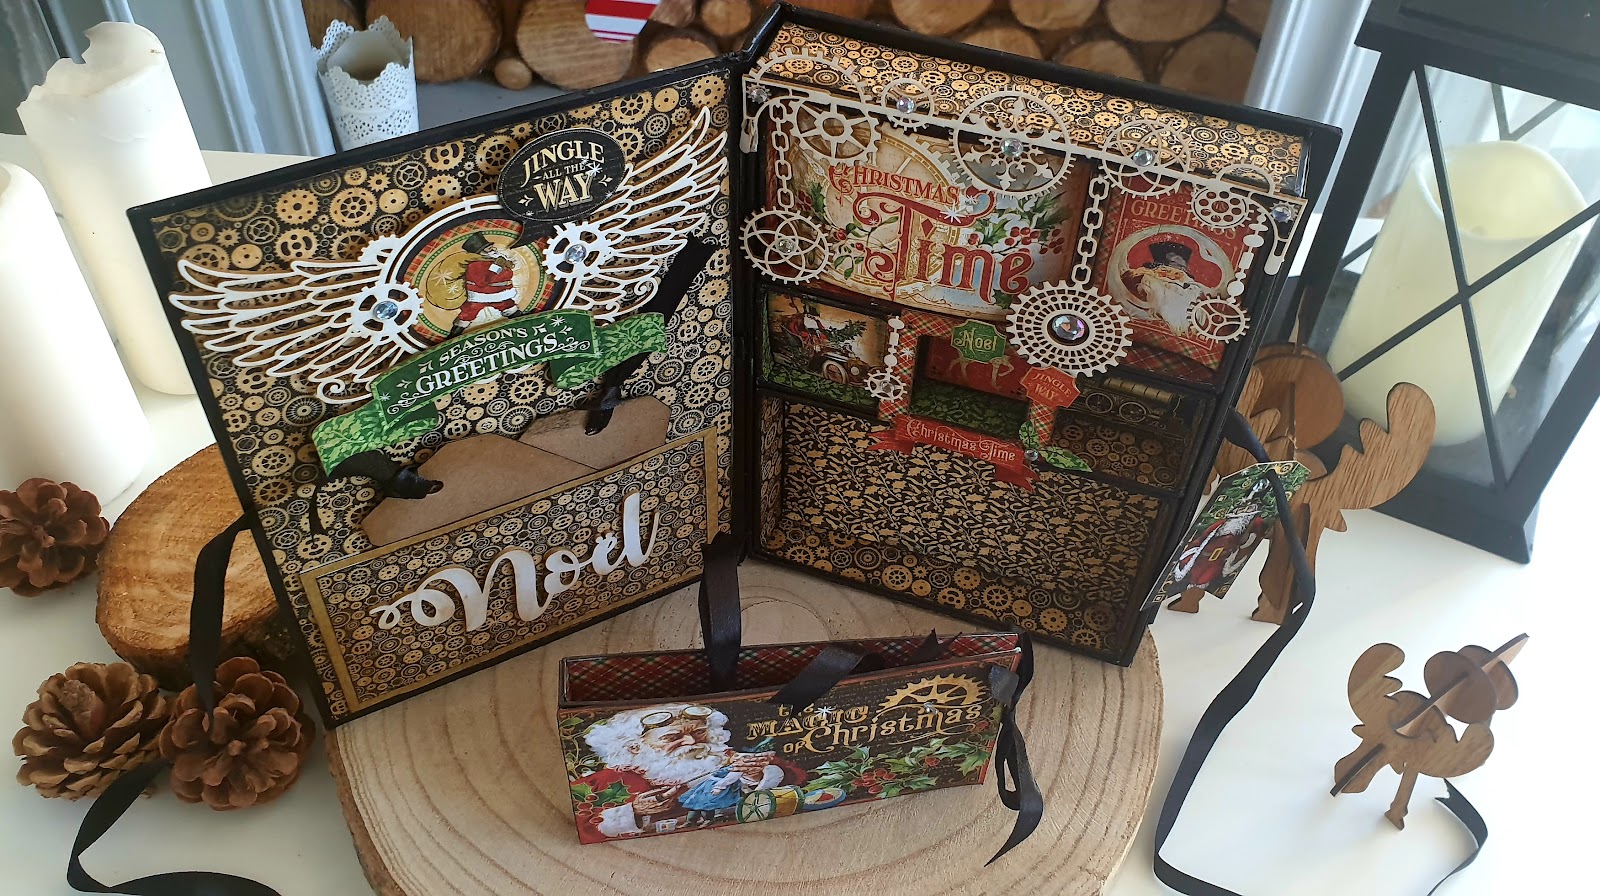
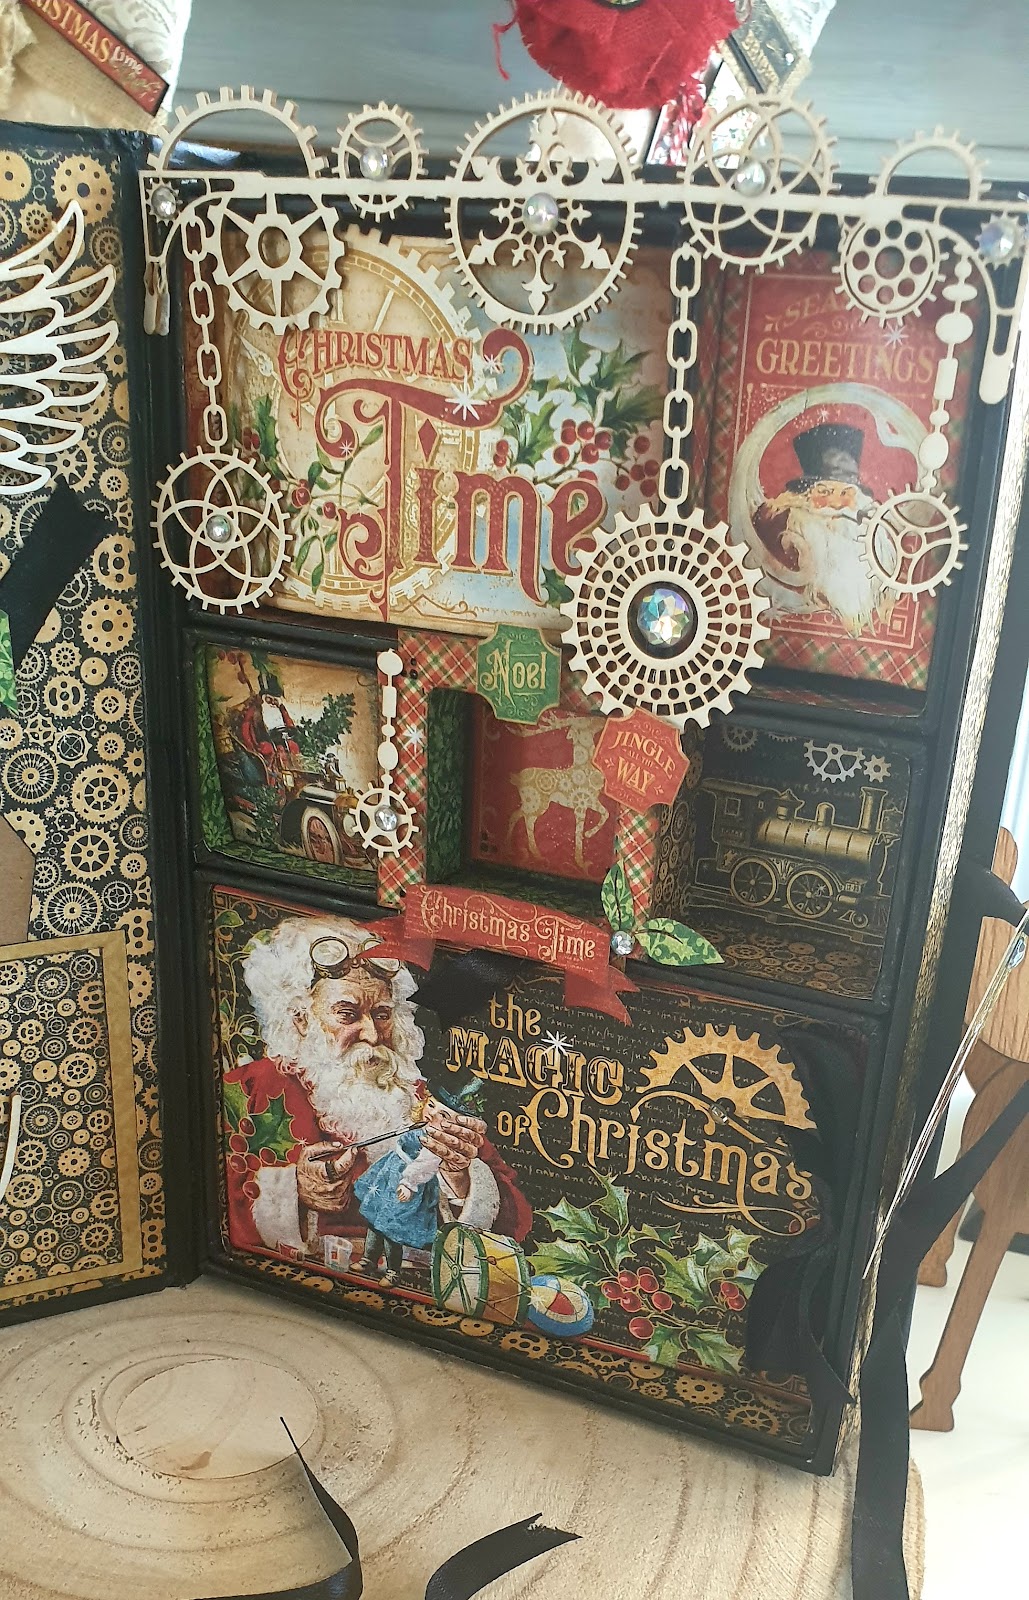
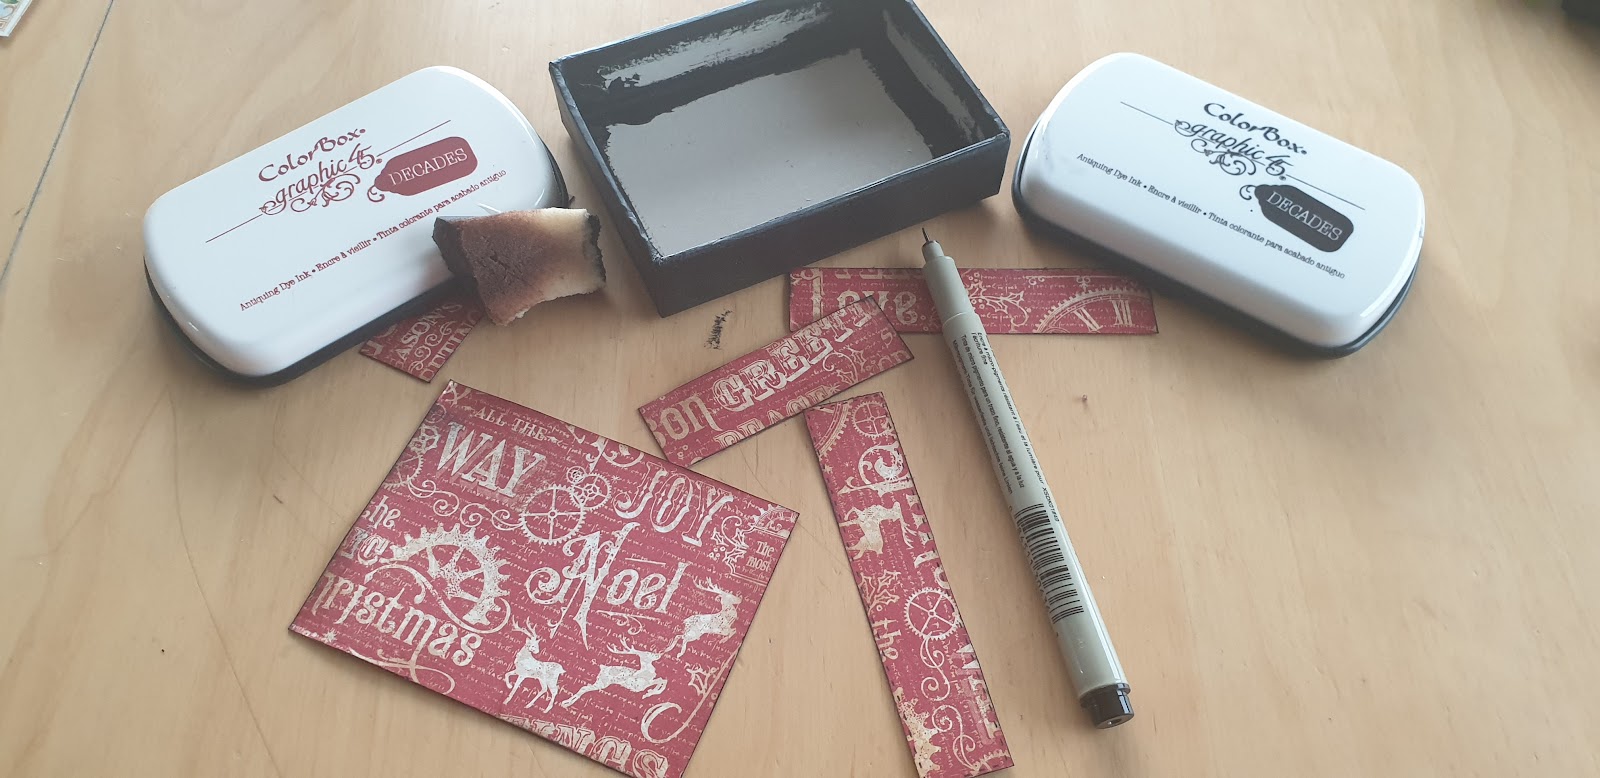
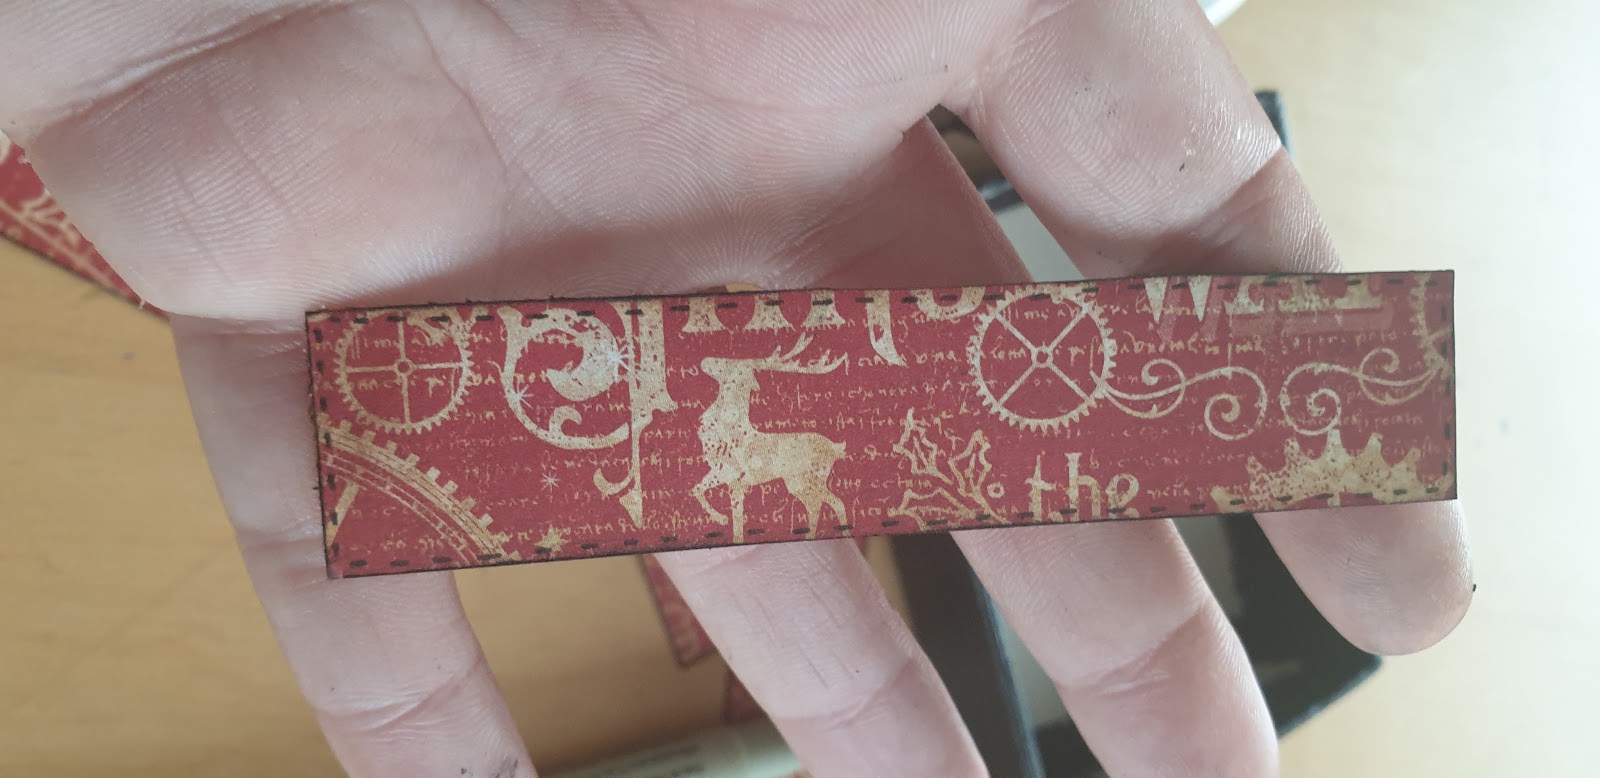
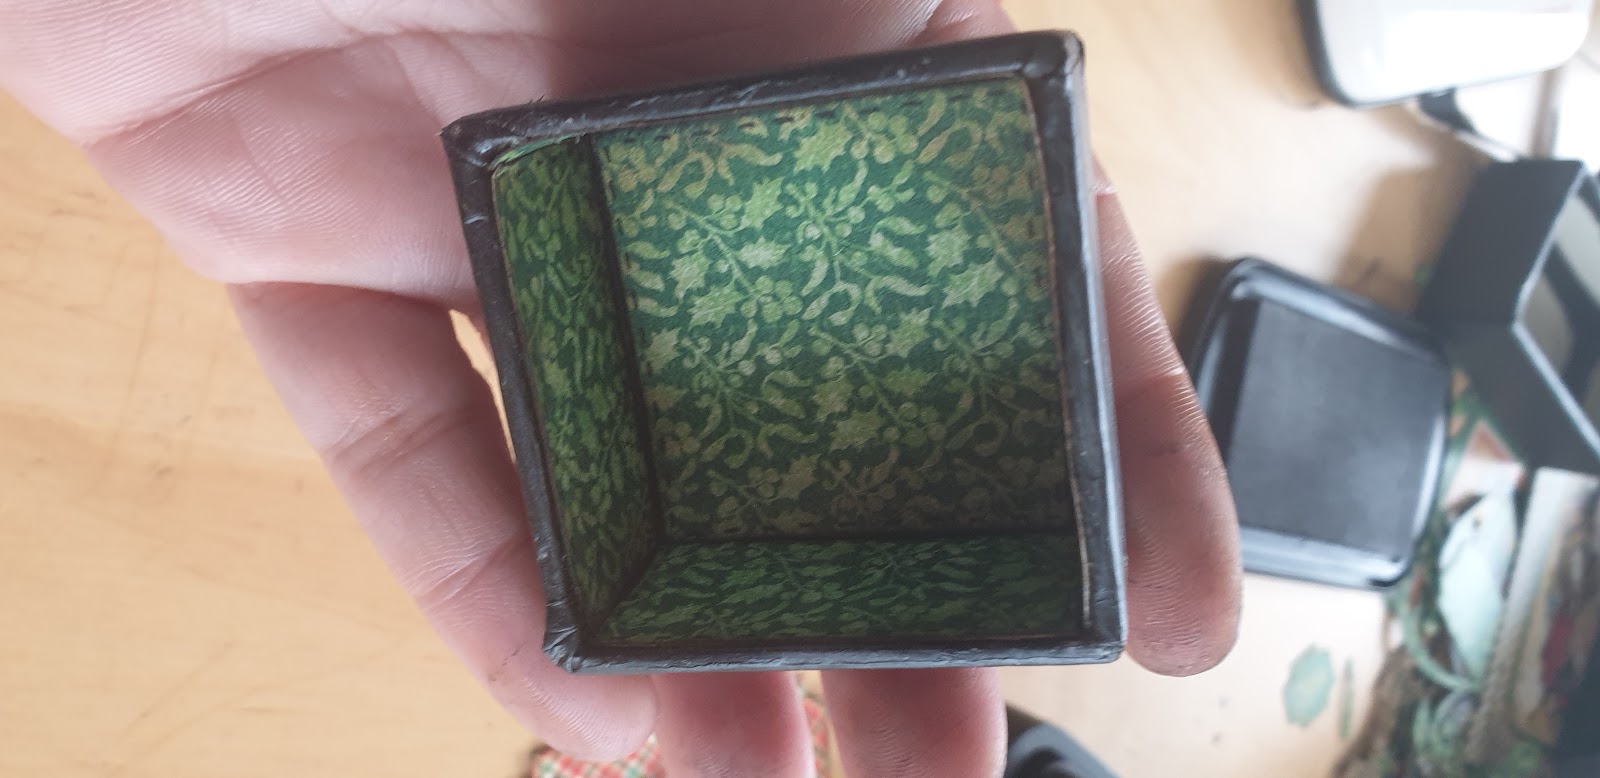
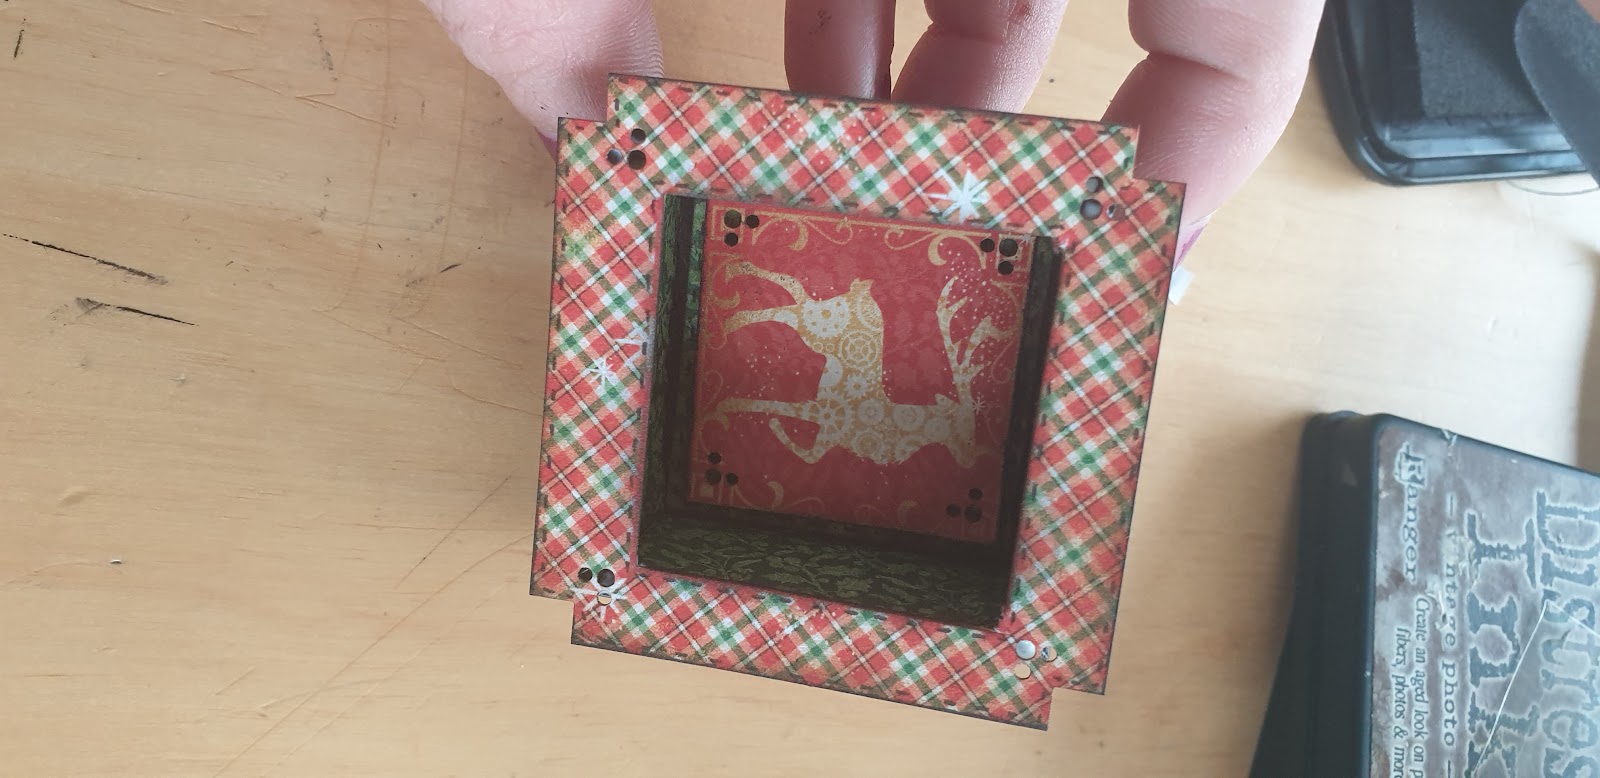
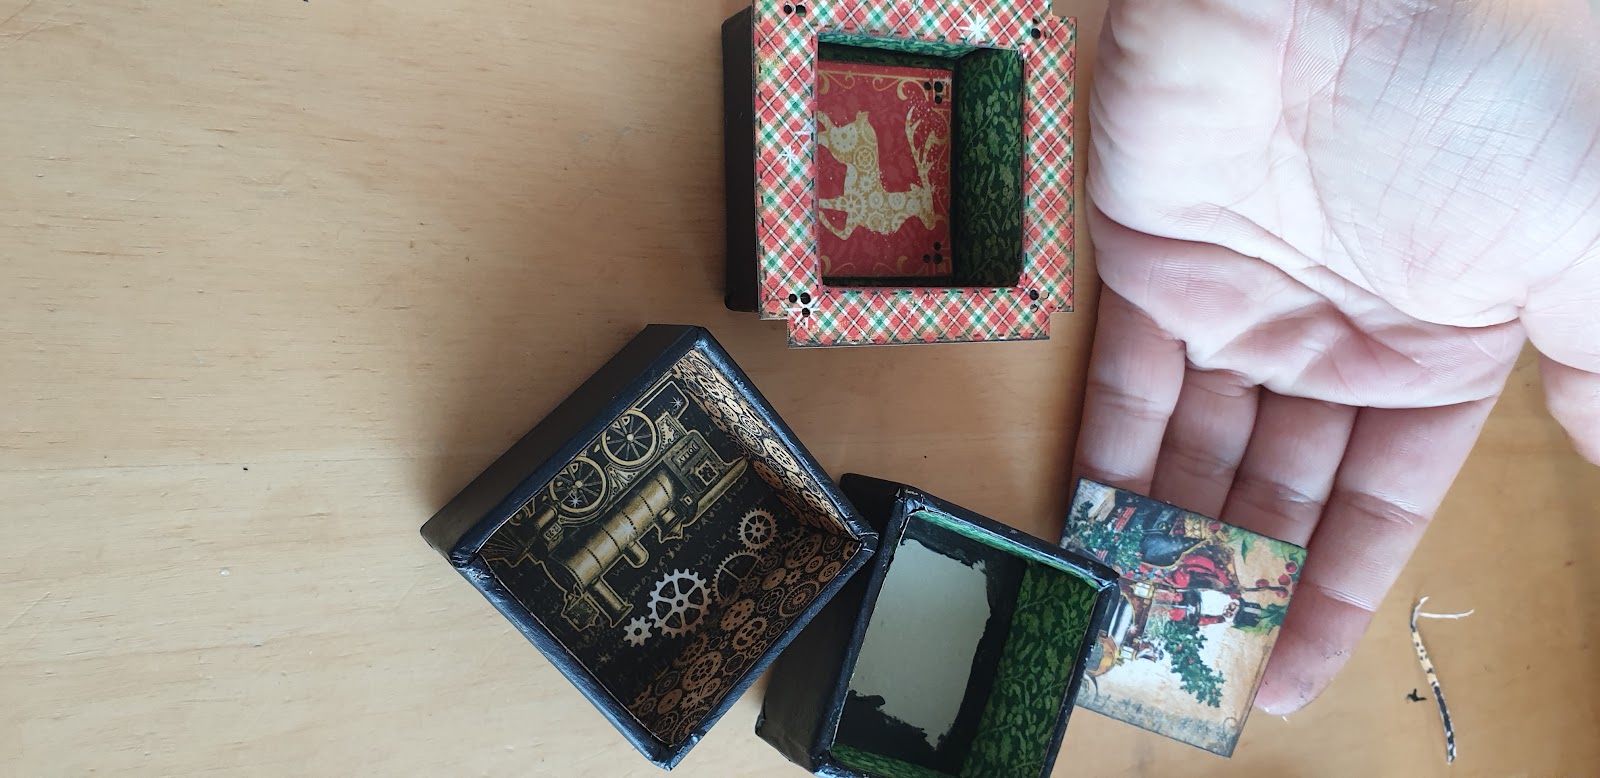
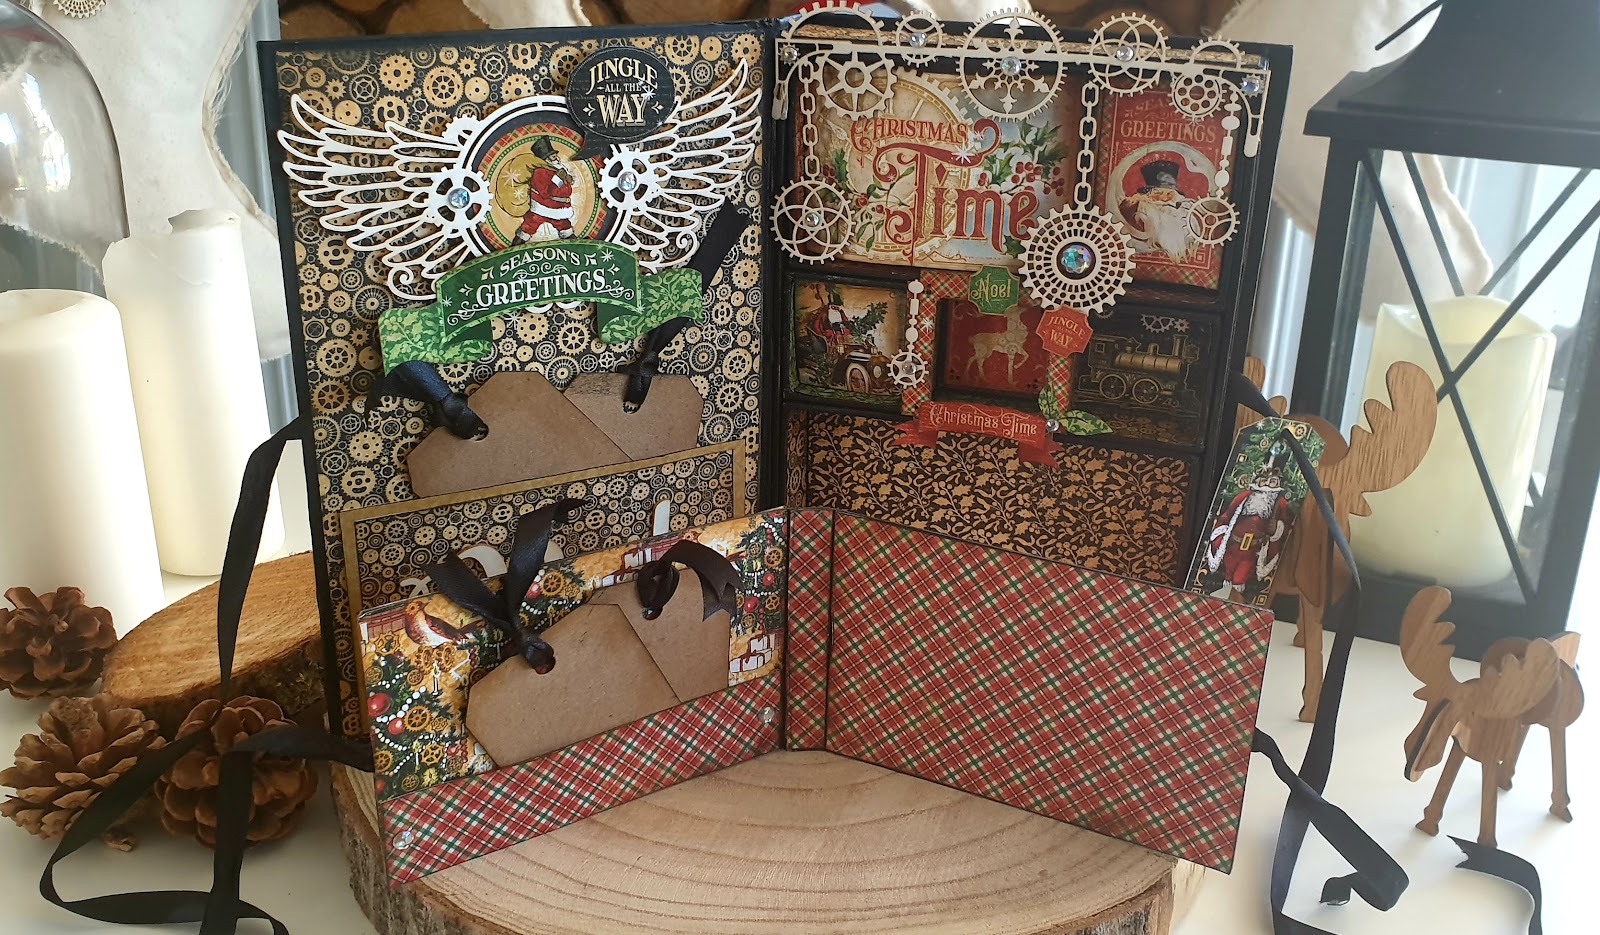
We will first create small scenes in our small boxes. For this we are going to cover with papers (which we will have inked before, and create a false seam with a black pencil).
I use scraps of paper to create volume. I create squares with my scraps of paper, which will allow me to glue my backgrounds at different depths, and thus create a link to my project.
I position all my boxes that I glue for more stability. I use different embellishments to finish my decor.
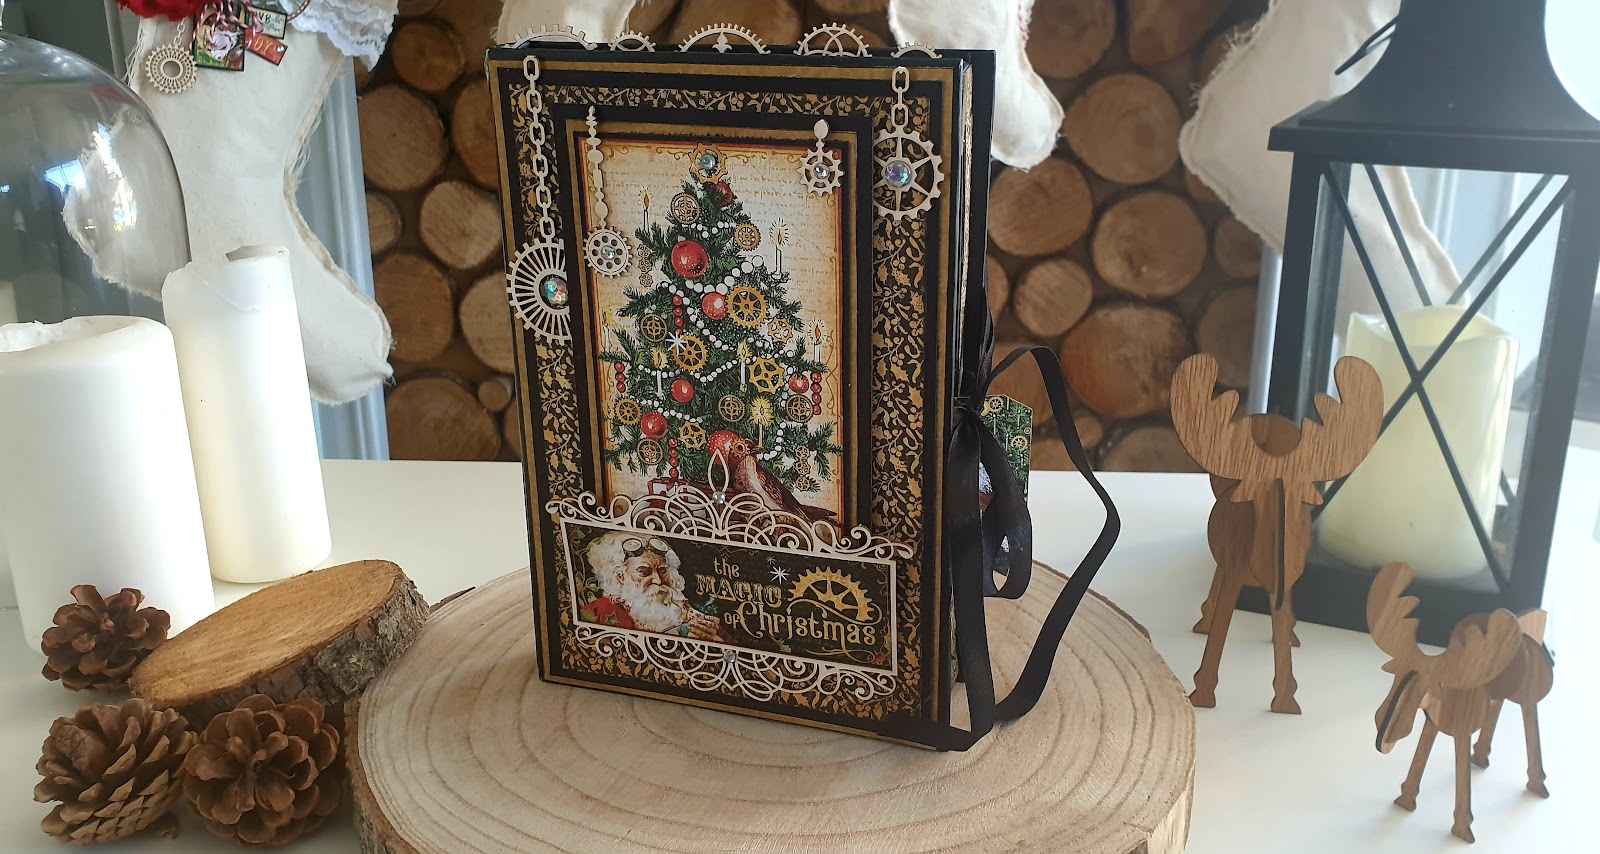
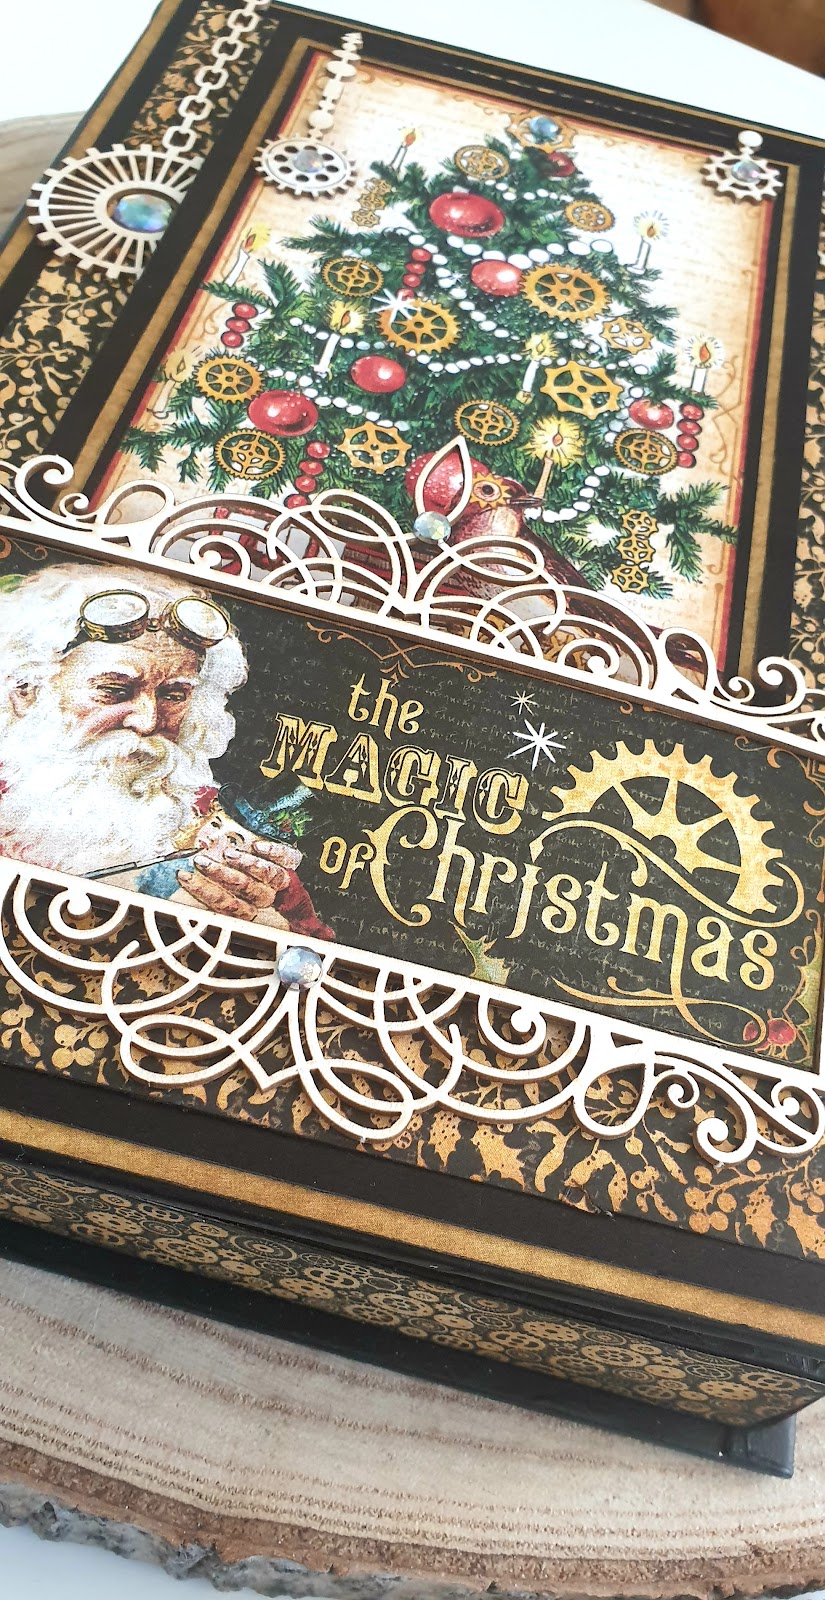
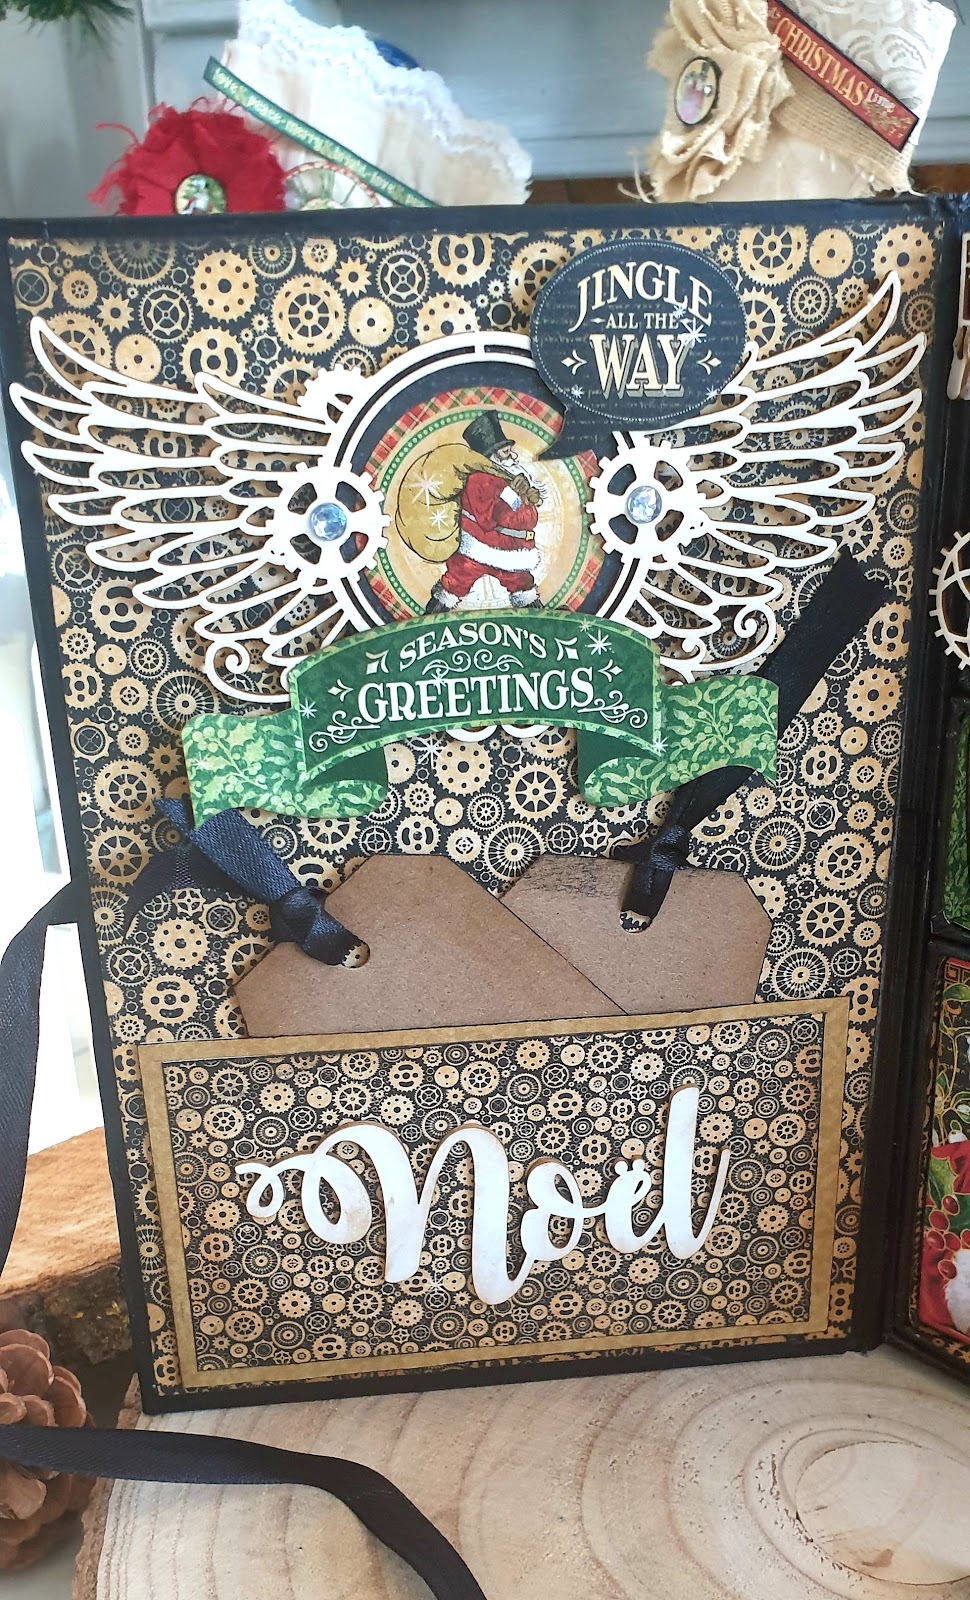
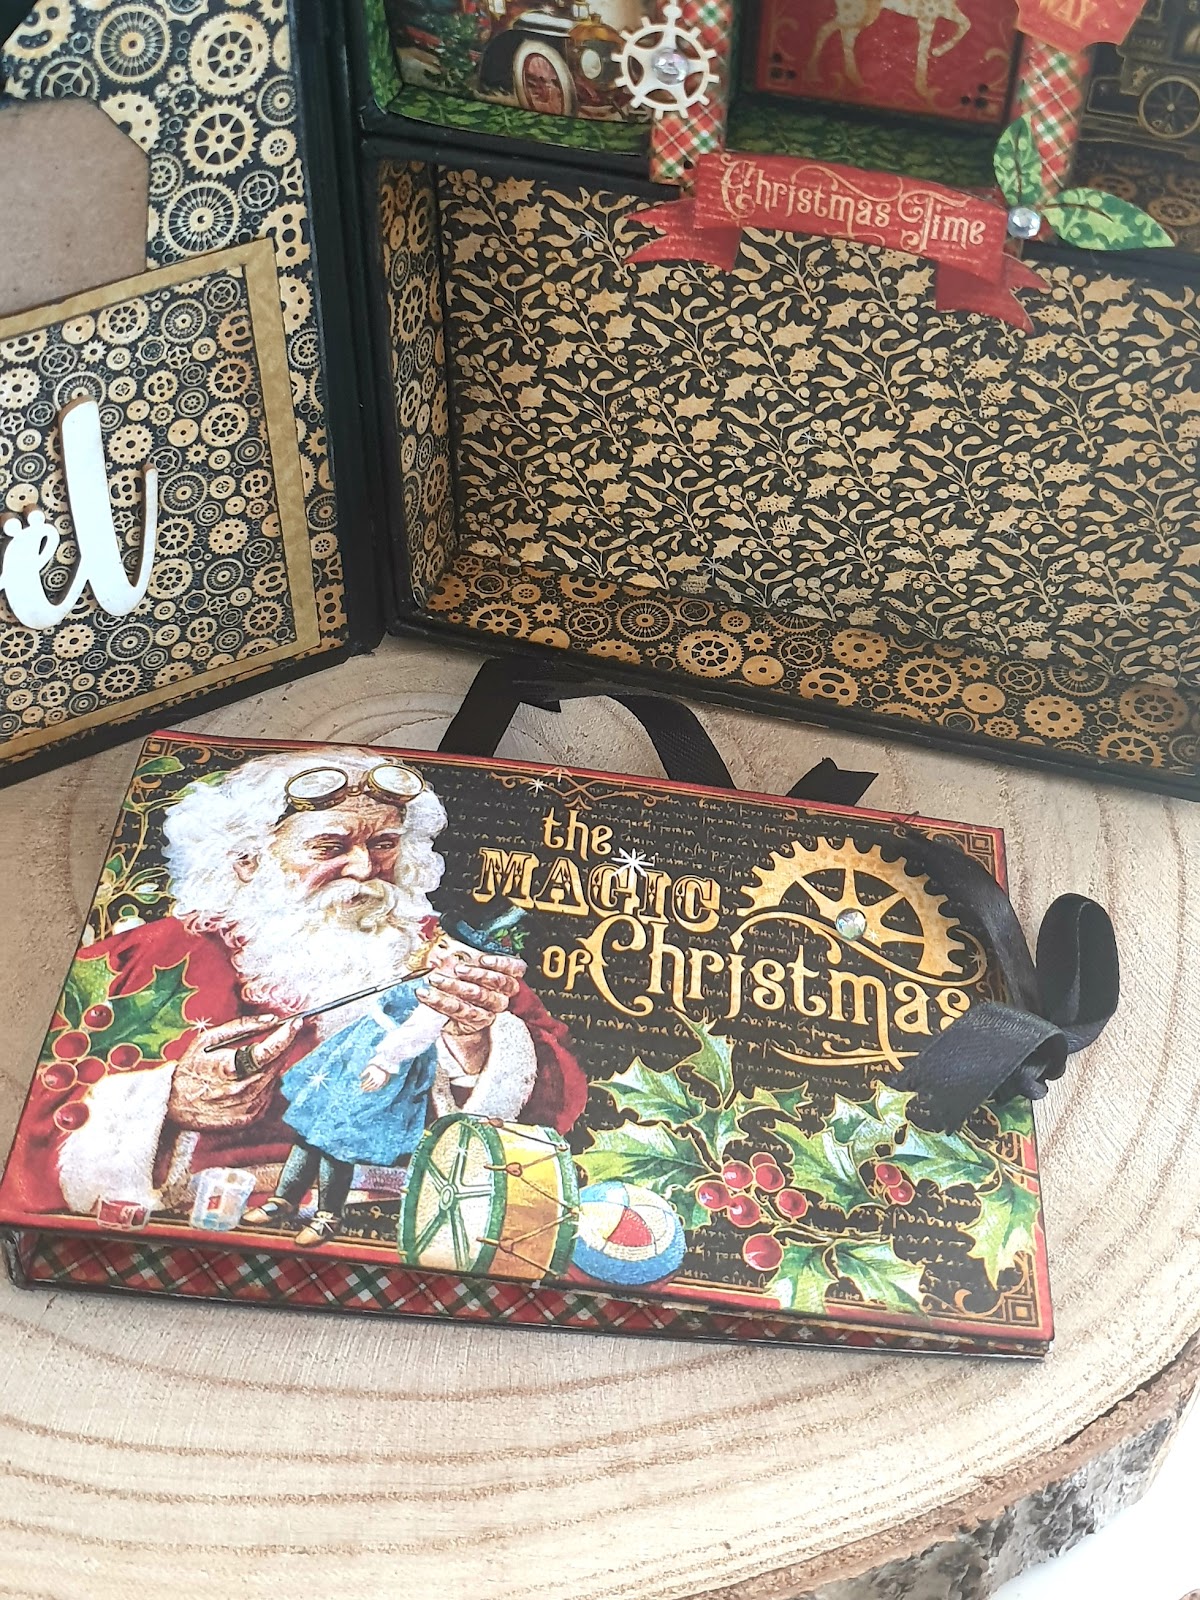
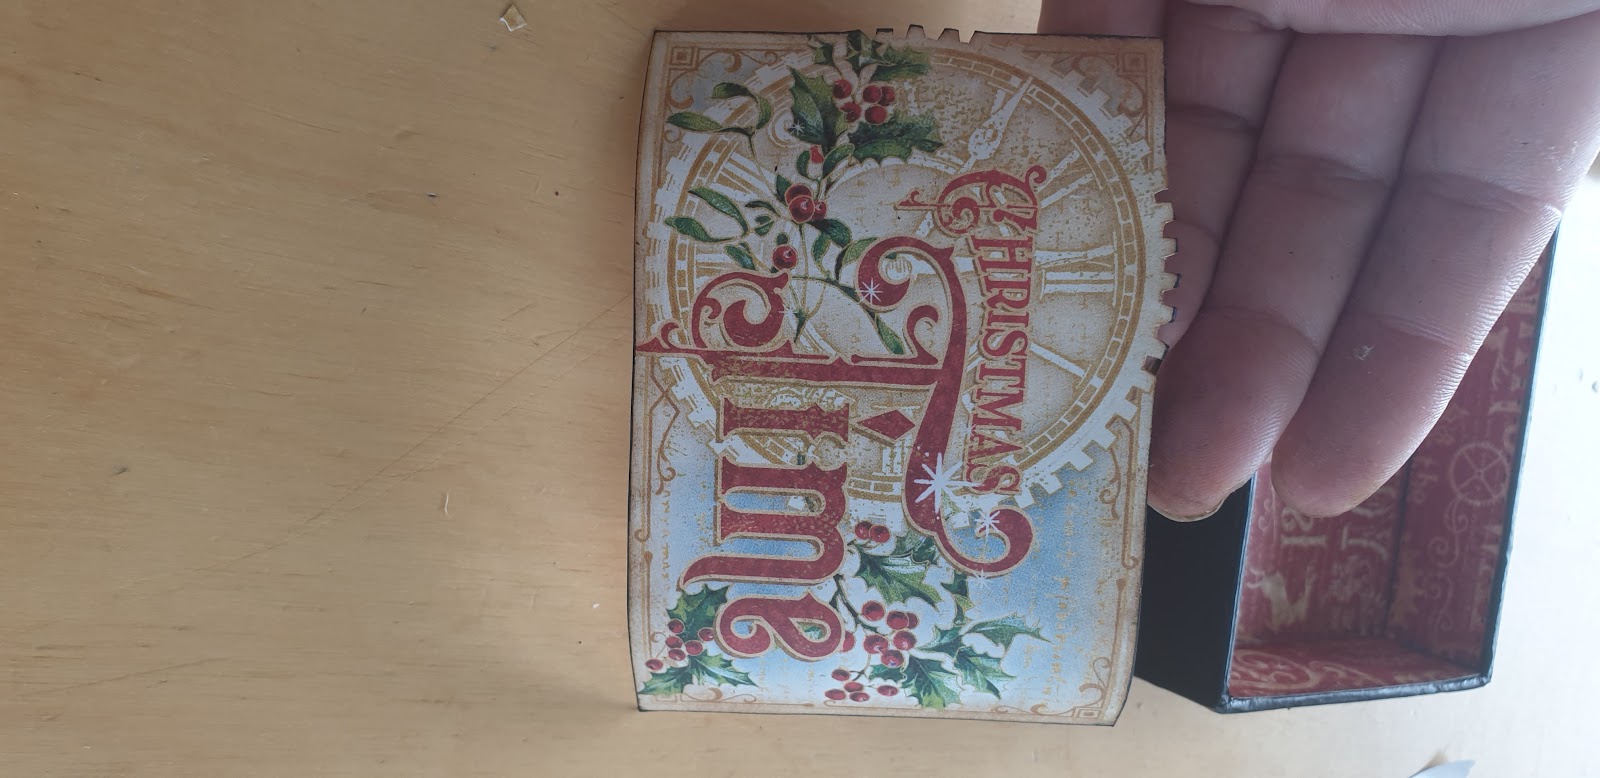
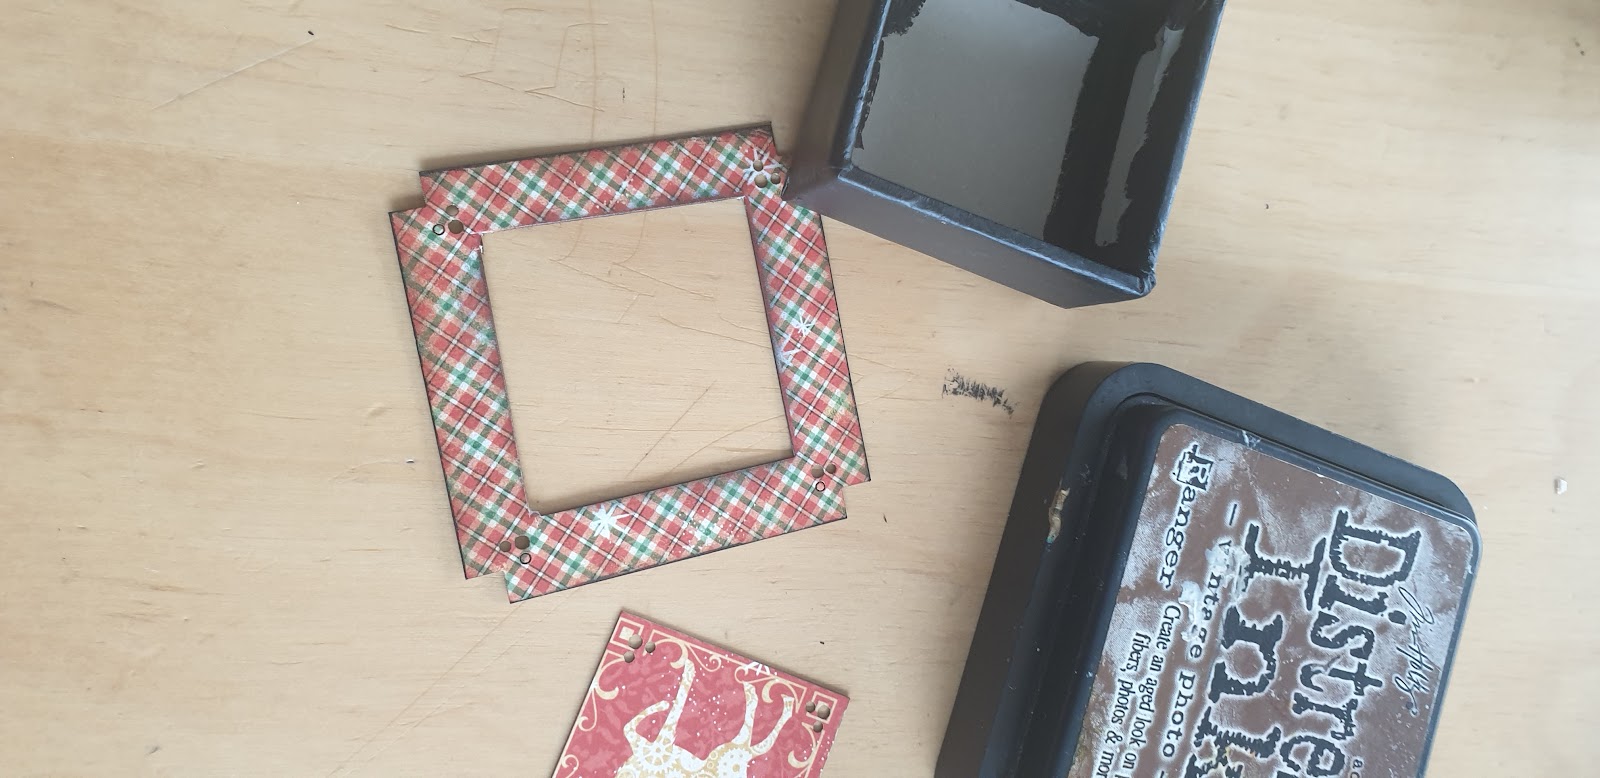
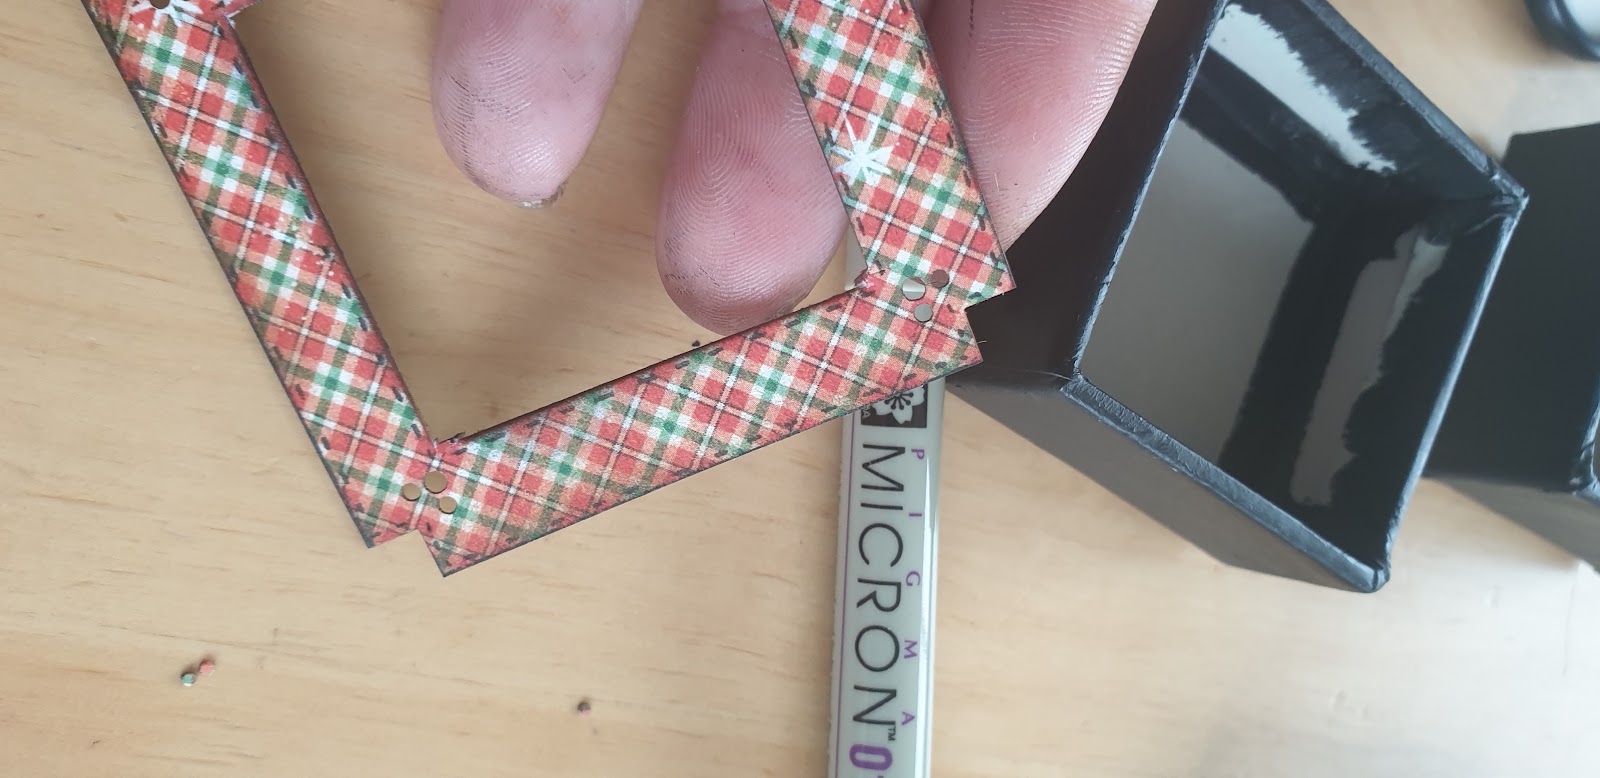
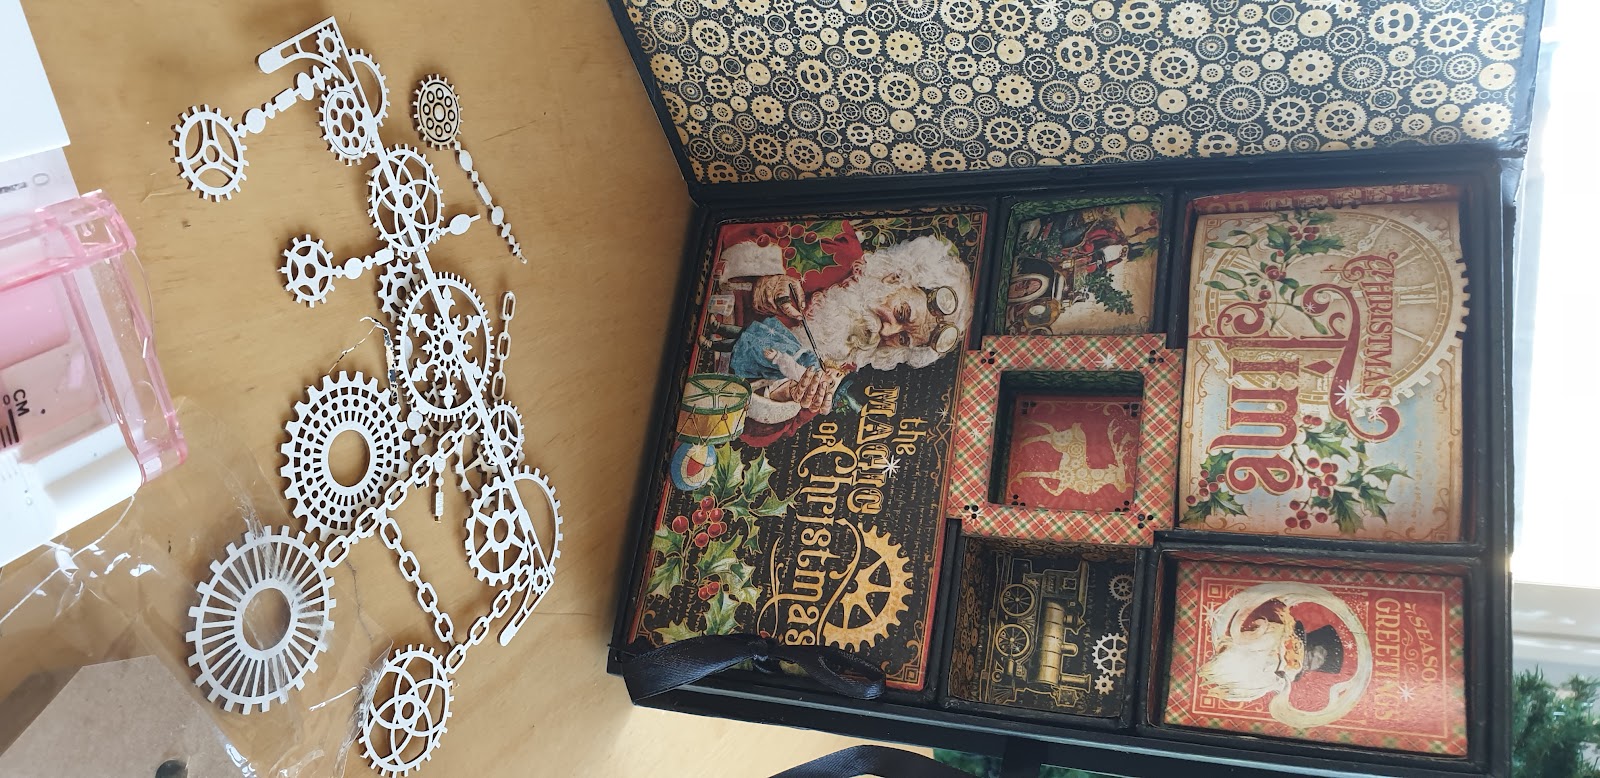
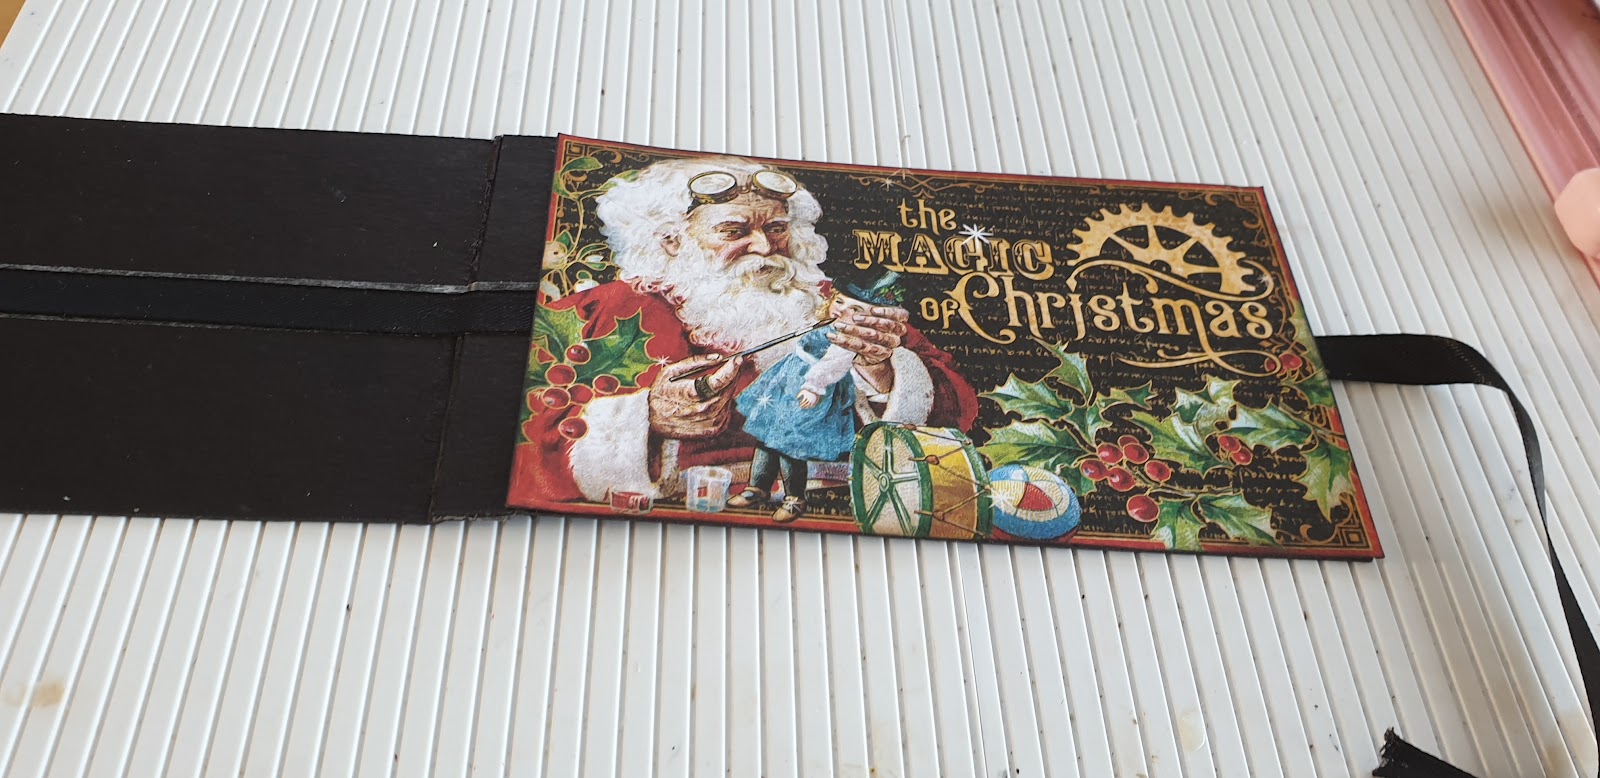
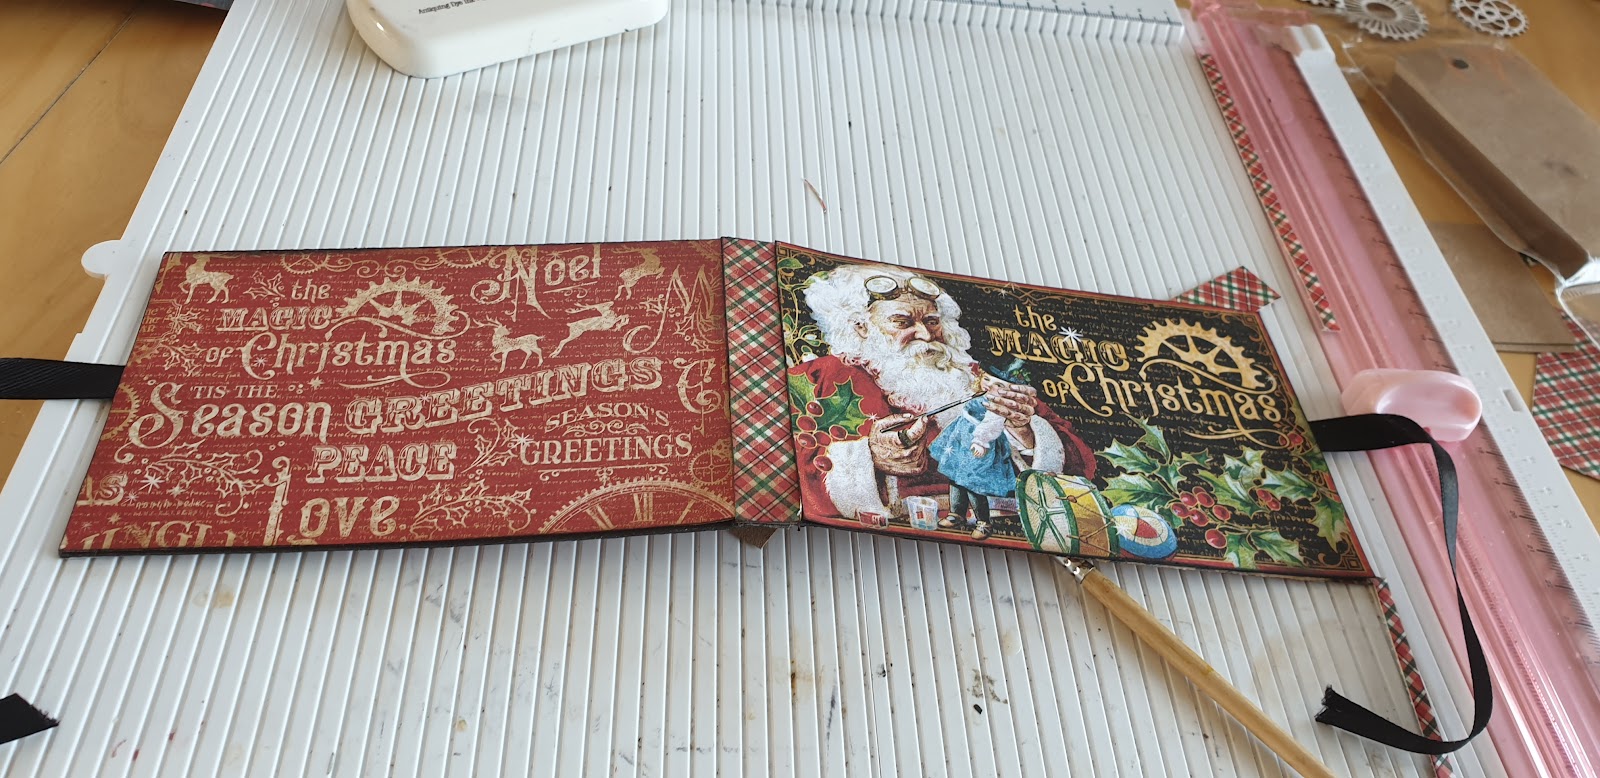
To create my cover of the box, I make an overlay of paper of different sizes, which will give volume to my creation.
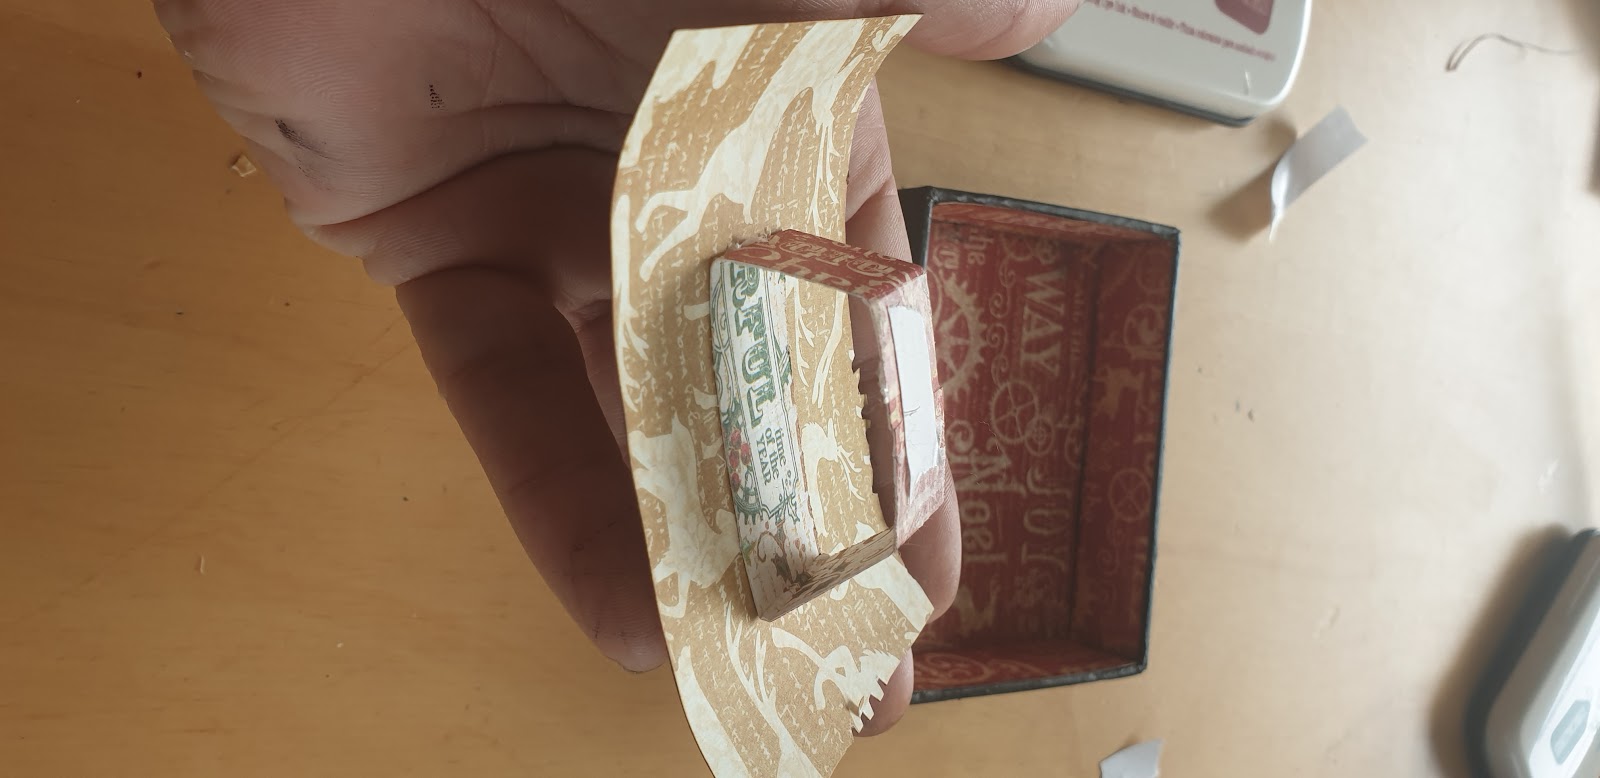
Finally, I will create a mini album to insert in one of my boxes, the largest.
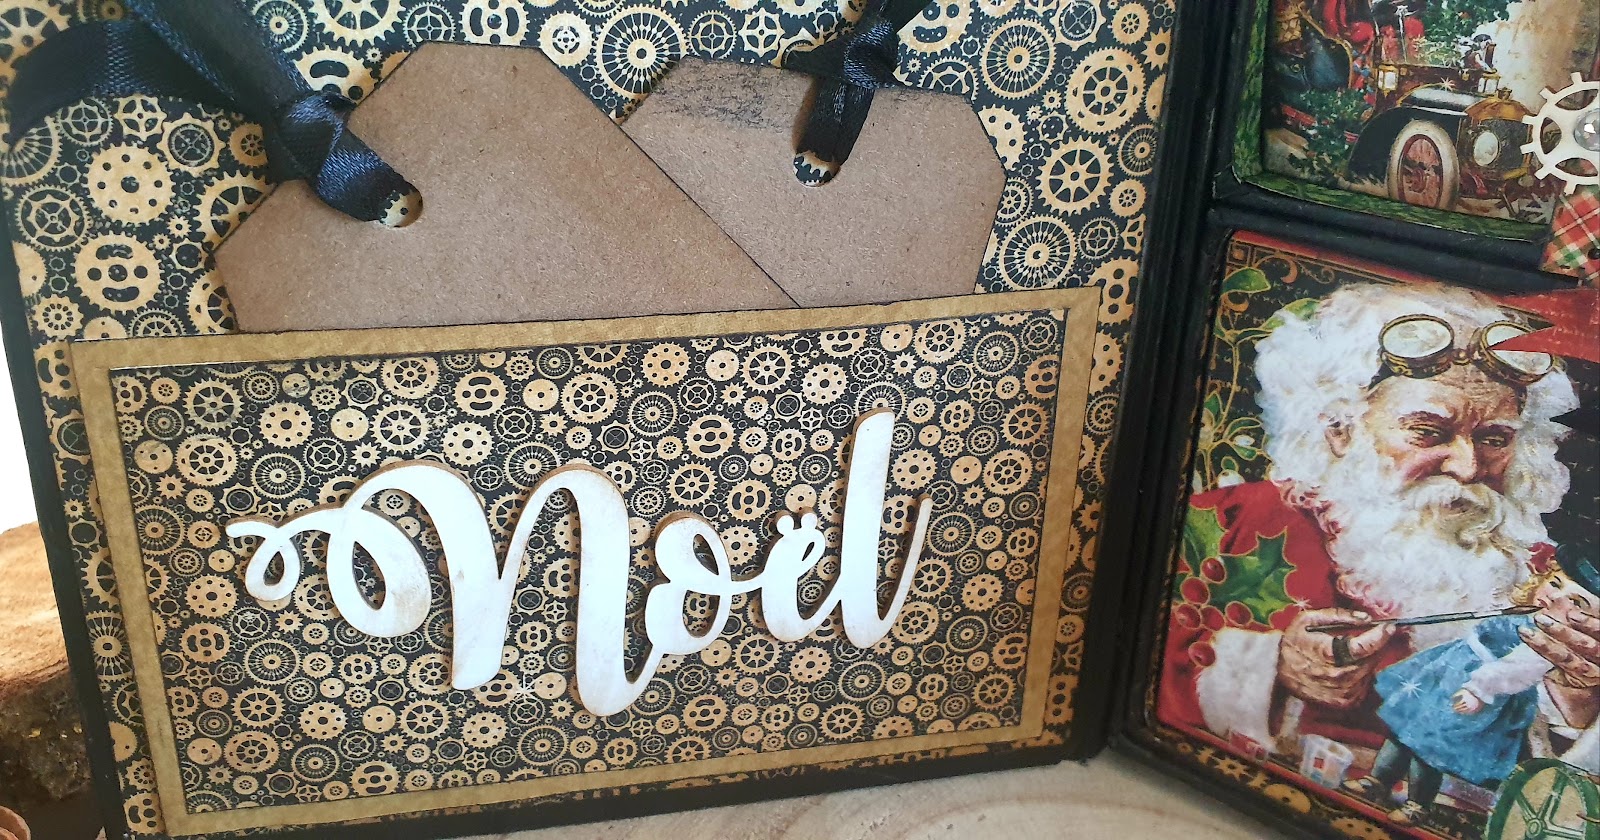
I just have to decorate it by adding stickers, chipboards, and strass.” ~Boule de Scrap
Happy Papercrafting!
Want even more Graphic 45? Sign up for our newsletter here!