Do you love creating tags as much as we do? Tags are so versatile, great for tucking into scrapbook albums, topping a gift, or just fun for trying out new techniques on a low-stakes scale. Today on the blog, Linda Roos shares a set of Little Things Shaker Tags. She created these tags in two adorable sizes using Graphic 45 Tags. Watch the video tutorial and try this technique out for yourself.
“Hi!
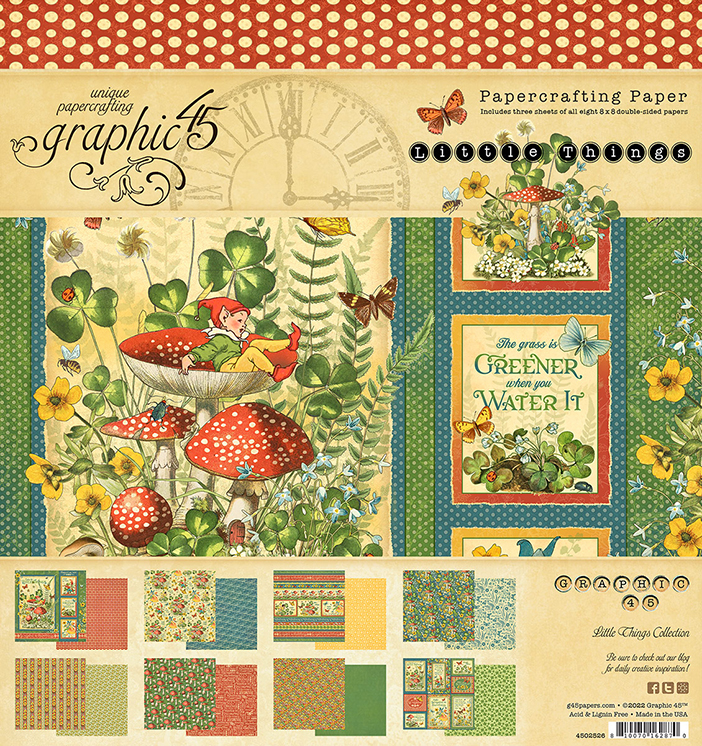
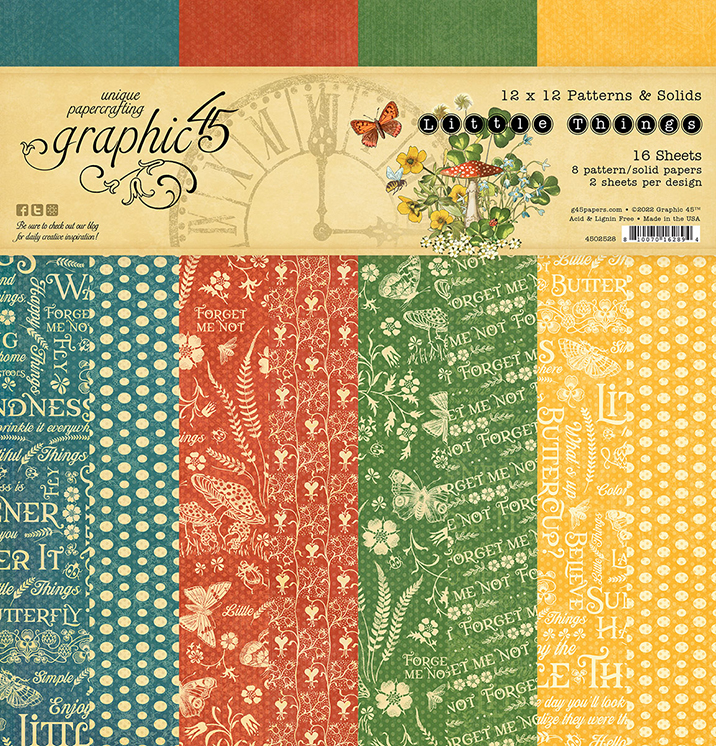
Hope you have a great crafting time! I am back and this time I made a shaker tag with the amazing Little Things paper collection.
This tag can be great to give away instead of a card when you are going away or instead of a birthday card.
I love making shaker things, it makes my heart smile. The feeling when you make the perfect shaker with just the right amount of shaker stuff inside and when you turn it and see the nice flow of pearls moving around inside the window.
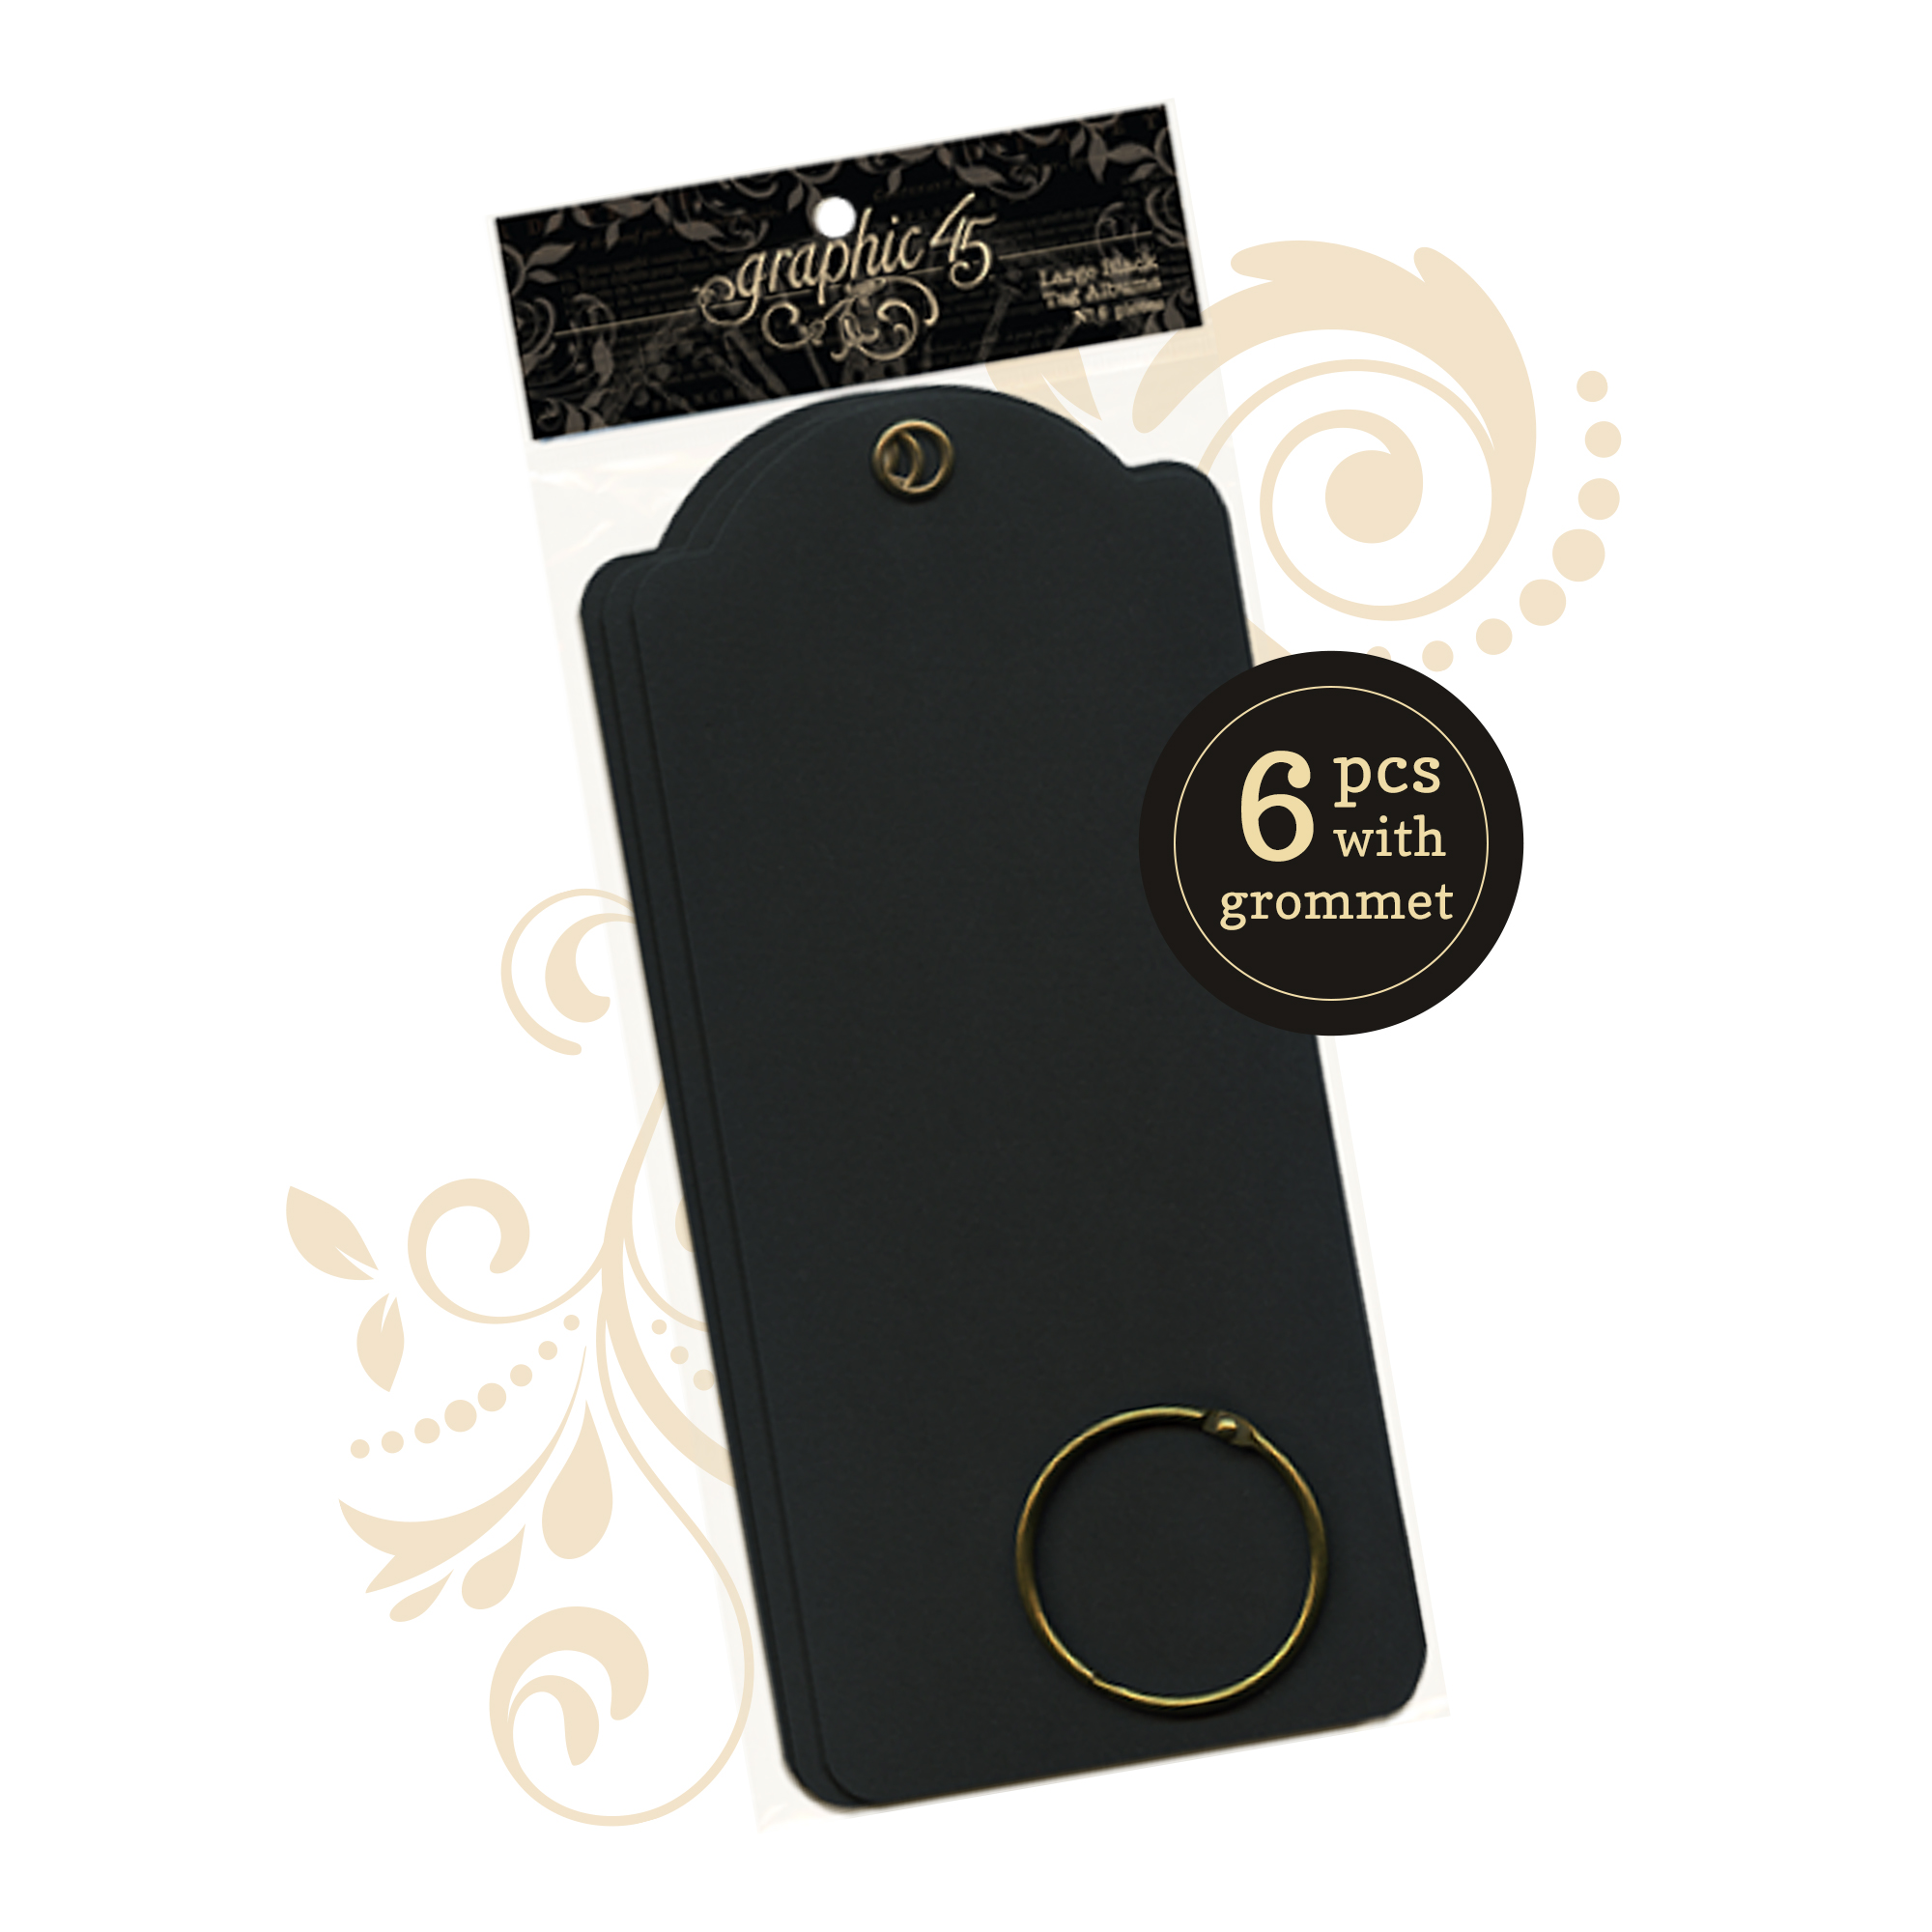
I made two different sizes of tag cards but you can make them in every size that you have at home. I did one ATC tag and two regular.
If you want to make one of your own you will need the following items.
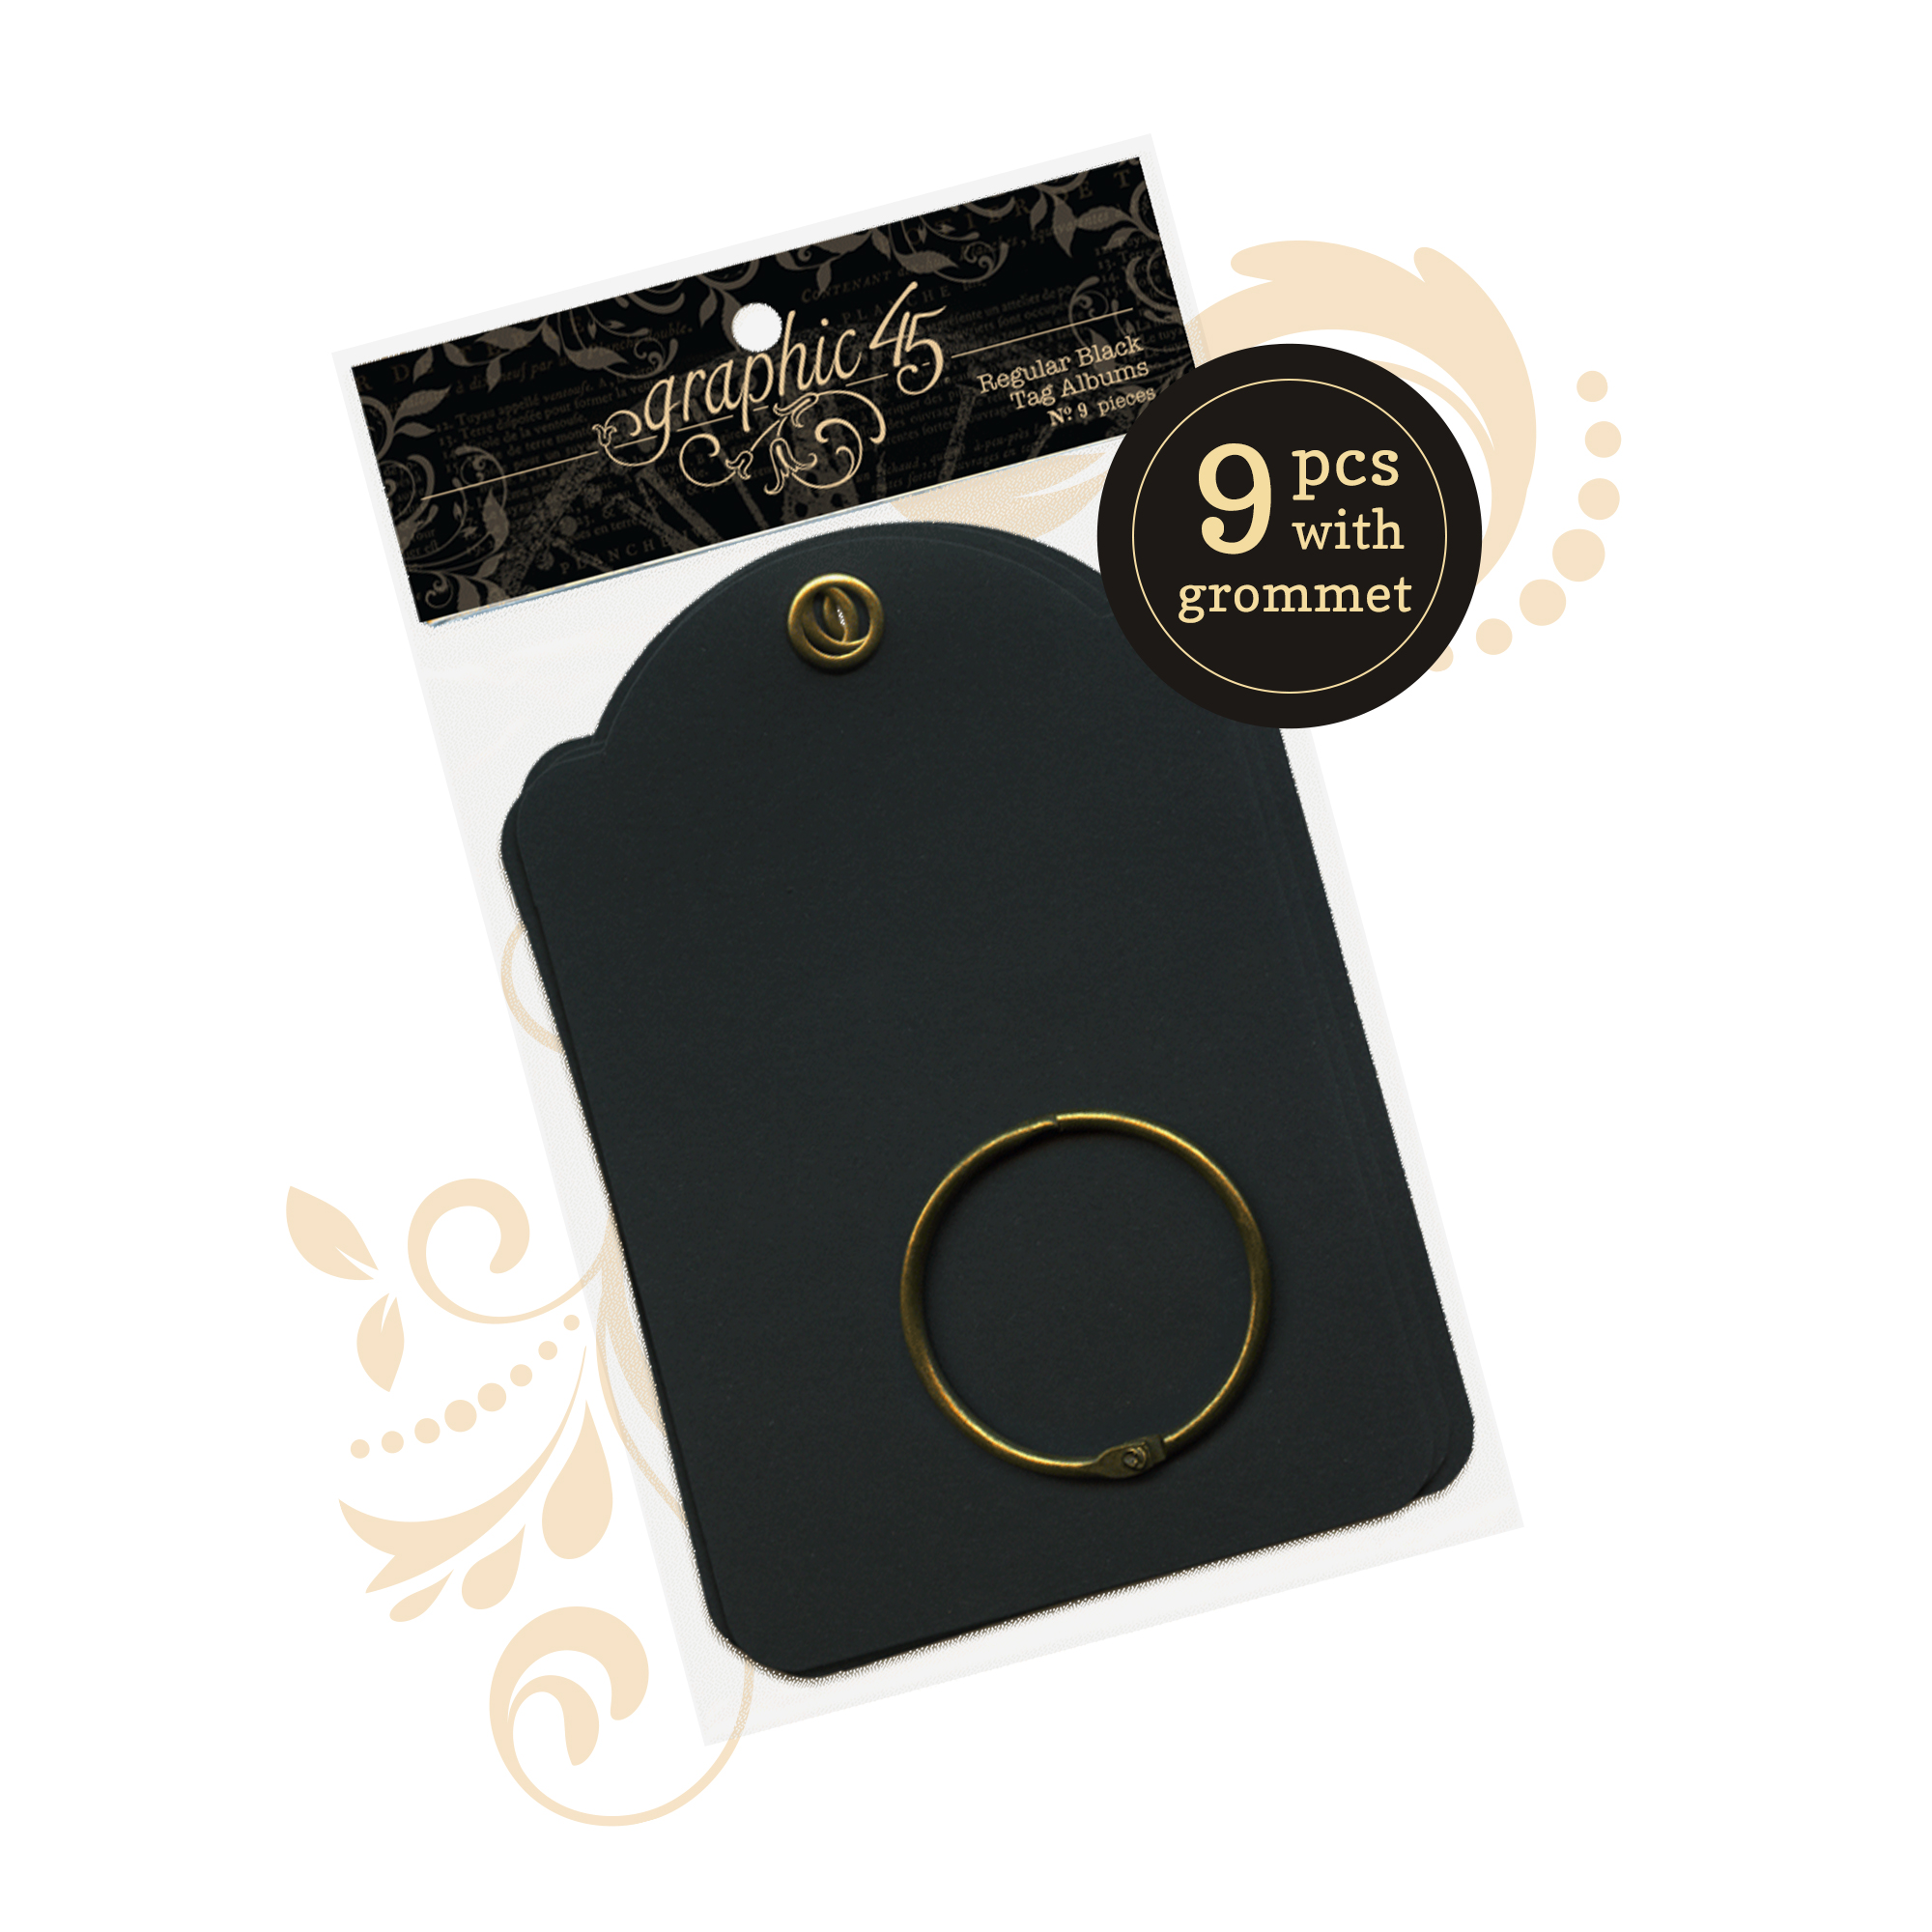
1 tag – for base.
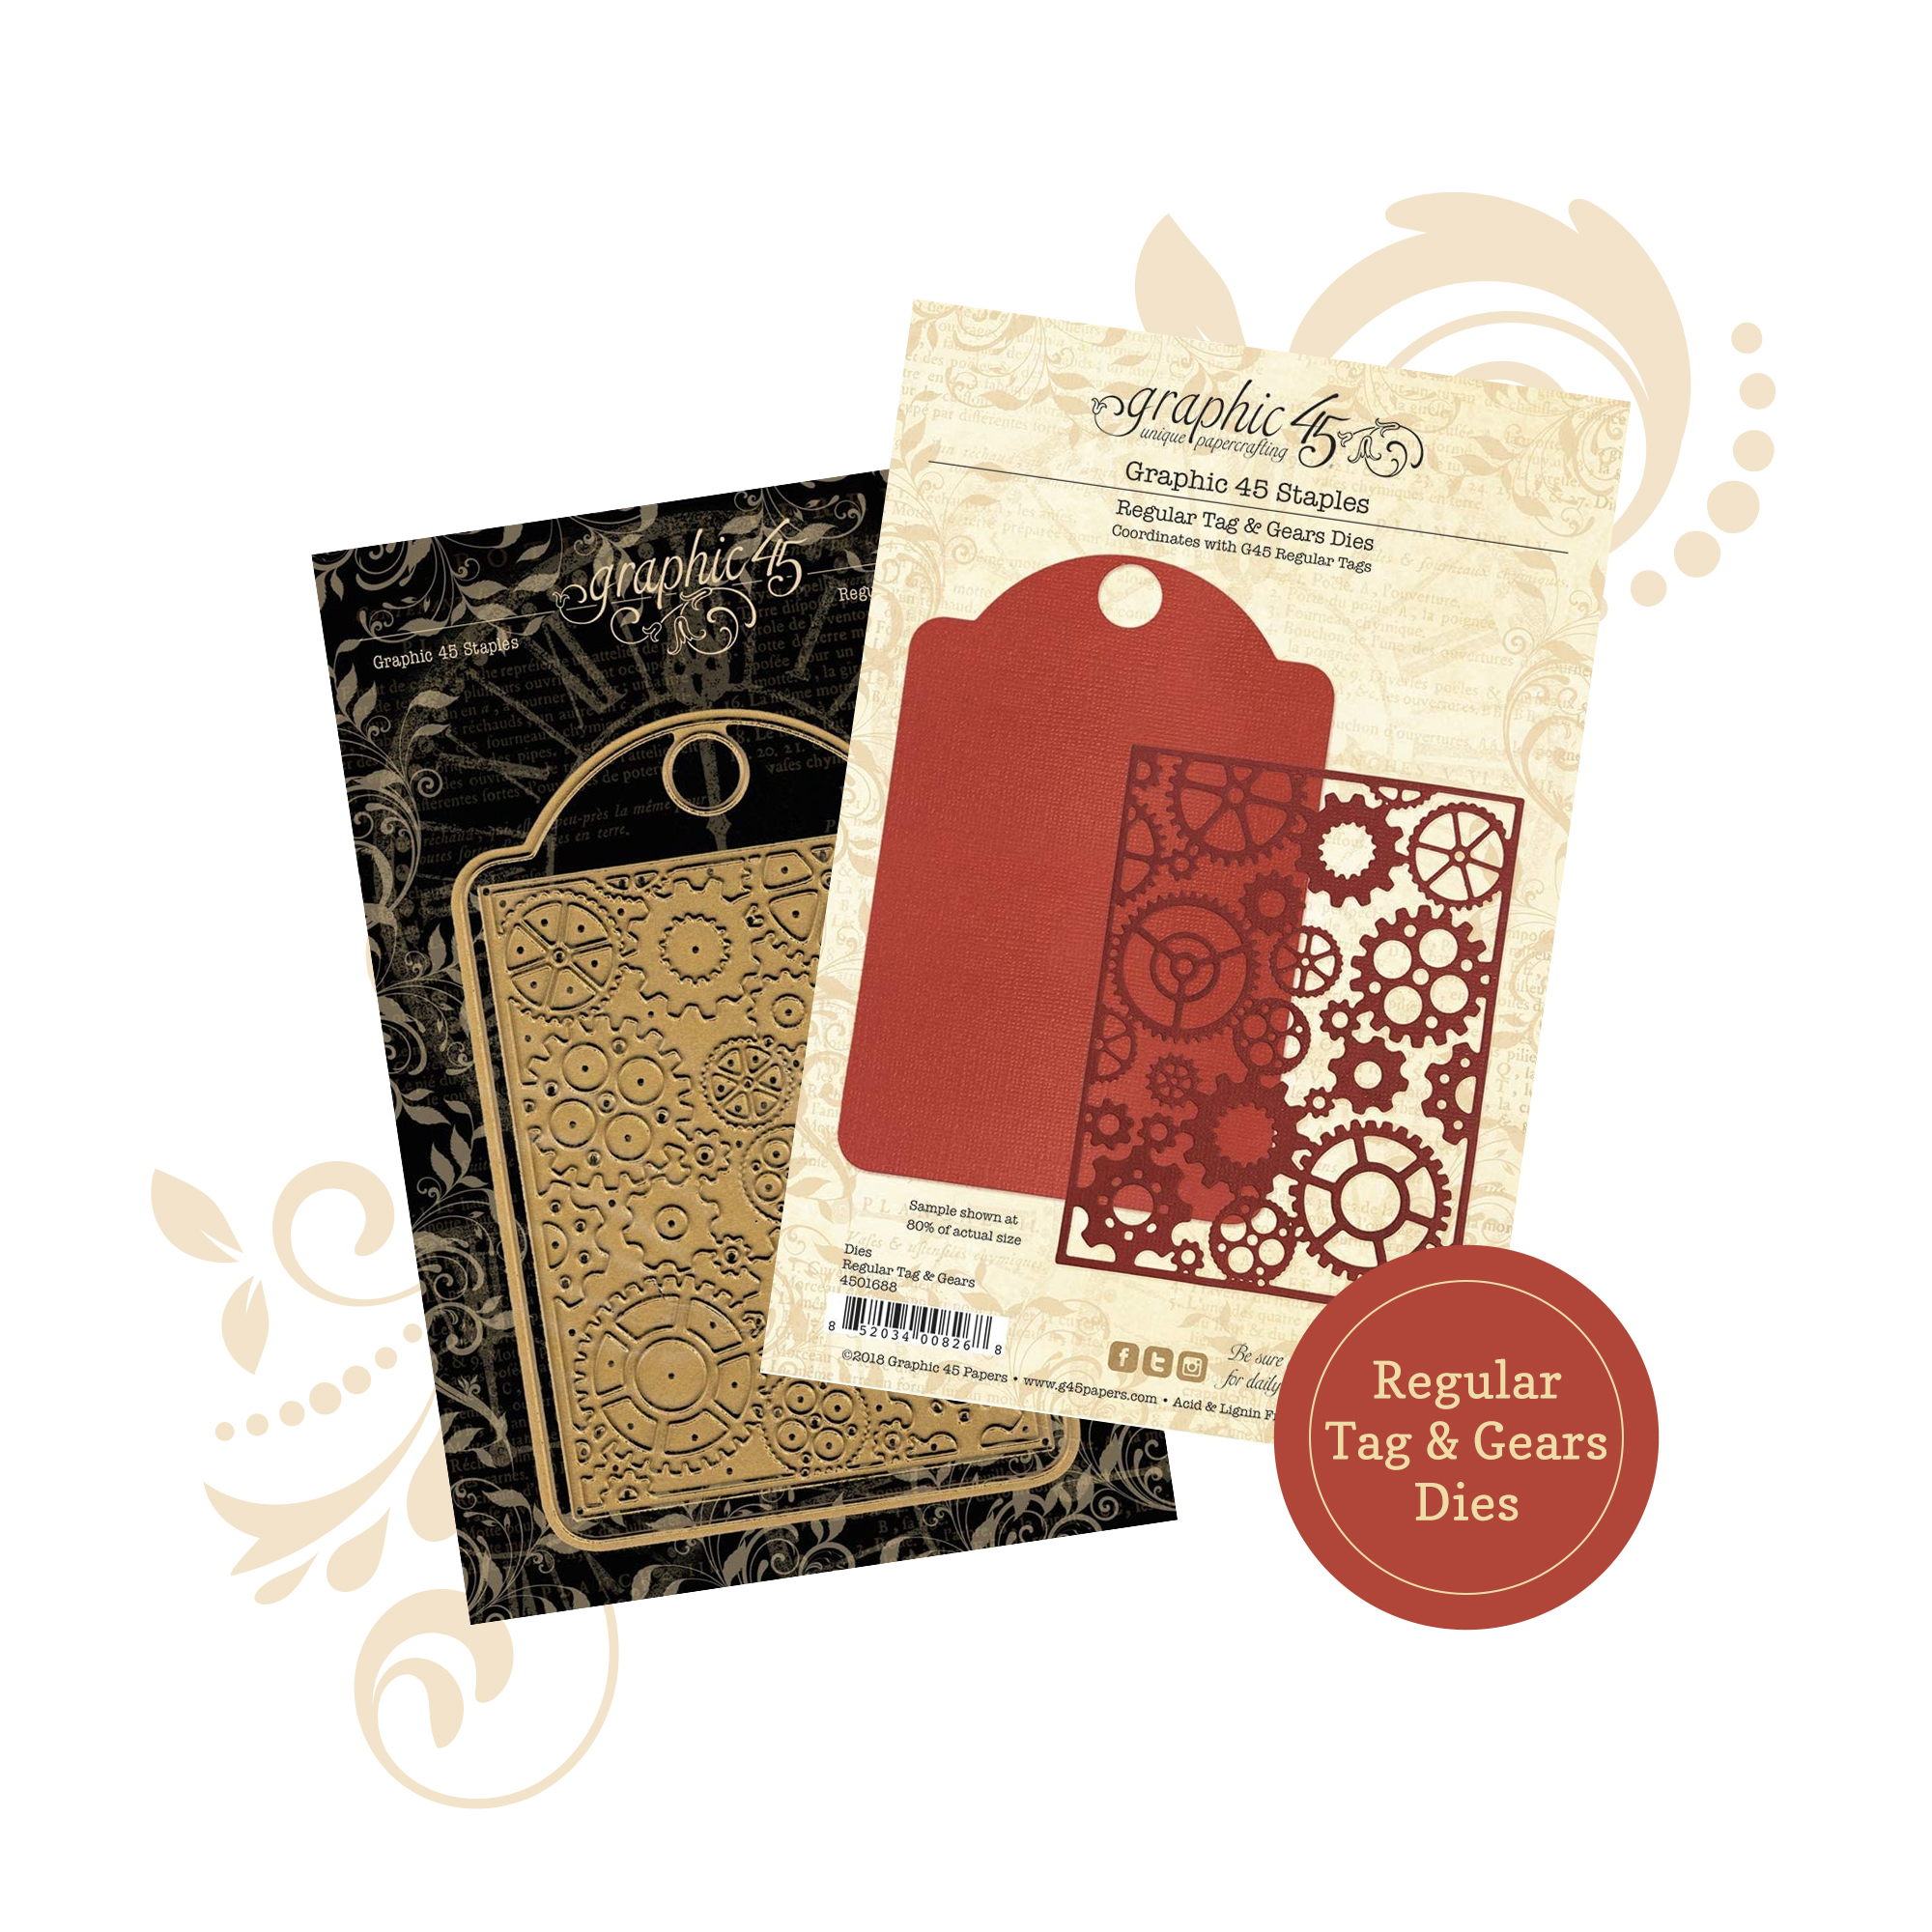
1 tag in pattern paper – that you get from using the regular tag & gears metal dies.
8 black tags – that you get from using the regular tag & gears metal dies.
1 black tag, with tape on the back – that you get from using the regular tag & gears metal dies.
1 plastic tag – that you get from using the regular tag & gears metal dies.
1 tag in pattern paper, with tape on the back – that you get from using the regular tag & gears metal dies.
shaker stuff
1.The first thing to do is to make sure that you have cut out all of the parts.
2. Then glue the first pattern paper tag, that you want to have as base, down on the original tag.
3. Now you need to decide how big shaker hole you want. Take the 9 black tags and the one in pattern paper that you are going to use on the top and cut out a hole in the center in all of them. !!be meticulous and take your time at this moment so that the hole is in the same position on every tag!!
4. Glue the 8 black tags together.
5. The last black tag with the tape on is the last one of the black to get glued on. Glue it on so that you will have a tape side up against you. !!important!!
6. Glue the whole pile of black tags on top of the original tag that you previously glued a pattern paper on.
7. Now it’s time for the star in a shaker, the glitter and pearls or what you will use for shaker stuff. Fill the hole with the amount of shaker stuff that you prefer.
8. Take off the tap backing and put on the plastic tag.
9.The last part is the pattern paper tag with the tape. Now is the time to put it over the plastic and decorate the tag as you wish.
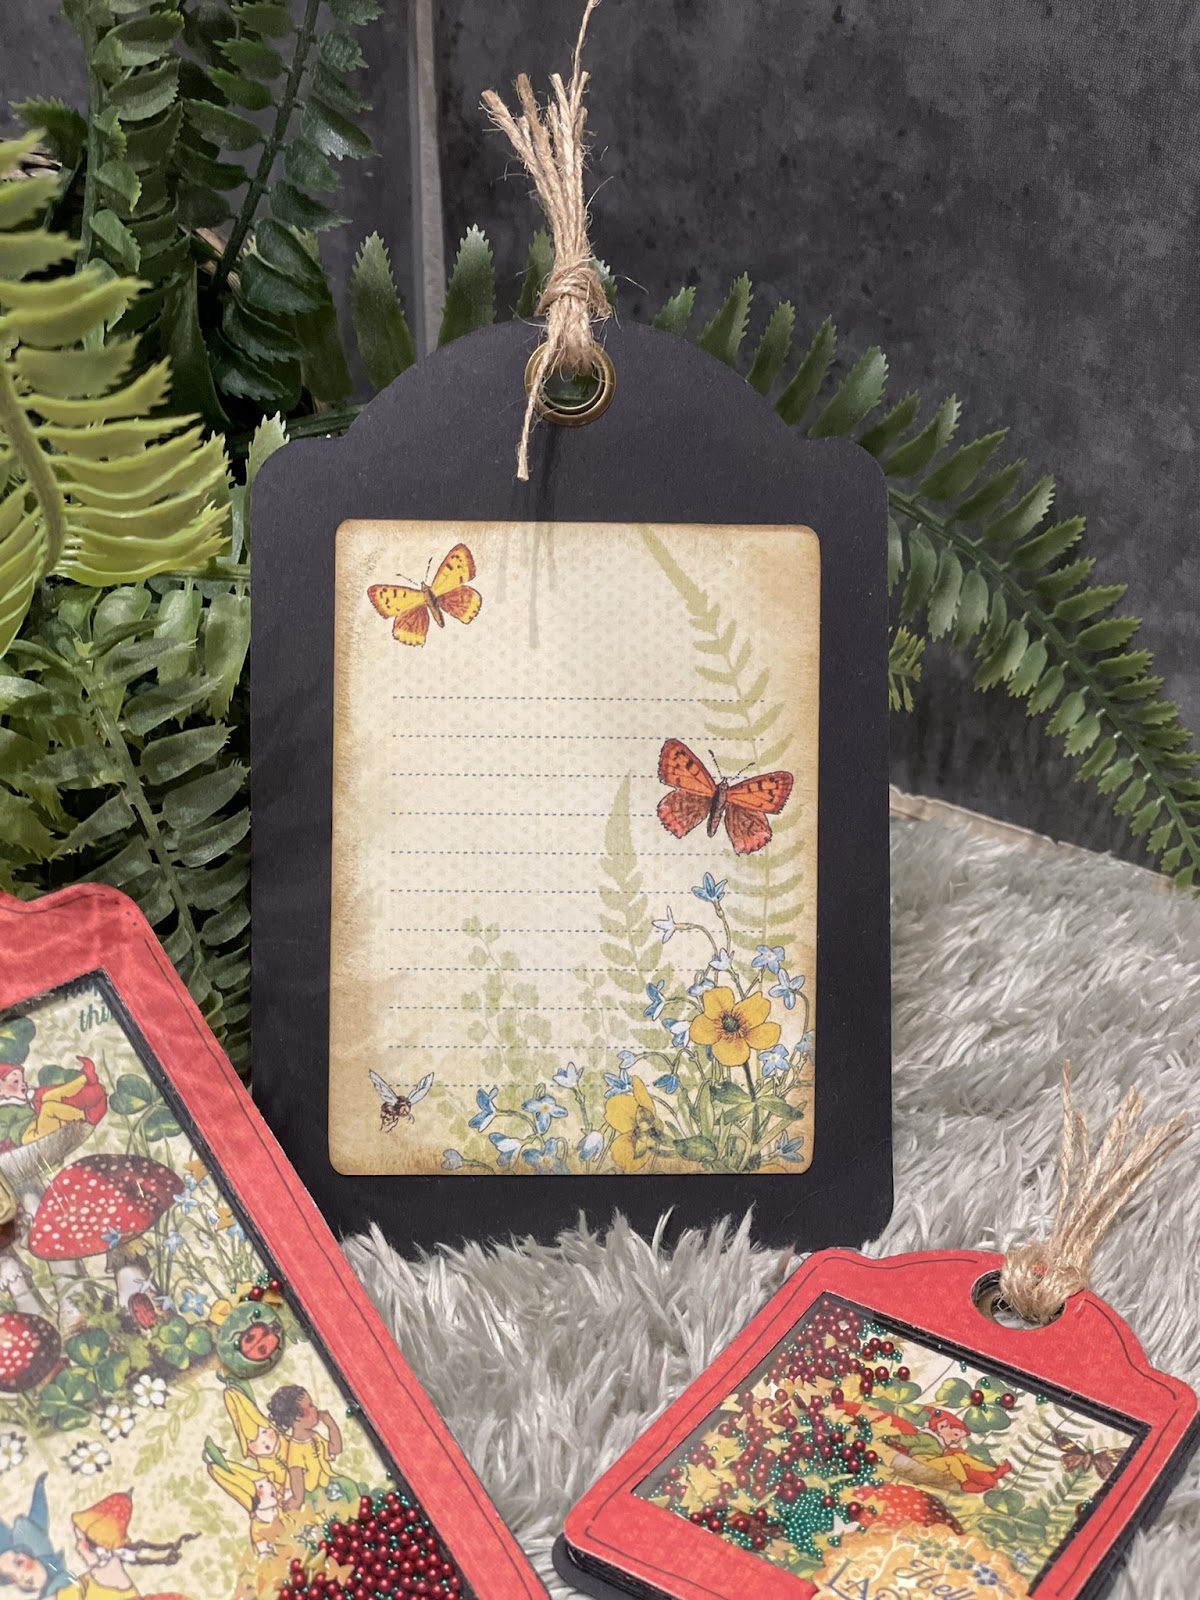
I used some glossy accents on my mushrooms, it makes them pop.
And on the back I used a journaling card to write something nice for the person that gets the card.
Glue
Tape
Shaker stuff
Ribbon
Glossy accent
Hope you like it and find some inspiration for your own projects, happy crafting until next time!”
Love, Linda Roos
Little Things Kit Introduction – Vol 02 2023