Hello, G45ers!
Today we are branching out and try a fun new idea, leaf-shaped tags! Be-leaf us, you are going to fall for these colorful mixed media tags by Aleksandra Mihelič. Aleksandra used Graphic 45's bright and bold nature collection, Flutter. Before we jump into this pile of fun, we have our Weekly Contest to announce!
|
|
|
Weekly Blog Contest
Just leave a comment here on the blog, Instagram, and/or Facebook to be entered to win! Each comment from Monday to Thursday at 11:59 pm PST will count as an entry.
This week’s prize package is a Club G45 Flutter Calendar Box & Notepad Kit, a $50+ value. The winner will be announced on the blog Friday, March 15th, 2019.
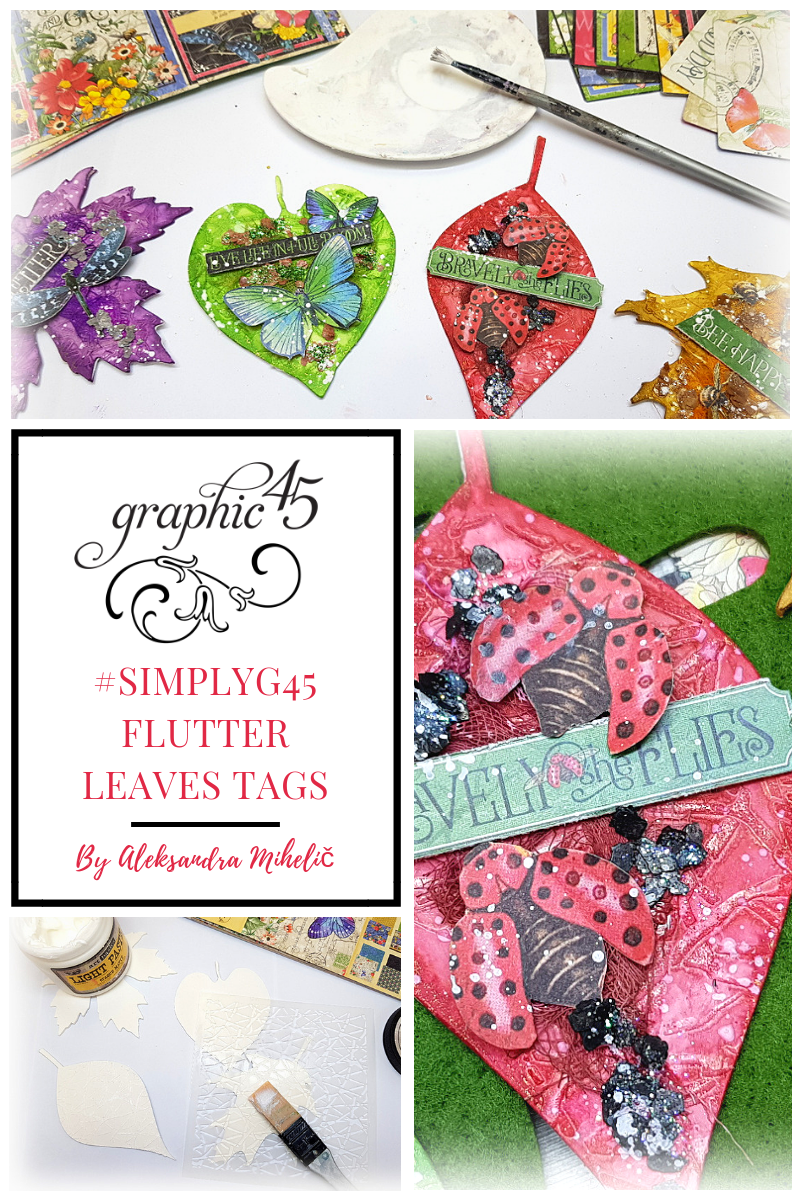
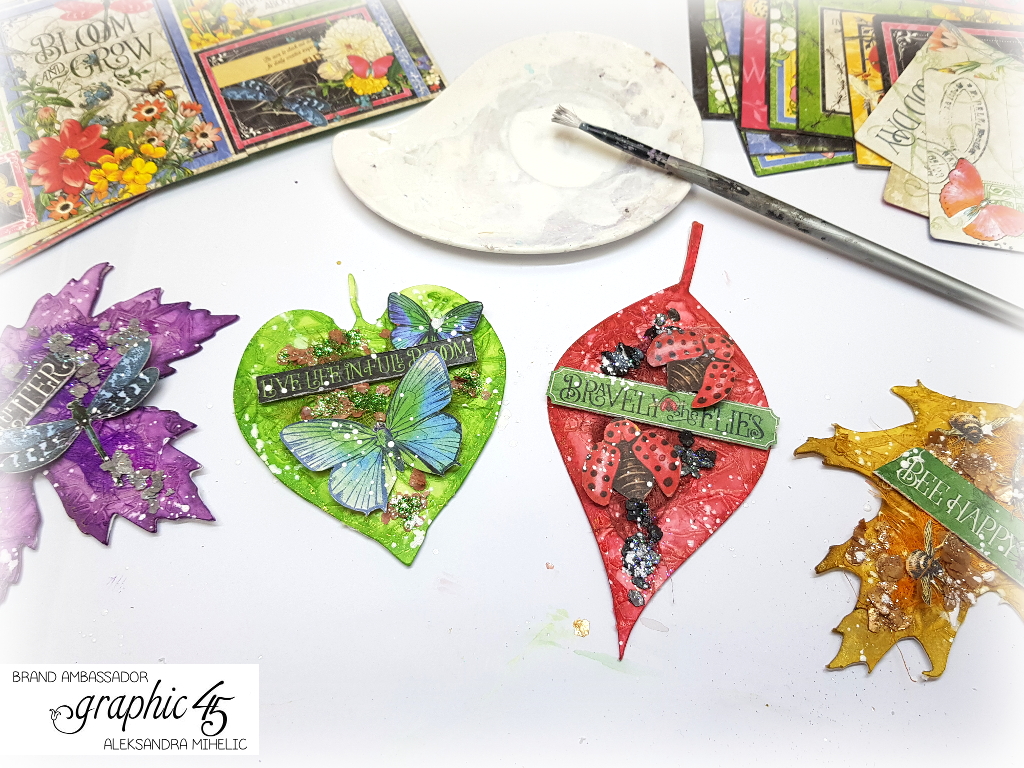
Flutter Quick and Easy Leaves Tags
“Hello hello, dear G45’ers. 🙂 It’s Aleksandra with you again. This time my task was to prepare for you a quick and easy project idea. And I came up with these beautiful, colorful Tags in the shape of Leaves, using gorgeous Graphic 45 “Flutter” collection. Believe me, when I say these ones are easy peasy because I made them with my left hand. Literally! No kidding! I hurt my right arm badly two weeks ago, it’s broken in the elbow and I have some damage in my wrist, so this time this job was perfect for me. 😀 I hope you’ll like my idea and my presentation to you!
I was thinking about what to prepare that it will be something fun and special, to show you, that also quick and small projects can be special. And I decided to make Tags in the shape of Leaves. Why should Tags always be of the same shape? You can use your imagination and have fun with the shapes of Tags also.
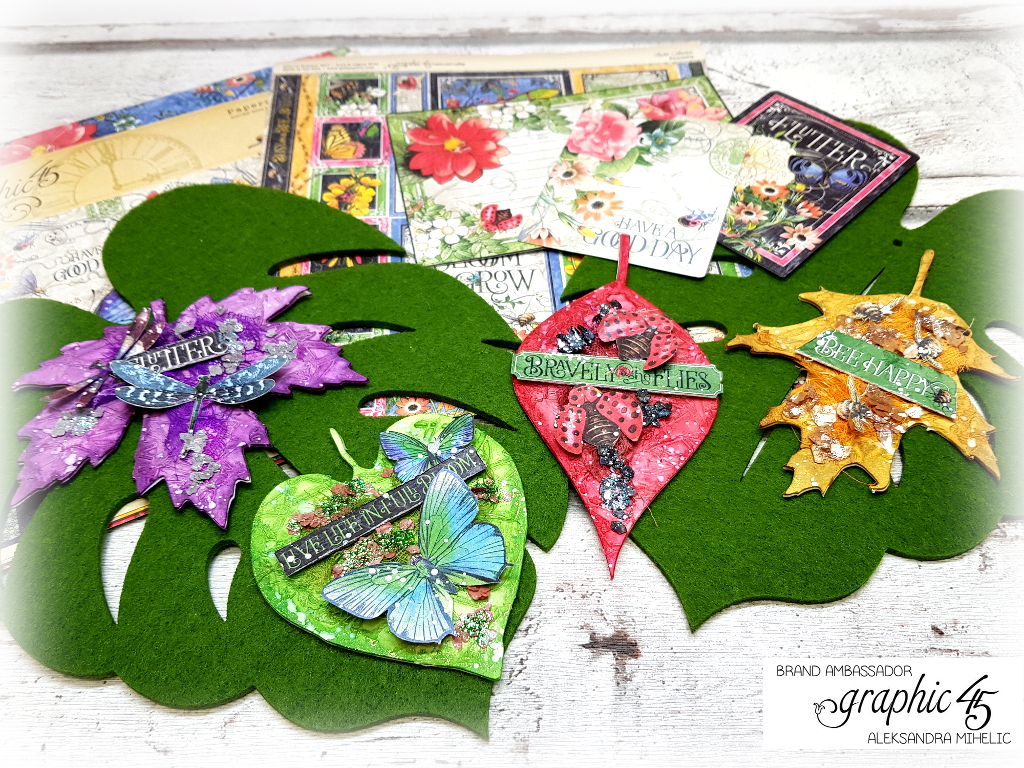
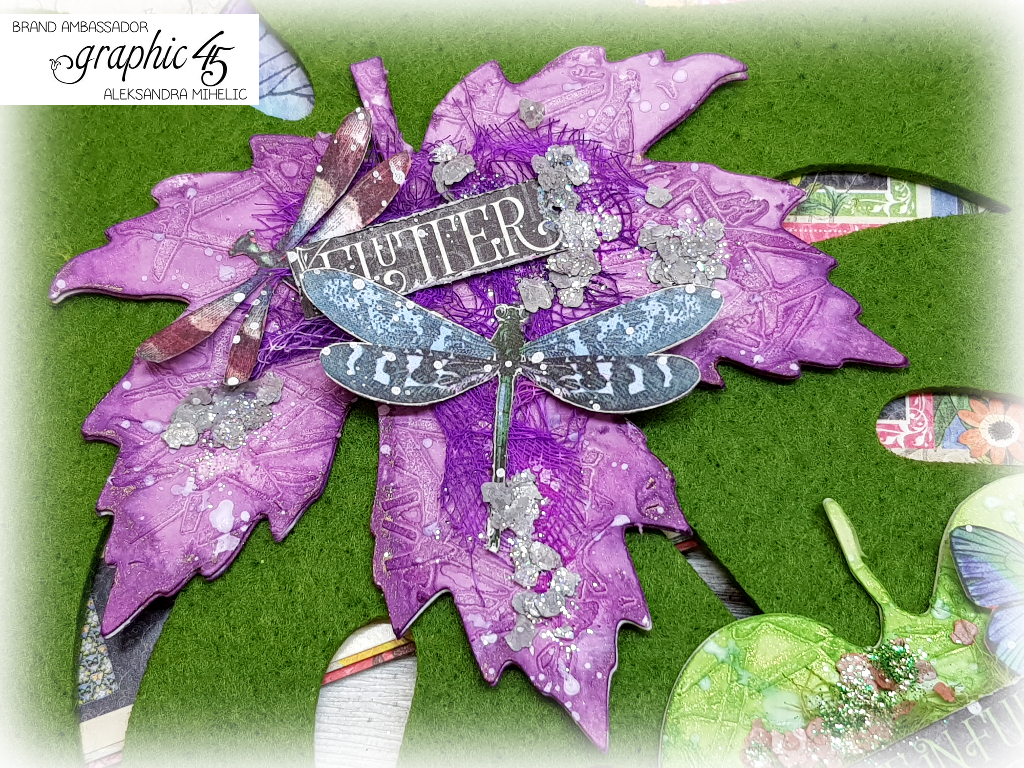
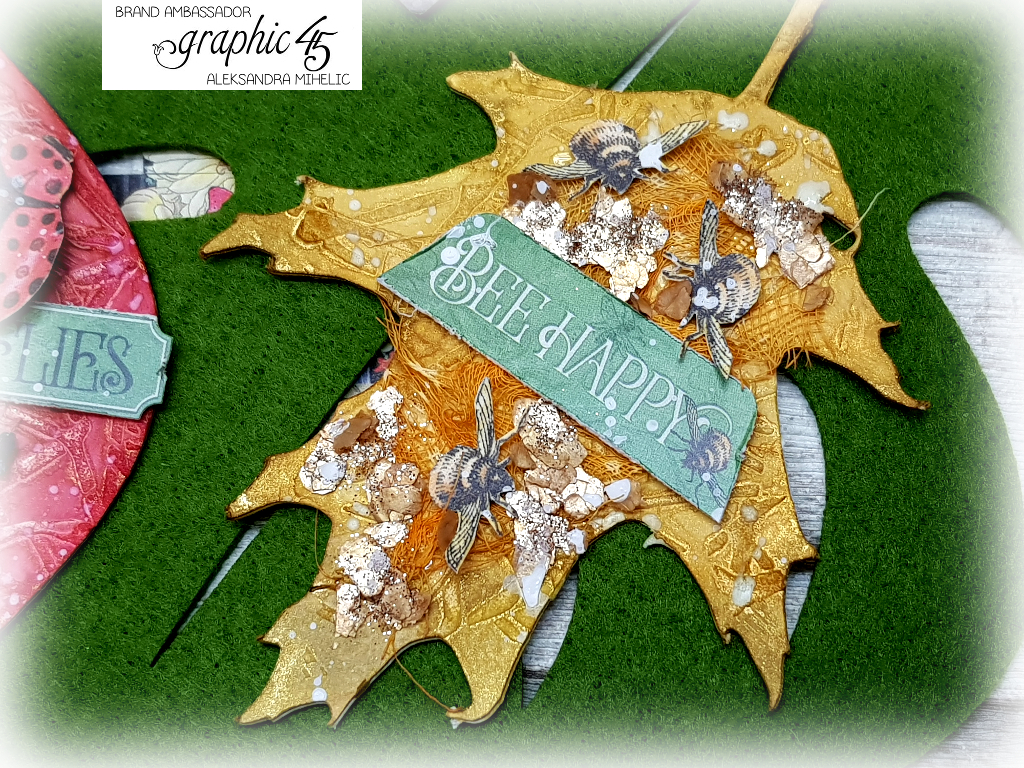
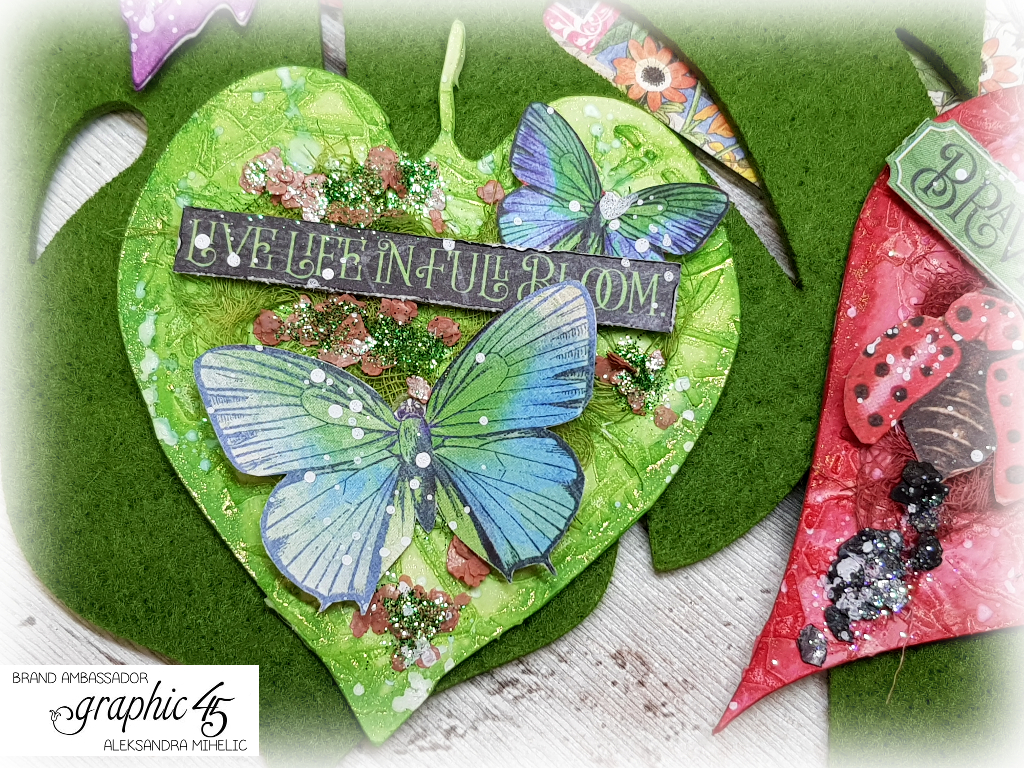
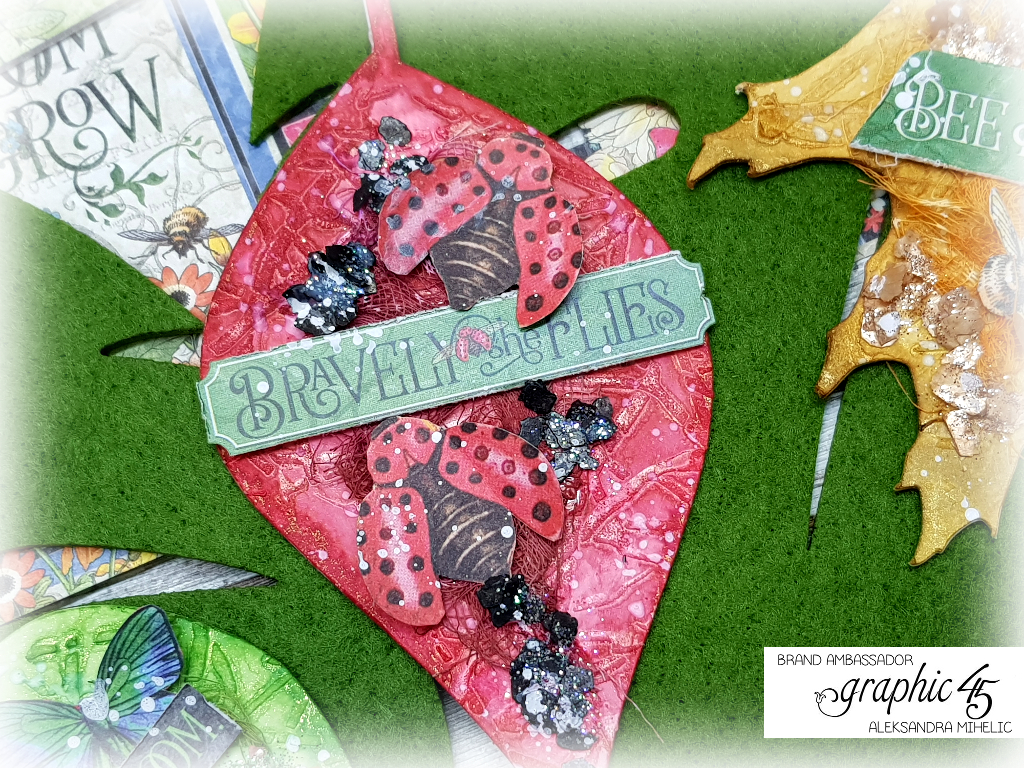
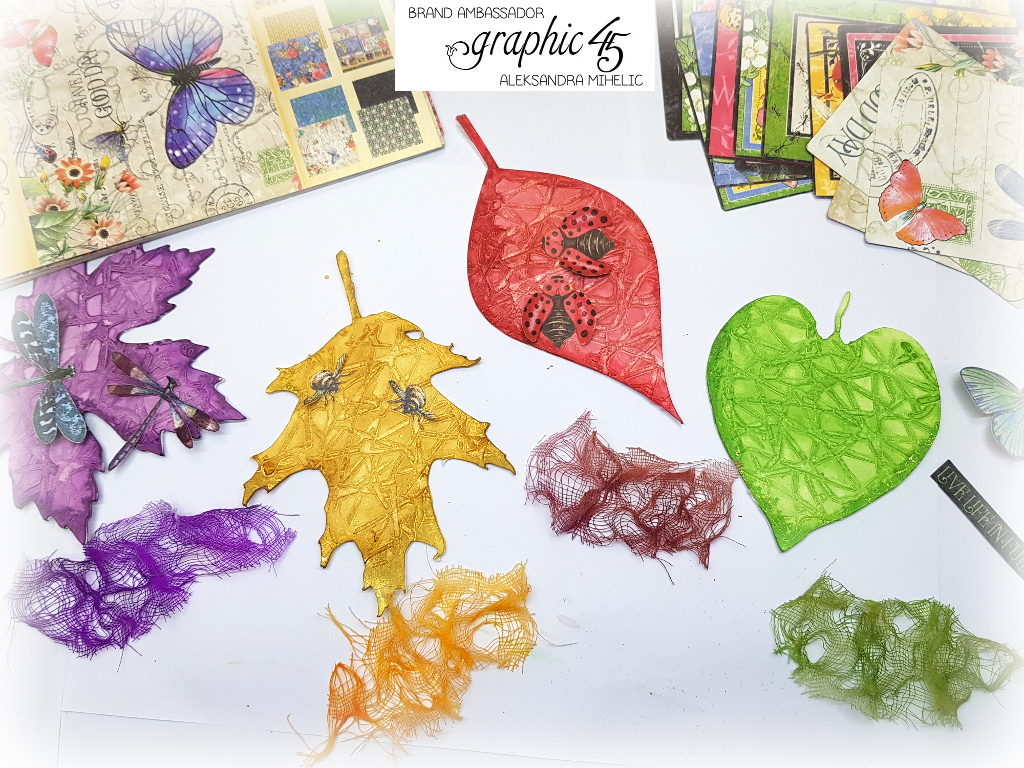
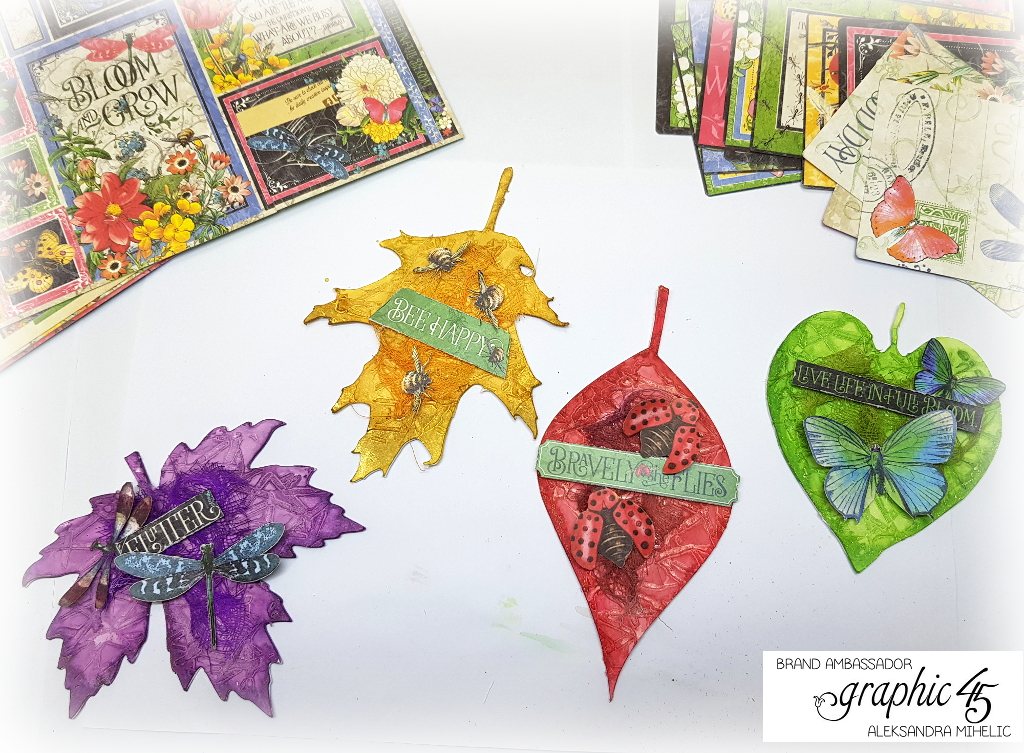
I decided to use for different colors for my leaves, to pair them with the little “critters” from the gorgeous “Flutter” collection.
#G45Tip: Why should Tags always be of the same shape? You can use your imagination and have fun with the shapes of Tags also. I made few of them in the shapes of Leaves, colored them with various colors and embellished them with cut-outs from the amazing “Flutter” collection.
Here’s the step-by-step process for you, so you can create along with me.
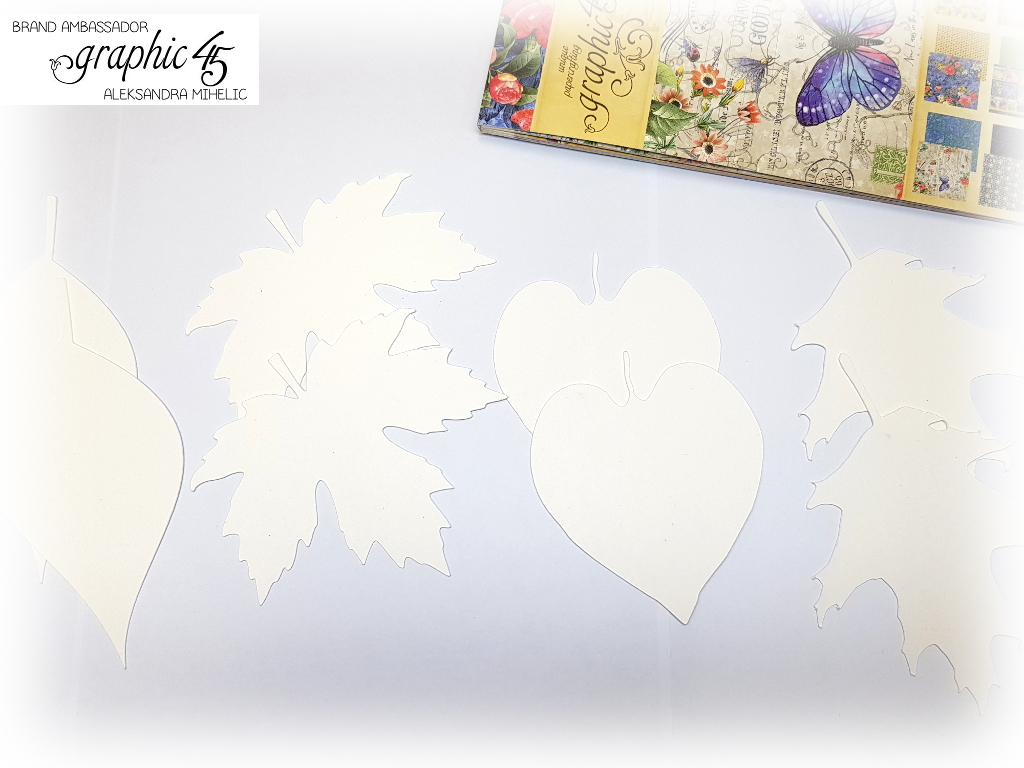
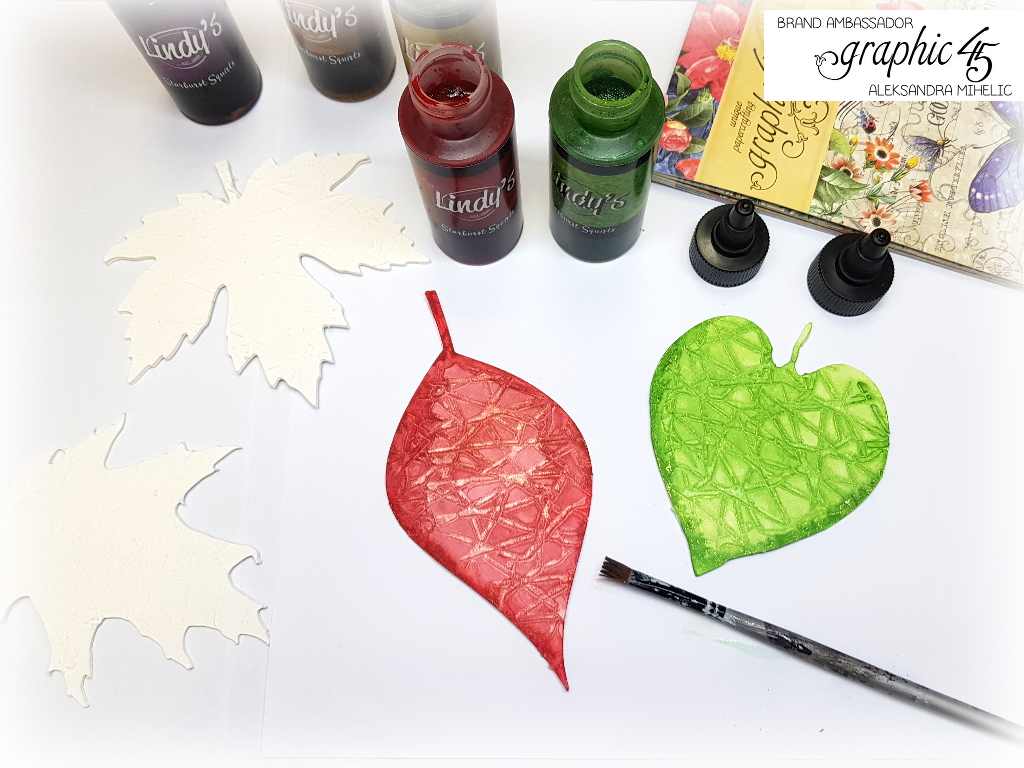
First I cut out different shapes of the leaves with my Cricut.
#G45Tip: If you are working with mixed media products on your base, make sure you cut two of them and glue them together to make them sturdier. They won’t warp when you’ll put water and colors on them.
Then prime them with clear or white gesso so they are ready for you to put some mediums and paints on them.
#G45Tip: If you want to achieve some extra interest add some texture paste through stencil on the surface of your project.
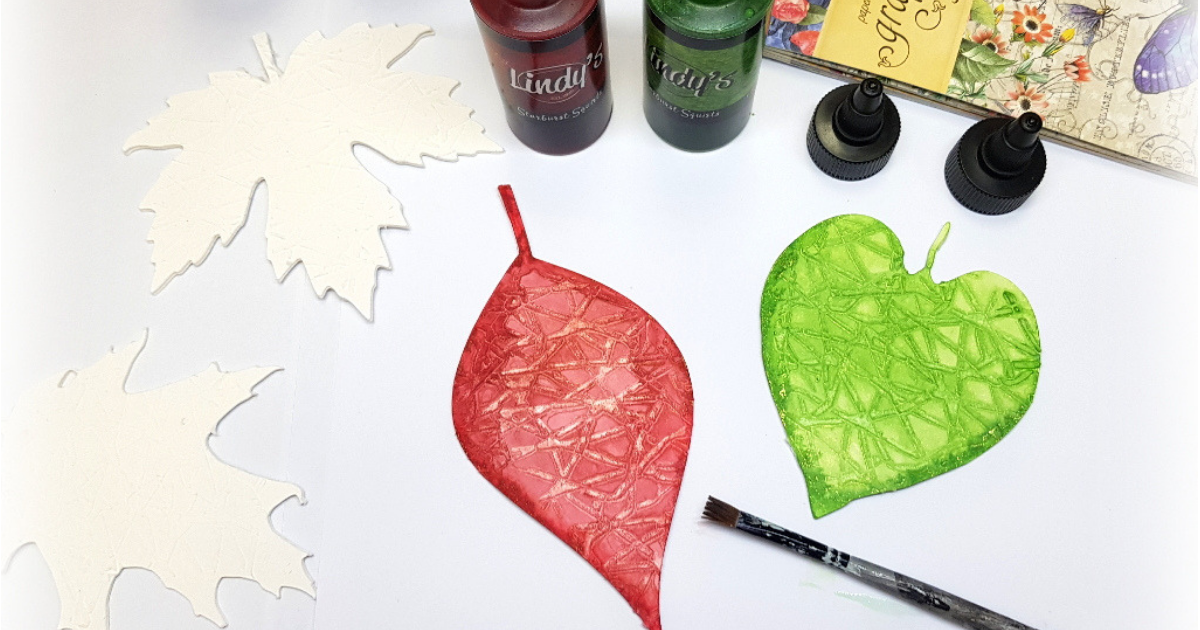
Then color you leaves with various colors. You can use sprays, acrylic colors, watercolors or any other paints you prefer.
#G45Tip: For added dimension you can also use some colored cheesecloth or some other type of fabric.
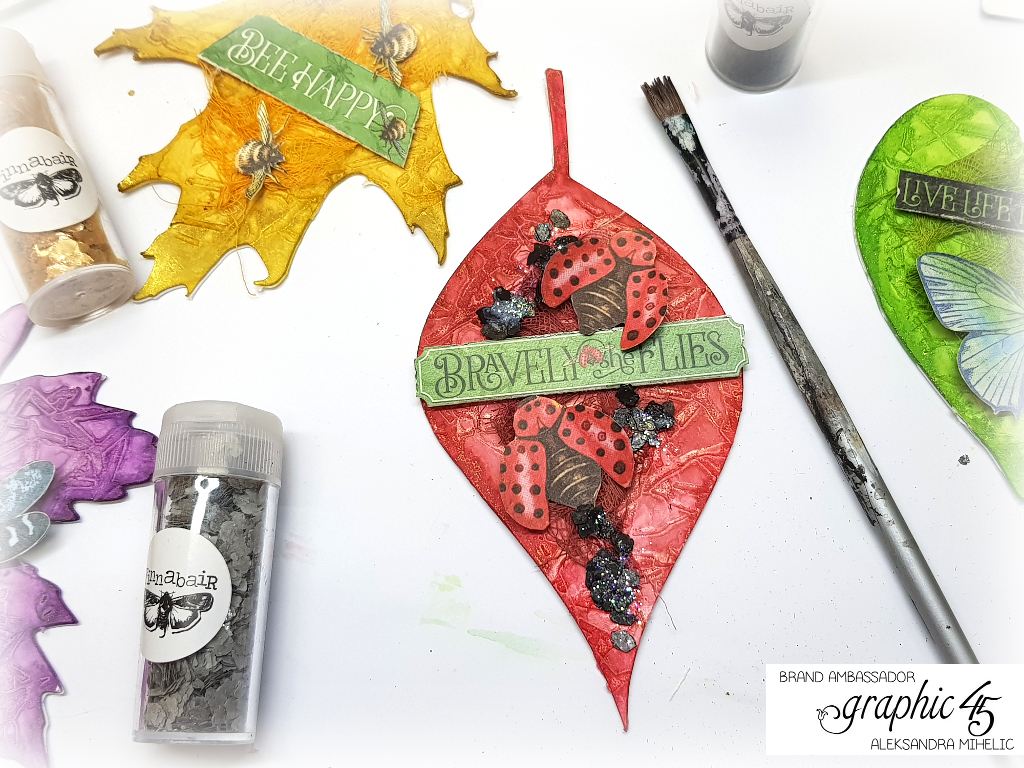
When you have everything cut-out, you started to “build” composition on your tags. You can use some 3D foam or cardboard to lift some elements higher than others or hide some of them partly beneath others.
I added some Mica flakes and glitters to make my Tags more interesting and sprinkled them with diluted white acrylic paint splatters.
Supply list for the Flutter Leaves Tags:
|
|
|
|
|
|
I Hope you liked my inspiration and my step-by-step tutorial. I wish you a nice and crafty day ahead and see you soon again.
Enjoy!”
Hugs, ~Aleksandra
So many great tips, tricks, and ideas! Let's give Aleksandra a round of applause for these adorable tags. We thank you as well for joining us today for your daily dose of inspiration. We hope you have a beautiful and creative day!
Happy Papercrafting!