Add a little movement and whimsy to your handmade cards. For example, a sliding mechanism and a shaker element. Just check out Graphic 45 Brand Ambassador, Sabaa Hassan’s Little Things Slider Card, and #G45Reel to see the magic come to life!
“This is Sabaa and I welcome you to my beautiful world of creativity.
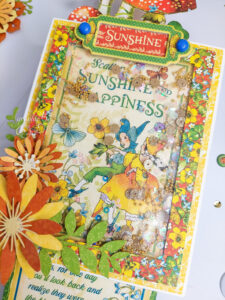
Today I have a very unique and creative card for you all. This time I named it as “LITTLE THINGS SLIDER CARD”.
Who doesn’t love to work on a pop-up project? I am sure my today’s project will make you to create one for you.
So, without further delay let us start the making process.
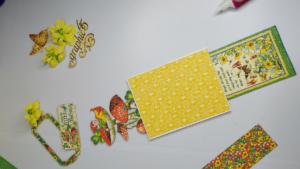
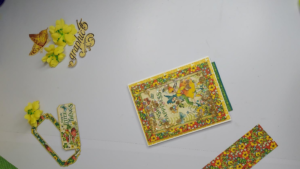
I have use Little Things 12’*12″ Collection Pack pattern papers from Graphic 45 .
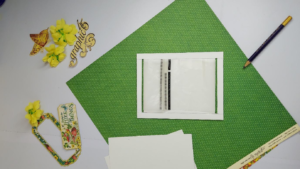
I have taken 3 pieces of 12 cm by 16 cm of white cardstock.
Out of these keep 2 cardstocks separately, these cardstocks we will use later to hide our card’s main mechanism. Let’s work on 3rd piece first.
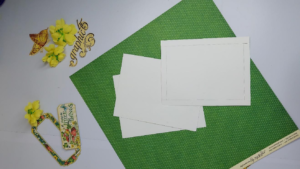
I have marked 1 cm of gap all around the cardstock piece. And on the top part I have made a little cut both the side ( as shown in picture).

No, I have taken a piece of soft polybag (usually you can get it on packaging polybags) measuring 9.5 cm in width. Don’t worry about the length, just keep it little long, we need to cut the extra as we proceed further.
You need to insert the soft polybag to one slit on cardstock and pull out from the other side. And at last fix both the end with double-sided tape, make sure you cut out the extra polybag part.
This way you will get a soft bag wrapped around the middle part of the cardstock and you can rotate it smoothly.
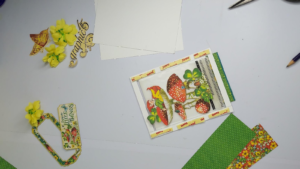
Now on polybag where I fixed both the end, I have pasted my Little Things Main Character elements. I have cut out the design, pasted on the acetate sheet and did fussy cut again to remove all the extra acetate sheet.
(Making sure to keep little acetate sheet space at bottom, because this is going to stick on the polybag)
I will hide all this mechanism using a cardstock. But as we have the moving object at the center, I have used double sided foam tape, so that the polybag will have space inside to rotate smoothly.
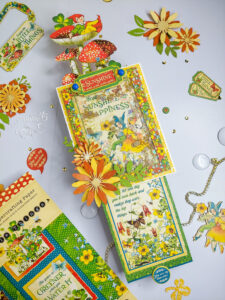
Same way I have added the card on the opposite side. Just keep in mind the position of elements on the polybag will be opposite. Which means if I have added the main Little Things element on the bottom, I will turn the card and add the pulling element on top. (You can refer video for better understanding)
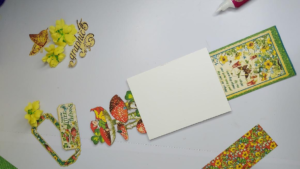
We will cover the other side too using double-sided foam tape and cardstock piece.
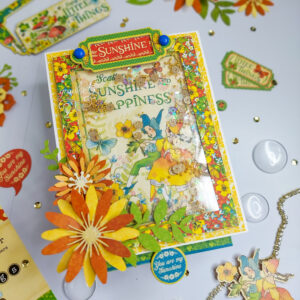
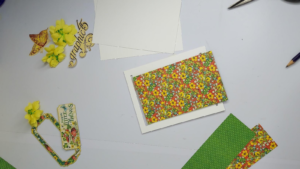
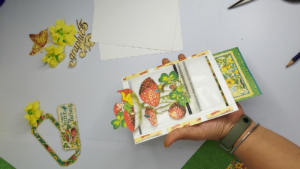
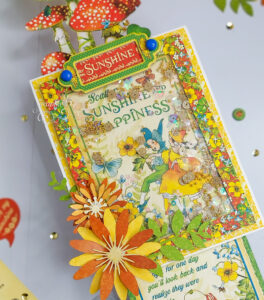
It’s time to decorate the card. I used a light-colored background and added a shaker window on top of it.
I have decided to add a little floral arrangement on top because I wanted all the attention to the main mechanism of the card (which is the popping out little elements)
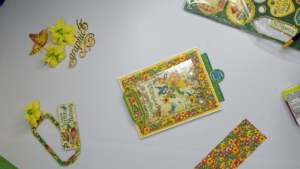
I have also used Little Things Chipboard and also Flower Assortment – Shades of Yellow & Orange to decorate my card top.
And that’s how my beautiful Slider Card is ready. Once you pull down the bottom inner card, automatically the beautiful element will pop up from the top and this will surely going to surprise your loved ones.
Hope you enjoyed the entire making process. And loving the Slide Card as much as I loved sharing it with you all.
Little Things 12’*12″ Collection Pack
Flower Assortment – Shades of Yellow & Orange
Thank you so much for stopping by and investing your valuable time. Do create and make sure to tag your Graphic 45 creations so we can find them on social media.”
Lots of Love, Sabaa

Want even more Graphic 45? Sign up for our newsletter here.