Hello, G45ers!
Get organized in style for 2020 with a customized Planner. Below Brand Ambassador, Gloria Stengel walks us through her process on how she took an everyday planner and turned it into a Bright and Bold Life’s a Journey Organizer that will be fun to use all year. Enjoy all the craft tips and photos, we hope they inspire you to get to your craft table to create something beautiful.
Life’s a Journey 2020 Planner
#G45Technique
“Hello, G45 Fans and Friends! It is that time again…time to set up your planners for a new year! I have always used a planner of one type or another, sometimes I have had several going at once! When we homeschooled I kept a school planner, a grade planner for each child, a home planner and calendar, and a blog planner…all at once! In the past few years, I have just kept cheap calendars with all my information written on them. However, planners are very popular again, so I decided to set up a new one! Planners come in all styles and sizes and can be customized for any use you wish. They can be very plain or used as a daily scrapbook journal. The only limits are time and imagination!
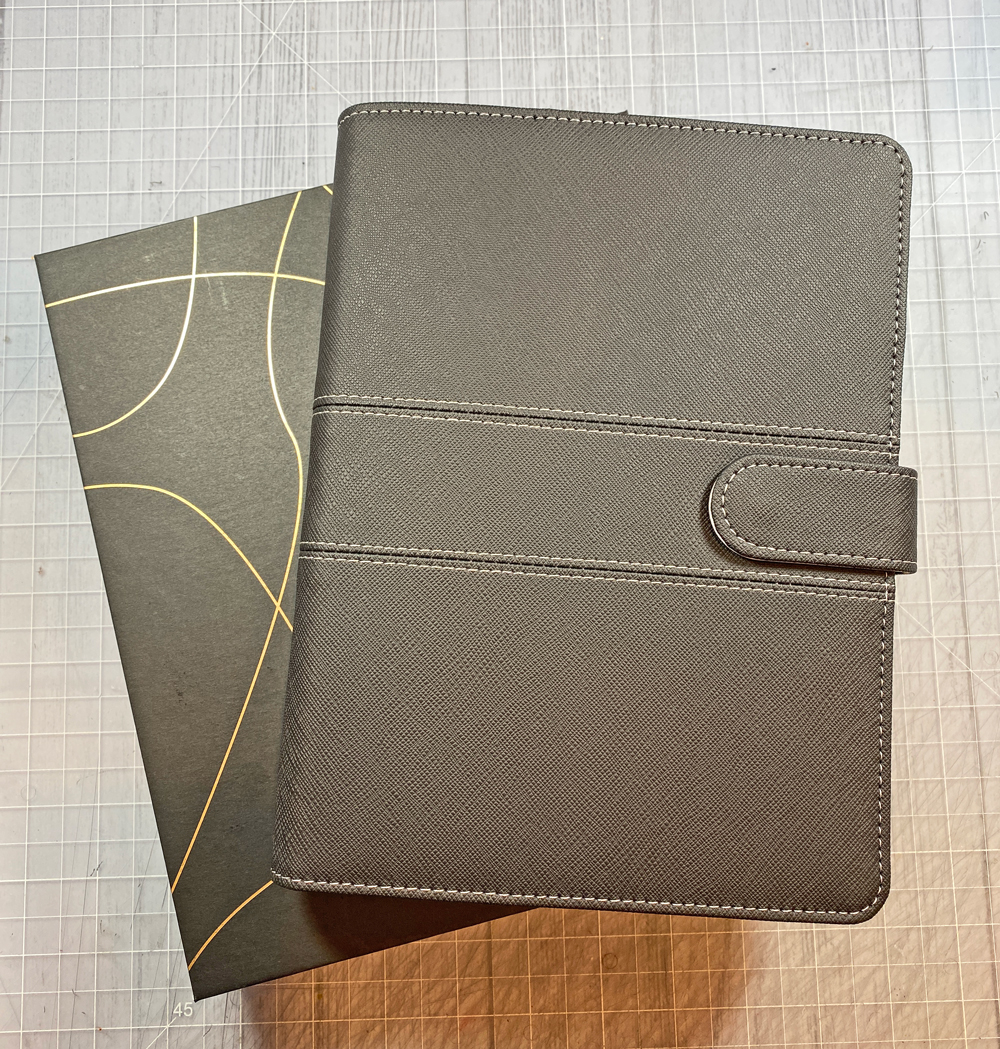
I decided to use a purchased planner and found this A5 size online for a good price. It is faux leather and measures 9 ¼” tall by 6 ¾” wide. It has a snap closure on the side. This style comes in lots of colors, but I chose black so it would match any paper I wanted to use.
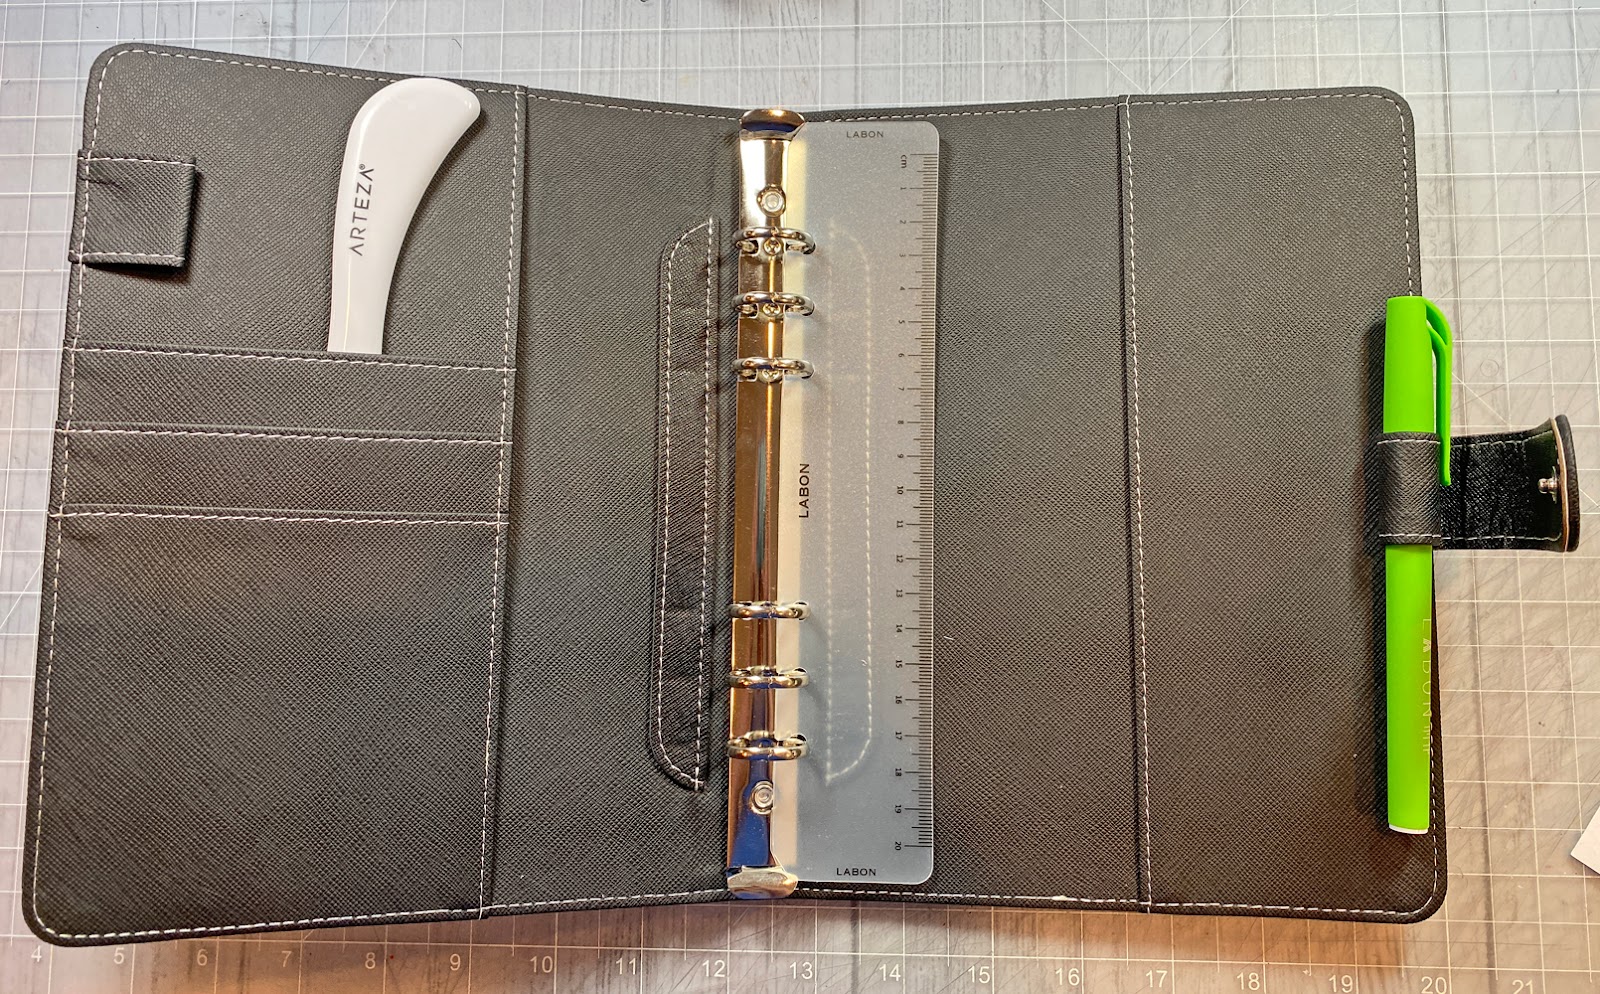
I chose this style of the planner because it has the standard A5 “Filofax” six-ring binding, plus it has lots of pockets! I also came with a pen, ruler, and a set of sticky note tabs. You can purchase planners with page inserts, or you can purchase inserts and refills separately, or you can print your own. (A5 pages measure 8 ¼” x 5 ¾”.)
My planner came with some inserts, but some of them did not meet my needs so I set them aside for another project. I had also purchased a few inserts on sale, and I also printed some FREE ones from the internet. It is so EASY to customize your planners!
The first thing I did was to decide on what type of pages I needed and how many dividers I wanted. I wanted to make my own dividers rather than purchase them, that way I could further customize my planner style and color scheme!
Tip: I used six (6) sheets of light-weight cardstock and 12 sheets of G45 Life’s a Journey paper to create the dividers.
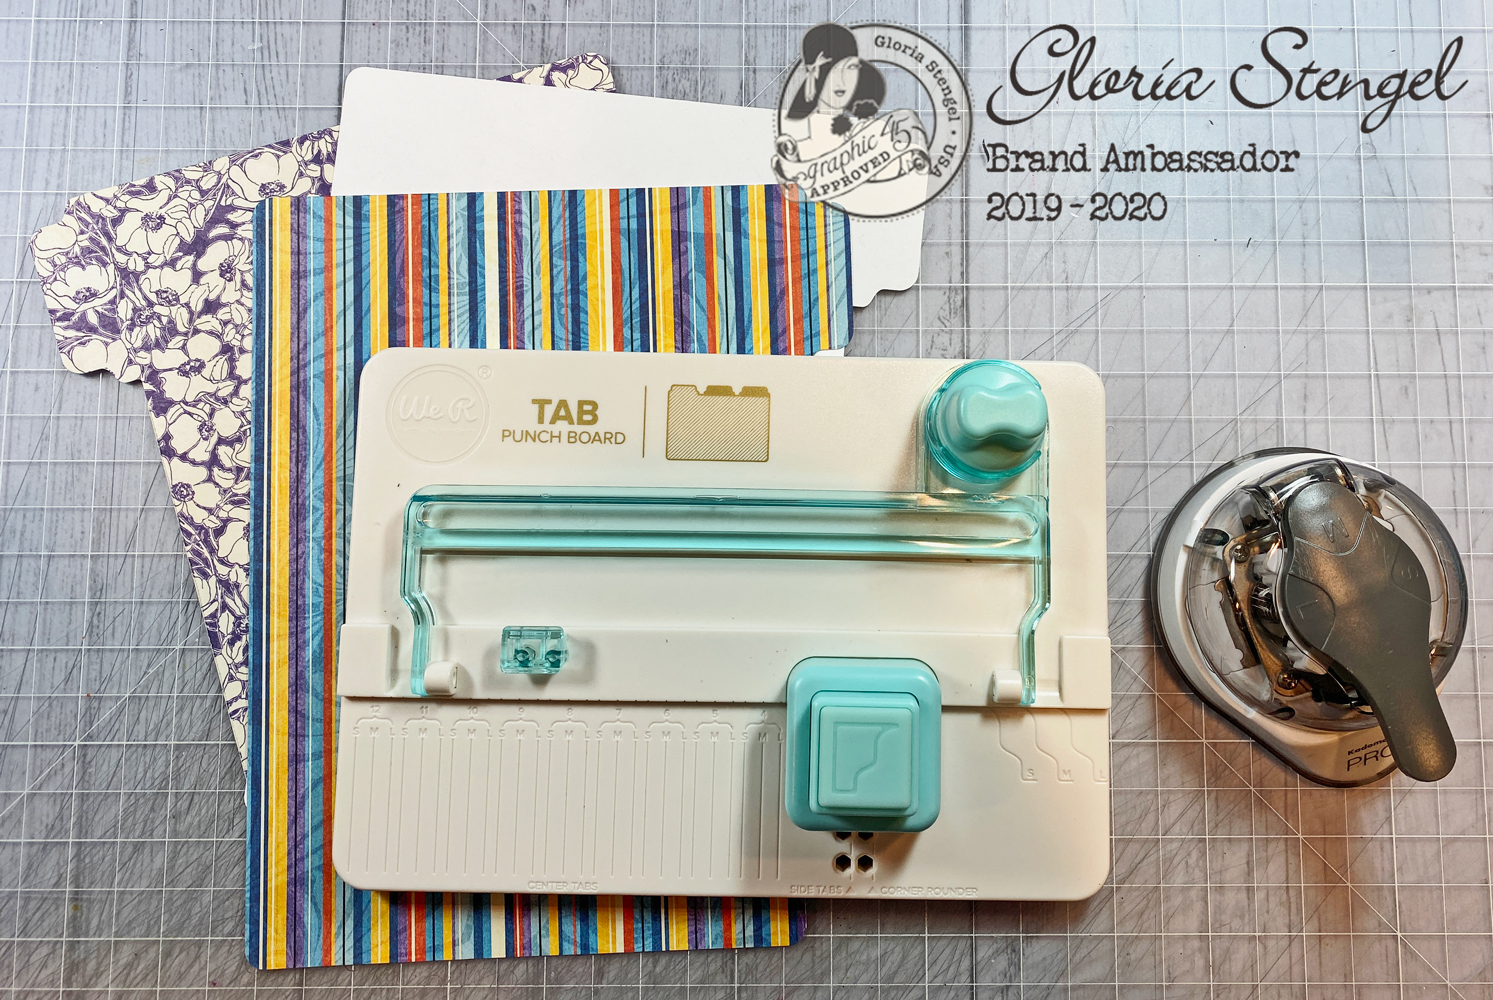
I also used a tab punch tool from We R Memory Keepers to create the tabs for my dividers. You may use the punch or die of your choice, or you could make the dividers from file folders by covering the folders with the decorative paper.
To create my tabs, I cut one piece of cardstock and two pieces of Life’s a Journey paper to 8 ¼” x 6 ⅝”. I followed the directions for the punch to add the tab. I also rounded all the corners. The finished measurement of the dividers, not counting the tab section is the same as the pages – 8 ¼” x 5 ¾”.
I created six dividers. It took a bit of trial and error and some measuring to get the tabs to line up the way I wanted, but the tab punch tool was fairly easy to use.
Tip: I recommend cutting practice pieces from computer paper before you cut into your pretty Graphic 45 paper!
I cut one cardstock piece and two decorative paper pieces for each tab, then I “sandwiched” them together to make each divider.
Tip: The addition of cardstock makes the dividers more sturdy than just using the decorative paper. Also, adding two sheets of paper, one on the front of the cardstock divider and one on the back, allowed me to further customize my planner.
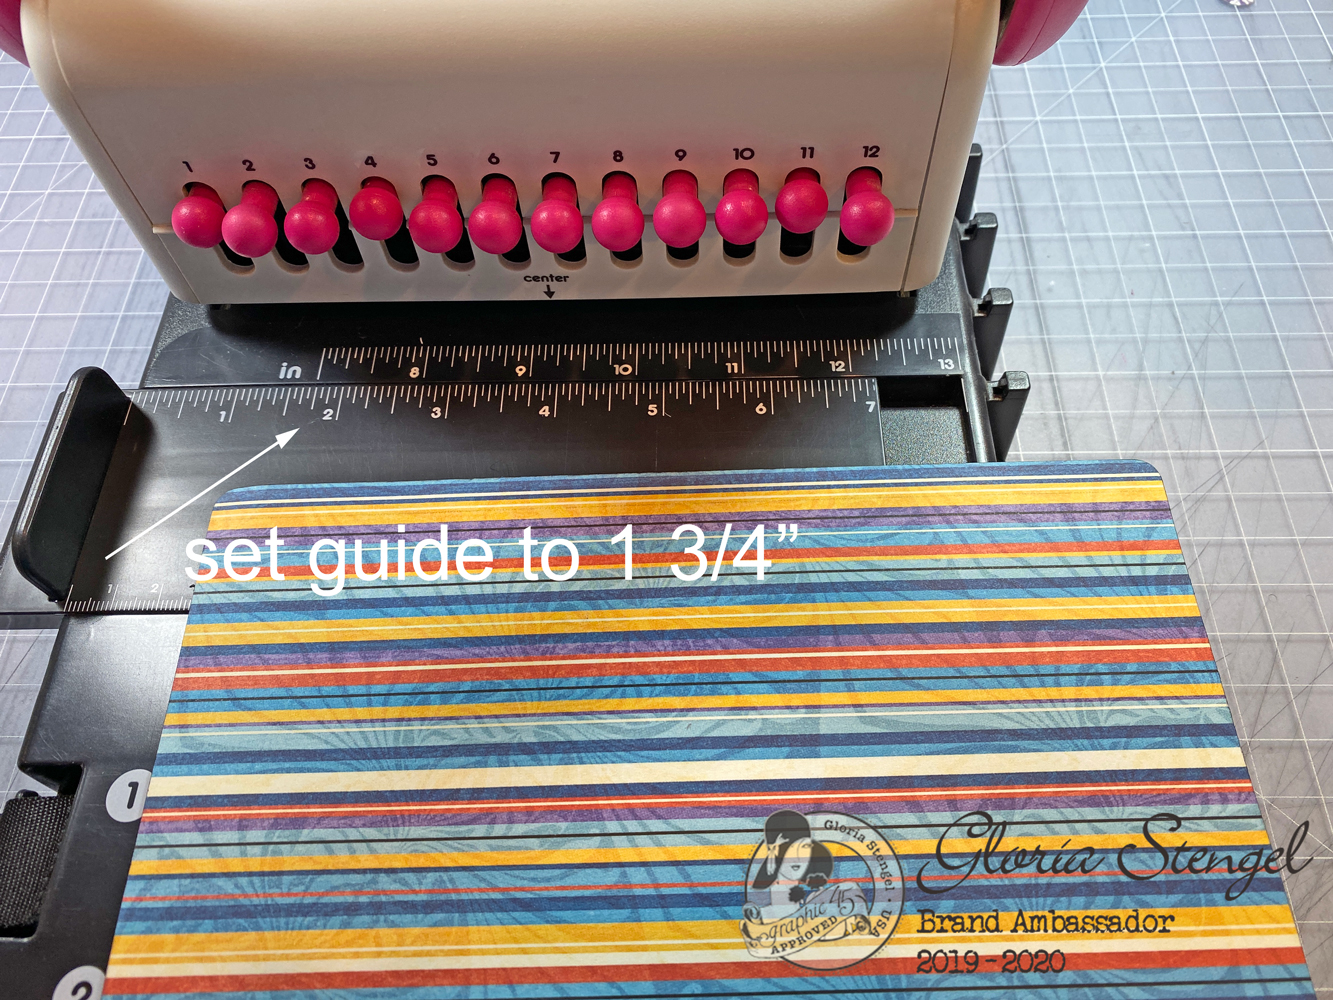
After I had constructed all six of my dividers, it was time to punch the holes. I used a We R Memory Keepers Cinch Binding Machine to punch my holes. It is a FAST and EASY way to punch through thicker layers and multiple pages!
Tip: If you don’t have access to a punch machine, the easiest way to punch the holes is to line up an A5 planner page with your dividers and mark the location of the holes, then punch the holes with a standard hole punch.
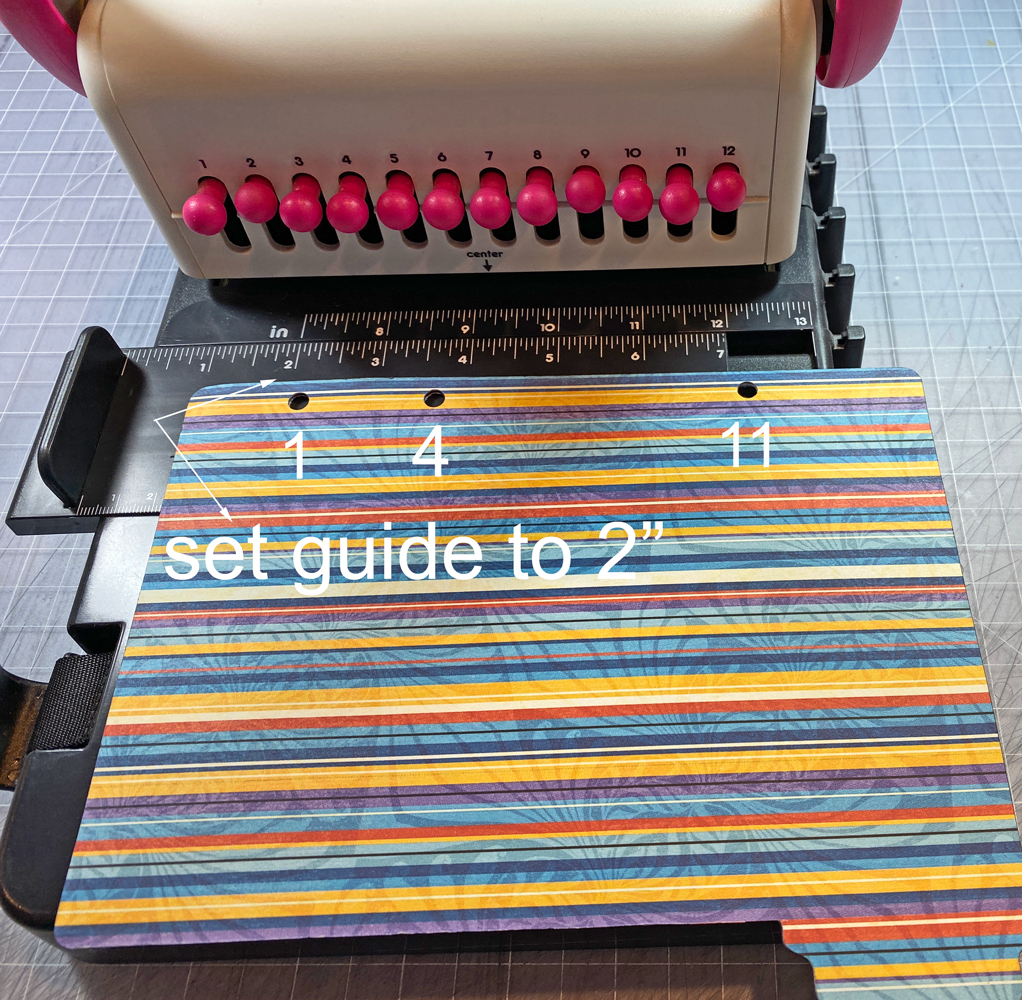
If you are using a Cinch machine to punch A5 6-ring pages, place the guide at 1 ¾” and push in pegs 1, 4, and 11 only. Line the divider up with the left guide stop and punch.
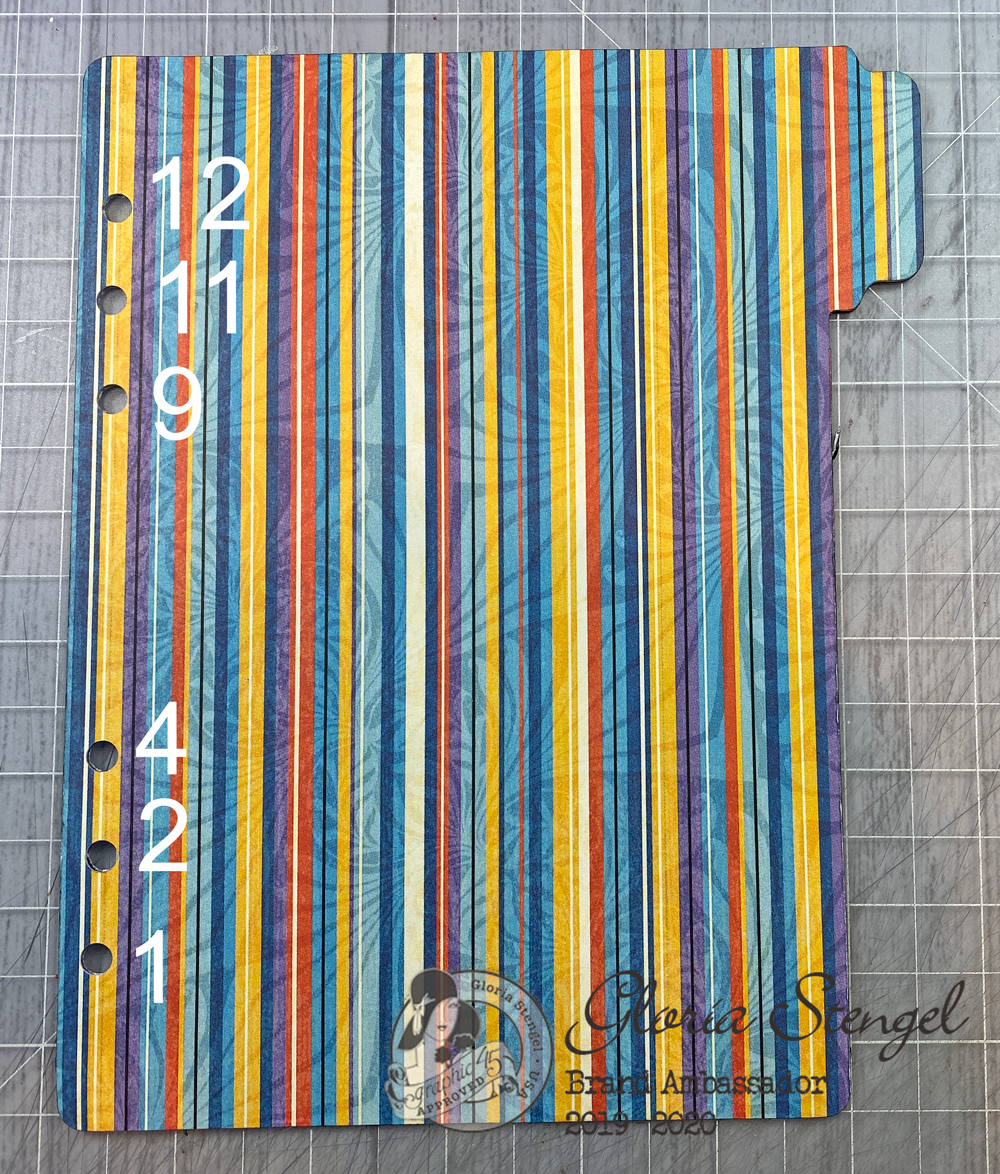
Remove the divider and then move the guide to 2” and pull out all pegs. Push in pegs 2, 9, and 12 only. Line the divider up with the left guide stop and punch again.
The divider will have holes that line up perfectly with an A5 Filofax style, 6-ring planner.
Repeat the process with any pages that need to be punched. The planner pages should measure 8 ¼” tall and 5 ¾” wide.
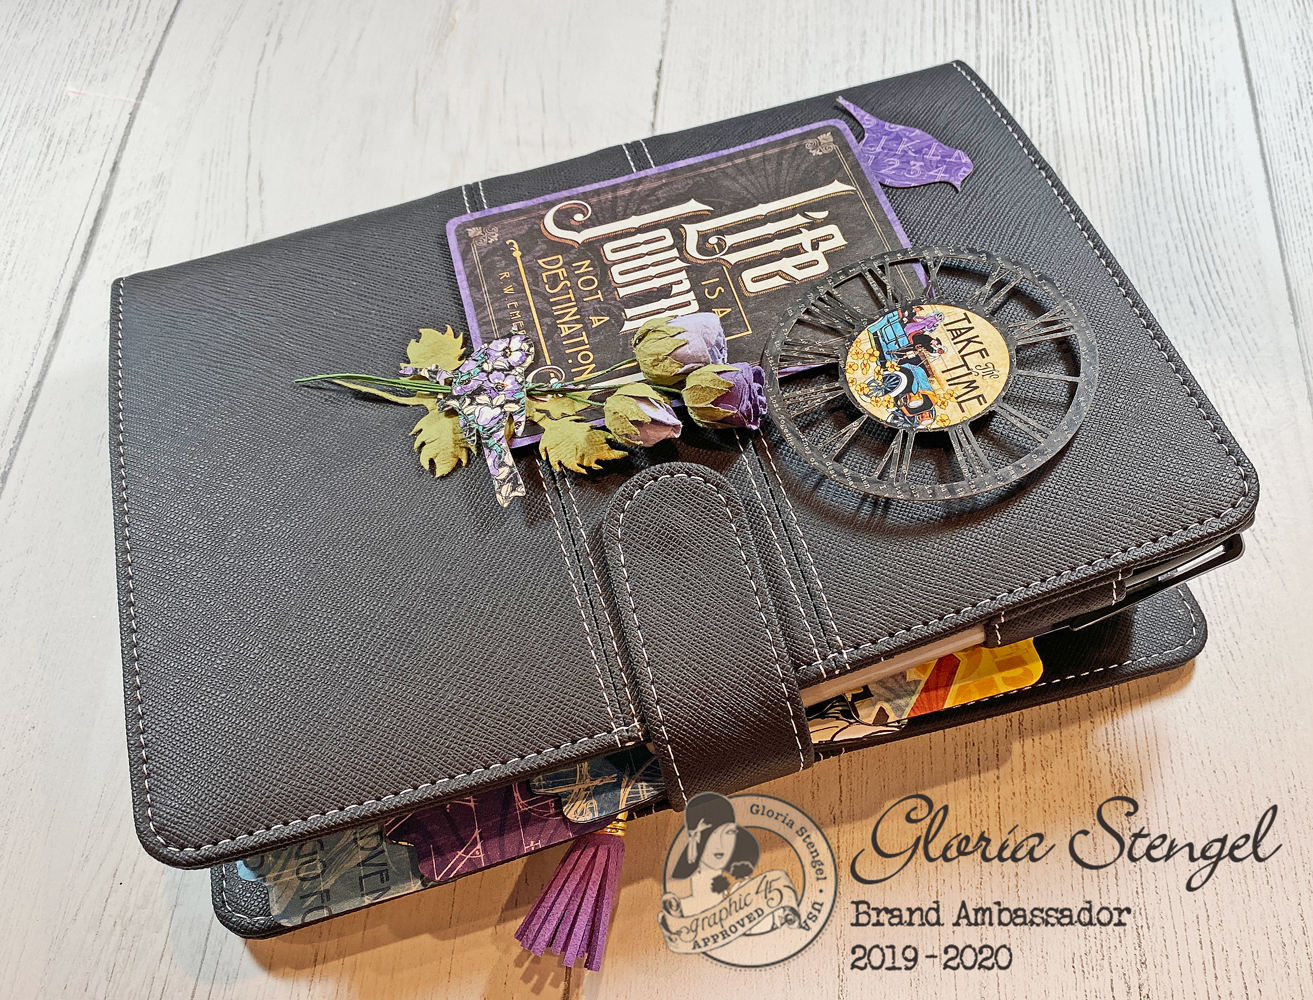
Once all your pages are punched and ready to be assembled, it is time to put the planner together and decorate! I wanted my planner to have minimal decoration because I am going to use it daily in my studio to record my blog deadlines, family schedules, birthday card mailing dates, and my all important computer password log.
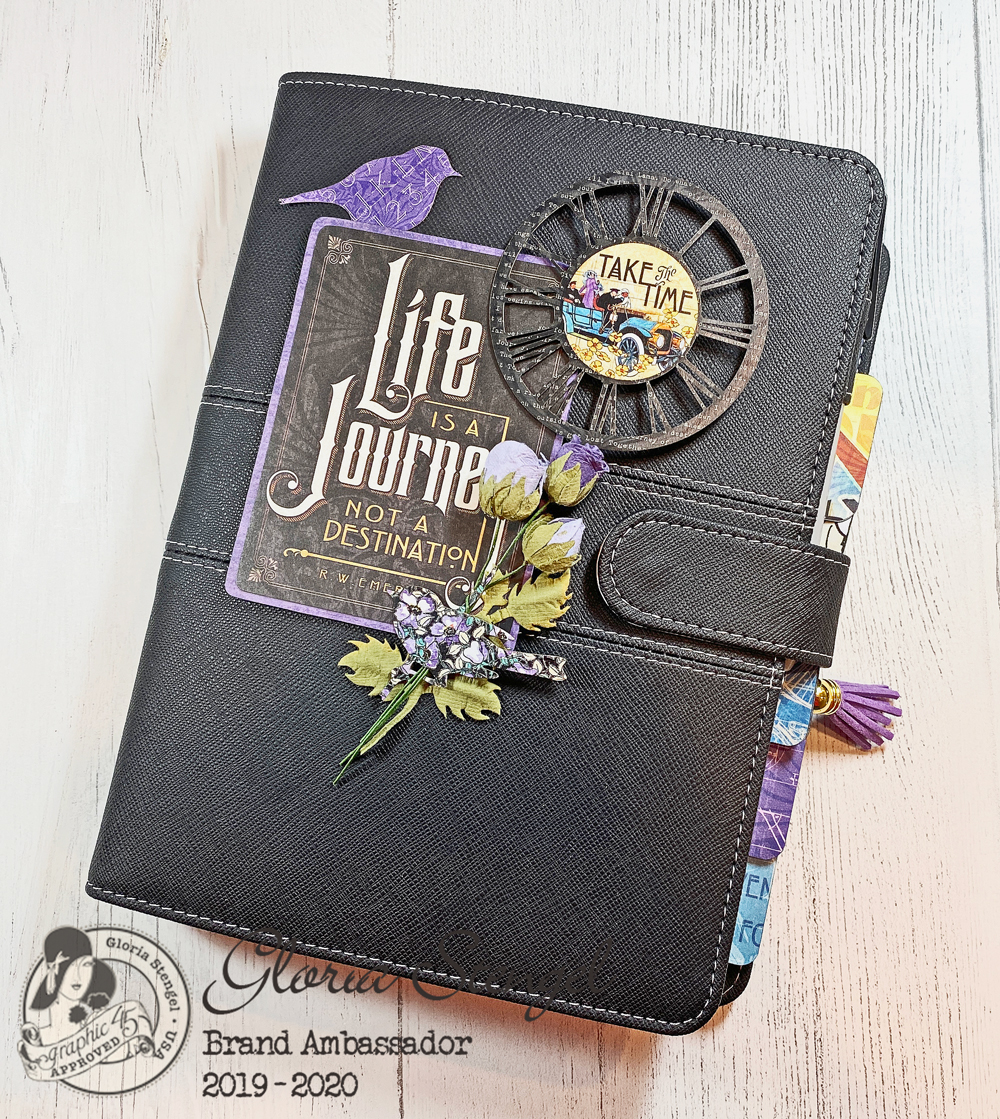
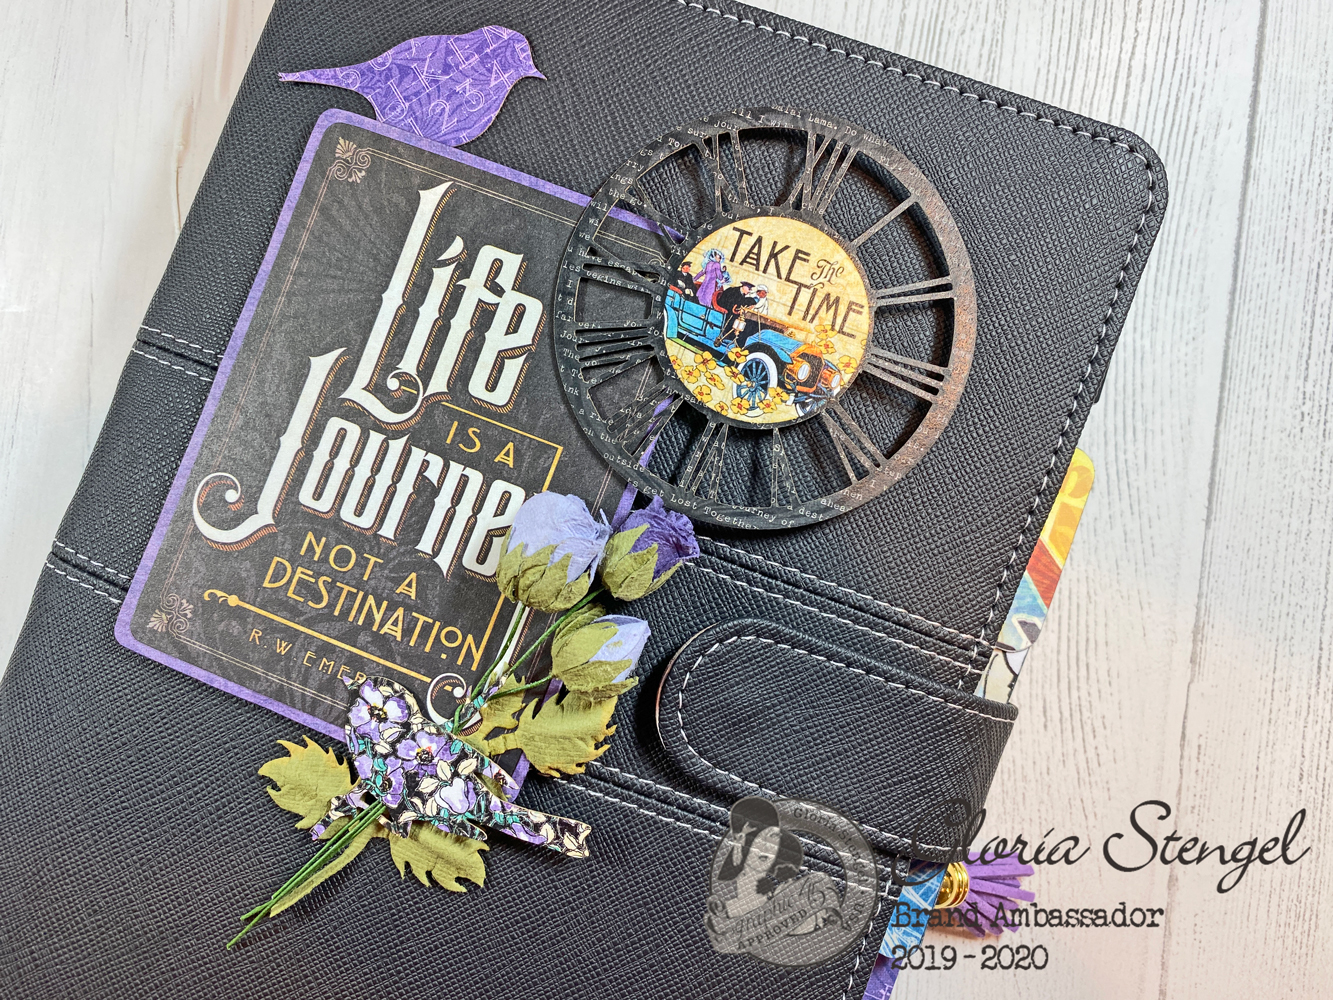
To decorate the cover, I matted one of the 4” x 3” Life’s a Journey ephemera cards, then popped it up on a thin piece of chipboard before attaching it to the planner cover. I added a few of the NEW Die Cut Assortment pieces and a few of the French Lilac and Purple Royalty Rose Bouquet flowers. It is a pretty cover, but not too bulky for everyday use.
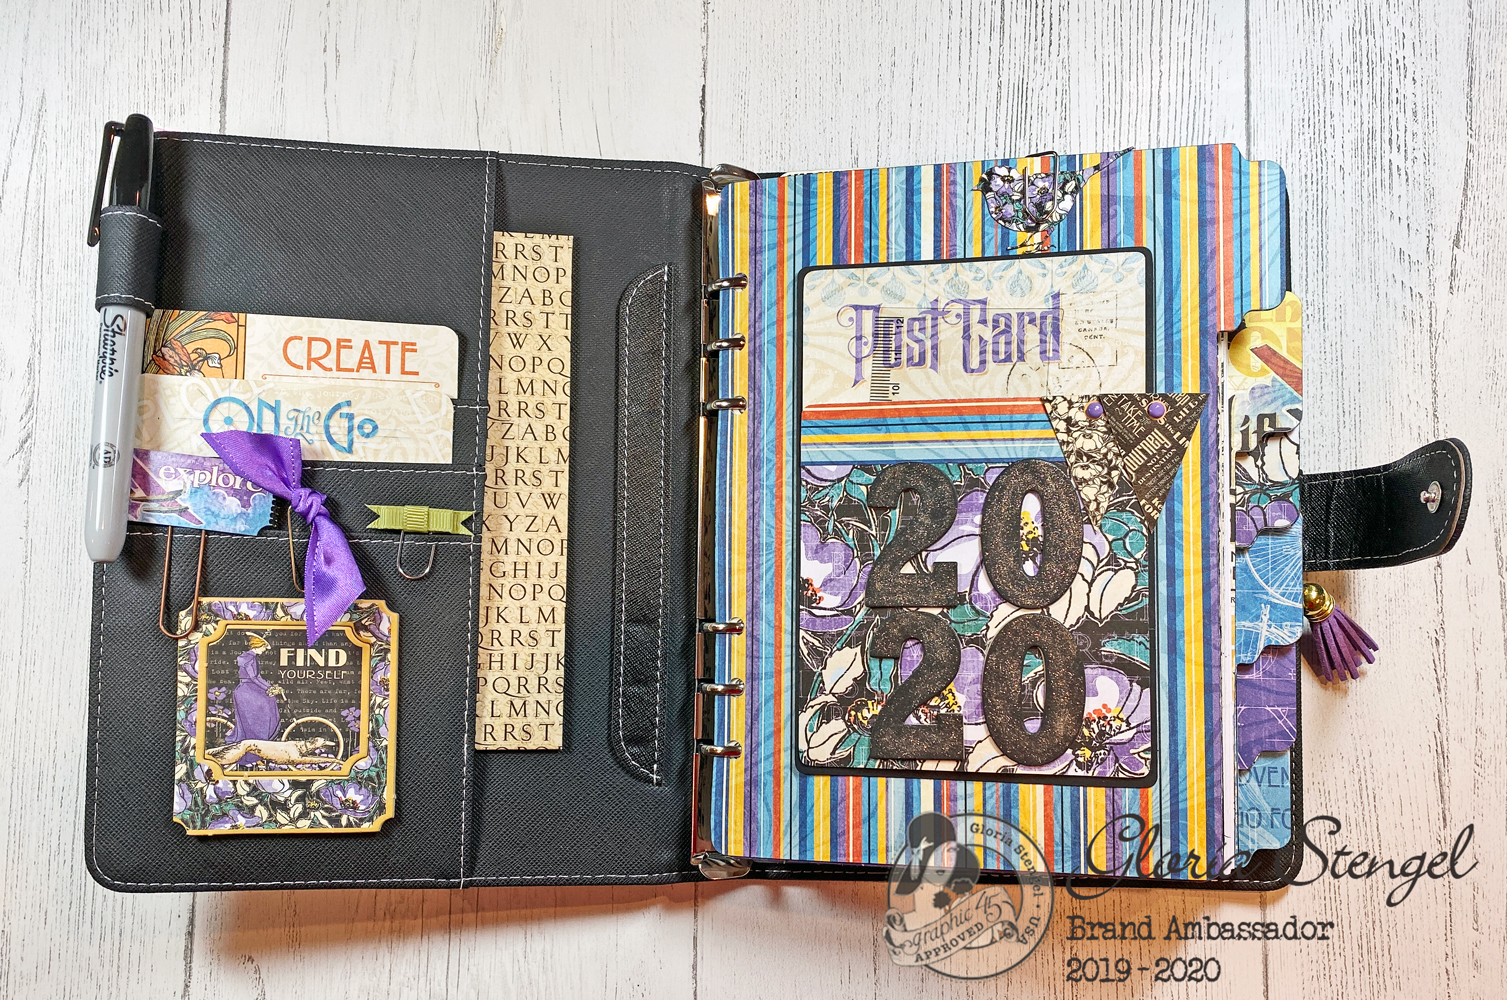
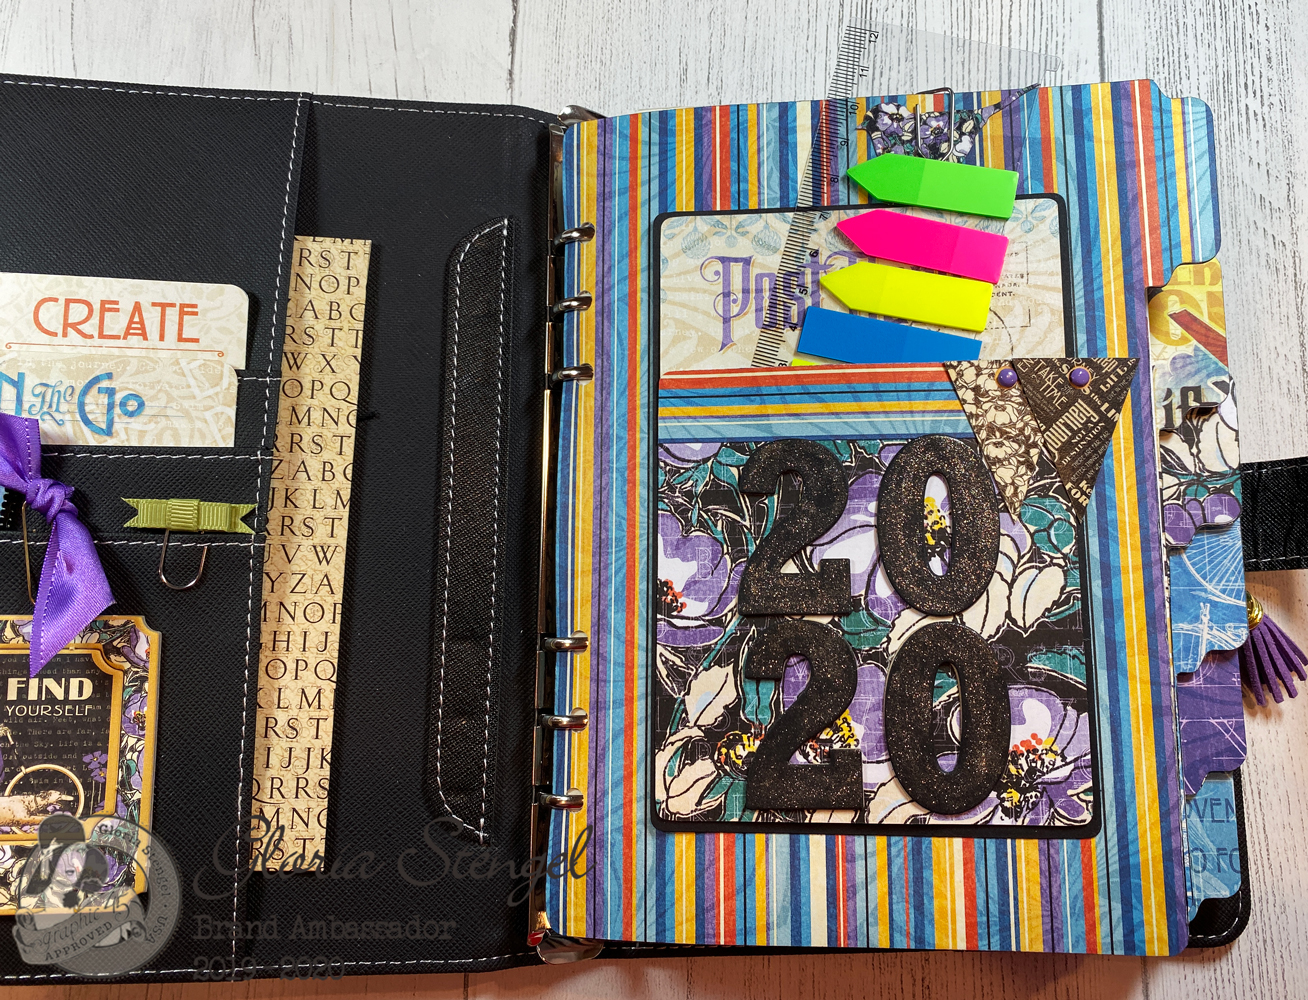
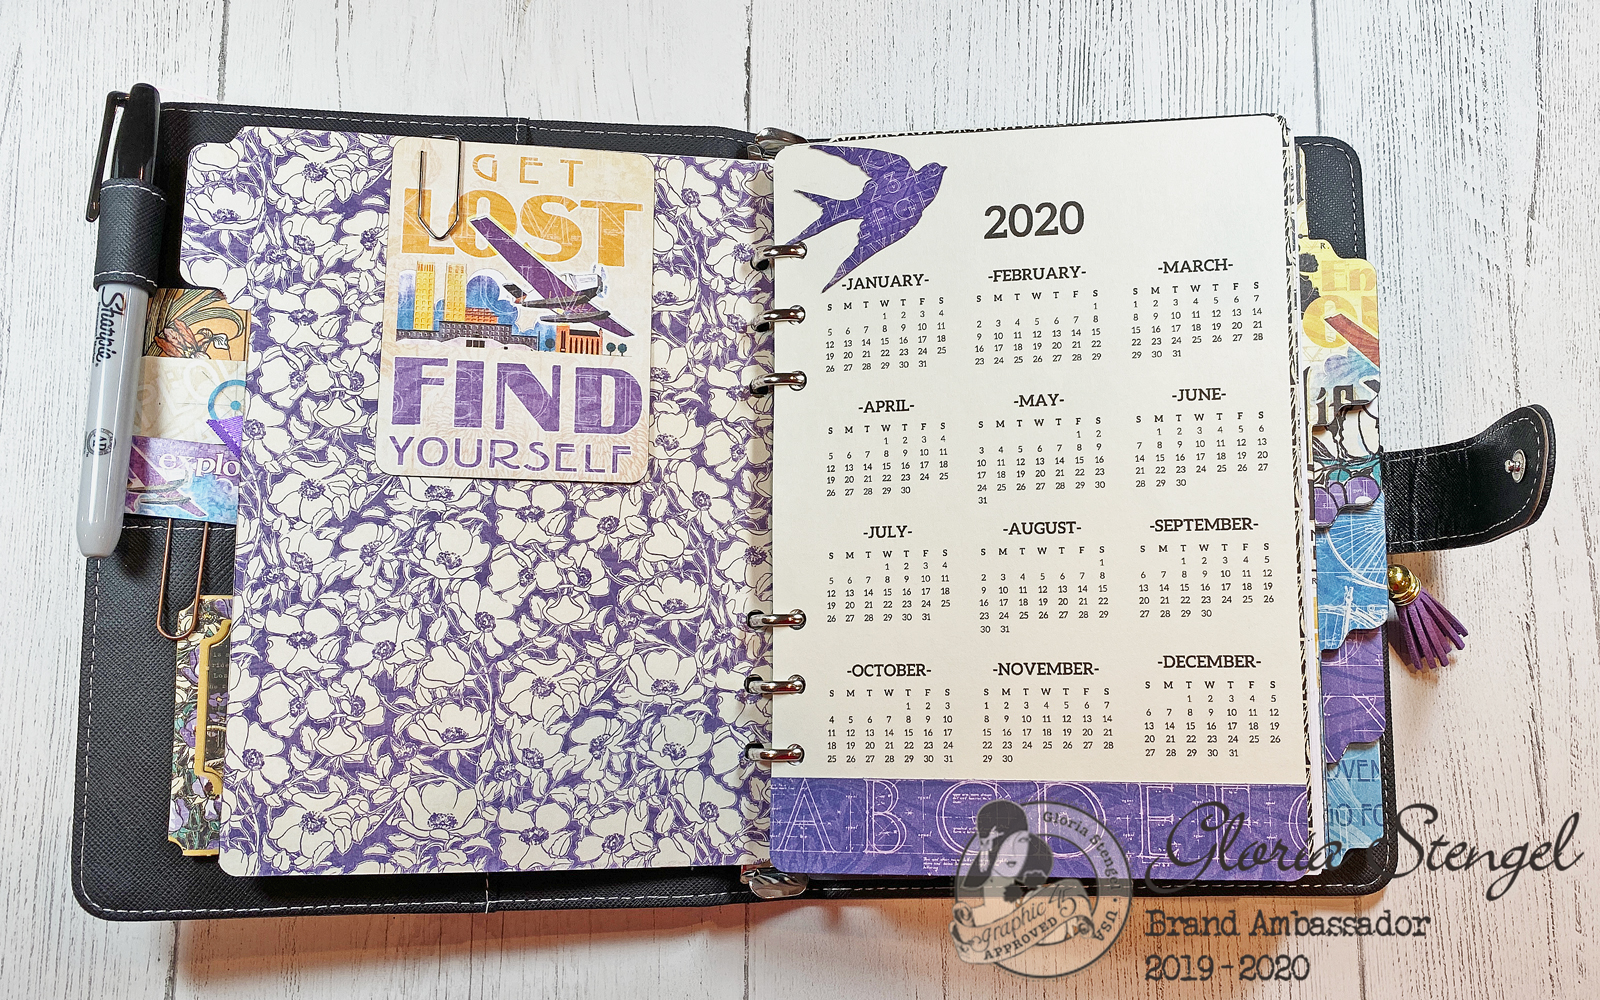
The first divider tab contains the year on top of a fun pocket. I created the pocket from an ephemera card and some of the paper in the collection.
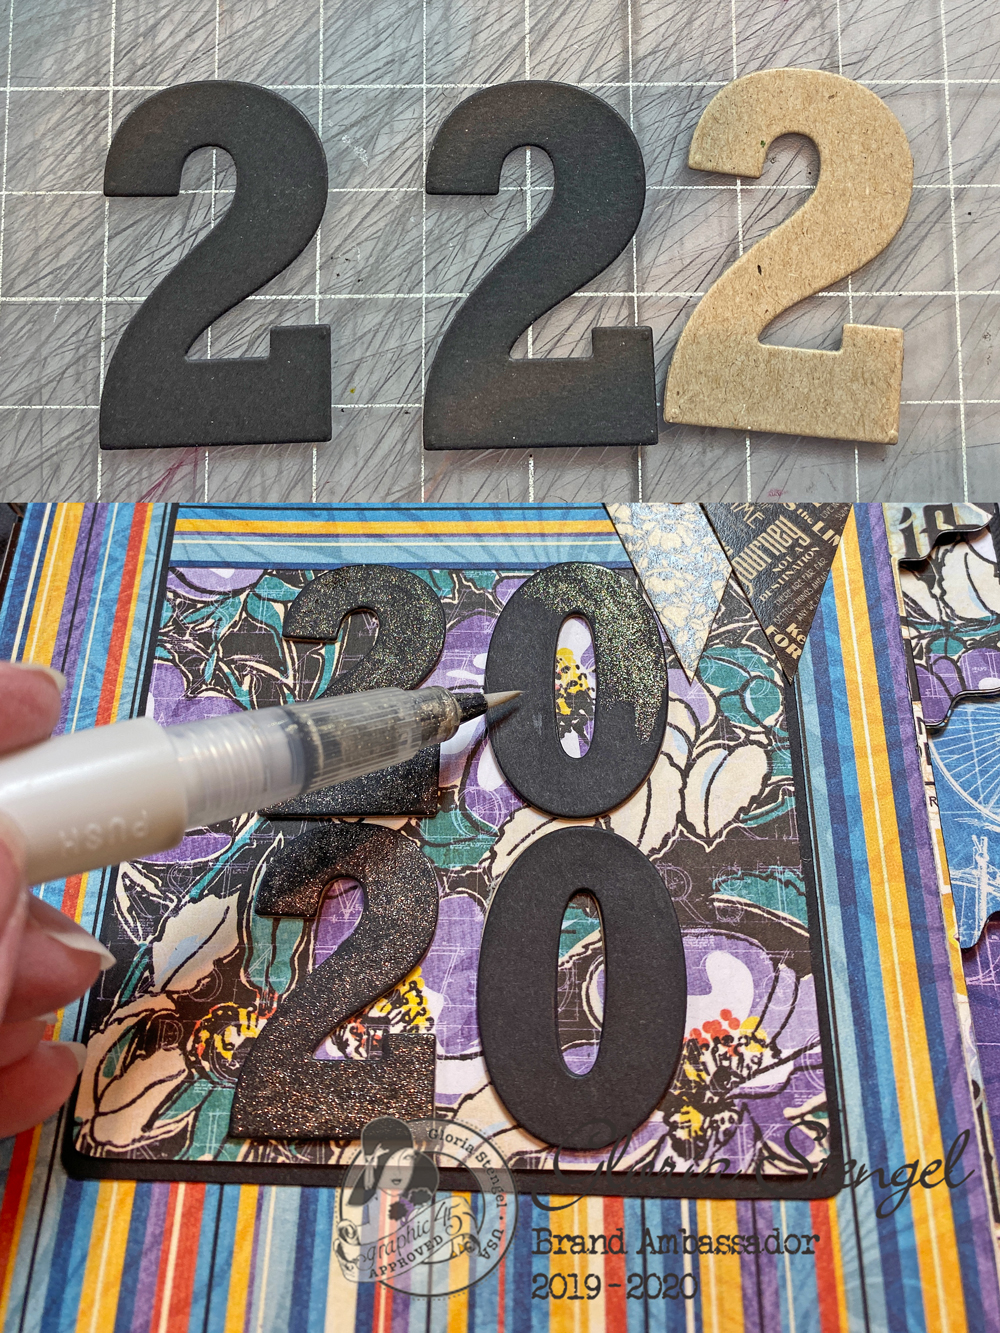
To create the numbers, I die cut each number out of chipboard and black cardstock, then layered them together. I added some glitter to each number for some extra shine!
The pocket is a handy place to keep some sticky note tabs! This little set of arrow tabs is attached to a clear, plastic sheet, making it easy to add more tabs as they get used up!
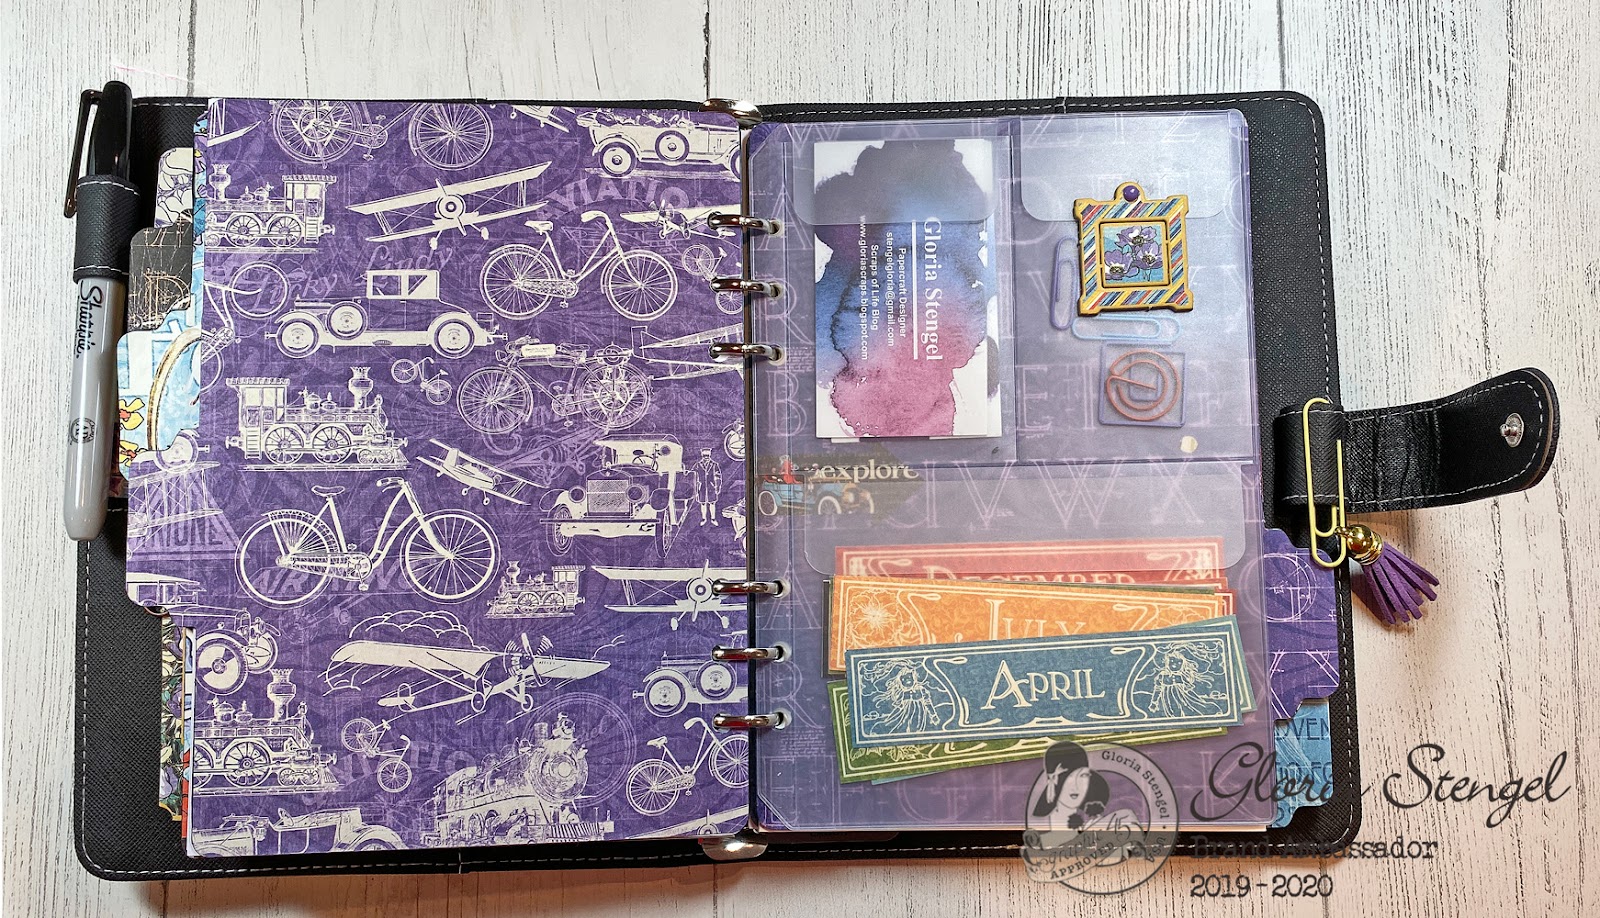
The inside cover of the planner has space for journaling cards (or business cards) and some decorative clips. I also added an altered policy envelope as a place to store receipts or other “secret” items! This planner also has a pen loop inside the front cover. I added my favorite Sharpie pen!
I printed a 2020 calendar and added it to the first section of the planner. I trimmed the page to size, and then I punched the holes in the same manner as for the divider pages.
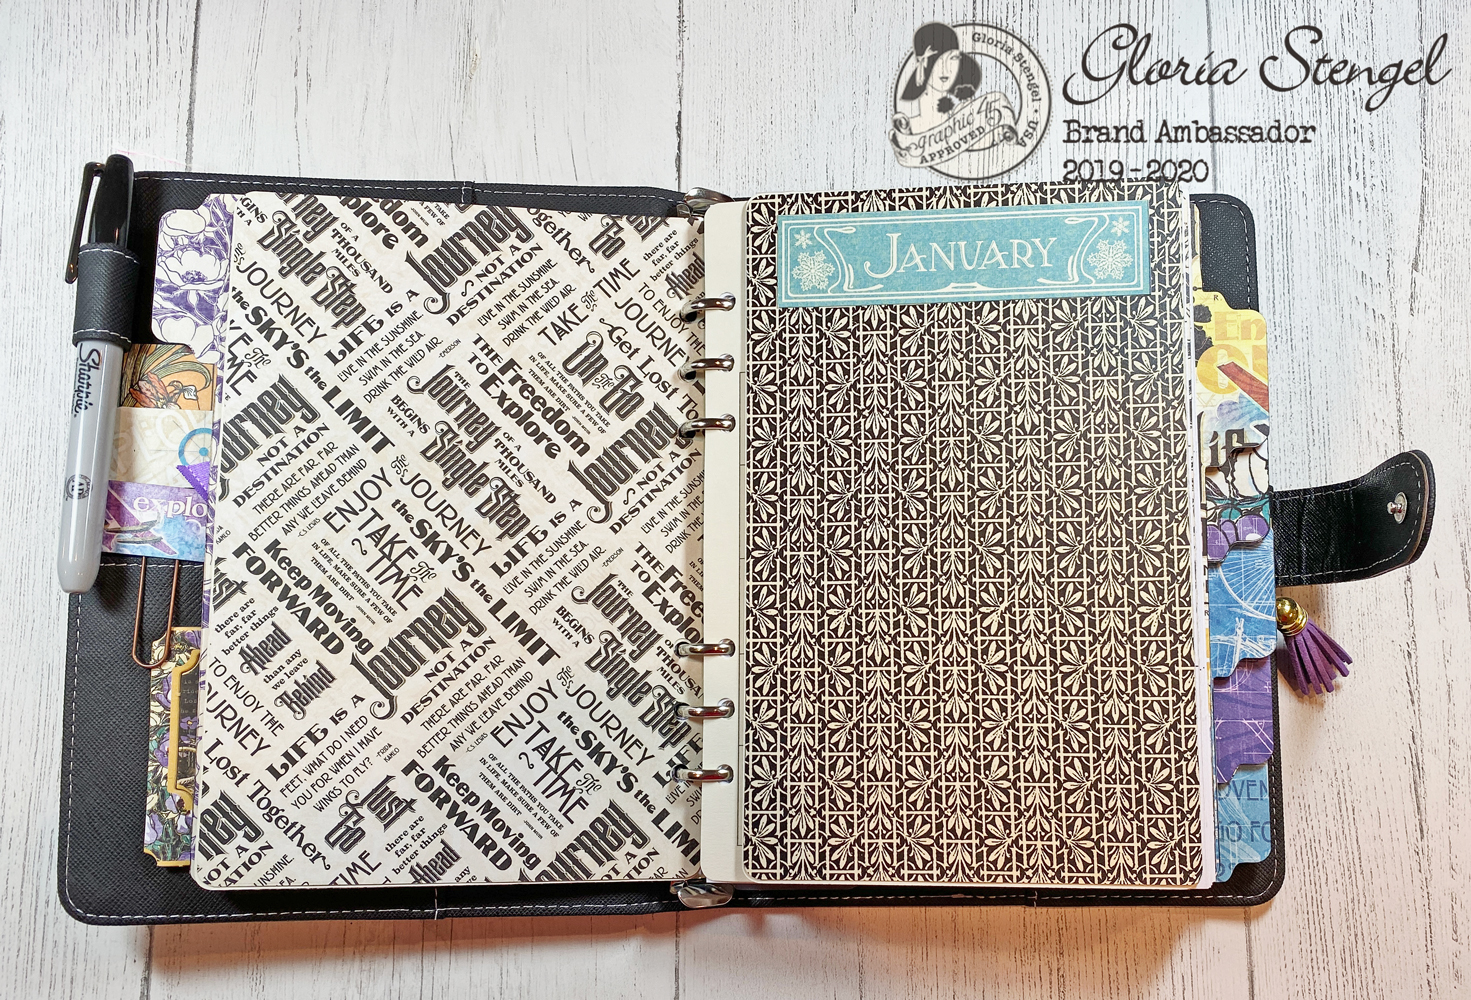
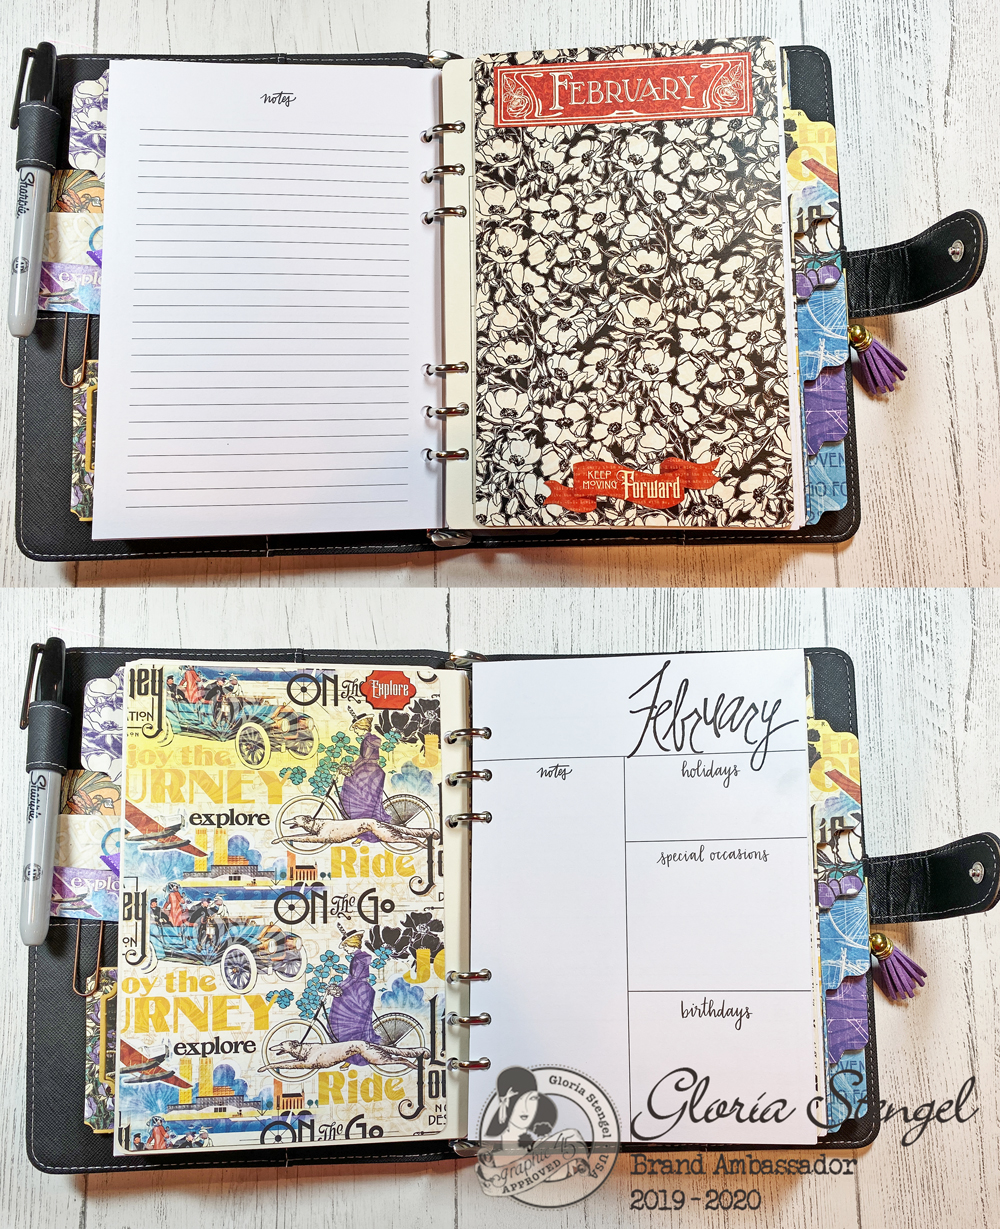
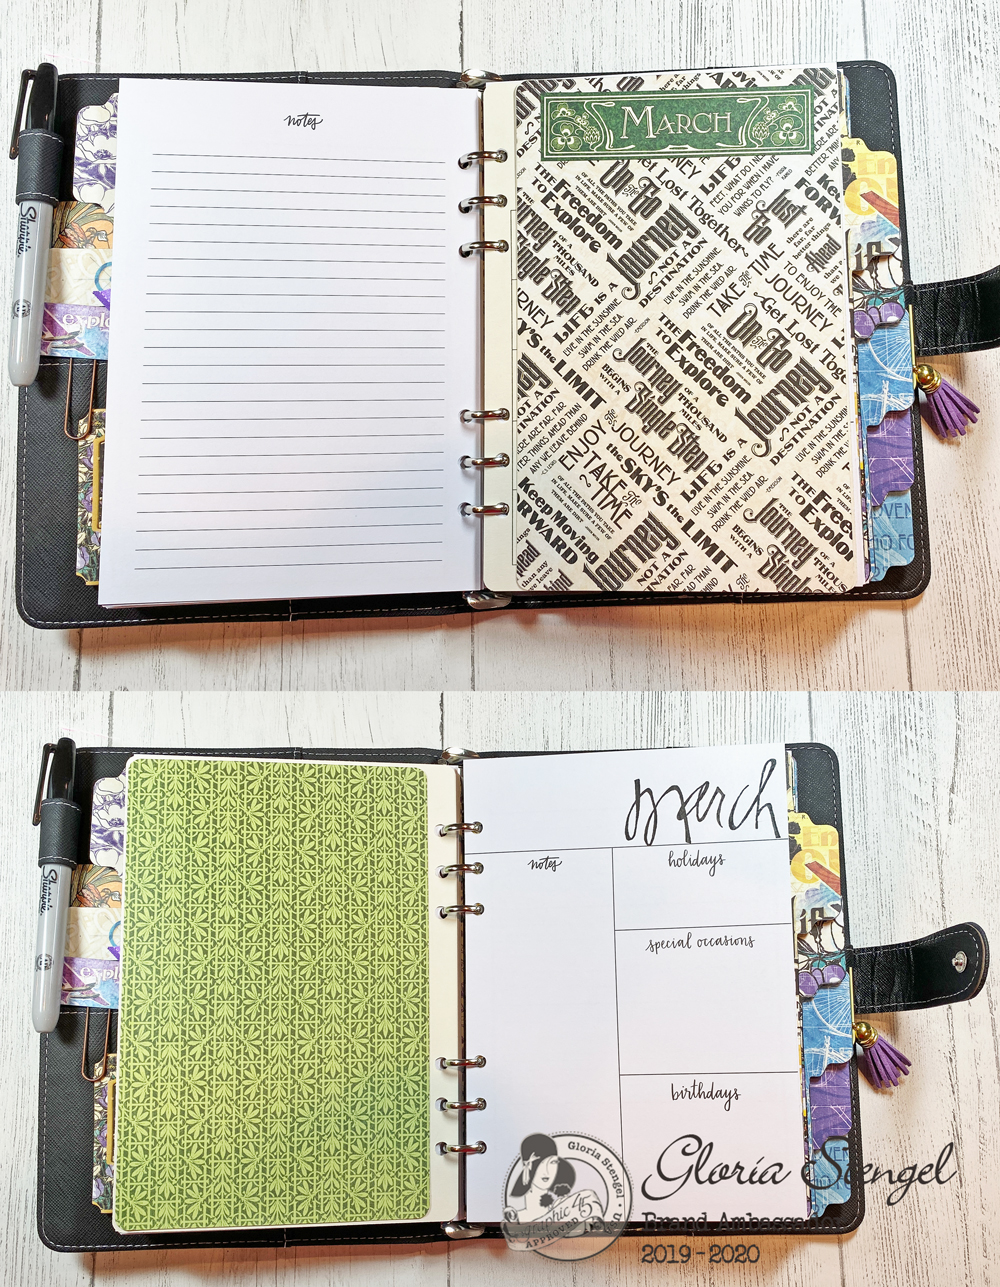
I need a monthly calendar to schedule all my blog posts. So, for each monthly calendar, I created a fold-out calendar which I labeled with the month labels cut from Children’s Hour papers. The style and colors of the Children’s Hour border labels matched my theme perfectly!
Tip: It is always fun to mix and match Graphic 45 Collections. For this project I used Children’s Hour and Artisan Style from my stash.
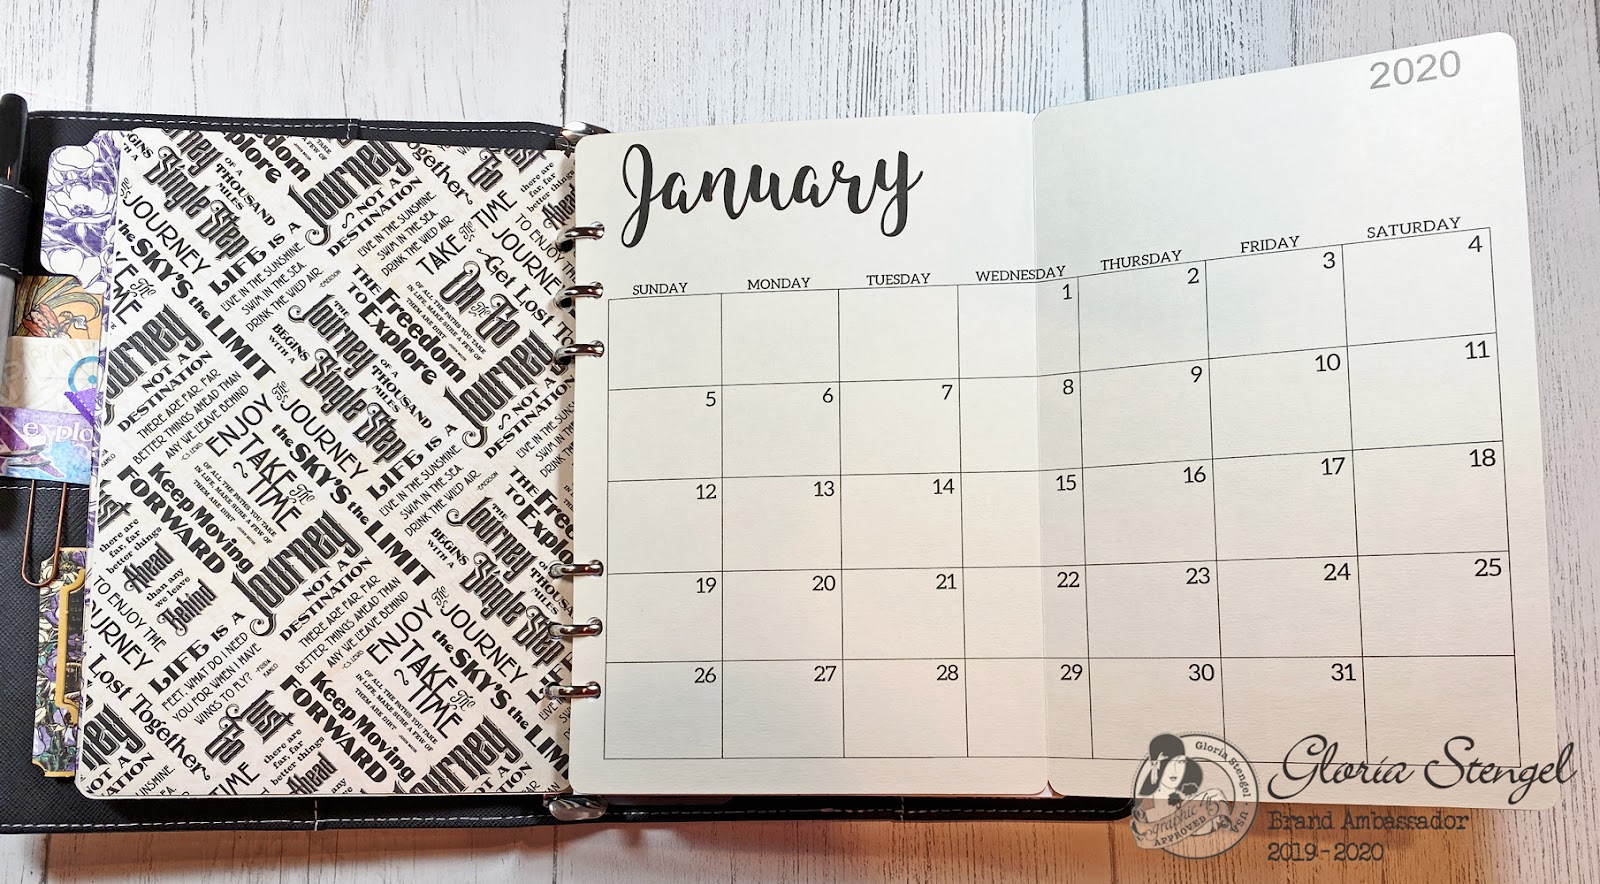
For each calendar, I printed a custom calendar onto 8 ½” x 11” cardstock. I then trimmed the calendar down to 8 ¼” x 11” and scored from the left edge at 5 ¾”. I rounded all the corners to match the rest of the planner. I punched the holes as stated previously. The calendar folds up and fits into the planner perfectly
Tip: You can make your own calendars with a program like Microsoft Word, or download calendars for free from the Internet. I like to have a large monthly calendar so that I can write in the daily spaces.
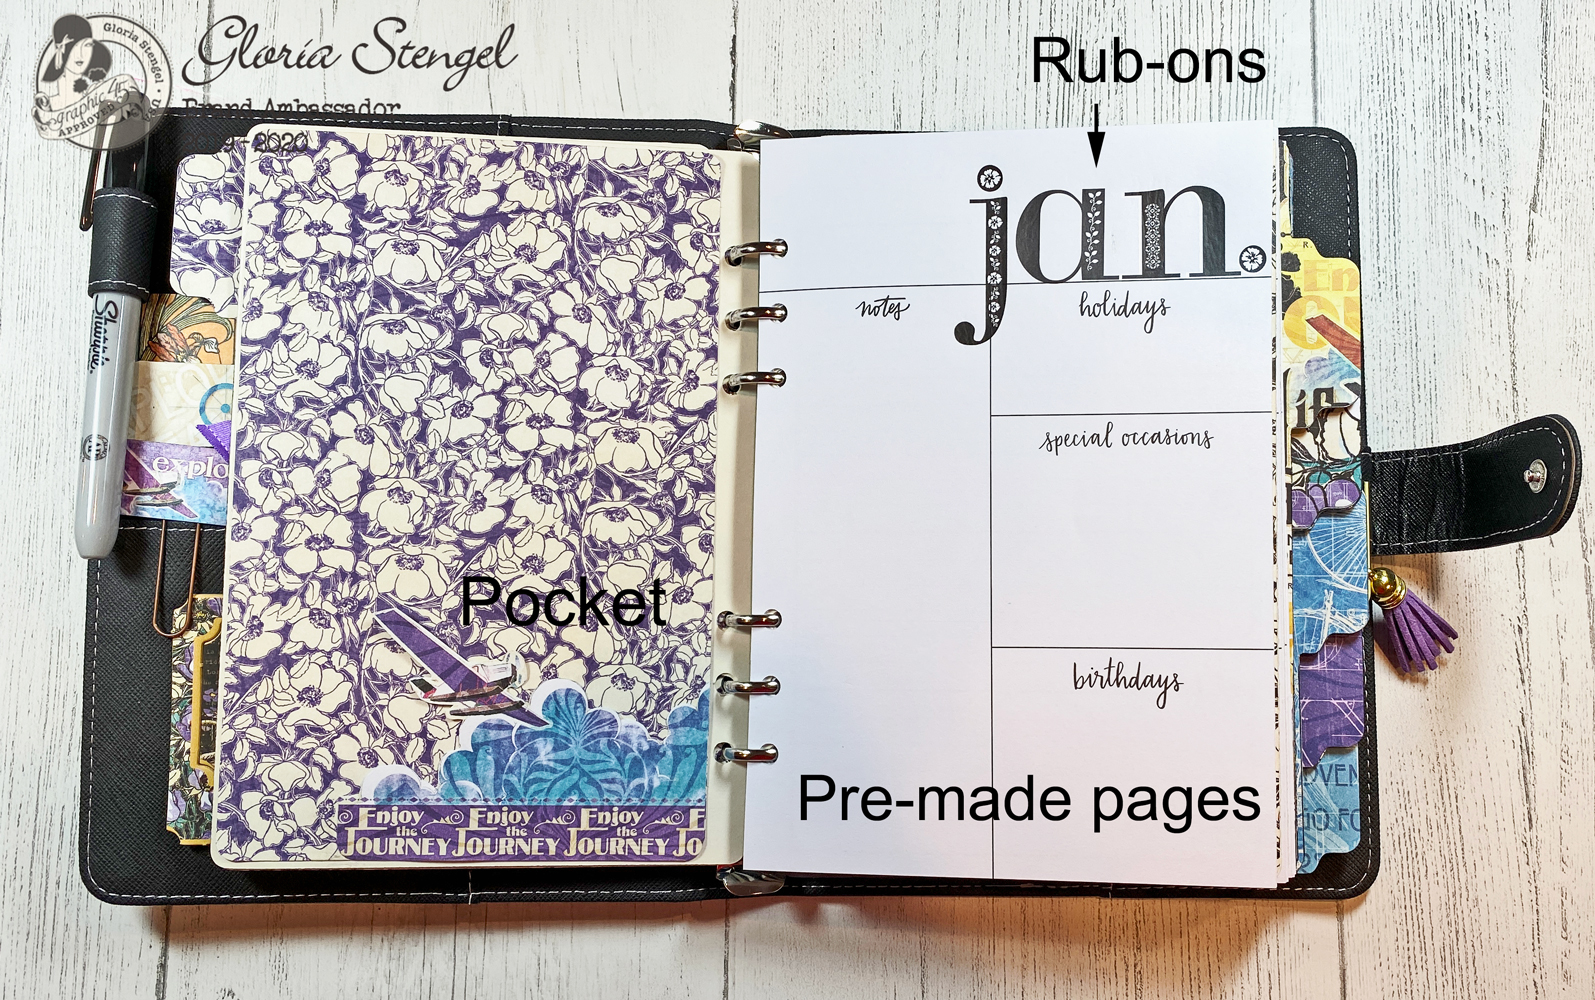
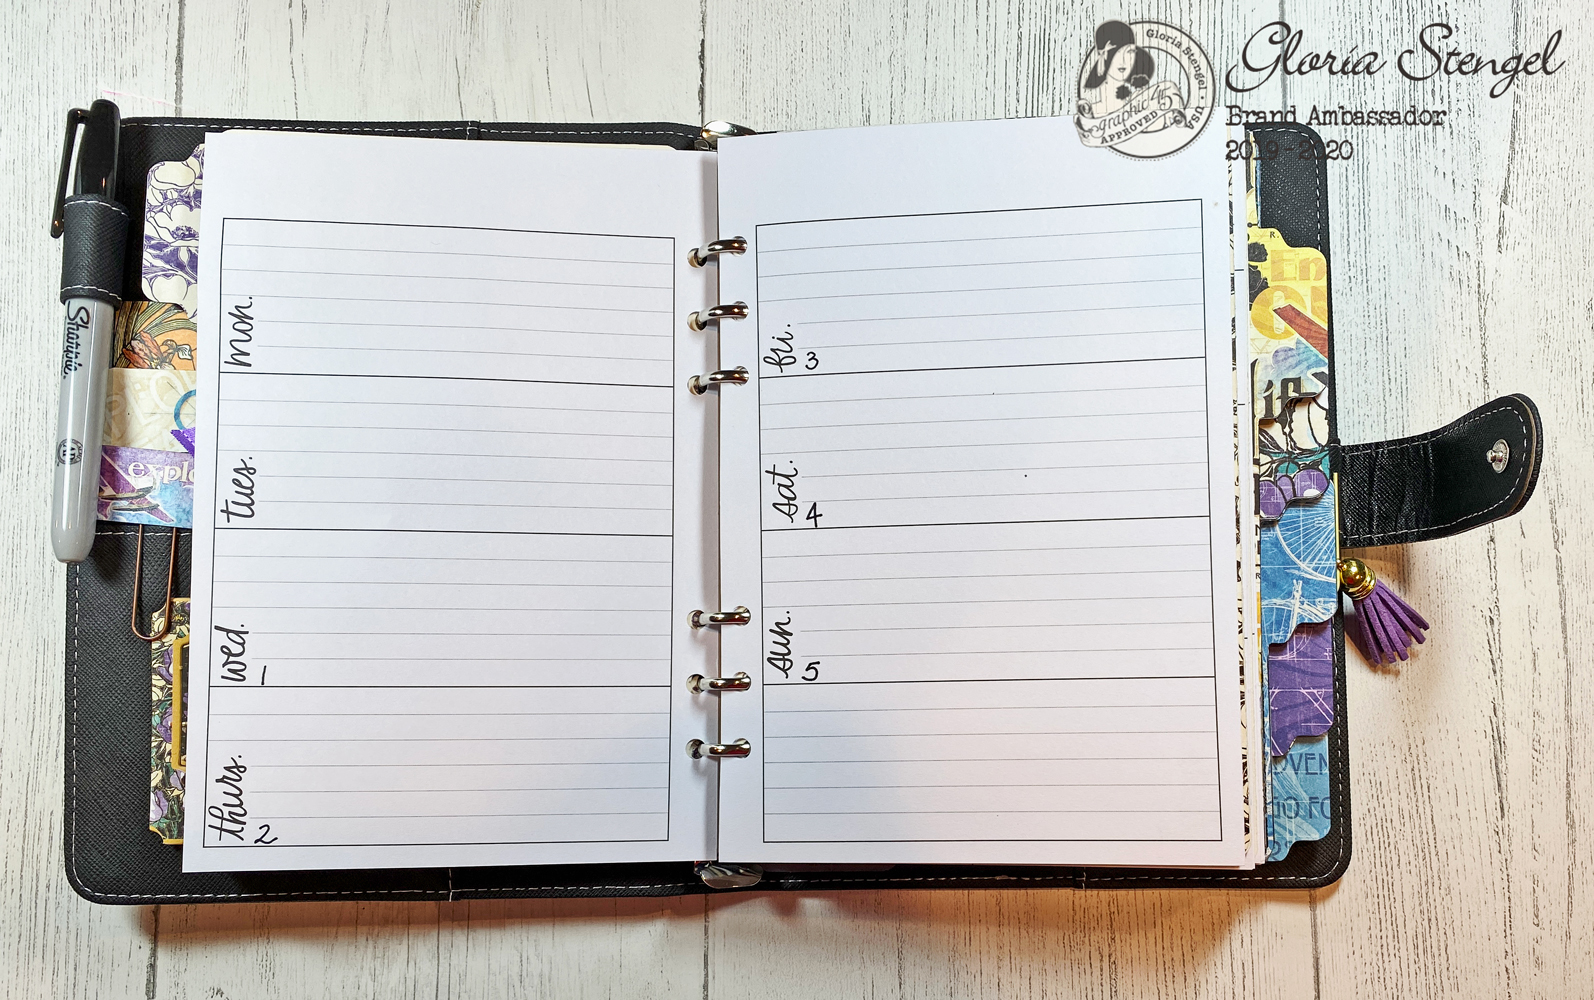
Behind each monthly calendar I have placed weekly planner pages for that month. I added the month using rub-ons that I found in my stash! The weekly pages are pre-made pages which I found on sale at my local craft store. I like the style of this page because each front page contains places for notes, holidays, special occasions, and birthdays. This is a great “month at a glance” reminder!
There is plenty of space to write my daily appointments, notes, scripture memorization, and more! I did NOT decorate these pages as I have seen in many planners, but there is plenty of space for decorations, sketches, and additional bling!
Each month calendar follows the same pattern.
I will probably keep three months in the planner at a time unless it feels like I need more or fewer.
I will keep the extra monthly labels and a few other items in a plastic sleeve added to the planner.
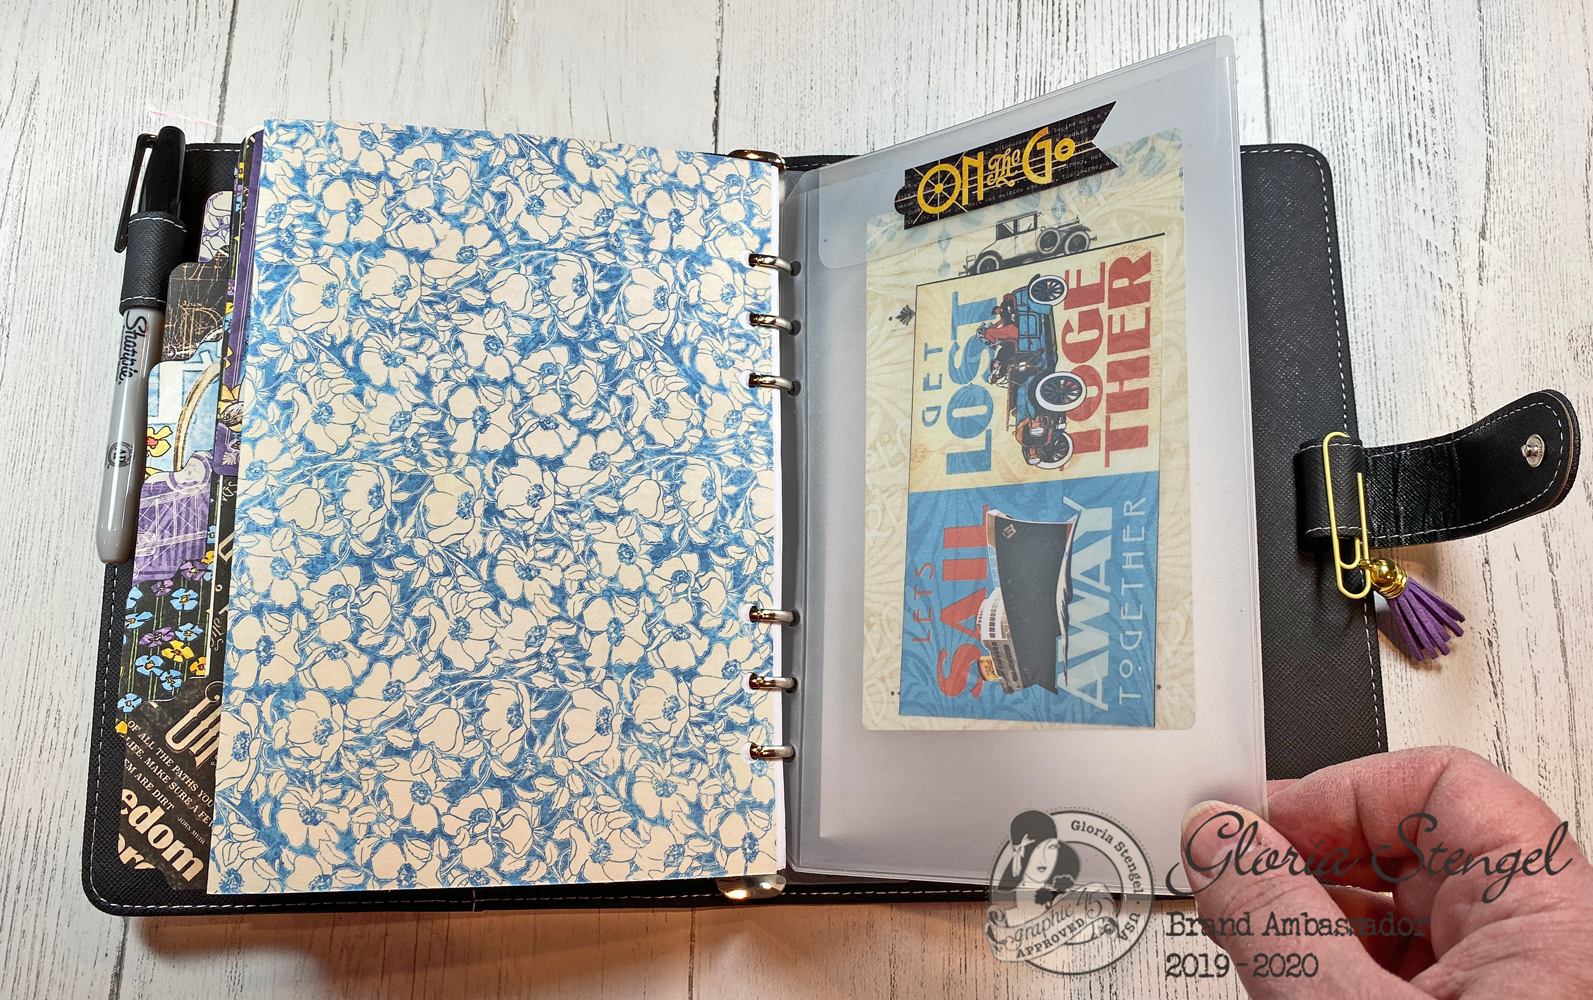
These sleeves are easy to find online or at your local craft store where planners are sold. I found several different configurations to add to my planner.
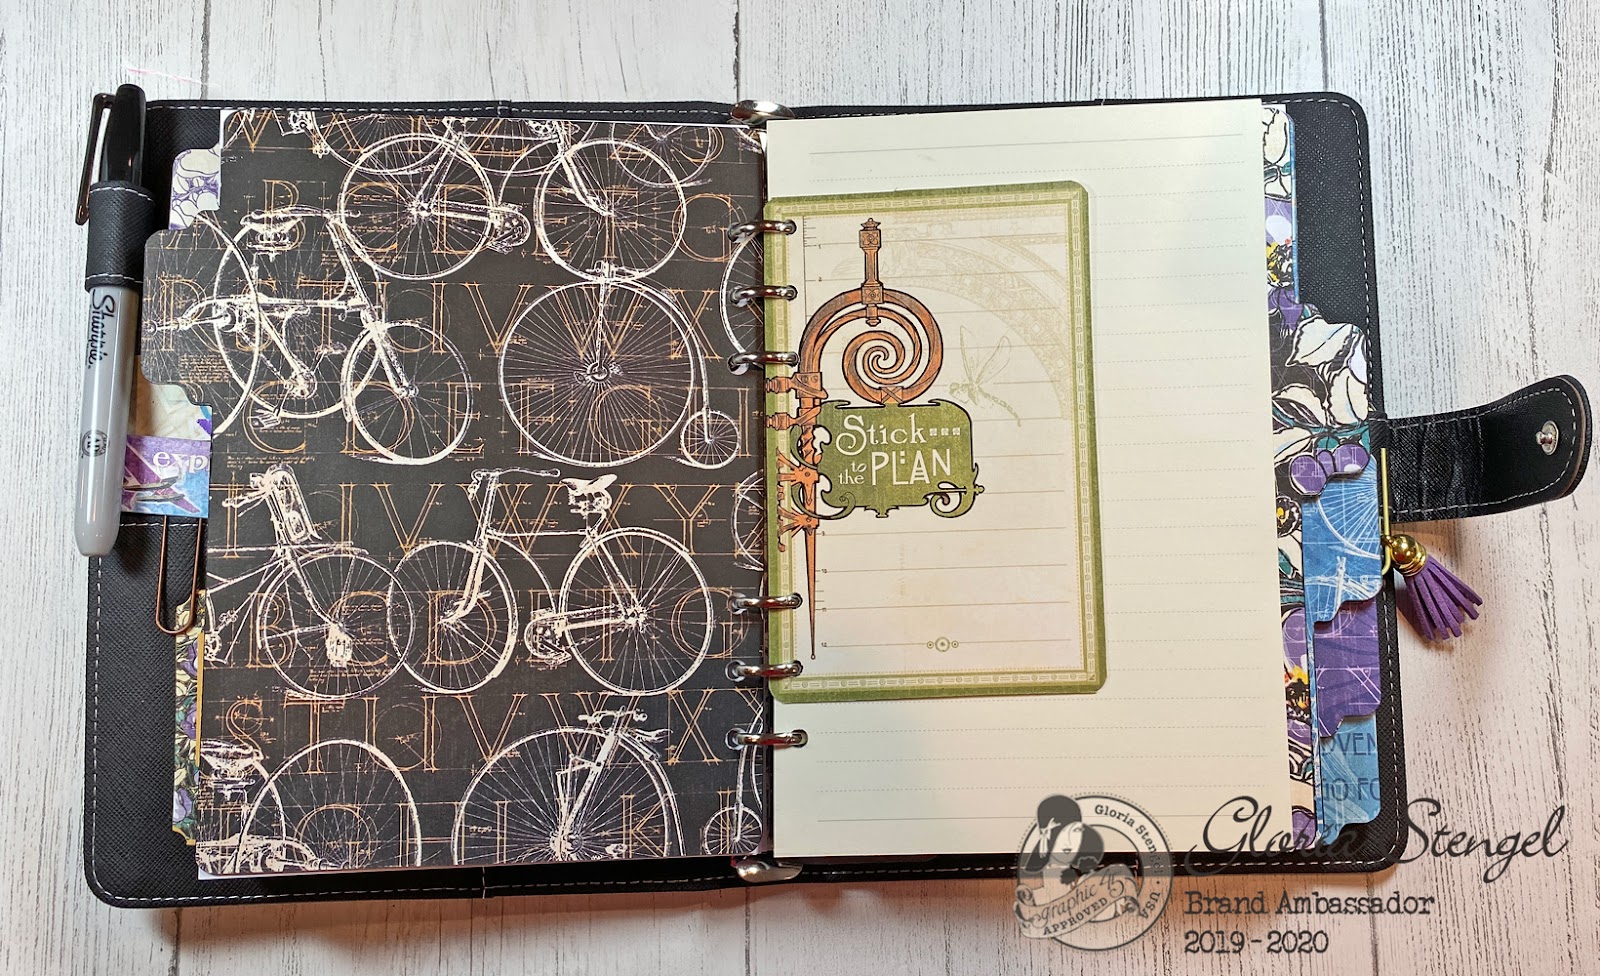
I also added some lined note paper.
Tip: Add ephemera cards to your planner by punching holes and adding them to the ring bindings.
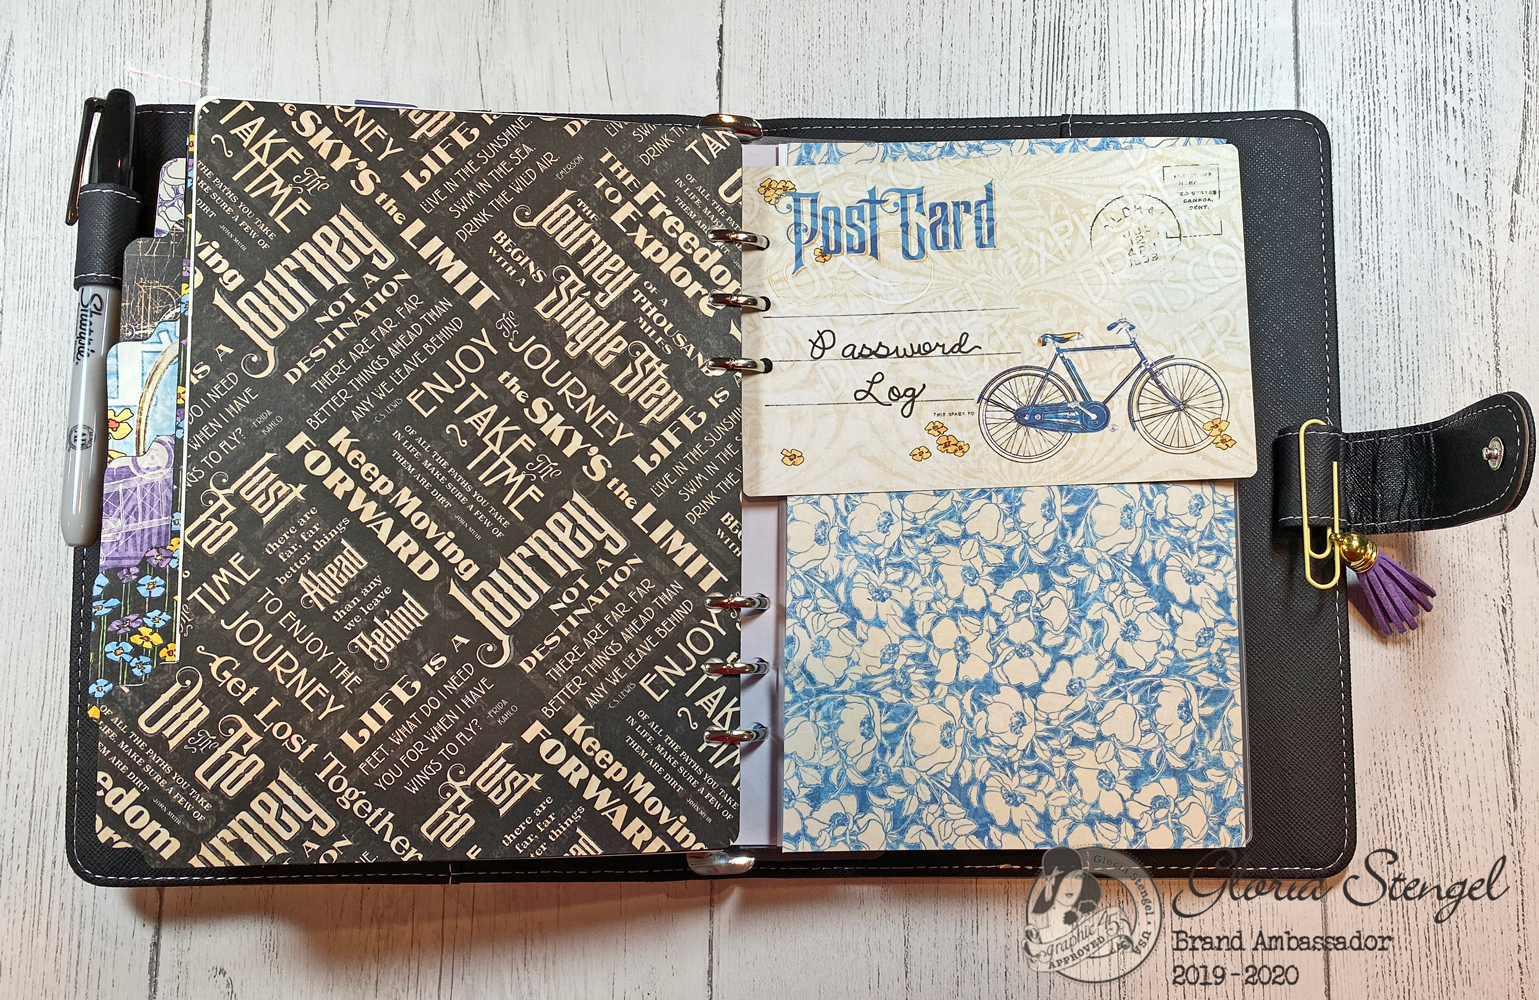
I also added a section for my passwords and addresses. I am always looking for bits of paper where I have jotted down various passwords or address, and then I lose the paper bits before I can add them to my binders! This way, my planner will be on my desk, so I can just jot everything down in one place!
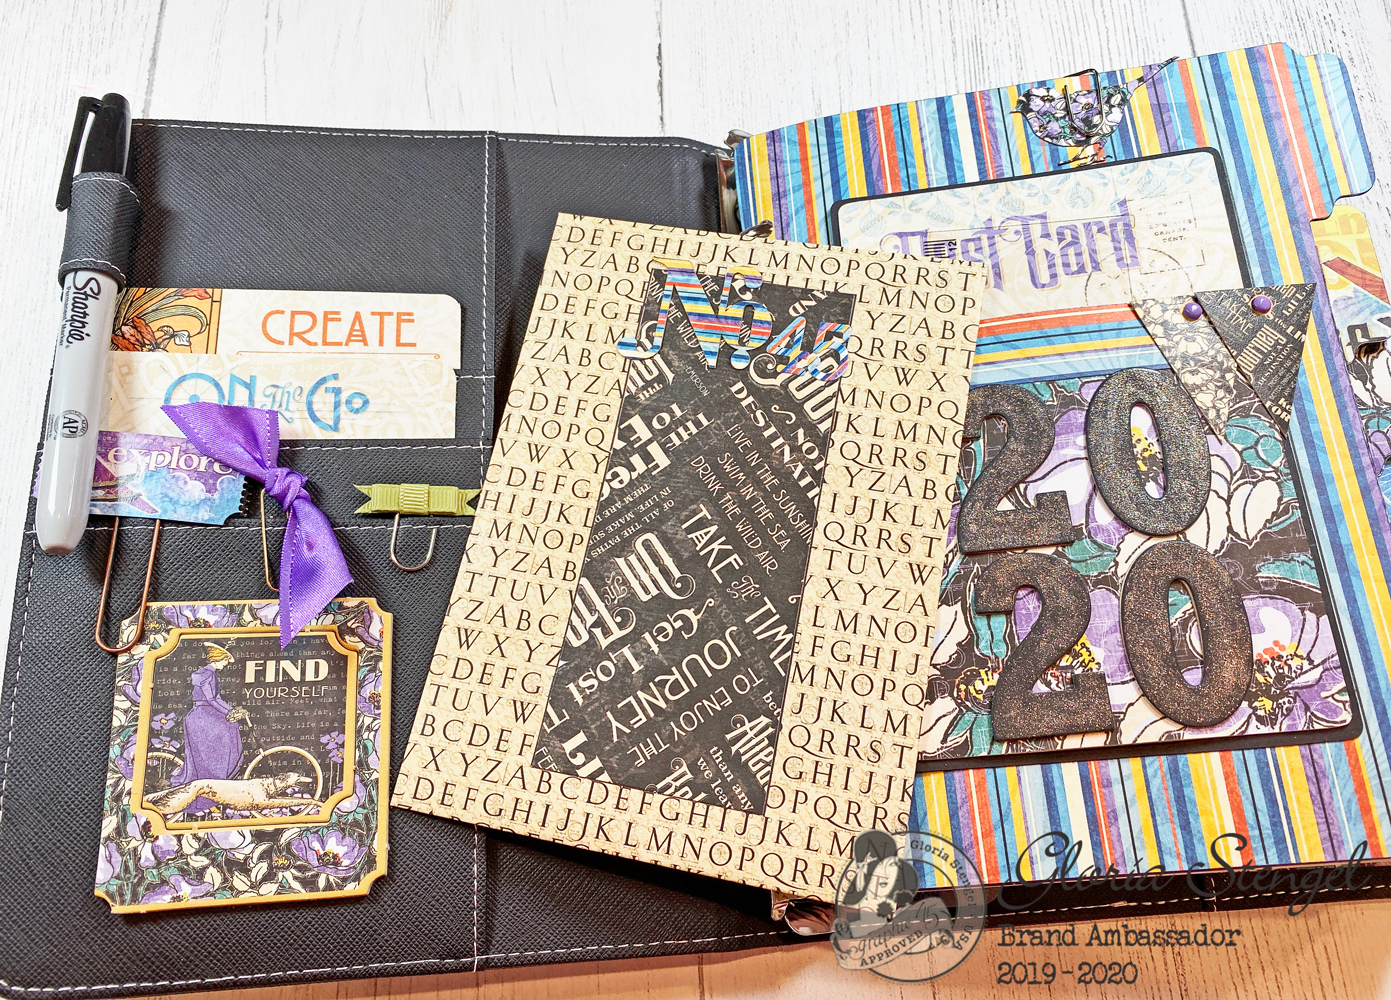
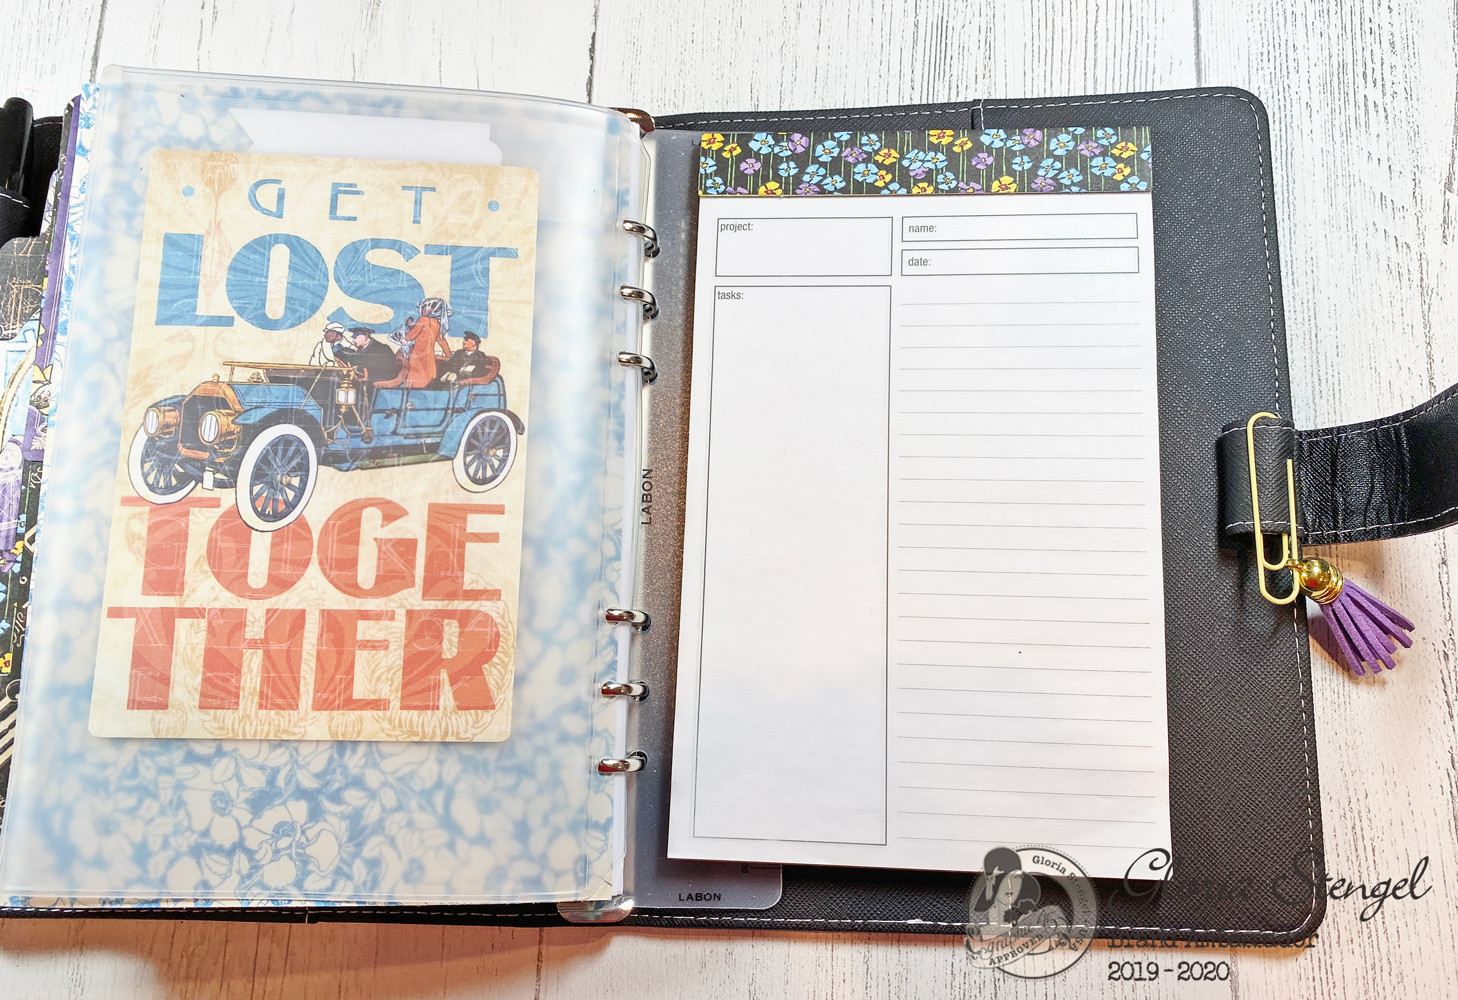
I also added a notepad to the back of the planner. This one is a project planner pad, which is perfect when I am working on a blog post! A bit of the Life’s a Journey paper adds the right touch to the top of the notepad!
Tip: To add a notepad to your planner pocket, trim cardstock to 8” x 10” and score at 5” to make an 8” x 5” side-folding card base. Glue the front of the “card base” to the back of your notepad. Tuck the other portion of the “card base” into the side pocket.
I hope you enjoyed this planner tour! Thanks for stopping by!" ~Gloria
Graphic 45 Supplies Used:
|
|
|
|
|
|
|
|
Other Supplies Used:
Happy Papercrafting!
Want even more Graphic 45? Sign up for our newsletter here!


")

