Hello, G45ers!
This month we ask you to pick a side, #G45LightSide vs #G45DarkSide for our October Challenge. For those of you on the Shabby Chic – Light Side, we have an inspiring 10 Step Pop-Up Butterfly Card tutorial to share with you. This handmade card how-to is brought to us by Brand Ambassador, Joanne Bain. Joanne has used our Bloom paper collection to create this #SimplyG45 card, but we think this card would look great with any of our paper collections, light or dark. So grab your papers and create a card with us today.
Light Side vs Dark Side – Join our Challenge!
Create a light or dark project using Graphic 45 product
Upload your project to Graphic 45 – Official Community Page on Facebook using #G45DarkSide vs #G45LightSide
WIN a $150 prize pack, one winner will be selected randomly
Deadline: November 1st, 2019
You can enter multiple times
Winner will be announced in the November 4th, 2019 newsletter
For the month of October, we want you to try something new with your paper projects select a color pallet, dark or light and create a project using Graphic 45 product. Then upload to our Official Community Page to be entered to win! Winner will win a $150 prize package of Graphic 45 goodies. We look forward to seeing all of your beautiful #G45DarkSide and #G45LightSide projects. Thanks for participating in our monthly challenges – Happy Papercrafting!
Butterfly Pop-Up Card – #G45LightSide
By Joanne Bain
“Hello G45er’s
Joanne here today to share a sweet spring card I created for the #G45Lightside challenge using the gorgeous Bloom collection. This collection sprung to mind straight away because of the soft pastel colours of this collection.
The front of the card was created by layering a couple of the Bloom Journaling and Ephemera cards and also some of the Bloom stickers.
The card base is one of the larger Bloom Journaling and Ephemera cards which was folded in half. To the inside of the card I fussy cut some butterflies glued them together and made a pop up butterfly line to the top inside of the card.
Who doesn't love butterflies, and the colours of these ones are simply beautiful.
I have created a quick and simple step by step tutorial for this card.
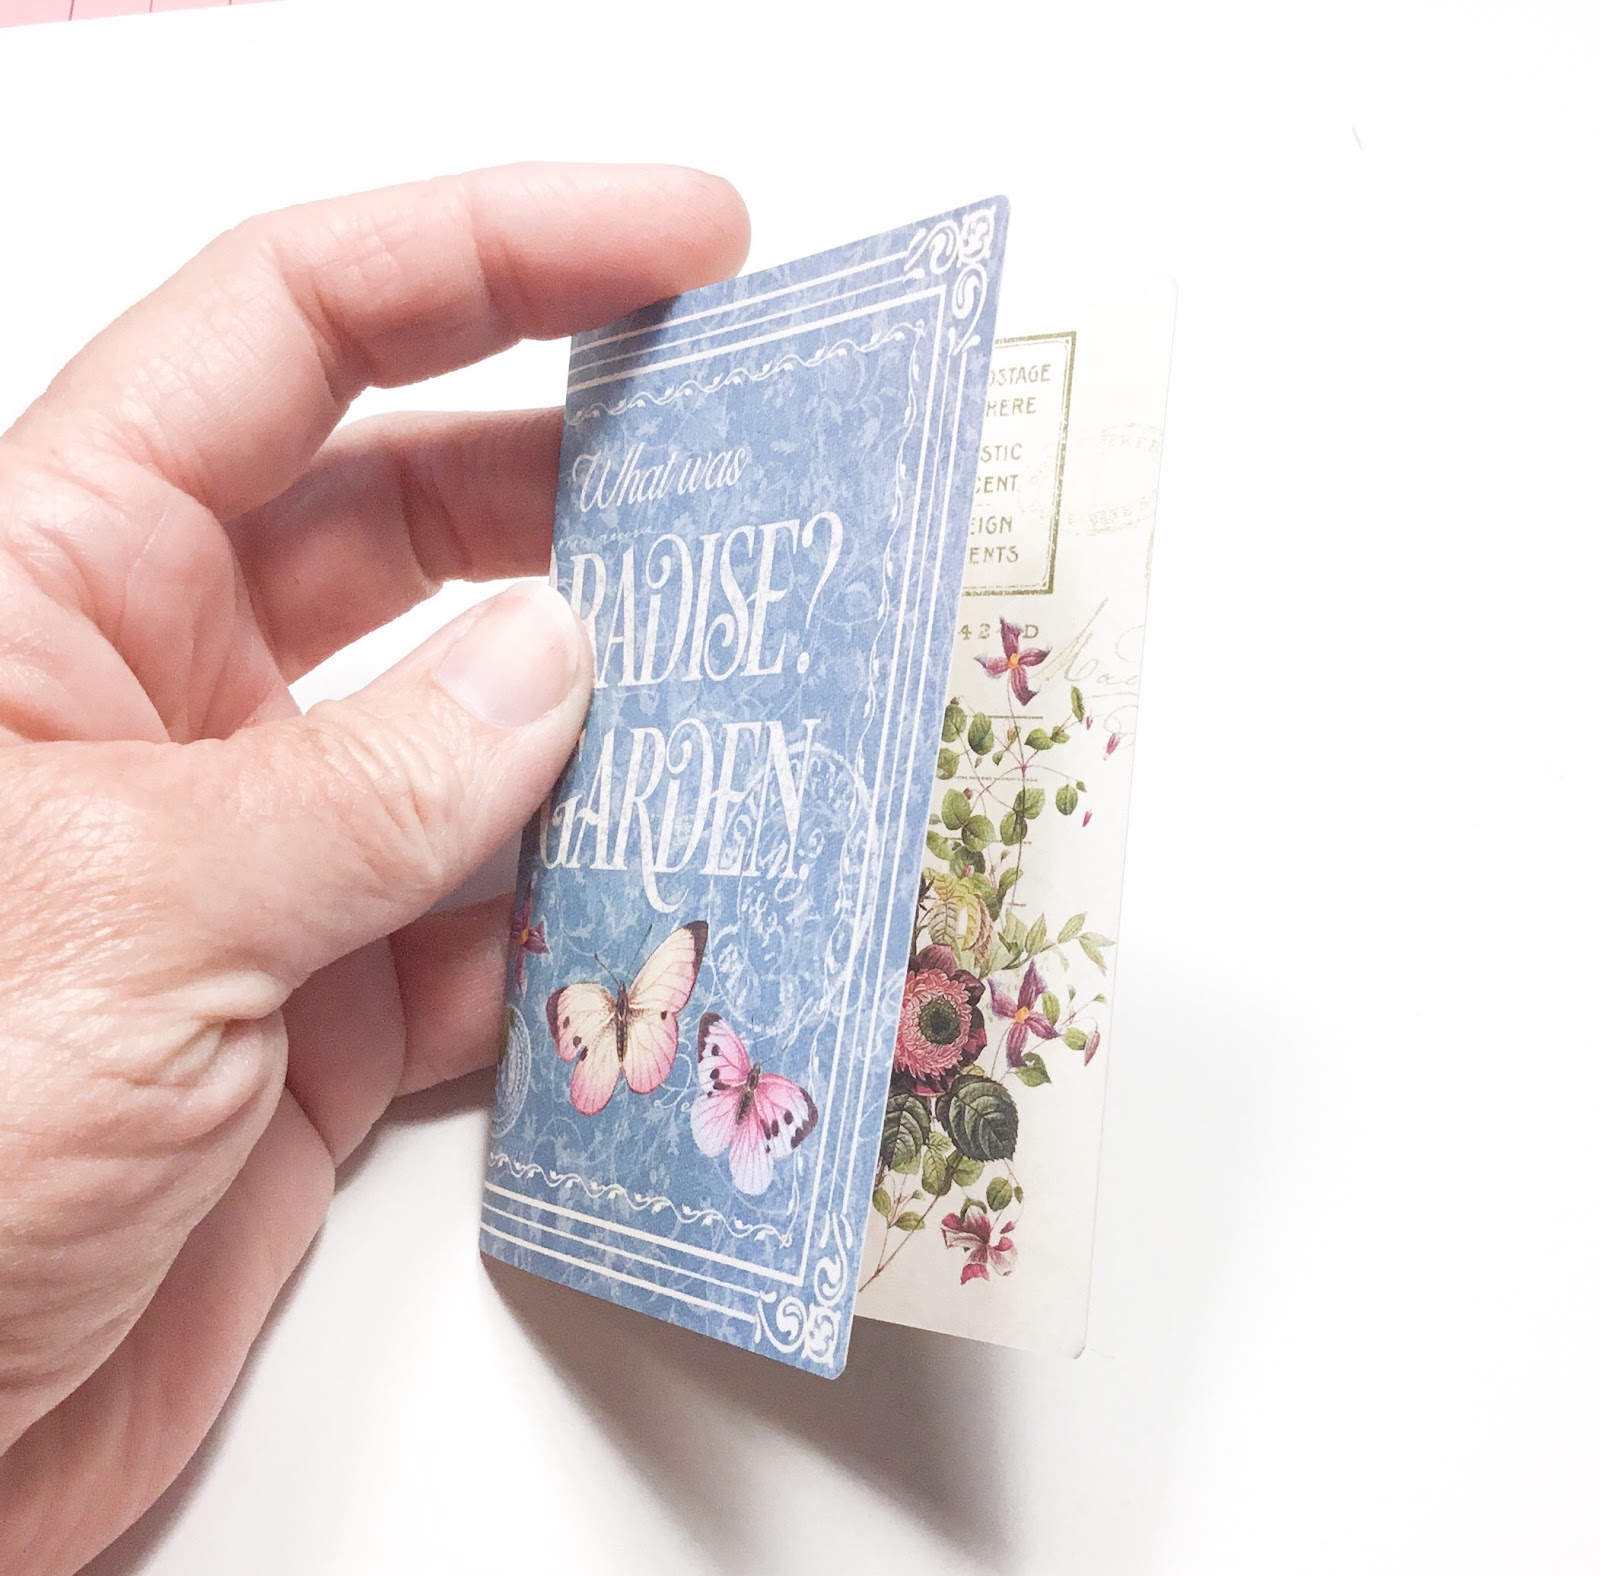
Step 1. You will need this large Bloom Journaling & Ephemera Card and fold in half as shown.
Step 2. You will need 2 of the large Bloom Journaling & Ephemera cards as shown below.
Step 3. Cut out the larger butterflies as shown below and fold in half.
Step 4. Glue the tops of the wings only to create like a butterfly chain as shown below.
Step 5. Now attach to the inside of the card as shown below.
Step 6. Get one of the postage stamps from the sticker sheet and trim down to fit where the postage stamp goes as shown below.
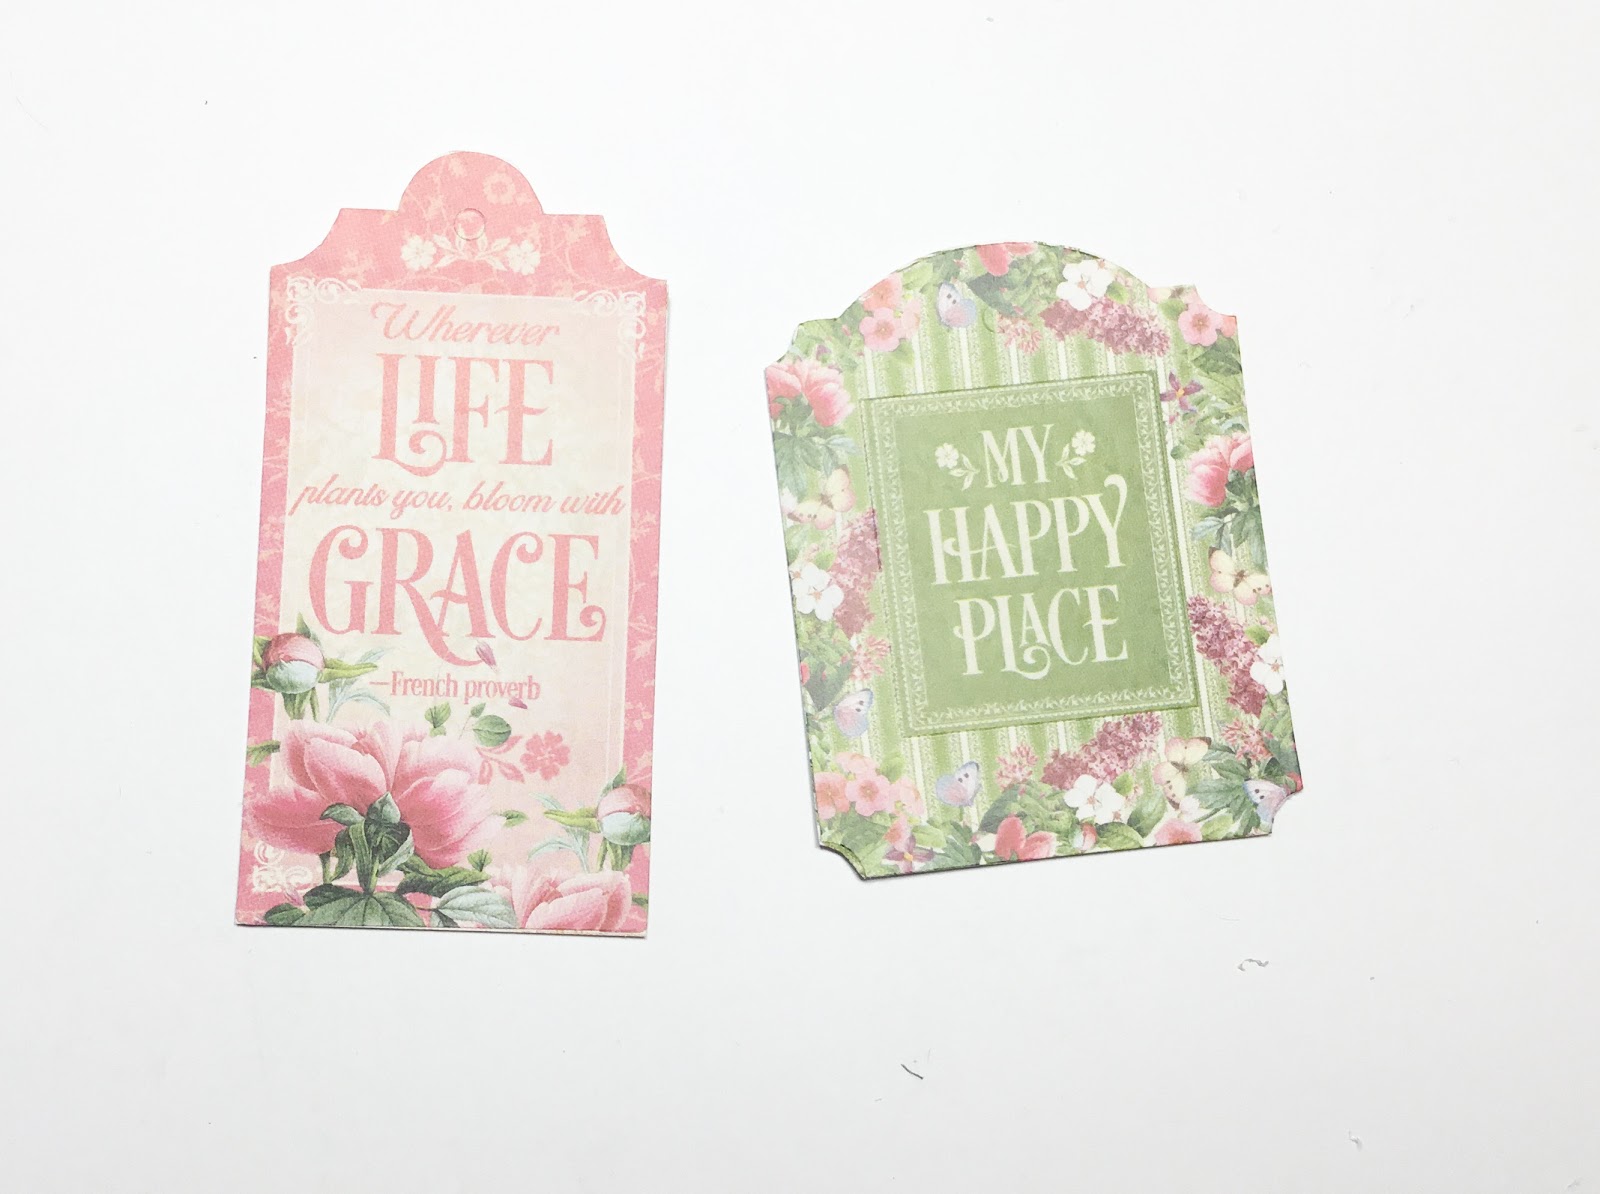
Step 7. Get the smaller Bloom Journaling & Ephemera cards as shown.
Step 8. Trim away the outside border of the pink card as shown below.
Step 9. You will need the stickers as shown below.
Step 10. Now start layering the front of the card as shown below.
Graphic 45 Supply List:
I hope you have enjoyed my tutorial and I have inspired you to give it a try.
Happy Crafting!”
Happy Papercrafting!
Want even more Graphic 45? Sign up for our newsletter here!