Hello, G45ers!
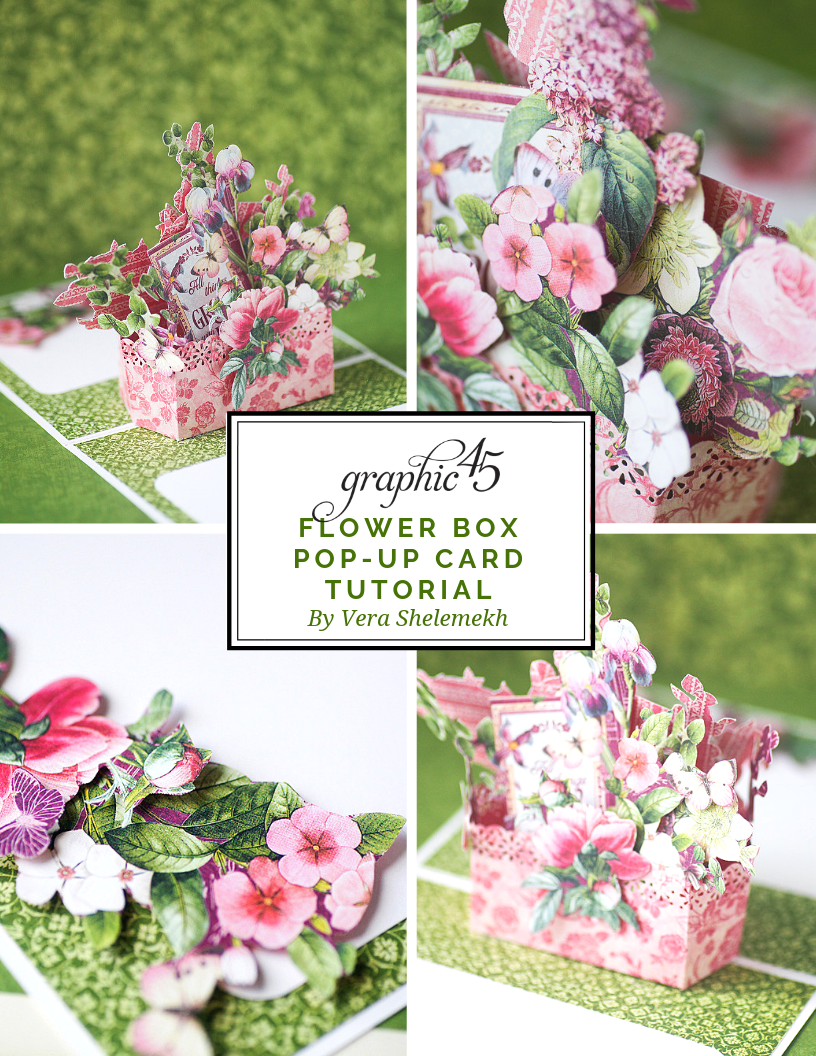
Let's start this weekend off right with an exciting Pop-Up Card Tutorial! To celebrate the #G45Selfie – June Challenge our lovely, and amazingly talented Brand Ambassador, Vera Shelemekh has created a 3D Card to showcase one of her favorite paper techniques, pop-ups. This handmade gift and step by step guide on how to create a Flower Box Card has been created with our pretty and pastel Bloom paper collection. We encourage you to grab your favorite Graphic 45 papers and follow along!
Vera Shelemekh – Russia
2019-2020 Brand Ambassador
"Hello, dear G45ers, my name is Vera Shelemekh, I live, work and create in Moscow – the Capital of Russia. I’m 37, happily married and have a seven years old son.
I’ve been a devoted scrapbooker and Graphic45 fan for about 7 years which I spent experimenting and trying different styles and techniques. About 3 years ago I got interested in Pop up and paper mechanics and this is really what never makes me feel bored.
I love fussy cutting and layering, building scenes and telling stories.
And I invite all of you to my world made of amazing Graphic 45 papers.
I feel really happy to become part of Graphic45 Dream Team, I applied 5 times since 2014 and couldn’t believe my eyes that finally, my dream came true )
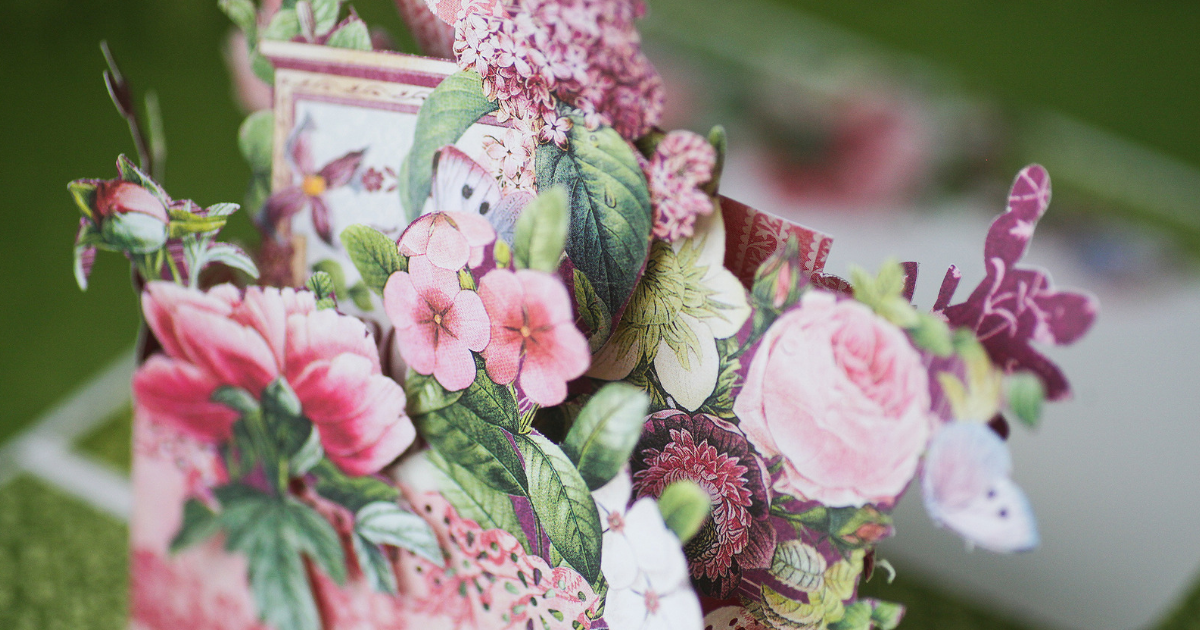
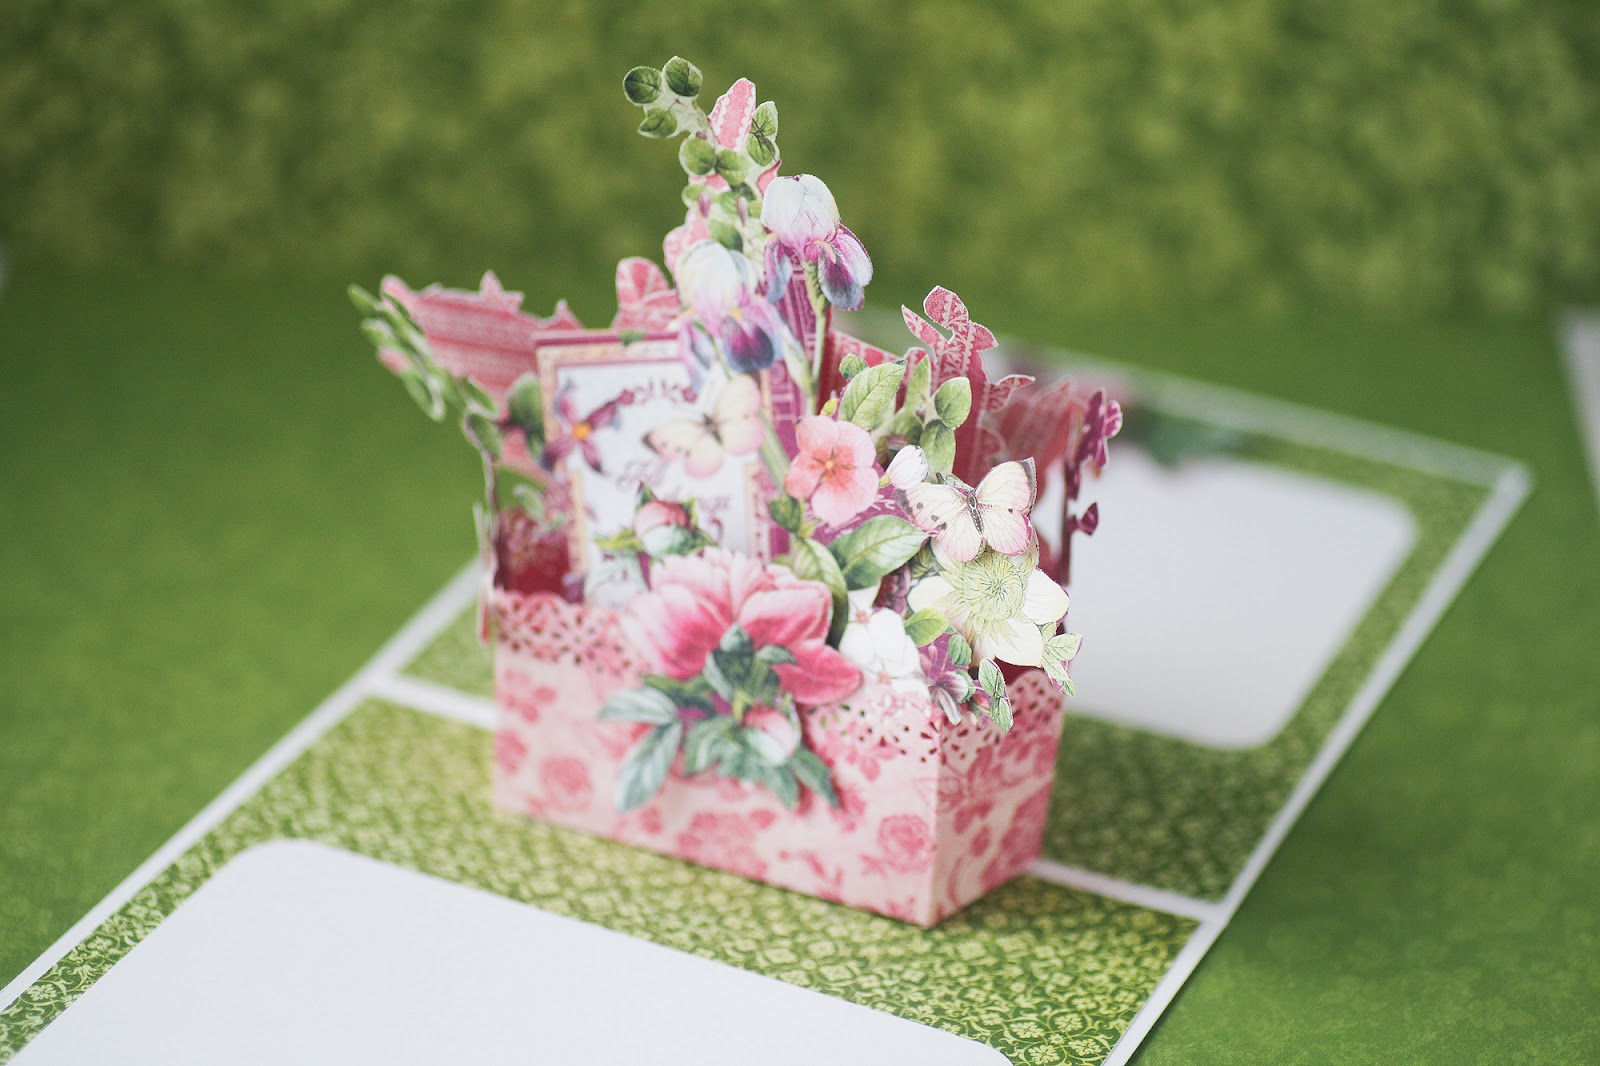
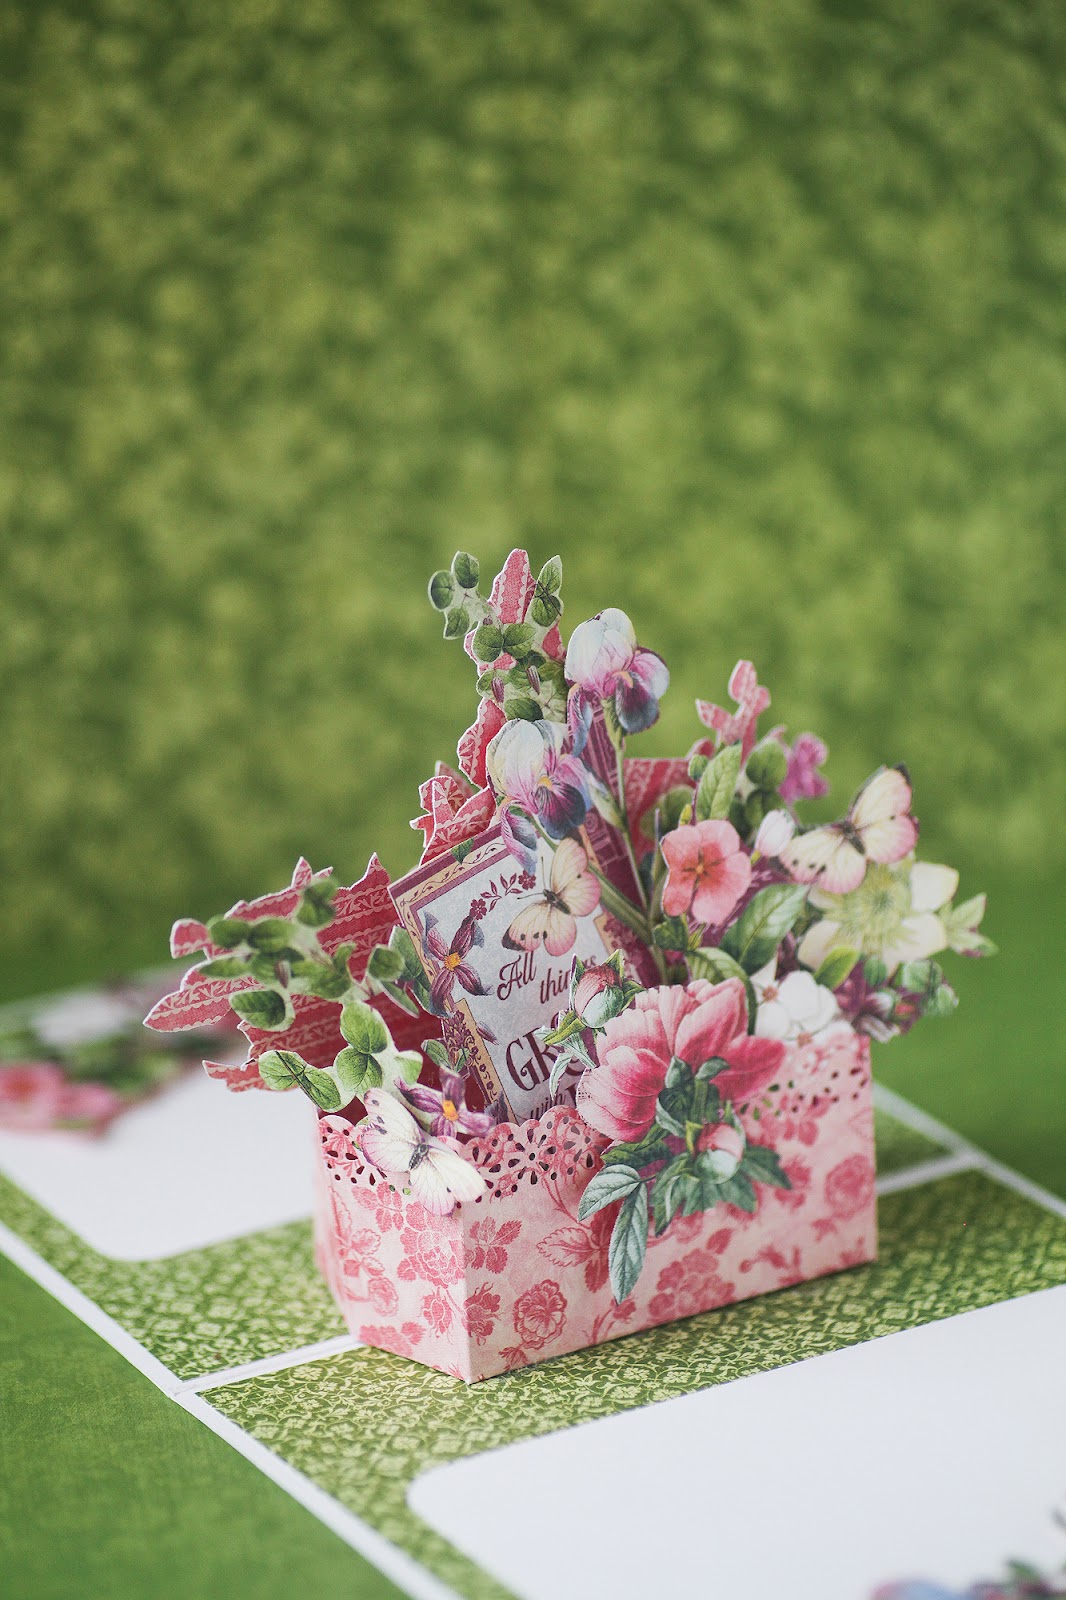
Flower Box Pop-Up Card
Tutorial
This is my self-portrait project as Pop up techniques keep me busy for most of my craft time.
Sometimes it’s getting tricky but this is what really trains my creativity.
The card is simple and easy to create.
Also, any floral Graphic45 collection may be used,
Step by Step Tutorial:
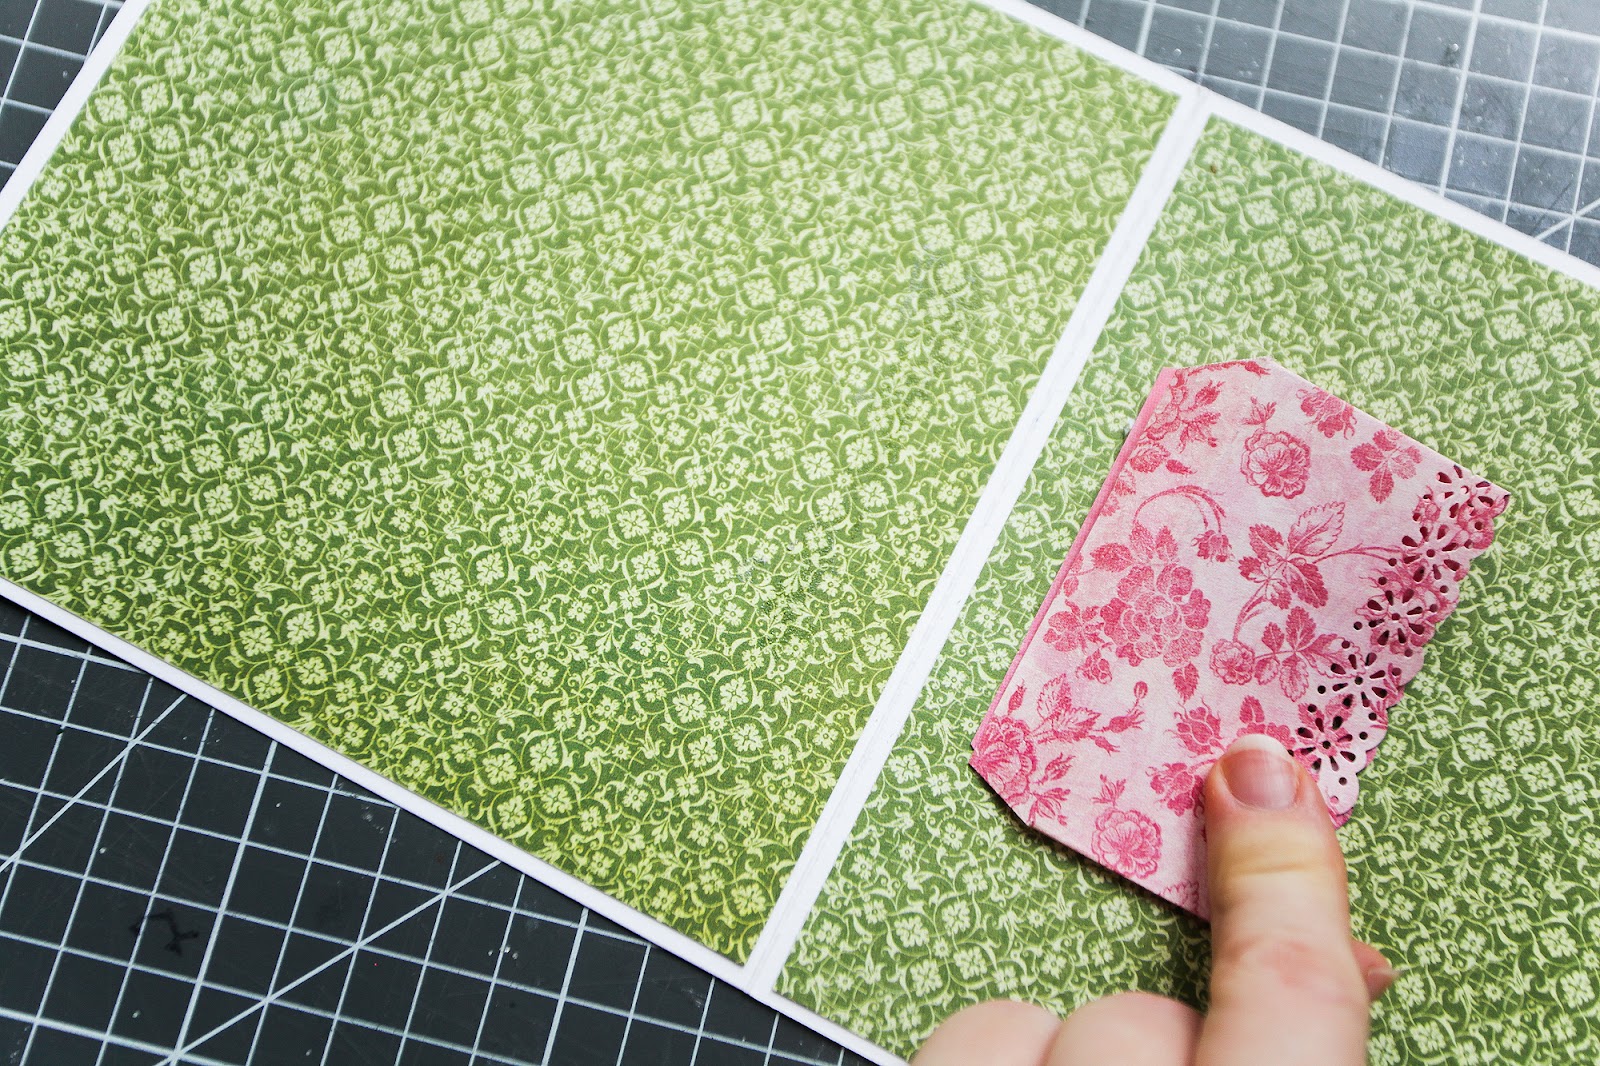
Make the 6x6in postcard base using cardstock and Bloom Patterns & Solids paper. Adhere two 5.8×5.8in square sheets of Bloom patterns paper inside a folded 6x12in rectangle cut of white cardstock
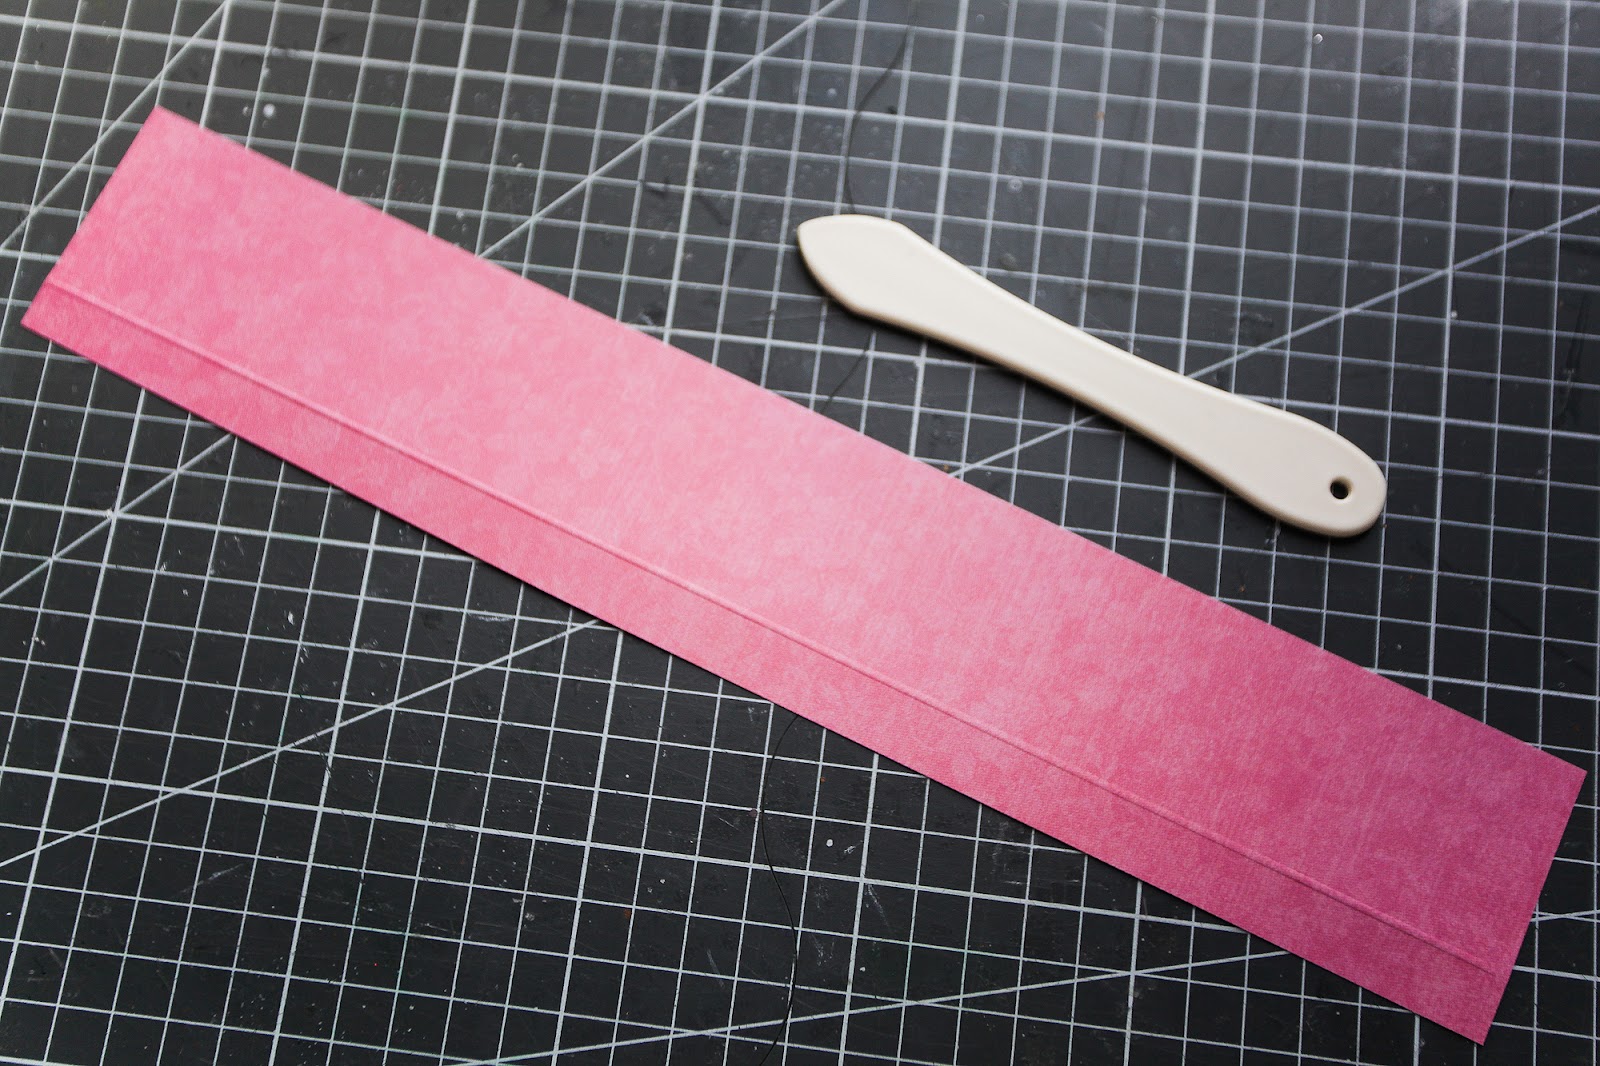
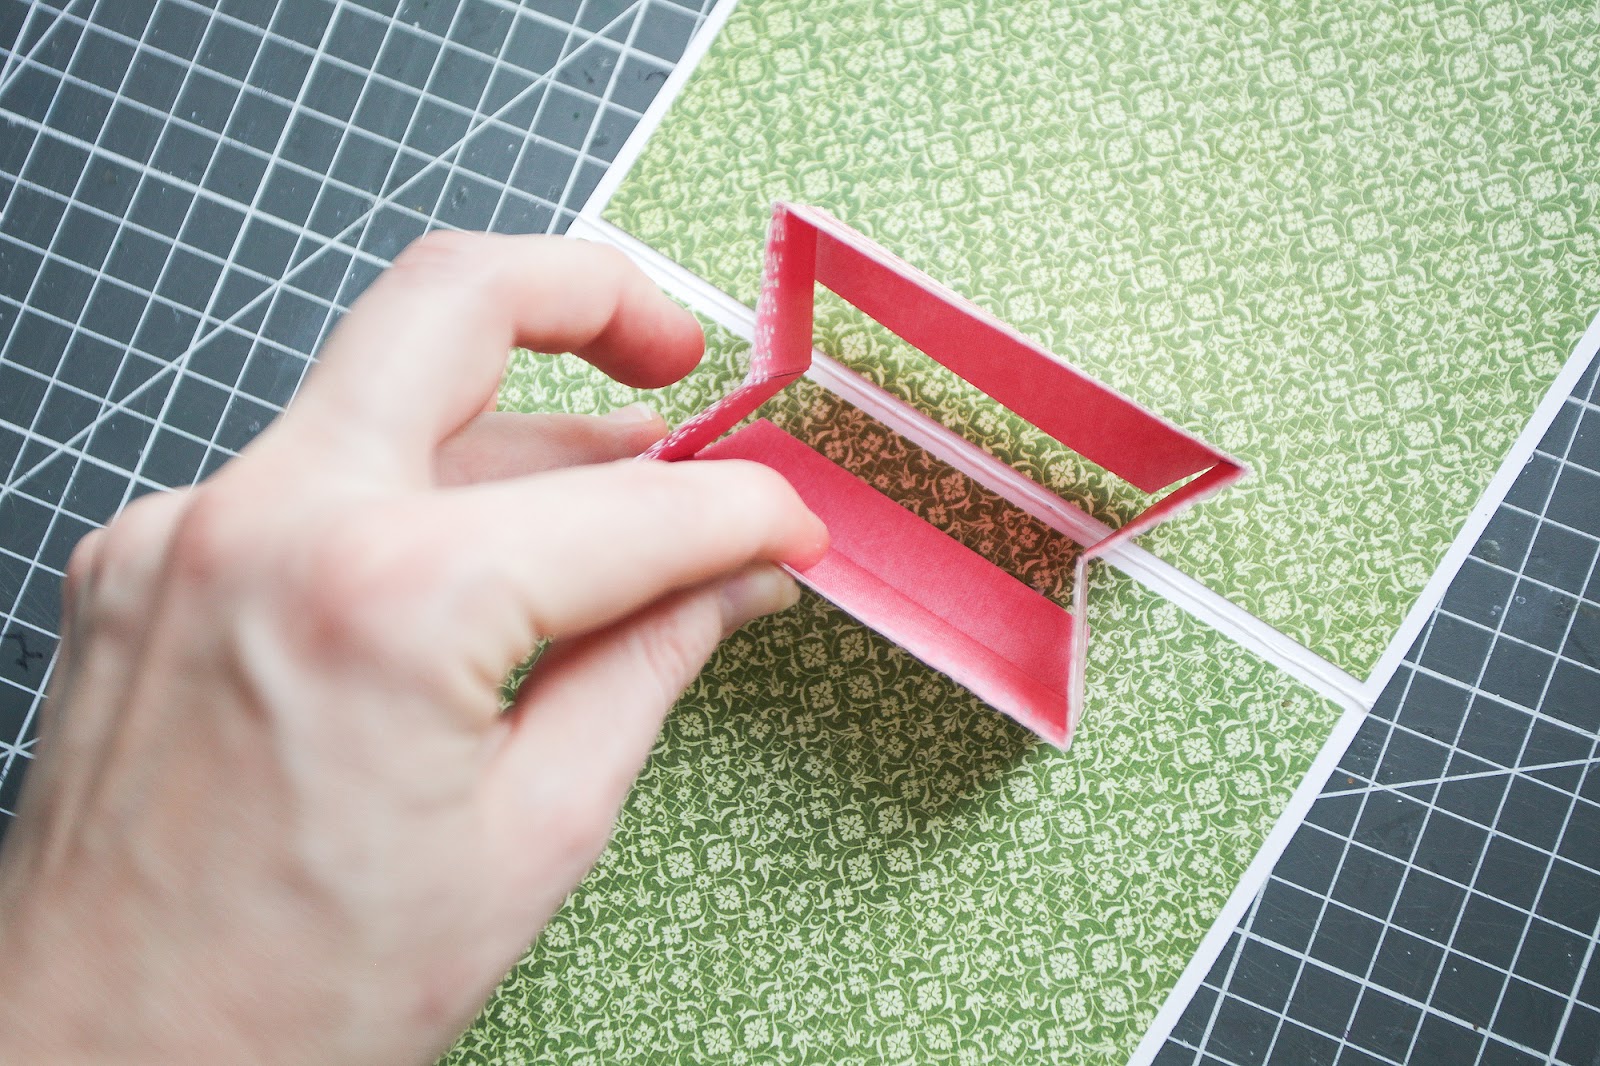
2. Cut a 12х2in strip out of pink Bloom patterns paper and make a fold about 1/2in away from the bottom edge.
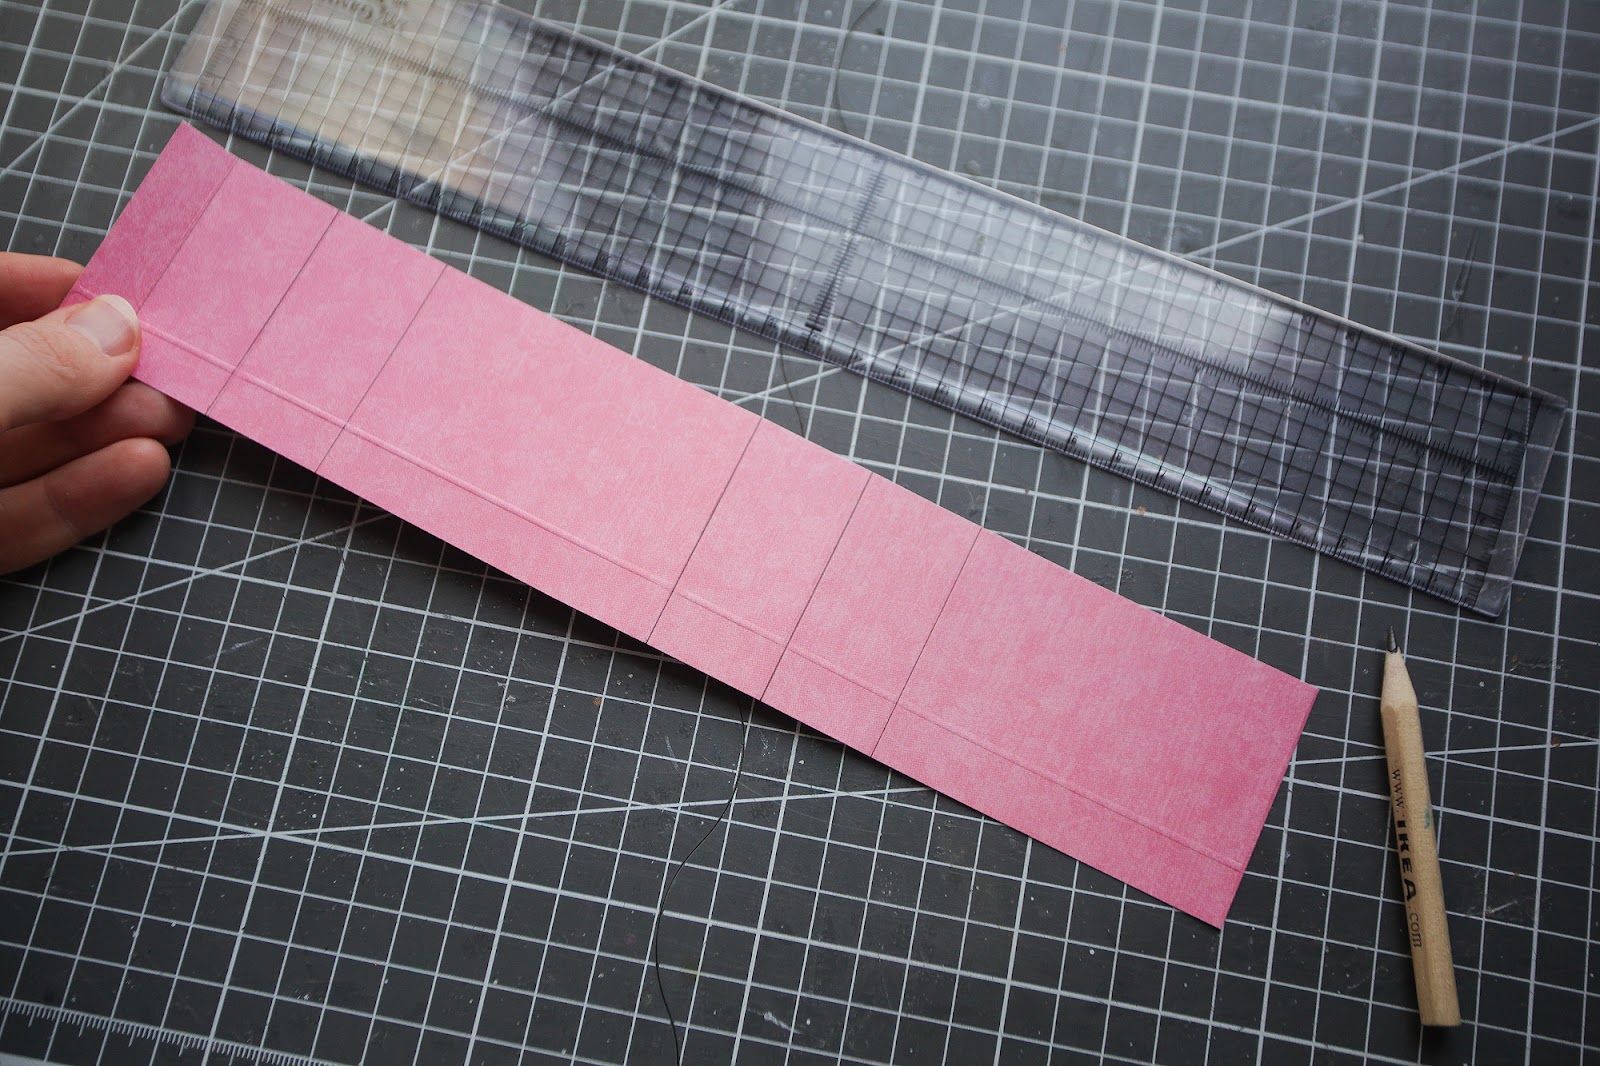
3. Make also several folds along the short edge making the following steps: 1/2in, 1in, 1in, 3in, 1in, 1in, 3in. Cut away the rest of the stripe.
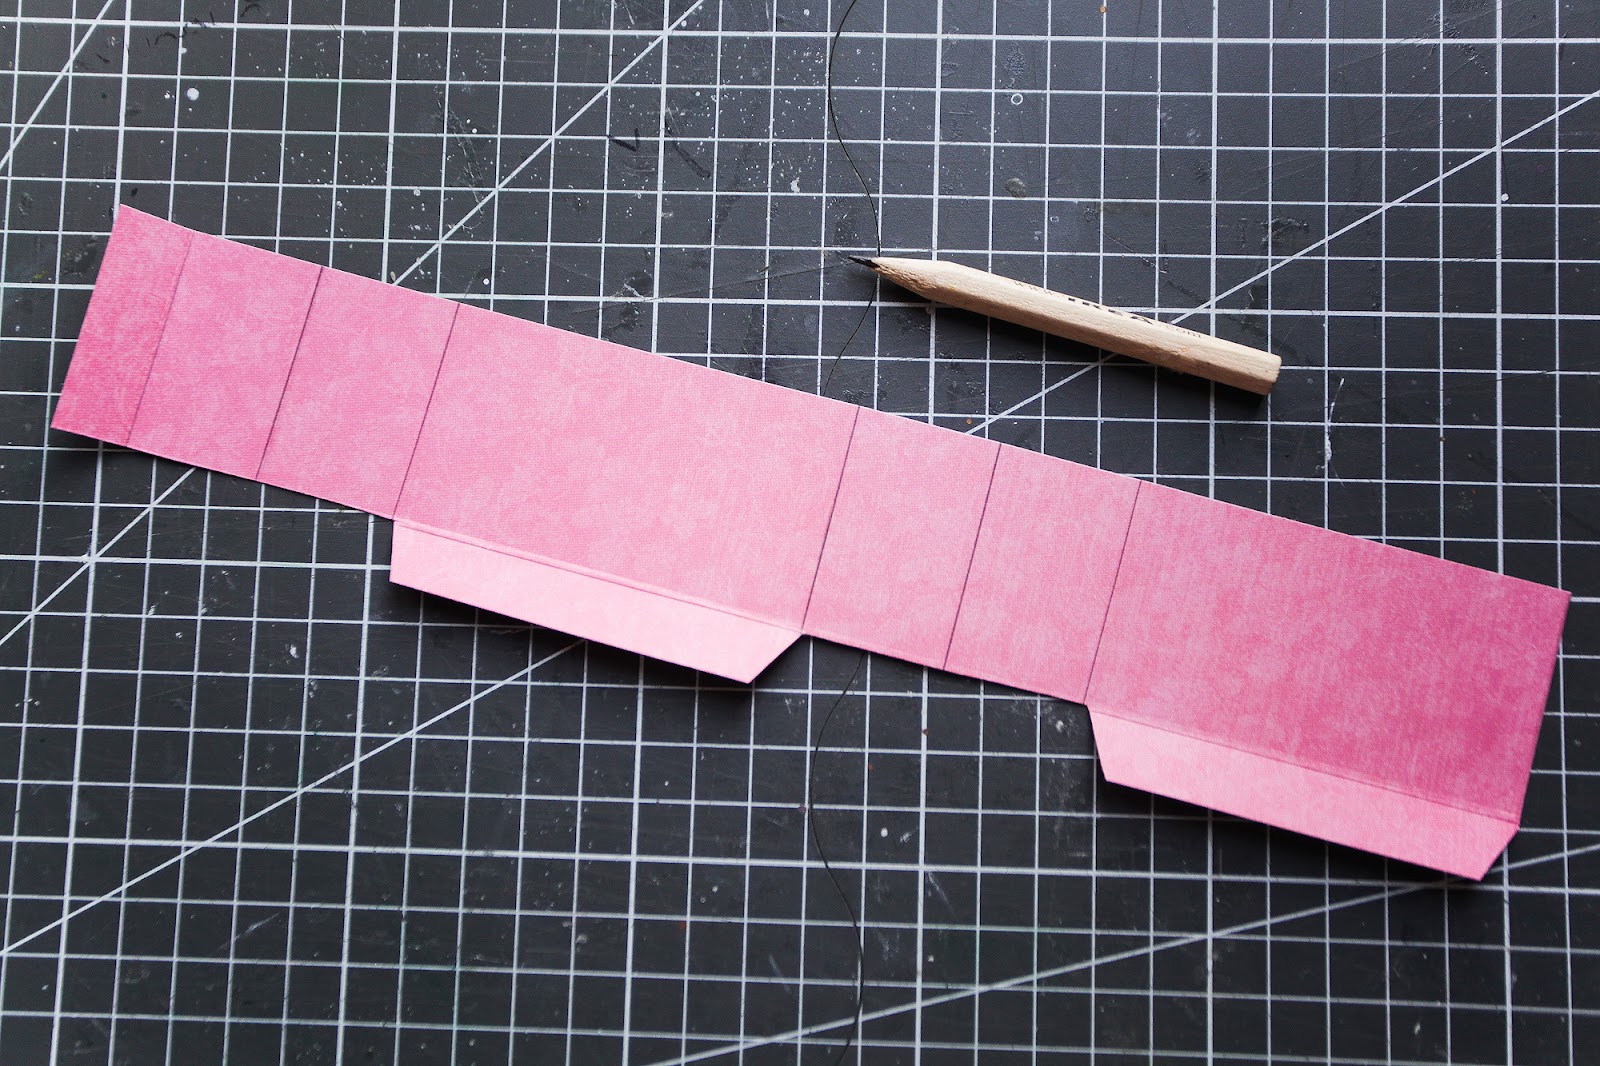
4. Cut away the bottom edge leaving gluing tabs along the two 3in sides.
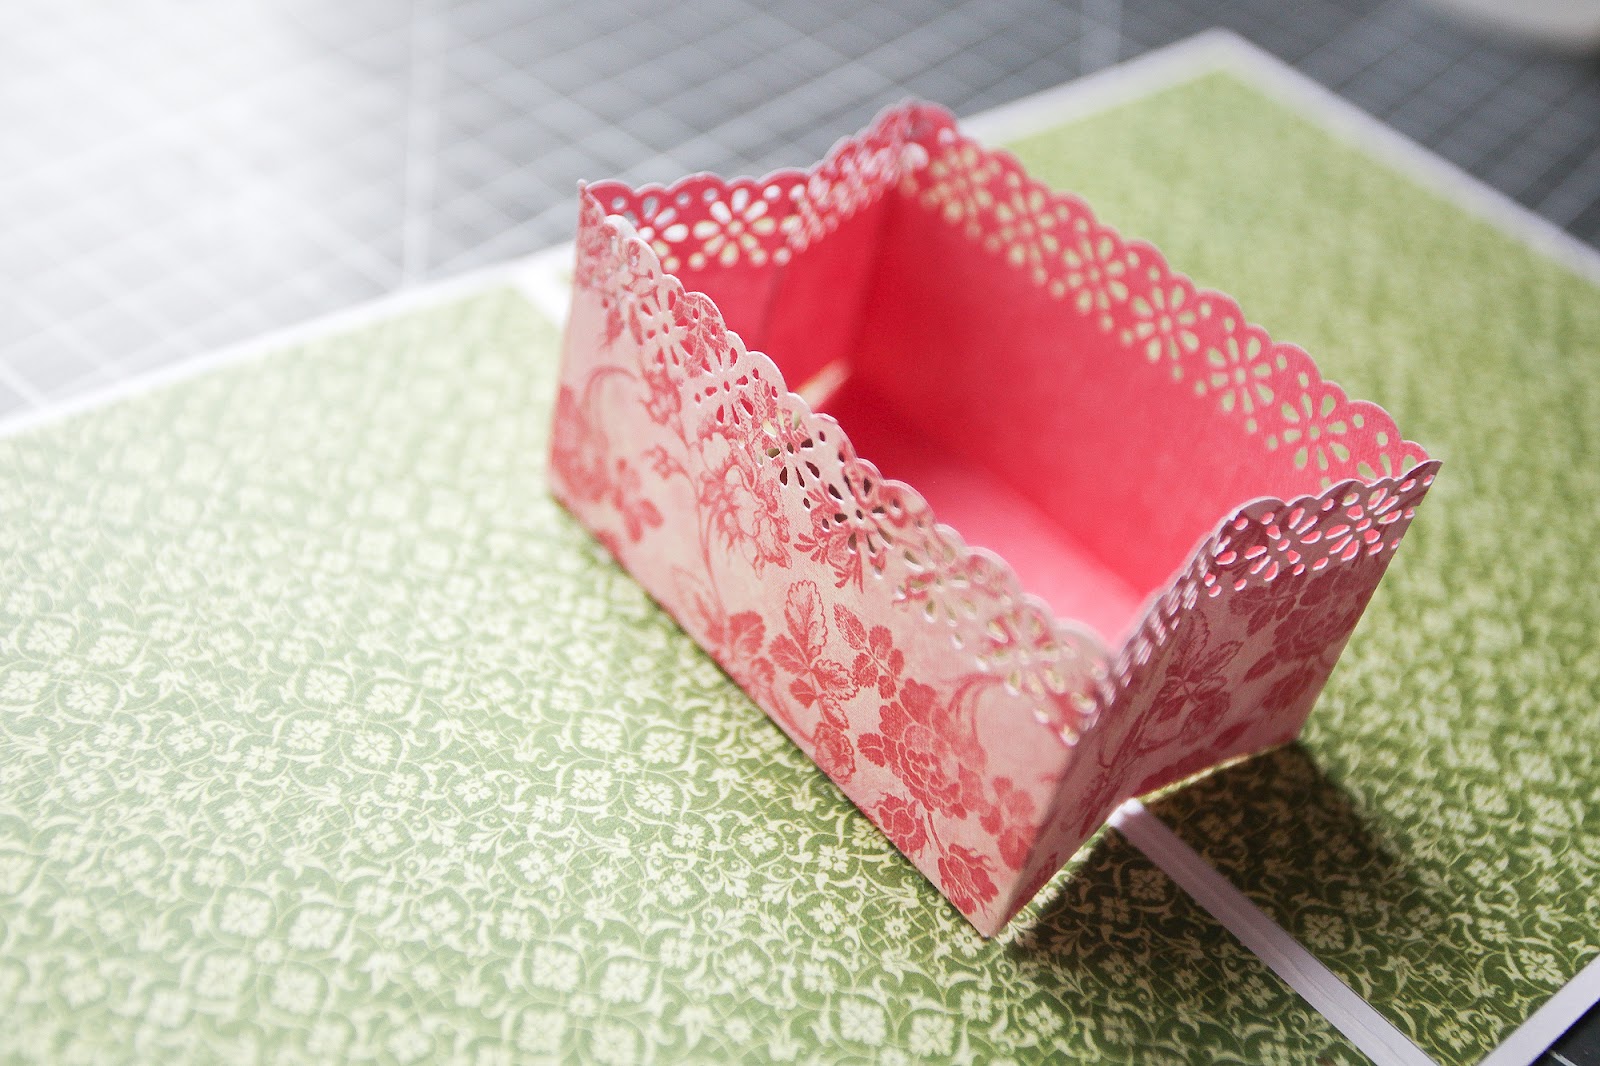
5. Trim the upper edge of the strip with a punch and glue the strip into a loop.
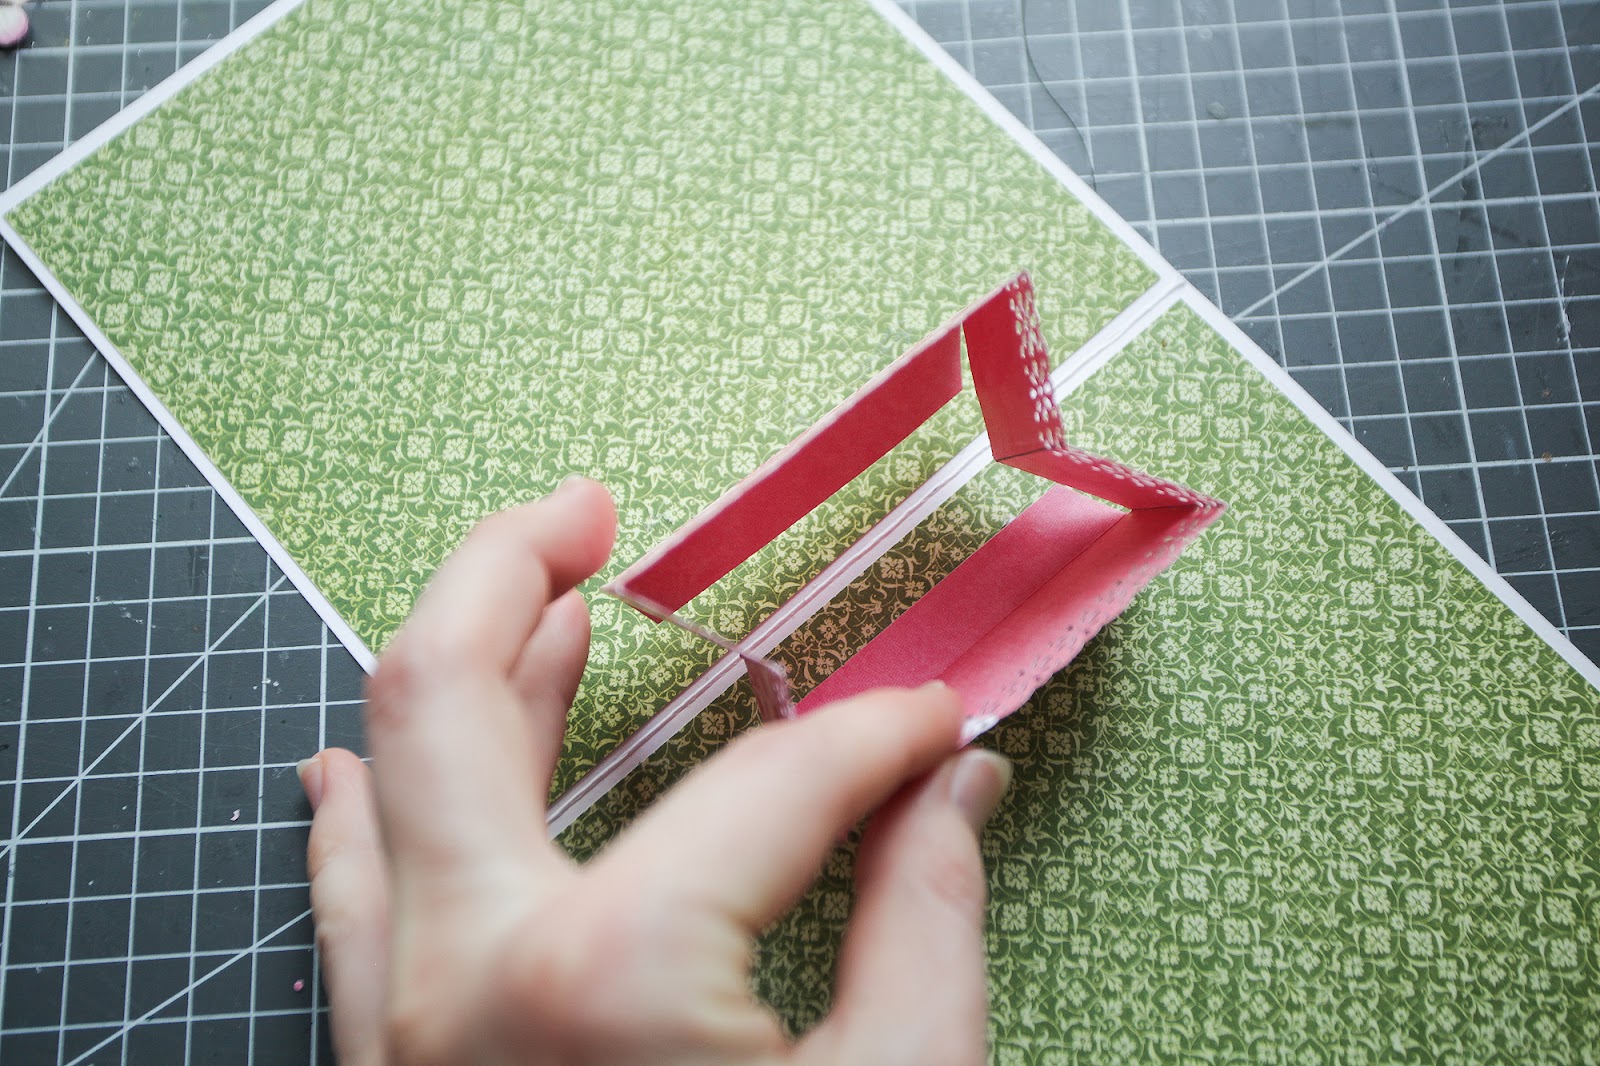
6. The two gluing tabs must both be parallel to, and the same distance from, the spine. The creases between the 1in sides should both be directly above the spine.
7. Stick one gluing tab to the page, parallel with the spine. Then fold the construction down into its closed position lying flat against the page. Put glue on the other tab. Close the base and press.
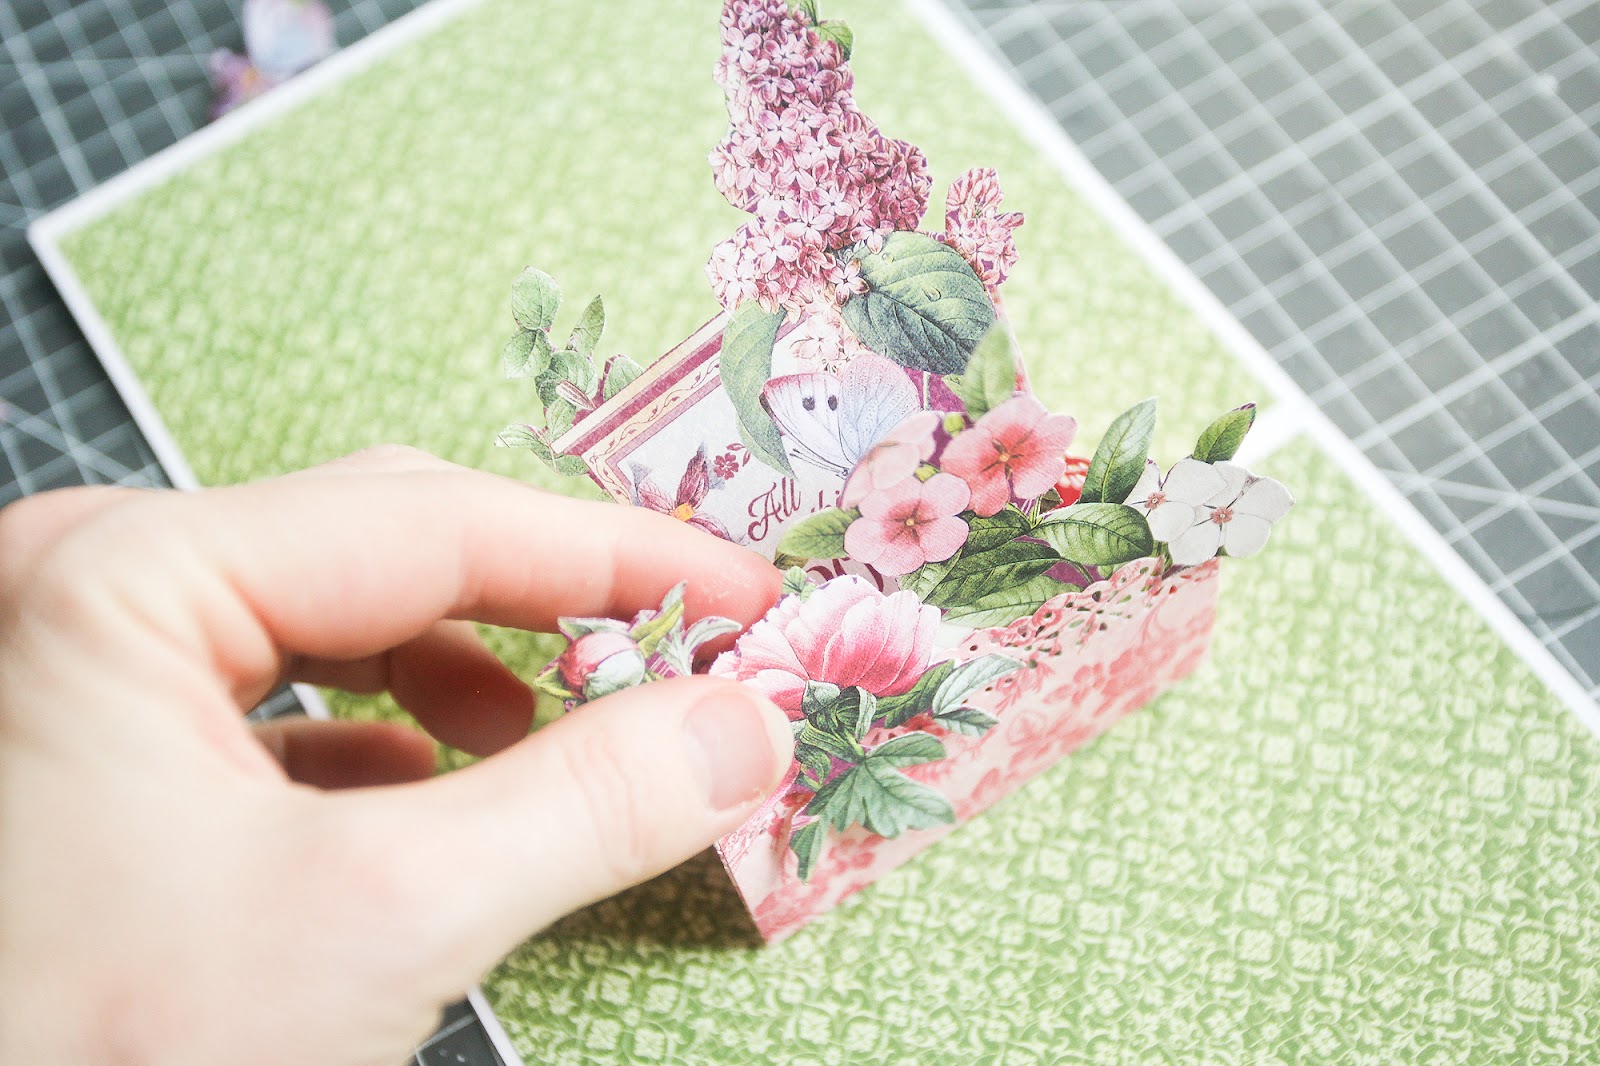
8. Open the base
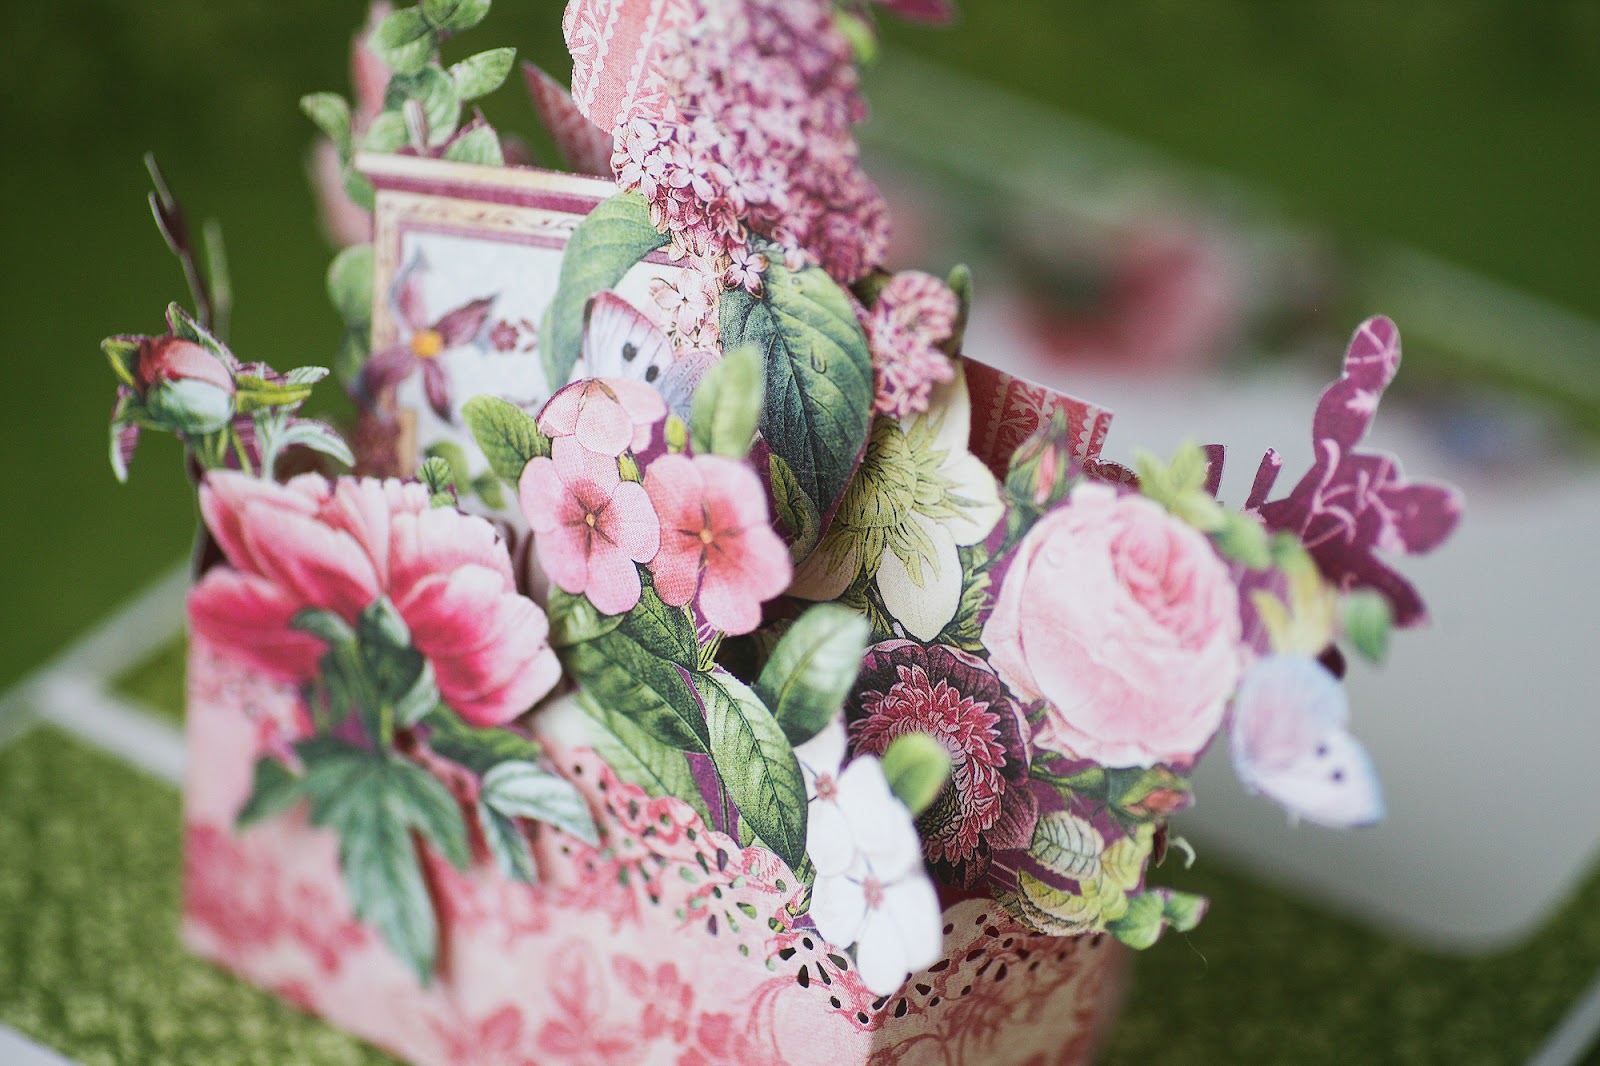
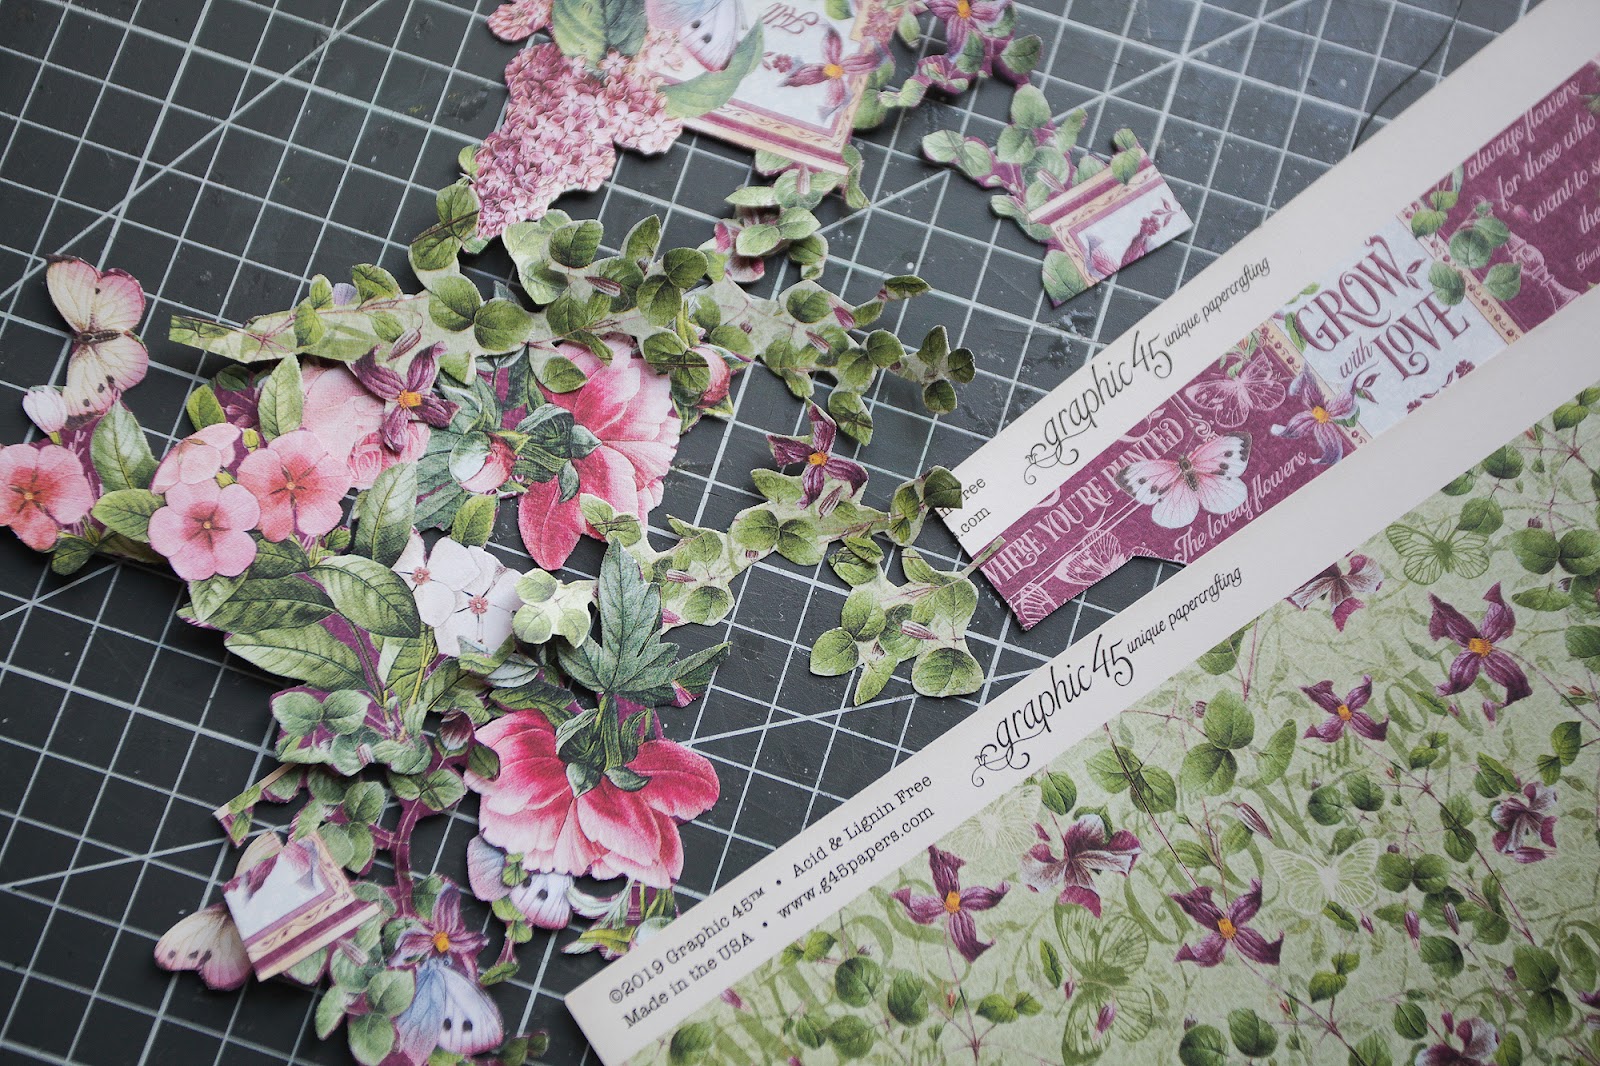
9. Cut out flowers and leaves elements out of Bloom paper
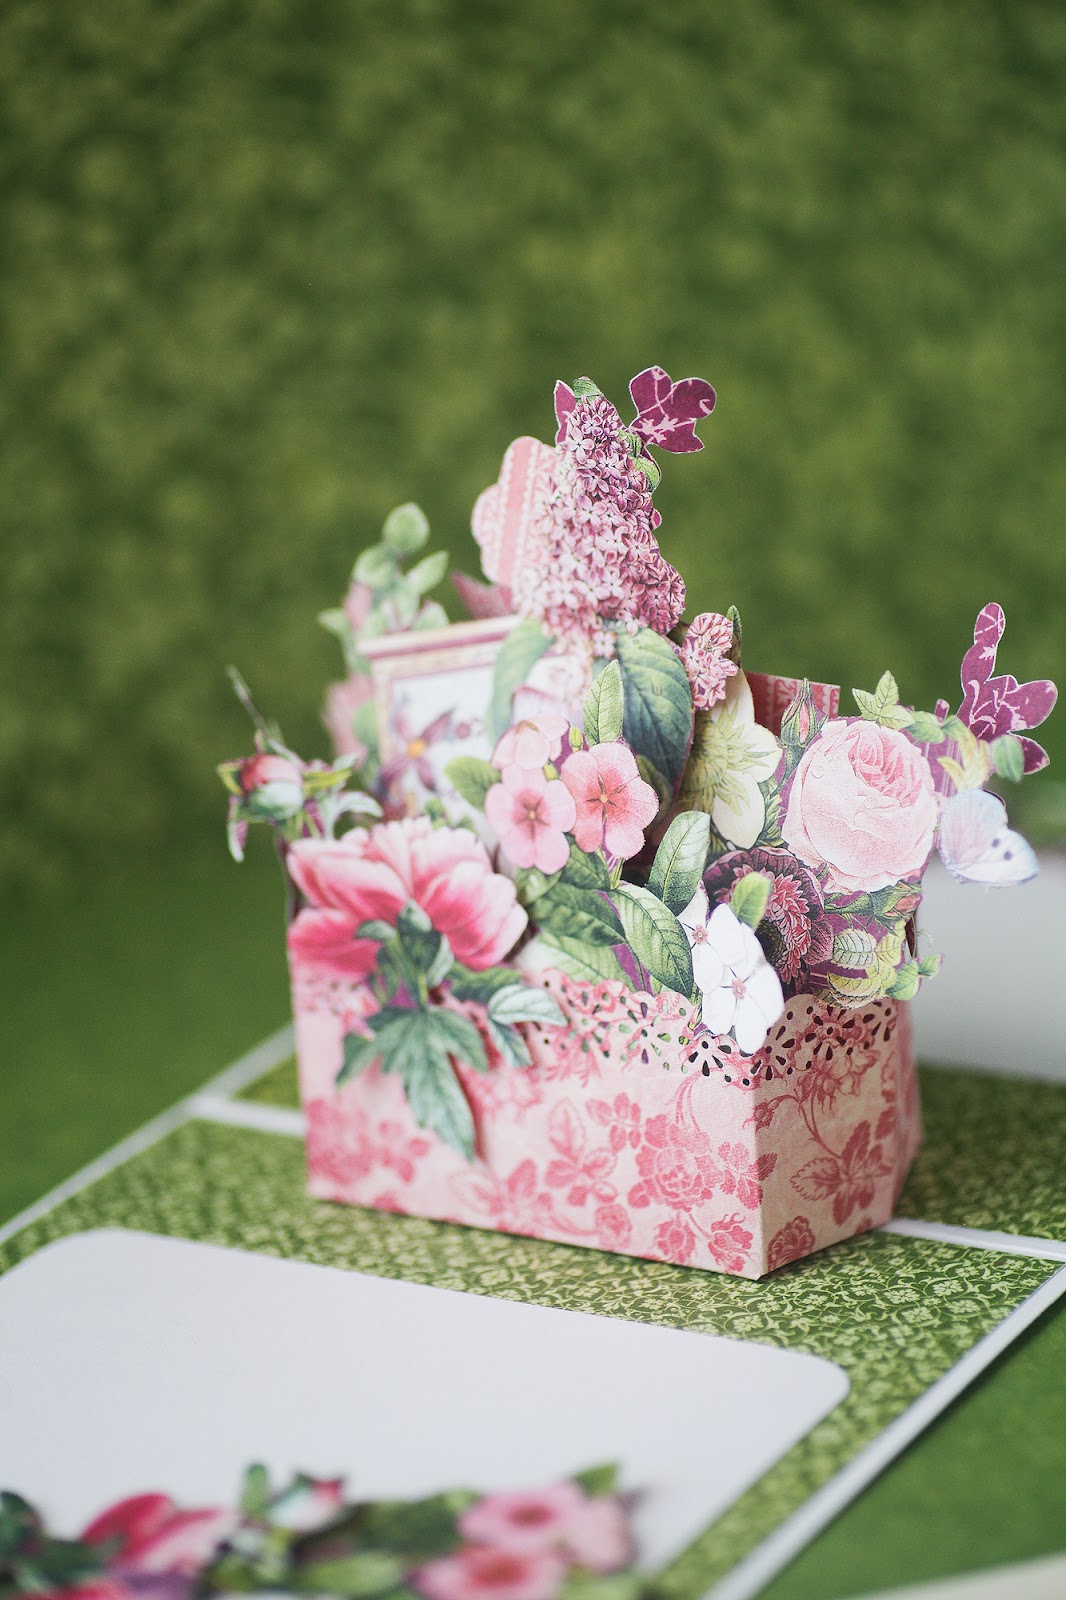
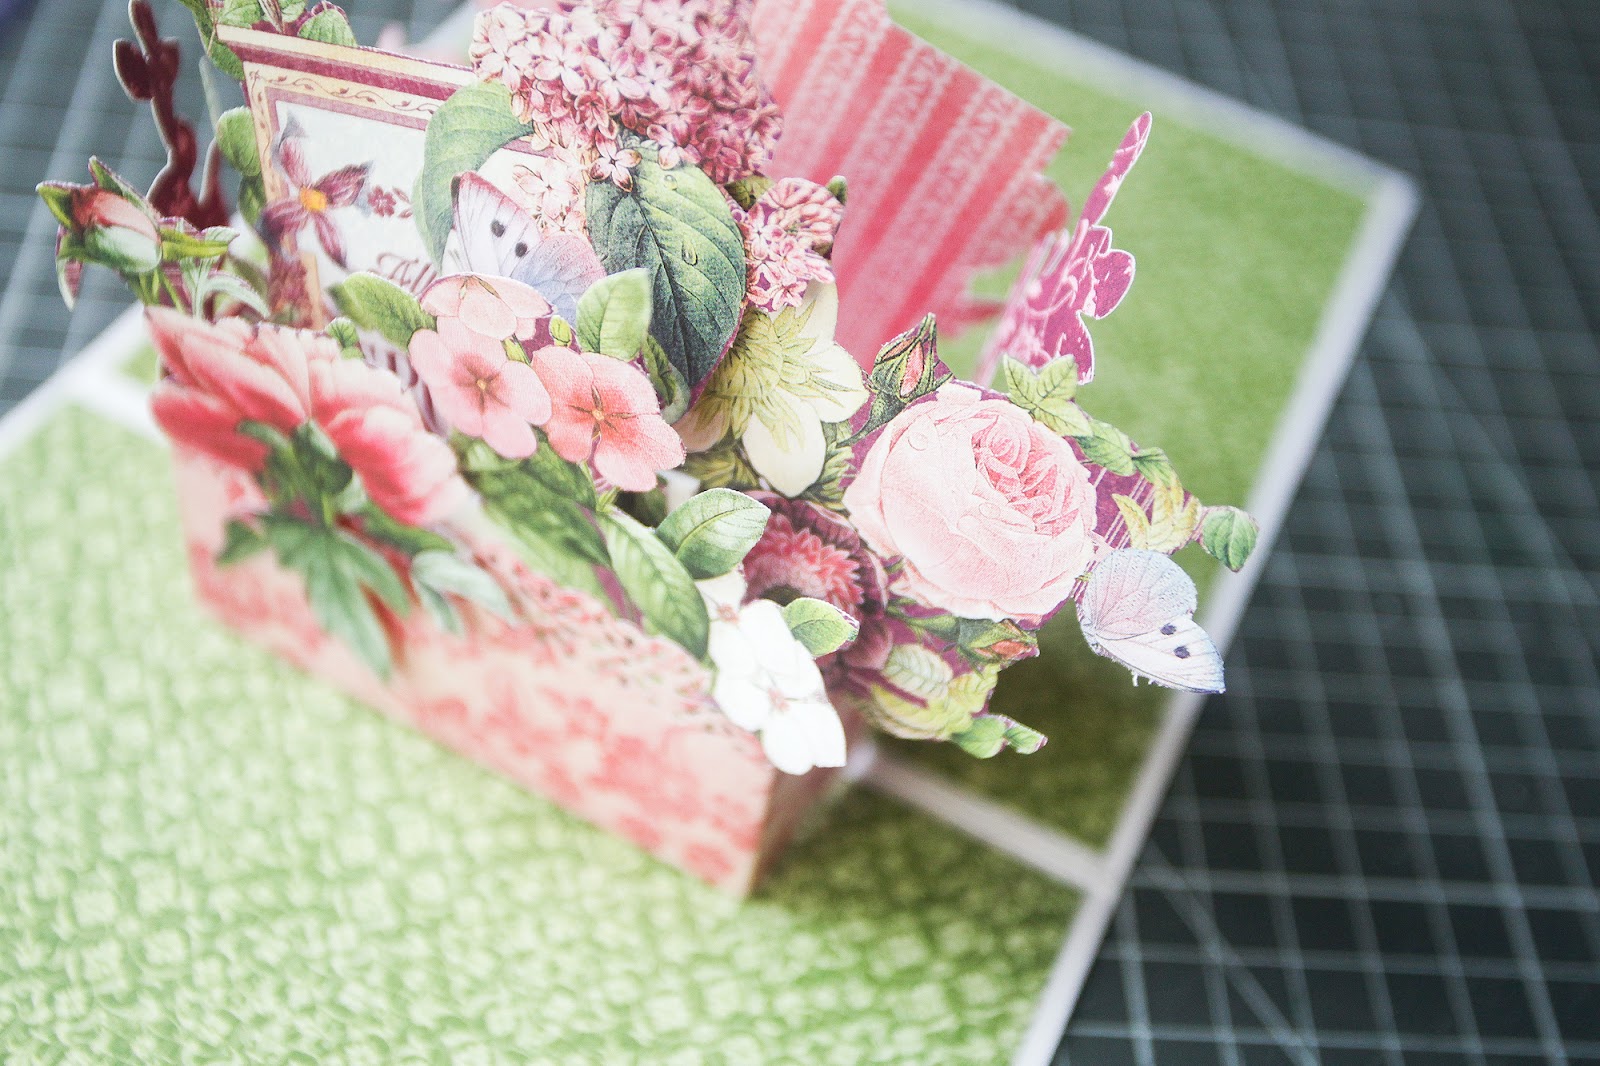
10. Adhere the elements inside the box. It is possible to stick elements to all sides of the box.
11. Stick one element to the other with bulk tape making more layers.
12. Fix all elements inside the box.
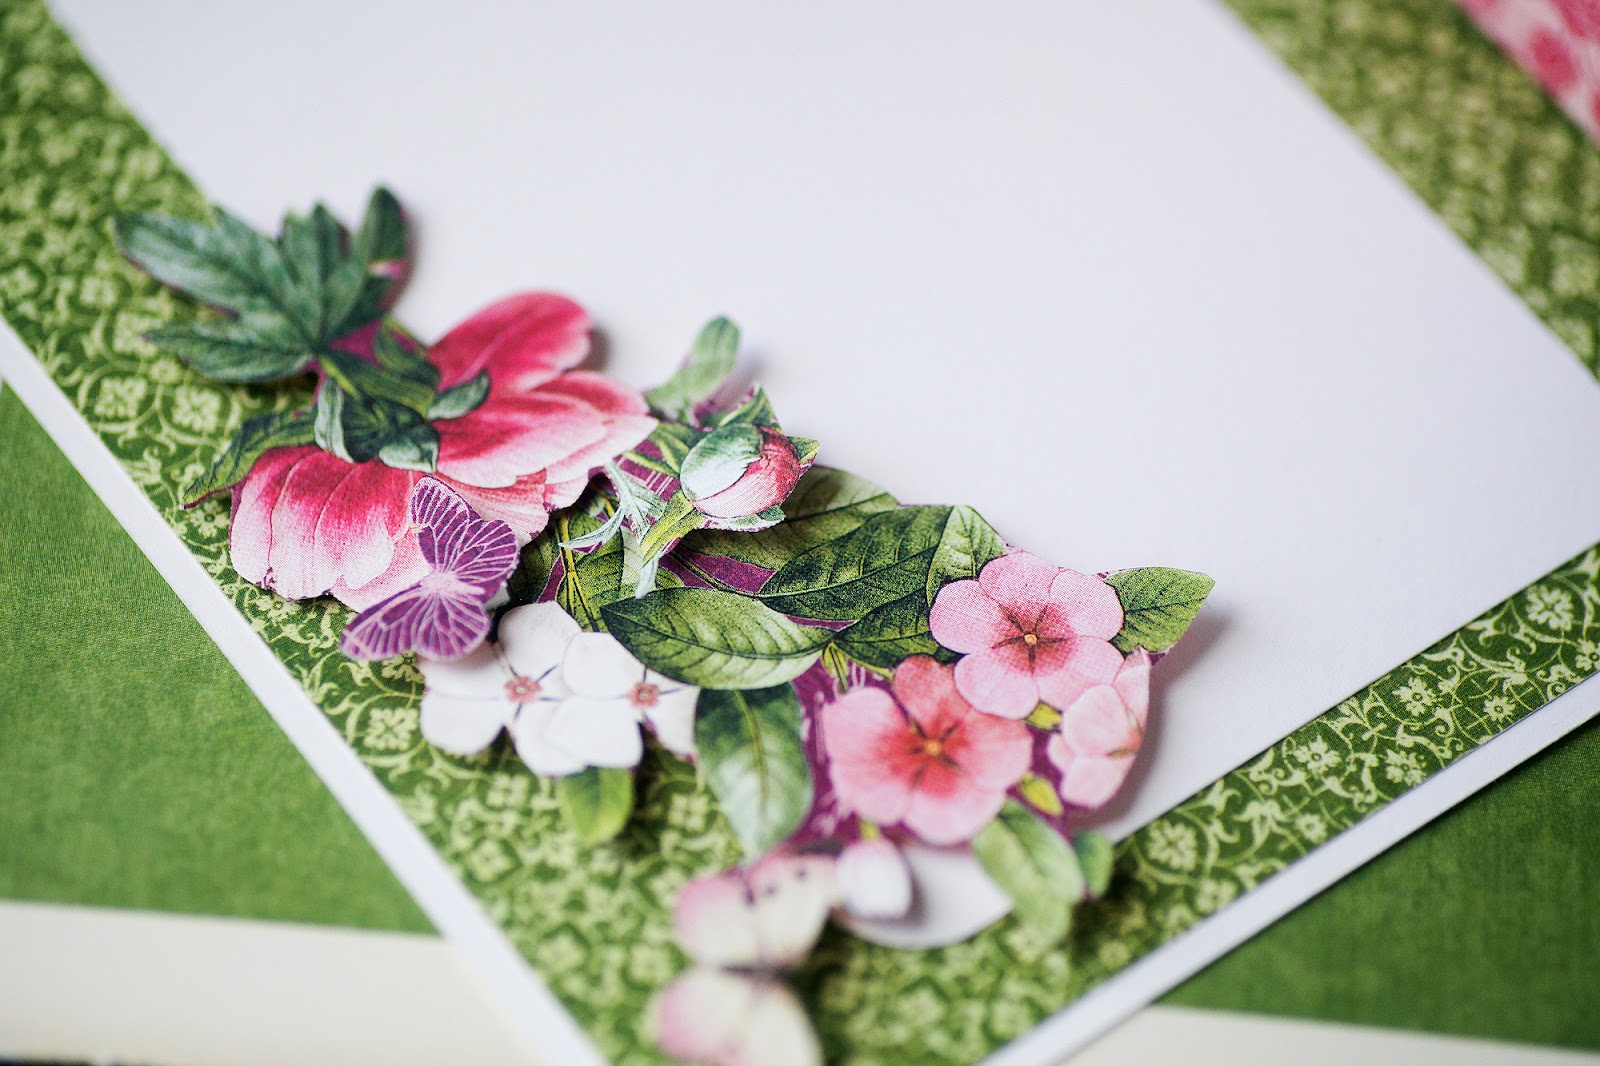
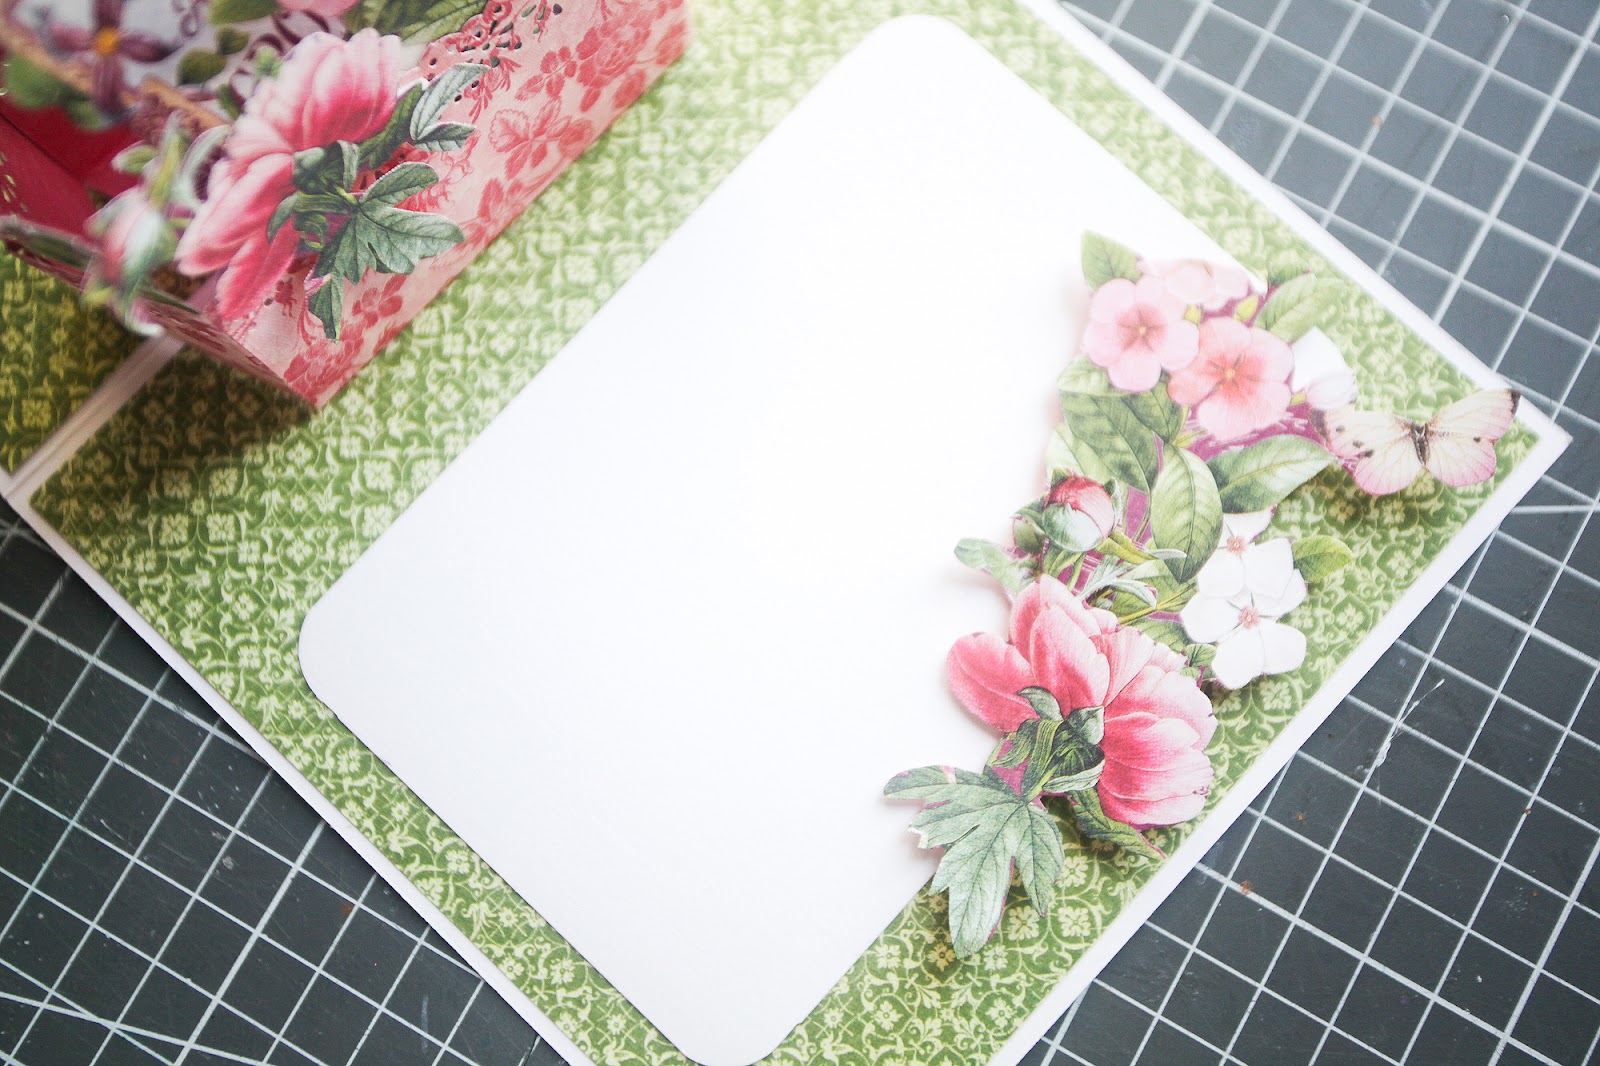
13. Glue small sheets of white paper for wishes on both pages of the card. Glue more flower elements in the corners.
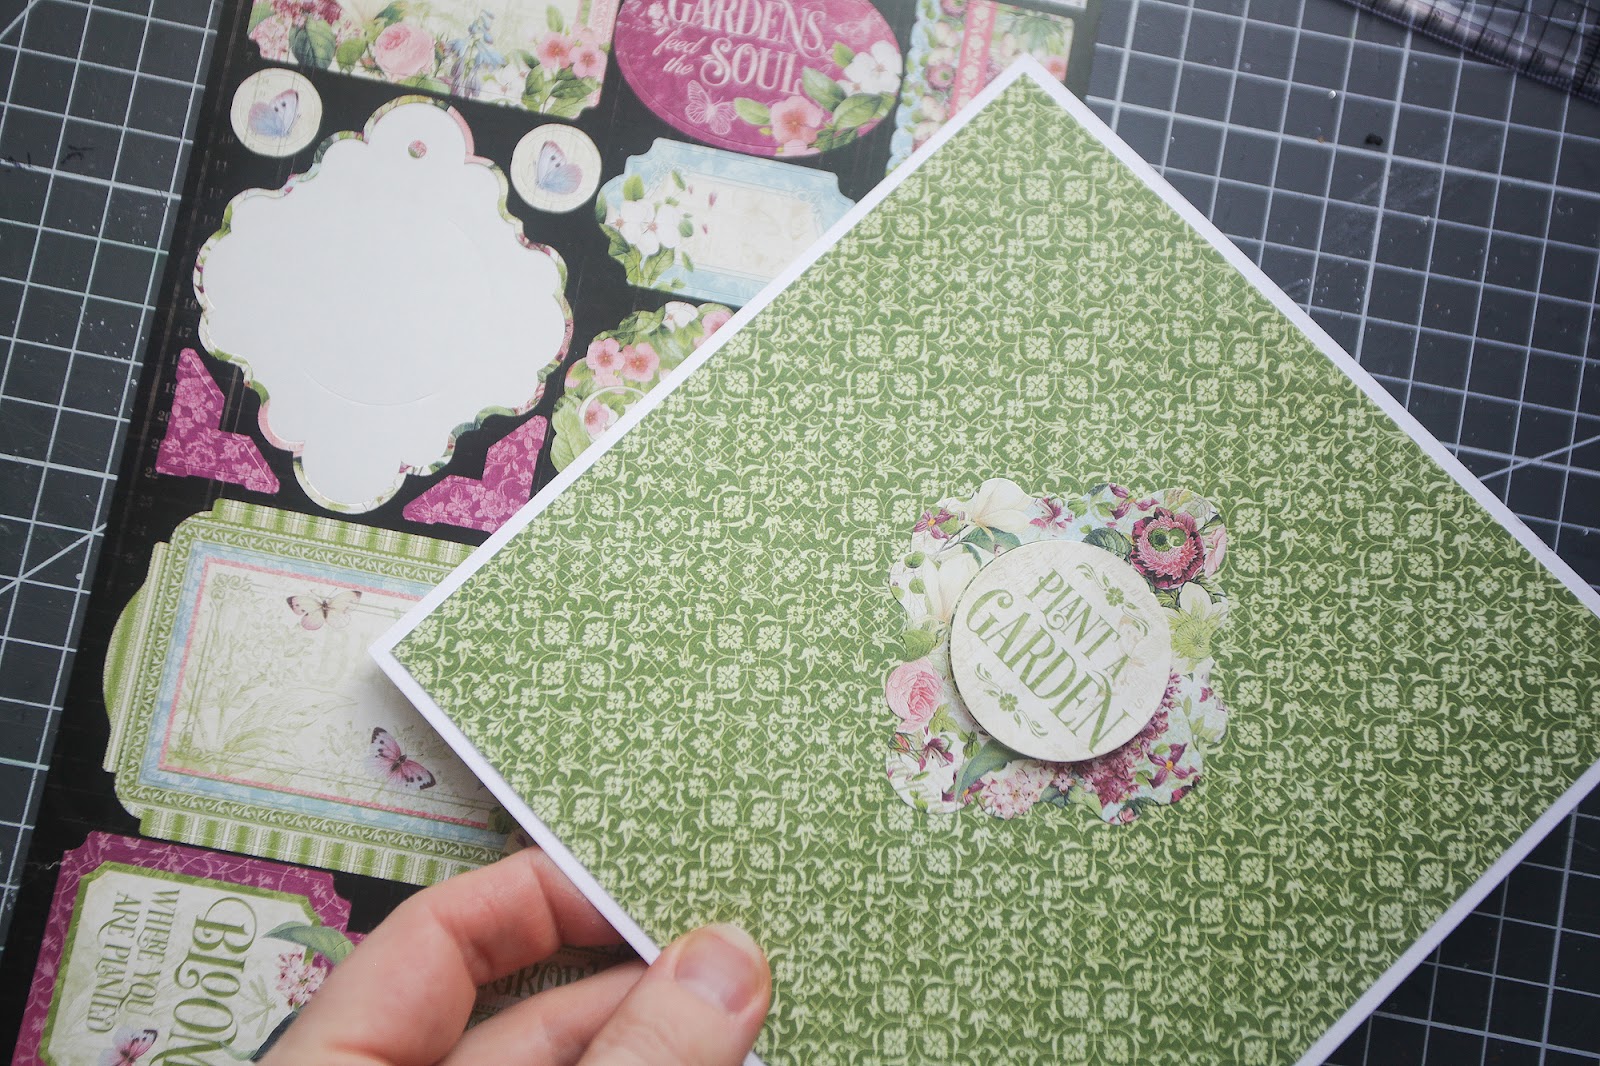
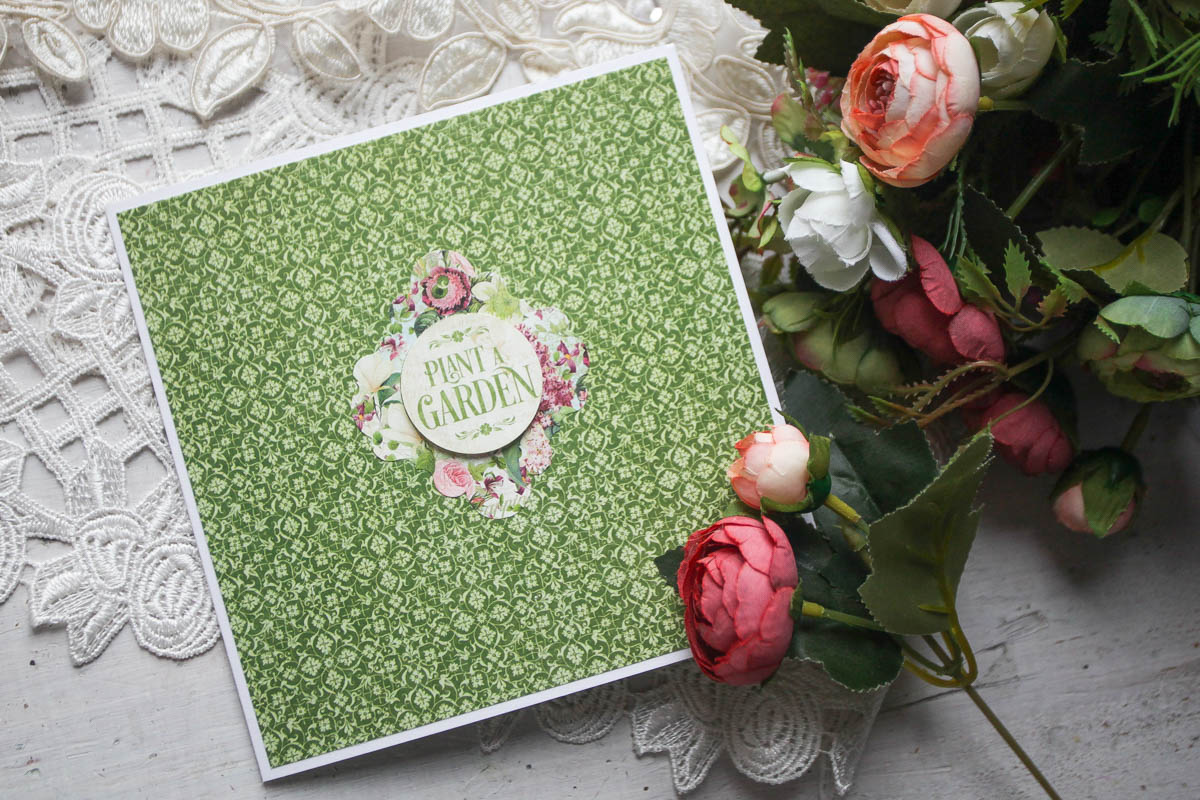
14. Decorate the front of the card with a sticker.
15. Open the card and enjoy the wow effect.
Tips:
-The shape of the basket may be oval with only two creases and even circle if you stick the gluing tabs further away from the spine
-Fill in the basket with fussy cut flower elements gluing them to all parts of the construction,
-Add dimension by using adhesive pads.
-Glue the highest flower elements from both parallel sides back to back to make the basket look solid.” ~Vera
Graphic 45 Supply List:
|
|
|
Other Supplies:
White cardstock
What a wonderful card, and a beautiful introduction to our talented new Brand Ambassador, Vera! Help us welcome Vera to the G45 family by leaving your love in the comments below. Be sure to try your hand at this pop-up card, and when you do we would love to see your work on our Graphic 45 – Official Community Page on Facebook. We hope you have a fabulous weekend.
Happy Papercrafting!