Each month we get a lot of requests for more 12″x12″ Scrapbook Layouts, so we are please to deliver a delightful and simple Woodland Friends Layout. This picturesque quilt like layout and step by step tutorial have been brought to us today by the ever so talented Graphic 45 Brand Ambassador, Lea Muskotevc aka Memories By Lea. Before you dive in we have great news, our Vol 05 Kits are now available!
Travel Folio, Passport Holder and Pop-up Card Set
“Hello, G45 Crafters!
Today I would like to share with you a 12×12 layout. Years ago, before I started creating mini albums all my albums were filled with 12×12 pages. I still remember how much I enjoyed making them. It has been so long since I have made one. Today’s project is perfect for all of you that still enjoy making these kinds of layouts.
Take a piece of paper and cut it at 11-⅞’’ x 11-⅞’’.
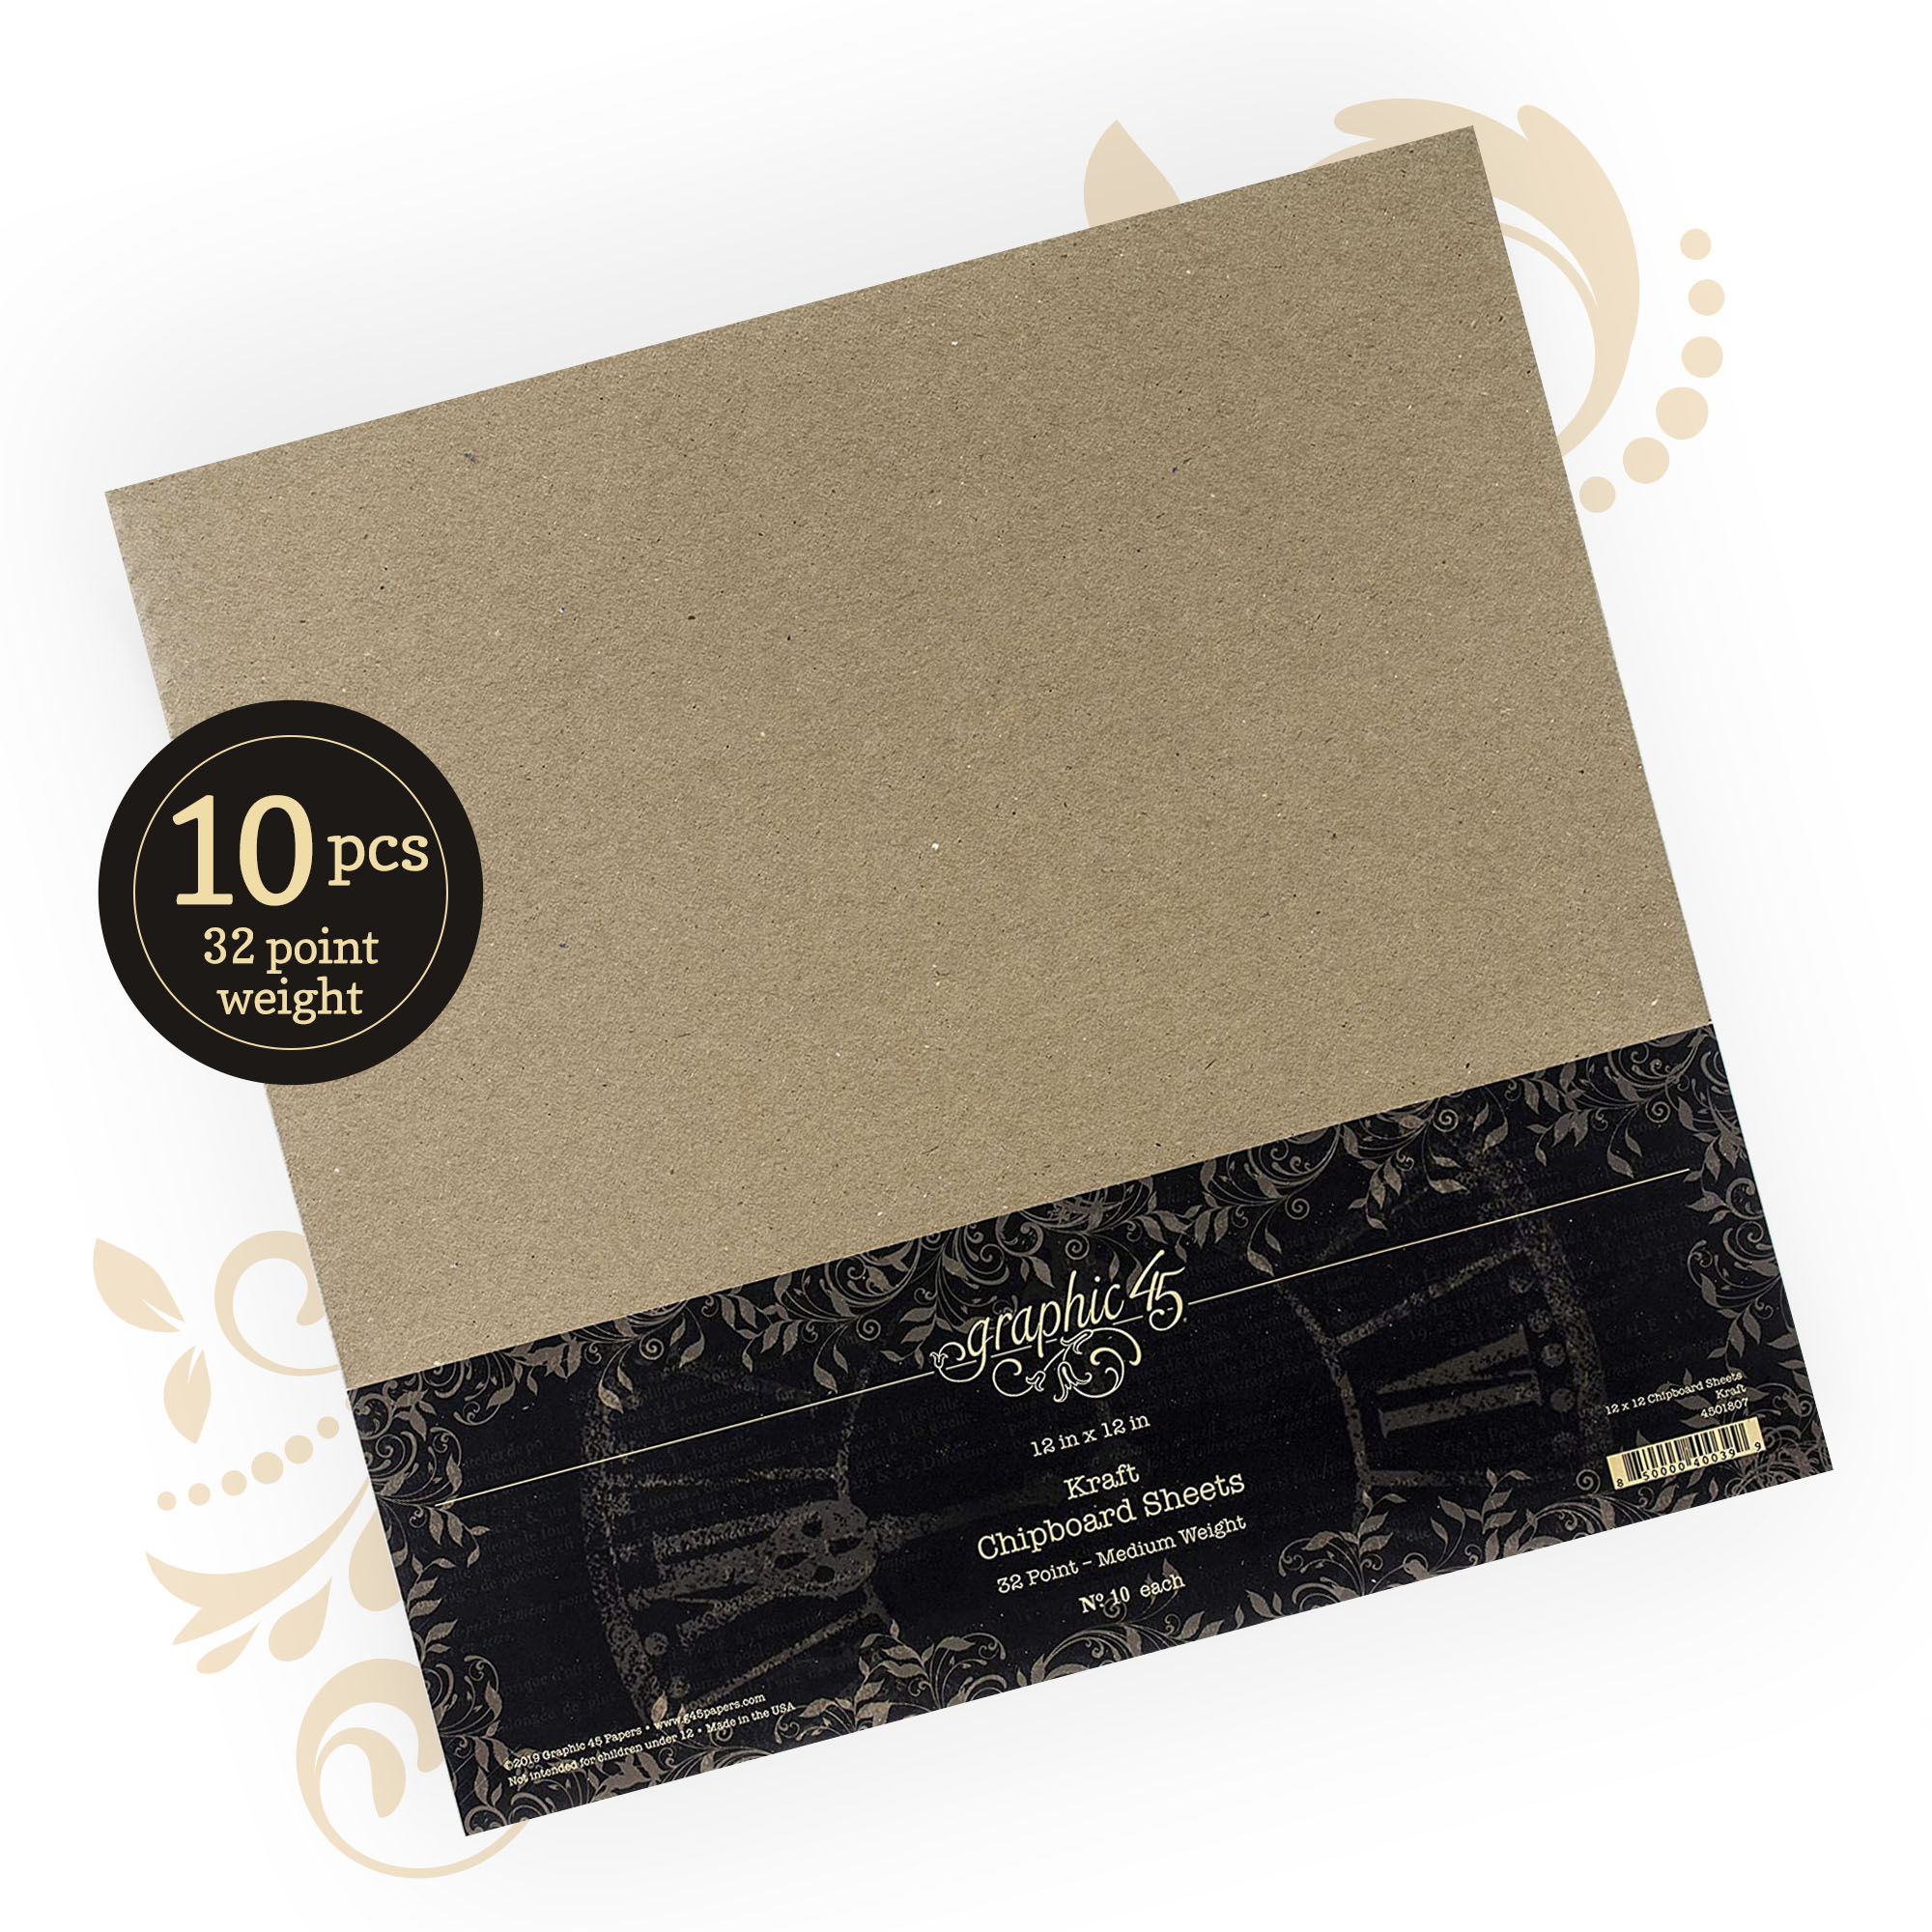
Take a piece of 12×12 cardstock.
Adhere the paper to the cardstock.
Cut a piece of (Patterns & Solids) paper at 4’’ x 11-⅝’’.
Cut a piece of (Woodland Friends) paper at 3-⅞’’ x 11-½’’.
Adhere (Woodland Friends) paper to (Patterns & Solids) paper.
Adhere both pieces to (Be Clever) paper, 1’’ from the left edge.
Take (Patterns & Solids) paper and cut it to 6-½’’ x 3-¾’’.
Adhere the paper ⅝’’ from the top edge of the page.
Take (Be Carefree) paper and cut it to 11’’ x 4’’.
Center the paper 1/16’’ from edges of the (Patterns & Solids) paper.
Cut a piece of cardstock at 2-½’’ x 10’’.
Cut a piece of (Be Kind) paper at 2-⅜’’ x 9-⅞’’.
Adhere the paper to the cardstock. Center the piece ⅜’’ from edges of the (Be Carefree) paper.
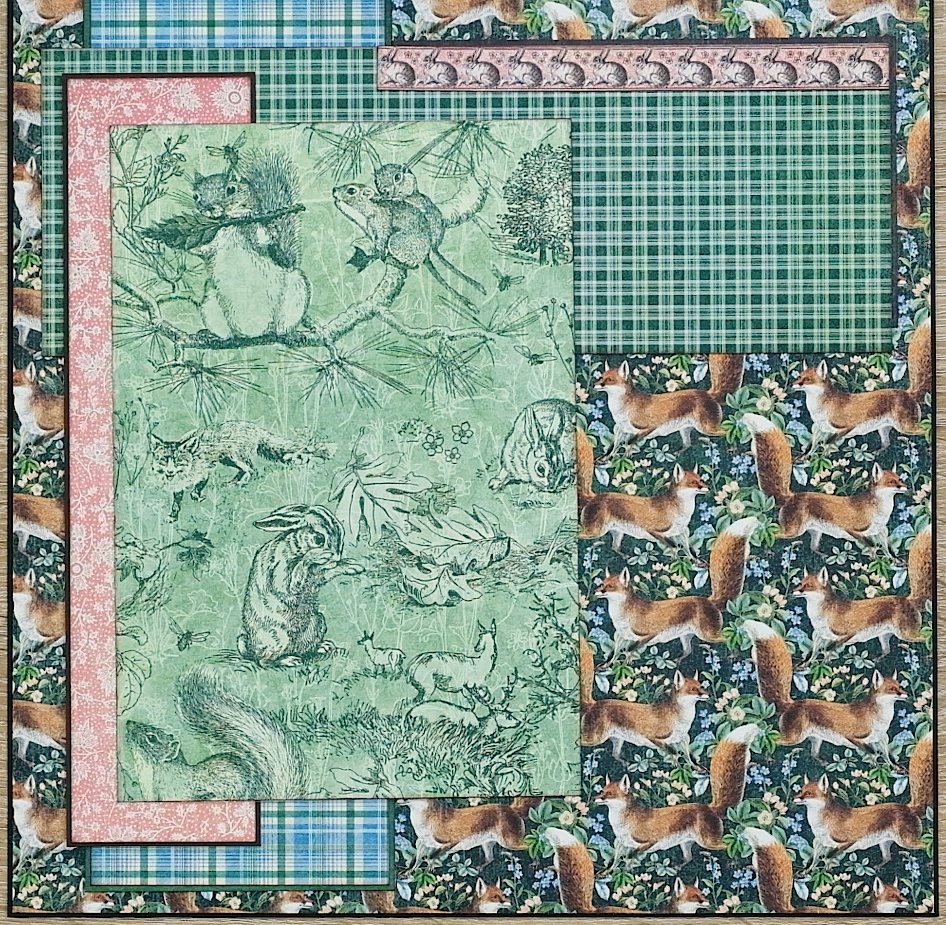
Cut a piece of (Patterns & Solids) paper at 6’’ x 8-¾’’.
Center the paper ⅝’’ from the left edge of the (Be Kind) paper.
Cut out a border and place it to the upper section of the (Be Carefree) paper.
For the mat, cut (2) pieces of cardstock.
Cut pink cardstock at 9-⅜’’ x 7-⅛’’.
Cut brown cardstock at 9-½’’ x 7’’.
Adhere brown cardstock to a pink piece of cardstock.
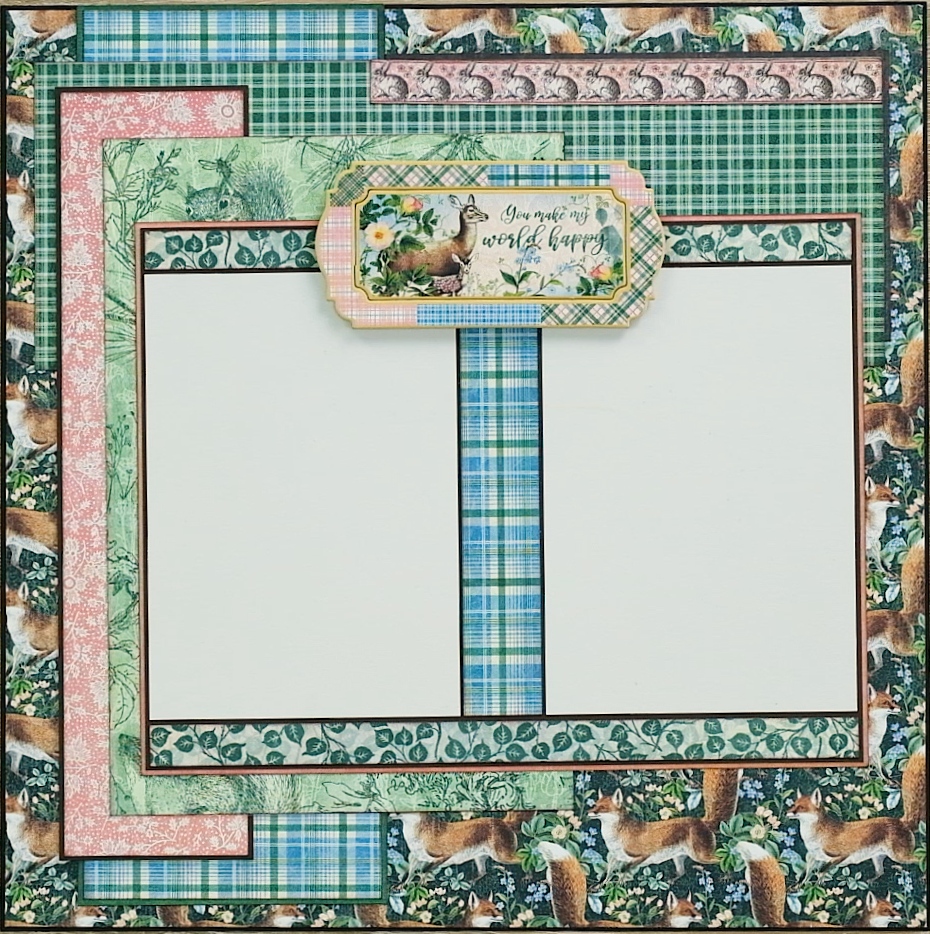
Cut (2) pieces of (Be Beautiful) paper at 9-⅛’’ x ½’’ .
Center them to the top and bottom sections of the cardstock.
Cut (2) photo mats at 4’’ x 5-¾’’.
Center them to each side of the mat, between both (Be Beautiful) papers.
Cut a piece of (Woodland Friends) at 1’’ x 5-¾’’.
Adhere the paper between both photo mats.
Center the mat to the page.
Take a chipboard element and center it to the top section of the mat, between both photo mats.
I hope you enjoyed the tutorial.
Thank you for stopping by!” ~Lea
Woodland Friends 12” x 12” Patterns & Solids Pad