Hello, G45ers!
Are you looking for a quick and simple DIY box project? Yes, of course? Today, we have a #SimplyG45 Pillow Box tutorial by our fabulous Brand Ambassador from South Africa, Tanya Cloete. These fun and easy boxes have been created using our Seasons paper collection and our Metal Brads. Tanya has used a Metal Die to create these boxes, but pro tip, inside each of our 8×8 paper pads you will find a pattern template for this same Pillow Box. So, let's jump to it!
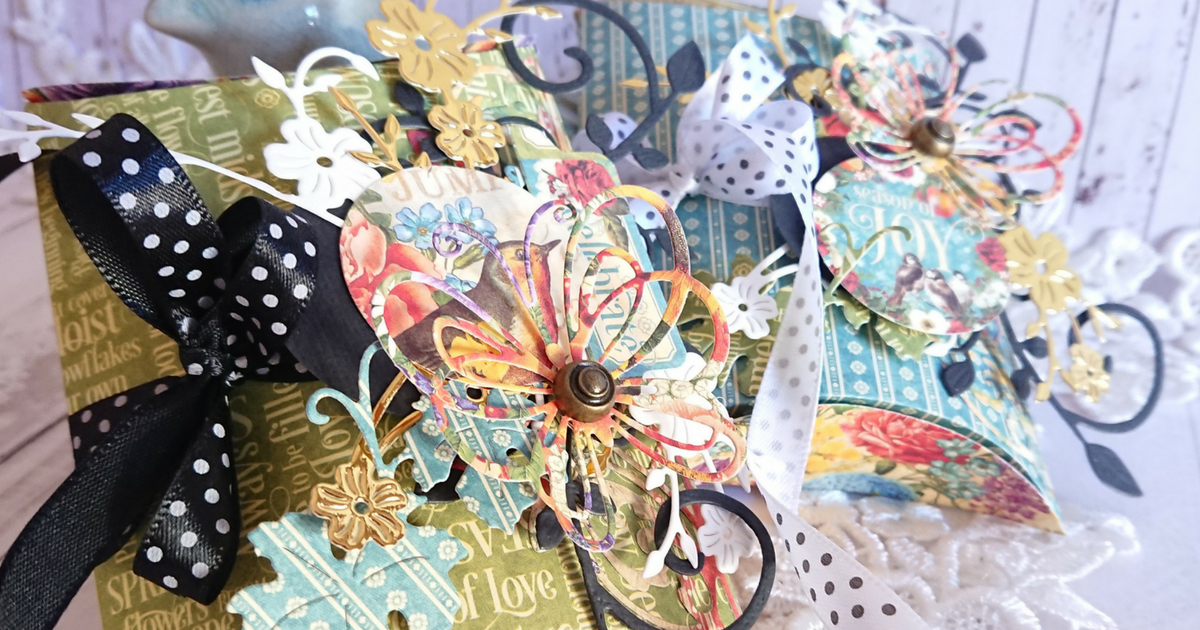
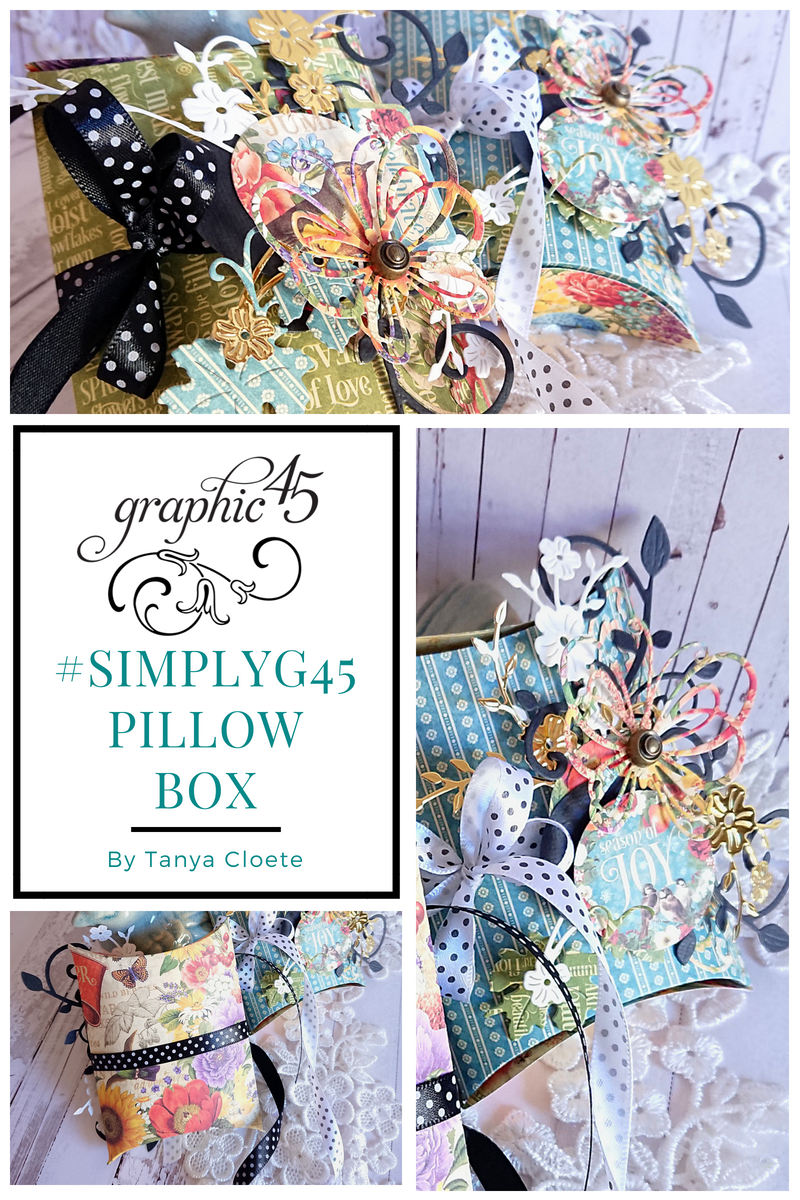
#SimplyG45 – Pillow Gift Boxes
By Tanya Cloete
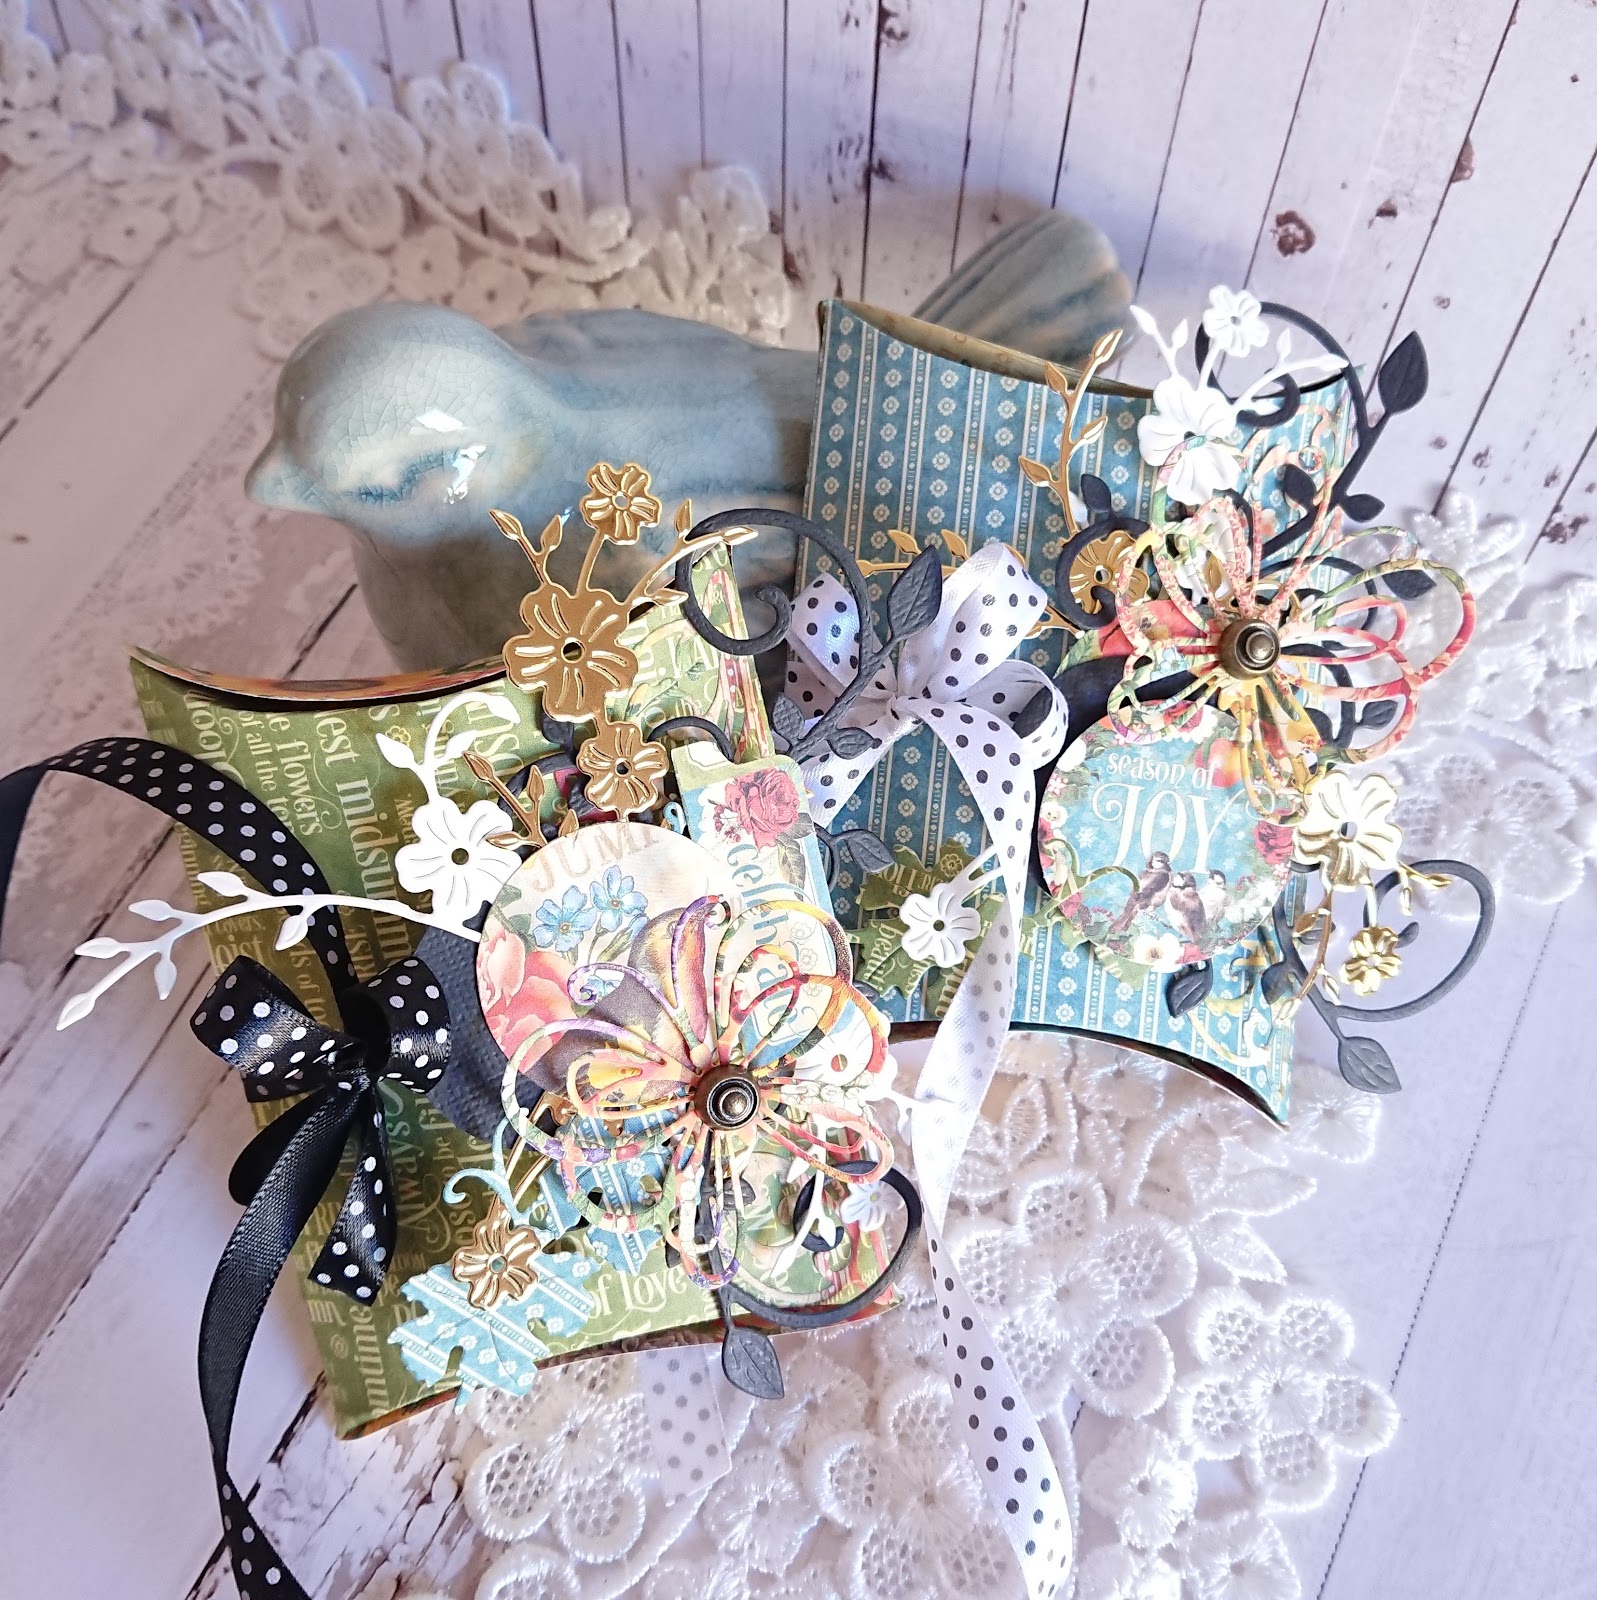
“Hello dear G45ers! Happy to share with you my project for this month #SimplyG45 using the beautiful Seasons Collection. I made these pretty little gift boxes using just some cutting dies and some leftover die cuts that I had in my stash. Affordable, easy done in 60 minutes or less.
I always keep some extra die cuts left over from a previous project to use on a next one. These are usually from colored cardstock. These die cut shapes are also nice to have on hand for a quick and easy project!
Here with the Supplies and Instructions you may use to recreate such a project:

Graphic 45 Supplies:
Other Supplies:
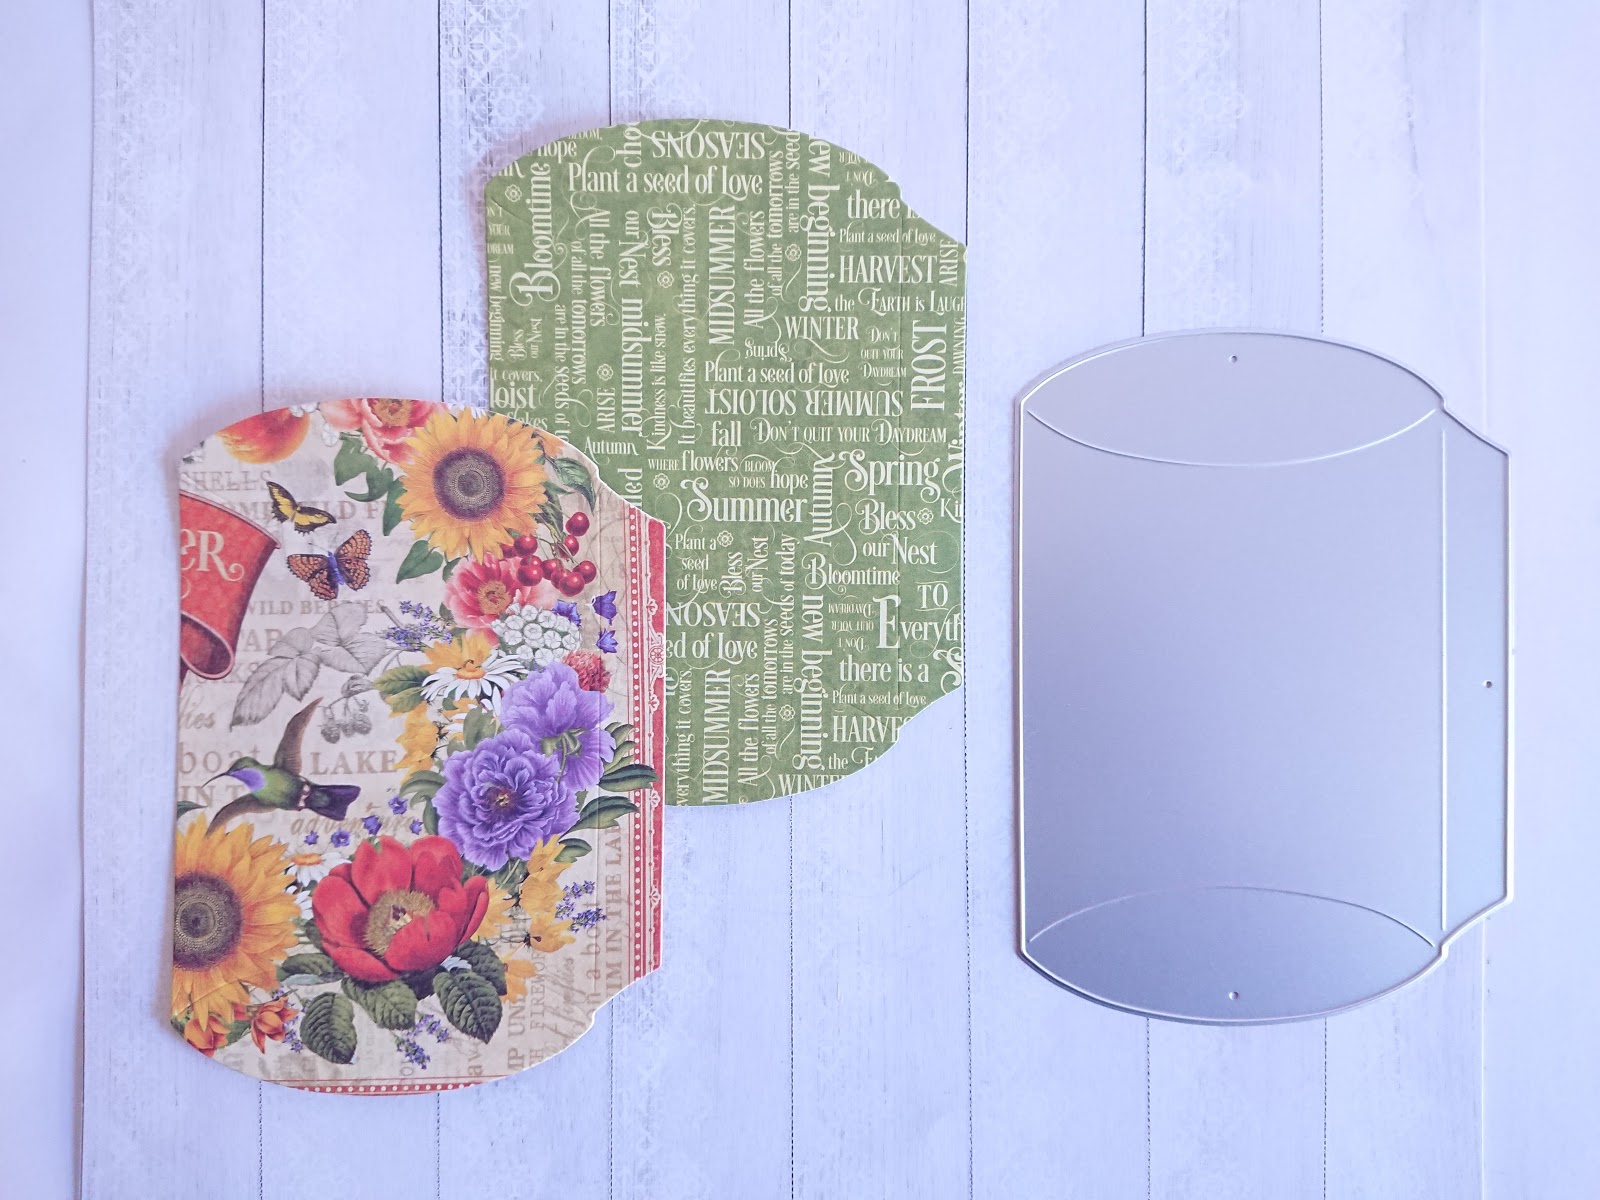
Cut 2 shapes from the collection sheet using the pillow box die. Assemble accordingly.
Tip: Use red double sided tape to adhere the boxes. This makes assembly easy and will prevent the box from falling apart.
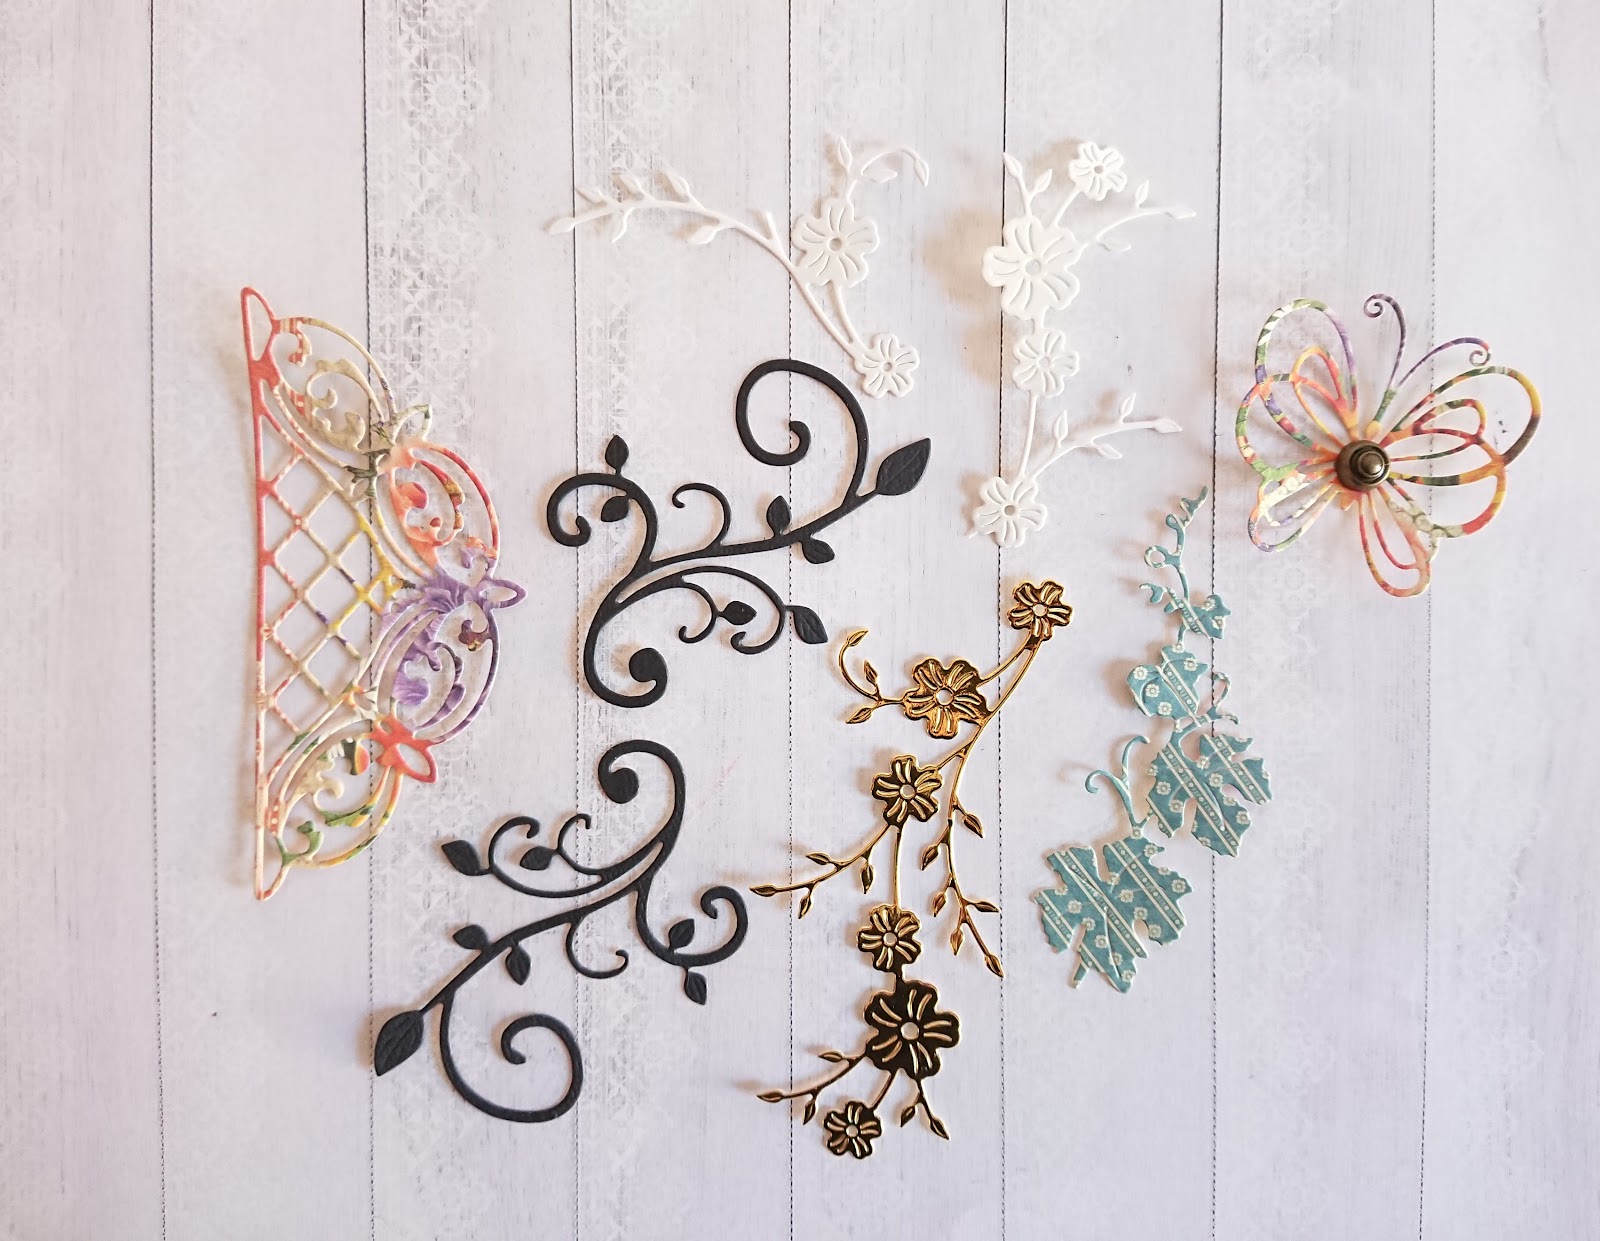
Cut a few shapes from the collection sheets using various dies. The black and gold shapes are from my stash.
Tip: Did you know… you can use wax/parchment paper to place on your die and then your cutting material before putting it through your die cutting machine. This will make removing the shape from the die easier.
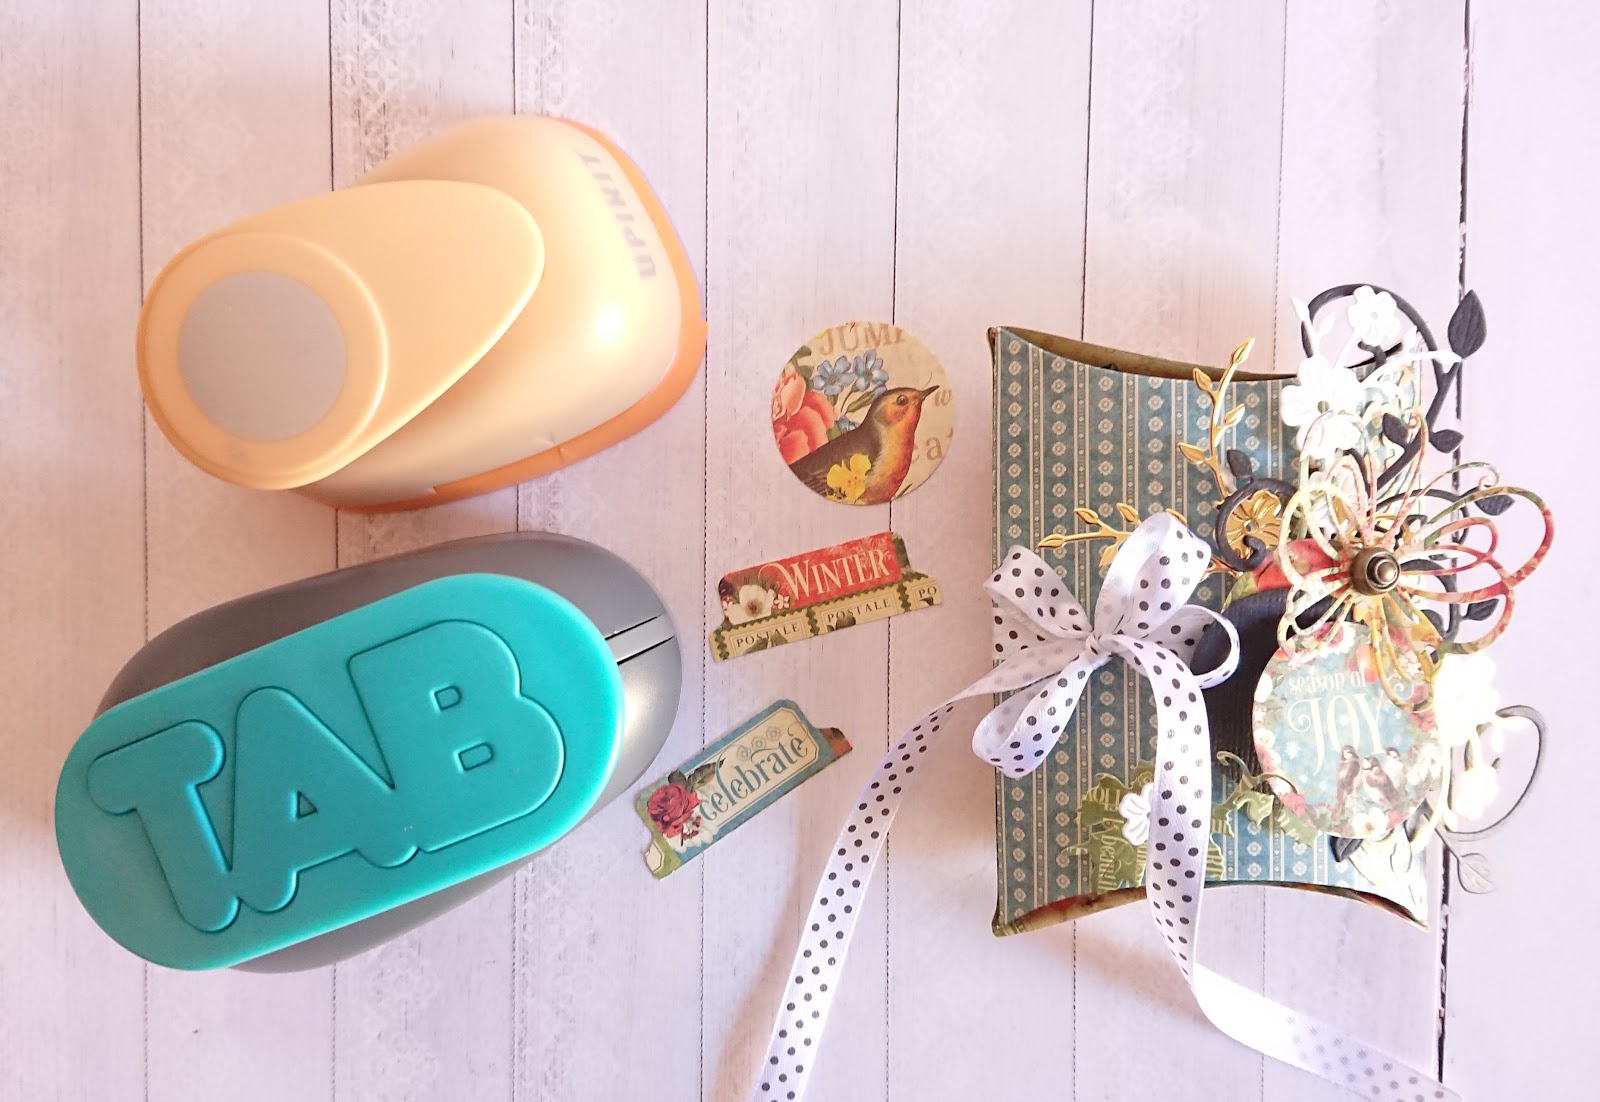
Use shape punches to punch out sentiments from the collection sheet to add as a beautiful gesture to your boxes.
Add the ribbon to your box first. Make a bow.
Tip: Make a double bow, make sure your ribbon piece is long enough (I used a meter).
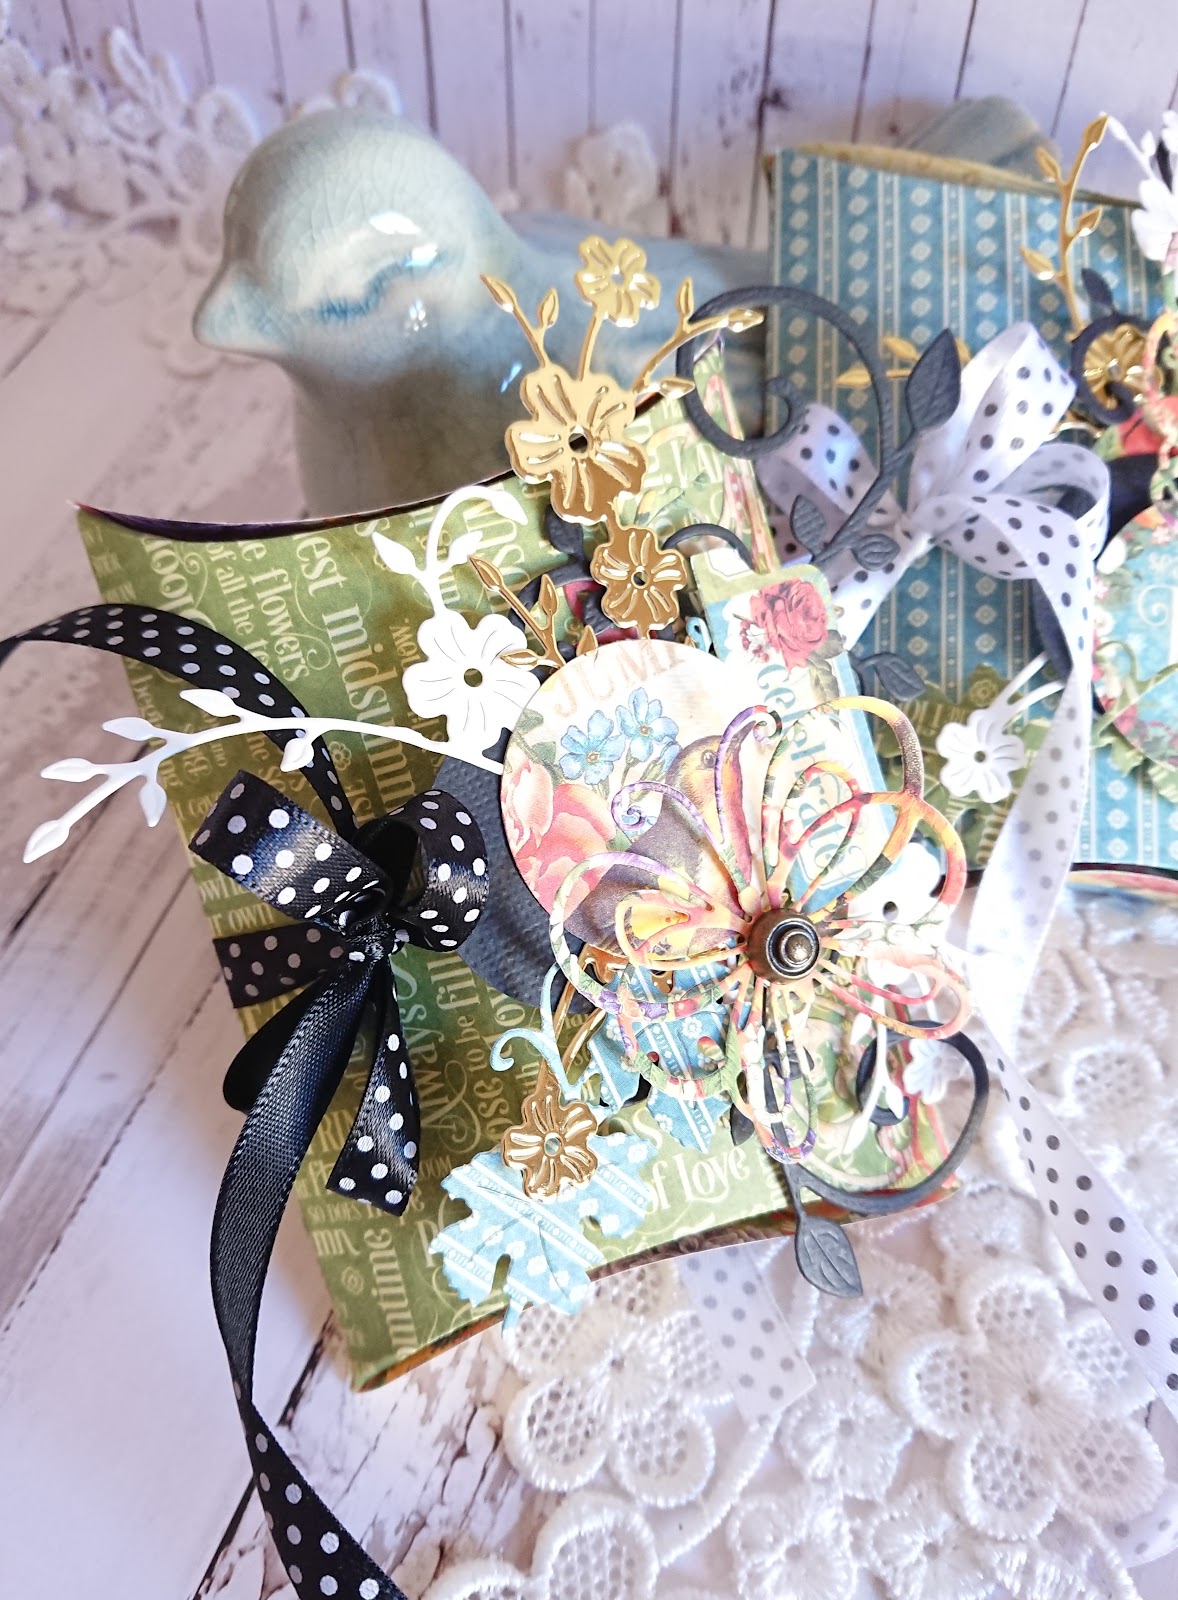
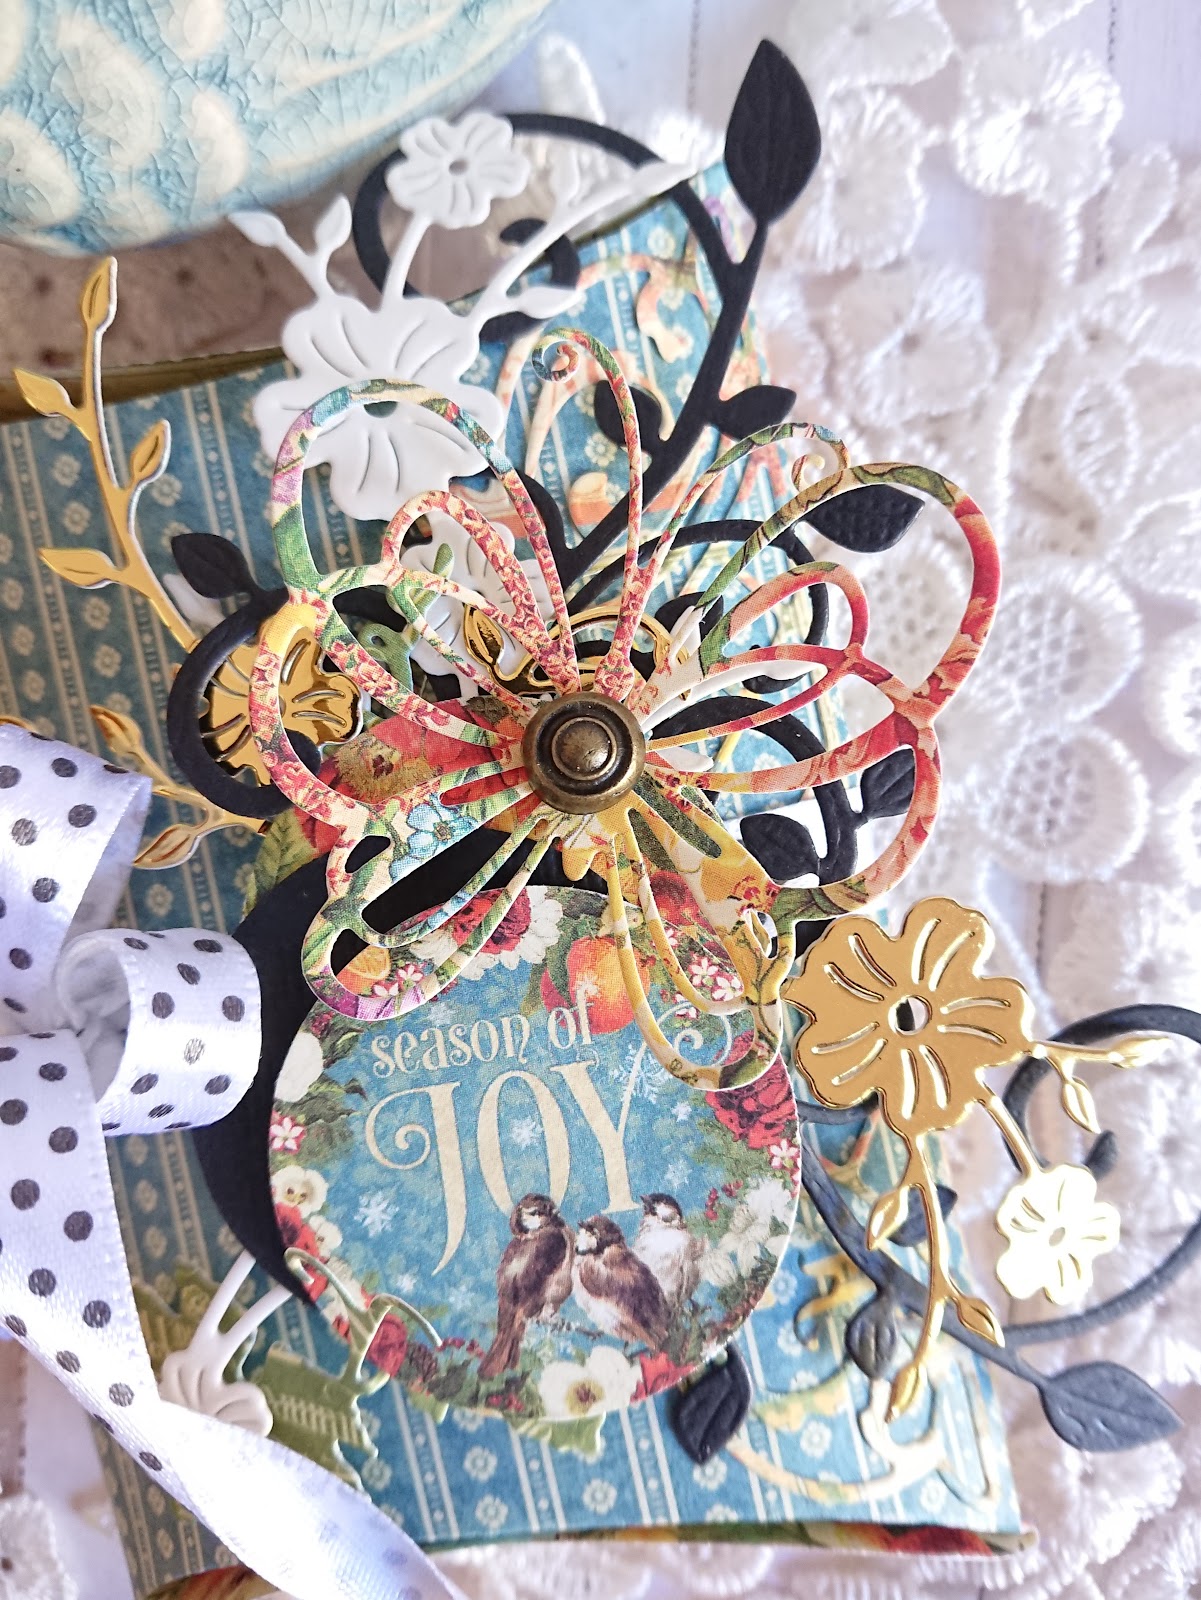
Build your cluster with the die cut shapes. Add the G45 Brad (remove the 'arms') to the centre of butterfly and adhere on top.
Tip: Adhere to the box using foam adhesive squares…giving the cluster dimension.
Now you can add a little gift or chocolates on the inside of your pretty gift boxes." ~Tanya
What simple and wonderful gift boxes! We extend our deepest gratitude to Tanya for sharing these boxes, tips, and these step by step directions. We hope you give this tutorial a try and be sure to share your projects on our Graphic 45 – Official Community Page. We want to thank you for joining us, you make our creative wheels turn round and round!
Happy Papercrafting!