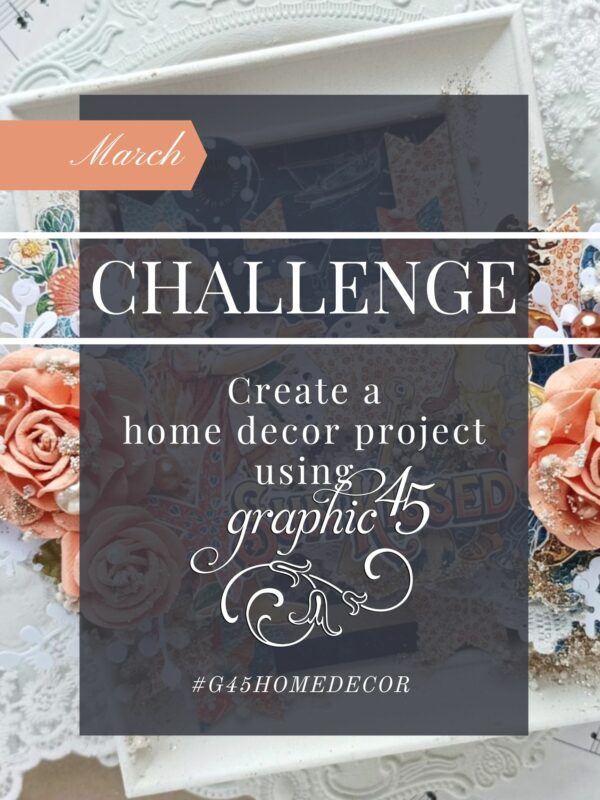
Unleash your creativity with Graphic 45! Join Katelyn Spencer, as she transforms G45 Tags and Let’s Get Artsy paper into a stunning wall-hanging masterpiece. Grab your papers and follow along with Katelyn’s easy step-by-step tutorial. Don’t forget to share your creation in the March #G45HomeDecor Challenge! But first, we are thrilled to announce the WINNER from our Facebook Live contest. The lucky winner of the $100 Graphic 45 Gift Certificate is… Joan Johnson Eldridge! Joan, please email info@g45papers.com to claim your prize.
“Hey Everyone!
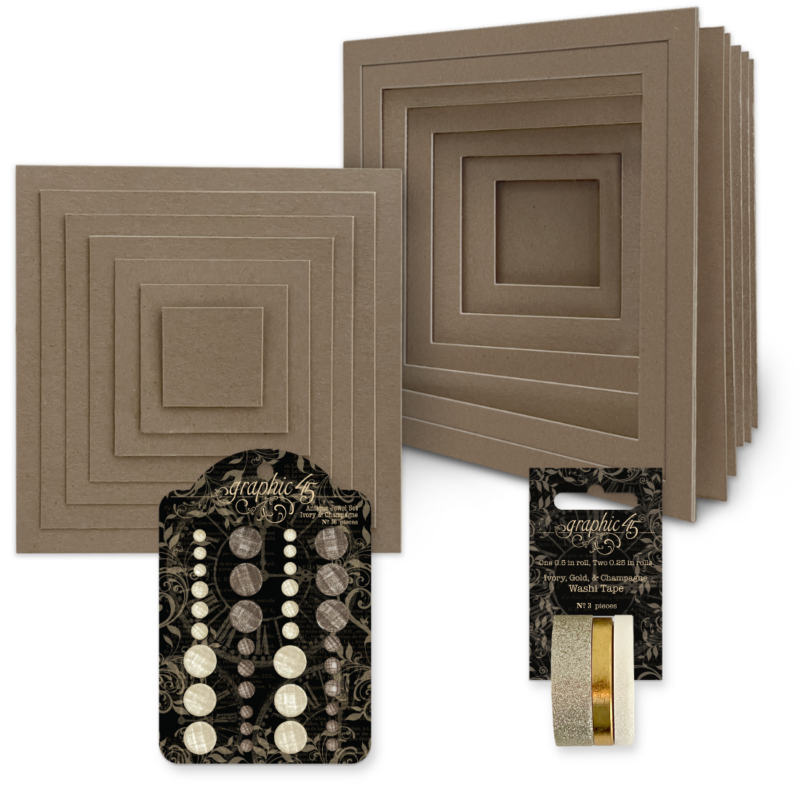
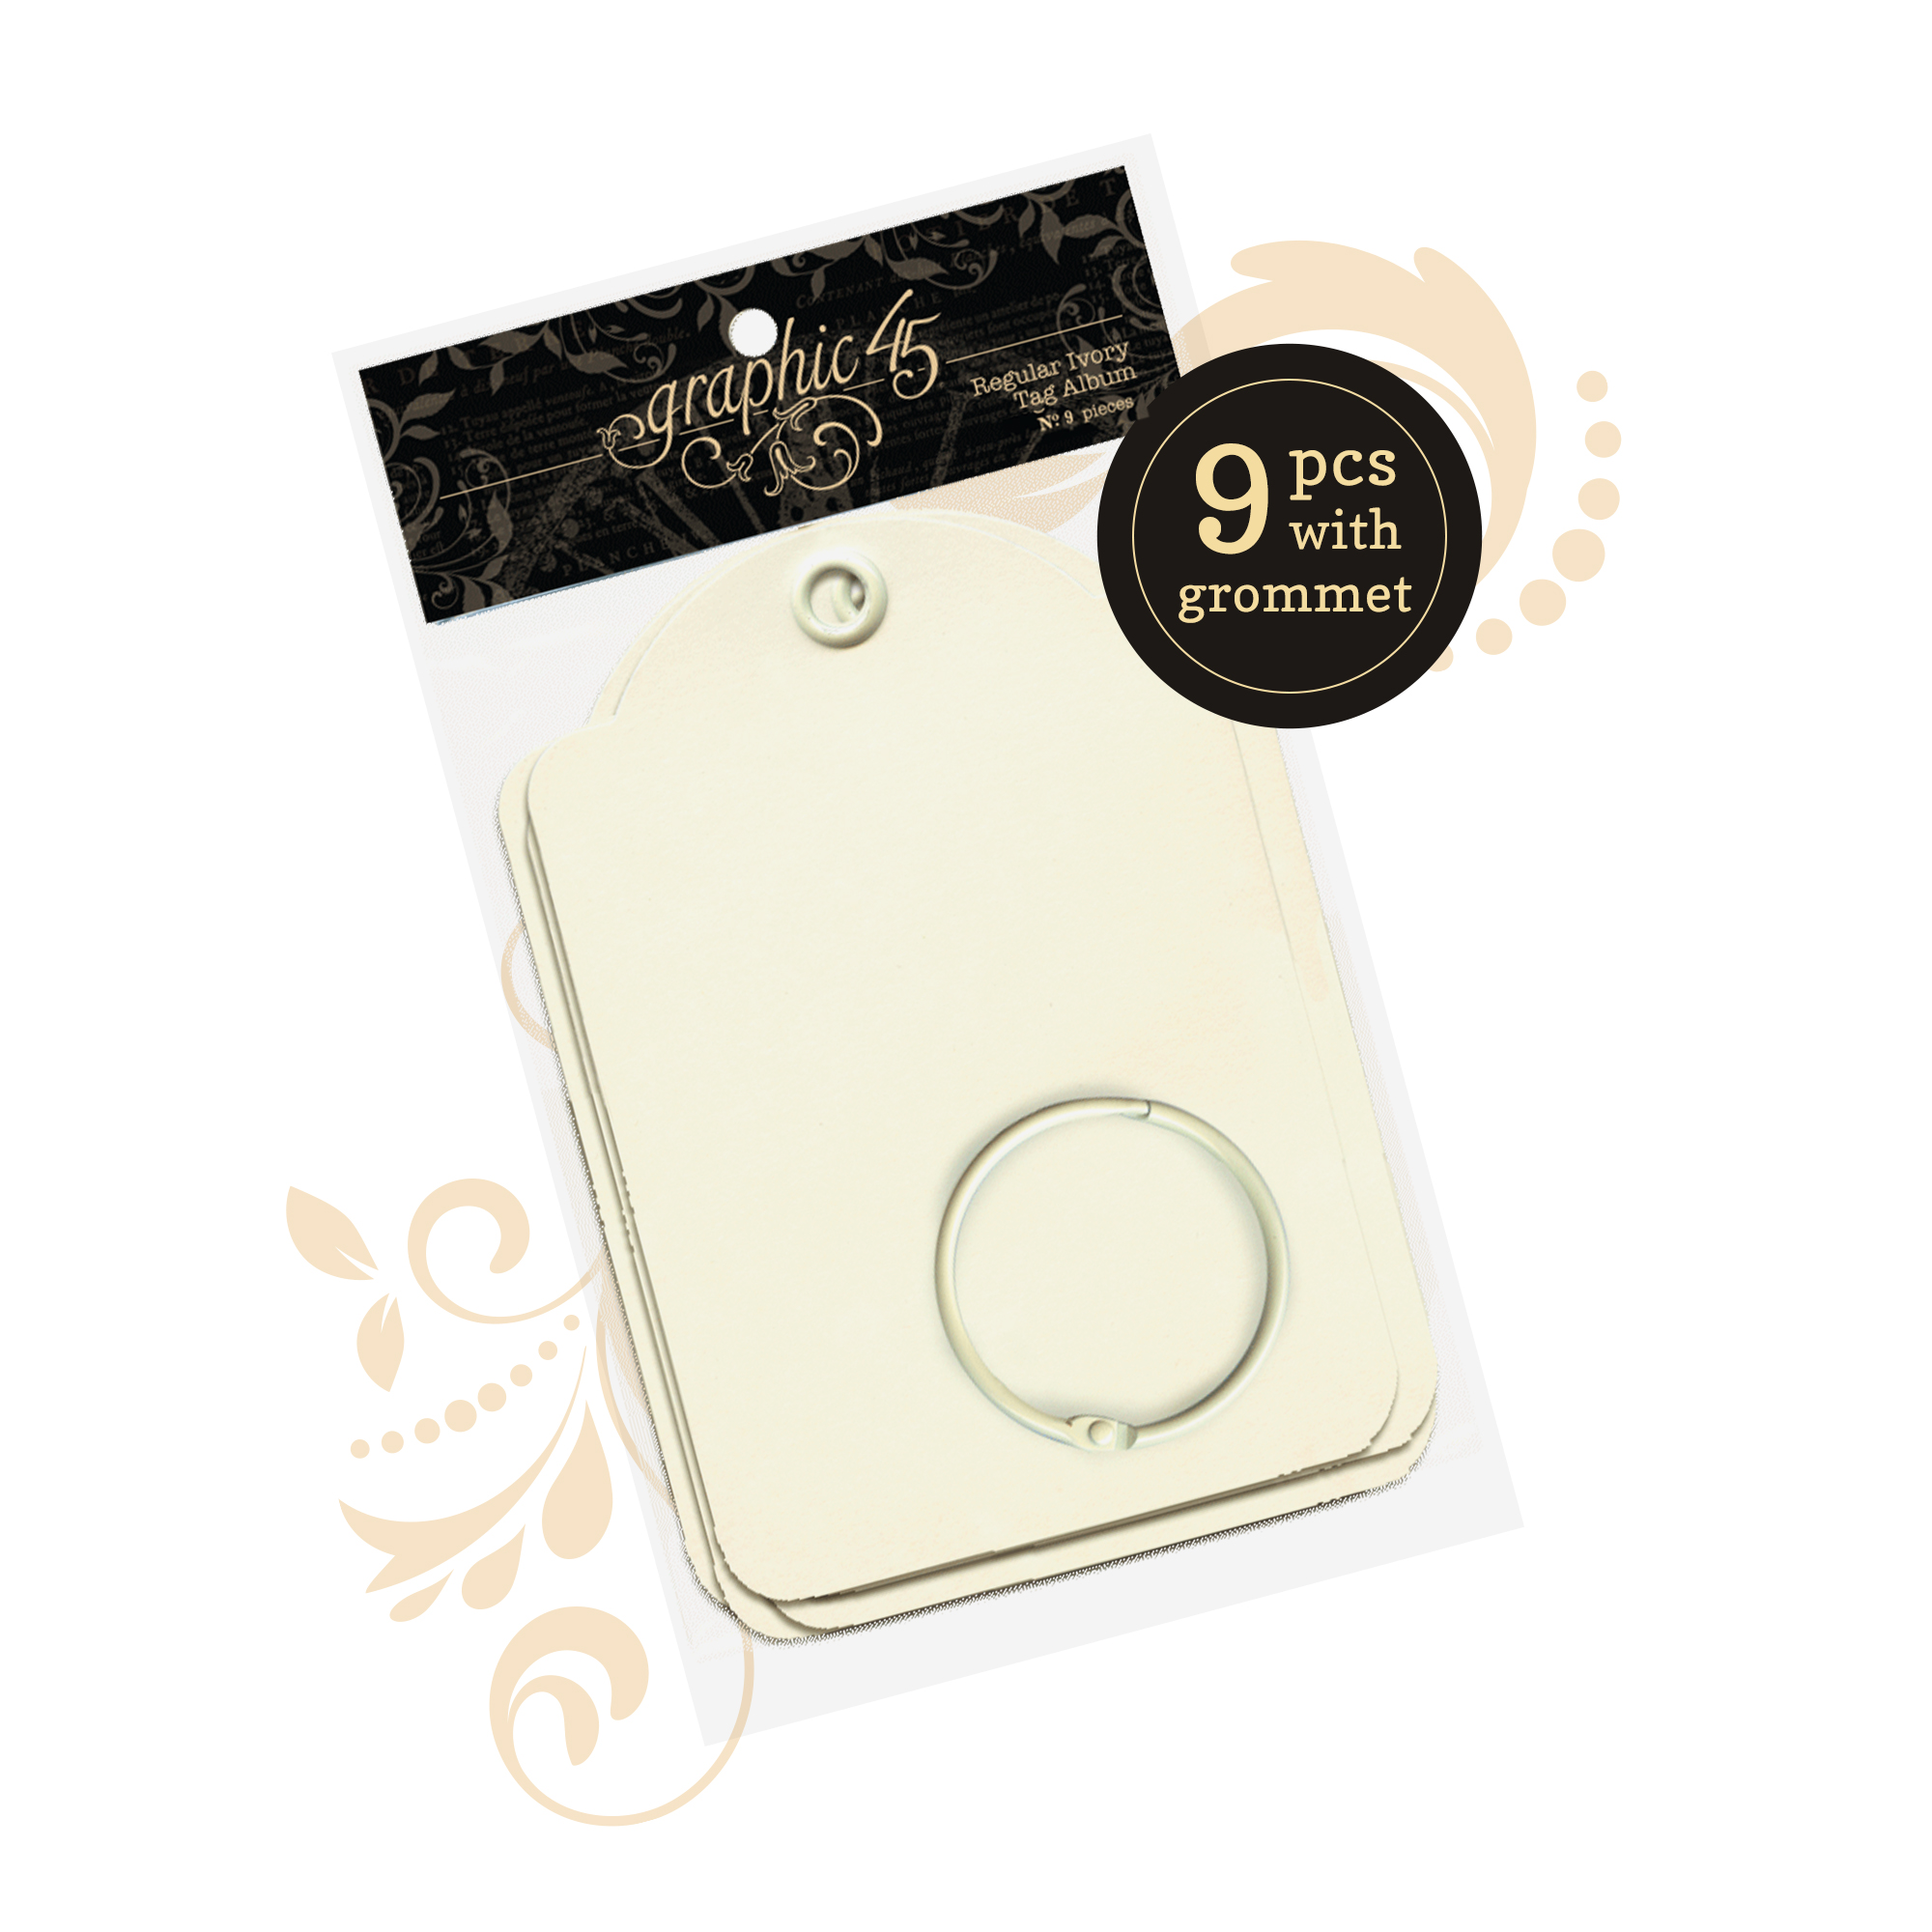
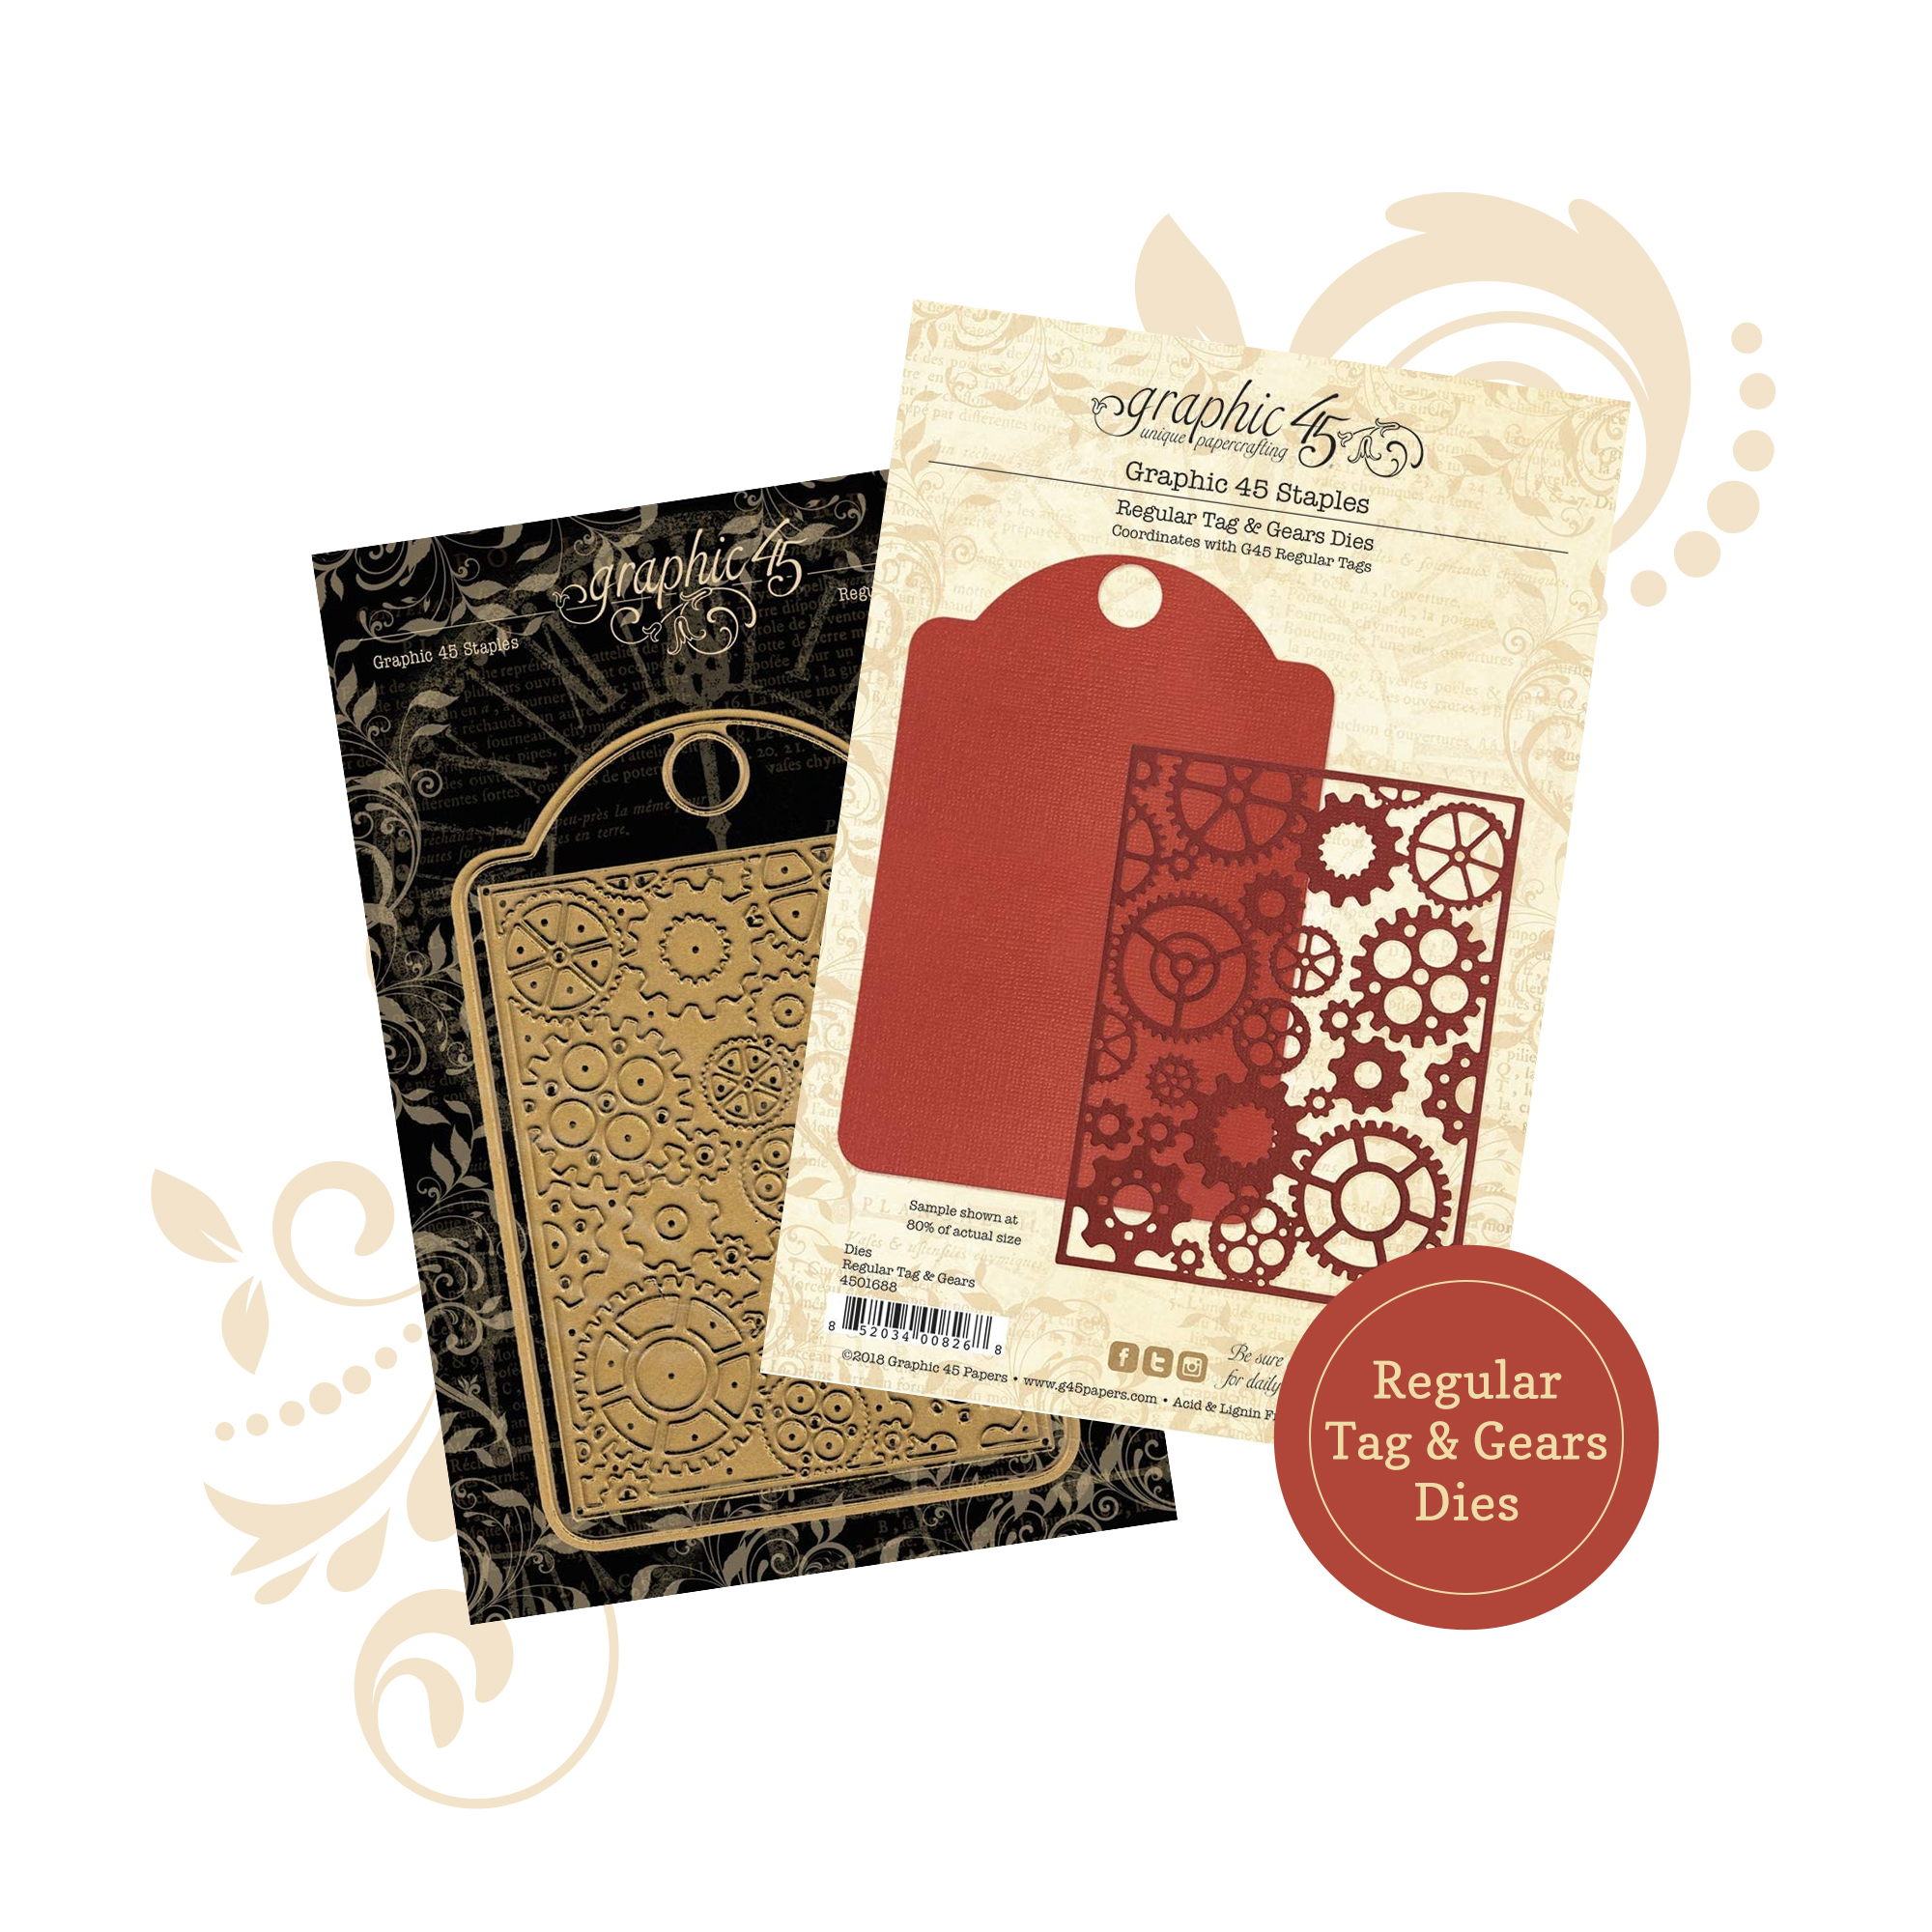
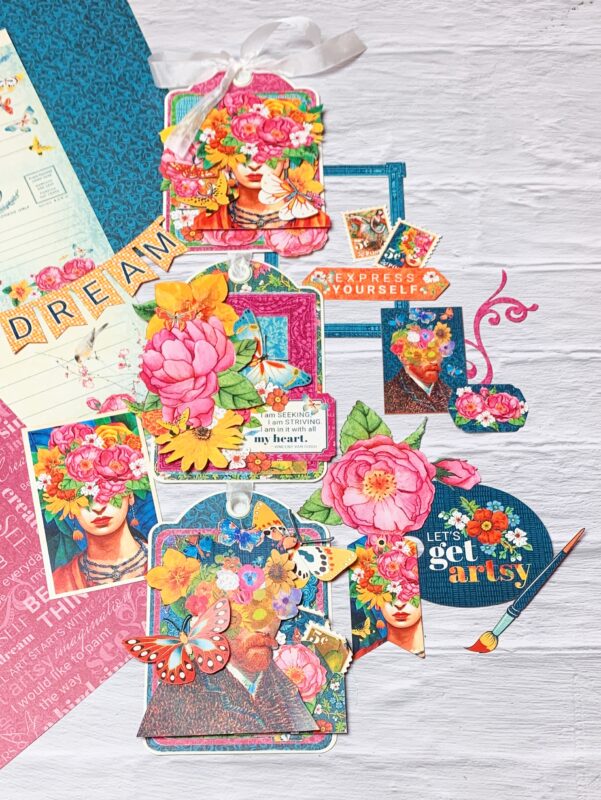
I’m thrilled to be back on the blog this month sharing these beautiful vibrant Artsy Wall Hanging perfect for hanging in your craft room or in a room within your home. This wall hanging features the Let’s Get Artsy Collection, Regular Ivory Tag and Regular Tag & Gears Metal Die.
Read below as I share with you how I created this Artsy Wall Hanging.
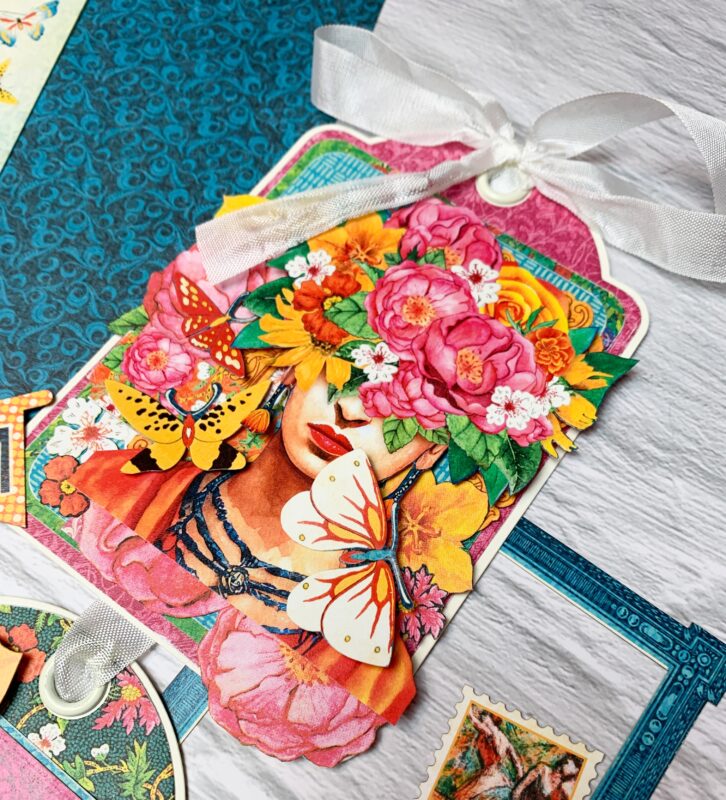
To start, we’ll create the tag with the Lady on it.
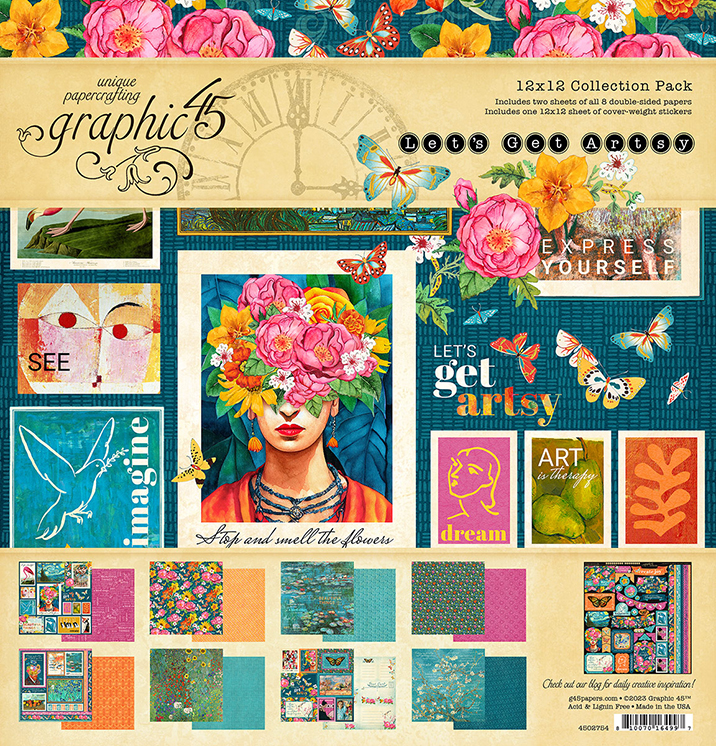
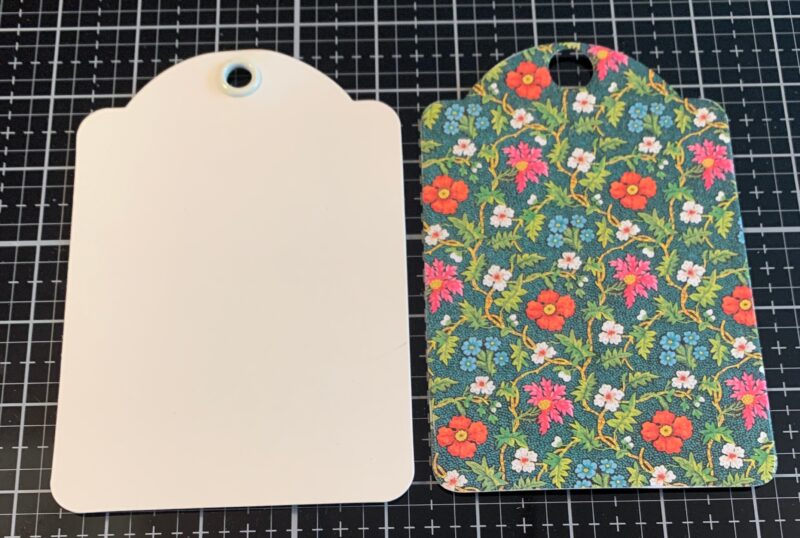
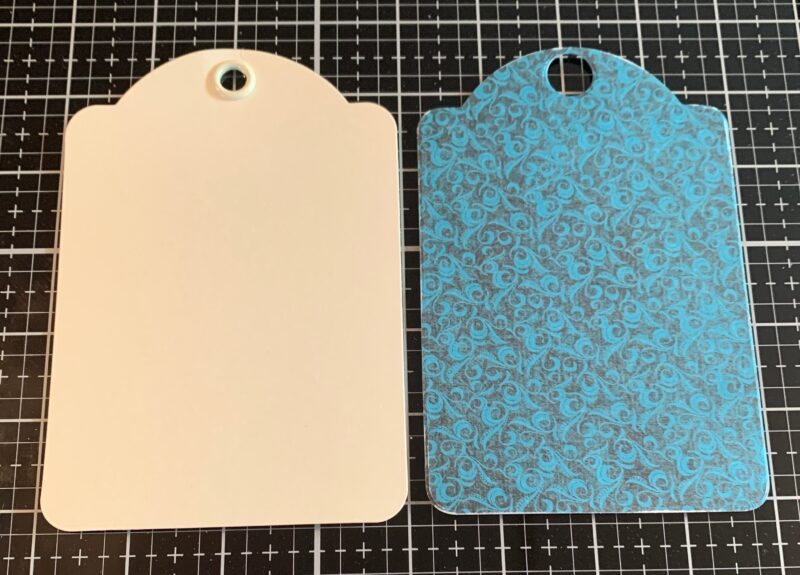
To start, you’ll need a regular ivory tag. Out of the Let’s Get Artsy 12×12 Collection Pack you’ll need the Discover Joy Paper. Make sure the magenta flourish side is showing and die cut the regular tag die from the Regular Tag & Gears Metal Die out of the paper. Sand the edges of the paper.

Next, you’ll need the Paint Your Dreams paper. From the floral side, cut a piece that measures 3 ½” x 4 ⅝”. Flip the paper over and cut a piece that measures 3 ¼” x 4 ⅜”. Round the corners of each paper. Sand the edges of each paper.

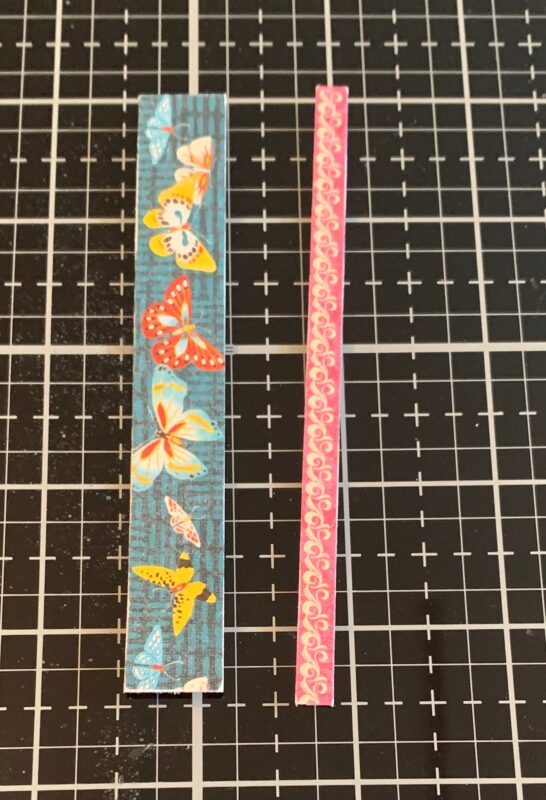
Cut the border strips off of the Art is Therapy paper. Cut the butterfly border strip down to 4 ⅜”. Cut the pink flourish border strip down to 4 ½”. Sand the edges of the border strips.
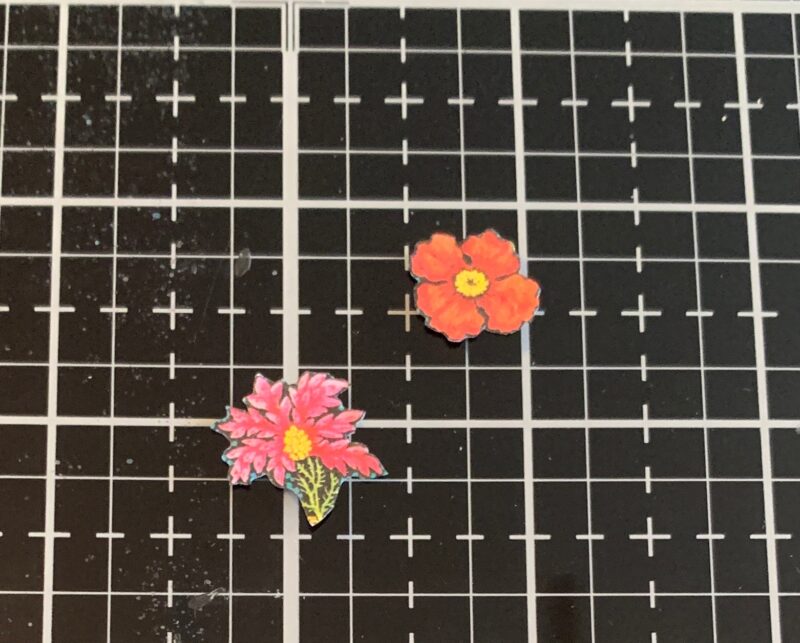
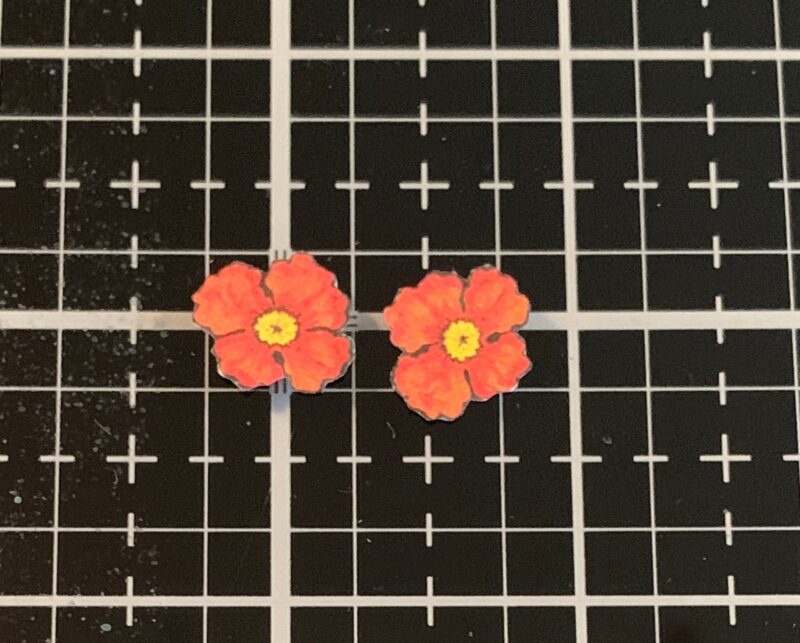
Fussy cut a small red and small pink flower out of the Discover Joy paper.
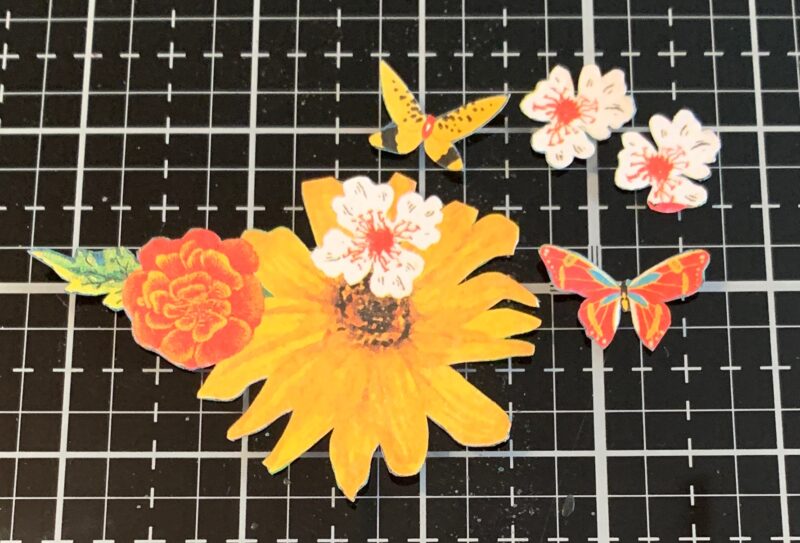
Fussy cut two yellow flowers, two white flowers, two pink flowers attached and a pink flower bunch from the Imagine a Flower Garden paper.
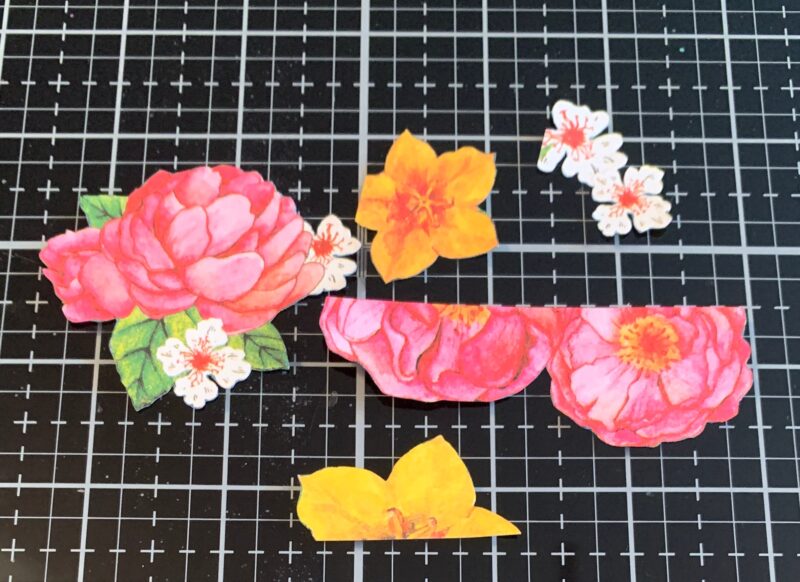
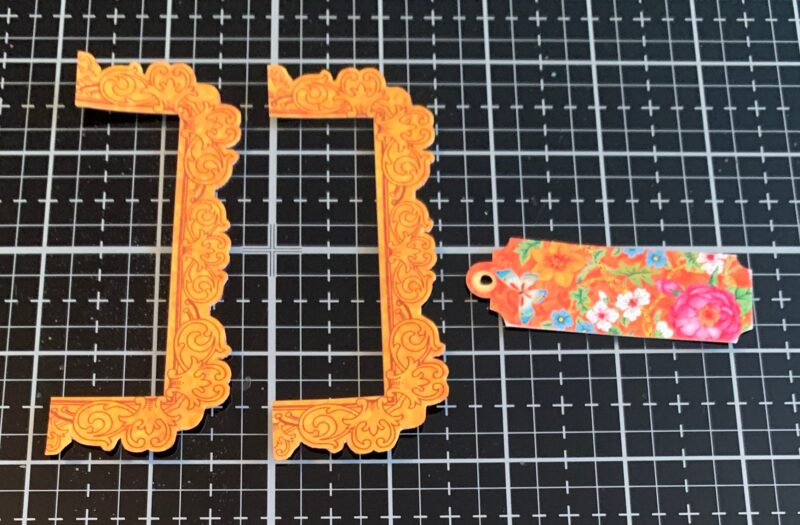
Out of the Let’s Get Artsy Tags & Frames you’ll need the gold frame and orange floral tag. Cut the gold frame in half. Fussy cut around the frame. Sand the edges of the orange floral tag.
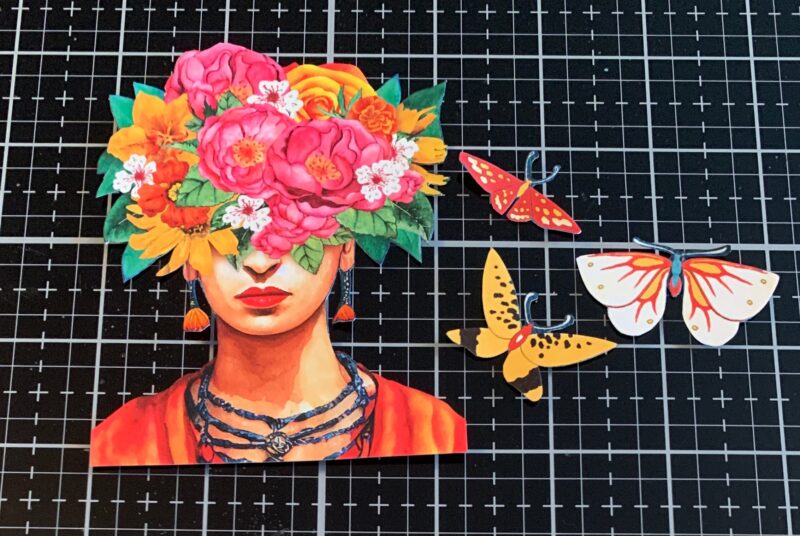
Out of the Let’s Get Artsy Ephemera Assortment, you’ll need the lady with flowers on her head and three butterflies. Fussy cut around all of the images.
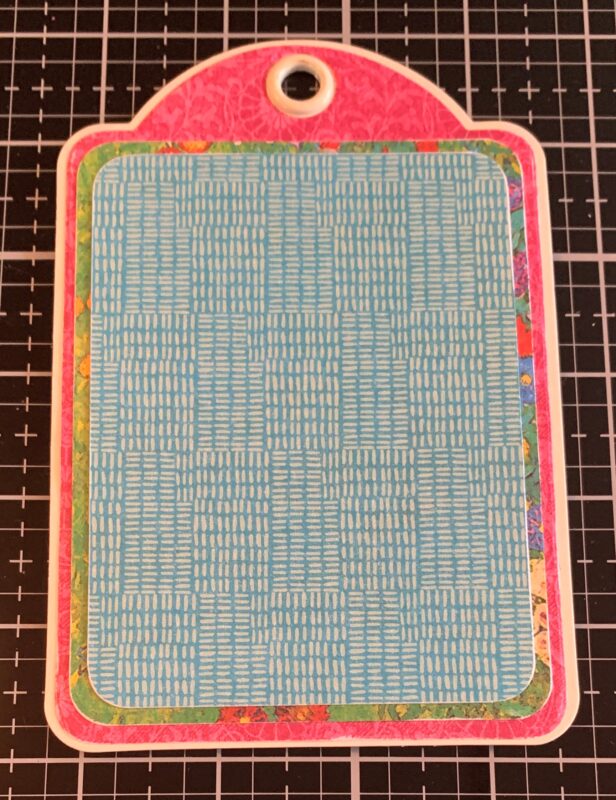
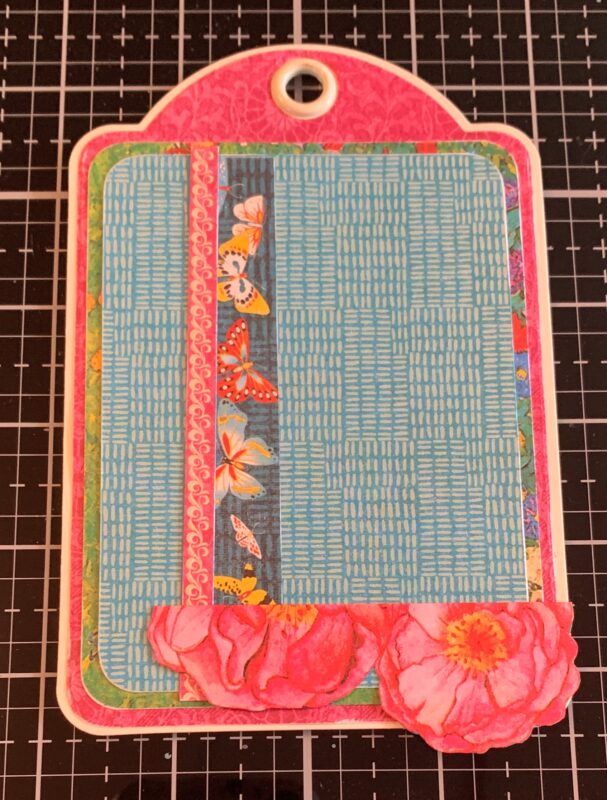
Adhere the paper tag to the ivory tag. Adhere the floral paper to the paper tag. Adhere the blue stripe paper to the floral paper.
Adhere the butterfly border strip ⅞” from the left and 1/16” from the top of the blue stripe paper. Adhere the pink flourish border strip ⅝” from the left and all the way to the top of the blue stripe paper. Adhere the two attached flowers to the bottom right portion of the tag as desired.
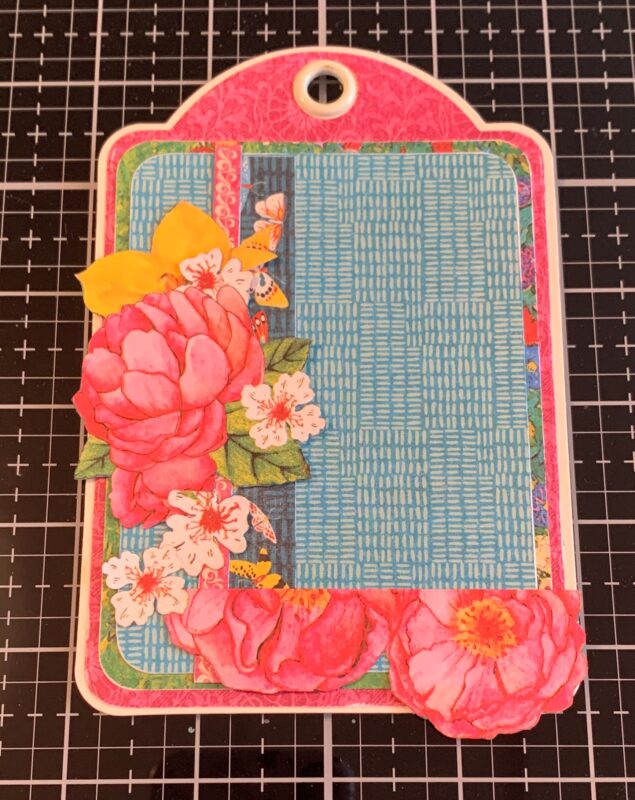
Adhere one of the yellow flowers ⅜” from the top of the blue stripe paper and let it hang over the edge of the tag. Adhere the pink flower bunch slightly underneath the yellow flower as desired. Adhere the two white flowers slightly underneath the pink flower bunch as desired.
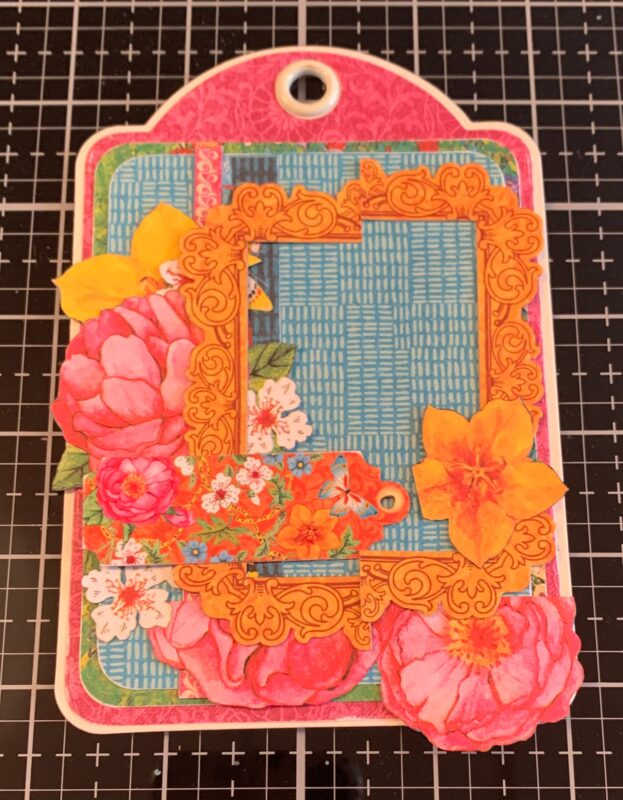
Adhere one half of the gold frame 1/16” from the right of the ivory tag and ⅛” from the top of the blue stripe paper. Adhere the other gold frame ⅝” from the left and ¼” from the top of the blue stripe paper. Adhere the orange floral tag all the way to the left of the floral paper and ⅞” from the bottom of the blue stripe paper. Adhere the other yellow flower to the bottom right side of the gold frame on the right side of the tag.
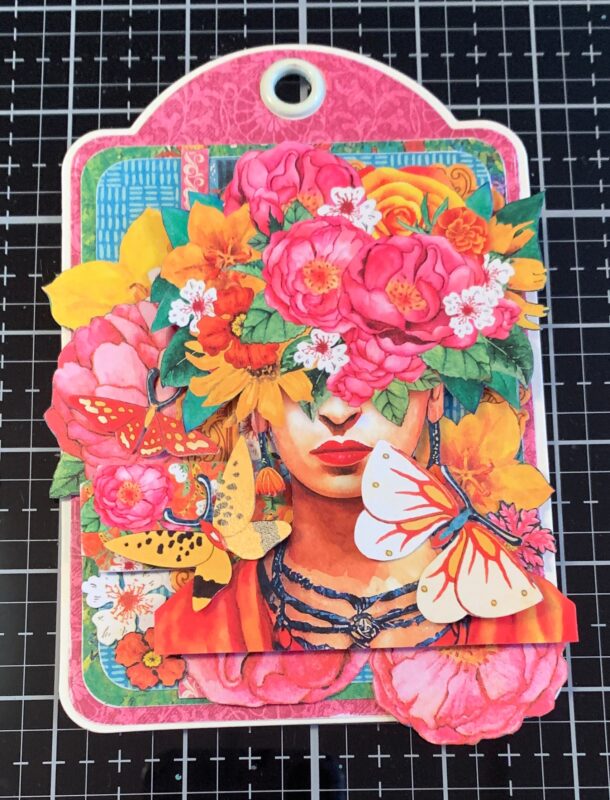
Foam square the lady with flowers in her head in the middle of the tag, making sure you cover up where the frames meet. Adhere the three butterflies as desired around the bottom portion of the lady. Adhere the small pink flower to the right of the yellow flower on the right hand side of the tag. Adhere the small red flower to the right of the white flower as desired.
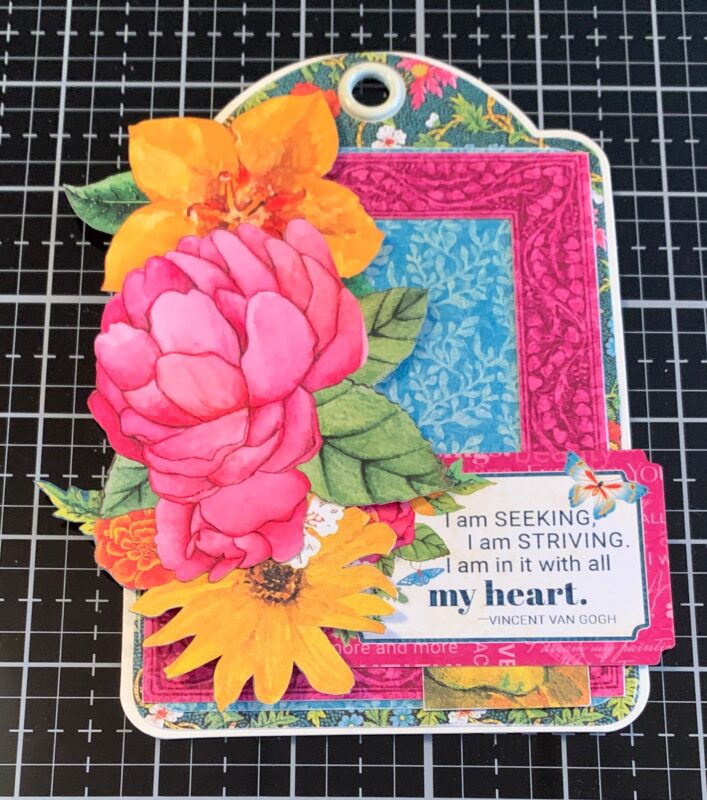
Now we’ll create the I’am Seeking Tag.
To start, you’ll need a regular ivory tag. Out of the Let’s Get Artsy 12×12 Collection Pack you’ll need the Discover Joy Paper. Make sure the floral side is showing and die cut the regular tag die from the Regular Tag & Gears Metal Die out of the paper. Sand the edges of the paper.
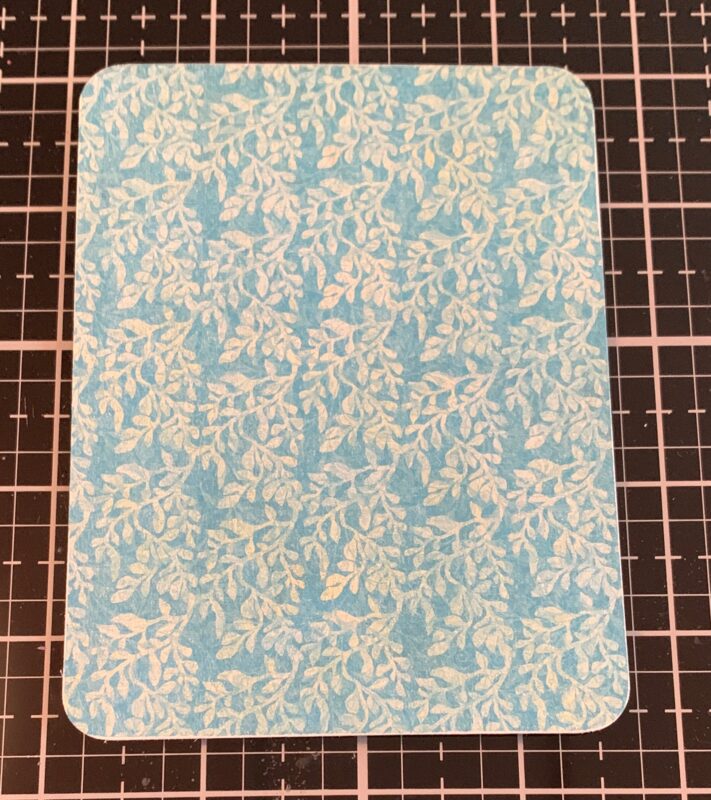
Next, you’ll need the Creative Chaos paper. From the blue side, cut a piece that measures 3 ½” x 4 ⅝”. Round the corners of the paper. Sand the edges of the paper.
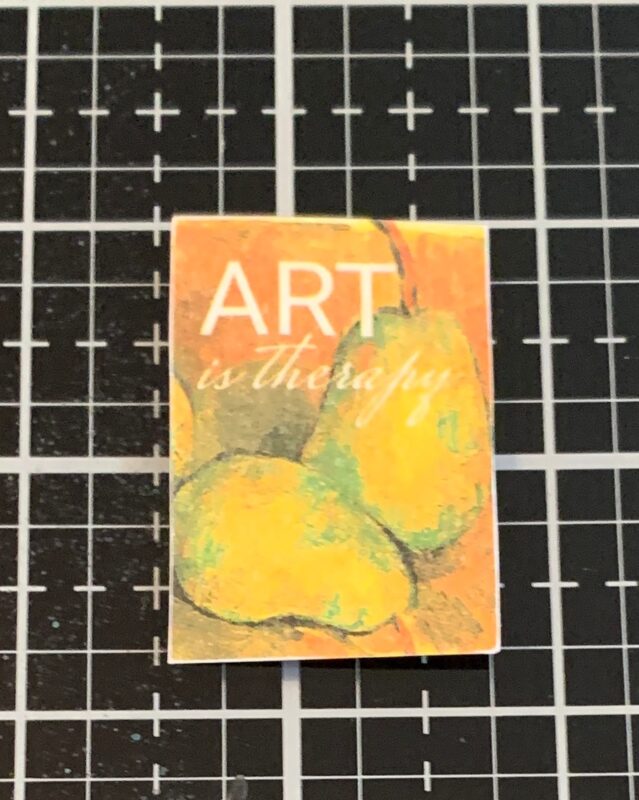
From the Let’s Get Artsy Paper, fussy cut the pear image out. Sand the edges of the paper.
Fussy cut a yellow flower bunch, two white flowers and two butterflies from the Imagine a Flower Garden paper.
Fussy cut two small red flowers out of the Discover Joy paper.
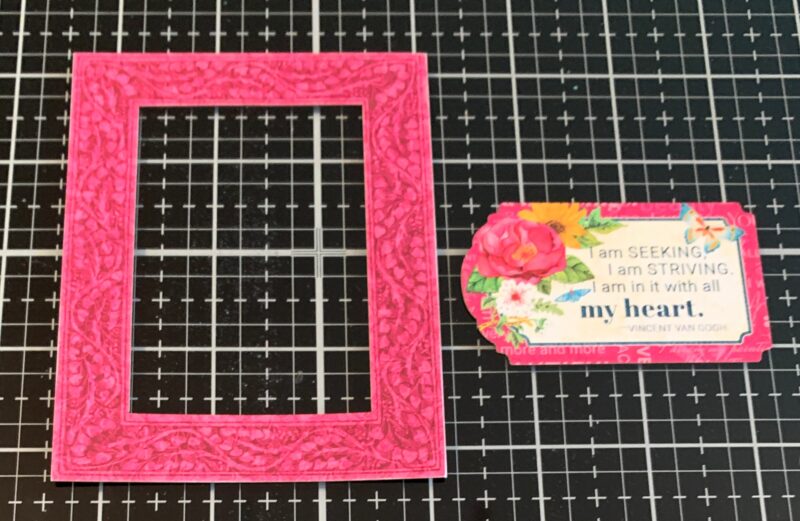
Out of the Let’s Get Artsy Tags & Frames you’ll need the magenta frame and I am seeking quote. Sand the edges of the frame and quote.
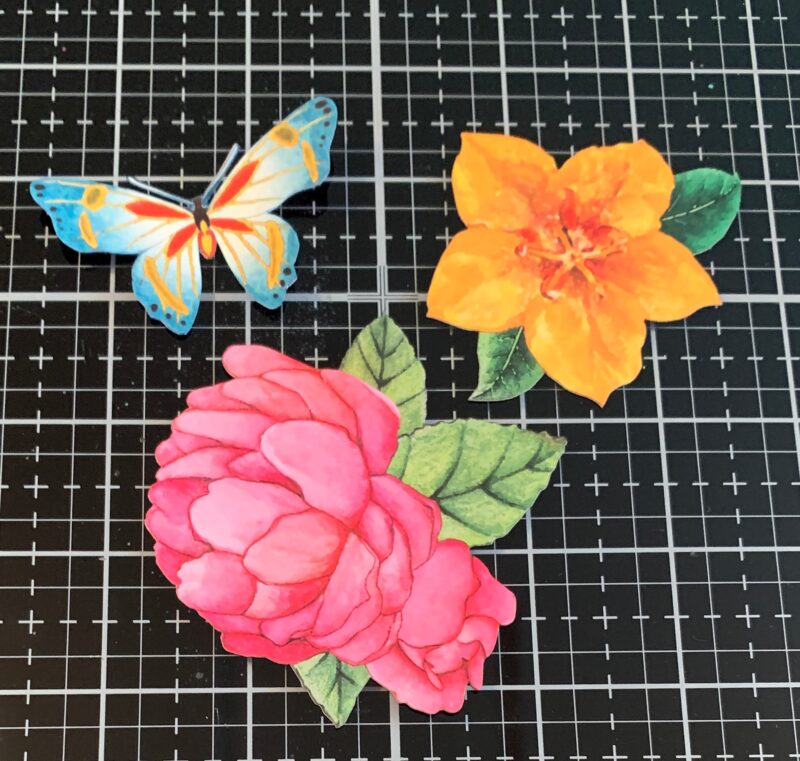
Out of the Let’s Get Artsy Ephemera Assortment, you’ll need the large pink flower, large yellow flower and one butterfly. Fussy cut around the butterfly.
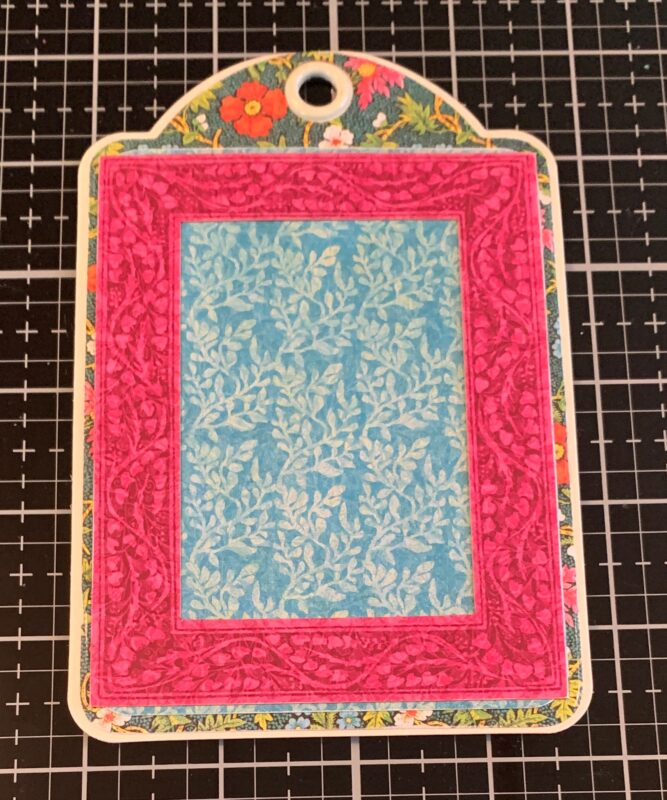
Adhere the paper tag to the ivory tag. Adhere the blue paper to the paper tag. Adhere the magenta frame to the blue paper as desired.
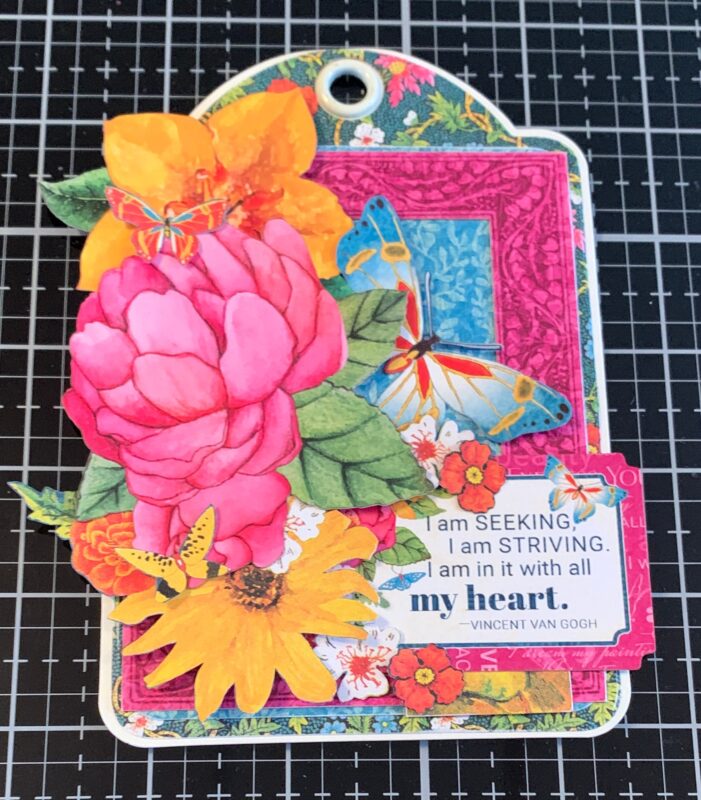
Use adhesive and foam squares the single yellow flower, single pink flower and yellow flower bunch to the left hand side of the tag as desired. Adhere the pear image ⅜” from the bottom and ⅝” from the right of the quote. Adhere the quote 1” from the left and ⅜” from the bottom of the blue paper.
Adhere the large butterfly to the right of the flowers as desired. Adhere the other two butterflies amongst the flowers. Adhere a white and a red flower to the right of the blue butterfly as desired. Adhere the remaining white and red flower to the right of the yellow flower bunch as desired.
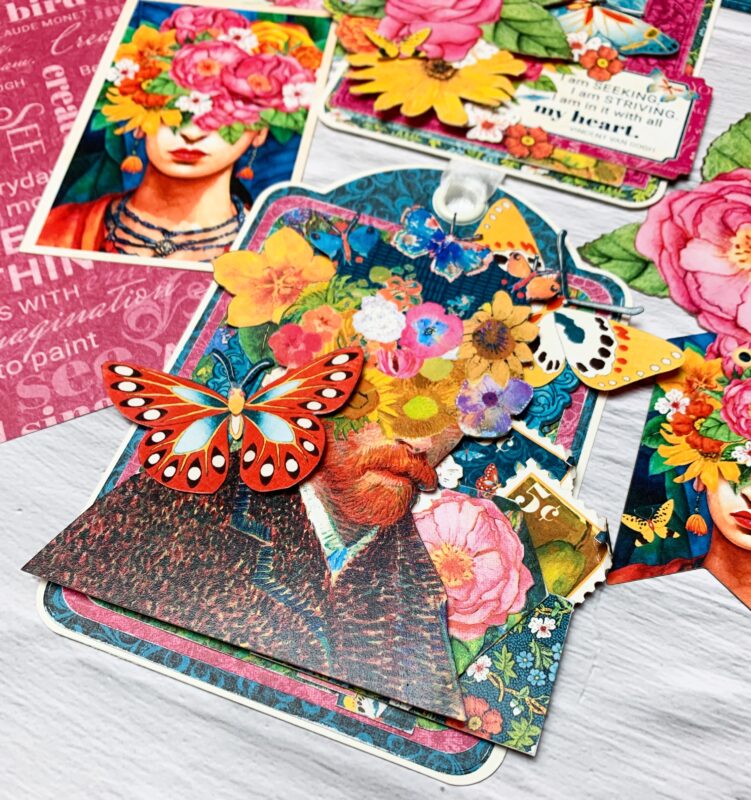
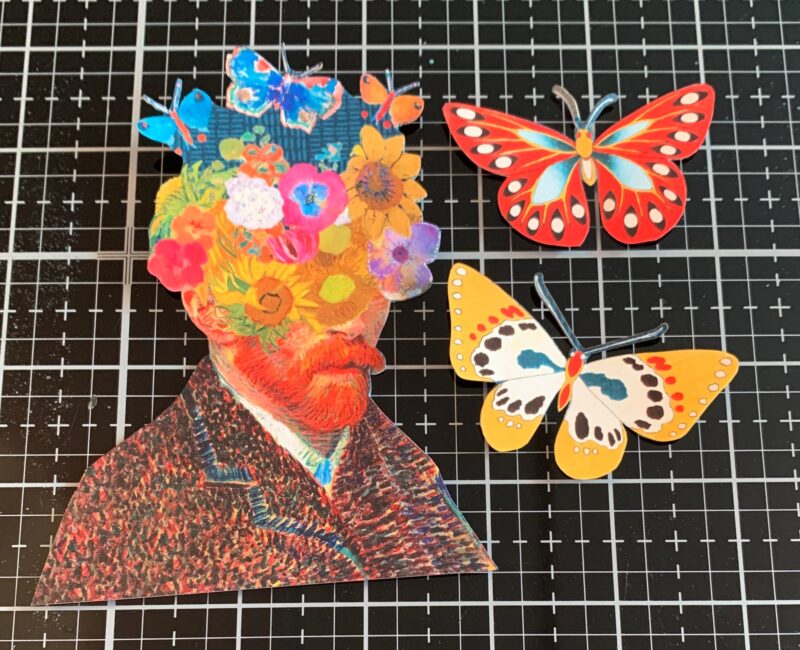
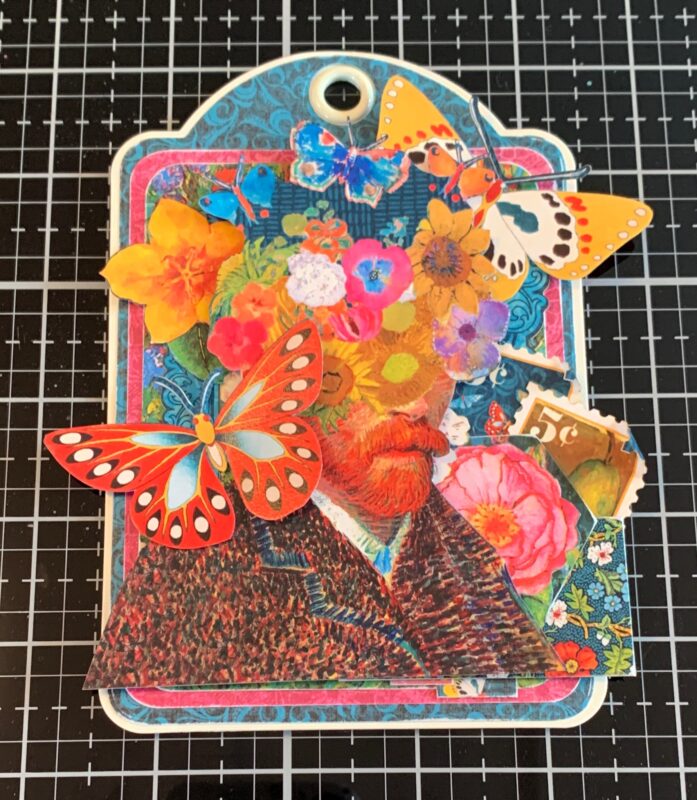
Now we’ll create the Man with flowers in Head Tag.
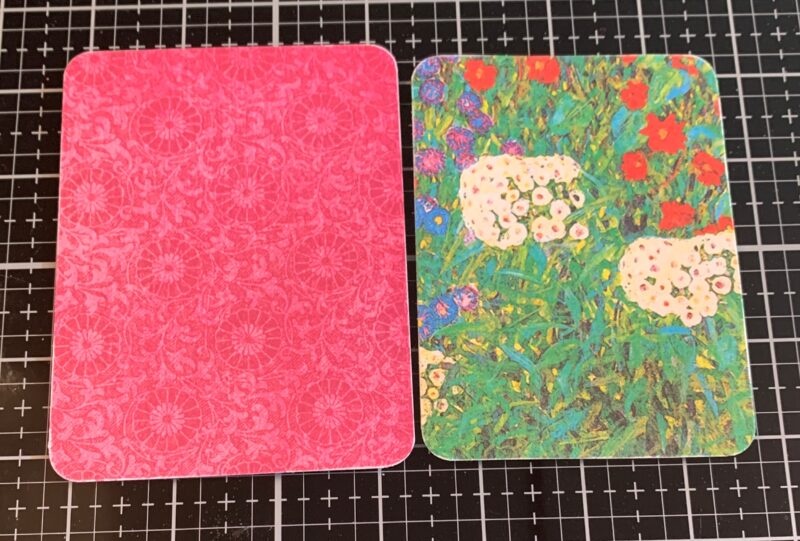
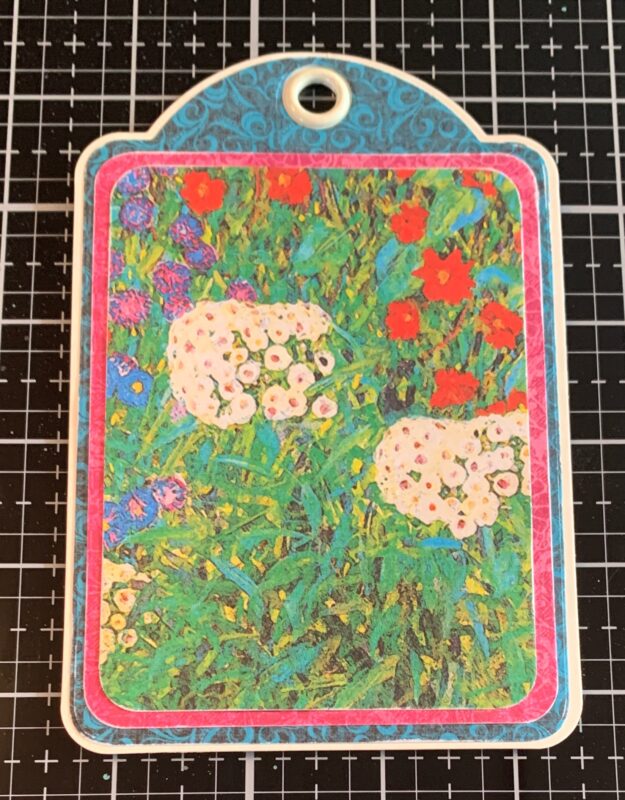
To start, you’ll need a regular ivory tag. Out of the Let’s Get Artsy 12×12 Collection Pack you’ll need the Paint Your Dreams Paper. Make sure the blue side is showing and die cut the regular tag die from the Regular Tag & Gears Metal Die out of the paper. Sand the edges of the paper.
Next, you’ll need the Paint Your Dreams paper. From the magenta side, cut a piece that measures 3 1⁄2” x 4 ⅝”. From the Discover Joy paper cut a piece that measures 3 ¼” x 4 ⅜”. Round the corners of each paper. Sand the edges of each paper.
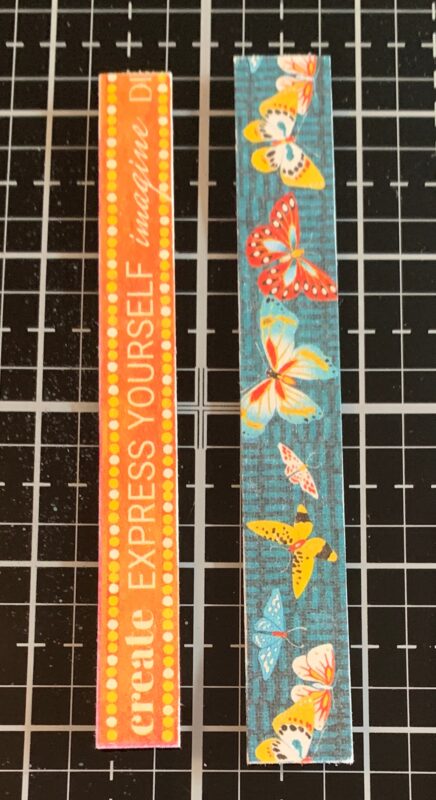
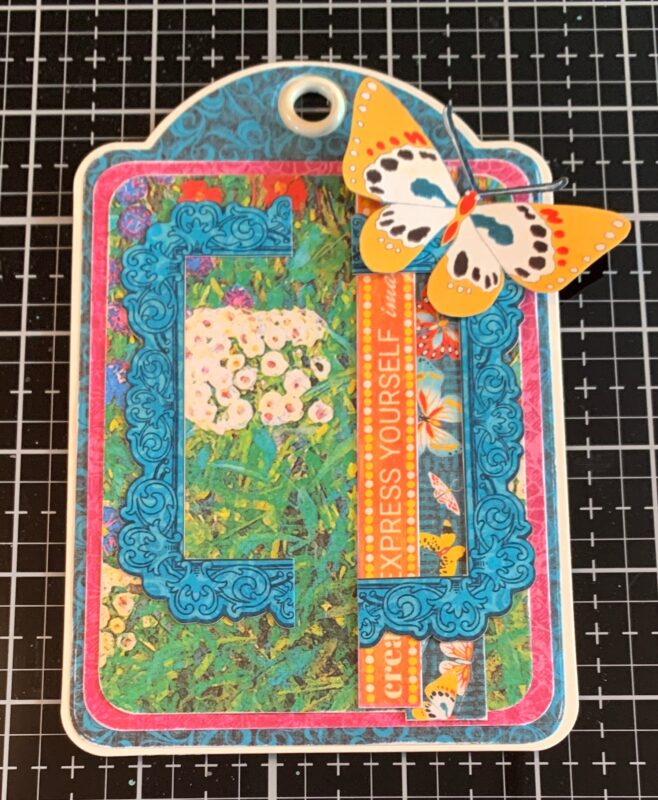
From the border strips, cut the butterfly border strip down to 4 ⅝”. Cut the orange word border strip down to 4 ⅜”. Sand the edges of the border strips.
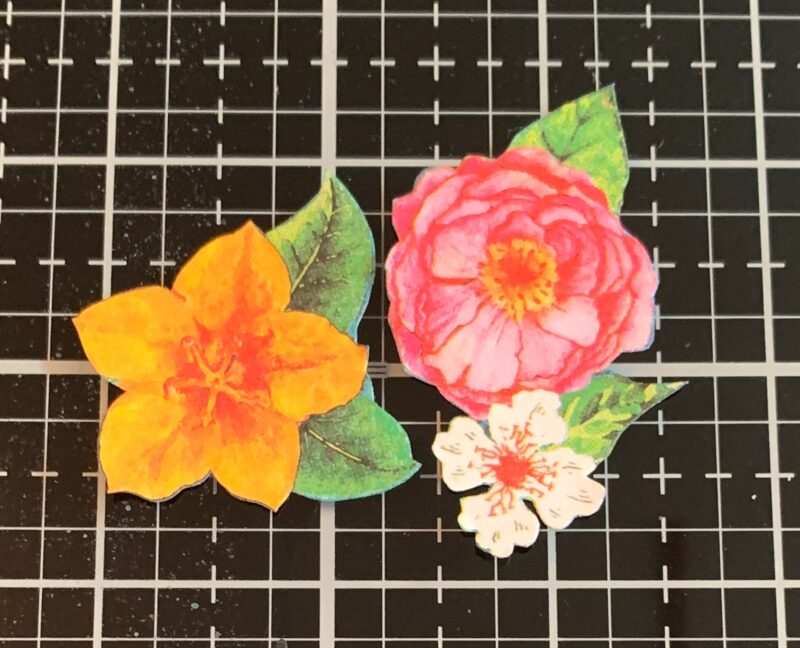
Fussy cut a yellow flower and a pink flower bunch from the Imagine a Flower Garden paper.
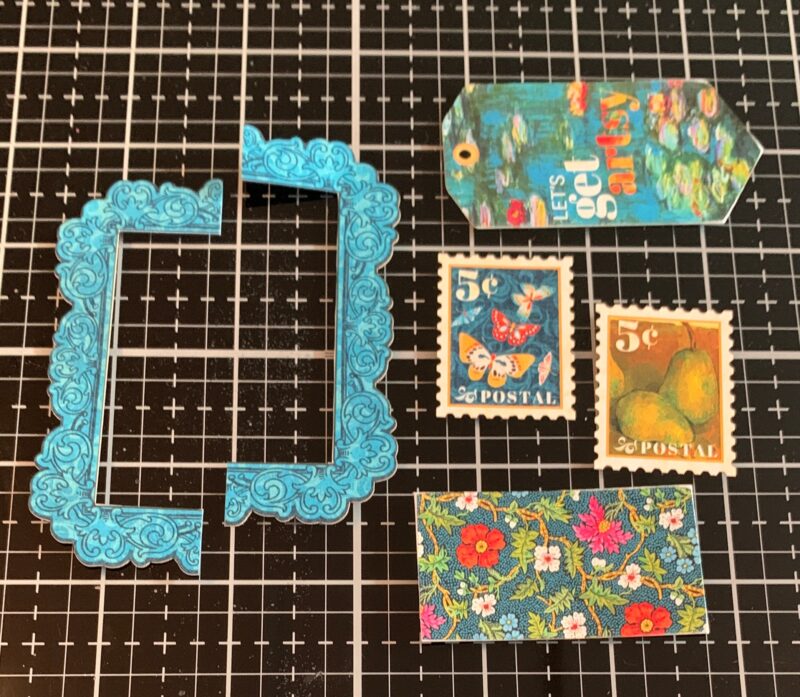
Out of the Let’s Get Artsy Tags & Frames you’ll need the blue frame, let’s get artsy tag, two stamps and a floral band. Cut the blue frame in half. Cut the slits off each edge of the floral band. Sand the edges of the floral band and artsy tag.
Out of the Let’s Get Artsy Ephemera Assortment, you’ll need the man with flowers on her head and two butterflies. Fussy cut around all of the images.
Adhere the paper tag to the ivory tag. Adhere the magenta paper to the paper tag. Adhere the floral paper to the magenta paper.
Adhere the butterfly border strip ¼” from the right and all the way to the top of the floral paper. Adhere the orange border strip ⅞” from the right of the floral paper and all the way to the top of the magenta paper. Adhere the right side of the blue frame ⅛” from the right and ¾” from the top of the magenta paper. Adhere the left side of the blue frame ¼” from the left and ⅜” from the top of the magenta paper. Adhere the large butterfly in the top right corner of the tag.
Adhere the two stamps on an angle 1 ¾” from the top of the magenta paper. Roll down one of the corners on each stamp. Adhere the floral band ⅛” from the bottom and 1 ⅝” from the left of the magenta paper. Adhere the let’s get artsy tag ½” from the bottom and 1 ½” from the left of the magenta paper.
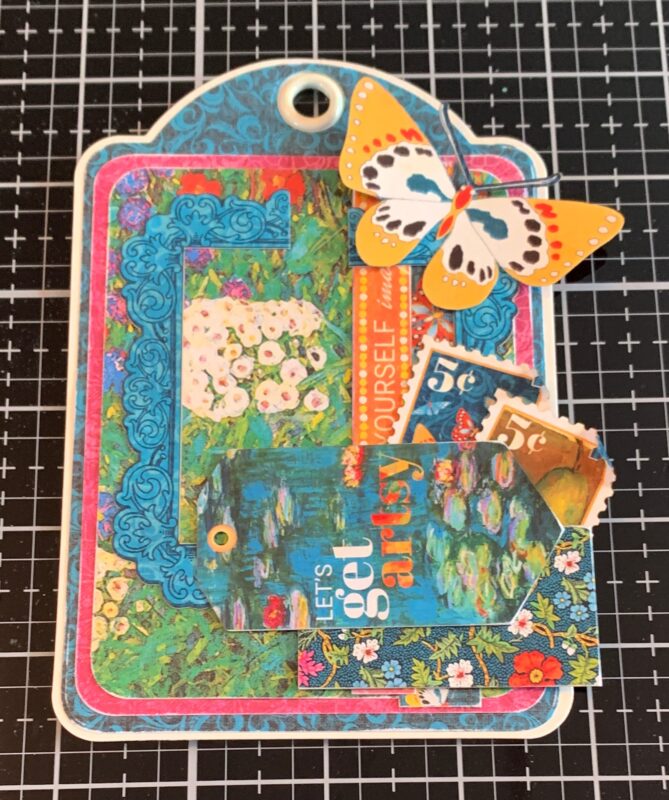
Adhere the yellow flower ½” from the top and have it hang over the magenta paper. Foam square the man with flowers in his head to the middle of the tag making sure the frames where they meet are covered. Adhere the last butterfly to the bottom left of the man as desired.
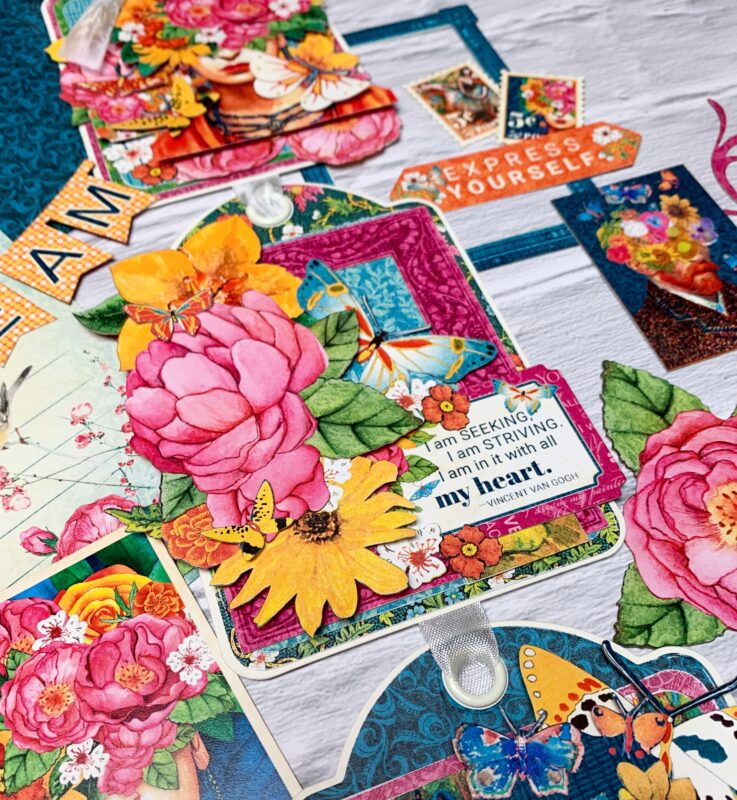
To string them all together, I attached white ribbon to the back of the tags and strung it through the holes at the top of the tags. For the very top tag, I added a white bow at the top of the hole.
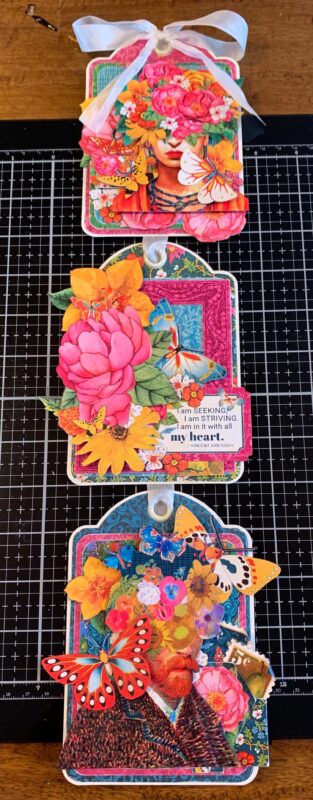
Here are a few closeups of the finished Artsy Wall Hanging.
Let’s Get Artsy 12×12 Collection Pack with Stickers
Let’s Get Artsy Ephemera Assortment
White Ribbon
Thank you so much for joining me today and I hope that my Artsy Wall Hanging has inspired you to create your own.”
 |  |