Hello, G45ers!
Are you looking for fun ways to keep busy and organized? We have you covered with this step by step tutorial on how-to take a glass jar and turn it into a Shabby Chic Home Decor piece that would be perfect for storing paintbrushes, flower arrangements, or office supplies. This tutorial has been brought to us by Brand Ambassador, Tanya Scrap for our #G45Upcycle – April Challenge. We hope this inspires your next project, and when you are finished be sure to share with us on Instagram using the #Graphic45 hashtag.
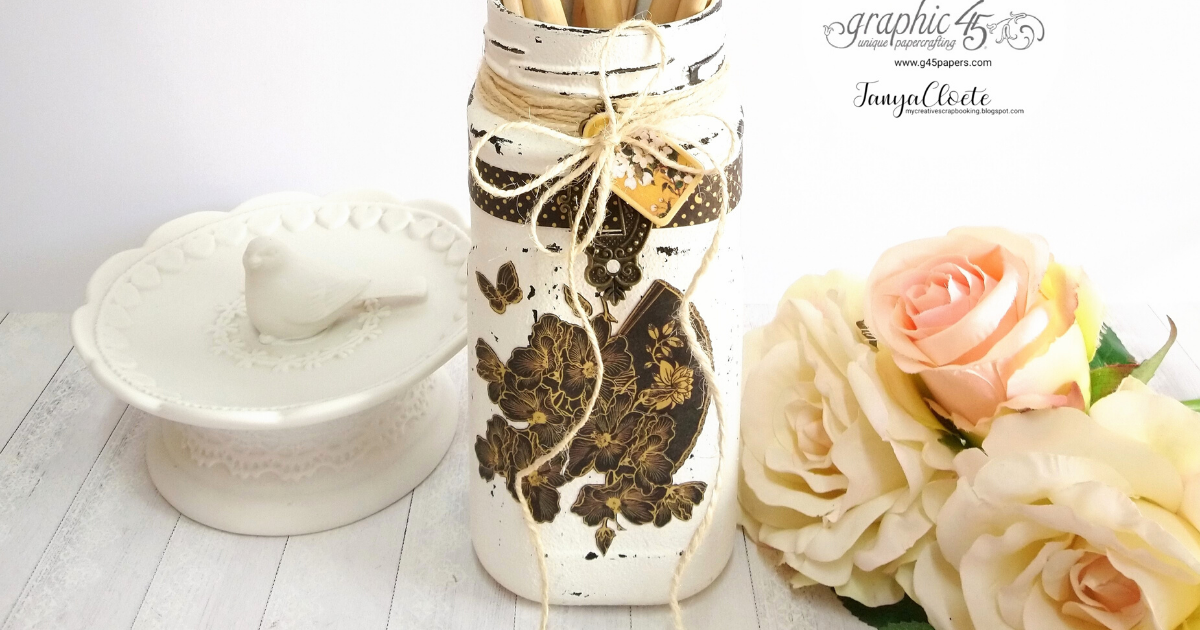
#G45Upcycle Project – Bird Song
Shabby Chic Glass Coffee Jar
By Tanya Scrap
“Hello dear G45ers!
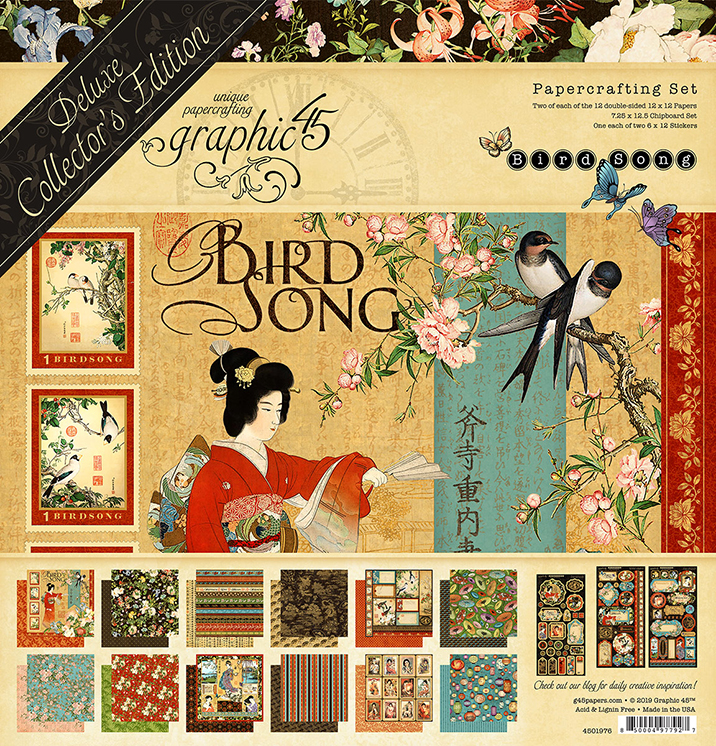
Happy to share with you my #G45Upcycle project this month featuring the beautiful
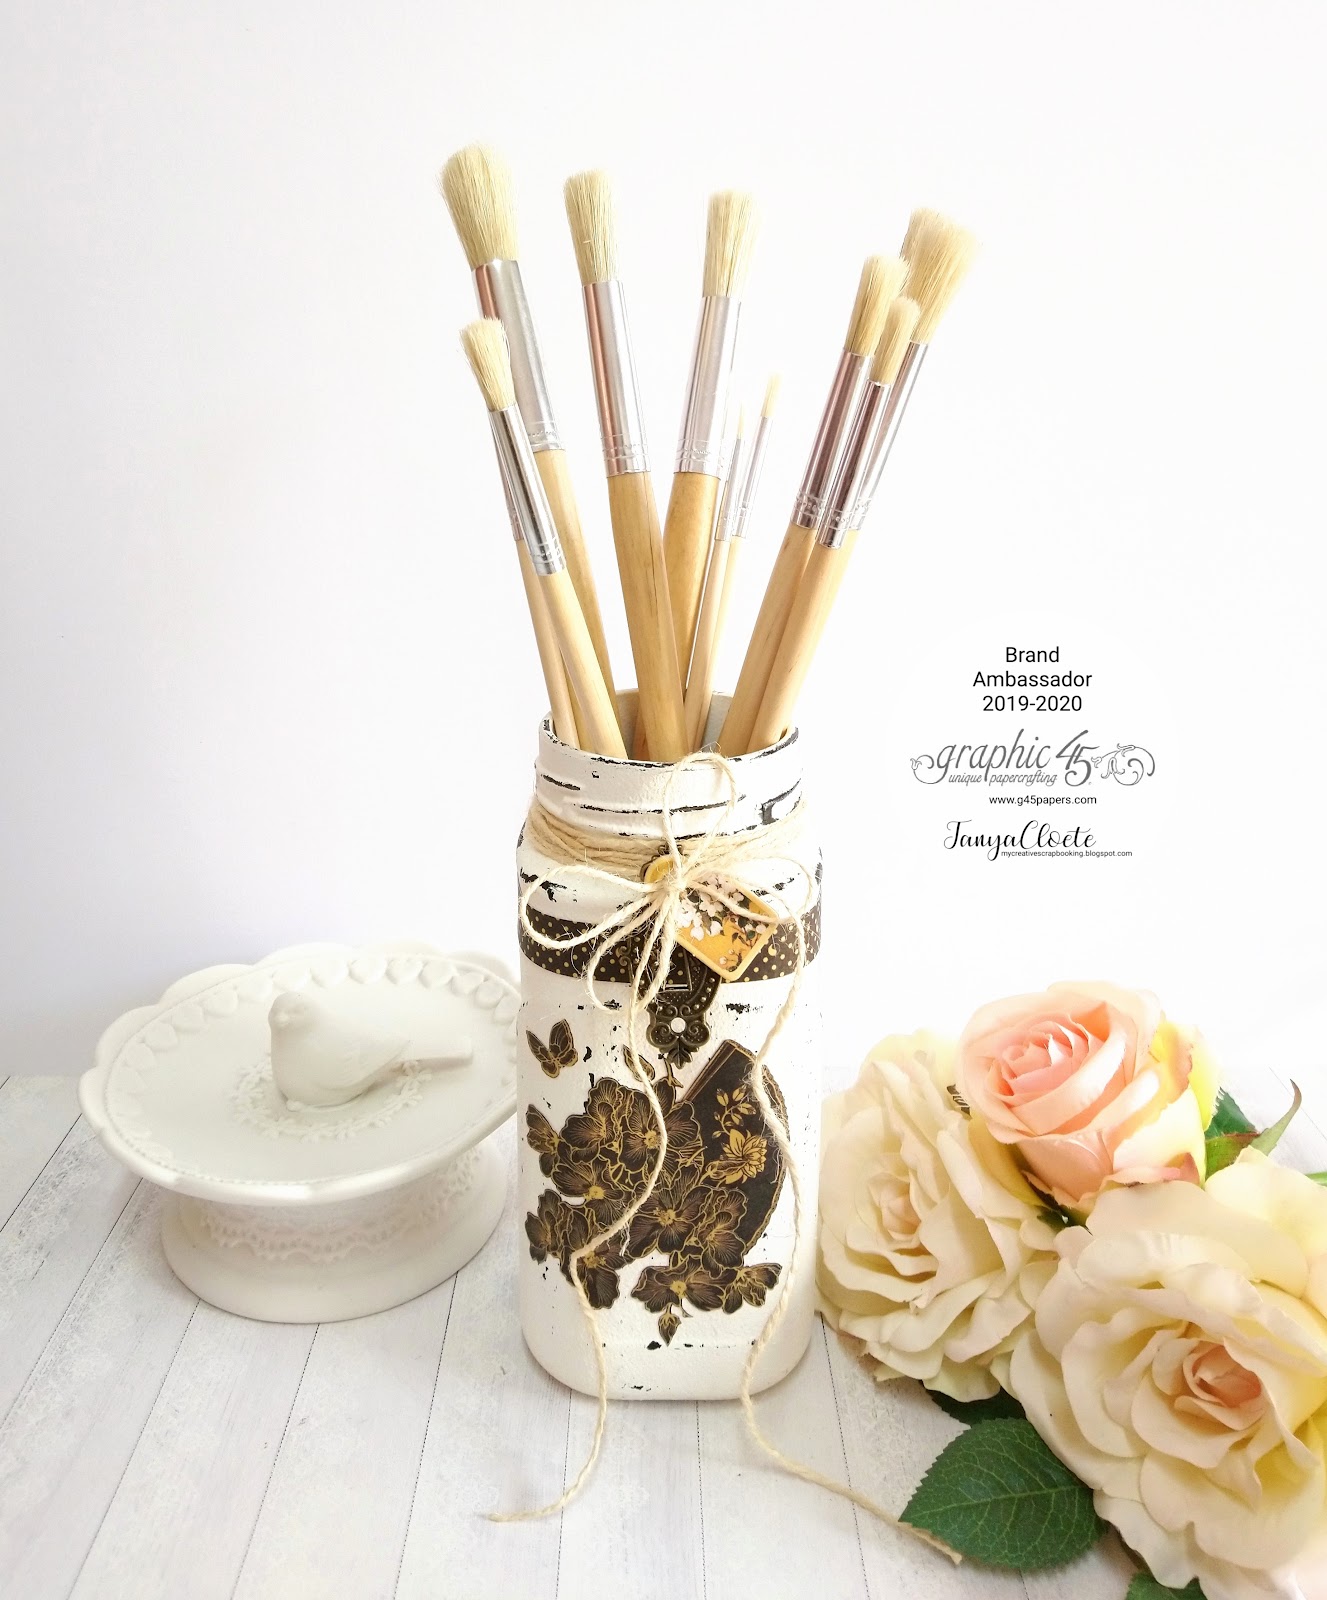
Bird Song – Deluxe Collector’s Edition. I decided to up-cycle a Glass Coffee Jar to hold some of my paintbrushes. You can use this jar for home decor too.
Herewith the Supplies and Instructions you may use to recreate such a project:
Graphic 45 Supplies used:
|
|
|
Bird Song Deluxe Collector’s Edition
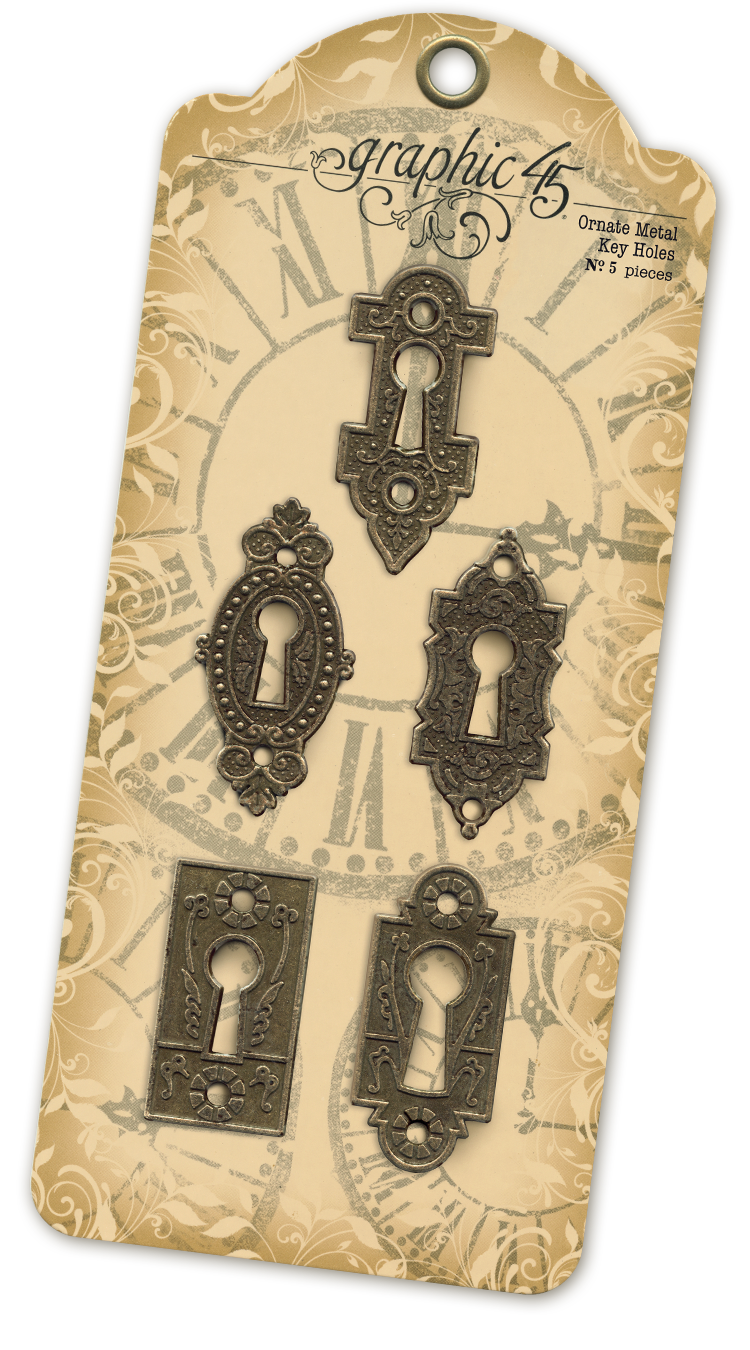
Antique Brass Ornate Metal Key Holes
Other Supplies used:
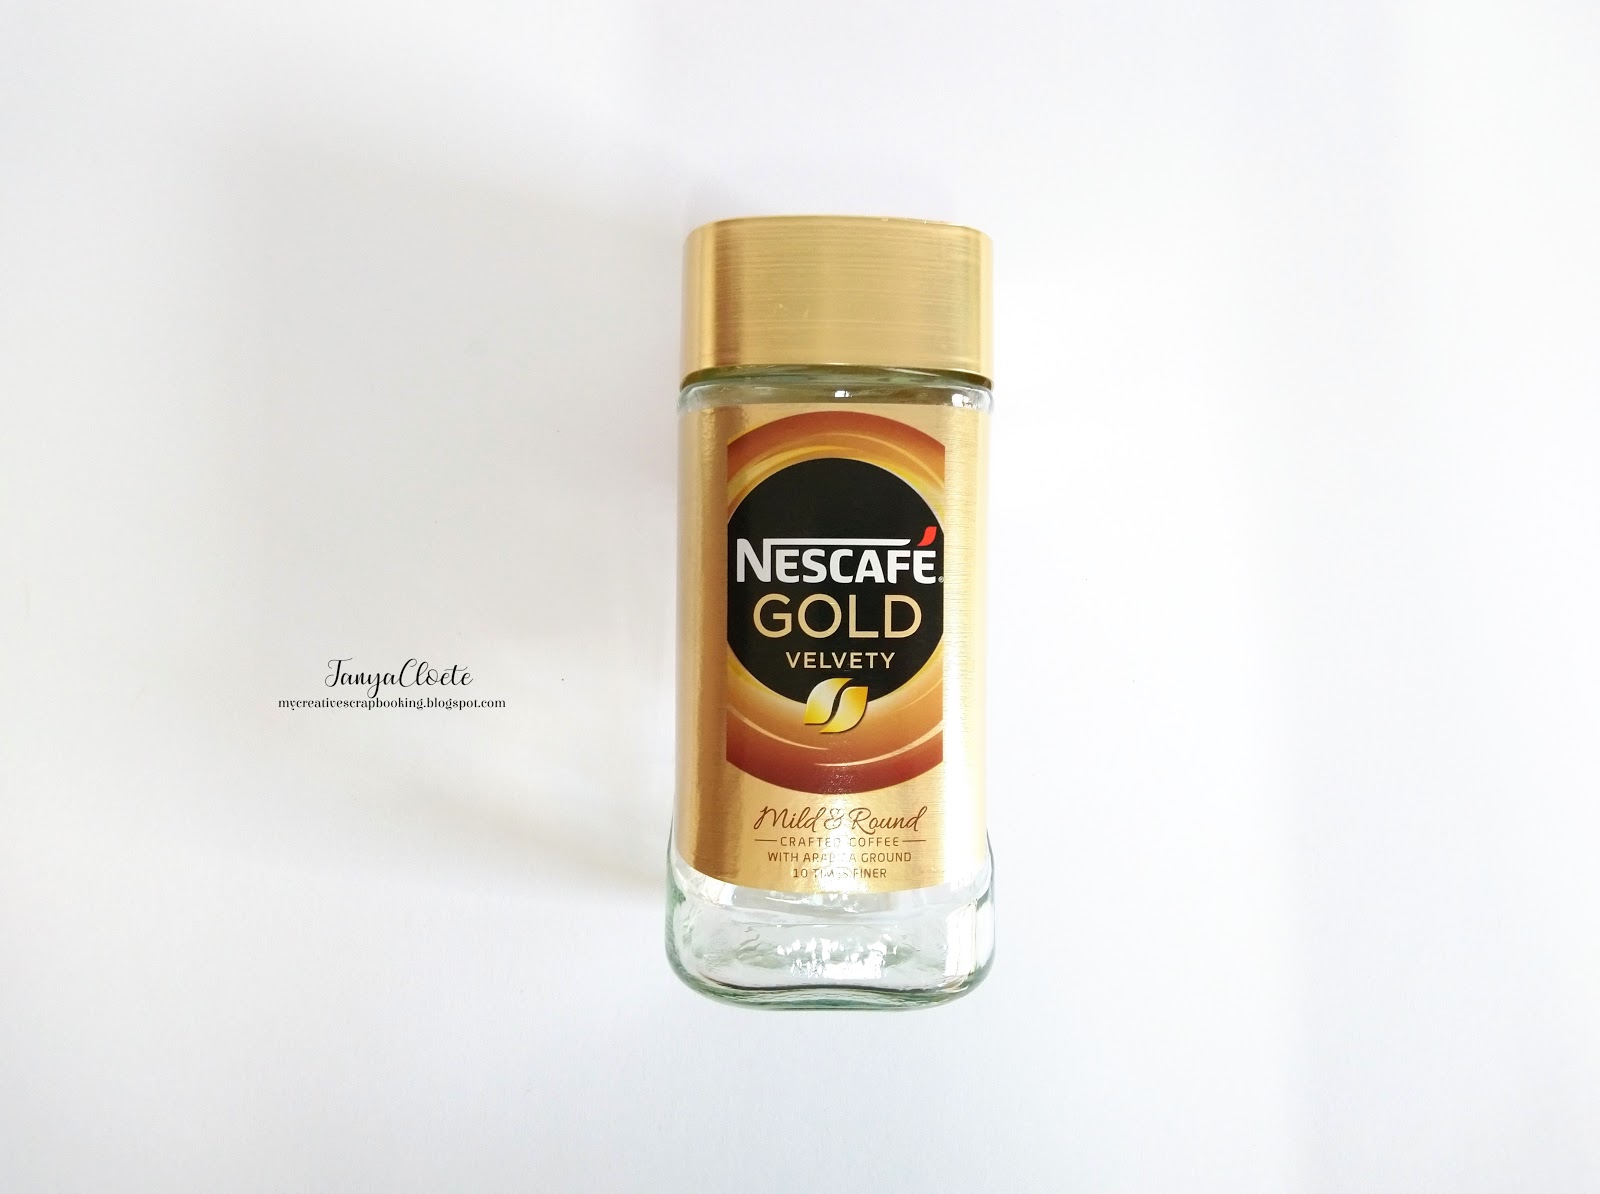
Glass Coffee Jar
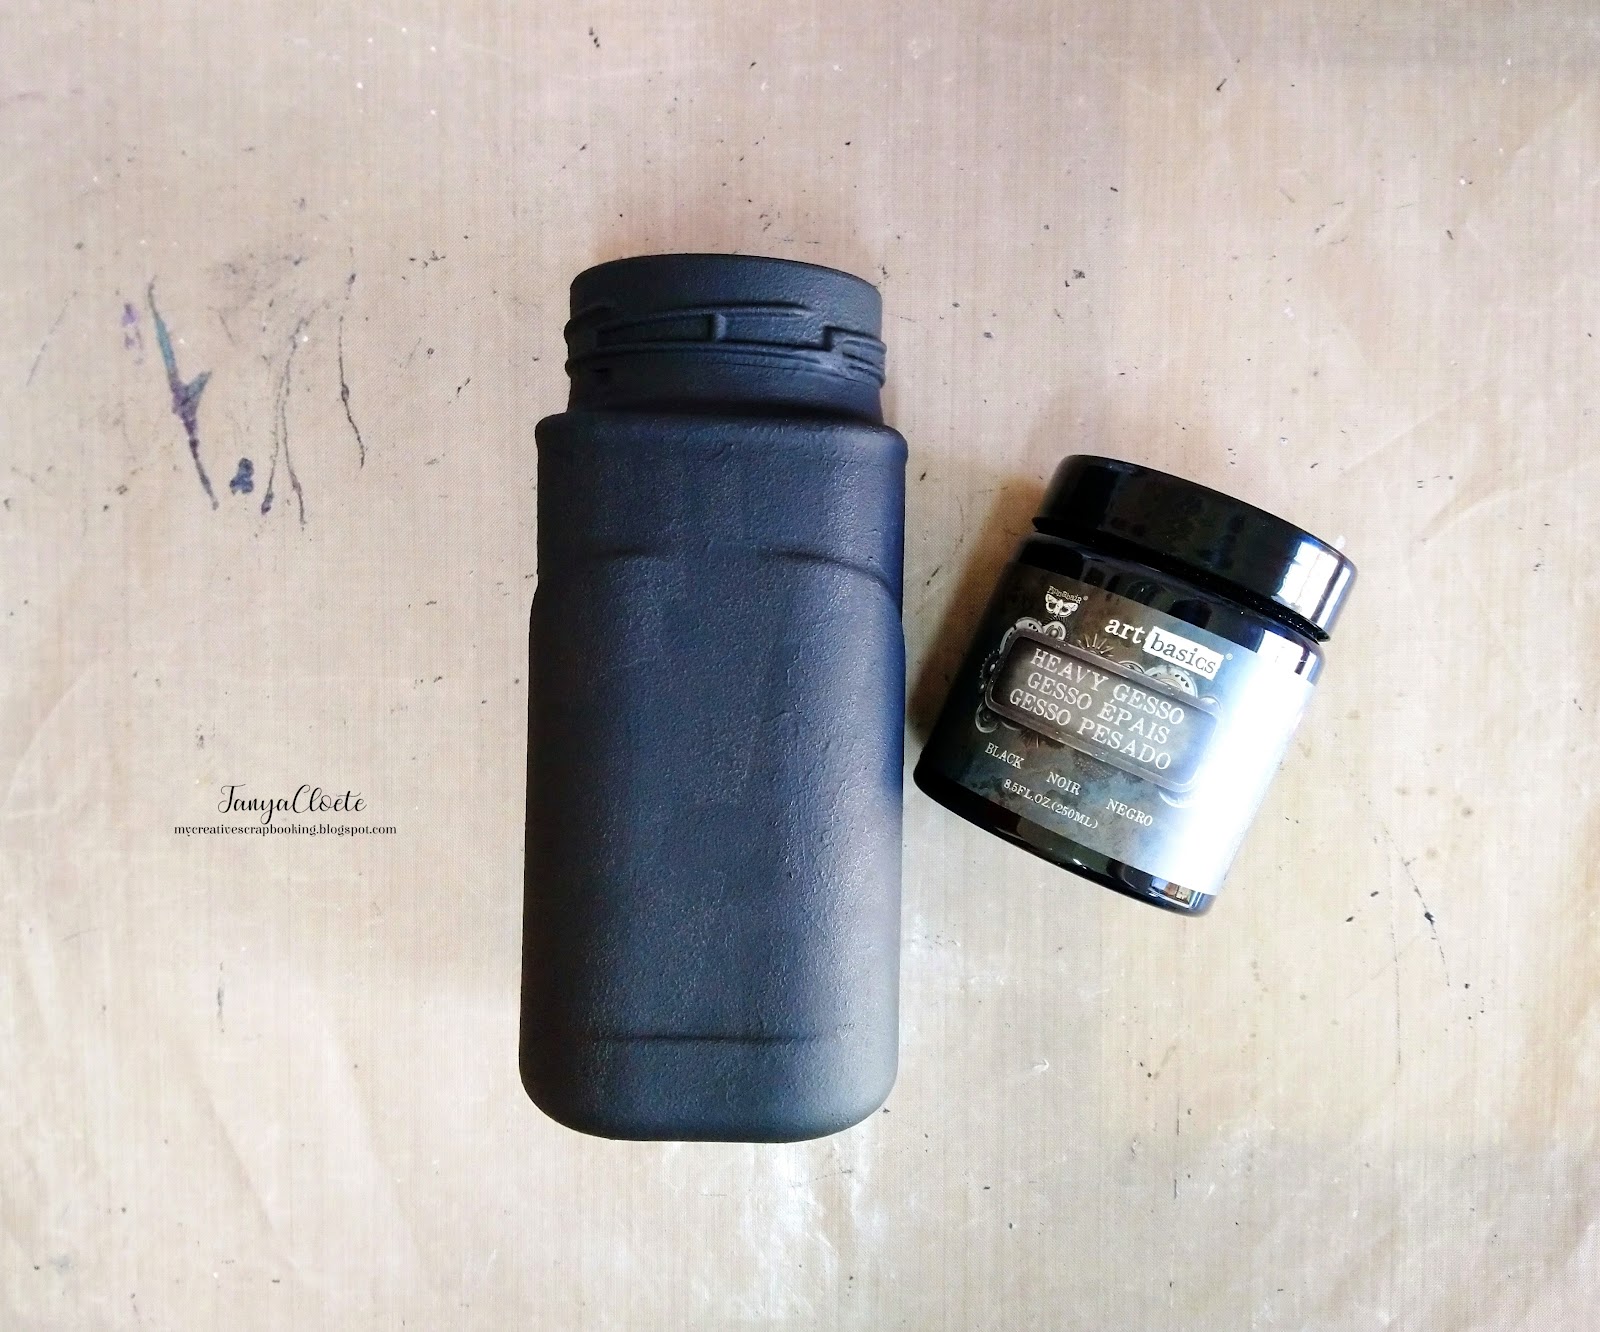
Black Gesso
White/Cream Chalk Paint
Sanding Block/Sand Paper
Soft Matte Gel
Candle
Twine
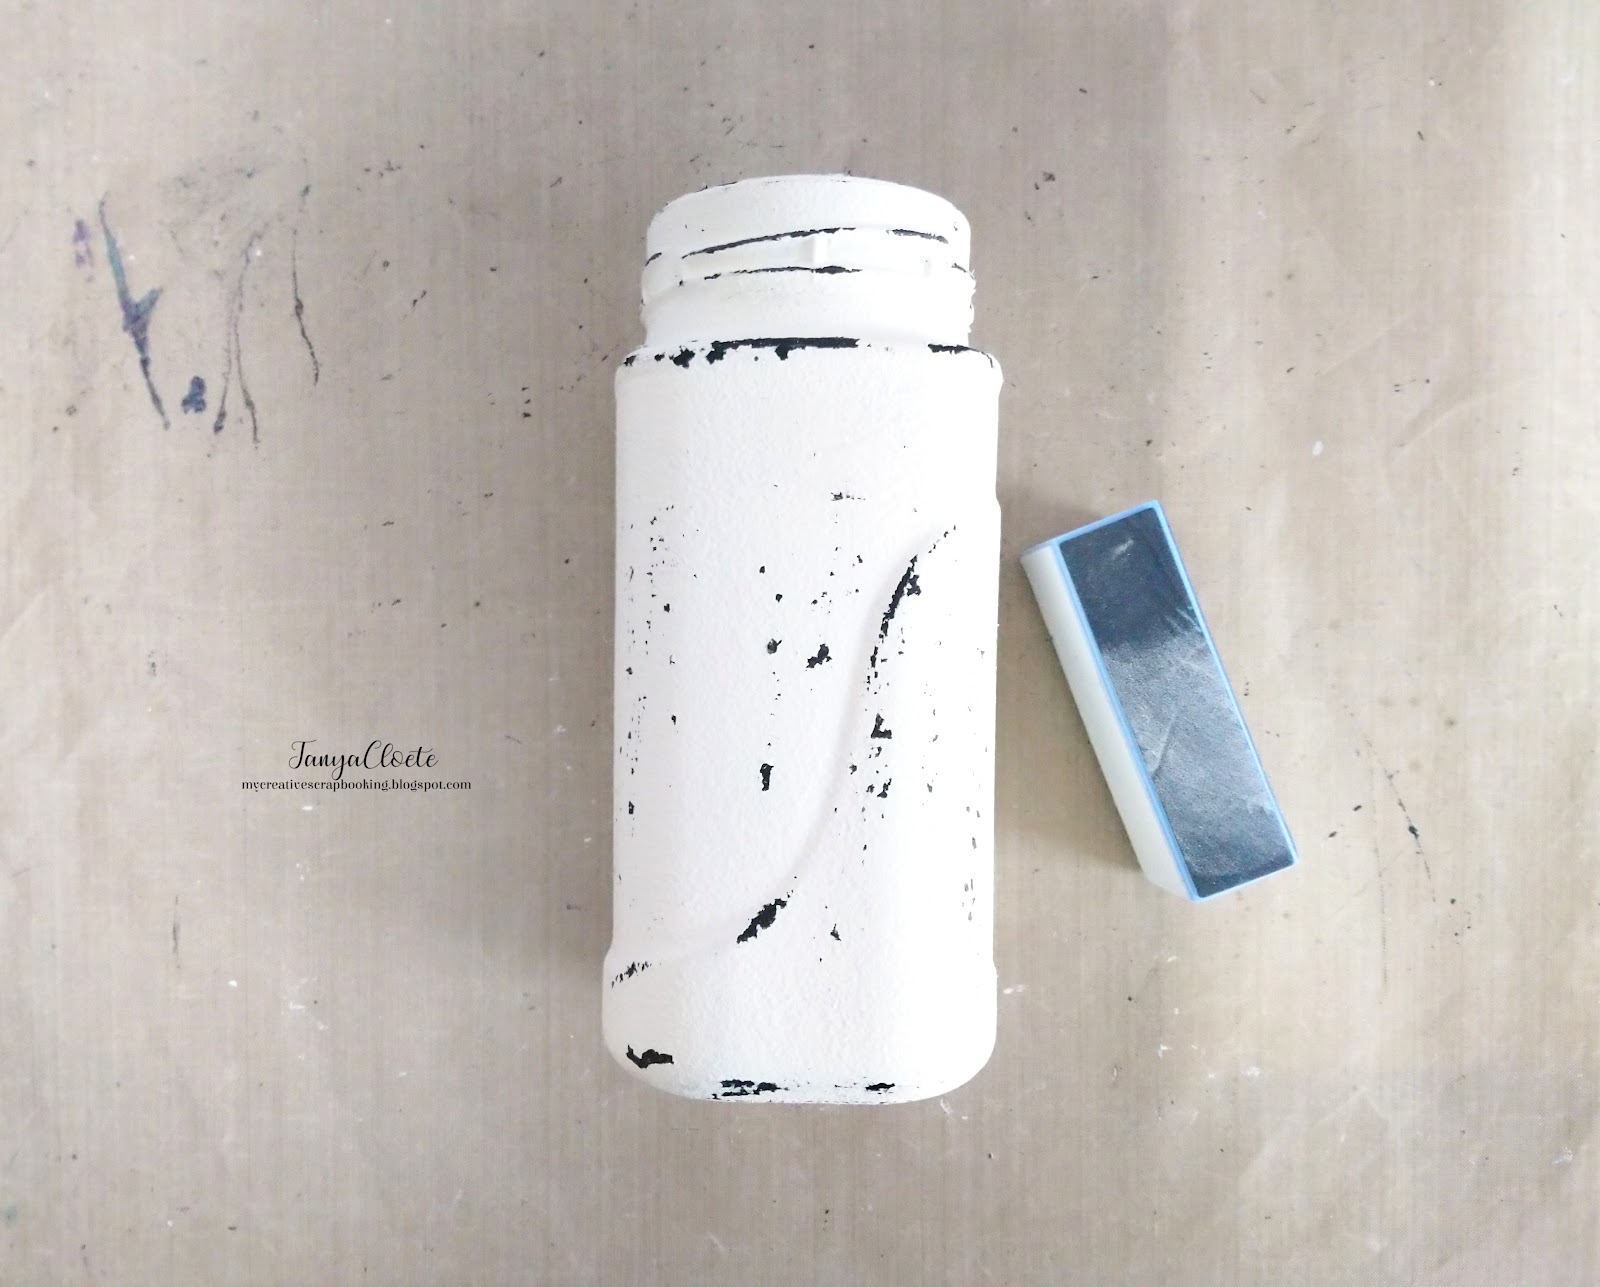
Remove the lid and label on the glass coffee jar.
Paint the jar with black gesso. Give it two coats. Leave to dry.
Tip: Use a candle to lightly highlight some places on the jar after painting it with the gesso. This will help to easily remove some of the chalk paint when sanding the edges.
Paint the jar with a white or cream colour chalk paint. Give it two coats. Leave to dry.
Randomly and gently sand the edges and surface of the jar with a sanding block or sand paper. Repeat this process until you are happy with the amount of black that pops through.
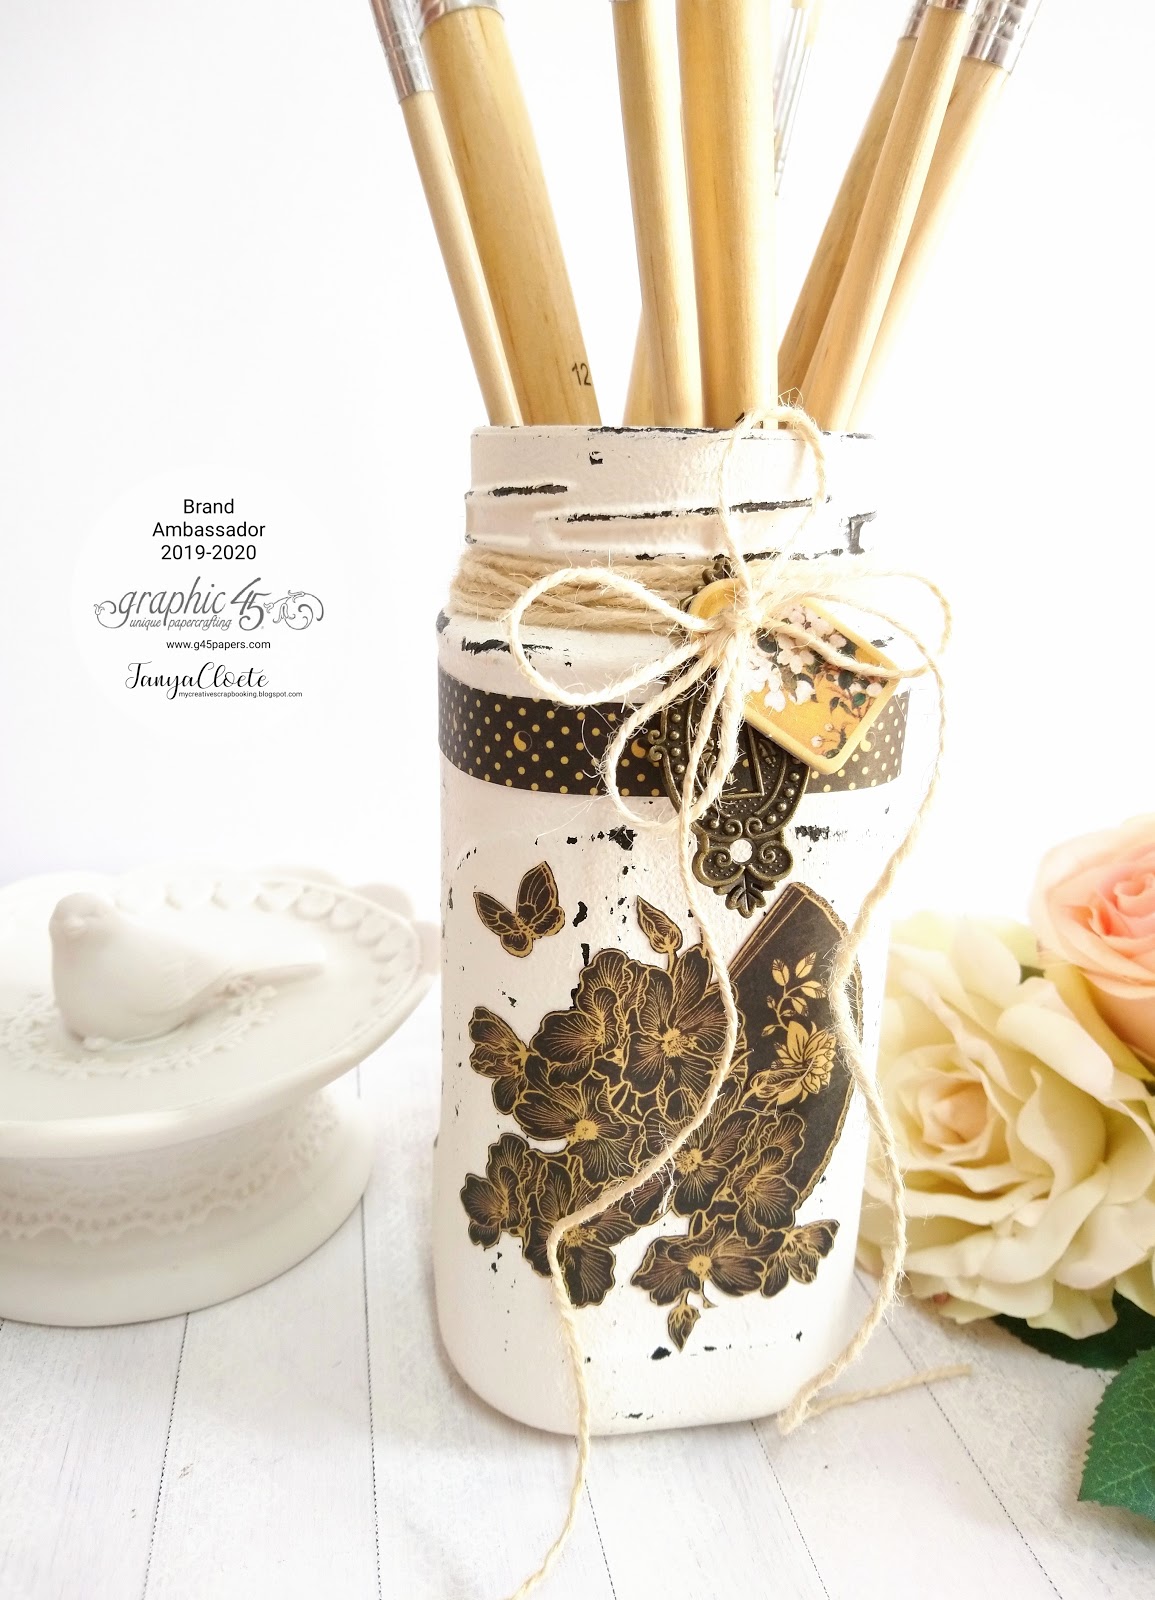
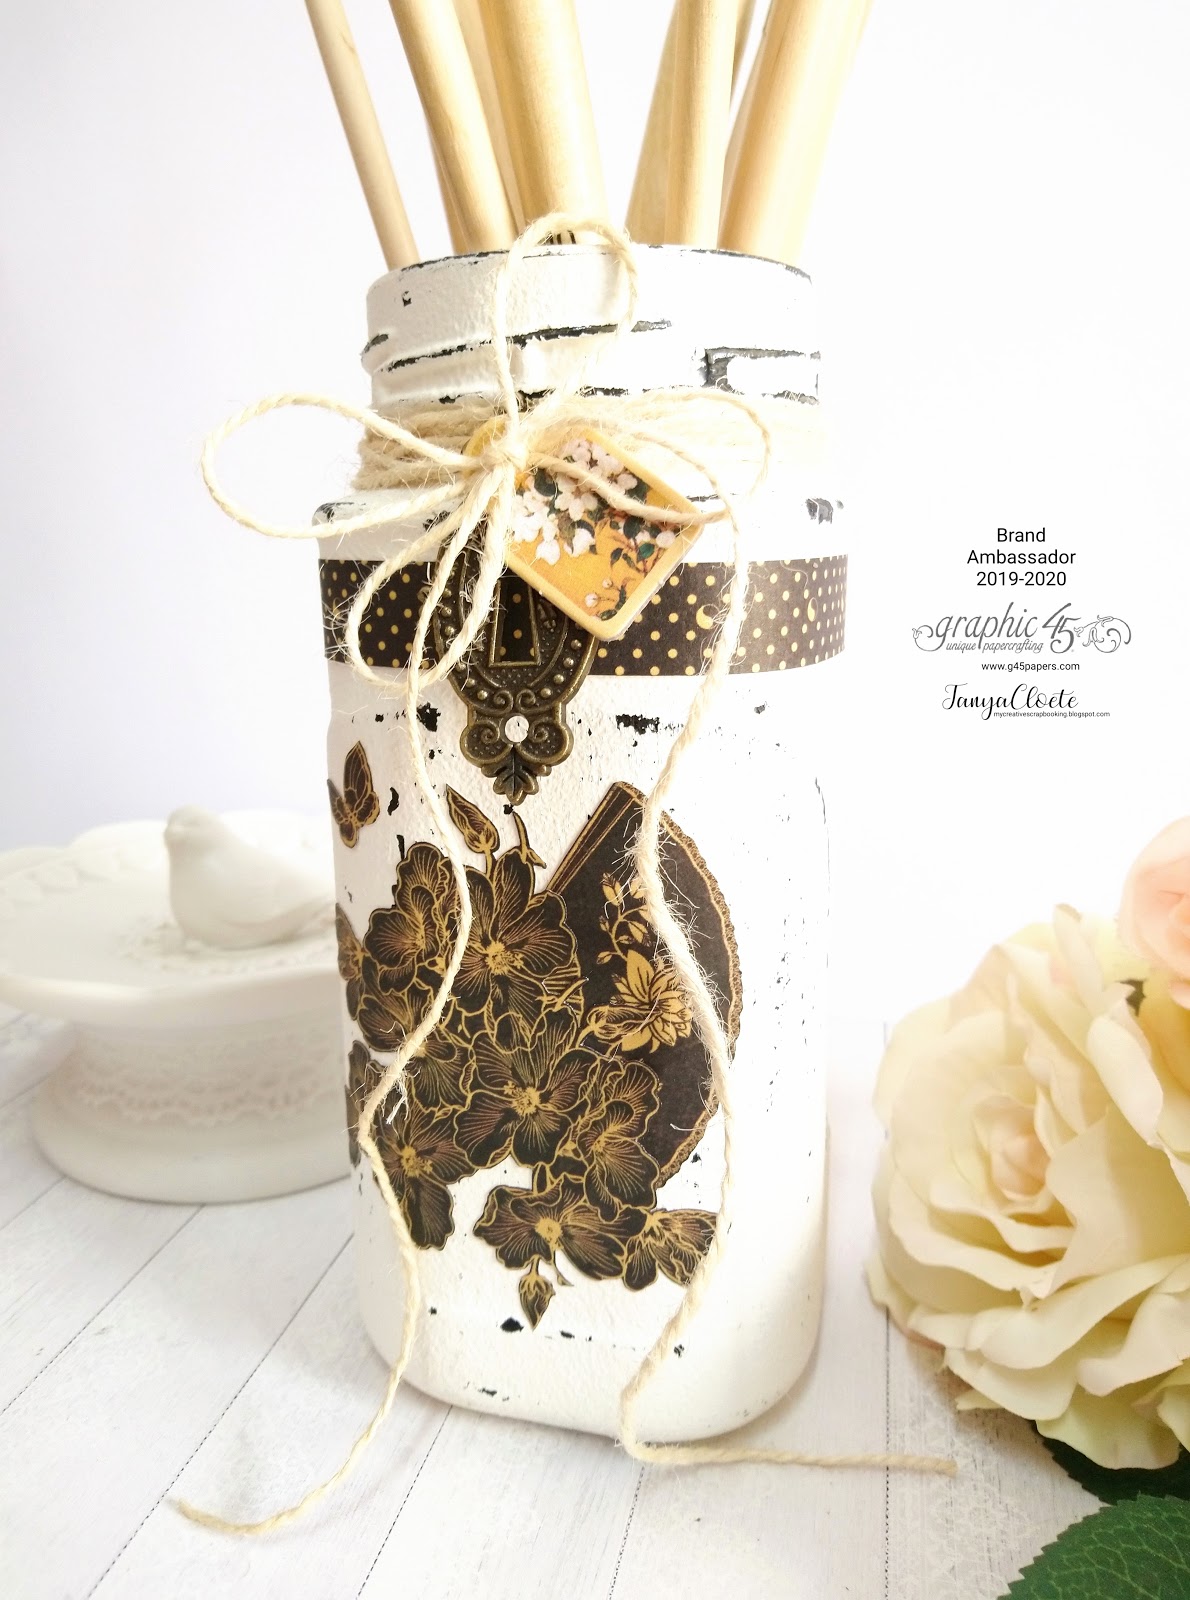
Cut a strip from the pattern sheets as well as fussy-cut some elements for decoration for the front of the jar.
Glue the fussy-cut elements and strip to the jar.
Tip: Use a soft matte gel to seal/protect the strip and floral image.
Add some twine around the top of the jar and make a bow. Add a metal key hole and chipboard embellishment to the bow.
I hope this piece inspires you to create your own simple and easy home decor projects.
Thanks for stopping by!
Happy Papercrafting!”
Happy Papercrafting!
Want even more Graphic 45? Sign up for our newsletter here!