Hello, G45ers!
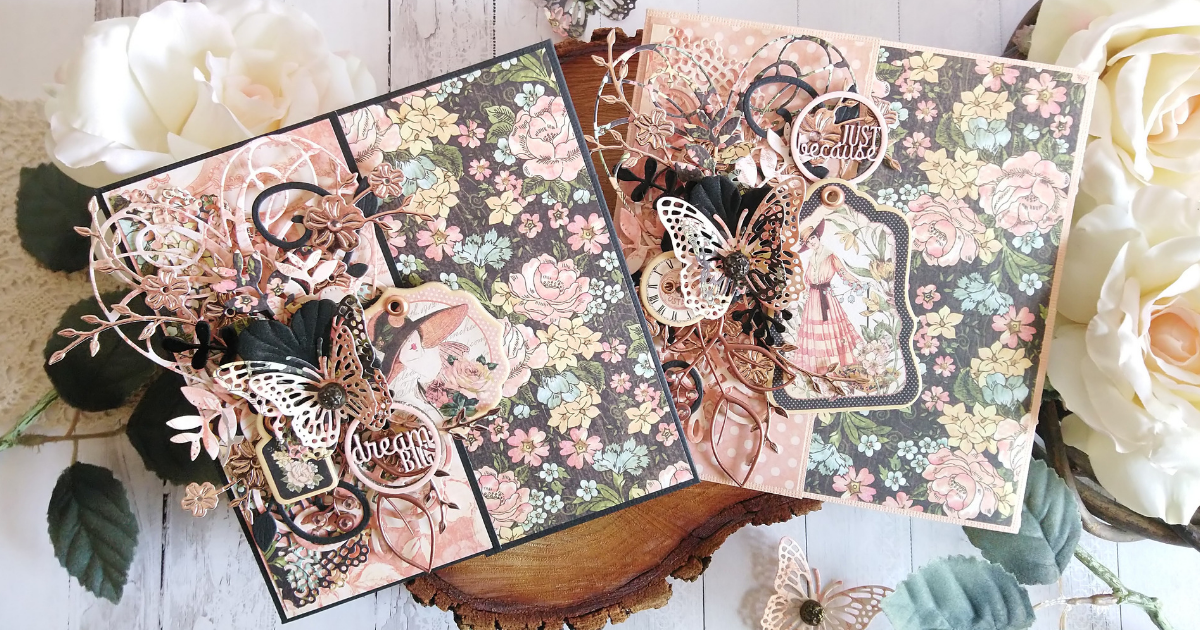
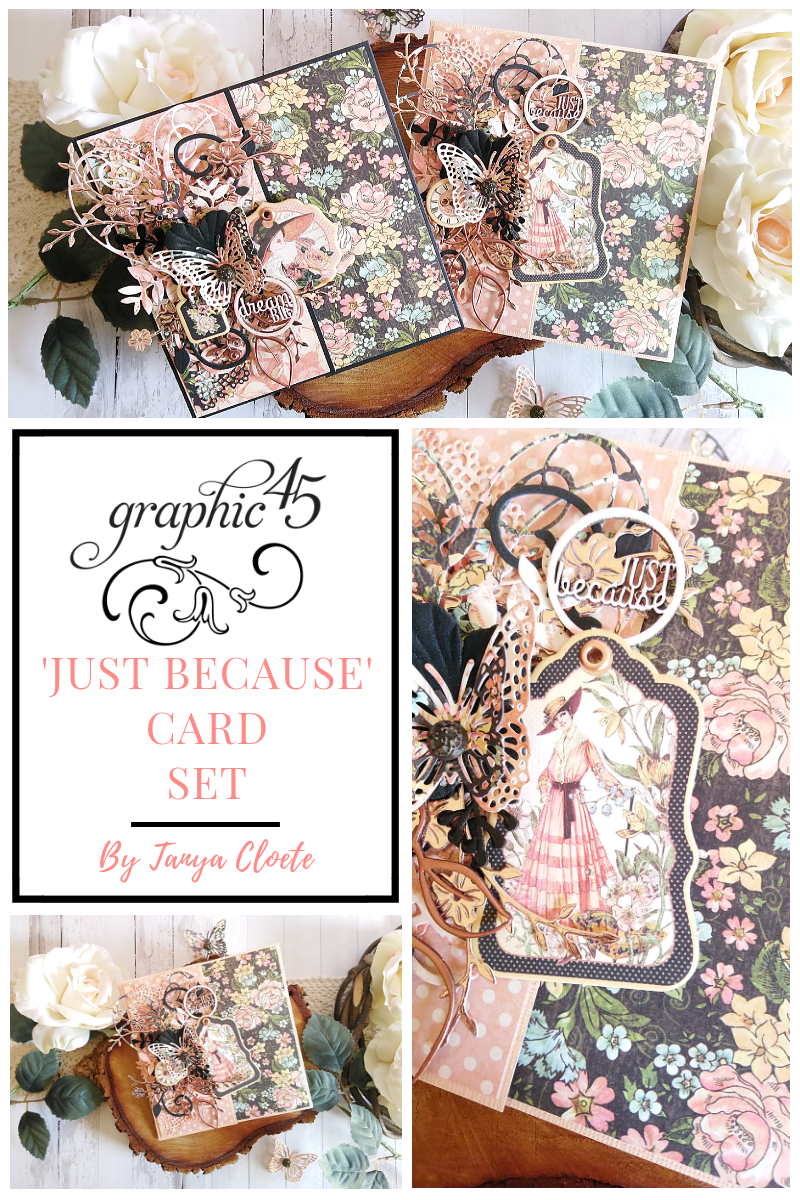
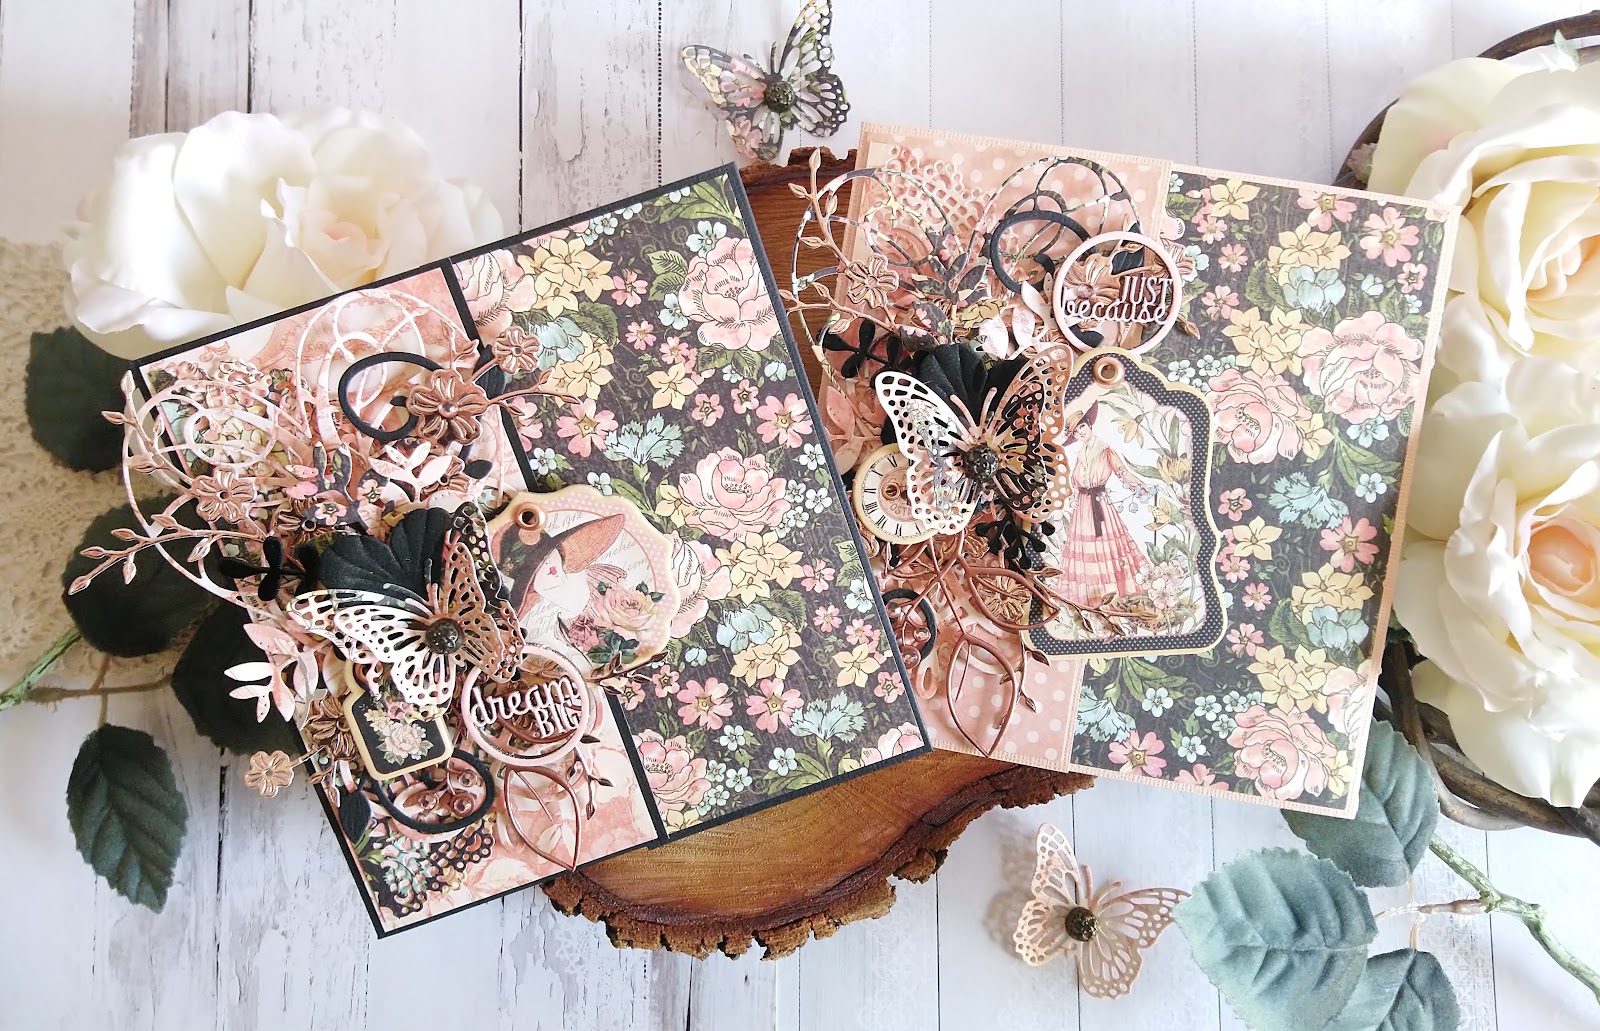
Welcome to a fabulously feminine and beautiful blog post! Today we have two elegant and detailed cards charged with two thoughtful sentiments, ‘Just Because’ and ‘Dream Big’. These are perfect for birthdays, graduation, or a 'miss you' occasion. Both of these handmade cards were made by the Queen of Shabby Chic, Tanya Cloete. We hope you love how Tanya has made our A Ladies’ Diary – Deluxe Collector’s Edition papers sing!
#G45VideoTutorial – A Ladies Diary Secret Card Set
By Tanya Cloete
“Hello, dear G45ers!
Excited to share with you my project for this month a #G45VideoTutorial featuring the ever so gorgeous A Ladies Diary Collection. A Ladies Diary was the first ever Graphic 45 papers I worked with when I started my scrapping journey. This is by far my FAVORITE Graphic 45 Collection ever! I can simply not get enough of it! Today I have something special created called a Secret Card. I made two of them.
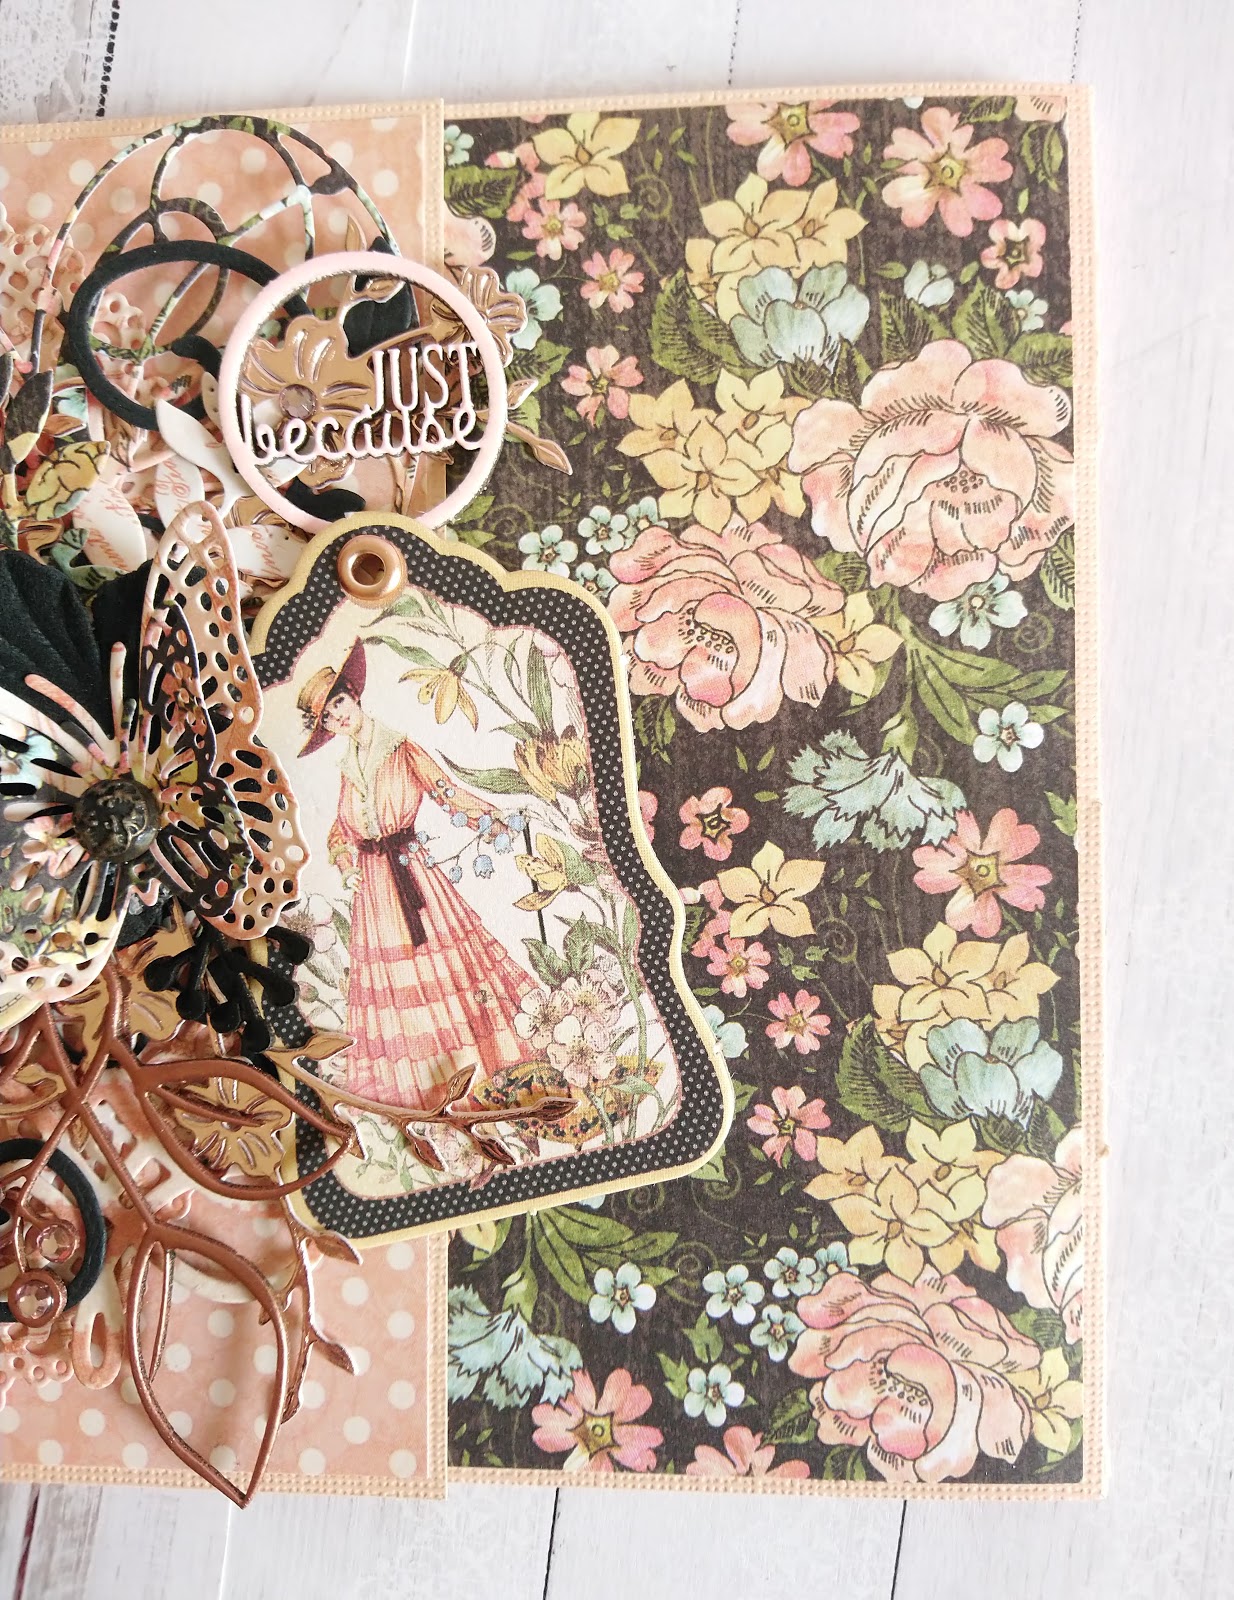
[ #G45VideoTutorial ] Secret Card by Tanya Cloete for Graphic 45 Featuring A Ladies' Diary – DCE
Herewith the Supplies and Instructions you may use to recreate such a project:
|
|
|
|
Graphic 45 Supplies:
Other Supplies:
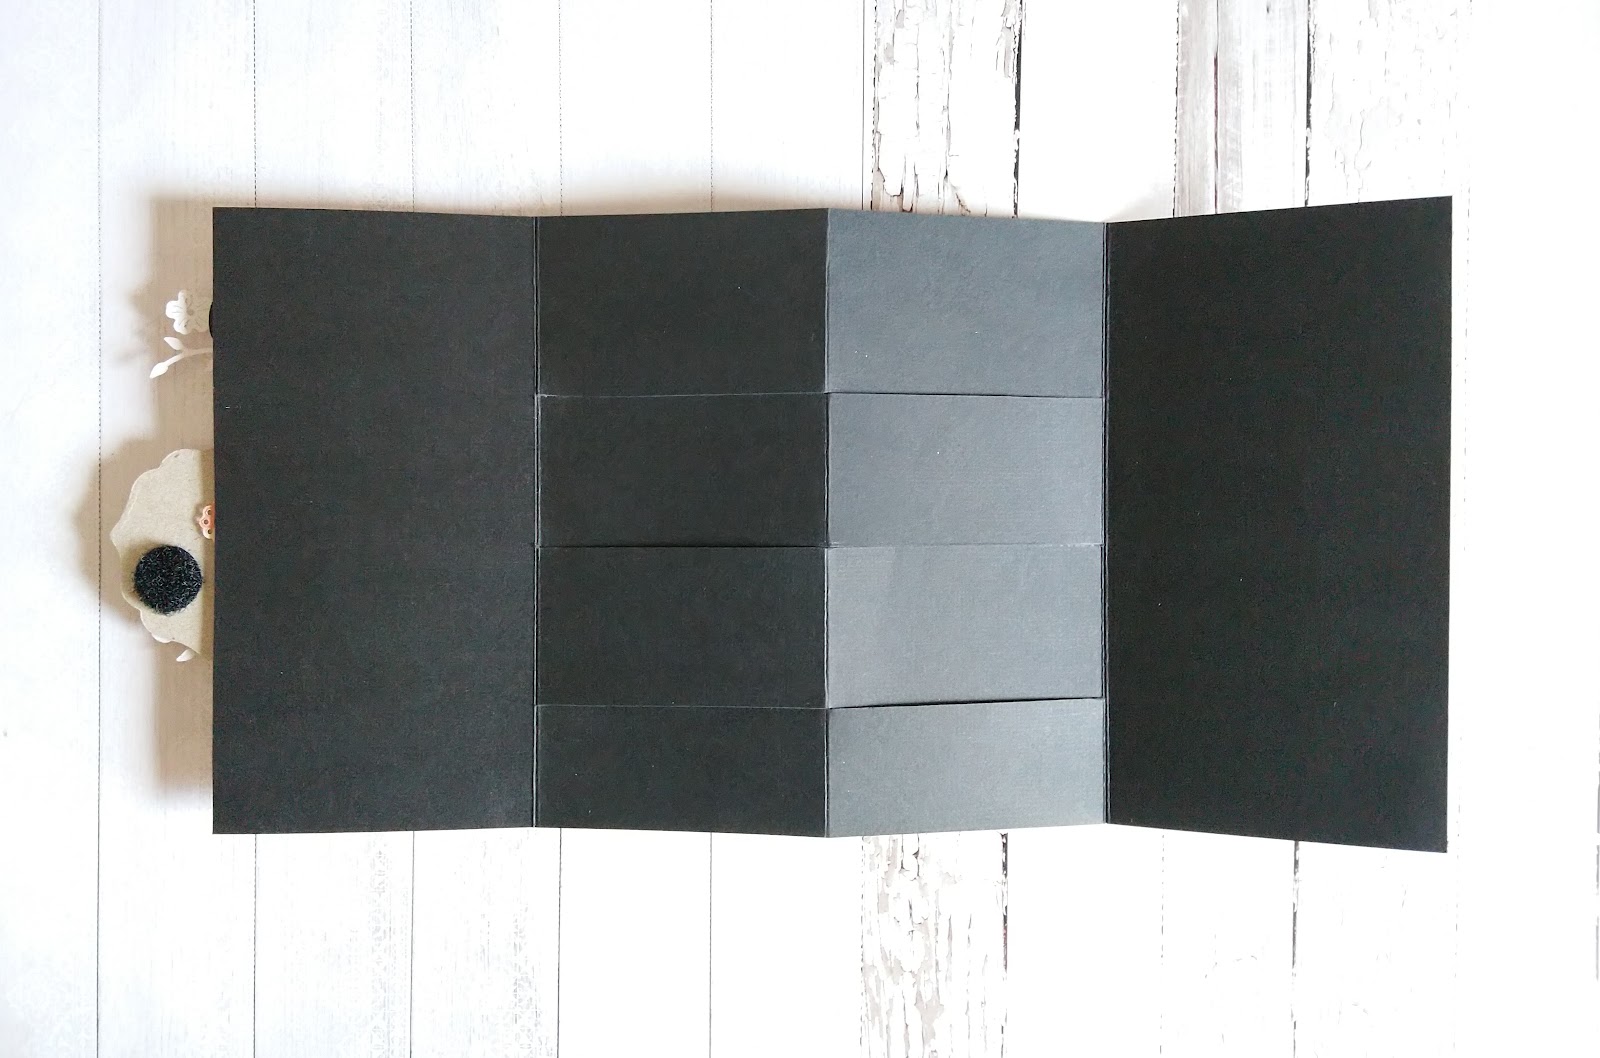
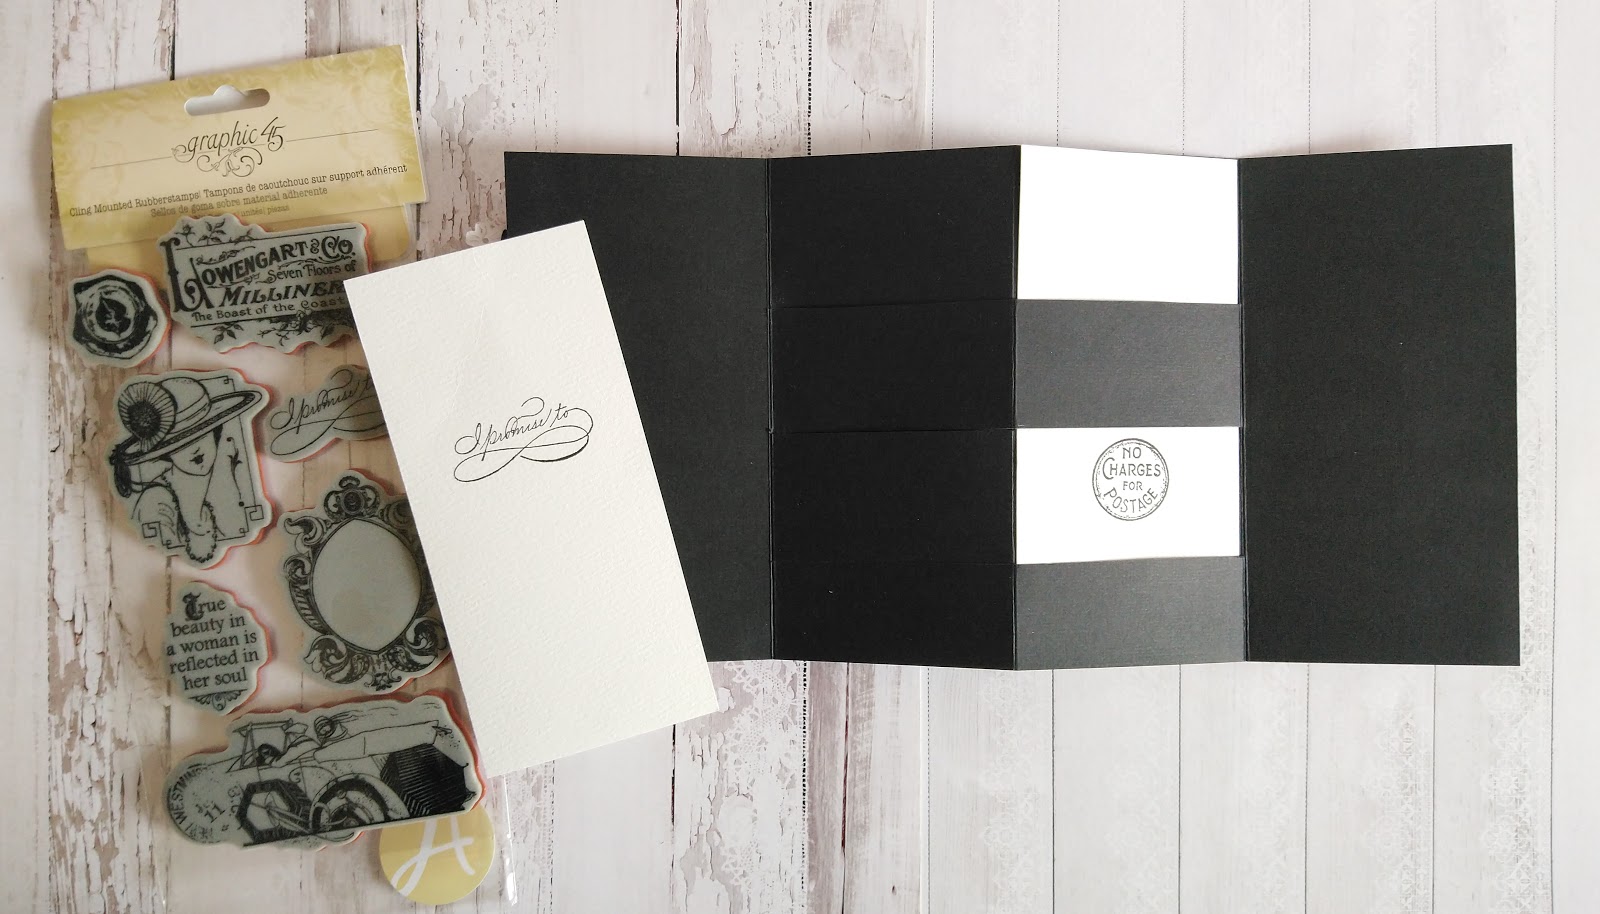
Cut a 6×6 card from black cardstock. Score the card in three sections each measuring 7.5 cm.
Cut the middle section into 4 slits each measuring 3.5 cm.
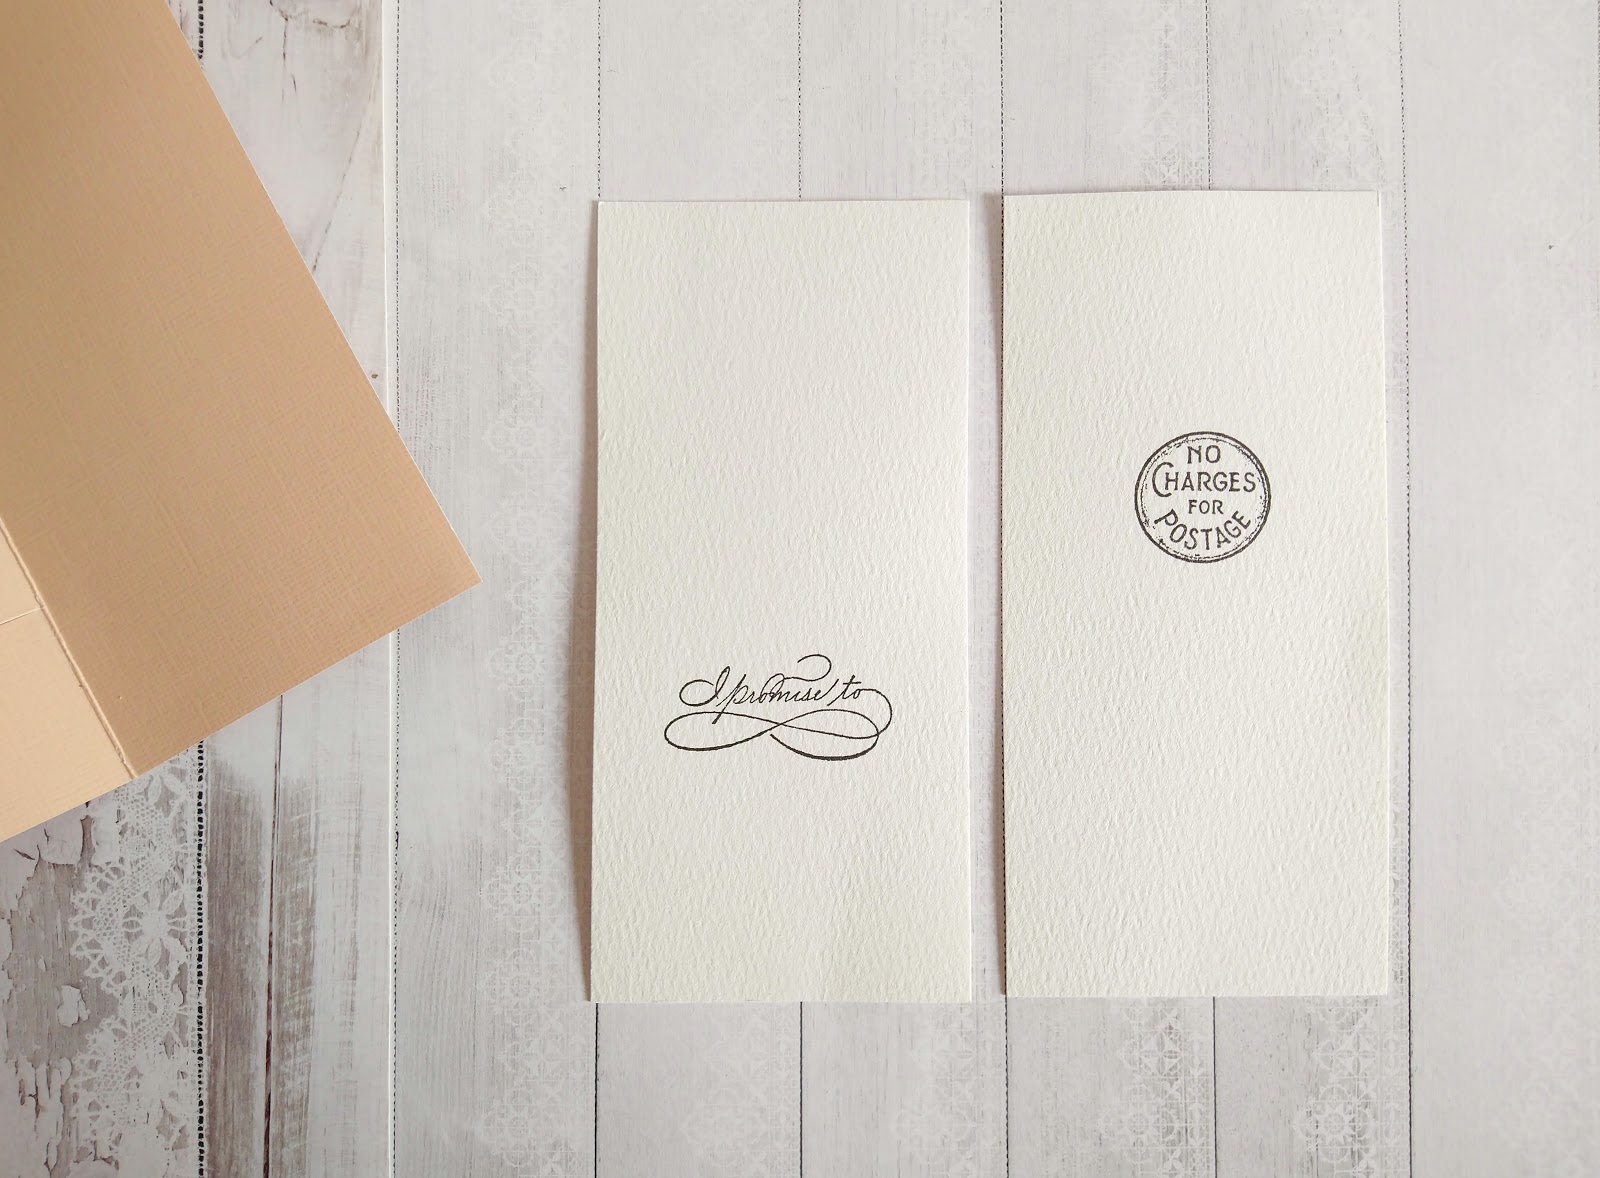
Cut 2 pieces from watercolor paper each measuring 7 cm x 15 cm. Insert these in opposite directions
of the slits.
Stamp images onto the watercolor paper.
Tip: Make sure that the pieces are inserted before stamping to ensure that the stamped image is visible when opening the card.
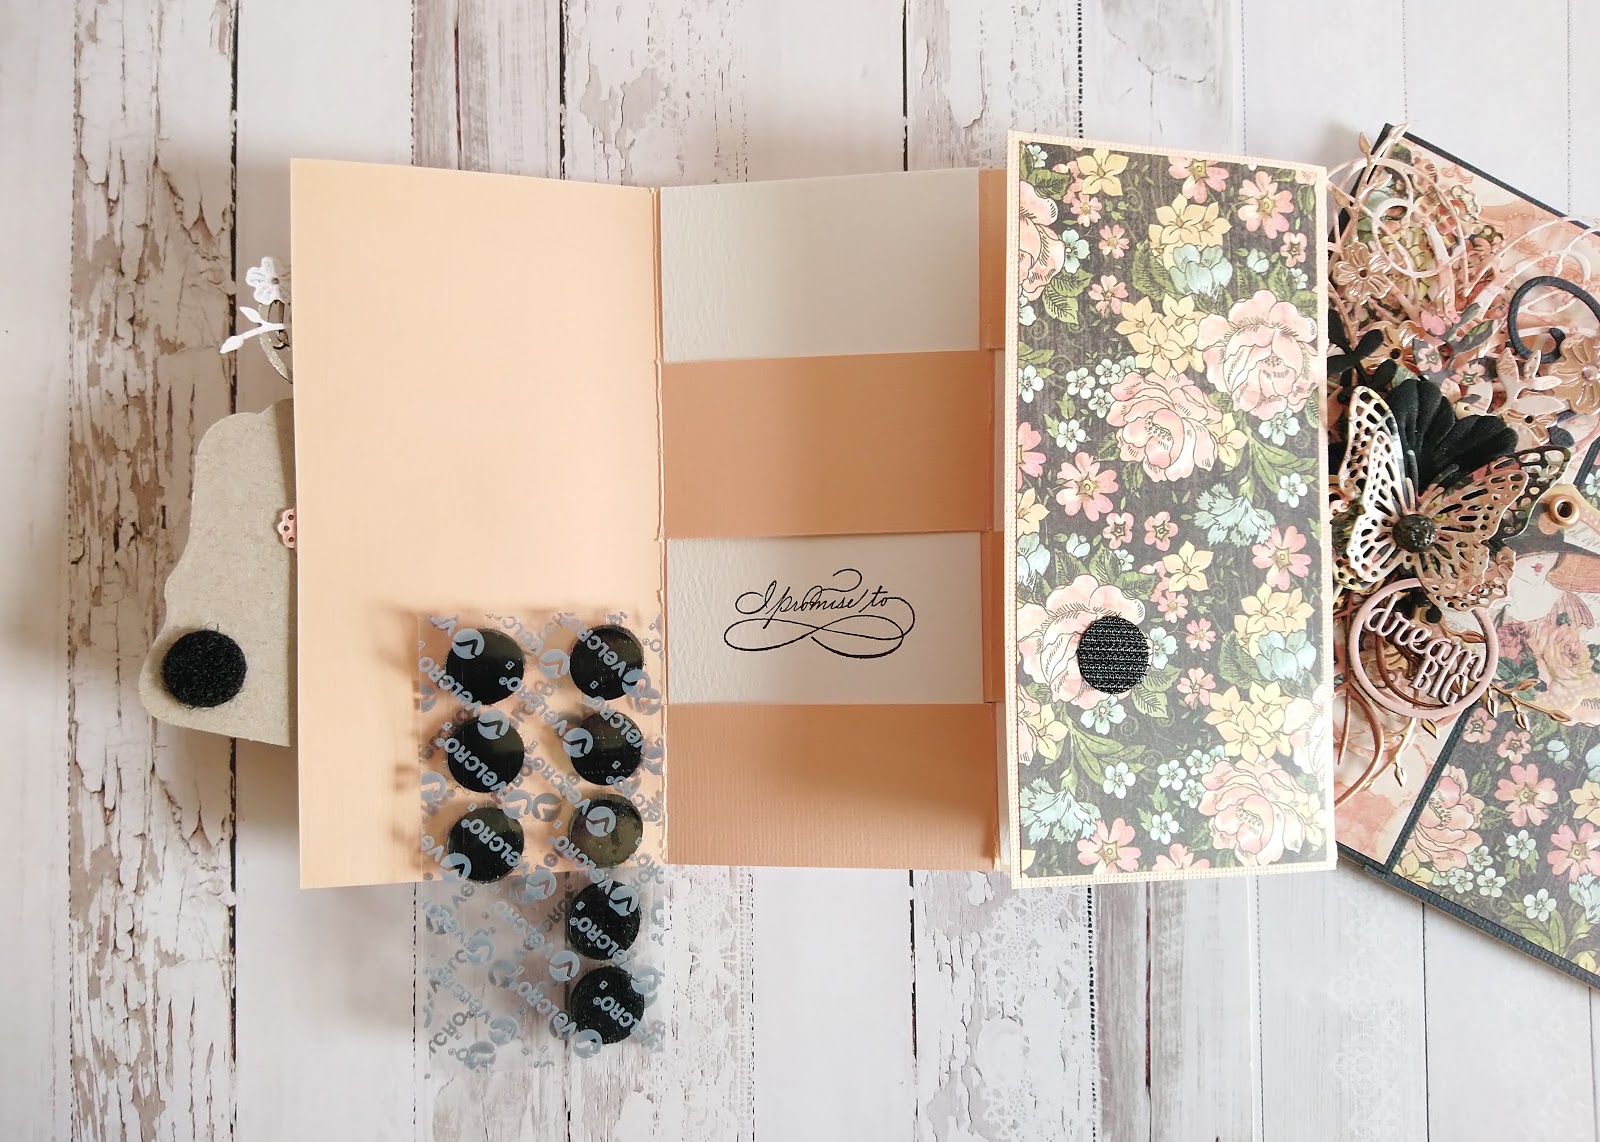
Add a Velcro dot to the chipboard element. This is to keep the card closed.
Tip: Add both pieces to the chipboard element and then close the card, making sure it aligns.
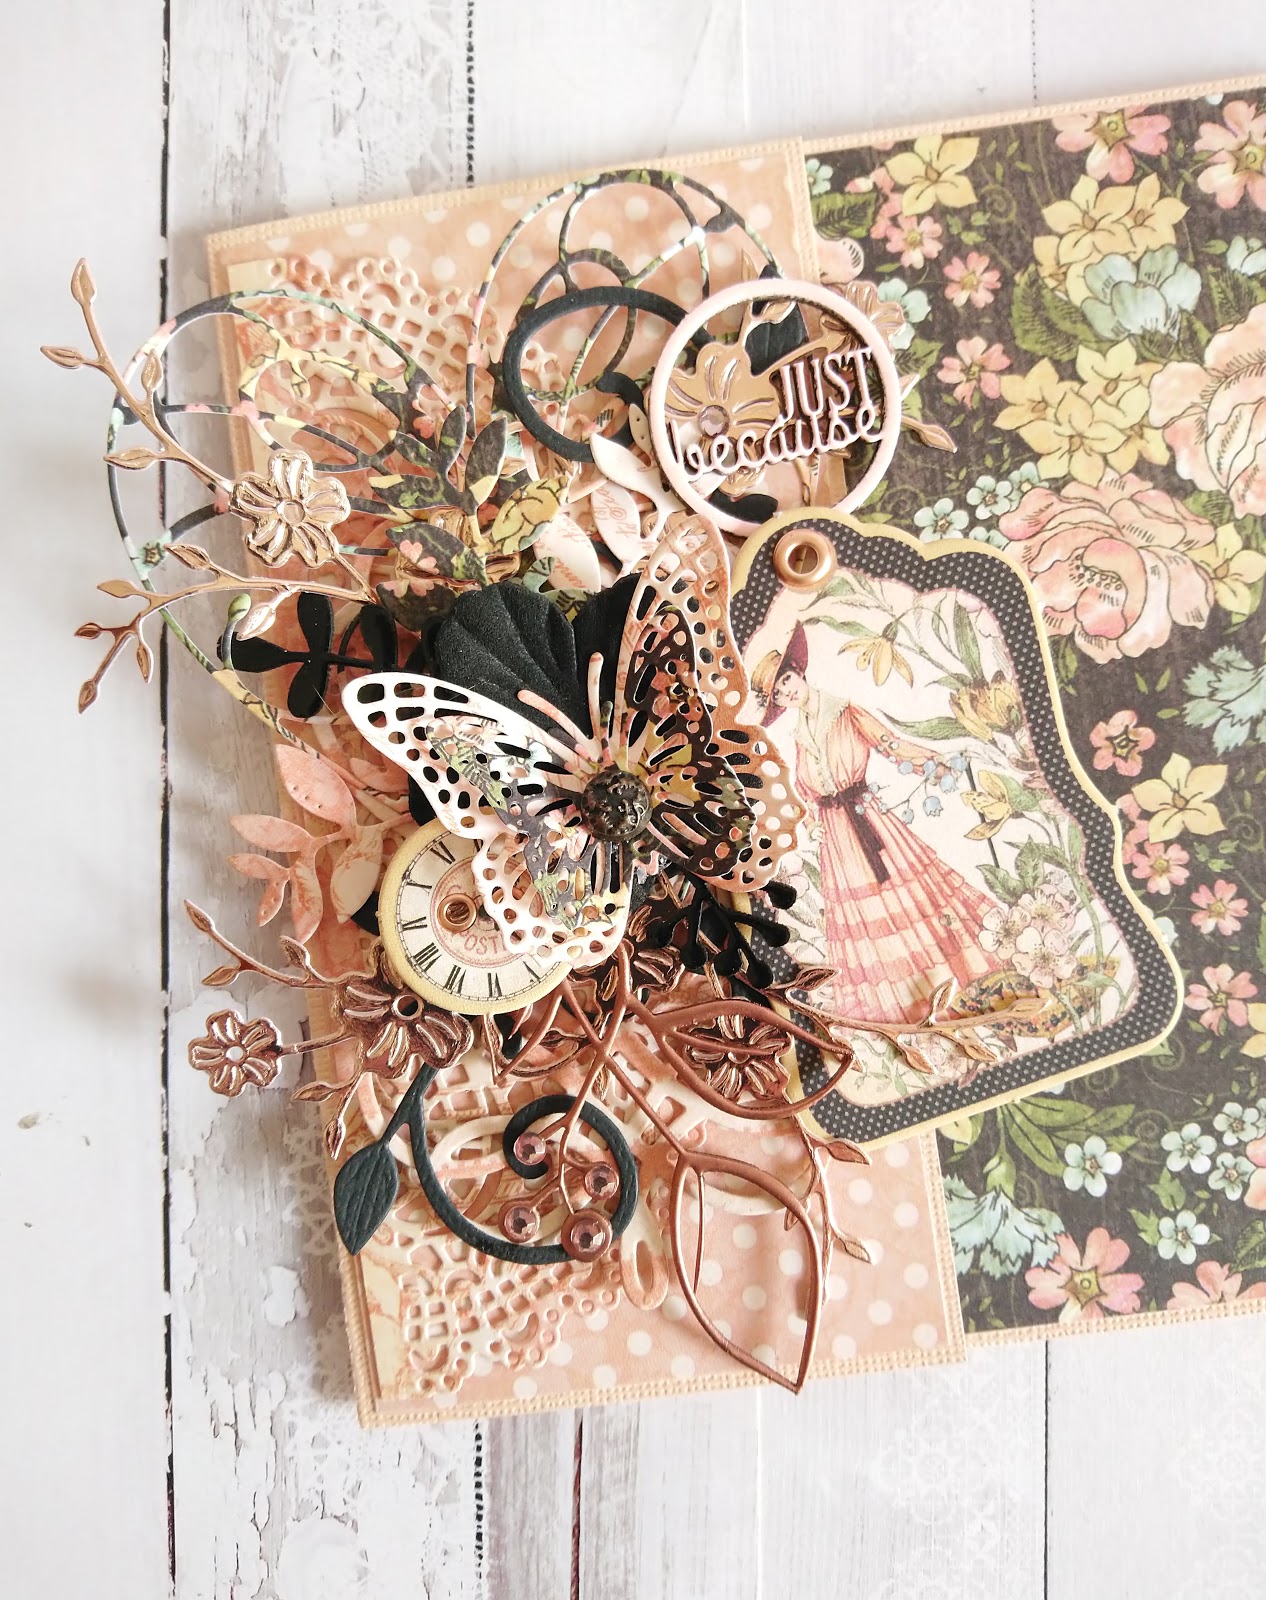
Cut another 2 pieces for the front of the card flaps leaving a small border. Cut a few die cut shapes (leaves, filigree, butterflies, swirls) from the collection sheets, black cardstock and rose gold mirror board.
Make a cluster embellishment and adhere. Add a metal brad to the center of the butterfly and eyelets to the chipboard elements.
.
Heat emboss the chipboard pieces with embossing powders.” ~Tanya
Wow! Thank you, Tanya, for sharing these amazing interactive cards and for teaching us how to recreate these gems. Thank you as well for joining us for the blog and creating the G45 community so warm and creative. Have a wonderful day, and as always…
Happy Papercrafting!