Hello, G45ers!
We are honored to get to introduce, Graphic 45 Brand Ambassador, Cecilia Zertuche. Cecilia has mastered the art of Off the Page projects, and never disappoints with her incredibly detailed projects. Below you will find a gorgeous Paper Princess Palace complete with a coordinating Mini Album. We encourage you to grab a cup of tea and enjoy this two part video tutorial seriers teaching you great ways to take your papercrafting to new heights, and when you are done be sure to leave your love in the comments.
Cecilia Zertuche – Mexico
Graphic 45 2020-2021 Brand Ambassador
My name is Cecilia Zertuche and I live in Los Cabos, México. A happy mother of two and a piano teacher, with a Degree in Communication. I started crafting around 24 years ago by sewing, making bows with salt paste for my daughter and all kind of Christmas dolls to sell. But 7 years ago I discovered scrapbooking and found Graphic 45 papers, since then I can’t stop crafting and fell in lovewith it! After that, I founded Diseños en Papel to share my work. Last year I started also in mixmedia and it quickly became a new passion of mine. I enjoy so much everything I can create with my hands and a bit of imagination. It’s amaizing how you can transform a piece of paper into something beautiful and at the same time useful. Making decorative pieces with chipboard is also something that I love to do. I’m so happy and thankful for the opportunity of being a Graphic 45 Brand Ambassador and can’t wait to start this wonderful journey!
G45 June selfie: A MODERN PRINCESS
Hello dear Graphic 45ers! I’m so happy to share with you my first project as Brand Ambassador 2020-2021. I made this beautiful modern “palace” for a modern princesses. I think girls, in this era, wants the luxury, but in a loft instead of a palace.
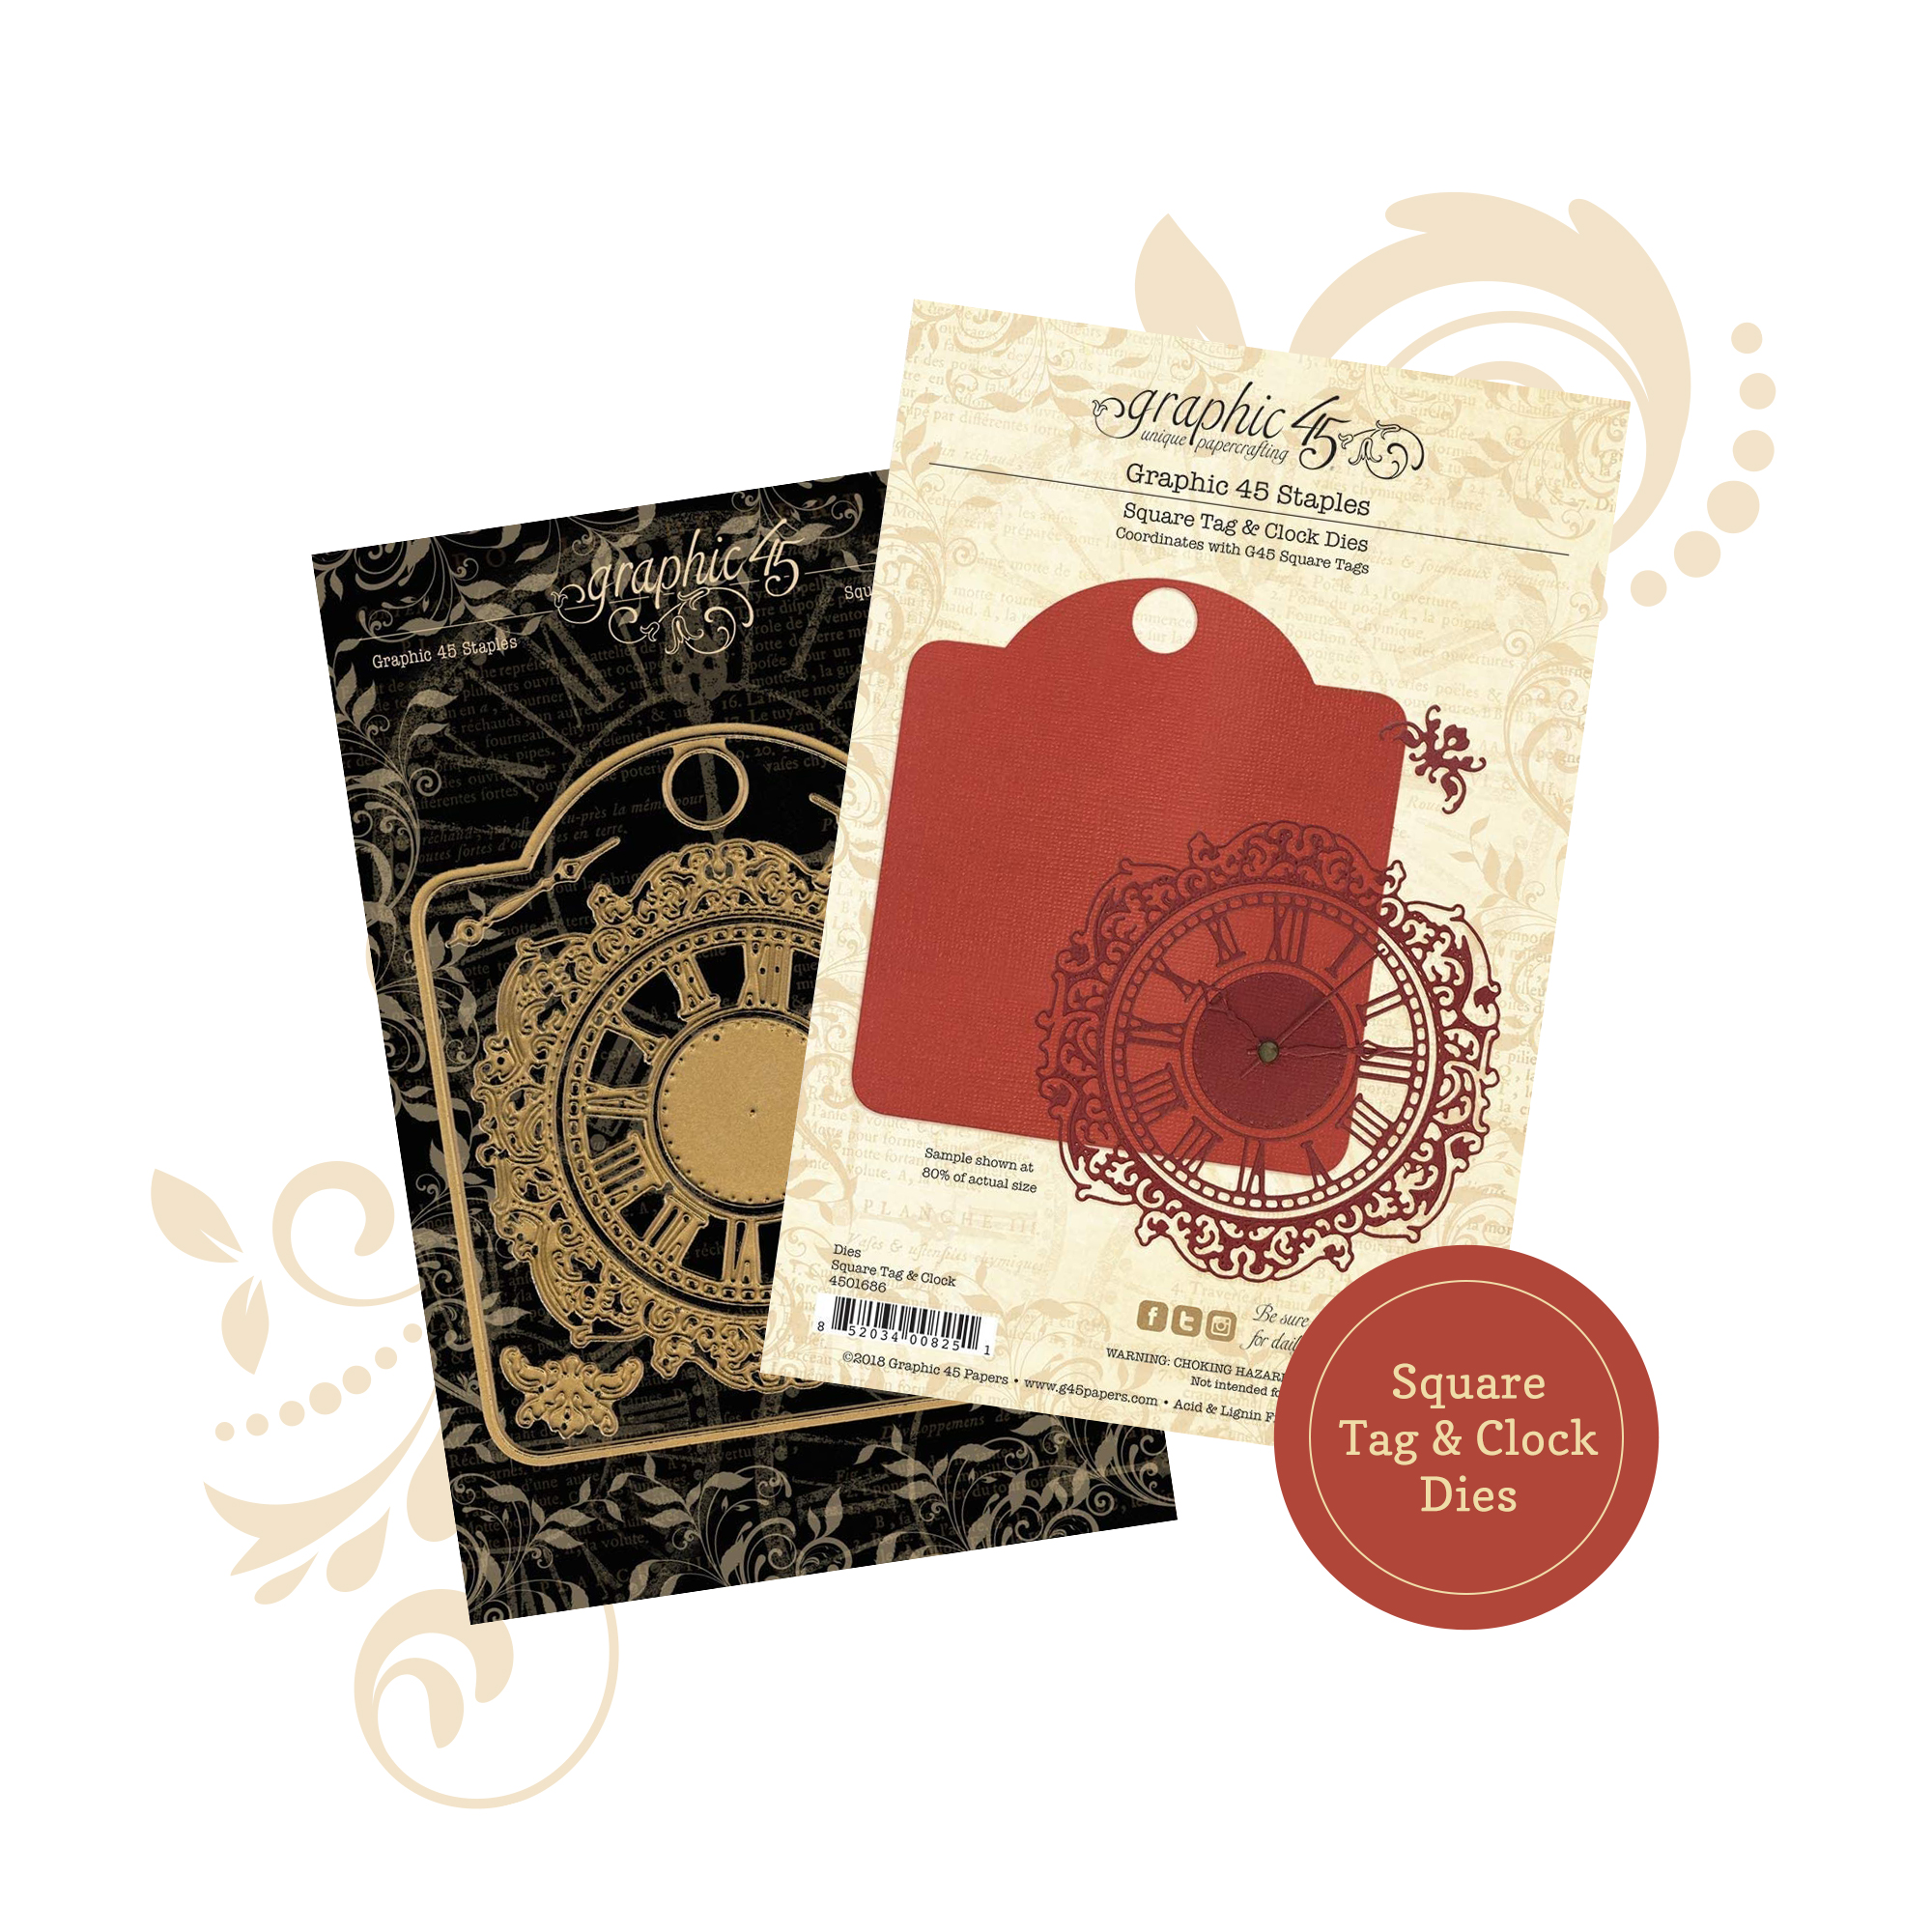
I used Gilded Lily paper collection for my project with 12”x12”, 8”x8” and patterns 6”x6 papers, also used stamps I had from the collection, metal brads and the beautiful clock die. I’m so fortunate my youtube friend Bunny Bow sent me all this dreamed papers last christmas, and since I received them I knew this could be a great idea! Hope you like it!
This is THE LOFT, part one.
Video Tutorials:
[Part 1] Paper Princess Palace Tutorial by Cecilia Zertuche for Graphic 45
[Part 2] Paper Princess Palace by Cecilia Zertuche for Graphic 45
I really like to combine different elements in my projects as copper tubes to get the industrial look, but softening with paper elements like the gorgeous flowers.
TIP: When you’re making a box, take your time, trim the excess when is needed,and at the moment of gluing the parts, hold it a bit and then secure it with tape.
TIP: When you cut the designer papers to cover the window, you can cut the front and back at same time, just put the face chosen one in front of each other and in the right direction, then align very well both papers and use a staple in the parts to take off to attach them, in this ways both are going to be exactly the same.
TIP: When using crackle paste, let it air dry, the crackles will be more deep and beautiful to color them.
TIP: I love to use the tiny sheet examples from the cover collection, they’re perfect to embellish your projects too, like this dangle hanging from the chain that is also the closure.
TIP: To stand paper elements use your leftover chipboard pieces in the back, I love how they are alive when standing!
This is THE ALBUM, part 2.
When I make a project like this, normally I think for a few days all the ways possible to make it, but for me, it has to be not just beautiful, but useful and resistant, so the best way for this is adding an album, that will make the project a treasure, because the loving memories will be always inside of it! This can be a great gift for the sweet sixteen or the quinceañera.
So I knew It needed a second level to put down of it a mini album…
The mini album is designed to fit inside this space, and of course considering that the photos will be added I left room enough, but one important thing is decorate the cover just with flat elements, like papers which are really beautiful!
TIP: Always be ready with baby wipes, they’re really handy to clean the spreaded glue. Also, when gluing I always use my little finger tip to spread it, in this way the rest of my fingers will be clean. This is a wonderful trick of Duncan from The Pop Up channel.
TIP: When I’m lining the covers, I like to put tyvek or tape between the spine and both covers, this will prevents the paper from tearing.
TIP: At the moment of decorate the pages, play and enjoy with your embellishments prepared in advance, separate them in groups, for example: one group is the fussy cutted, other is the velum pieces…
TIP: If you want to leave the space for insert the picture, use a piece of acetate instead of the picture, and glue all the elements around it, in this way when you carefully took off the acetate, the space for pictures won’t be glued.
Thank you so much for your attention!” ~Cecilia
Happy Papercrafting!
Want even more Graphic 45? Sign up for our newsletter here!