Hello, G45ers!
It is a great day to learn a new #G45Technique. Today on the Graphic 45 blog, Melissa Merritt shows us how to maximize our Metal Dies by using the negative space from the cutouts. Check out how cute this technique looks on her handmade cards featuring our Nature Notebook – DCE. Before we jump in we have a WINNER to announce from our Vol 01 Club Kits giveaway.
We asked our G45ers to comment and/or share our video tutorials on Facebook to be entered to win both the Club G45 and the G45 Card Club kits and samples from our Vol 01 2021! The winner is… Mary Deihl! Mary, please email info@G45papers.com to claim your prize. BIG thanks to everyone who participated, we apprecite your support!
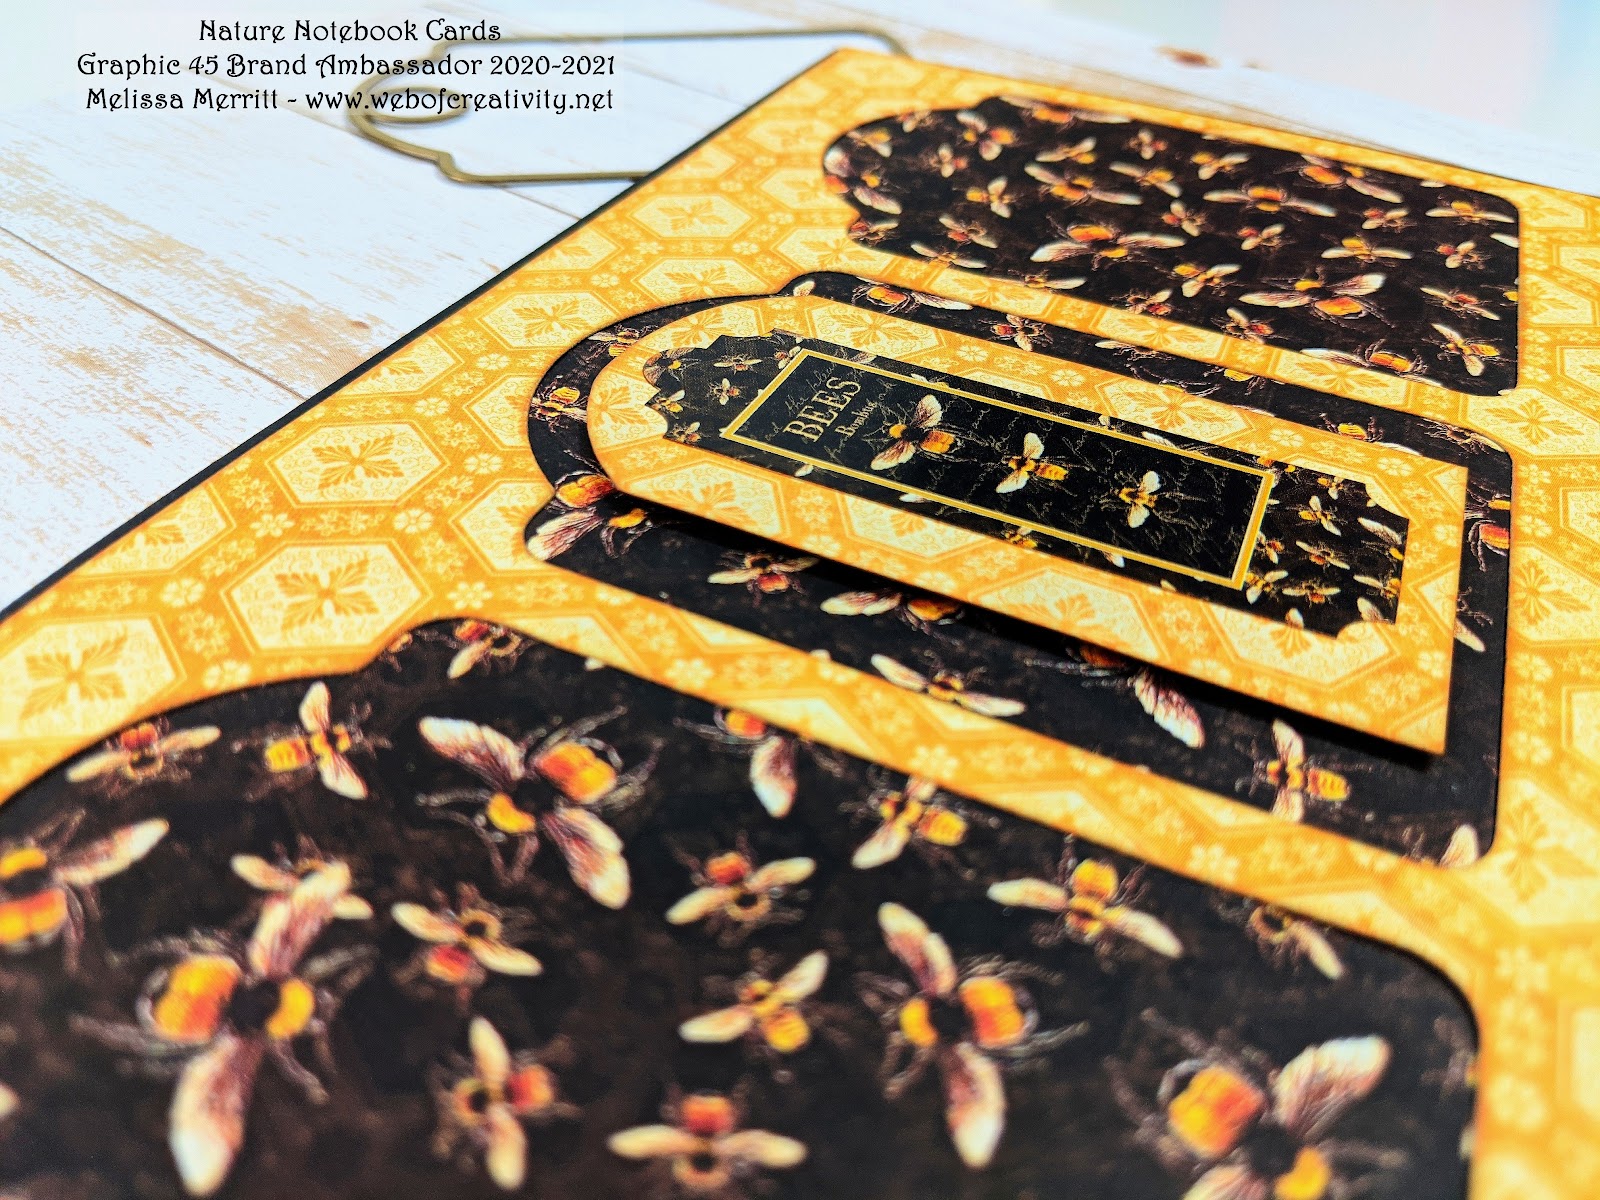
Nature Notebook Cards
Using Negative Space from Dies
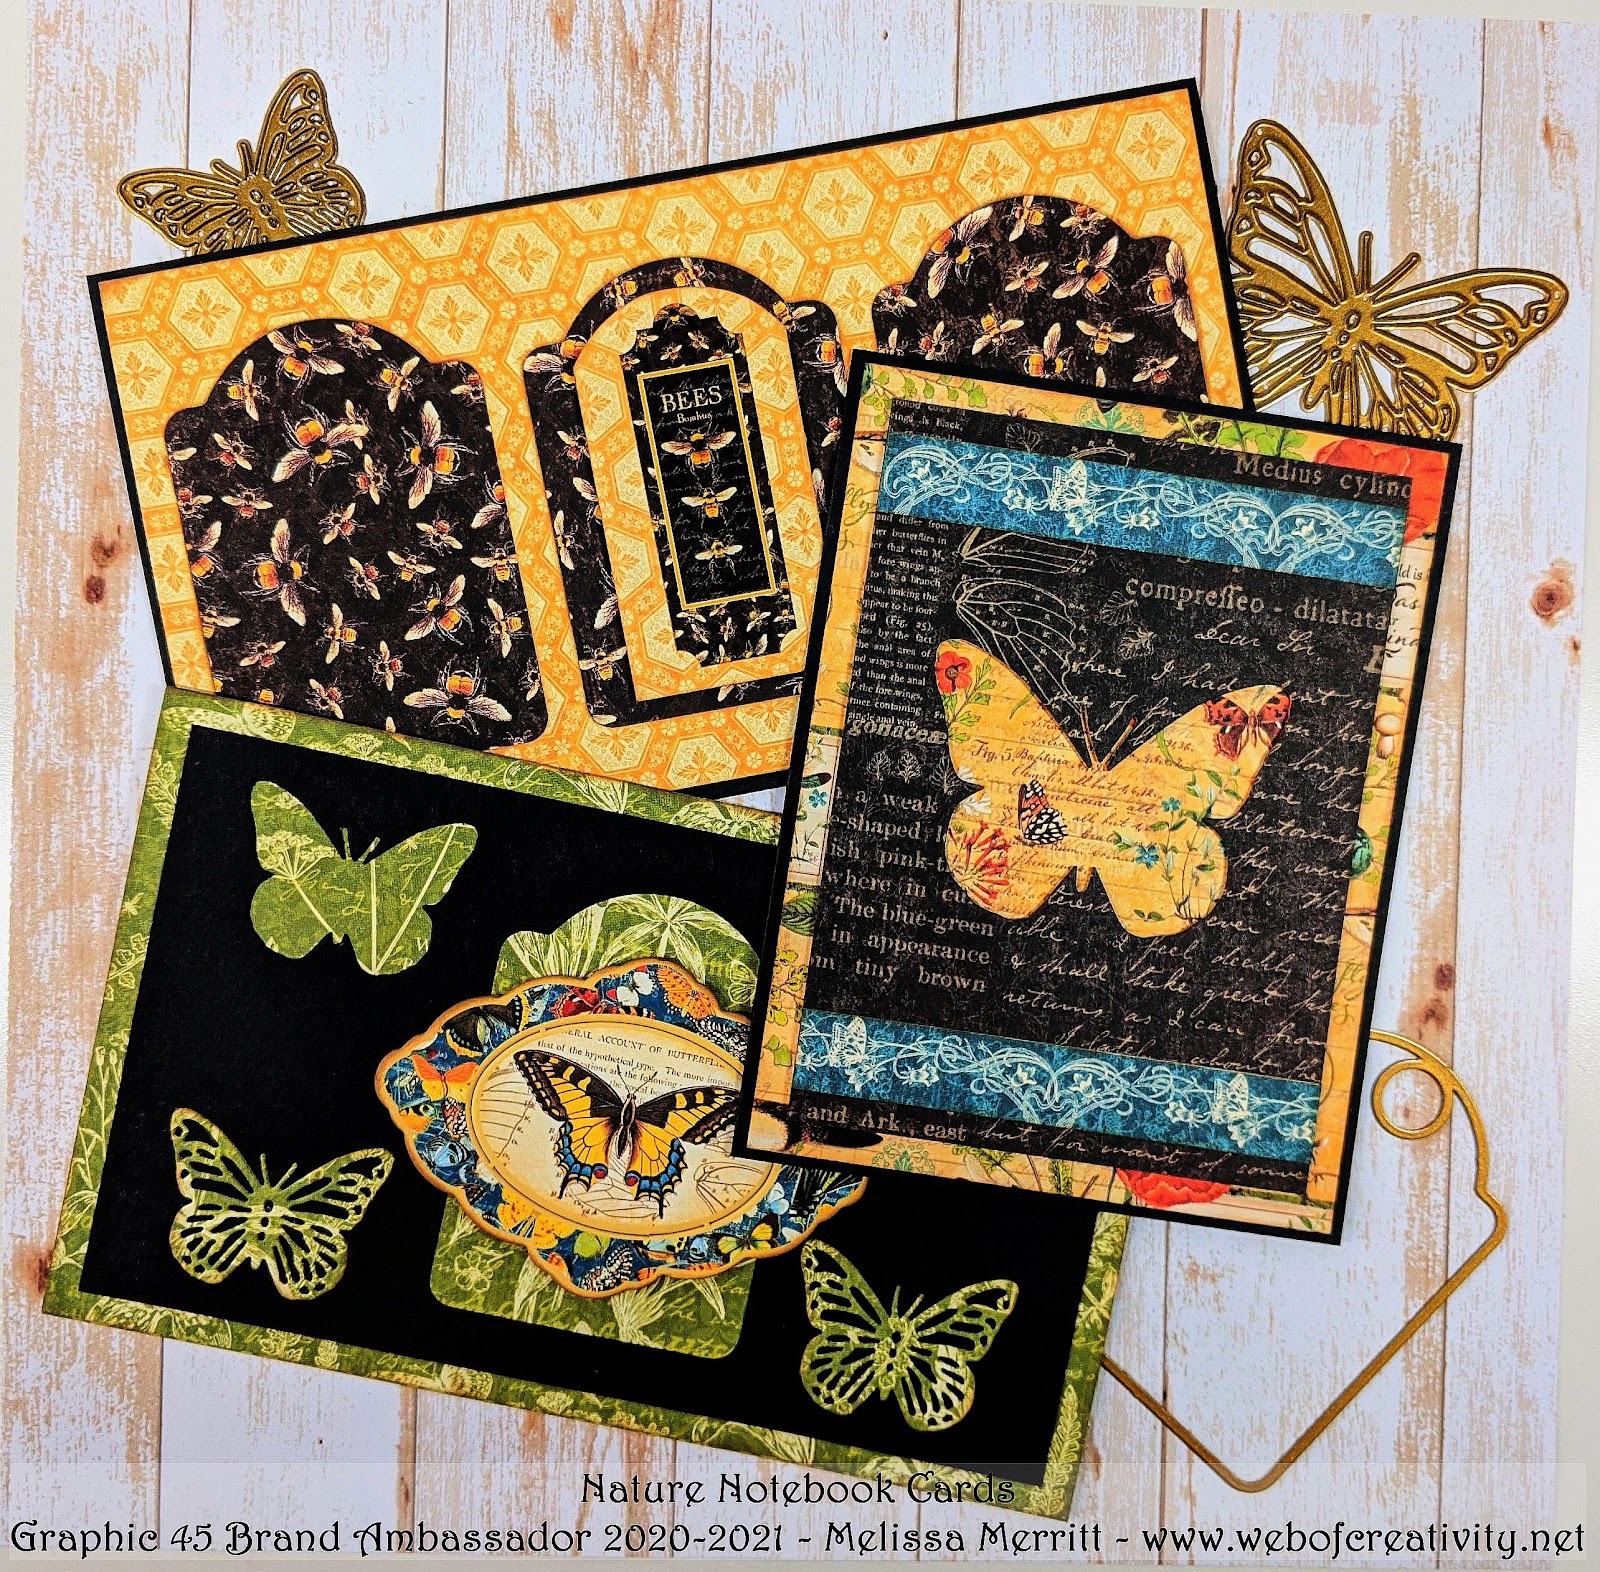
“Hello G45’ers! Today’s project is cards using negative space from dies. The card tutorials today feature Graphic 45’s Nature Notebook, ATC Tag die, and 2 Butterfly dies. These cards are fun to make and I hope you give it a try with your own Graphic 45 dies. In this post are tutorials for three cards and a video tutorial at the end of the post. Enjoy!
Cards Featuring Metal Die Technique by Melissa Merritt
Materials:
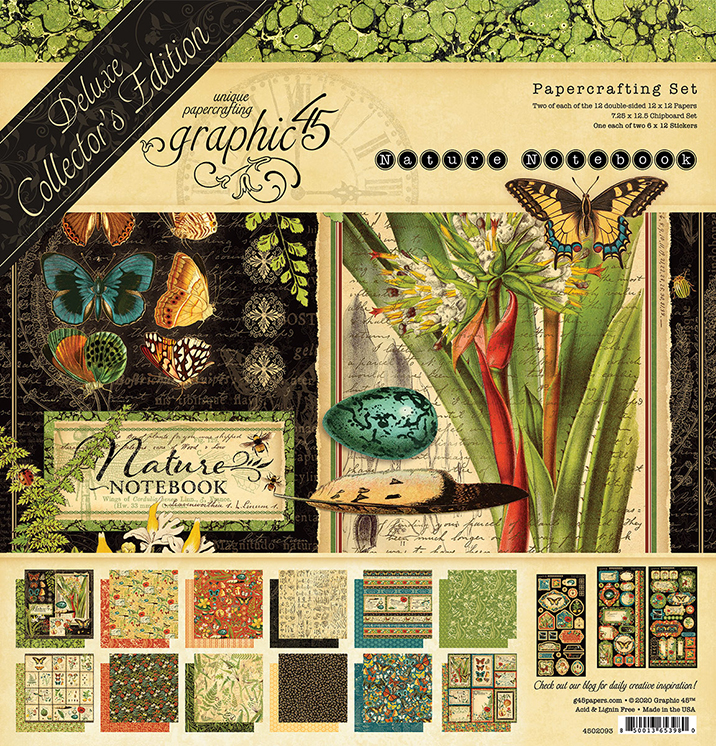
Graphic 45’s Nature Notebook Collection, Stickers and Chipboard
(3) 8½ x 11” Black Cardstock
Ink: Distress Oxide Gathered Twigs
Optional: Foam Squares
ATC TAG CARD
(CARD 1)
Cut the frame sheet (yellow sheet) 8⅜ x 4¼”. Place the die ½” from the bottom and ¼” from the edge and in between each tags. Cut the background sheet (bees sheet) 8¼ x 4”.

The center piece, also the background for the sticker, is 1⅝ x 3”. To get the curve, I traced the inside of the ATC tag die at the top and cut out.

Card base: 8½ x 9½”. Score 4¾” on the 9½” side.
Optional: Ink edges. Distress Oxide Gathered Twigs. Attach background of frames first, then the frame. I attached the center piece with the sticker using foam squares.
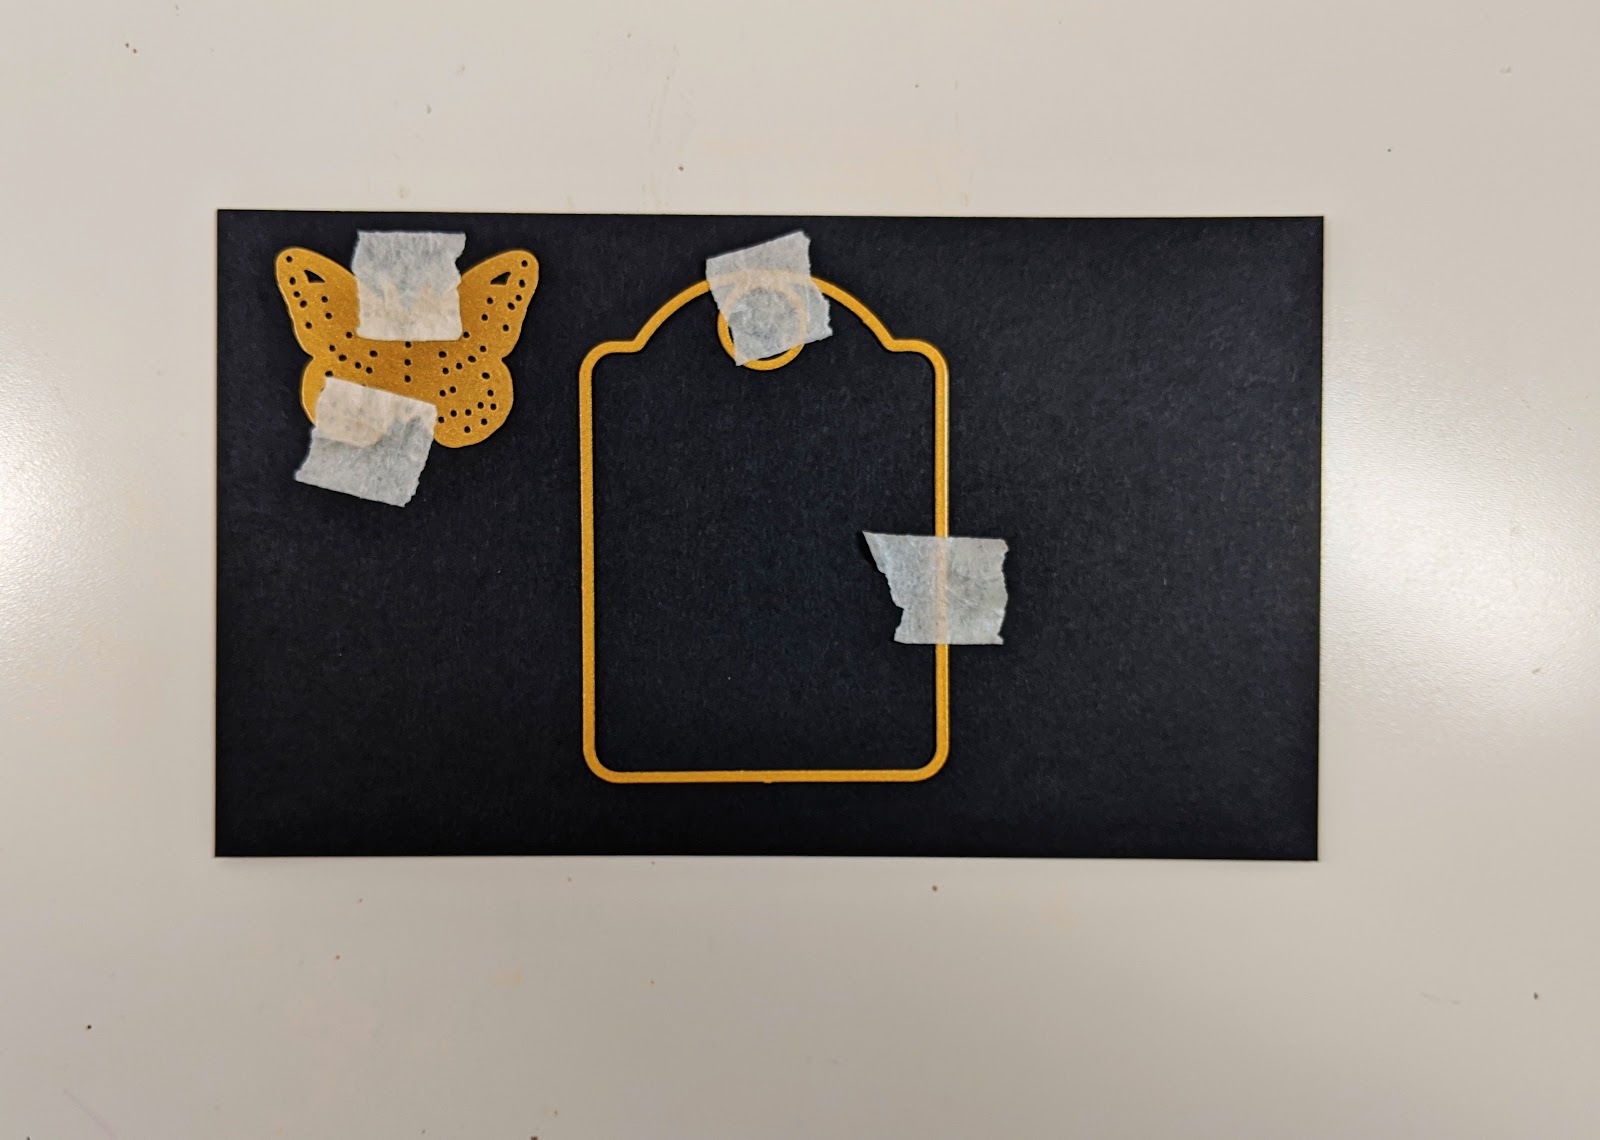
ATC TAG/BUTTERFLY CARD
(CARD 2)
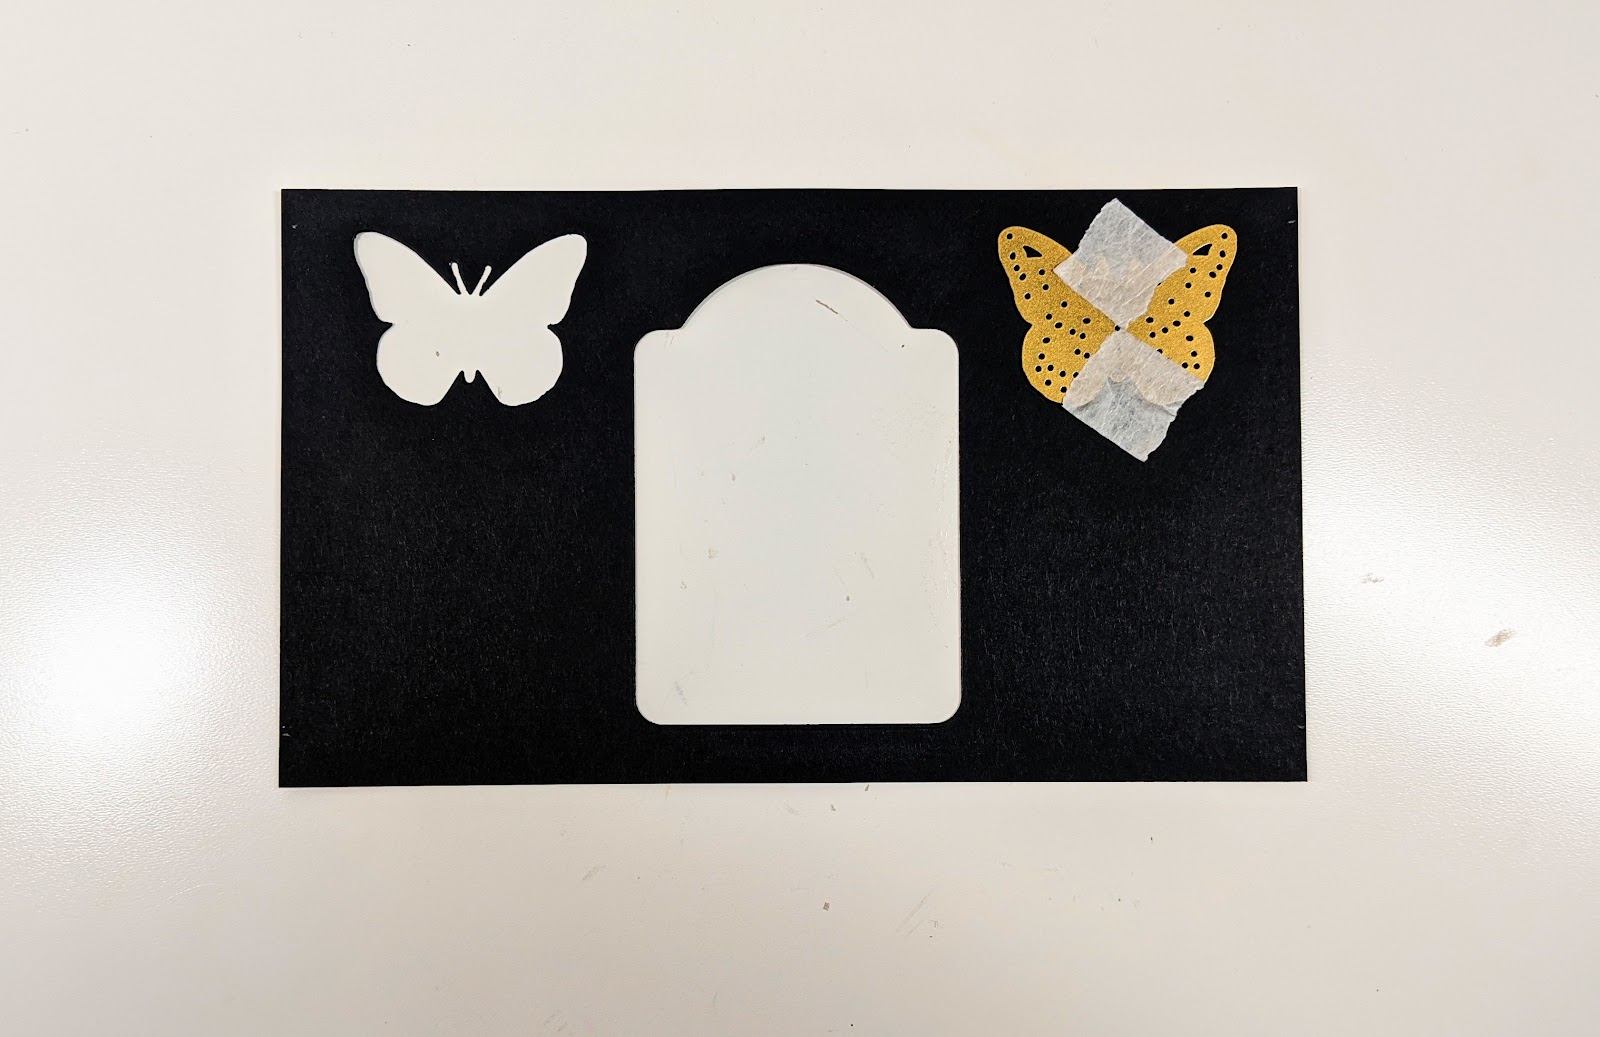
Black cardstock: 7½ x 4⅜”. Place the ATC tag die ⅜” from the bottom, centered. The small butterfly die is ¼” from the top and ½” from the edge.
Card Base: 8 x 9¾”. Score: 4⅞” on the 9¾” side.
Optional: Ink edges. Distress Oxide Gathered Twigs.
Attach the black cardstock on the card base with ¼” border. Cut out two butterflies from the same paper as the card base and attach on the black cardstock ¼” from the bottom and ½” from the side. Then attach the butterfly chipboard piece to the center of the ATC tag.
BUTTERFLY CARD
(CARD 3)
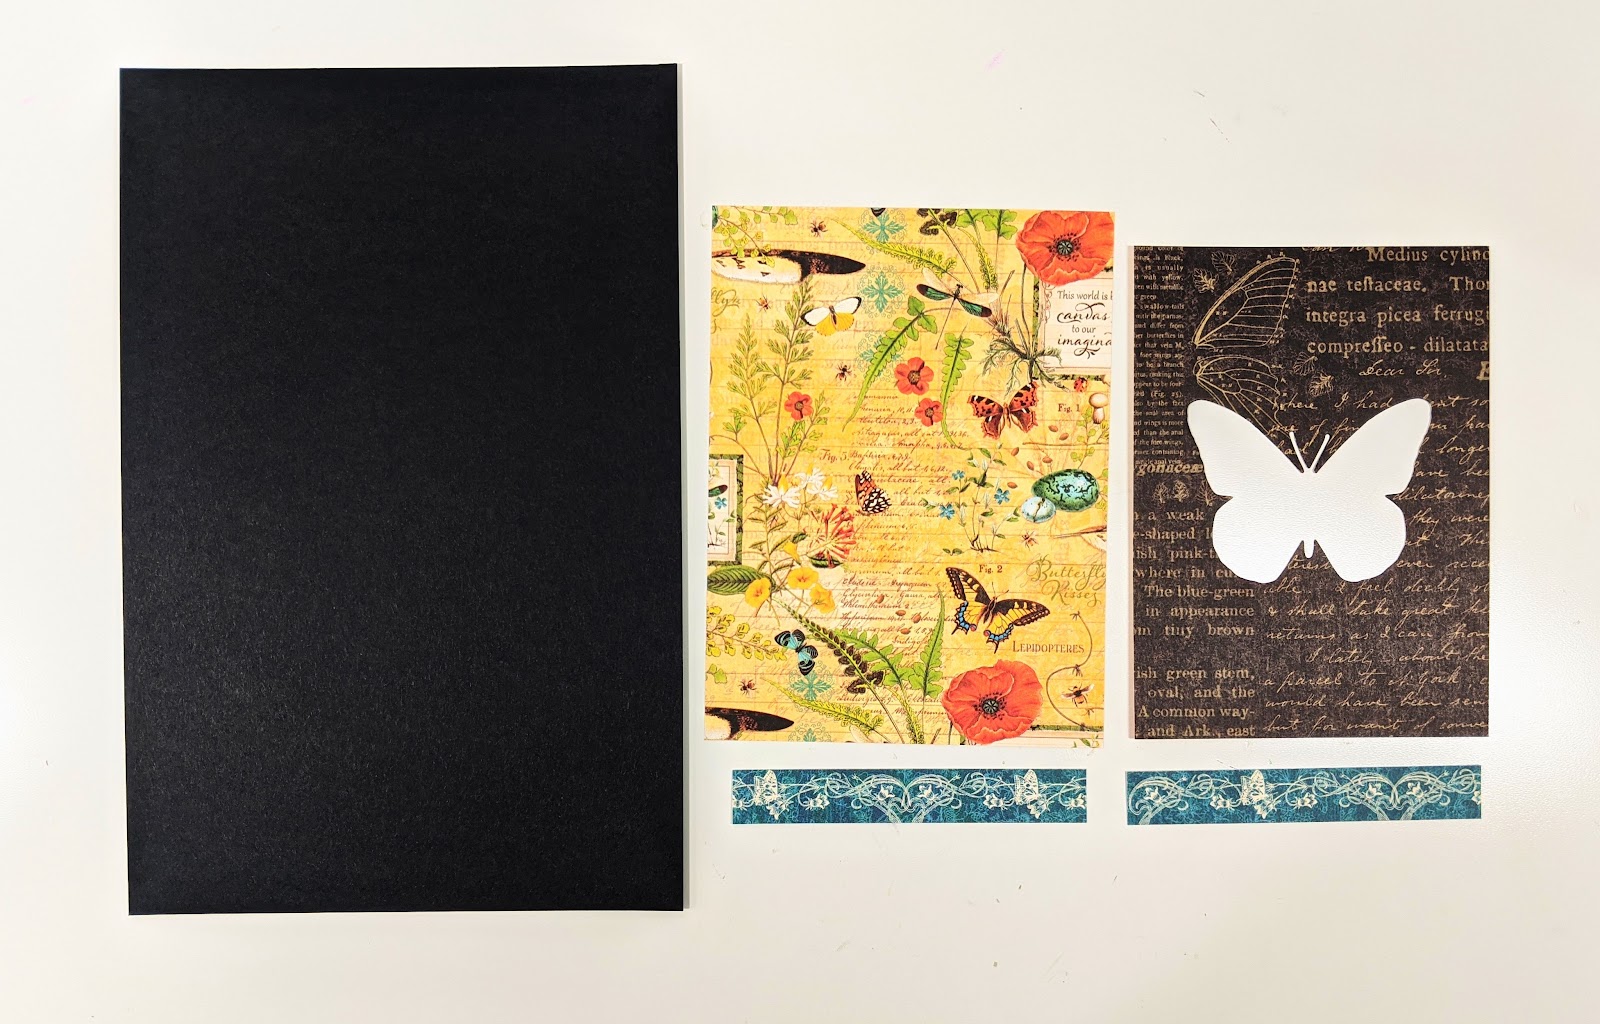
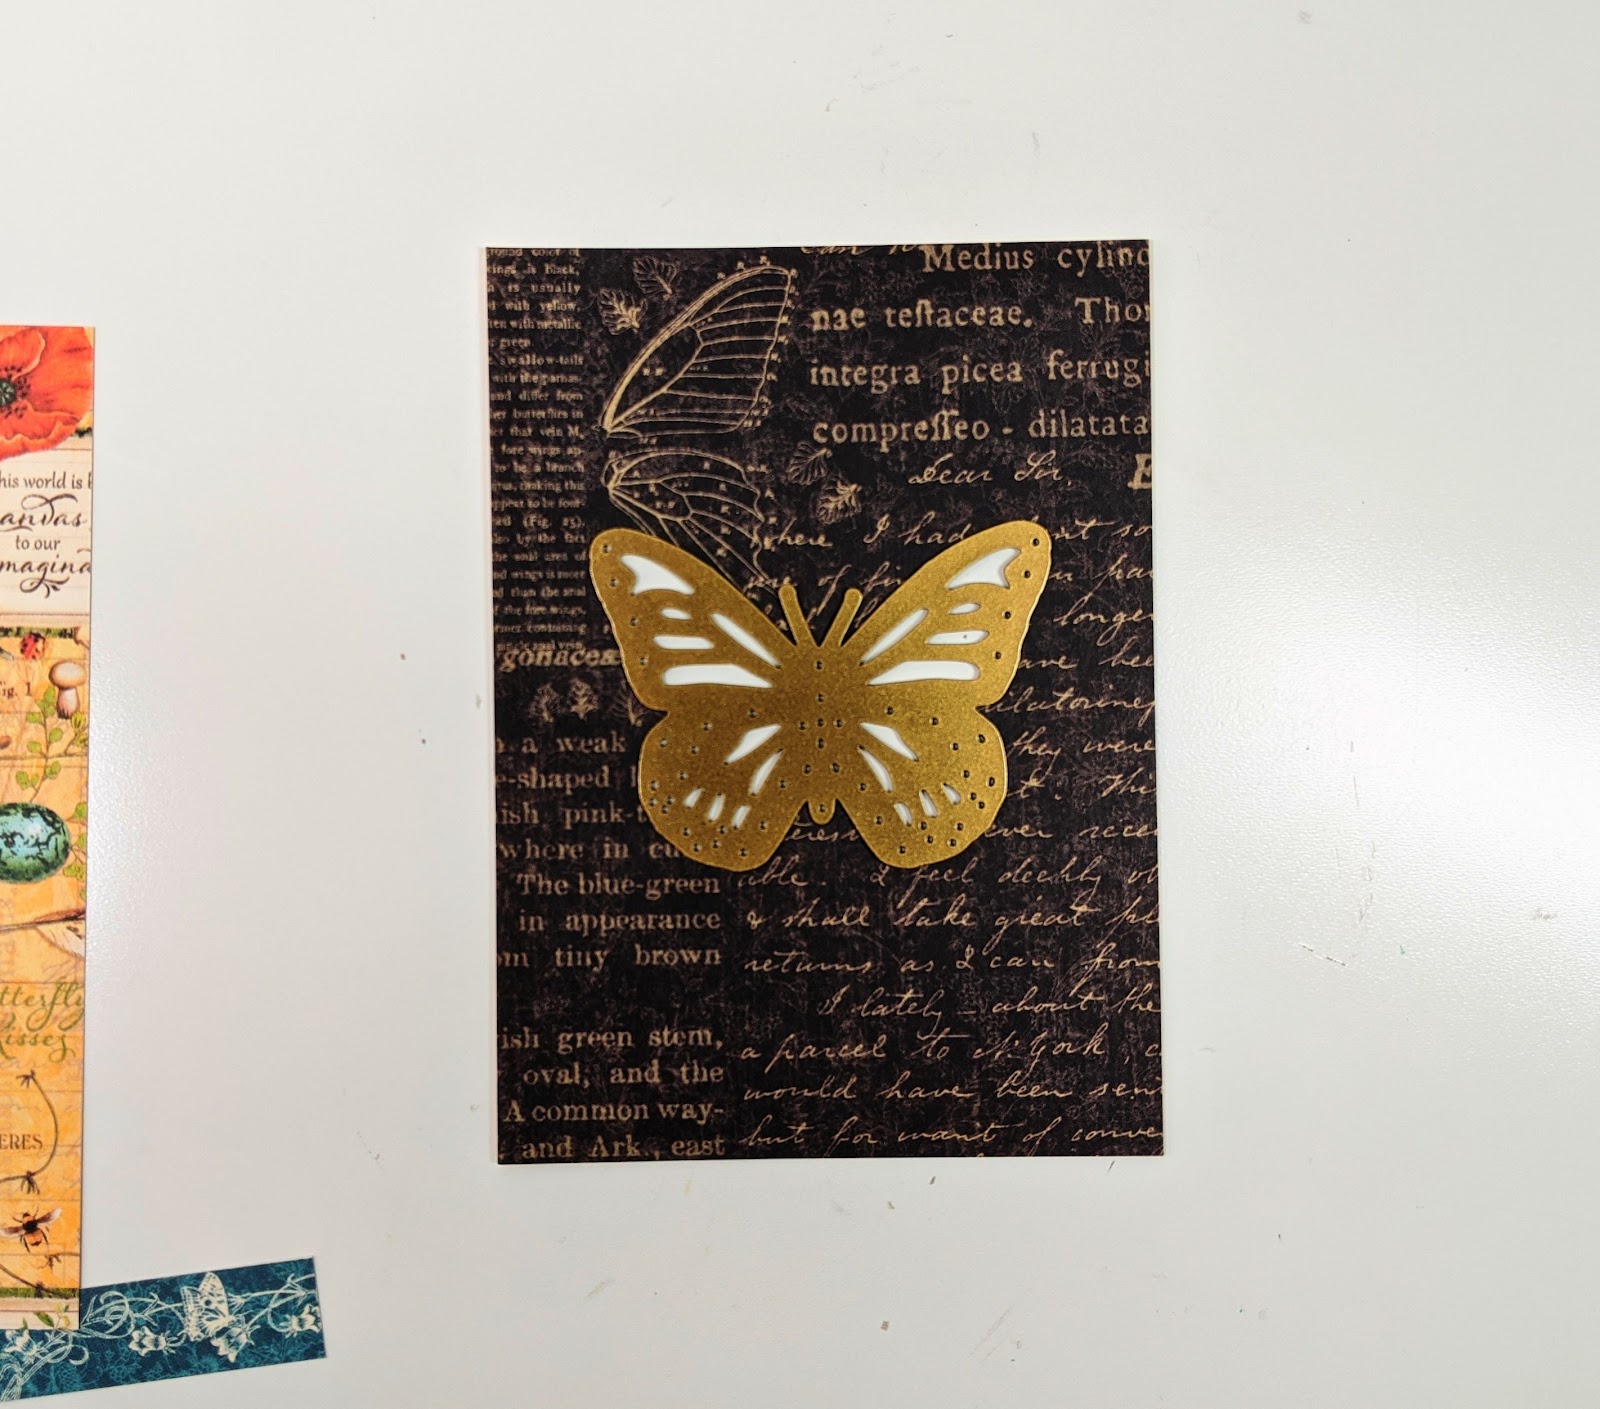
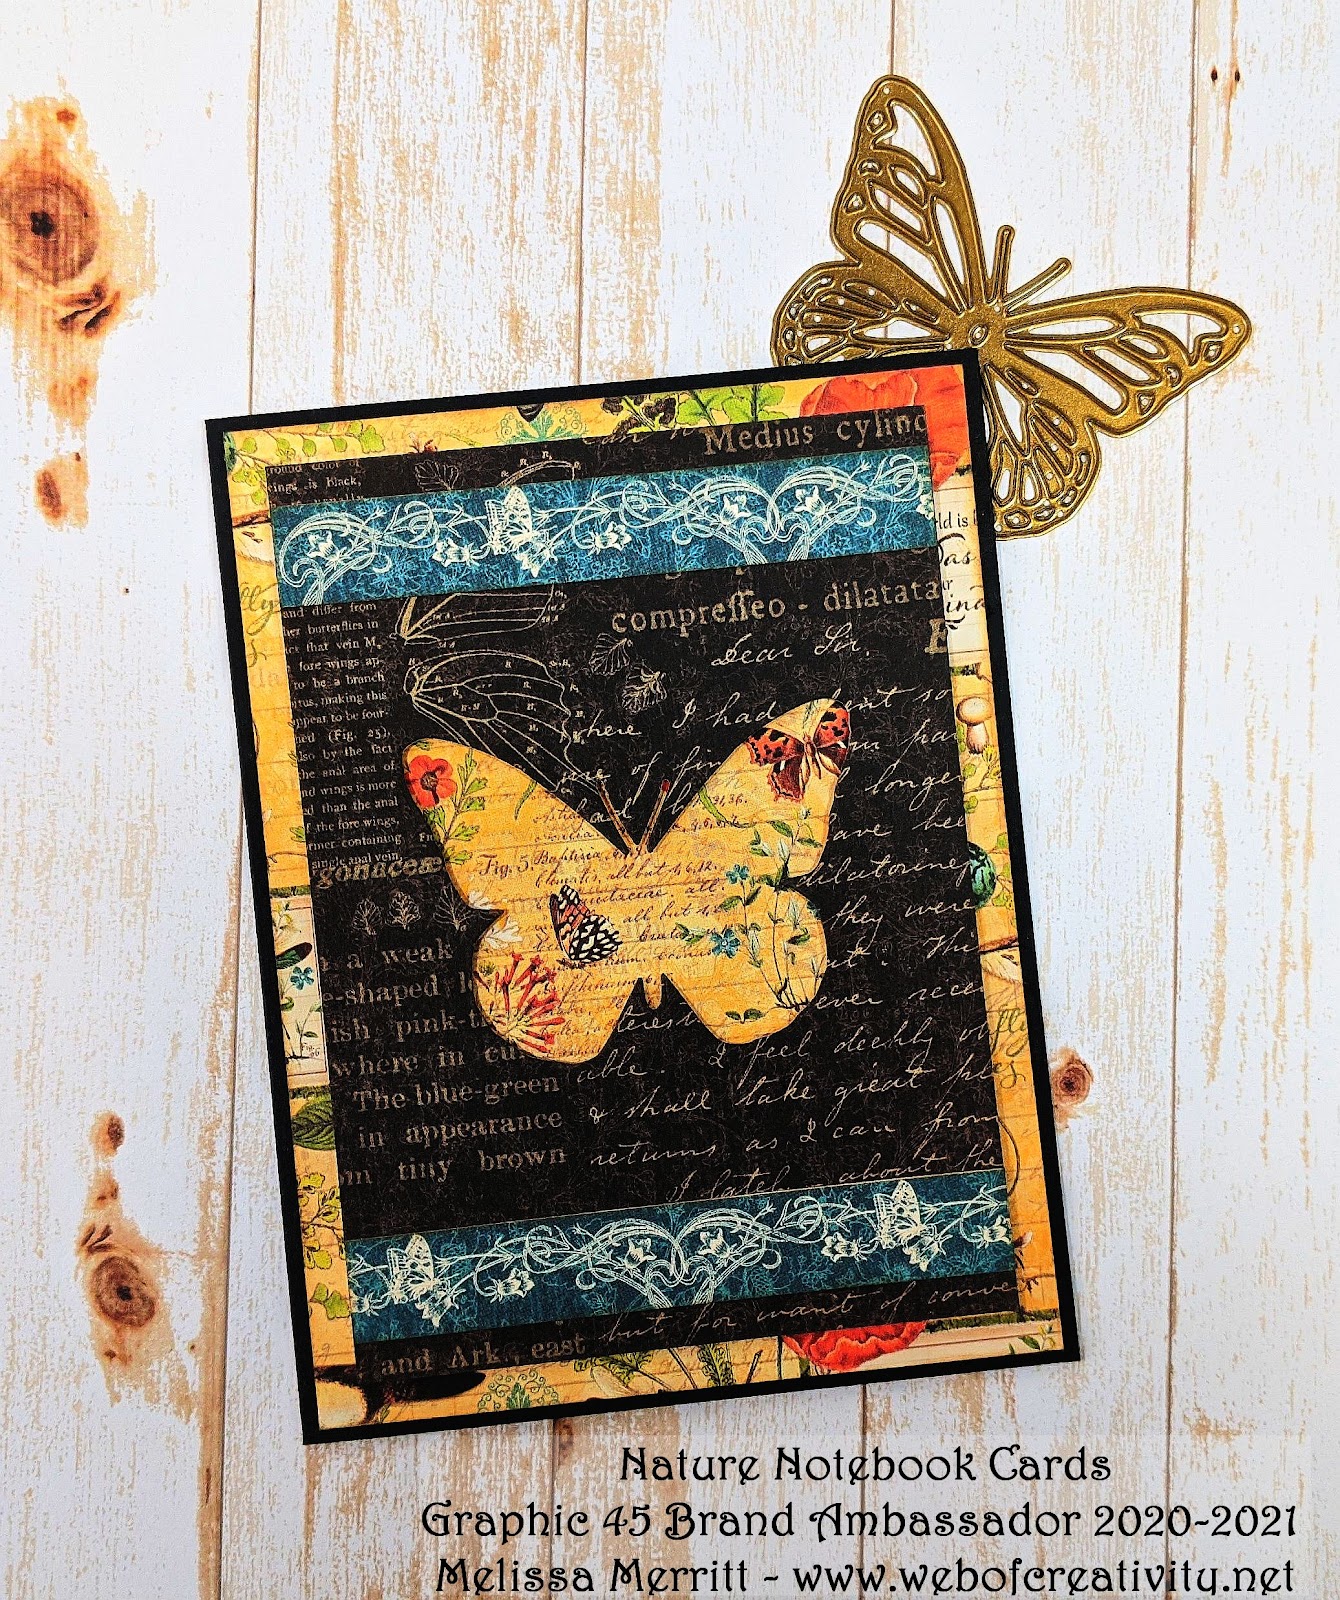
Card base: 9½ x 6¼”. 1st Mat: 4½ x 6”. 2nd Mat: 4 x 5½”. Cut the large Graphic 45 Butterfly from the 4 x 5½” mat, centered. 2 Strips: 4 x ⅝”. Optional: Ink edges. Distress Oxide Gathered Twigs.
Card base: 9½ x 6¼”. Score 4¾” on the 9½” side.
Attach the 1st Mat, then the 2nd Mat I used foam squares, and then attach the strips 1/4″ from the top and bottom.
I hope you enjoyed this tutorial. Please try your hand at making cards using negative space.” ~Melissa
Nature Notebook – DCE by Graphic 45 Collection Review
Happy Papercrafting!
Want even more Graphic 45? Sign up for our newsletter here!