Embrace the Beauty of Autumn: Join Graphic 45 Brand Ambassador, Katelyn Spencer, in celebrating the changing of the leaves with her exquisite Fall Card Set. Using our new Hello Pumpkin – paper collection and Metal Dies, Katelyn has crafted these stunning dimensional cards. Dive into the creative process with her through the video tour and step-by-step directions. When your masterpiece is complete, don’t forget to enter it into our September #G45Card Challenge. Let’s spread the fall-inspired joy together!
“Hey Everyone!
I’m thrilled to be back on the blog this month sharing a project that is all about using a new collection. This one was a hard one for me as I love creating Christmas projects but also LOVE Fall, so I figured let’s create a fall project.
To create these Fall Cards I used the new Hello Pumpkin Collection which I’m loving as the colours and imagery is amazing in this collection. You’ll want to grab a cup of your favourite fall beverage and learn how to create these cards at home.
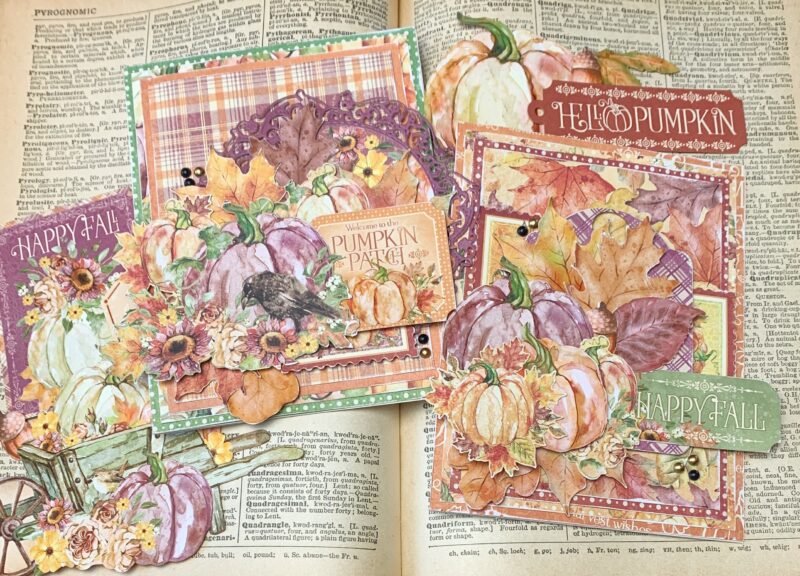
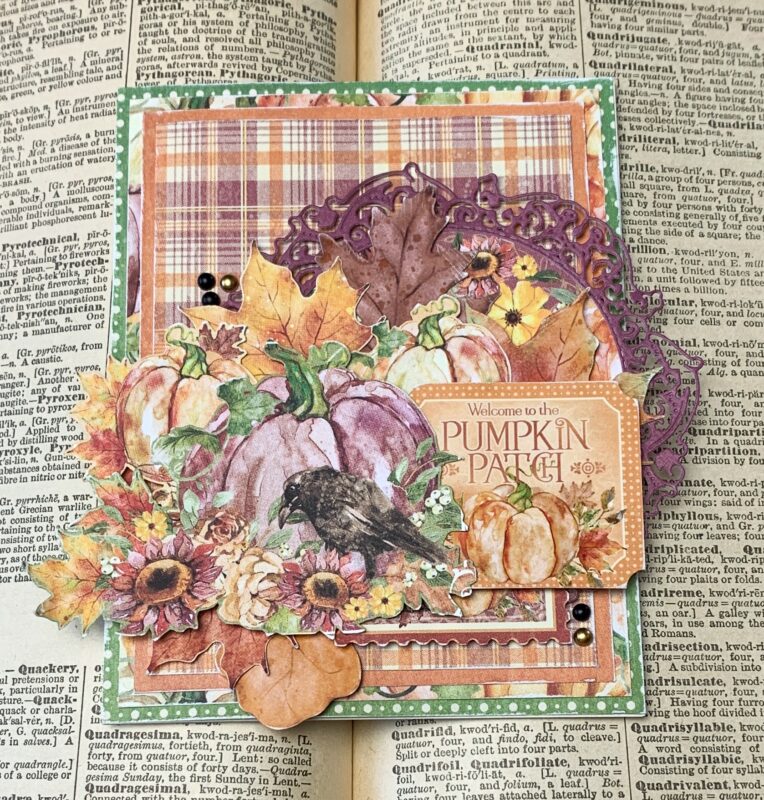
The first card we will create is the Welcome to the Pumpkin Patch Card.
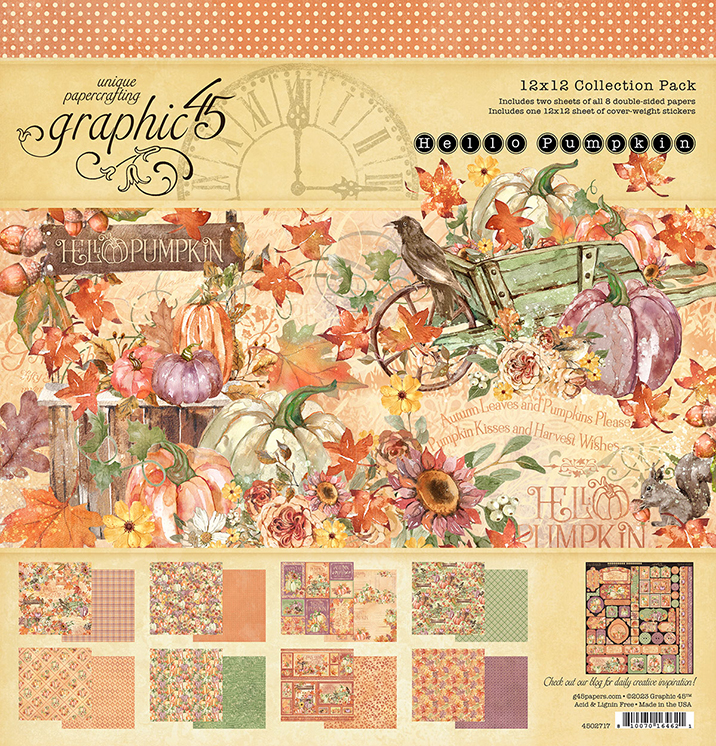
Step One. To start, you’ll need the Hello Pumpkin 12×12 Collection Pack. Take out the Hello Pumpkin paper and cut a piece that measures 3 ½” x 4 ¾”. Take out the Harvest Time paper and cut a piece that measures 4” x 5 ¼”. Sand the edges of both papers.

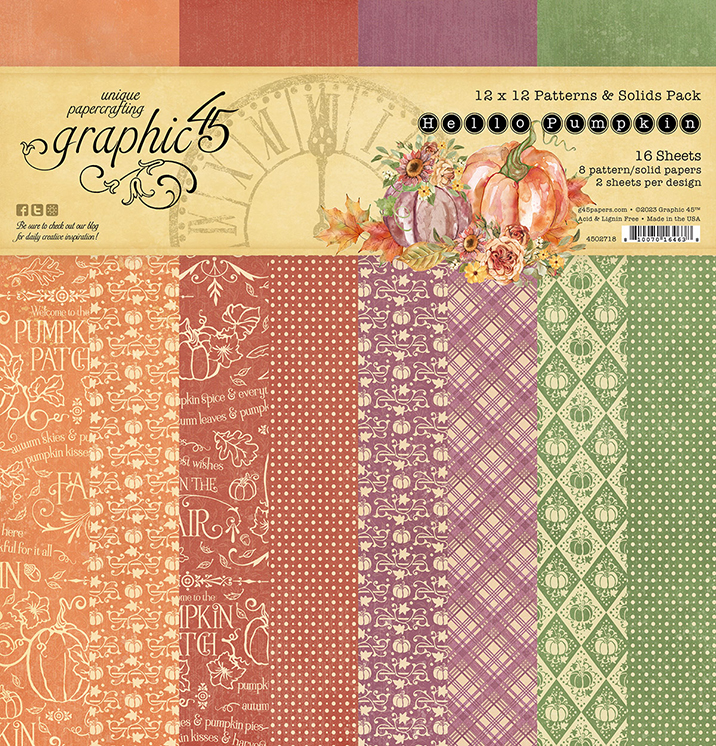
Step Two. Next, you’ll need the Hello Pumpkin 12×12 Patterns & Solids Pack. Take out the Green Dot paper and cut a piece that measures 4 ¼” x 5 ½”. Take out one of the orange solid paper and cut a piece that measures 3 ¾” x 5”. Sand the edges of both papers.

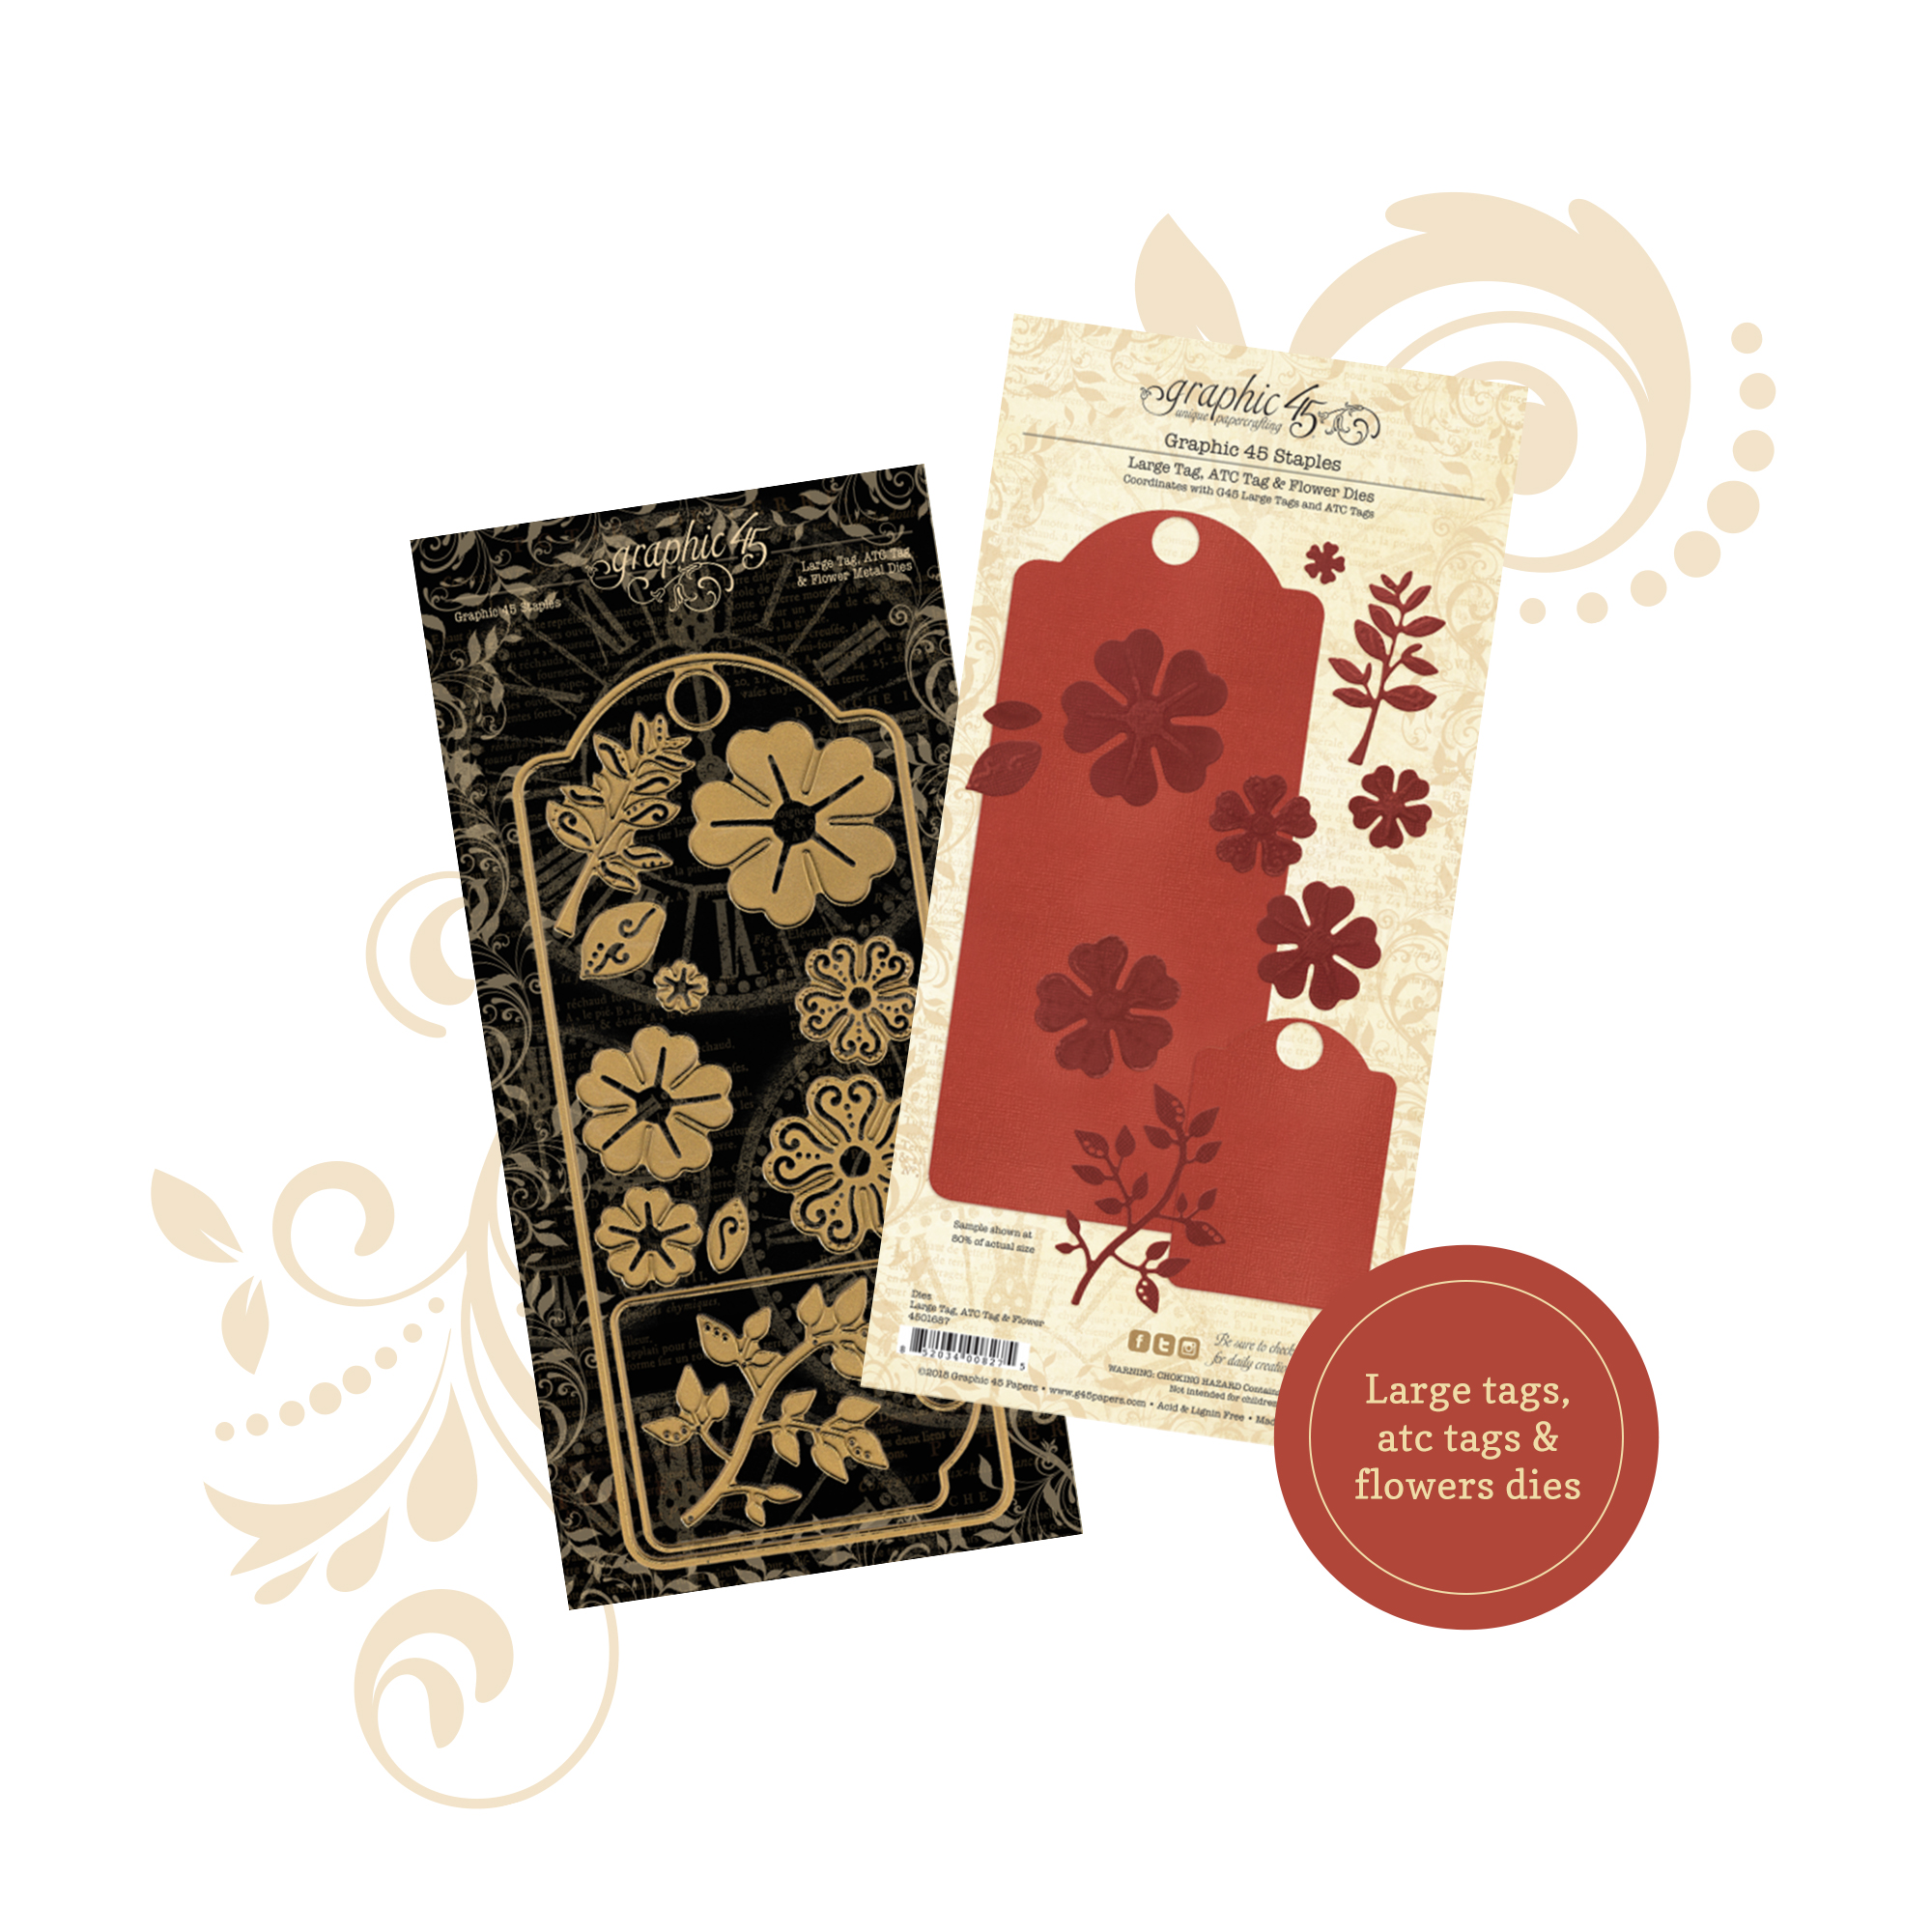
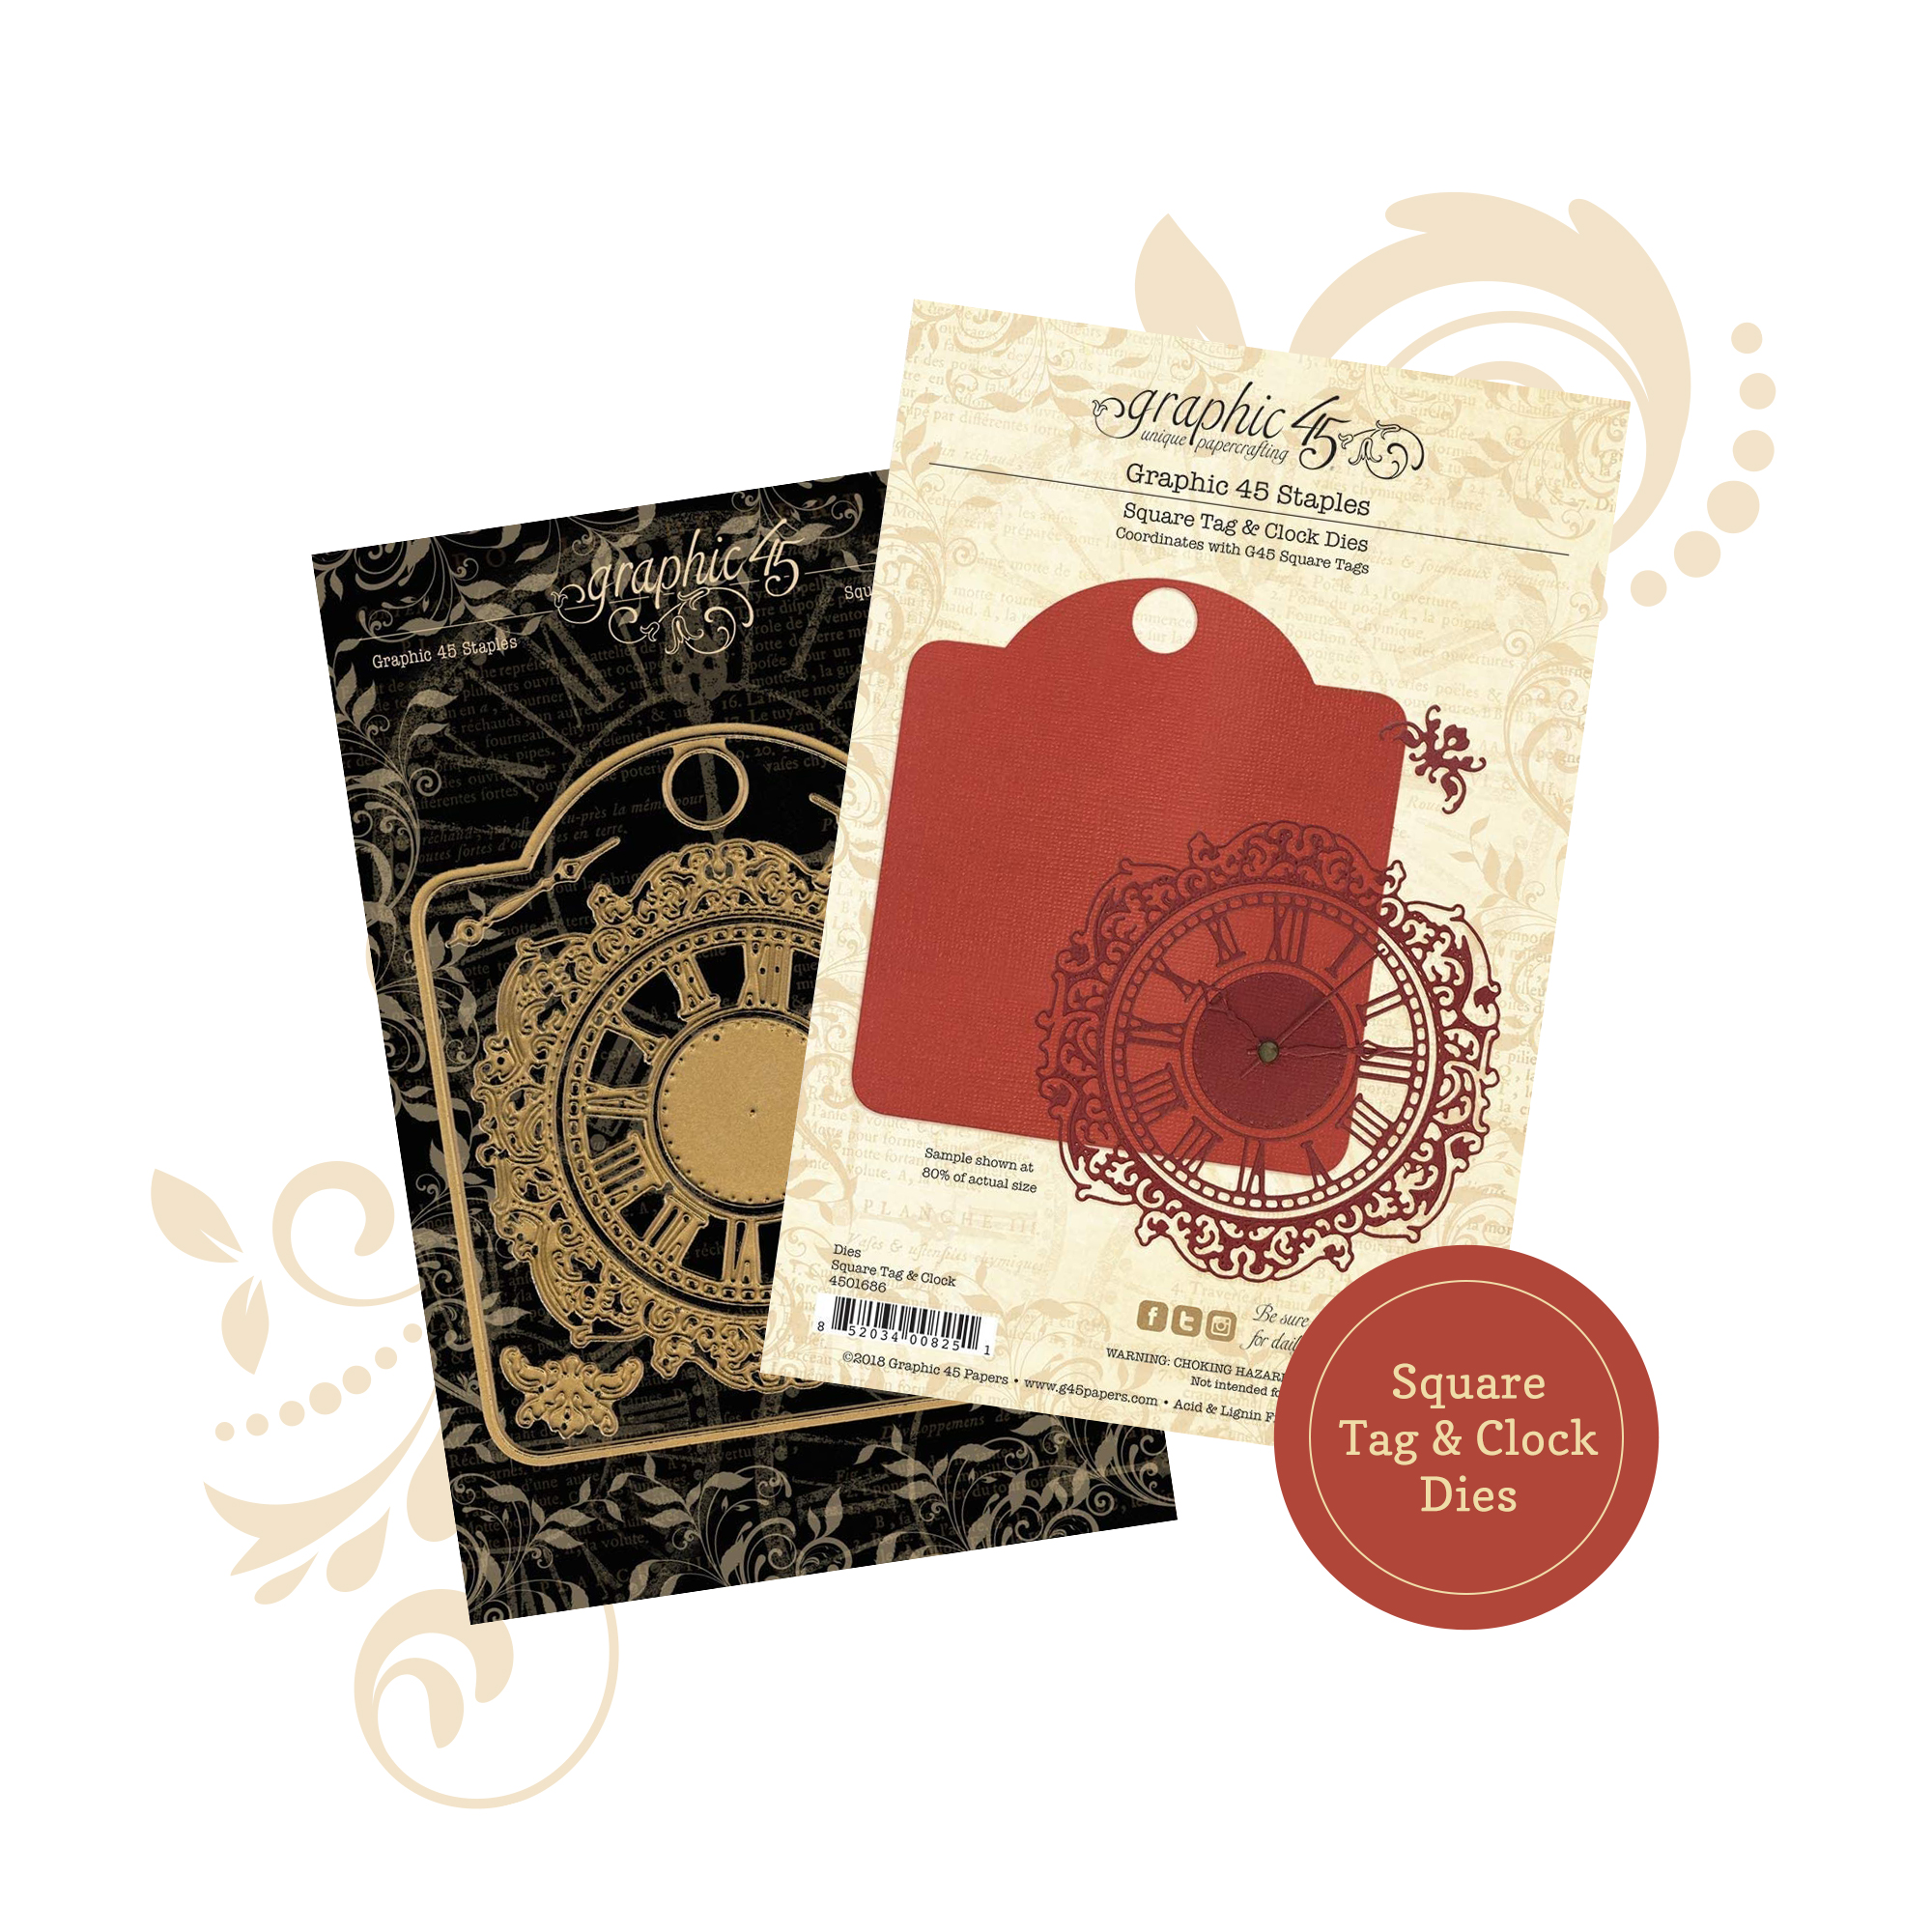
Step Three. Take out the plain purple paper and die cut the circle flourish frame die from the Square Tag & Clock Metal Die. Trace the inside circle of the circle flourish frame on the Autumn Splendor paper. Cut out the circle outside of the pencil line, so that it is slightly larger. Sand the edges of the circle.

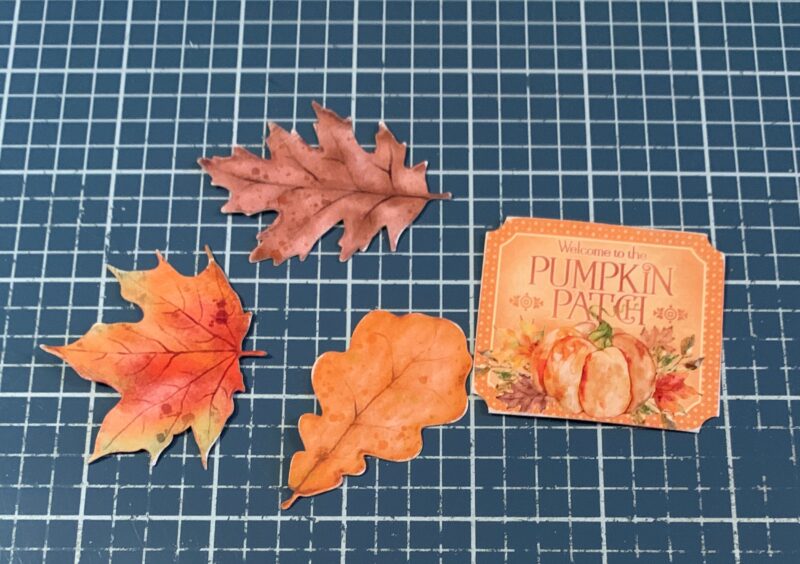
Step Three. Fussy cut two leaves and the postage stamp with the crow and pumpkin out of the Beautiful Bounty Paper. Sand the edges of the images.

Step Four. Fussy cut the crow by purple pumpkin out of the Fall is in the Air Paper. Sand the edges of the image.

Step Five. Fussy cut two pumpkins out of the Harvest Time Paper. Sand the edges of the images.

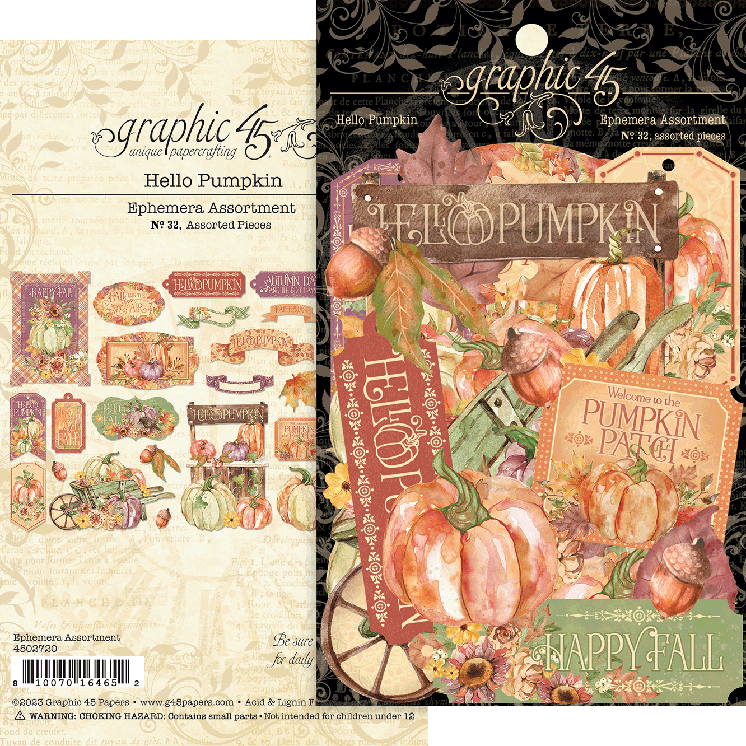
Step Six. Take three leaves and the pumpkin patch label out of the Hello Pumpkin Ephemera. Sand the edges of the images.
Step Seven. Adhere the pumpkin paper to the green dot paper. Adhere the plain orange paper to the pumpkin paper. Adhere the plaid paper to the plain orange paper.

Step Eight. Adhere the circle flourish frame to the pumpkin circle. Foam square the circle flourish frame ½” from the left and ⅜” from the top of the plaid paper.

Step Nine. Adhere a fussy cut leaf and one of the ephemera leaves in the top left portion of the circle flourish. Adhere another ephemera leaf to the right of the first ephemera leaf that was adhered. Adhere a fussy cut pumpkin amongst the leaves as desired.

Step Ten. Adhere the other fussy cut leaf and ephemera leaf to the bottom left side of the circle flourish frame. Adhere the stamp ¼” from the bottom and ¼” from the right of the plaid paper.

Step Eleven. Adhere the other fussy cut pumpkin to the left of the leaf at the top of the circle flourish frame. Foam square the Pumpkin Patch label underneath the pumpkin and leaf on the right side of the circle flourish frame. Use adhesive and foam squares to adhere the crow with purple pumpkin to the left of the pumpkin patch label.

Step Twelve. Stick five Matte Pearl Gems to the cardfront as desired. Cut a carbase out of white cardstock that measures 4 ¼” x 11”, score at 5 ½”. Adhere the cardfront to the cardbase.


Step One. To start, you’ll need the Hello Pumpkin 12×12 Collection Pack. Take out the Harvest Time paper and cut a piece that measures 4” x 5 ¼”. Take out the Falling Leaves paper and cut a piece that measures 3 ½” x 4 ¾”. Sand the edges of both papers.

Step Two. Next, you’ll need the Hello Pumpkin 12×12 Patterns & Solids Pack. Take out the Orange Word paper and cut a piece that measures 4 ¼” x 5 ½”. Take out one of the red dot paper and cut a piece that measures 3 ¾” x 5”. Die cut the ATC Tag from the Large Tag, ATC Tag & Flower Metal Dies out of the purple plaid paper. Sand the edges of both papers and tag.

Step Three. Fussy cut two pumpkins out of the Harvest Time Paper. Sand the edges of the images.

Step Four. Fussy cut two pumpkin postage stamps out of the Beautiful Bounty Paper. Sand the edges of both postage stamps.

Step Five. Take five leaves, two pumpkins and the Happy Fall label out of the Hello Pumpkin Ephemera. Sand the edges of the images.

Step Six. Adhere the pumpkin paper to the orange word paper. Adhere the red dot paper to the pumpkin paper. Adhere the leaves paper to the red dot paper.

Step Seven. Adhere one postage stamp 1/16” over the left side and 1” from the top of the red dot paper. Adhere the other postage stamp ⅛” over the right side and 1 ¾” from the top of the red dot paper. Foam square the purple plaid tag ¾” from the top and ½” from the right of the red dot paper. Use adhesive and foam squares to adhere the Happy Fall label ⅞” from the bottom and 1 ¾” from the left of the red dot paper.

Step Eight. Adhere three leaves to the top portion of the purple plaid tag. Adhere the other two leaves to the bottom left portion of the purple plaid tag.

Step Nine. Use adhesive and foam squares to adhere the purple pumpkin to the bottom left portion of the leaves. Adhere the acorn to the right of the purple pumpkin as desired.

Step Ten. Adhere one of the fussy cut pumpkins to the right of the purple pumpkin. Foam square the orange ephemera pumpkin to the left and at the bottom of the purple pumpkin. Adhere the other fussy cut pumpkins to the left of the orange ephemera pumpkin.

Step Eleven. Stick five Matte Pearl Gems to the cardfront as desired. Cut a carbase out of white cardstock that measures 4 ¼” x 11”, score at 5 ½”. Adhere the cardfront to the cardbase.

Hello Pumpkin 12×12 Collection Pack
Hello Pumpkin 12×12 Patterns & Solids Pack
Hello Pumpkin Ephemera Assortment
Large Tag, ATC Tag & Flower Metal Dies
White Cardstock
Thank you so much for joining me today and I hope that my Fall Cards have inspired you to create your own.”


Hello Pumpkin by Graphic 45 Collection Reveal
Want even more Graphic 45? Sign up for our newsletter here.