Light up your home with a DIY paper project. This Nutcracker Sweet Advent Calendar With Lighted Shadow Box Scene has been created by mixing and matching our Stacking Circle Box Set, a wooden advent calendar, and some chipboard sheets. We love seeing the possibilities of papercrafting and this example is above and beyond! Grab your papers and get ready to be inspired by this step by step tutorial by Jenn DuBell.
 | |
“Hello everyone! Today I am sharing a fun project using the amazing Nutcracker Sweet collection. This collection is so vibrant and colorful for Christmas projects.
For my project I have decorated a wooden tree advent calendar. I added a shadow box to the backside to create a scene using fussy cuts and lights.For the base/stand I have used the large box from the stacking circle box set.
Christmas Tree Advent by Jenn DuBell | Graphic 45
G45 Nutcracker Sweet Deluxe Collector’s Edition
12 ½” Wooden Advent Tree with 24 drawers
Collage Medium
Bottle Brush Trees
Clear Gesso
Distress Ink
To start I coated the entire tree in clear gesso as a sealant and allowed it to dry. Next I removed all of the drawers (24) and removed the tiny knobs carefully.
Cut 24 1 ¼”X1 ¼” squares from various papers in the collection.
All squares were inked on the edges using Distress Ink in Vintage Photo.
Adhere to the drawer fronts using a collage medium and set aside until completely dry.
Next, the back is covered with Enchanted Journey (side B). To cut the tree, trace it in pencil onto the 12X12 paper, cut, and then adhere to the tree with a strong tack adhesive. Once the paper is dried to the tree, cut each square as shown. Use an emery board or sanding tool to smooth the edges.
All of the edges were inked with Vintage photo Distress Ink.
The tree I have used was purchased at my local craft store and the measurements in this tutorial are for this tree. It is 121/2” tall from bottom to the top of the tree and 9 ¼” wide at the largest section in the middle.
To create the added shadow box on the back:
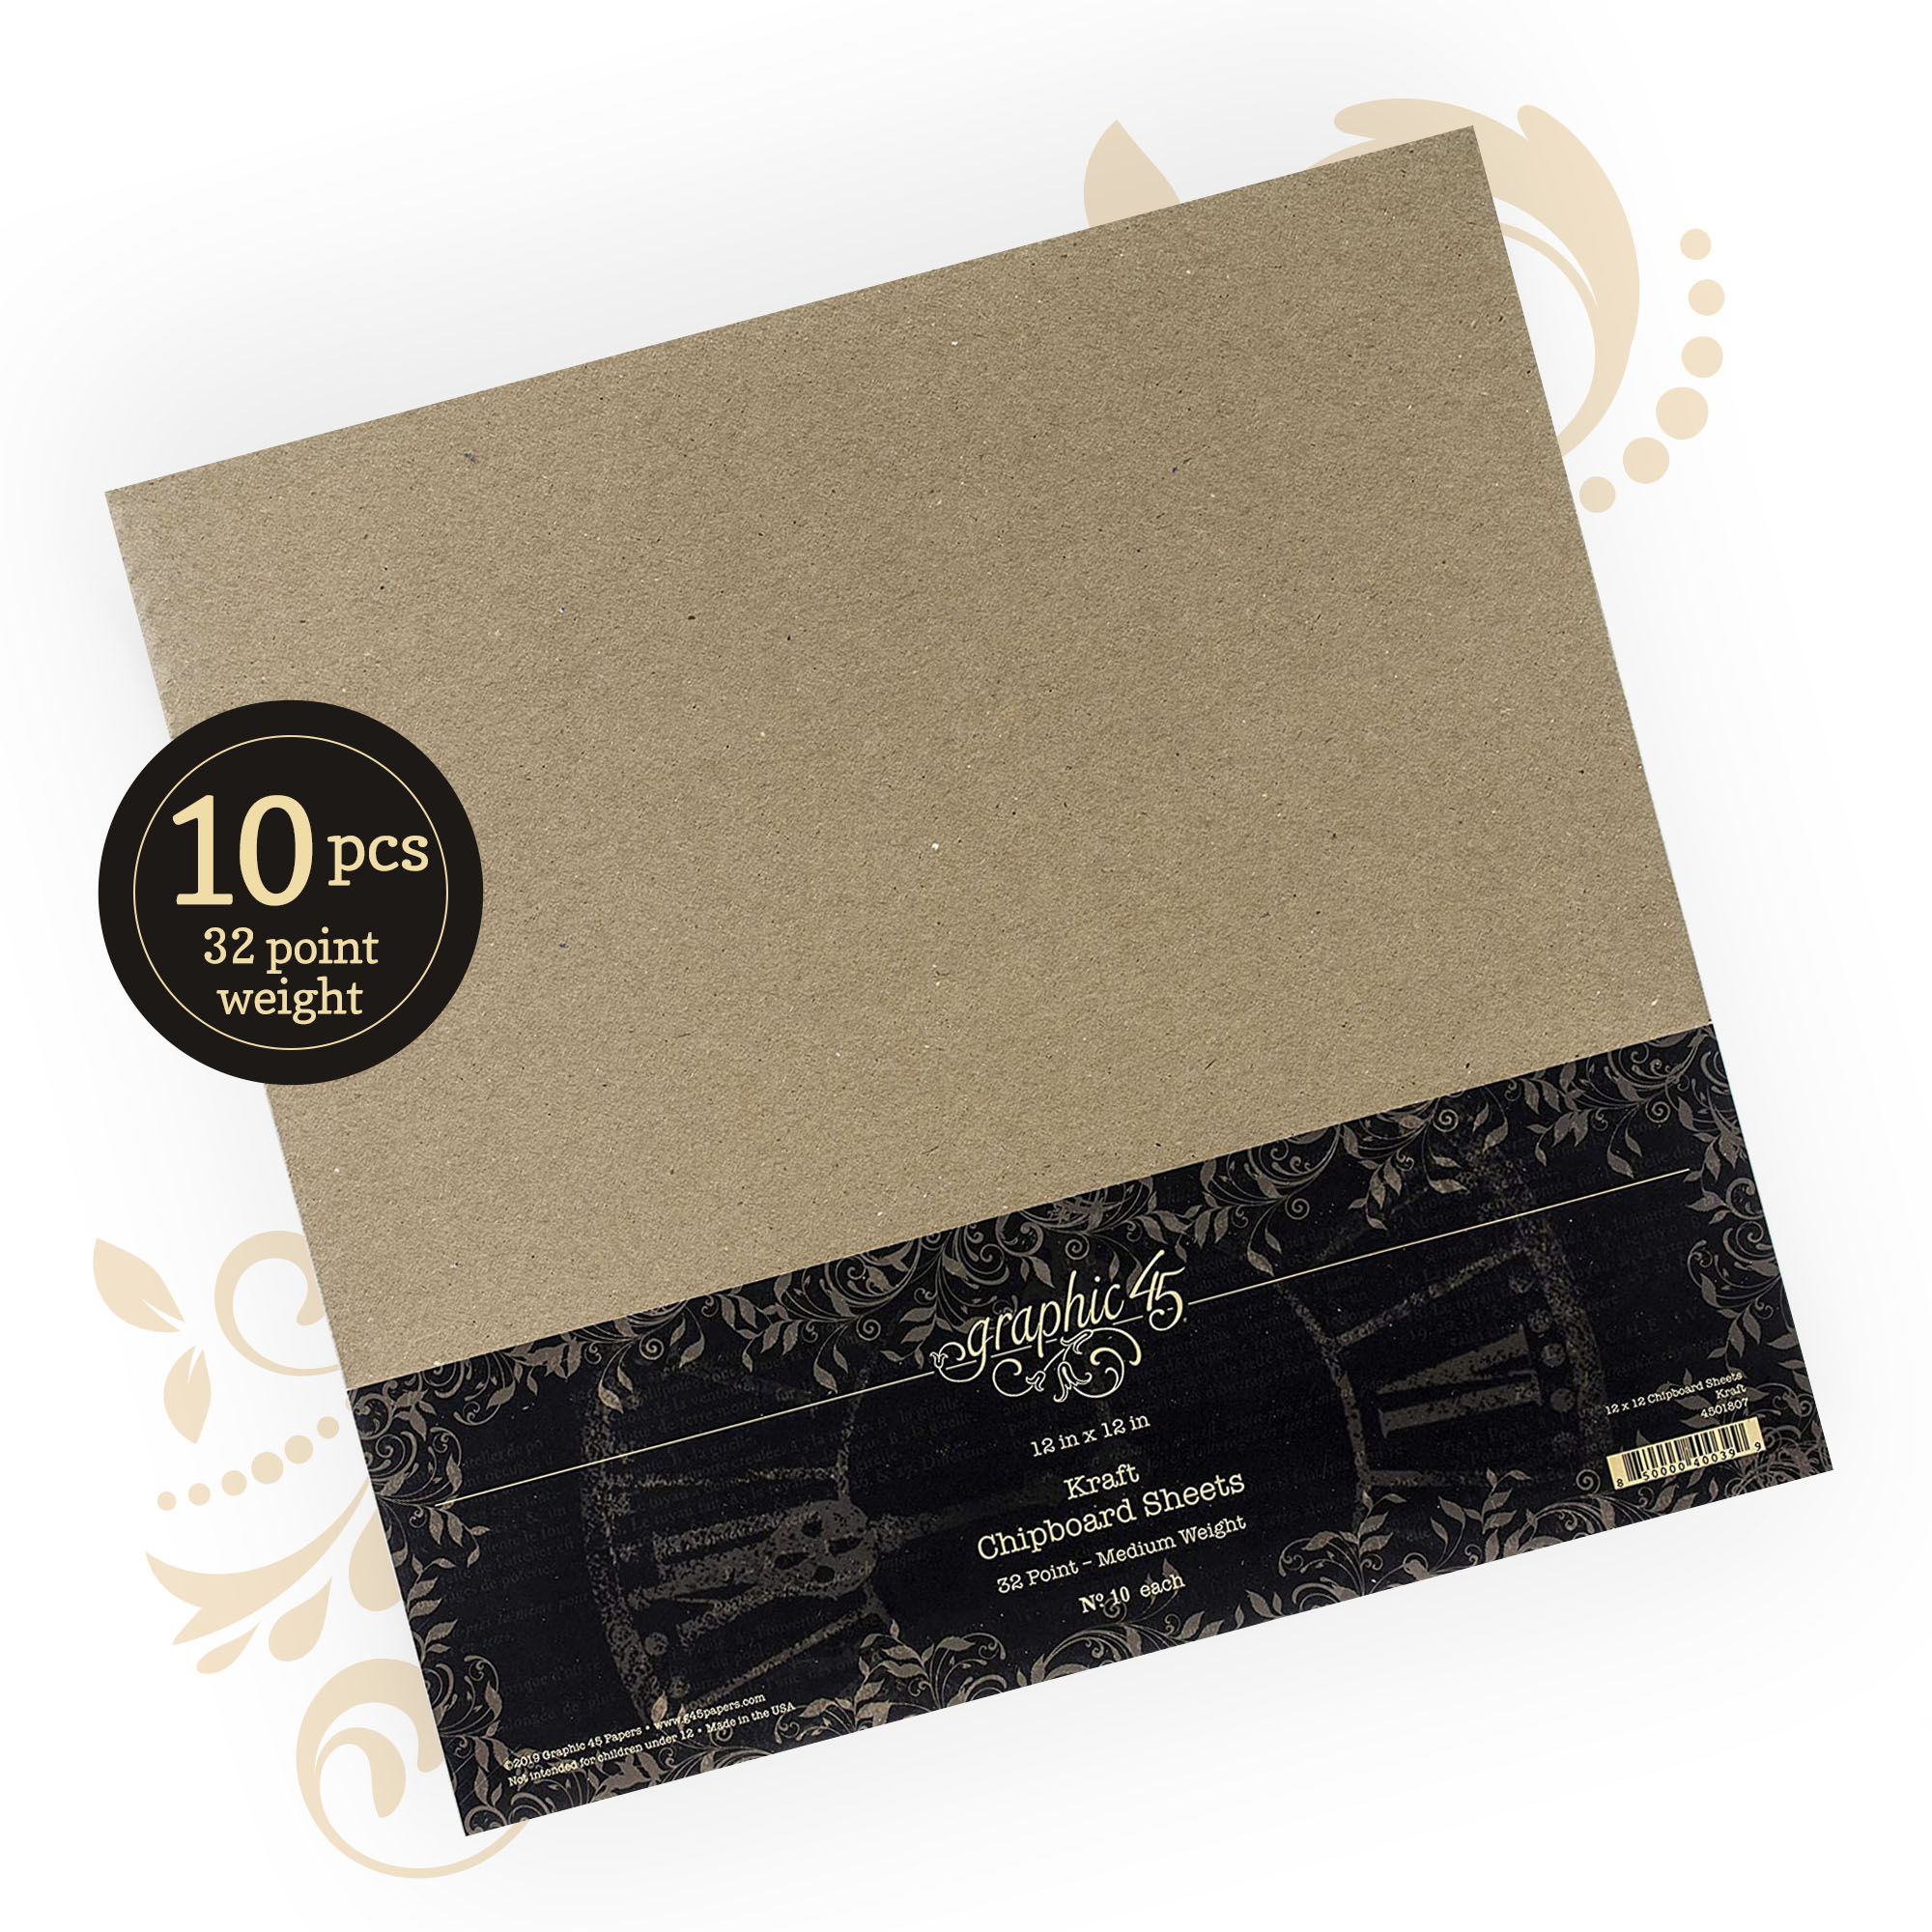
Cut medium weight chipboard to the following sizes:
2 – 1 ½”X5 ½”
2 – 1 ½”X3 ¾”
2 – ½” X 4” – Wrap these pieces in paper. These will be the pieces that fill the spaces
between the chipboards and pull them together.
1 – 1 ½”X9 ¼” This will be the shelf. Wrap in Kraft cardstock or color of your choice.
Cut from kraft or other cardstock the following:
2 – 2”X5 ½” Score both at 1”
2 – 2”X3 ¾” Score both at 1”
Burnish the scored line and attach one side to each chipboard piece. Miter corners.
These will be adhered as shown below to attach to the tree and chipboard pieces.
Adhere the chipboard flaps to the tree back starting with the two larger pieces, followed by the two smaller and then the spacers. Adhere the paper portion of the flap to the tree. Nadd the bottom piece. This was adhered using hot glue.
To decorate the shadowbox portion:
Cut 4 – 1 ⅜”X5 ⅜” – Clara’s Dream (Side B)
4 – 1 ⅜”X3 ⅝” – Clara’s Dream (Side B)
Adhere these to the outside and inside portions of the shadowbox.
To cover the sides of the tree:
Cut 2 – 2 ¼”X 5 ⅜” and 2 – 2 ¼”X 3 ½” – Land of Sweets (Side B)
Cut 2 – 2 ¼”X 3 ⅝” and 2 – 2 ¼”X 1 ¾” – Land of Sweets (Side A)
Adhere them as shown:
The 2 ¼”X 1 ¾” pieces go on the bottom sides of the base.
Repeat this process for the other side of the tree.
For the background of my shadow box portion I used the Enchanted Journey paper (Side B). Border strips from the collection were cut to fit and added across the base. Elements were fussy cut from the papers and placed inside using foam adhesive to add dimension. Tiny lights were strung around the inside and the battery pack was adhered under the shelf portion.
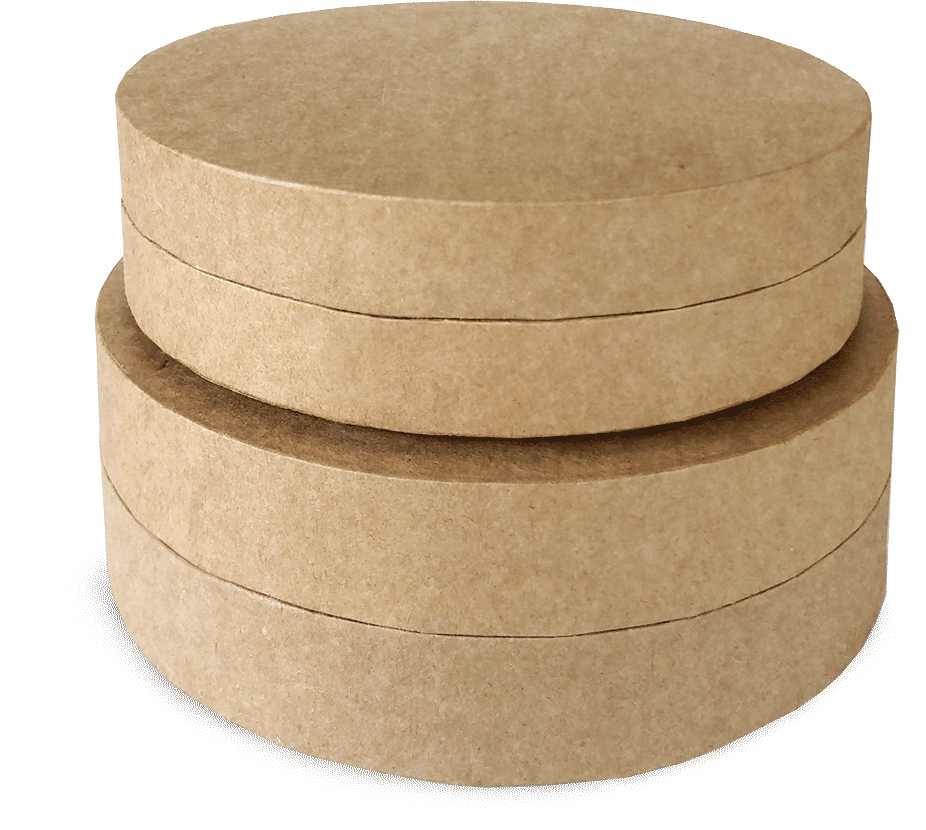
For the base I have used the larger box from the Stacking Circle Box Set and decorated it using the Festive Fairytale (Side B) paper.
**Tip** By creating the base using the box, you can add treats or a note inside when giving as a gift!
The tree was adhered to the top of the box using a strong adhesive.
For added details, I created a fun sign using one of the cut apart pieces from Holiday magic (Side A). A group of bottle brush trees were also added.
For texture, I have added snow paste, glitter and icicles.
To complete the project, I placed all the finished drawers back into the tree.
This was such a fun project to create!
Happy papercrafting!” ~Jenn
Graphic 45 Vol 12 – 2021 Monthly Kits
Want even more Graphic 45? Sign up for our newsletter here.