Hello, G45ers!
You're in for a treat today, Brand Ambassador extraordinaire, Gloria Stengel takes us on a tour through her fabulously organized and full stocked #Craftroom. Gloria has been so kind as to let us take a peek at her creative studio, as well as share great craft storage tips along the way. Be sure to take the Craft Studio Tour video to get the full scope of this dream studio, and leave your gratitude for Gloria and your own storage tips in the comment section below.
Craft Studio Tour
By Gloria Stengel – Scraps of Life
“Hello, G45 Fans! It is my turn to share my studio space with all of you! I am really excited to show you where I create. It has been a very long time since I have shared any photos or videos of my space, and some things have changed since the last time!
My space is in the “loft” area on our second floor, which is a large, open space approximately 21’ x 17’ in size. However, since it is a “walk through” space, I need to keep the walking path clear so that the guest bedrooms can be used!
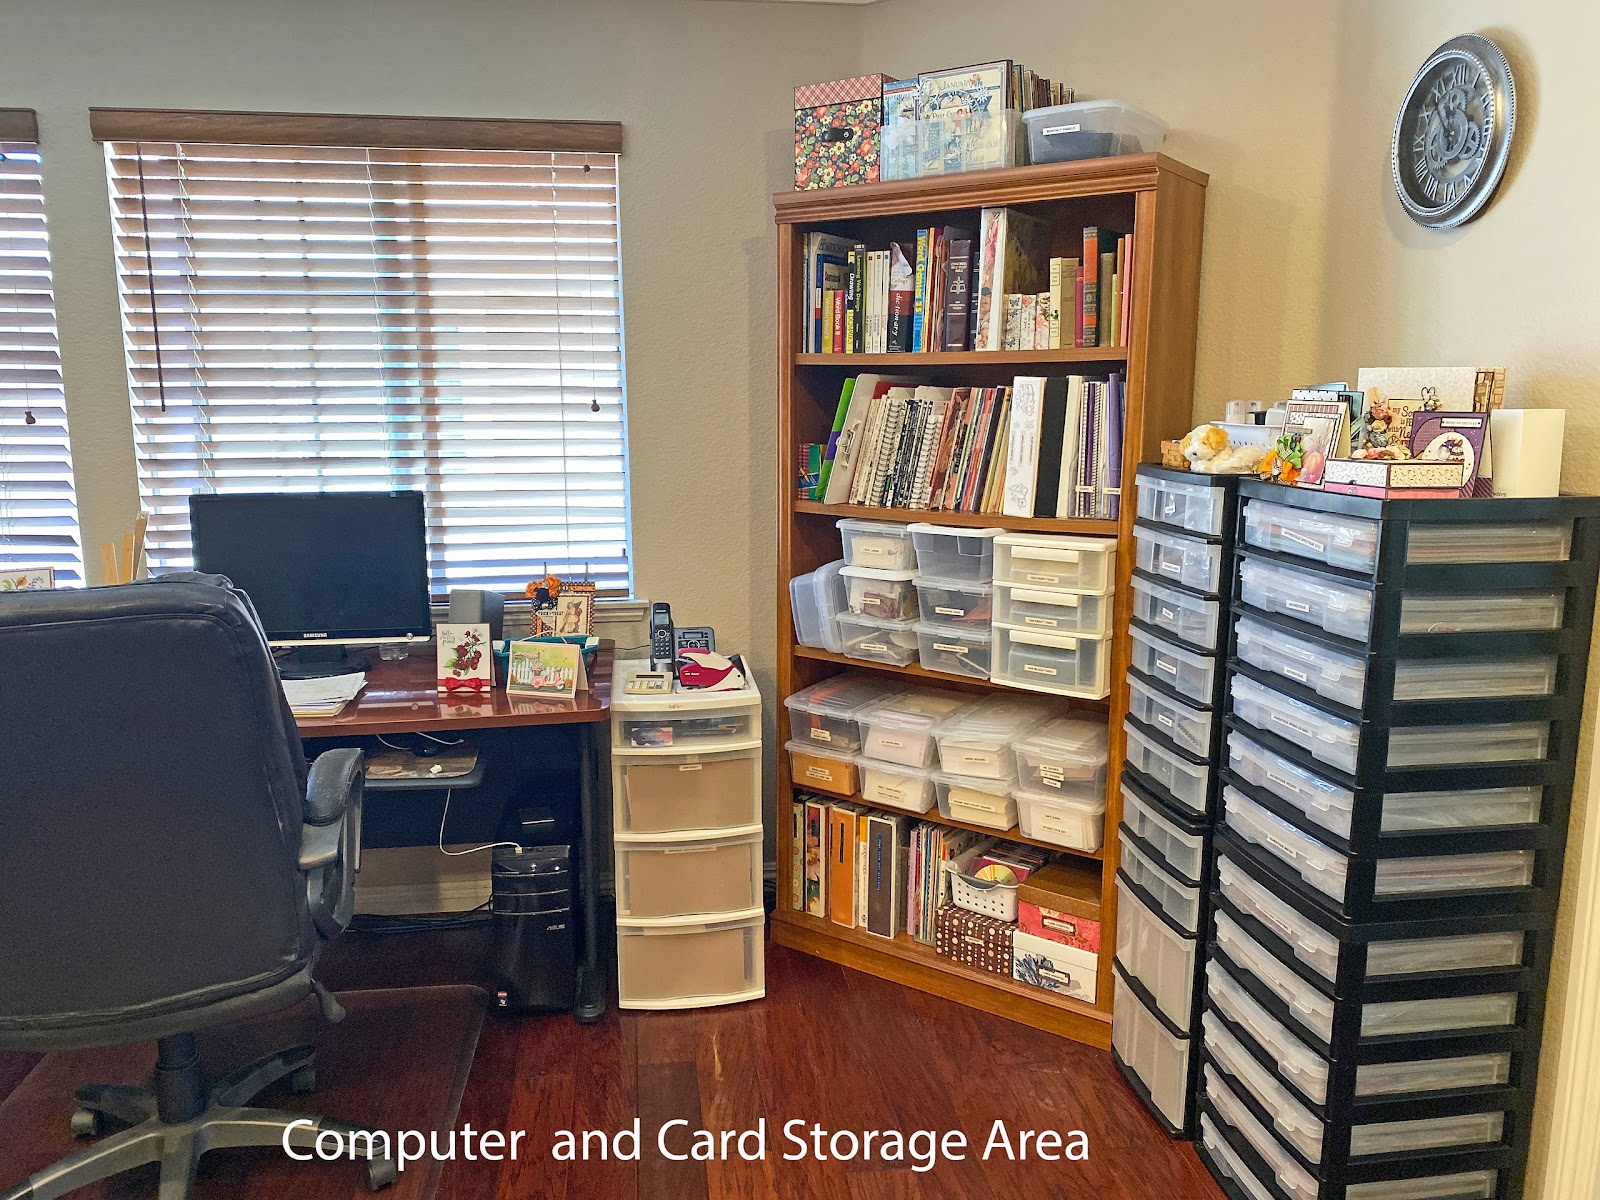
I have a computer station, and lots of storage for office supplies, cards, envelopes, and tags, as well as shelves for Bible Journaling and Adult Coloring supplies.
I have two tall racks for storage. The one on the right holds Authentique papers, and the other one with drawers holds cardmaking supplies and other odds and ends.
I have two lovely, big windows which give me some natural light. I live where it is very sunny year round, and I get a lot of nice light through these two large windows. In fact, I sometimes have to close the blinds! I also get a sweet ocean breeze at certain times of the day! (I do NOT like when I get the super HOT Santa Anna winds in the autumn!)
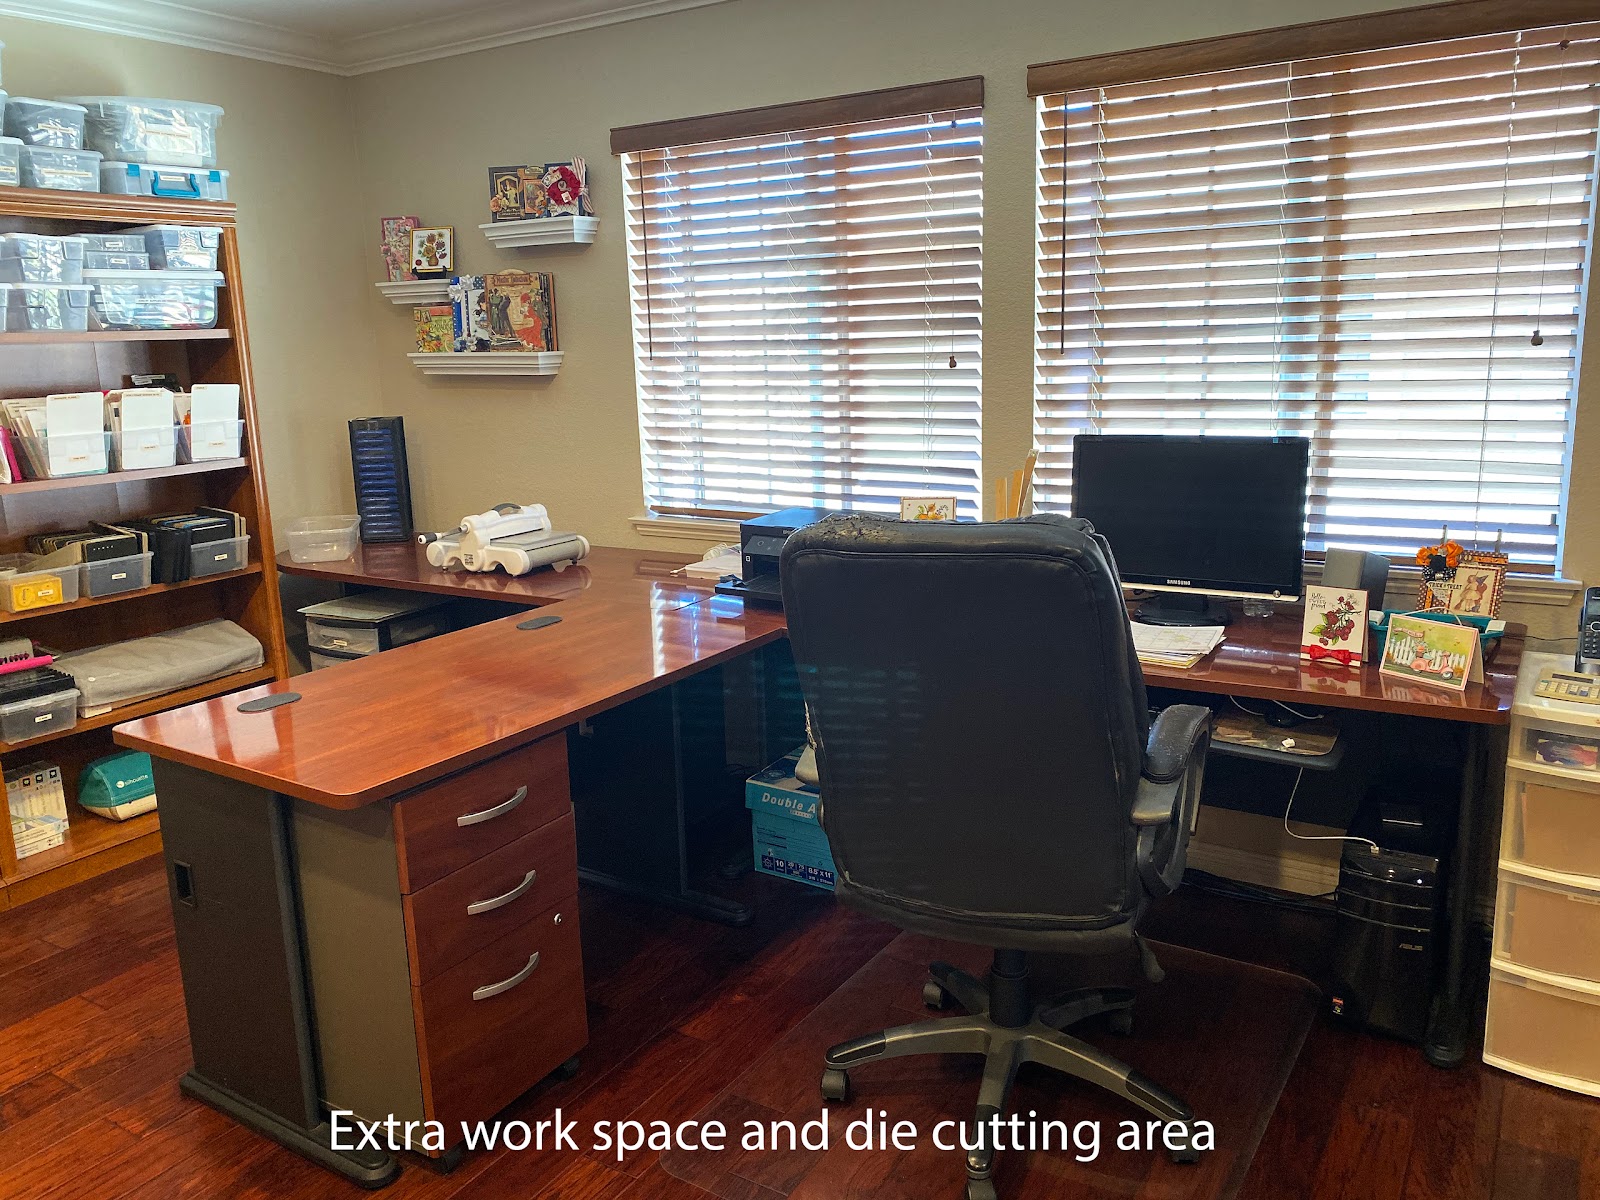
I also have an extra working desk which I usually use for writing tutorials or doing other “office” work. This used to be where I did lessons for our kids when we homeschooled, but now it is just my office space!
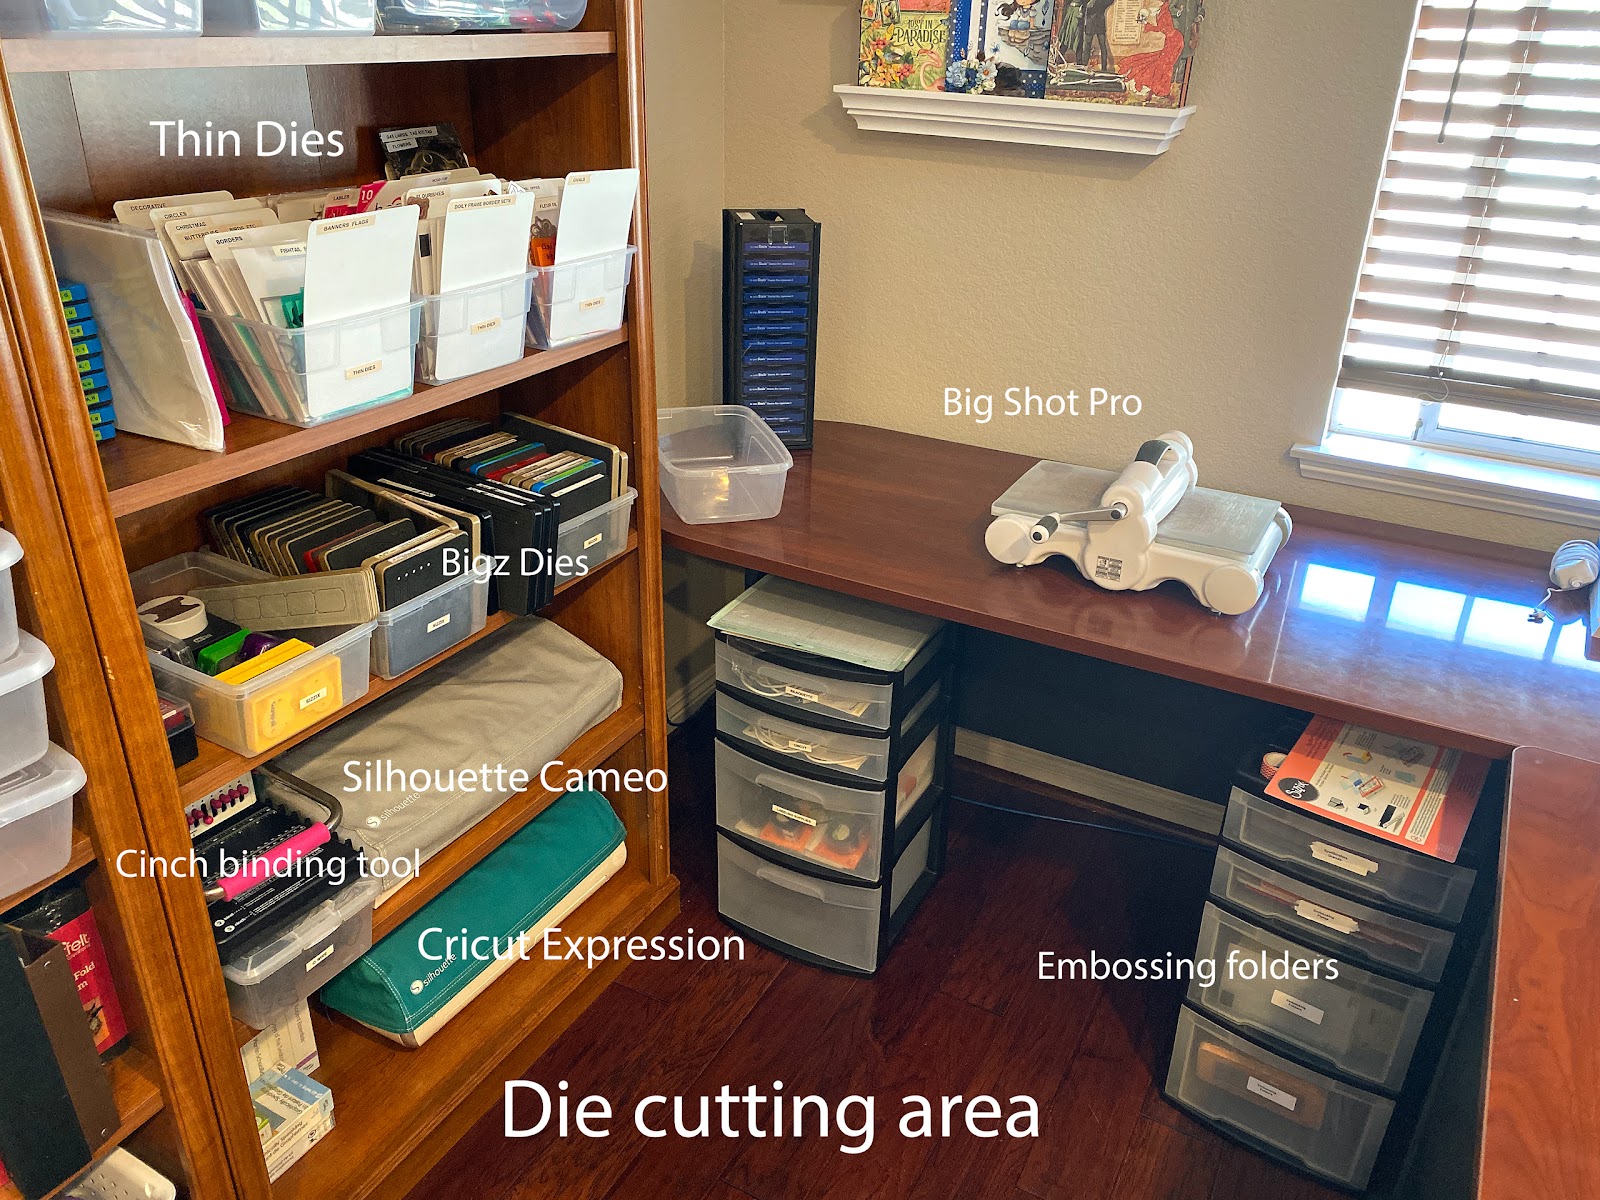
The newest addition to the space is my die cutting station! After my last child graduated our homeschool, the full area became my studio! And since there was no one needing this desk space…it is the perfect area to set up my die cutting tools!
I keep my manual cutting machine here, with bins for my embossing folders. I also have a Silhouette Cameo and a Cricut Expression. There is plenty of space for those to sit on the workspace, too! When not in use, I have shelf space for my machines. (These shelves used to be filled with homeschooling books and supplies!)
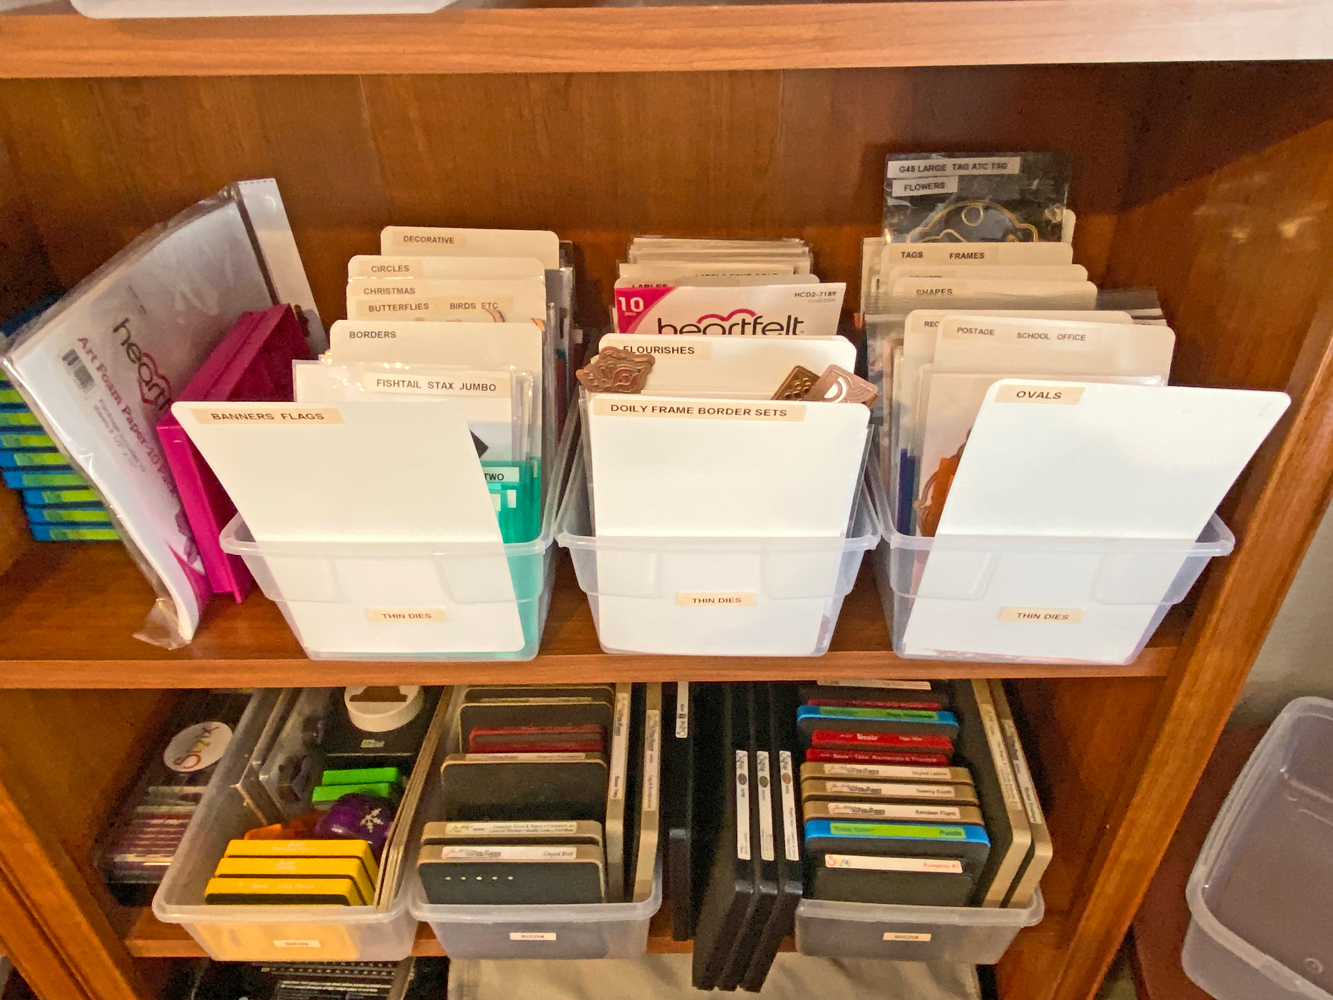
I keep all of my dies on the shelves so that they are close at hand.
Tip: Store thin dies in plastic bins to save space. Insert each die set into a clear plastic envelope, label it, and store it upright in a plastic bin.
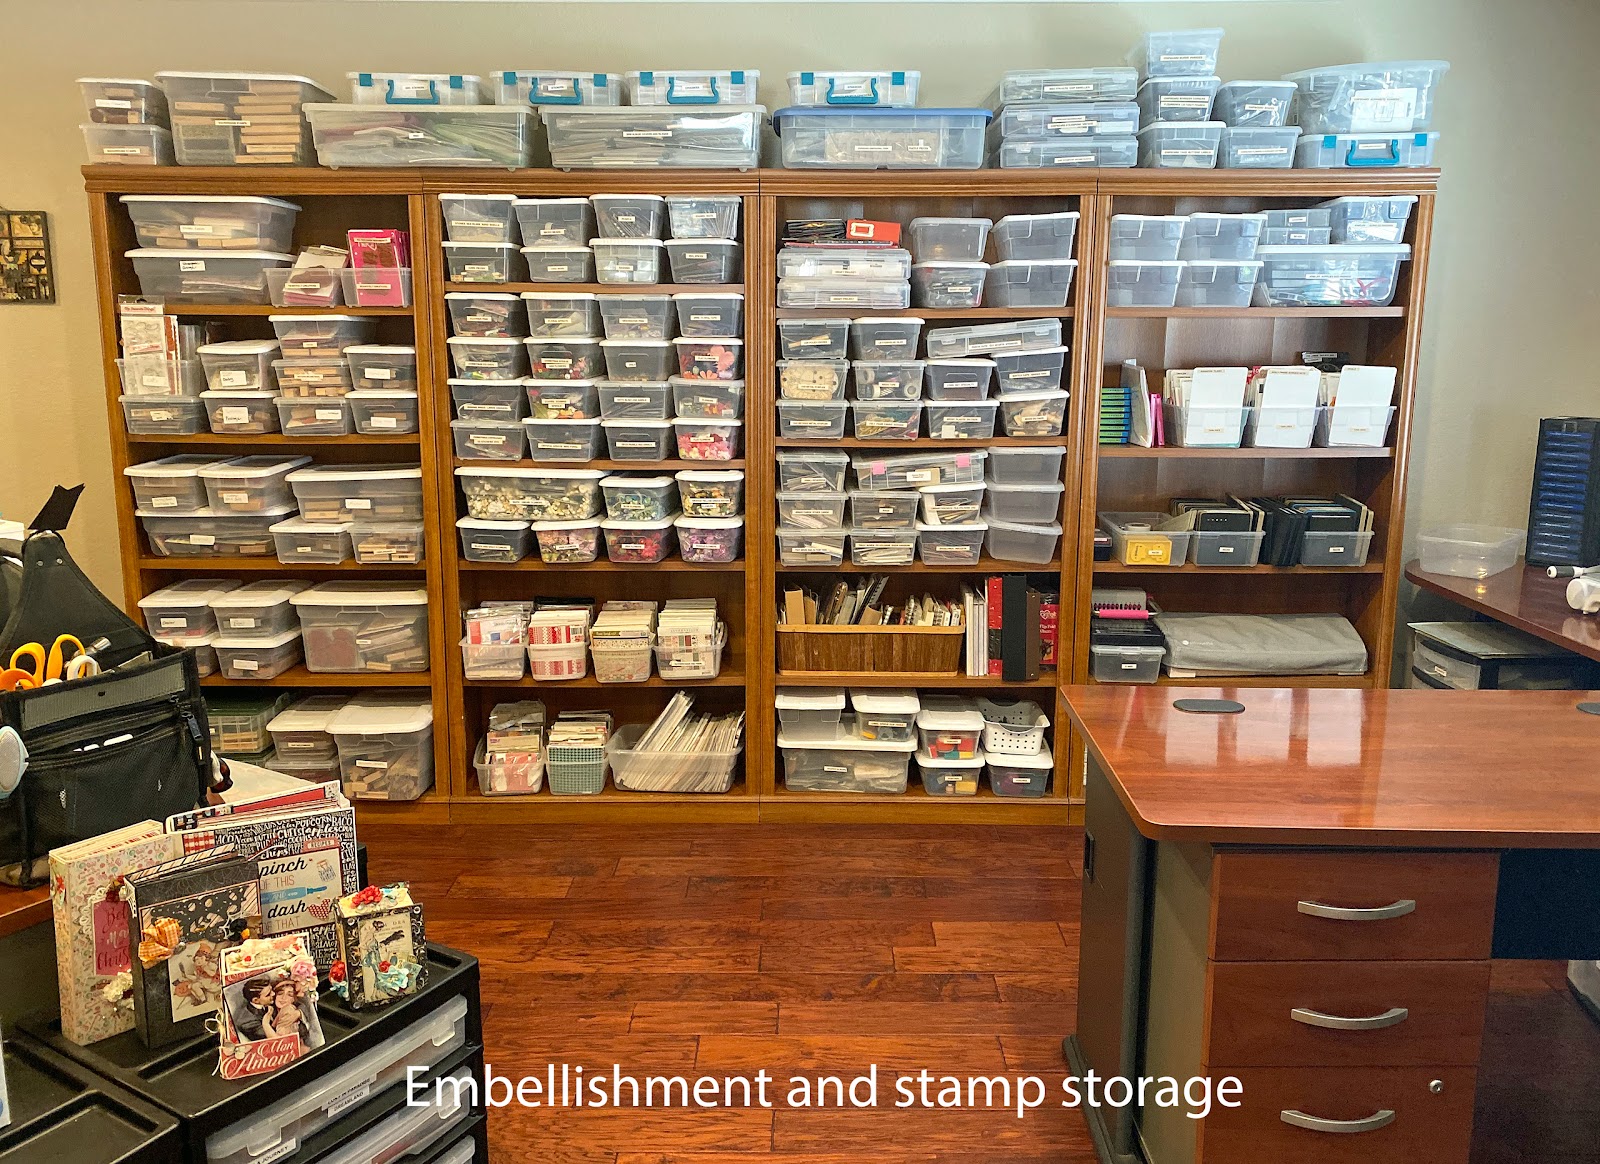
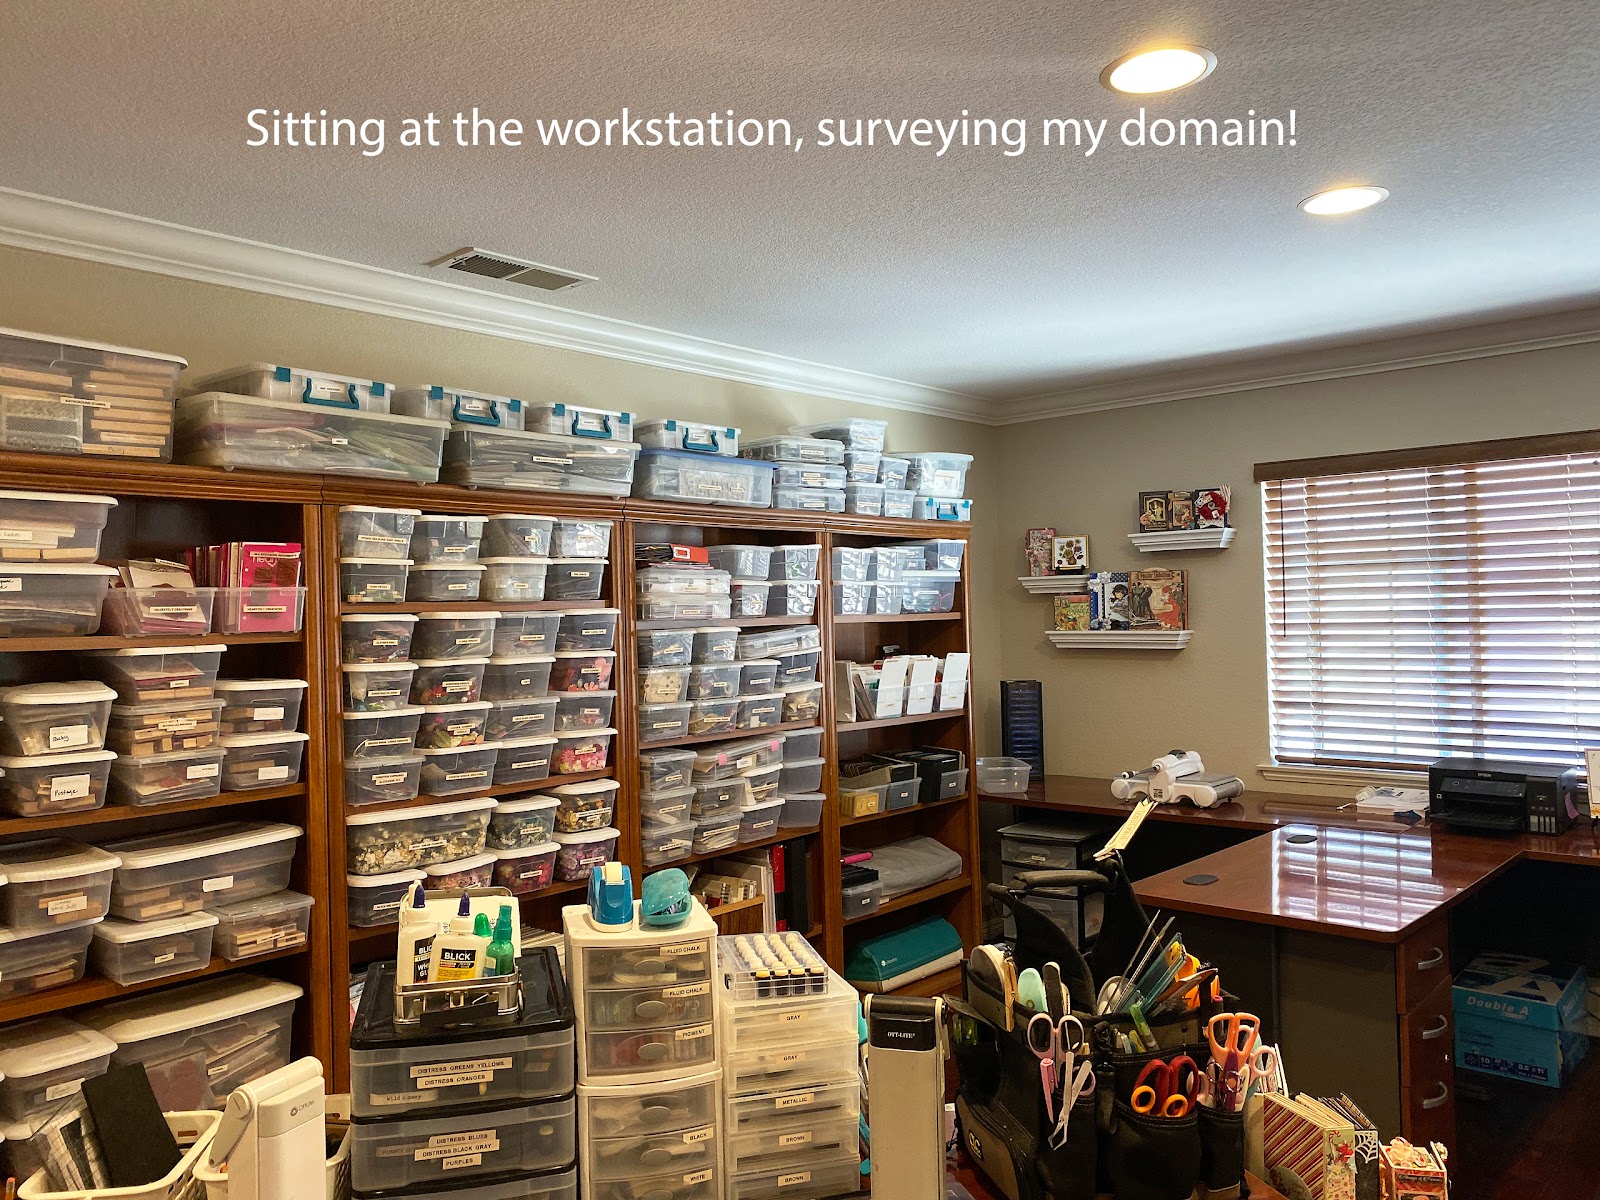
I love plastic storage bins! They are my favorite type of storage! They are not “pretty” or vintage or color coordinated – but you can see everything you have, label the bins easily, plus they are portable. This type of storage also keeps my items dust-free! I live in a dry, dusty area, and keeping the dust off my products is very important!
I love seeing my wall of goodies! Since everything is labeled, I can see in an instant what I need for a particular project!
Tip: Invest in a label maker! I would be lost without my label making machine! If you are on a budget, purchase a set of sticky labels and a permanent marker and label by hand!
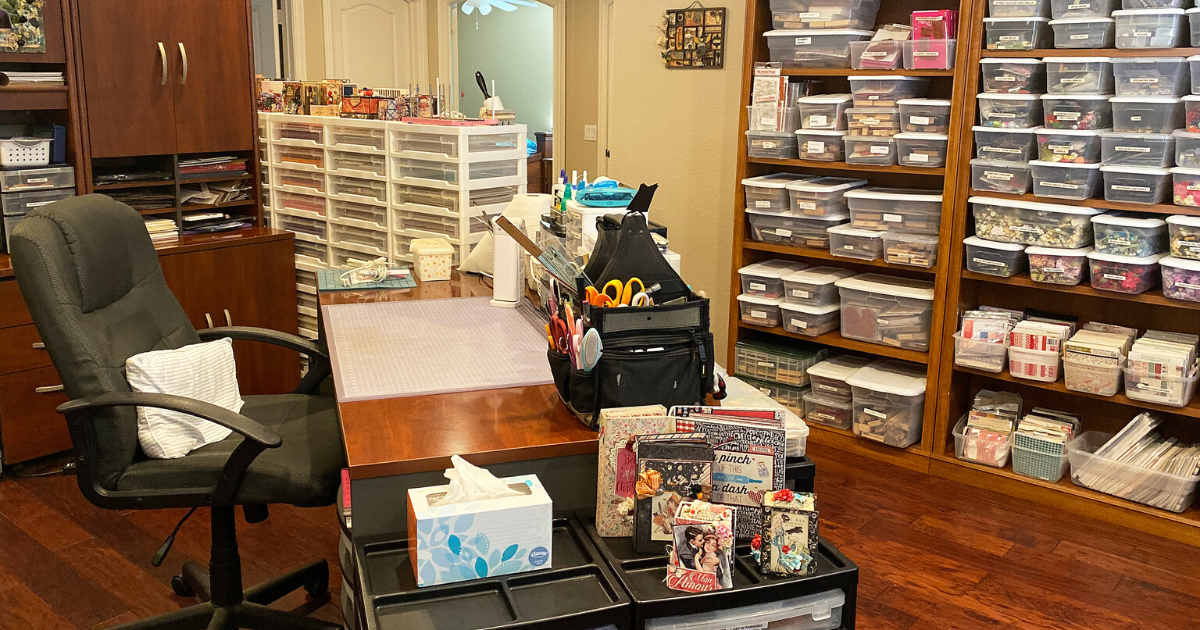
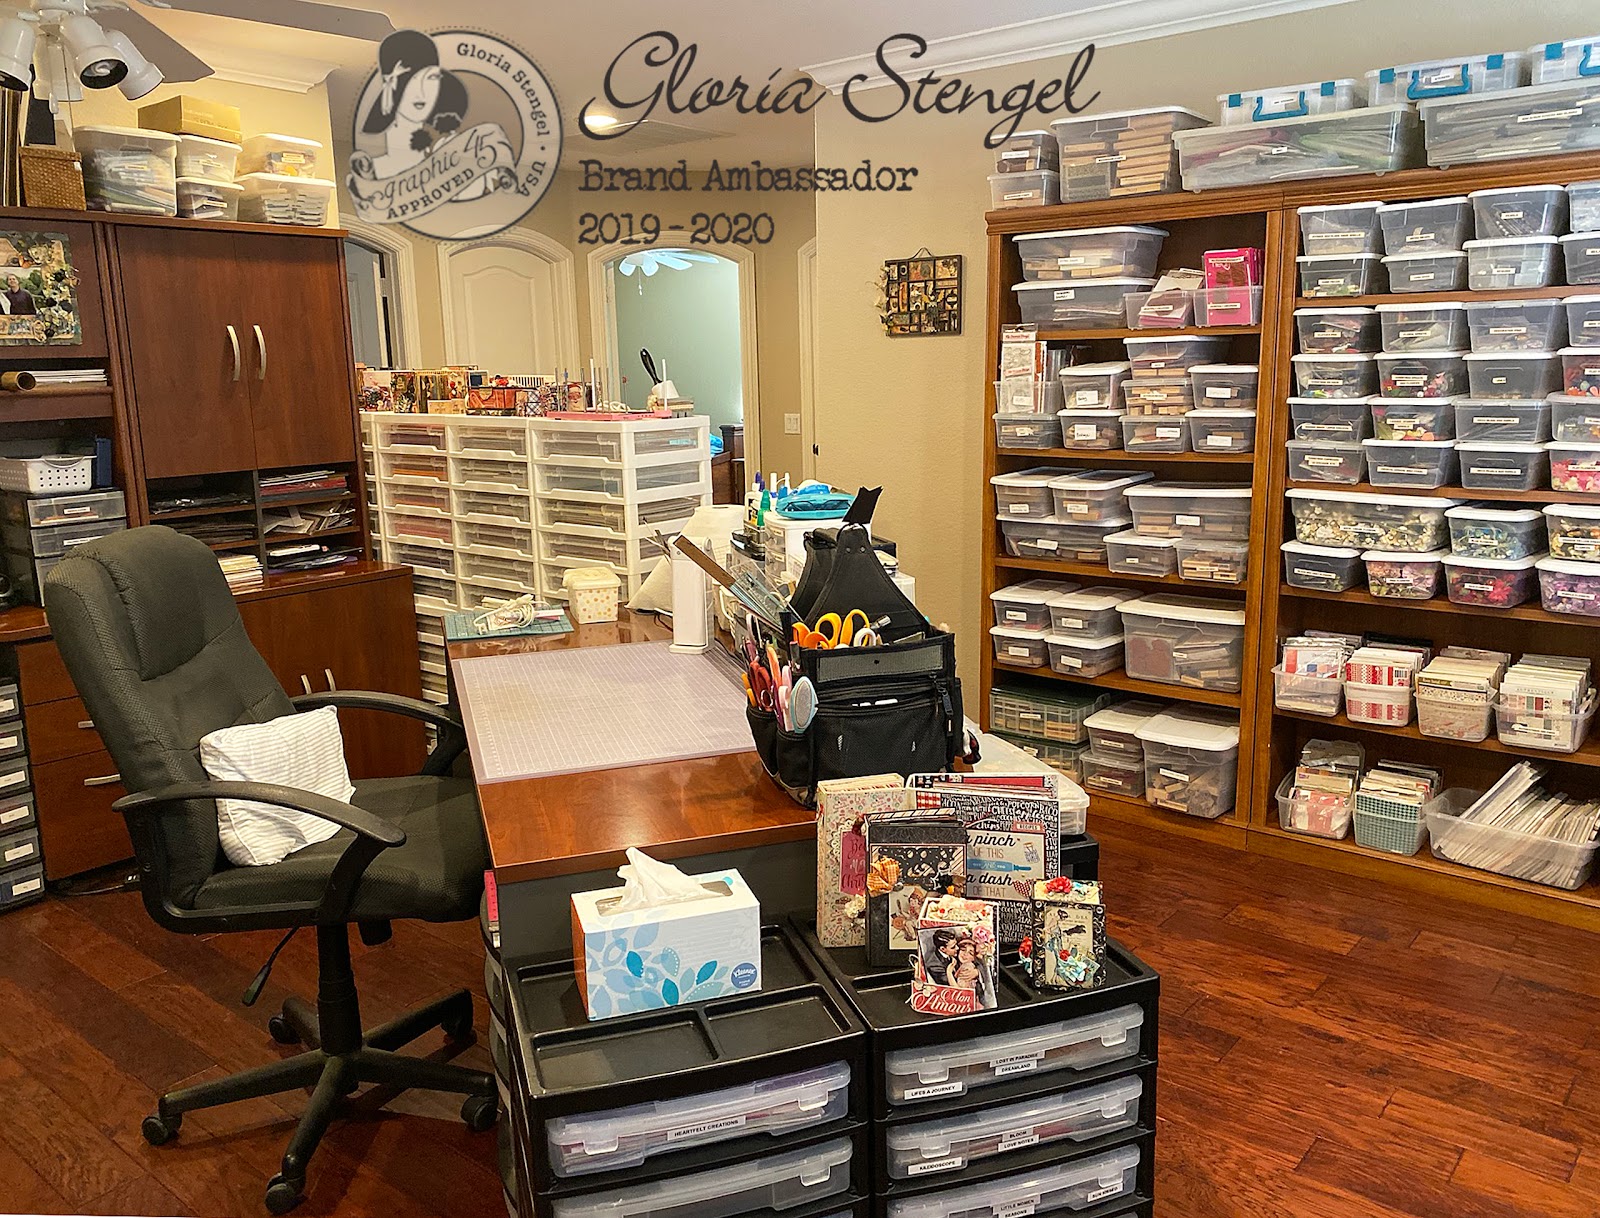
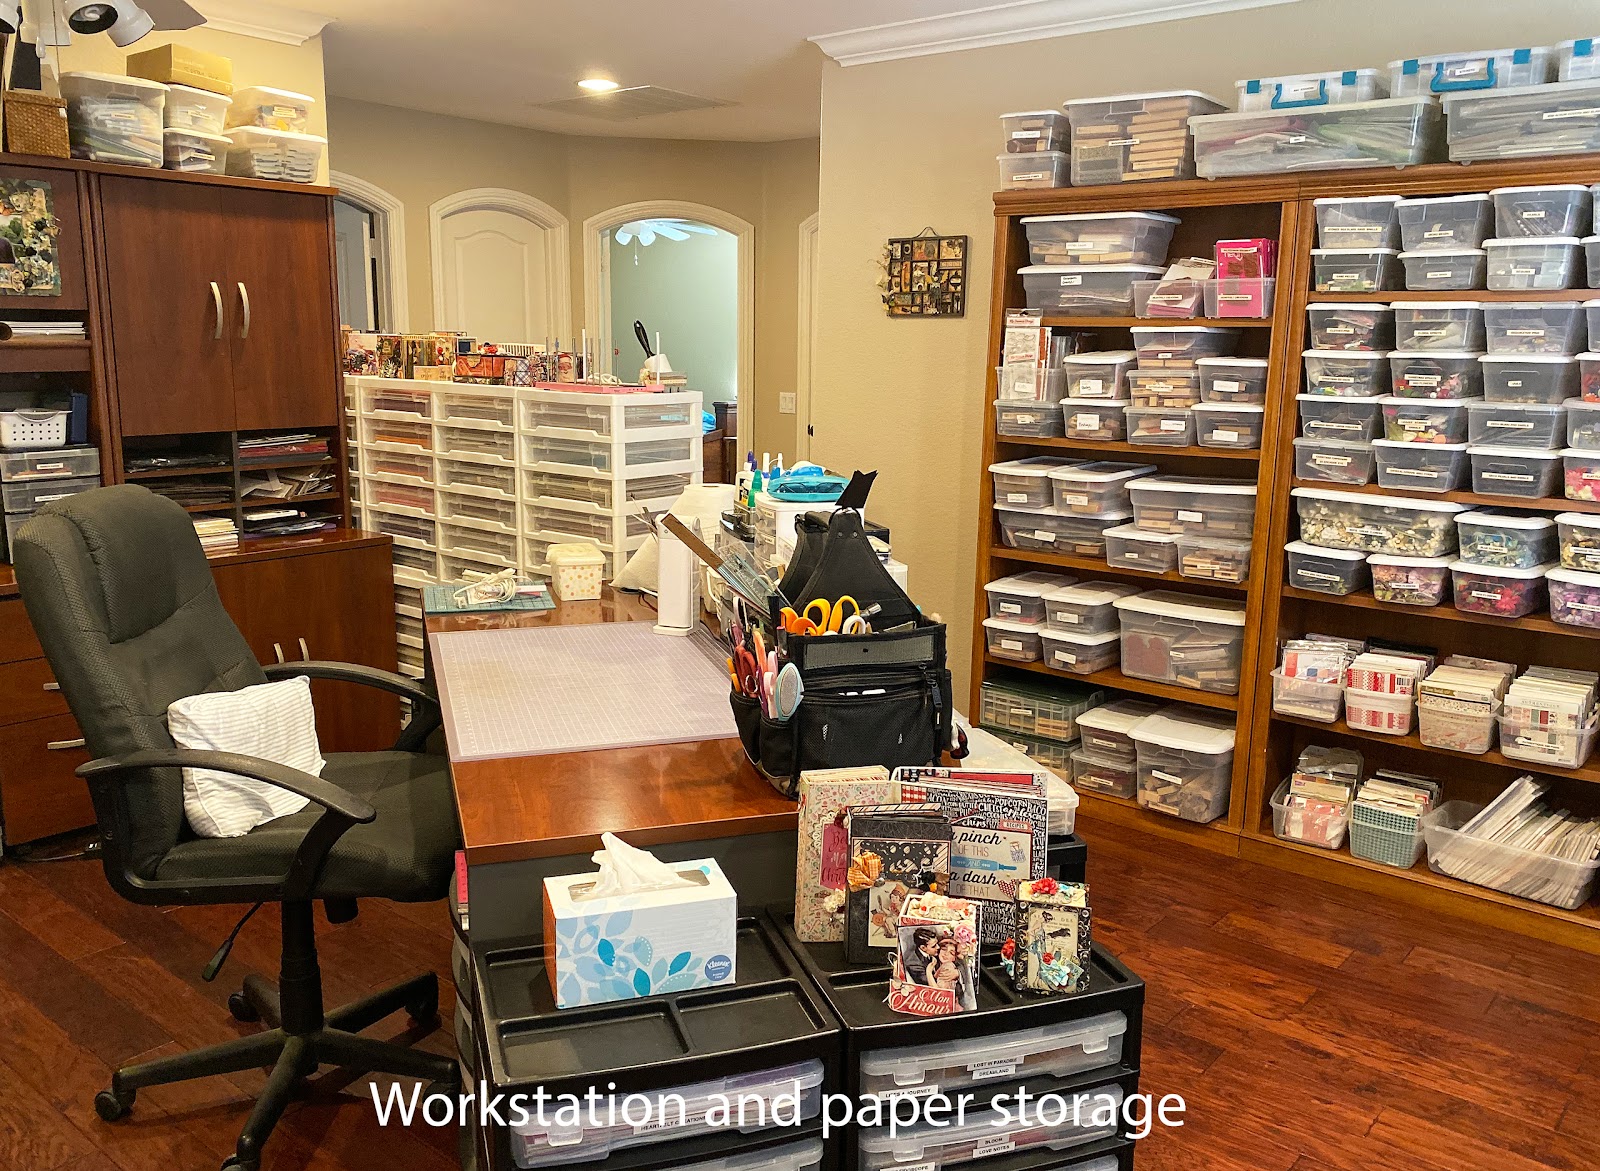
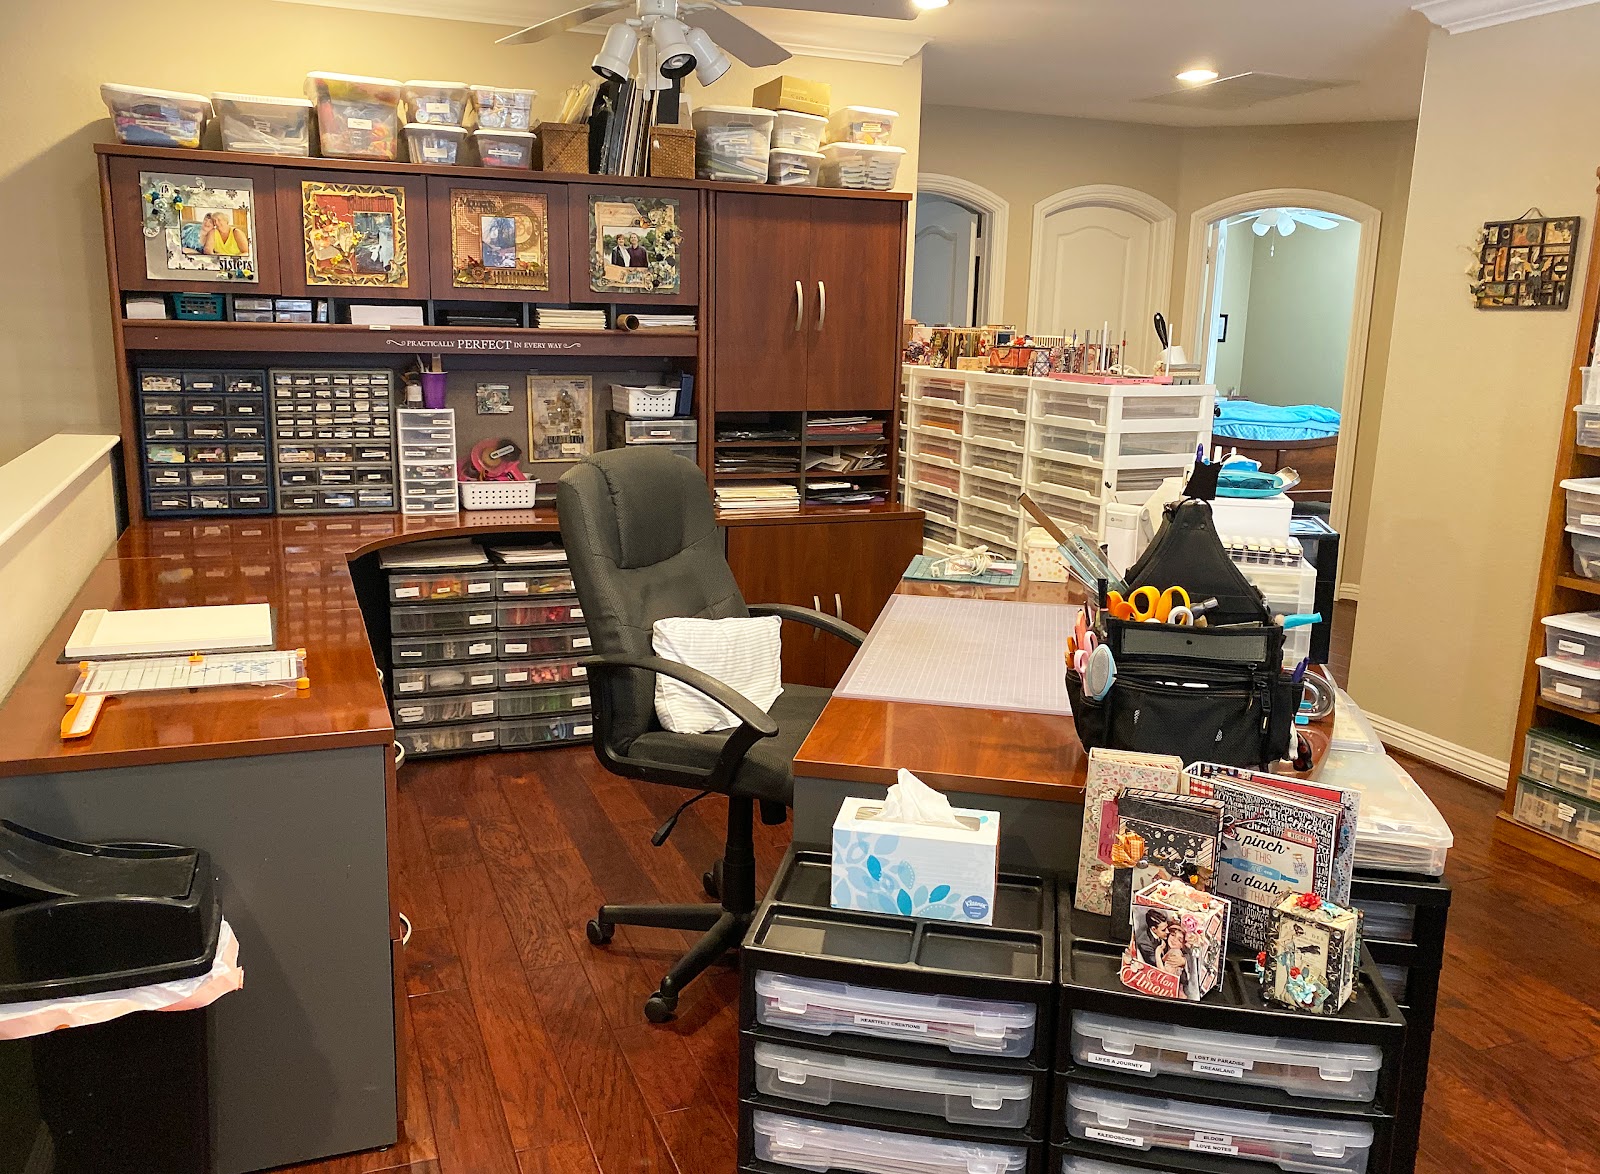
I have a large work space, with plenty of storage around the desk. My desk is 71” x 36”, which gives me plenty of work surface! I keep my tool bag on the desk, along with bins of ink and adhesive. I like to have my most used items close at hand!
There are plenty of bins, totes, and cabinets for all my crafty items. I have a large storage unit on the back wall, as well as another work space and storage unit behind my desk. I use the top surface as my paper cutting and scoring station. (To see inside all the storage, view the video below!)
I love to look out and see all of my embellishments, stacked up and ready to be used!
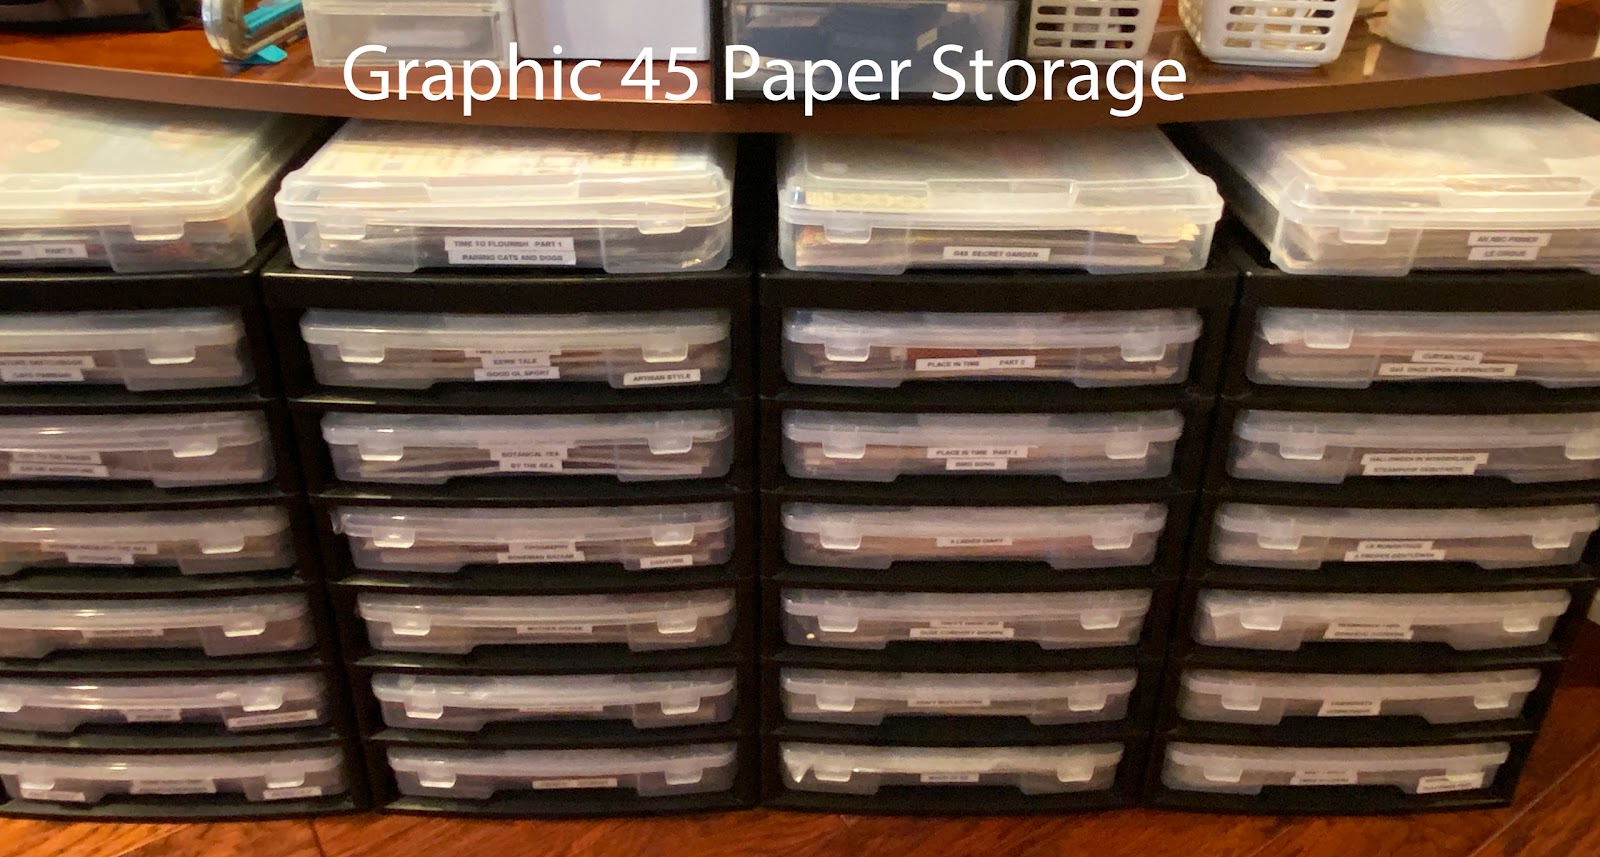
I particularly love my Graphic 45 paper bins! I have six bins at the front and side of my desk to store all my G45 papers, by collection! I have some of every Graphic 45 release from the very first to the most recent! (I may be something of a FAN of G45!) Each tote holds 12×12 paper, plus all of the other components of each collection. Each bin is portable. I can pull the bin I want, take it to my desk, and get to work creating!
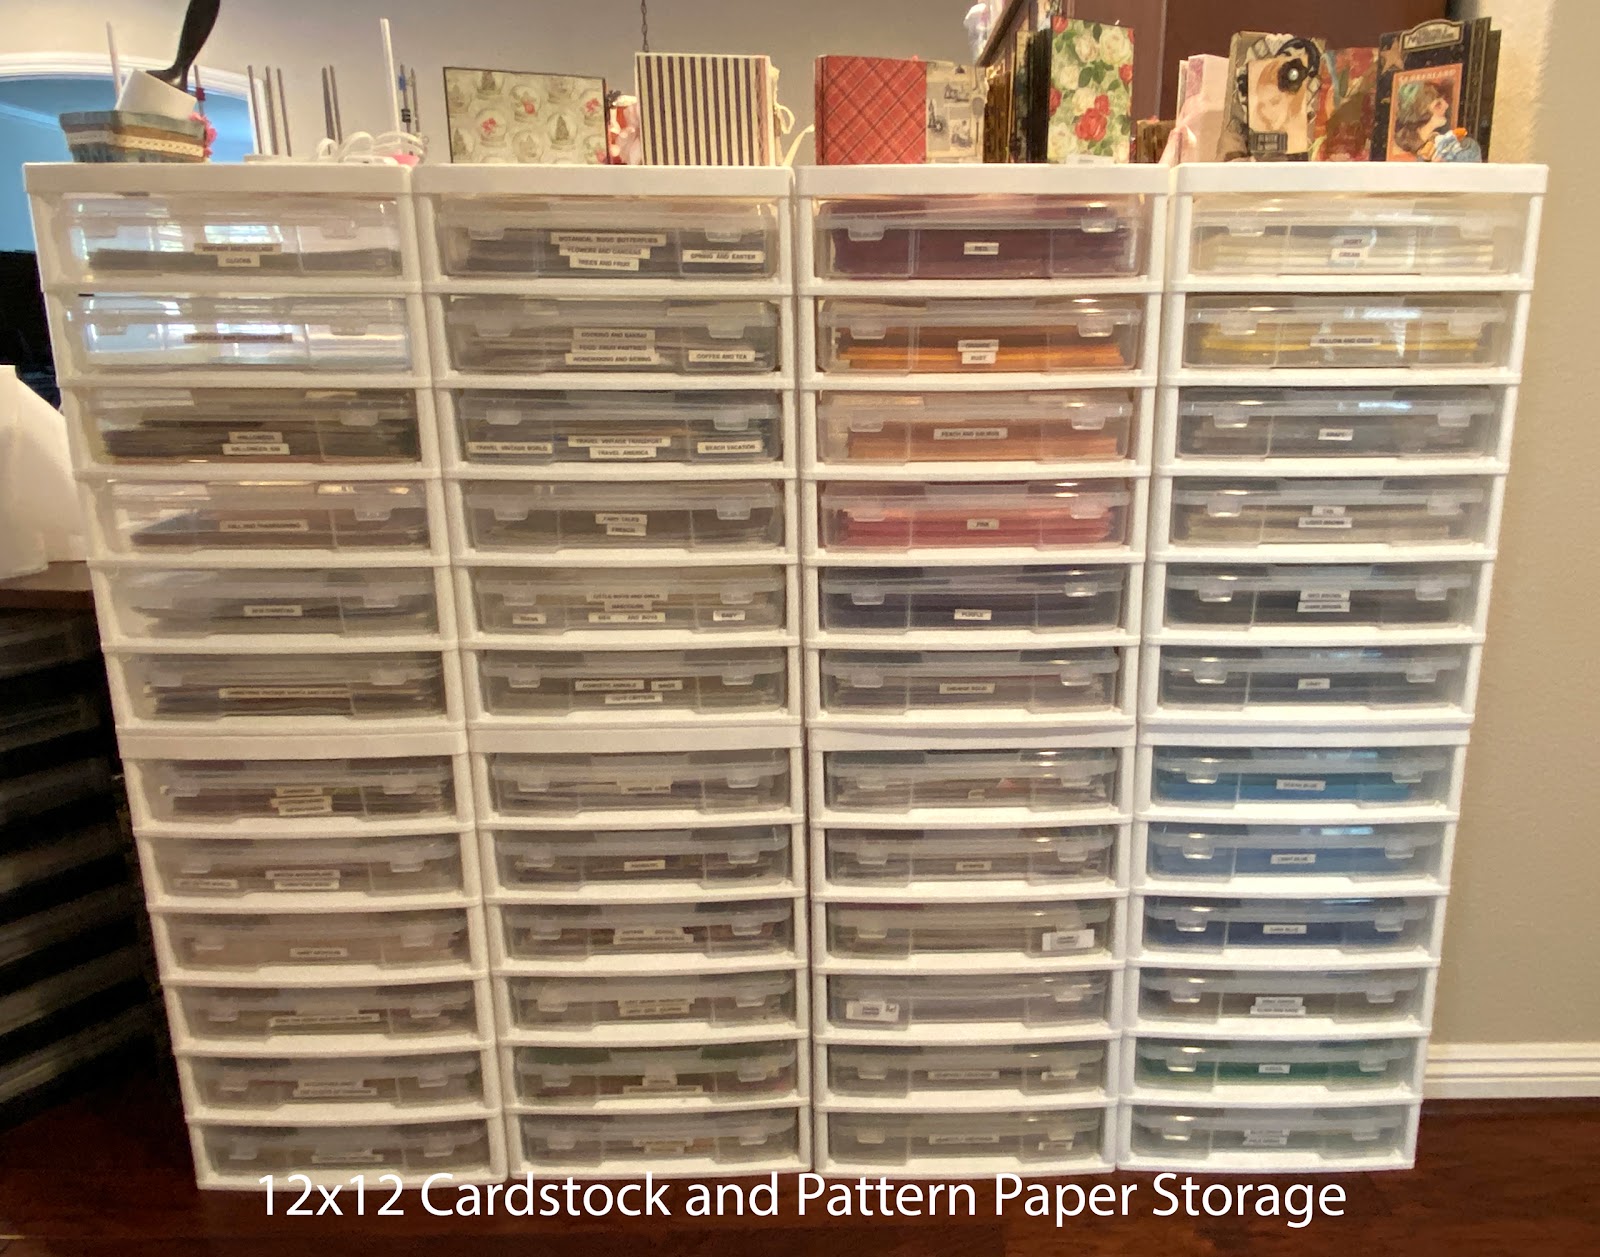
I also have eight more racks to hold cardstock, various pattern papers, and the G45 Christmas collections! These racks are stacked with the wheels removed, giving me a nice “wall of paper”! I keep lots of finished projects on the top. Being surrounded by some of my projects keeps me in a creative mood.
Tip: Sort cardstock by color to make it easy to find what you need for each project. I have a 12×12 bin for each color or color family. The paper is kept flat, and out of direct sunlight and dust! I store my 8 ½ x 11 paper in drawers next to my desk.
To see a video tour of my space, see the link below. I give you a peek into each of the storage areas along with giving you more tips and tricks for storage. I even give you a look into the “overflow” closet! I do NOT allow you to see the “room of requirement” which is what I call my oldest son’s bedroom. He no longer lives at home and I am ashamed to say, his room has become the holding area for things that need sorting, discarding, and donating!
Video Tour:
Thanks for coming along on my tour!”
~Gloria Stengel – Scraps of Life Blog
Happy Papercrafting!
Want even more Graphic 45? Sign up for our newsletter here!