Hello, G45ers!
Have you ever created an album and wanted to decorate the pages before adding photos? Graphic 45 Brand Ambassador, Carla La Vera has solved our problem by introducing us to a fun and fabulous #G45Technique, Floating Photo Mats. In this tutorial Carla uses fussy cut flowers to decorate and add dimension, but really you could use any fussy cut images to go with any theme. We encourage you to follow along with this step by step tutorial, and when you’re done be sure to share your project with us on Instagram using the #Graphic45 hashtag.
Floating Flowers on the Photo Mats
“When we make an album for ourselves or especially when we want to do it to gift it, we do not know what photo we will place it in. It does not allow us to place floating elements to decorate the pages and this is a simple technique that helps us figure out this problem..
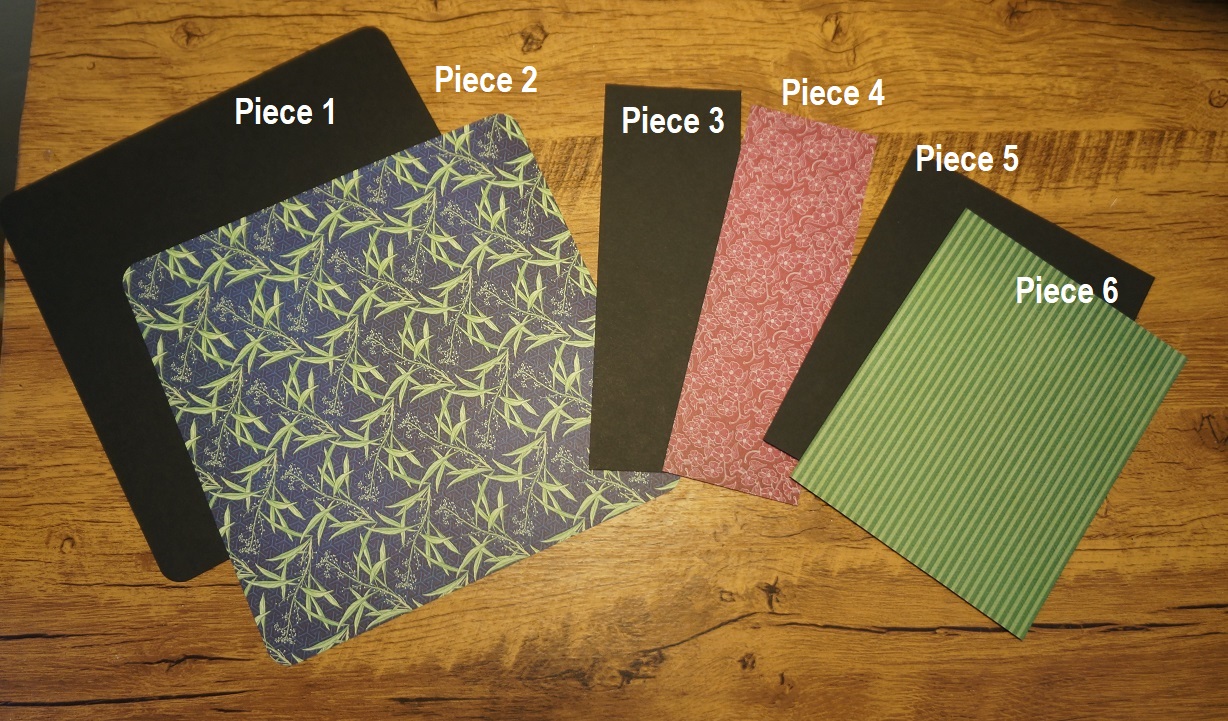
Supplies Needed:
Black Cardstock : Piece 1= 8”x8”;Piece 3= 2 ½”x7 ¼” and Piece 5= 5 ⅛” x 6 ⅜”
Blossom Paper : Piece 2= 7 ⅞” x 7 ⅞”
Delight Paper : Piece 4= 2 ⅜” x 7 ⅛”
Brighten Paper :Piece 6 = 5” x 6 ¼”
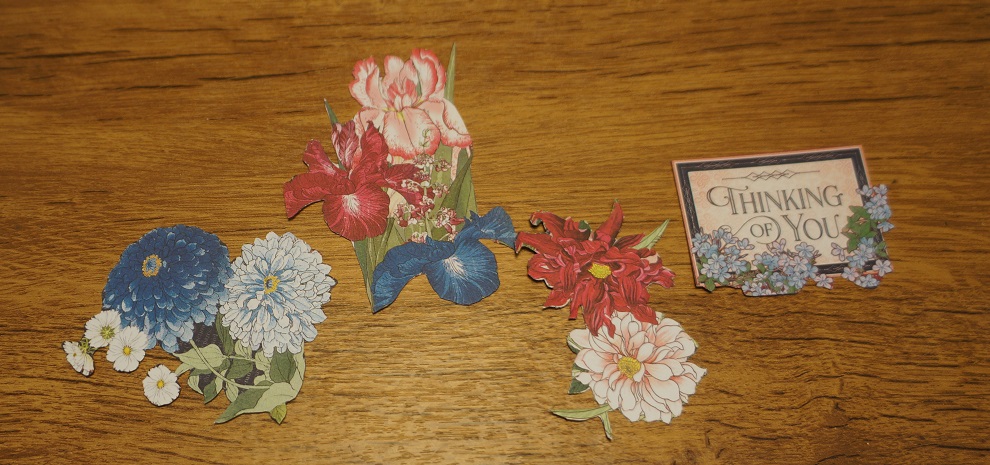
Fussy cuts flowers and Quote – Delight Paper.
Take a Piece of Black Cardstock (Piece 7 = 5 ¼” x 3 ¼”) and score a line at ¾” from the bottom edge and score another line at ¾” from the right edge.
Make a mark as shown in the picture above.
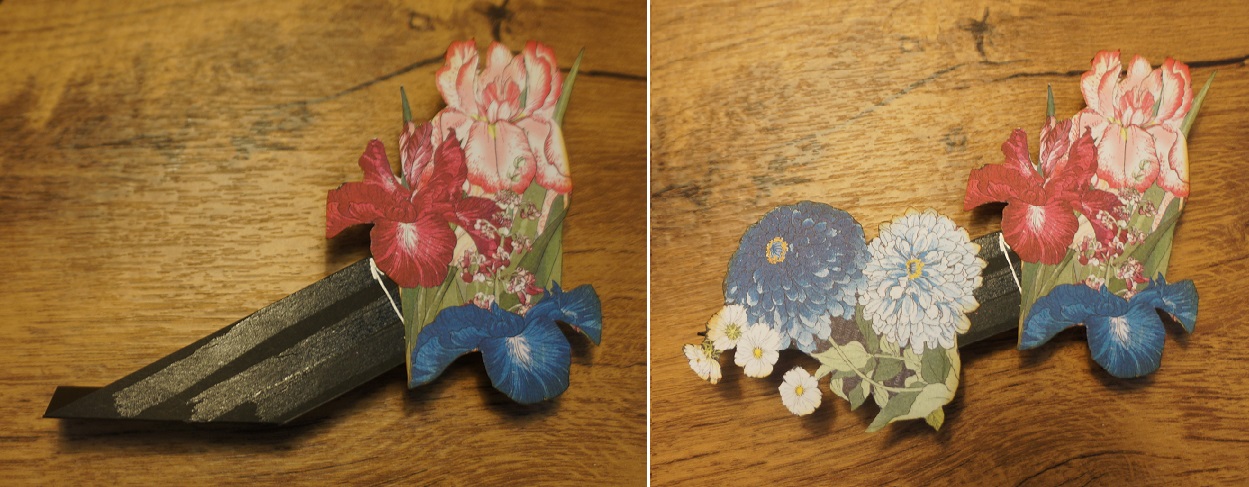
Trim the Piece 7 by the marks, fold the score section under the score line and apply adhesive on the 1” section.
Add the fussy cut flowers to the 1” section of Piece 7.
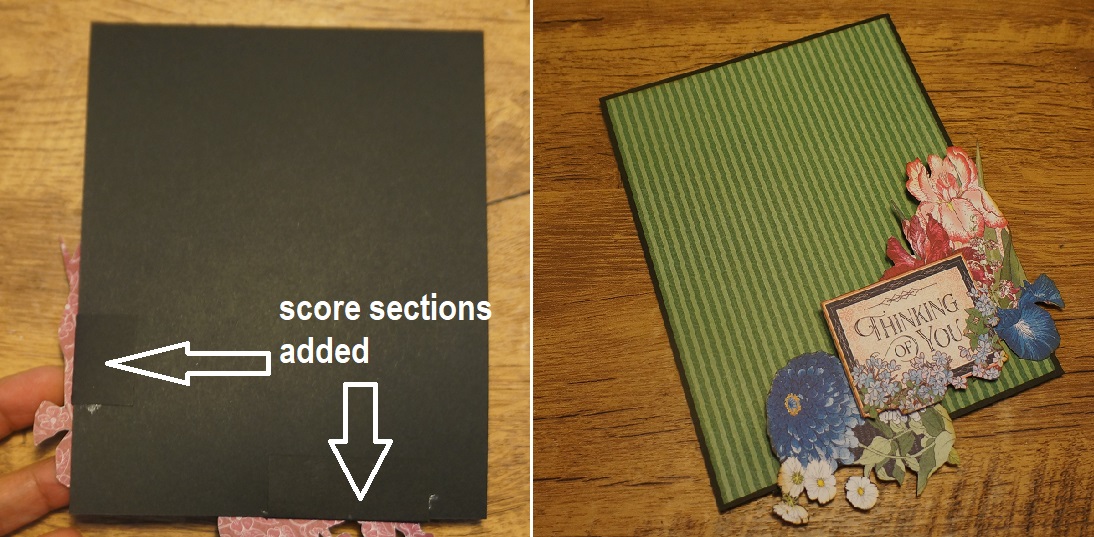
Add the image with the quote, flip over the Piece 7, open the score sections and apply adhesive on the score sections, as shown in the picture above.
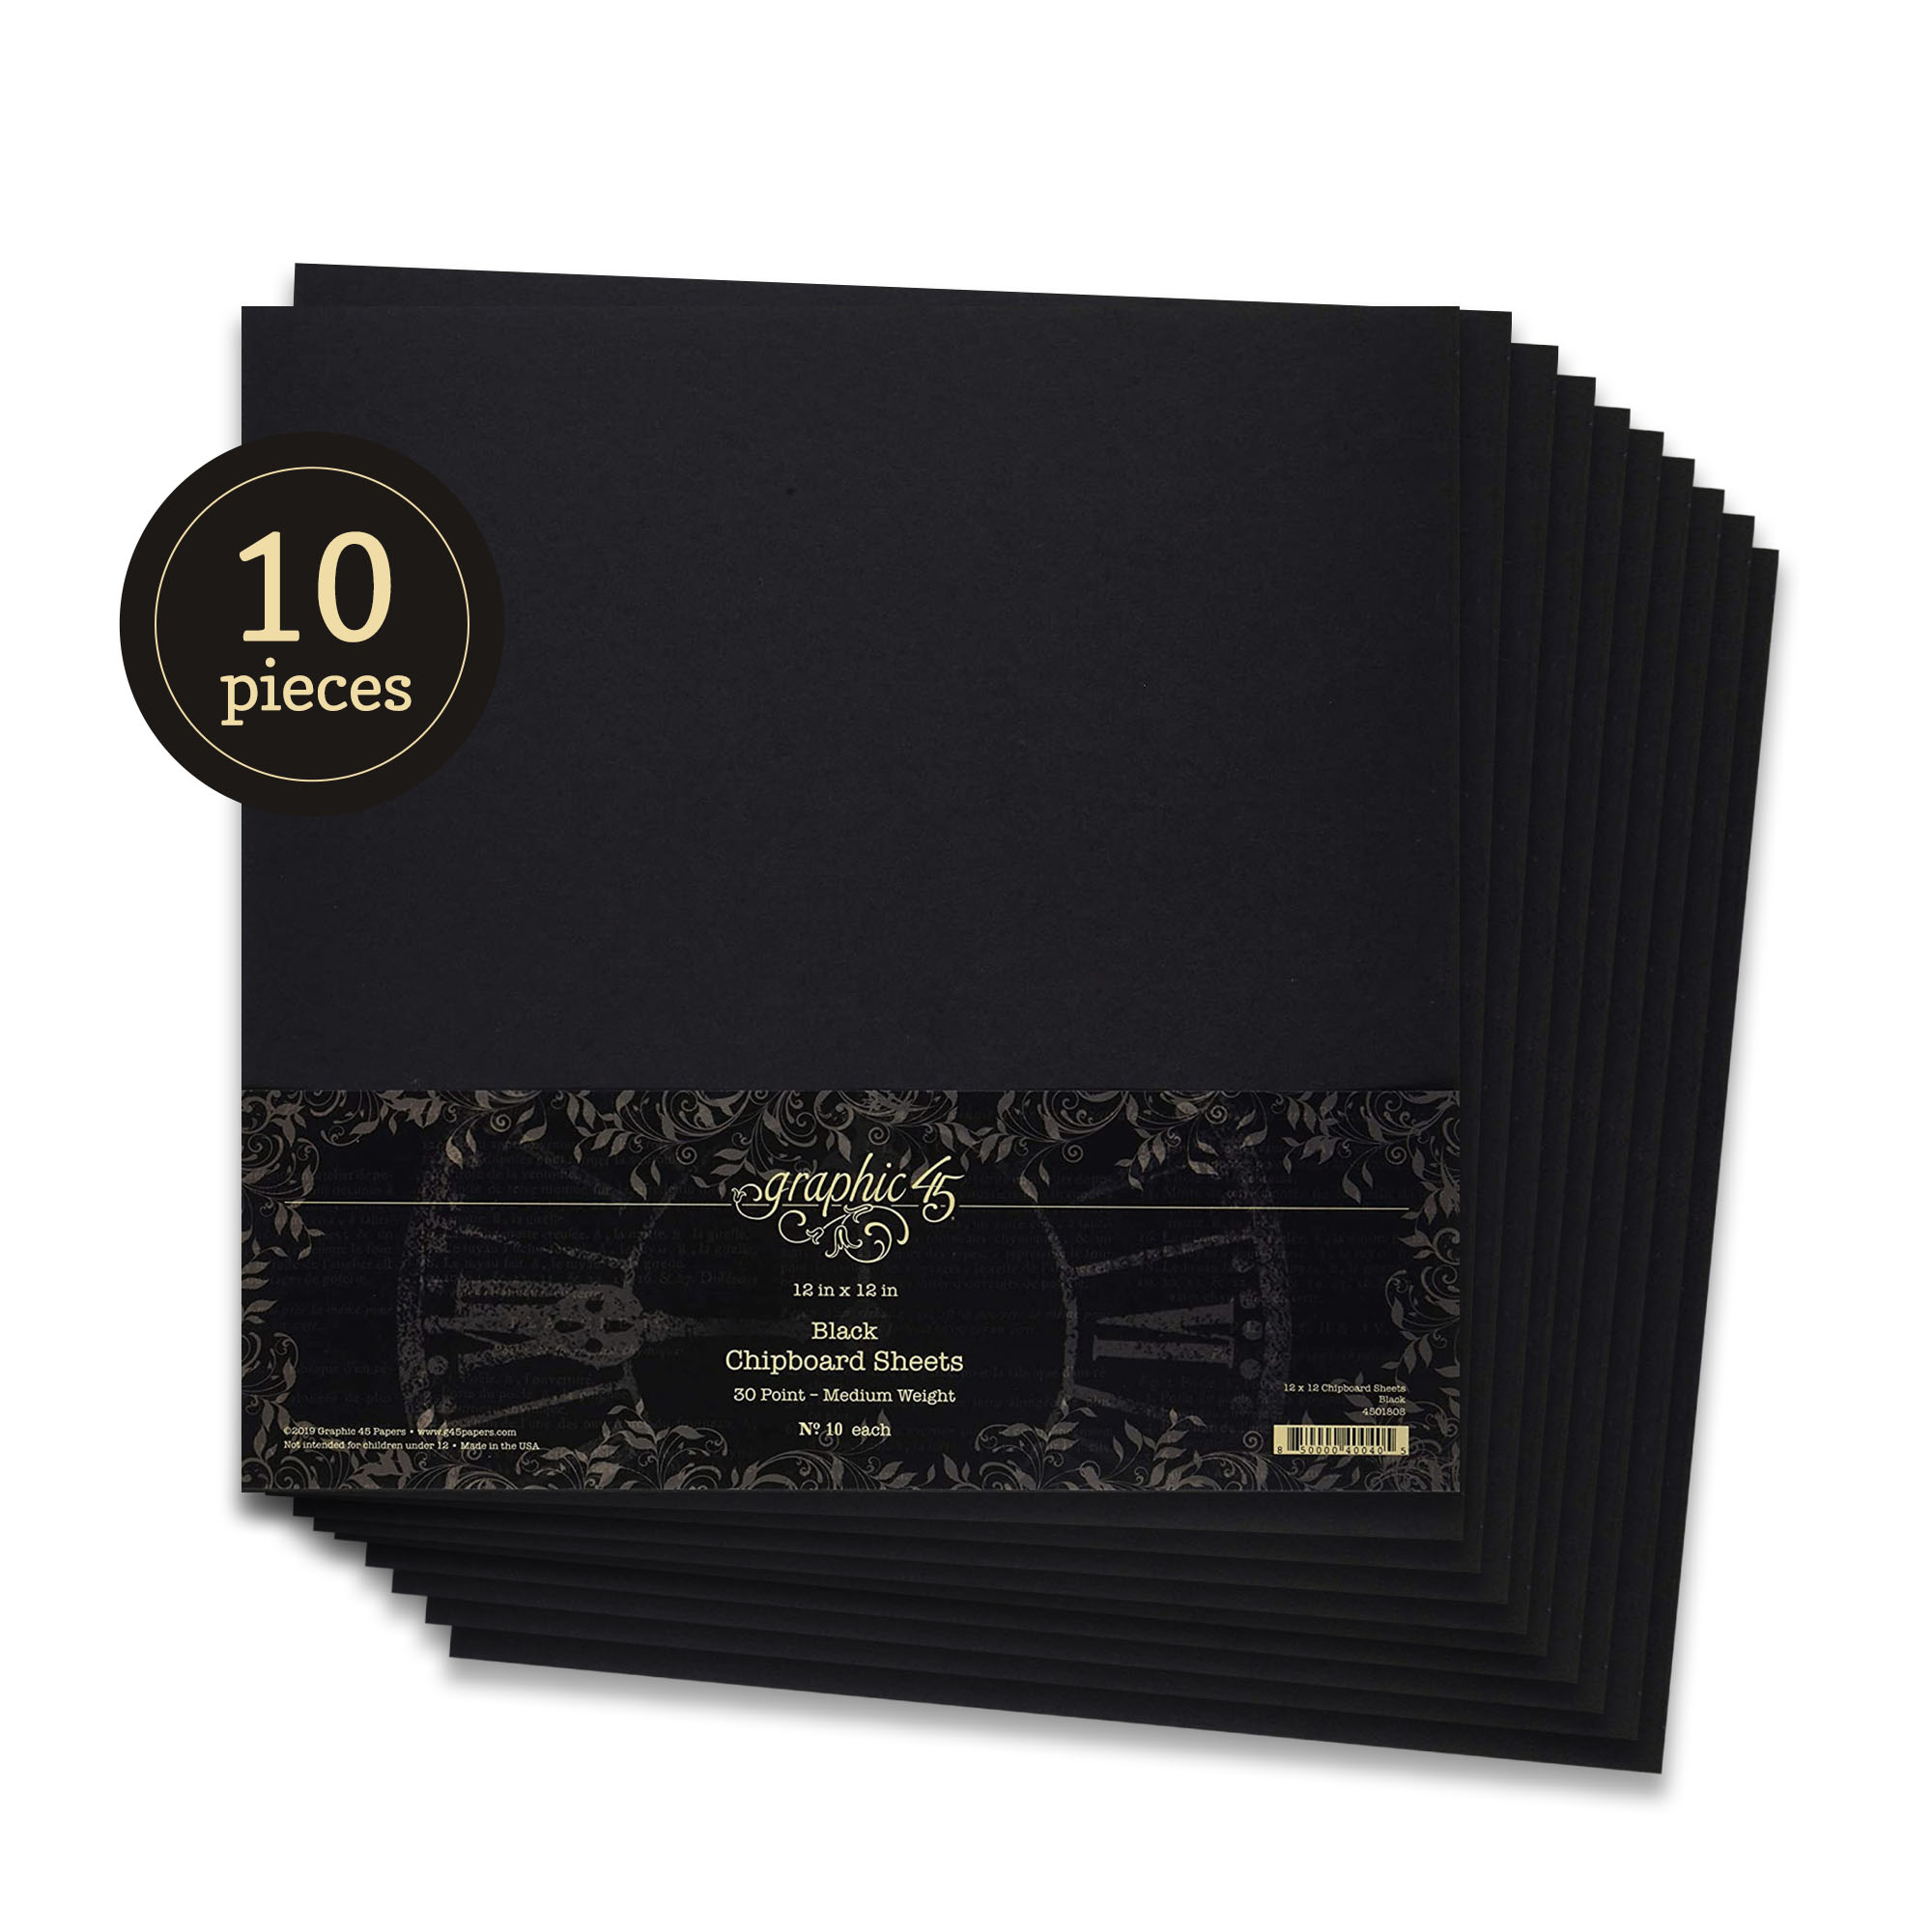
Tip: Add a piece of chipboard below the quote piece, it increases the volume even over the photo mat.
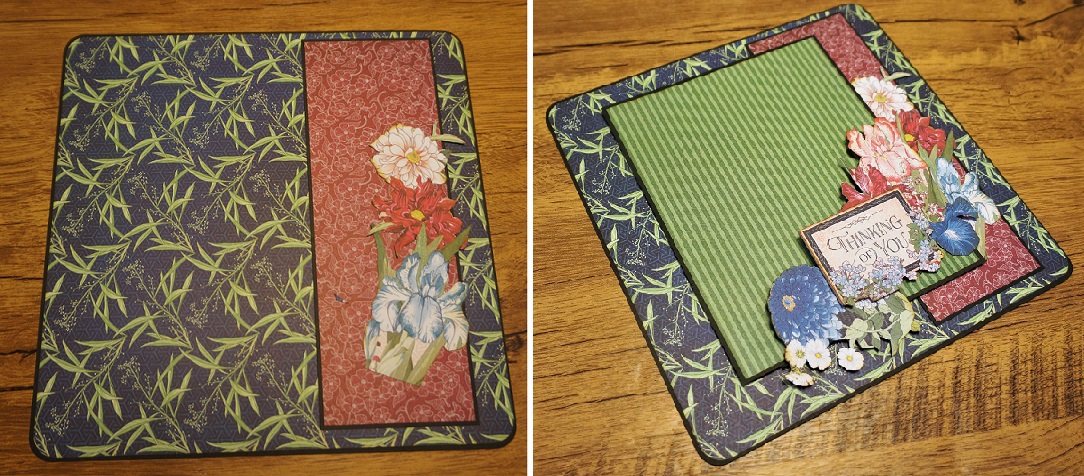
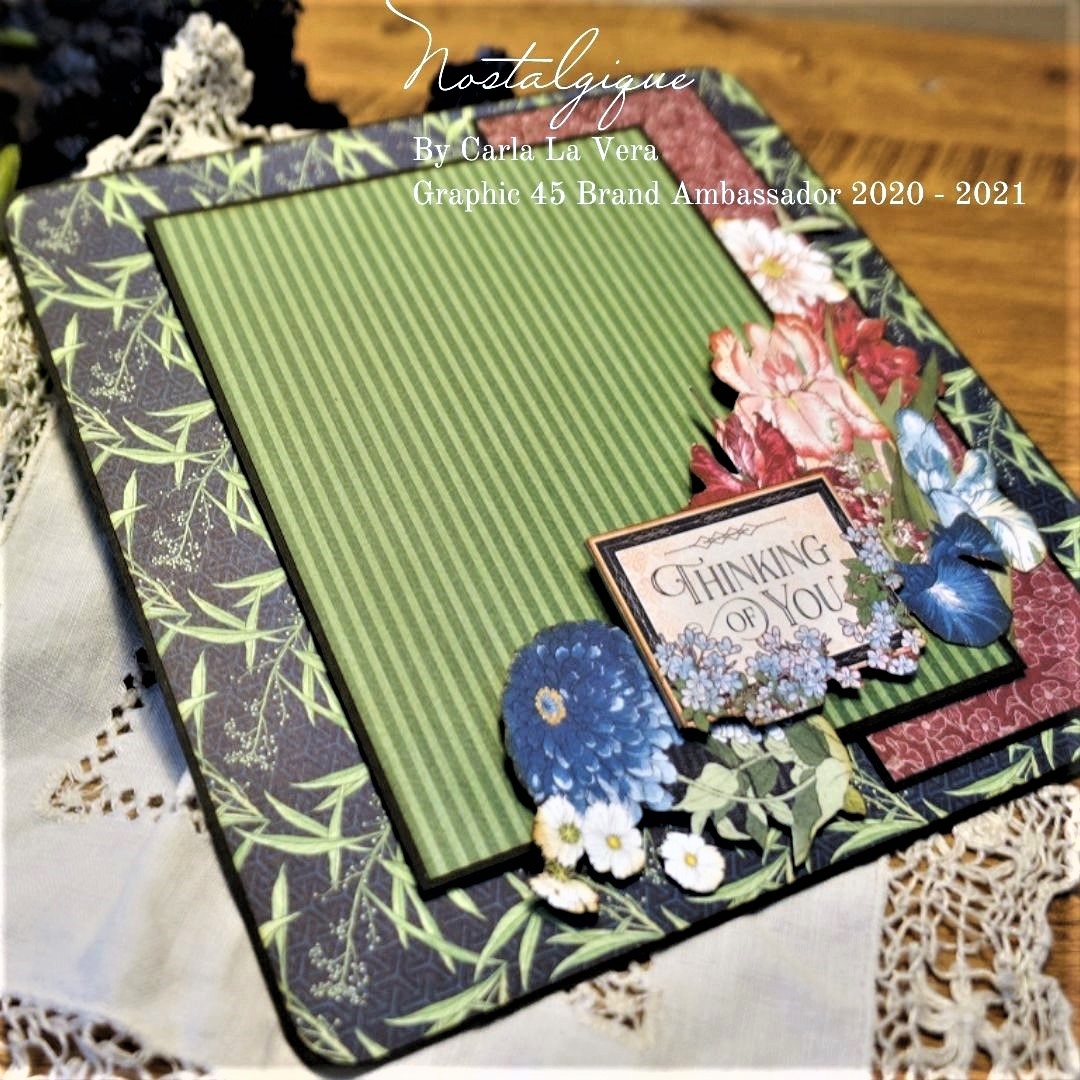
Add the Piece 6 to the Piece 5, flip it over and add the score sections of the Piece 7 to the Piece 5 as you can see in the picture above. Now, you can see the floating flowers on your photo mat and you are free to add your photo when you want.
Add the Piece 2 to the Piece 1, add the Piece 4 to the Piece 3, then, add the mat with the Piece 4 to the right side of the 8×8 mat.
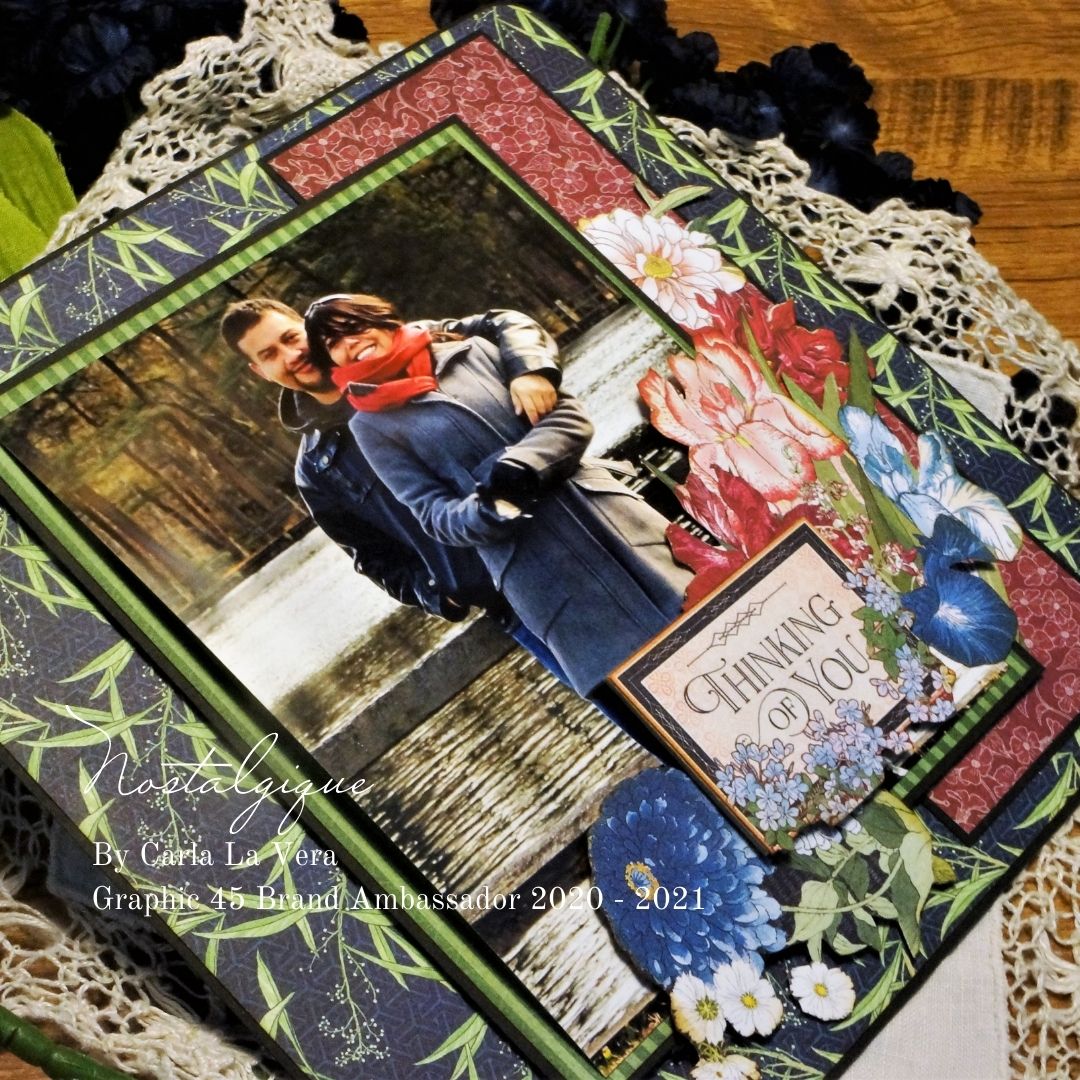
Add some flowers to the Piece 4 and, finally add the green photo mat with the floating flowers to the 8×8 mat.
TIP: To give more volume, add more flowers under the photo mat
TIP: I also added a piece of chipboard below the photo mat.” ~Carla
Happy Papercrafting!
Want even more Graphic 45? Sign up for our newsletter here!