Hello, G45ers!
It is time to think inside the box, with this Nature Notebook DIY Mini Album in a Box Tutorial the ideas and options are endless. Join us for Graphic 45 Brand Ambassador, Kavitha‘s step by step tutorial. Kavi shows us how to take a few sheets of chipboard, washi tape, and paper and turn it into a magical home decor piece great for storing some of your favorite photos. This project was inspired by our #G45Box – January Challenge, create along with us and be sure to enter our challenge.
DIY Mini Album in a Box
By Kavitha
“Hello G45ers,
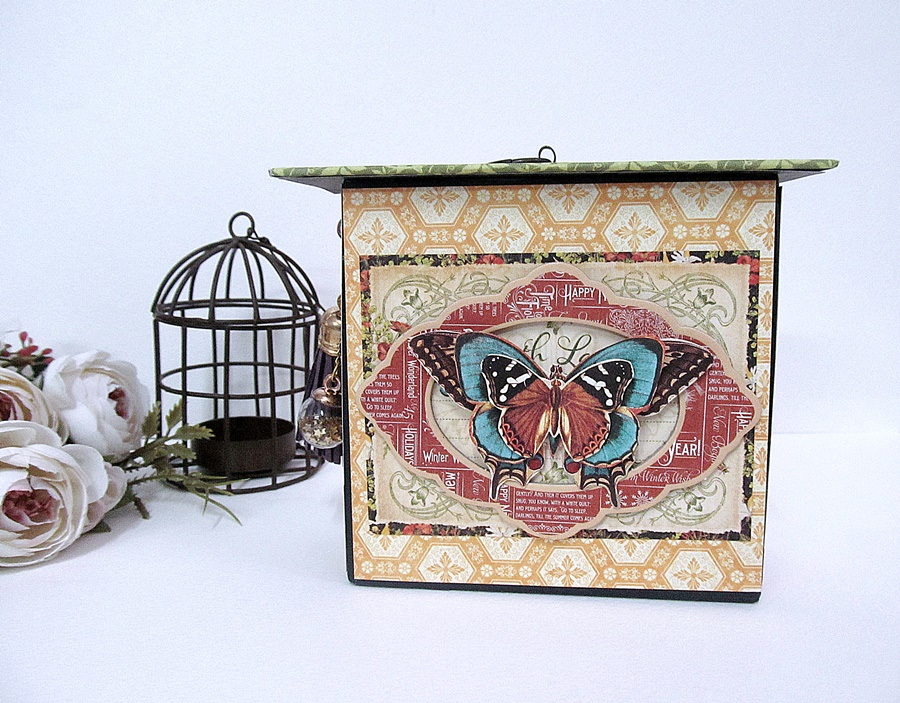
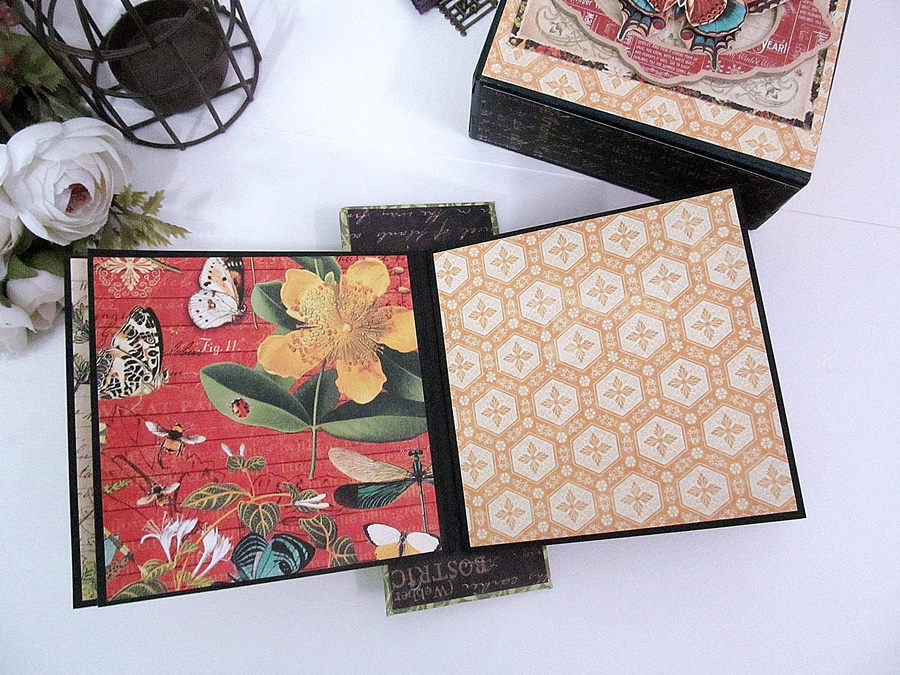
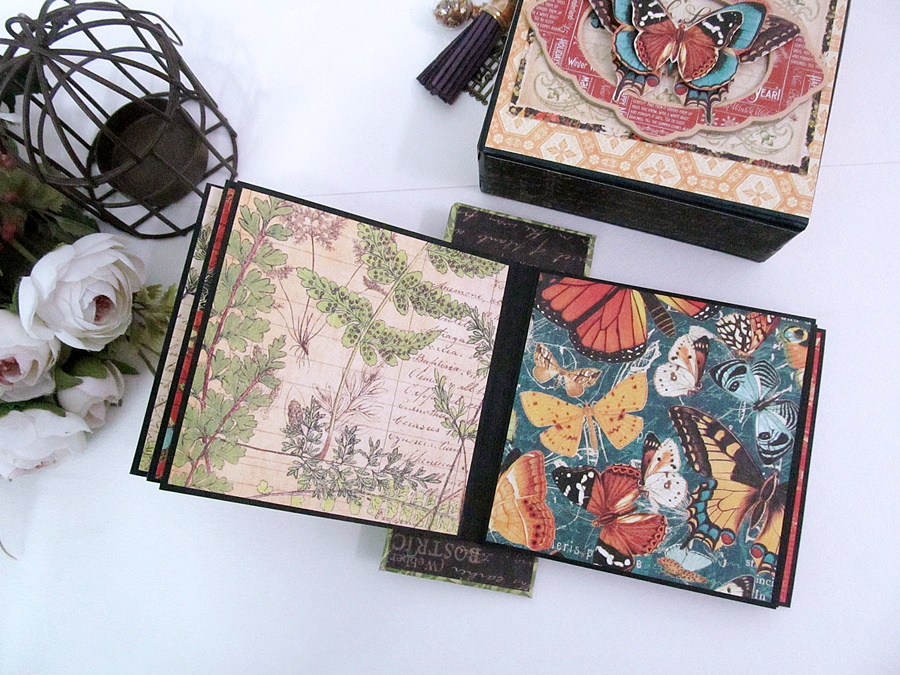
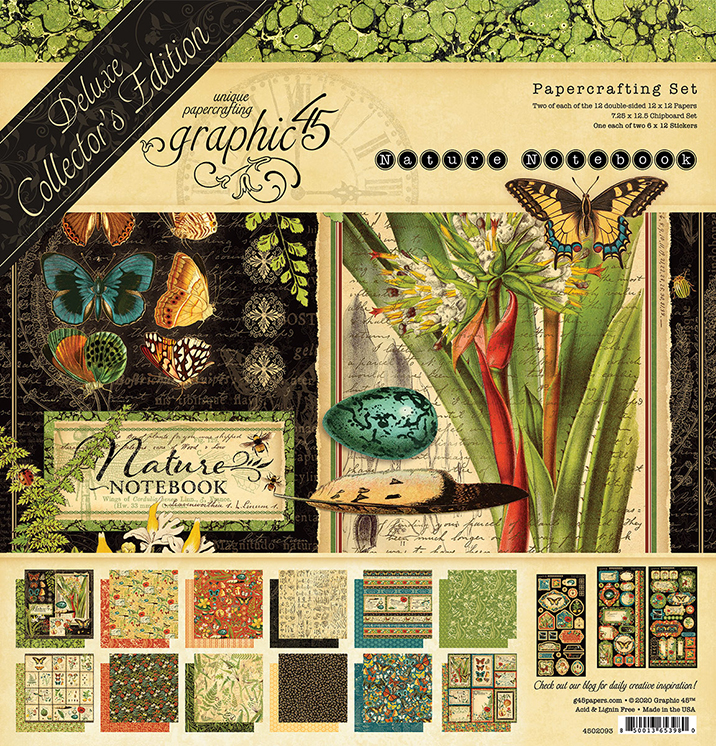
Today i present you a boxed mini album which can also be used as display using Nature Notebook Deluxe collector’s edition. This is a cute mini album measuring 4 by 4 inches, but can be done in any size
Step by Step Tutorial:
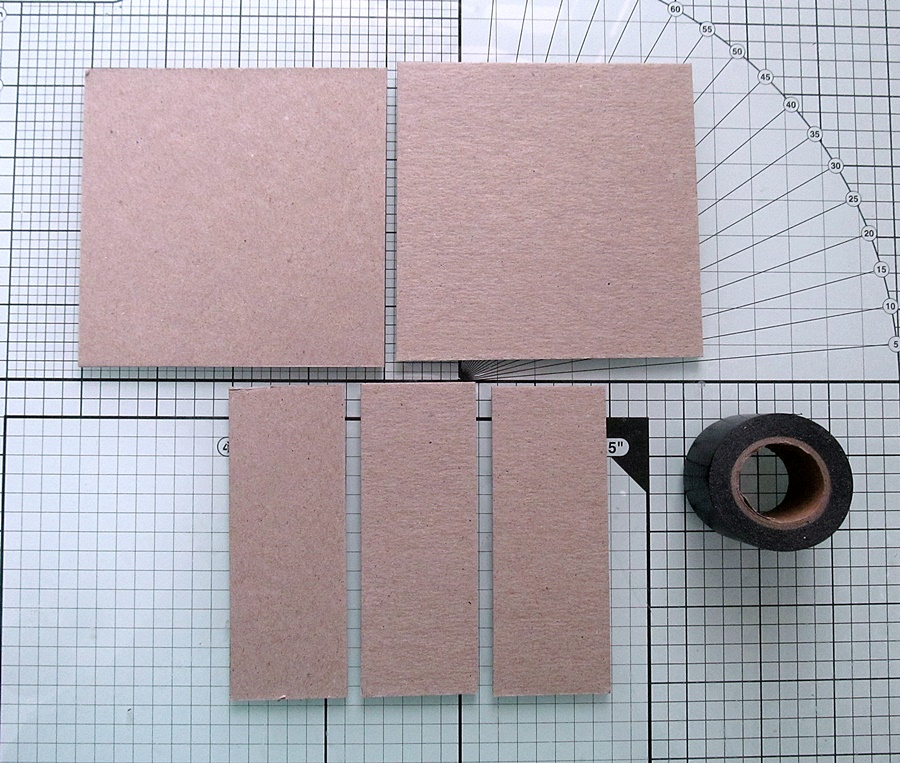
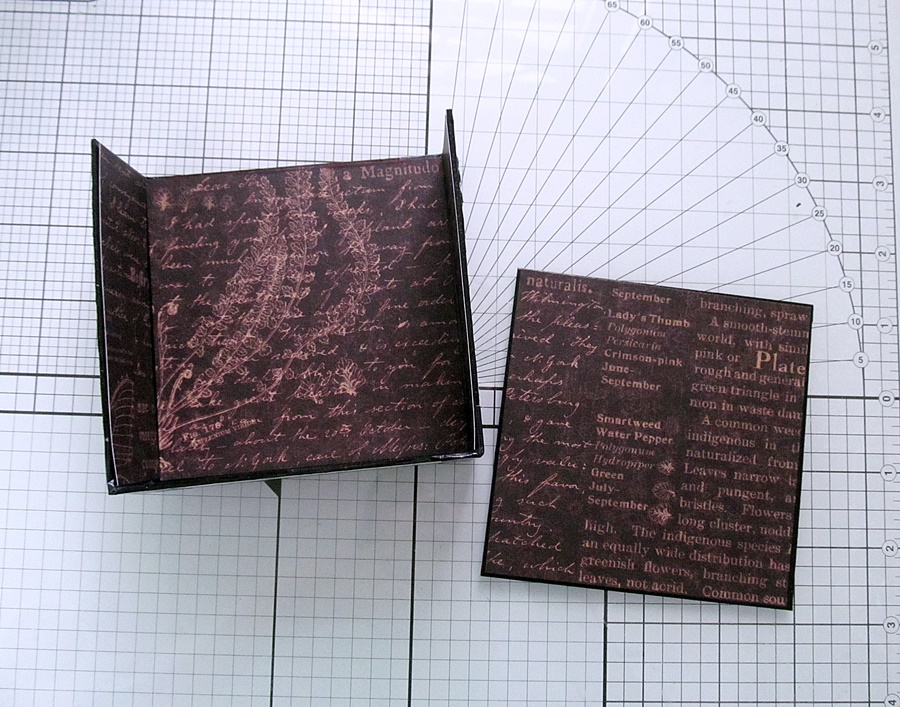
To make the box you need 2 pcs of chipboard measuring 4 by 4 inches and 3 pcs of chipboard measuring 1 ½ by 4 inches and black architecture washi tape
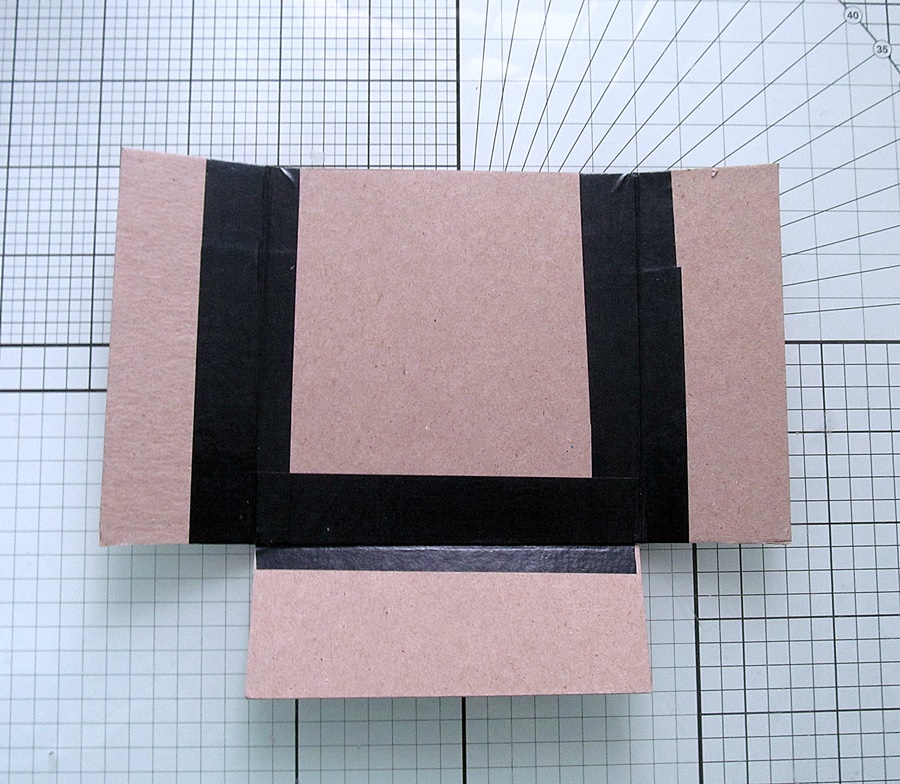
Take one pc of 4 by 4 chipboard and attach the side pcs using washi tape as shown
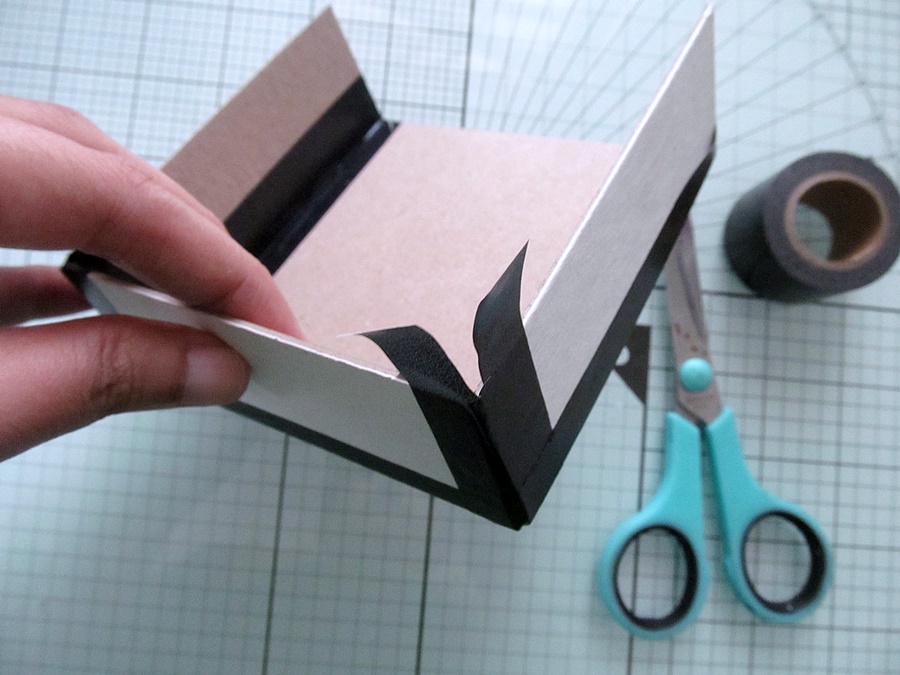
While attaching the corner stick one half of the tape on one side and bring the other piece together and stick the other half
Once the inside is done, repeat the same on the outer edges, while attaching the corner cut the the tape into half and pull it inside
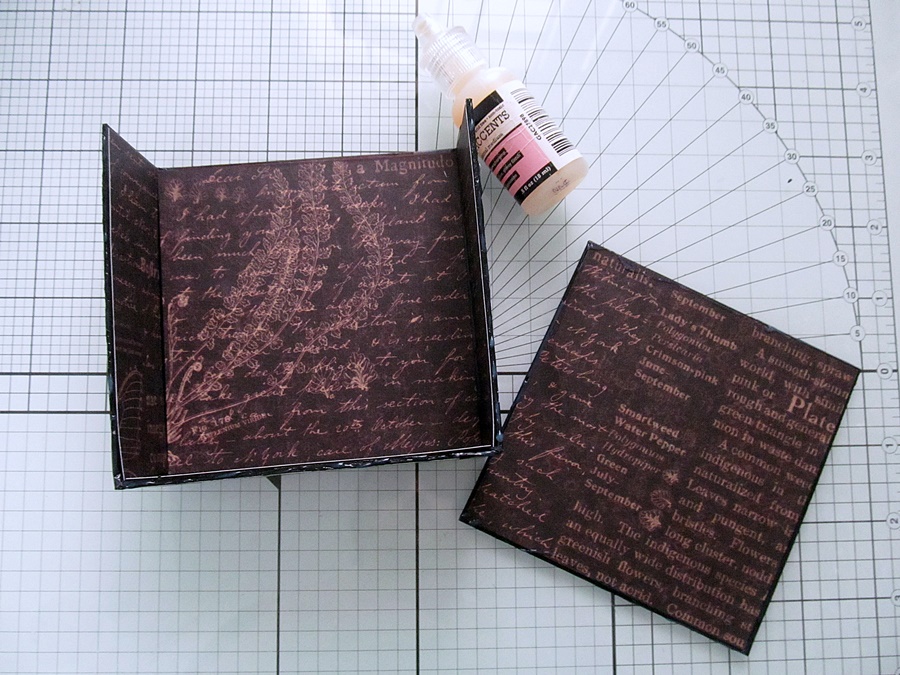
Before closing the box add pattern papers to the inside parts
To close the box use strong liquid adhesives (i prefer glossy accents) on the edges and cover it with another piece of 4 by 4 chipboard. Allow it to dry for some time
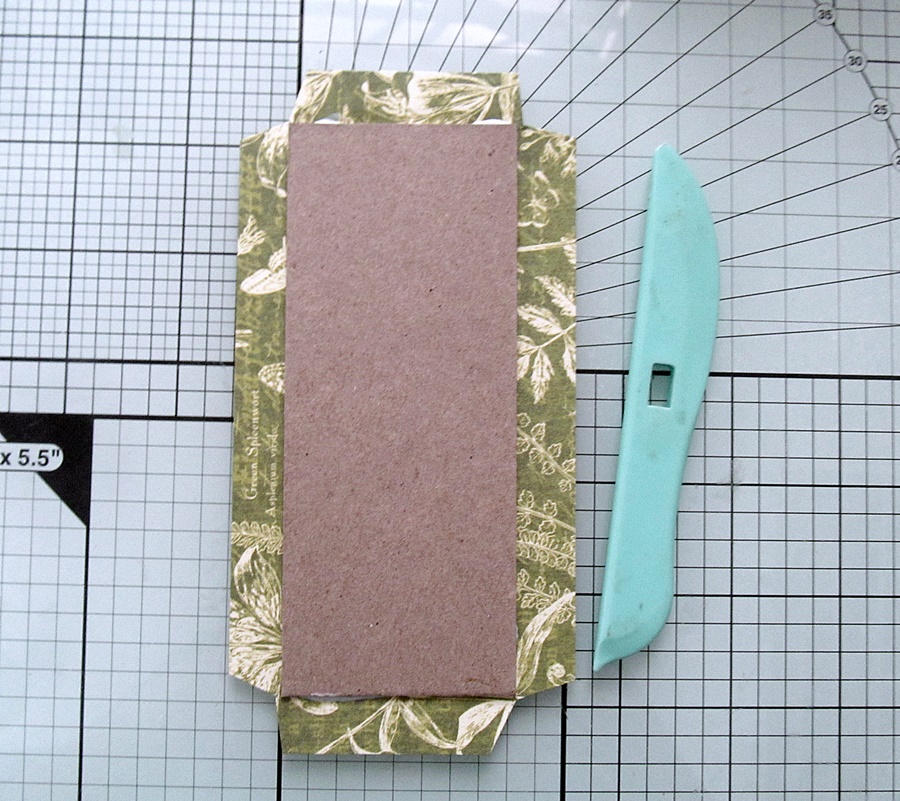
To make the lid take a chipboard measuring 2 by 5 inches and a pc of pattern paper measuring 3 by 6 inches. Stick the chipboard to the pattern paper, cut all the corners as shown and stick them
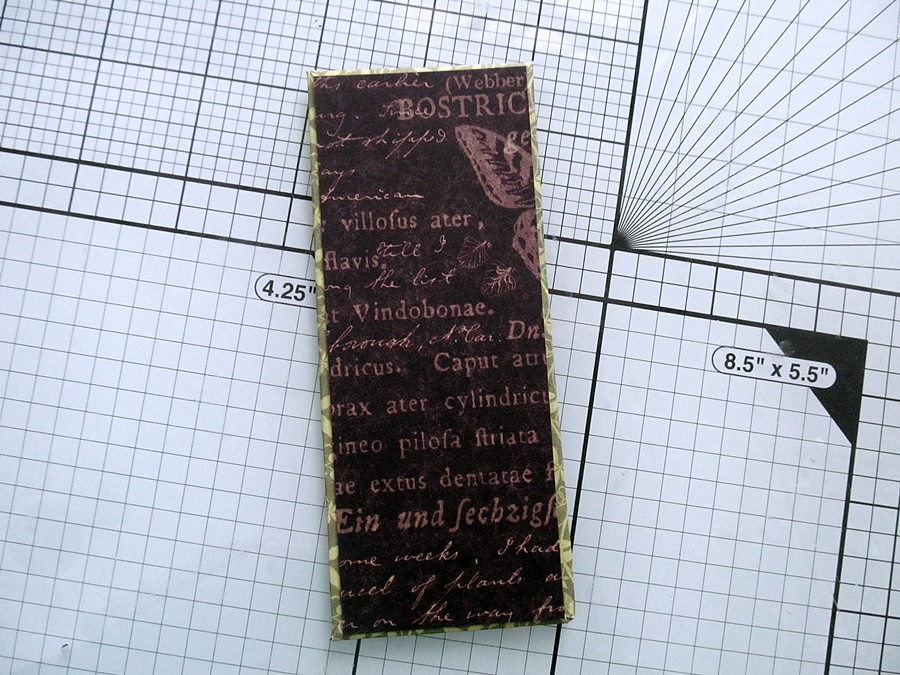
Cover the other side of the chipboard with pattern paper measuring 2 by 5 inches. Now this is going to be the lid as well as the spine of the album
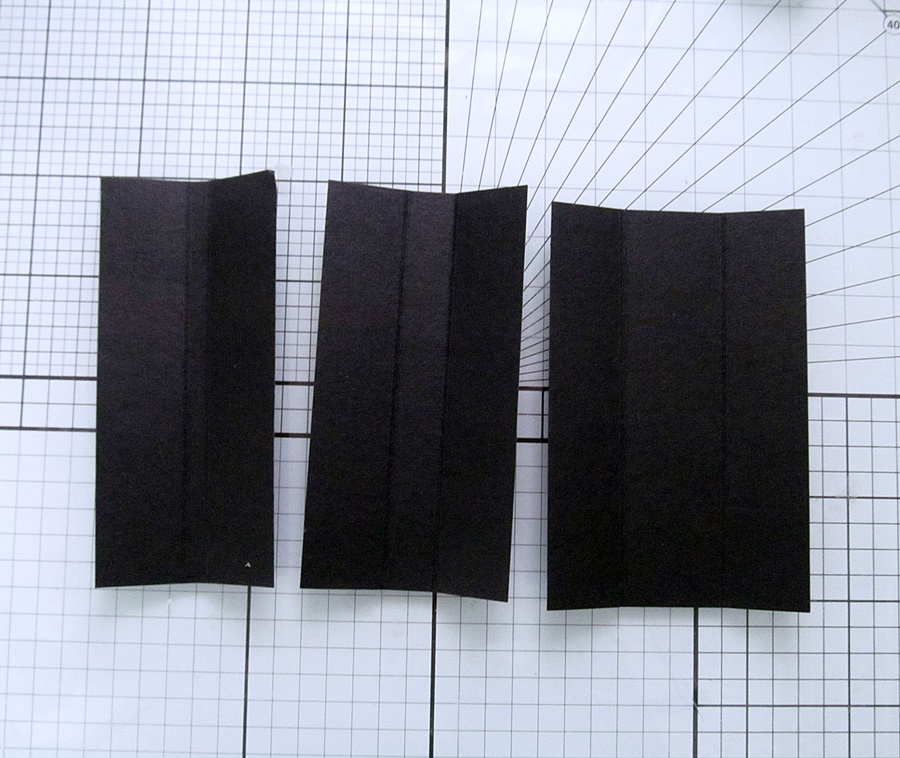
To make the album hinges take 3 pcs of cardstock measuring :
1 ¾ by 3 ¾
2 ¼ by 3 ¾
2 ¾ by 3 ¾ inches
Score them at ¾ inches from both the sides, apply glue to the centre part and attach all of them together
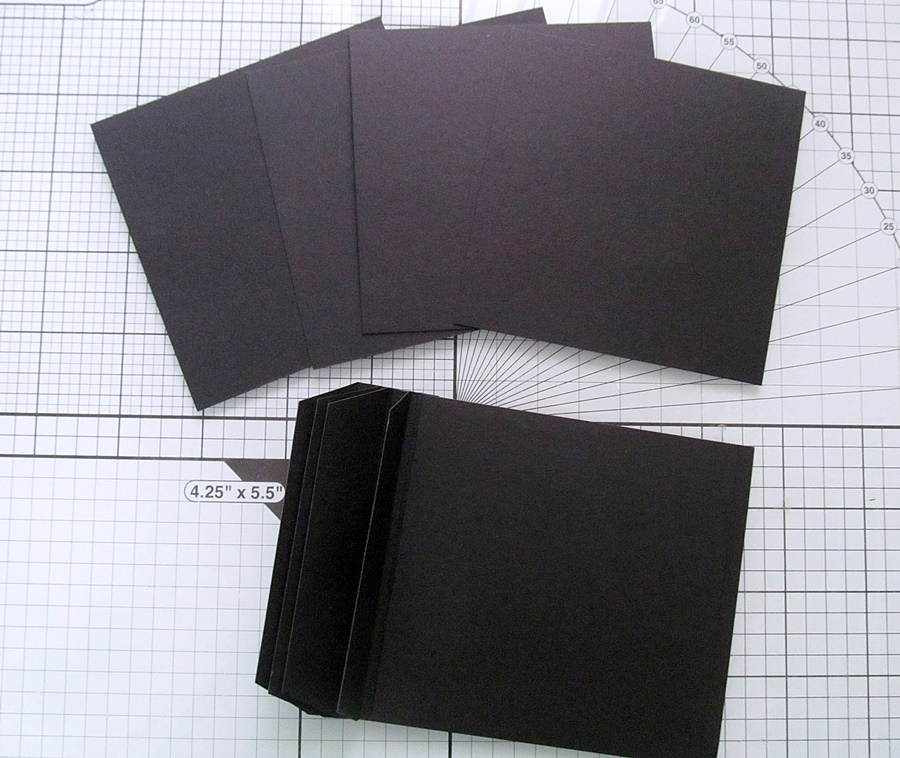
Cute 6 pcs of cardstock measuring 3 ¾ by 3 ¾ inches for album pages and add them to the hinge using liquid glue or double sided tape
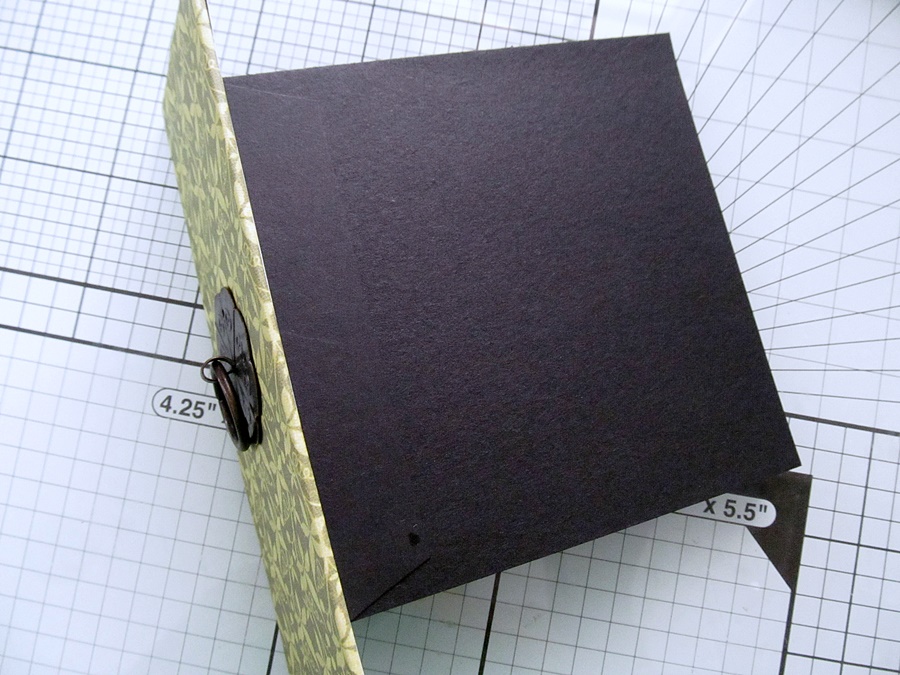
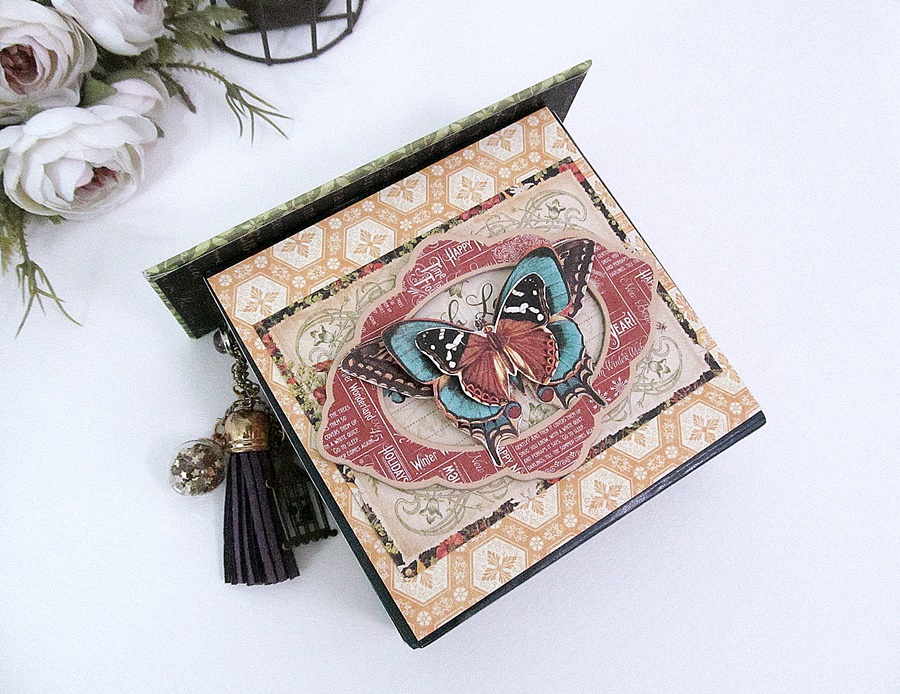
Before attaching the album to the spine add a metal handle to pull the album out. Now decore the album with pattern papers
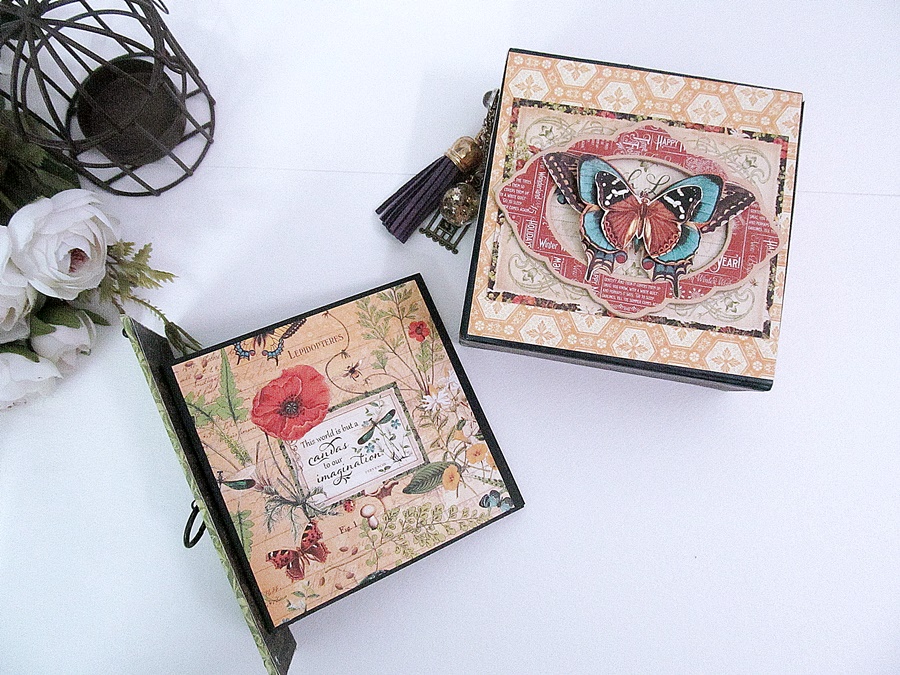
Doctorate all sides of the box with pattern papers. For the front i added chipboard pieces and three layered butterflies.
This album is perfect for 3 by 3 photos, since the album is too small and the pattern papers are so pretty I don’t feel like adding any embellishments, you can decorate as you wish but remember not to make it too bulky.
You can add some tassels and charms on the side to make it even prettier
I hope you find this tutorial helpful, let me know your views
Happy crafting!”
~Kavi
Graphic 45 Supplies List:
Nature Notebook – Deluxe Collector’s Edition
Happy Papercrafting!
Want even more Graphic 45? Sign up for our newsletter here!