With flowers blooming and Easter just around the corner now is the time to pull out your pastel papers and have some fun! Today on the Graphic 45 blog, Carla La Vera shares a #SimplyG45 Easter Album Tutorial using our Woodland Friends paper collection. We love how quick this album comes together and it really packs a punch. So what are you waiting for? Let’s get crafty!
“Hello everyone!!
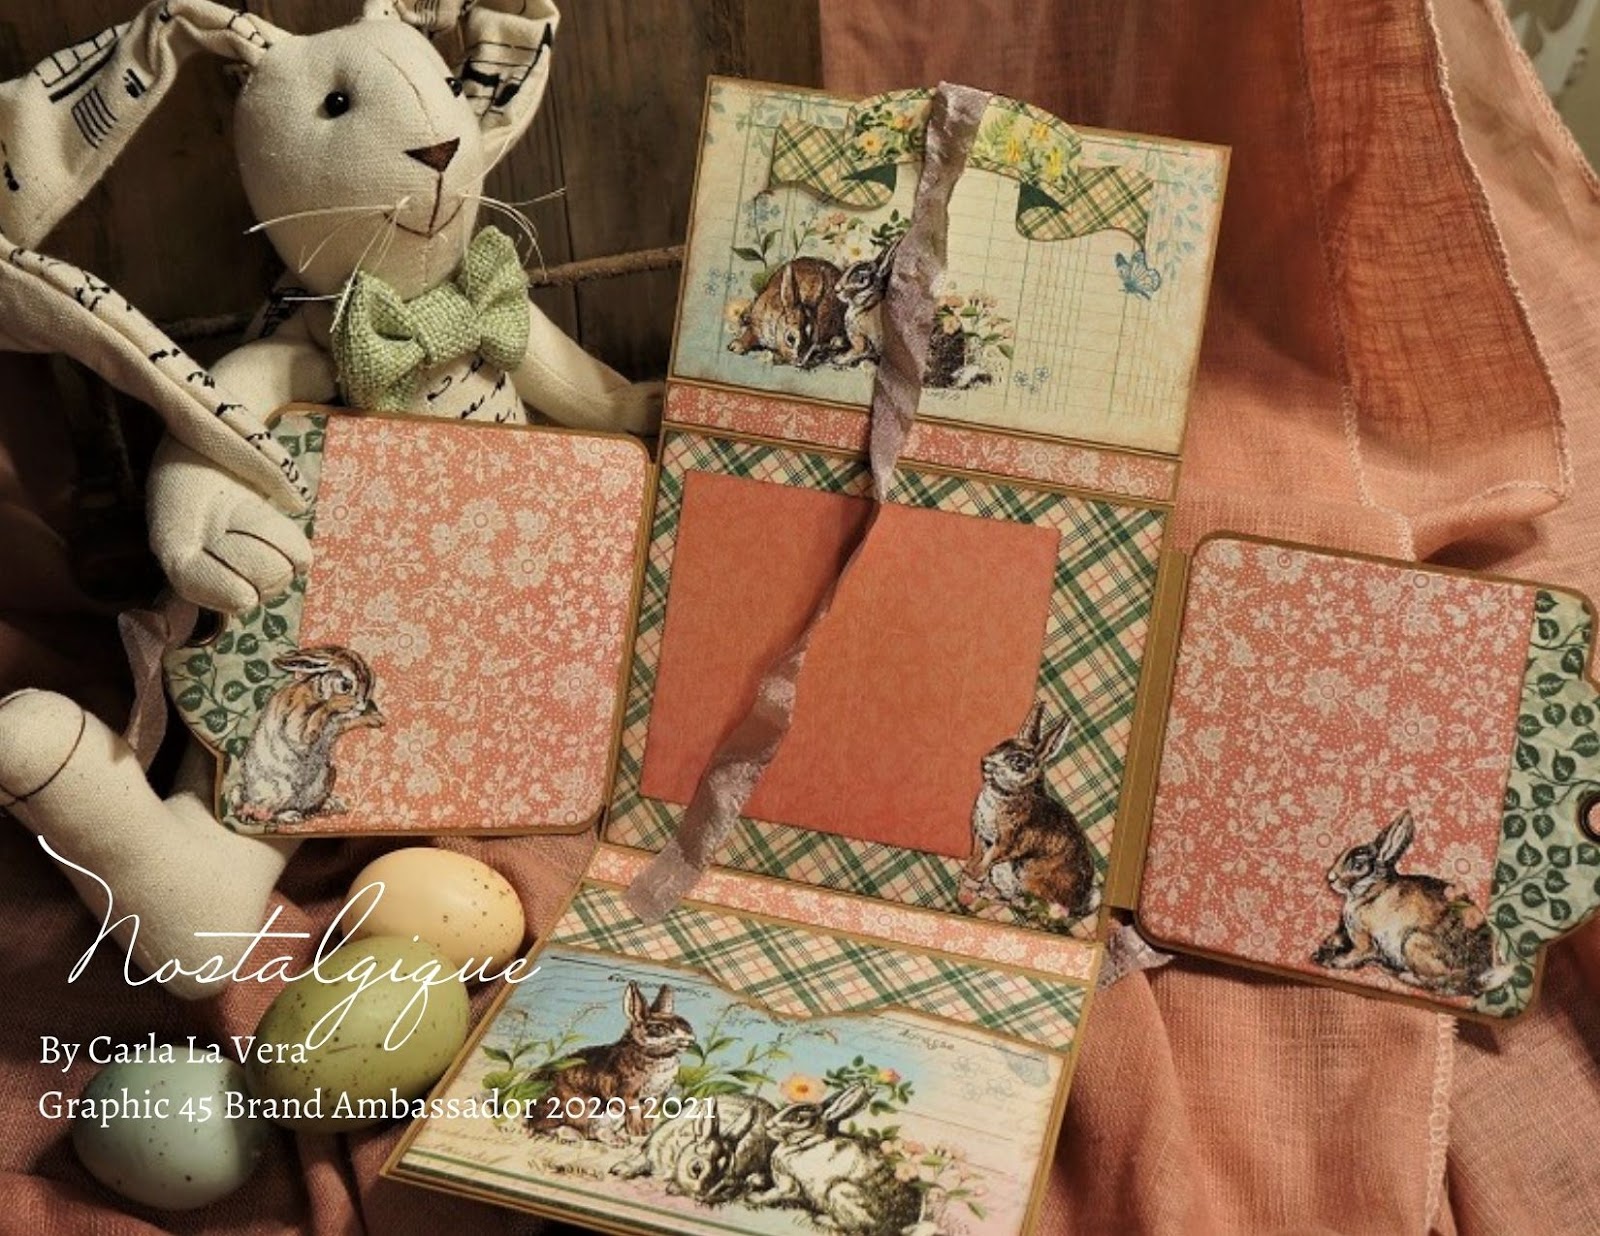
When I saw these beautiful papers, the first project that I thought to do with them was a Little Easter Album, and this is the project that I want to share with you today.
This is an easy project but with some delicate details that make it a nice gift.
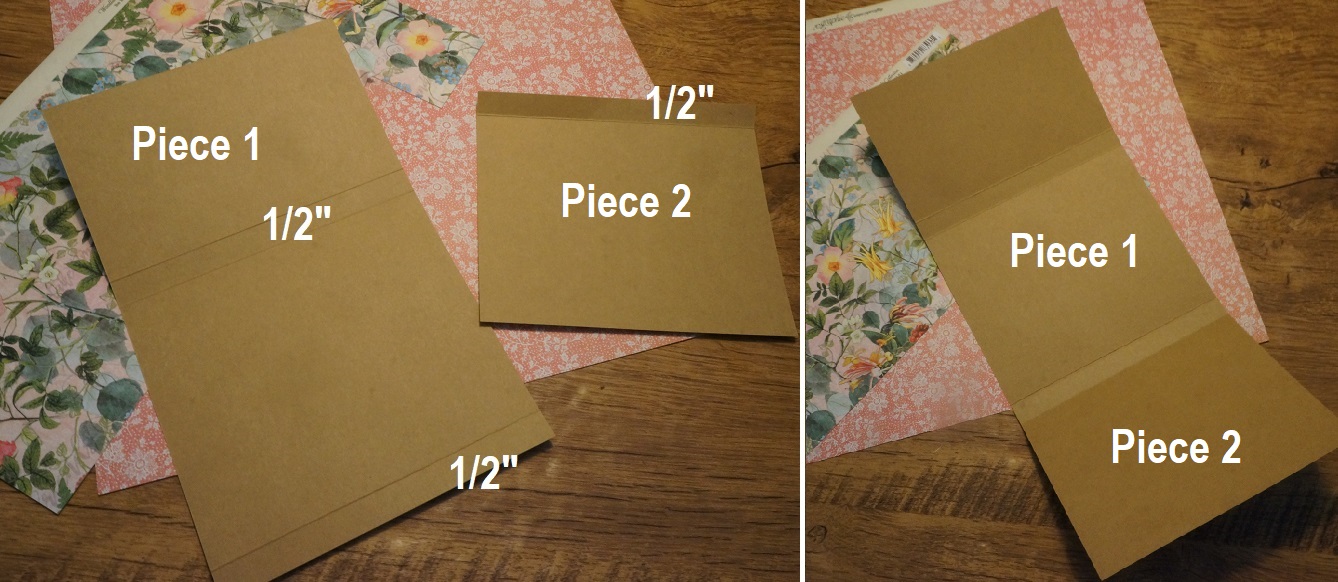
Piece 1: Kraft Cardstock – 5 ¾” x 9 ¼”
Piece 2: Kraft Cardstock – 5 ¾” x 5”
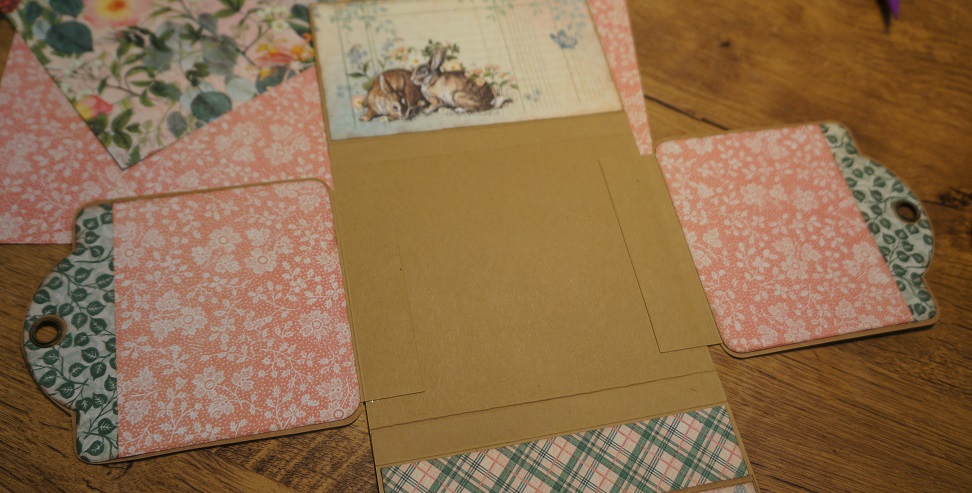
Take the Piece 1 and score a line at ½” from the bottom edge, then, score another line at 4 ¾” from the first score line, finally score the last line at ½” from the second score line.
Take the Piece 2 and score a line at ½” from the top edge, then, add the score section of the Piece 2 to the bottom score section of the Piece 1.
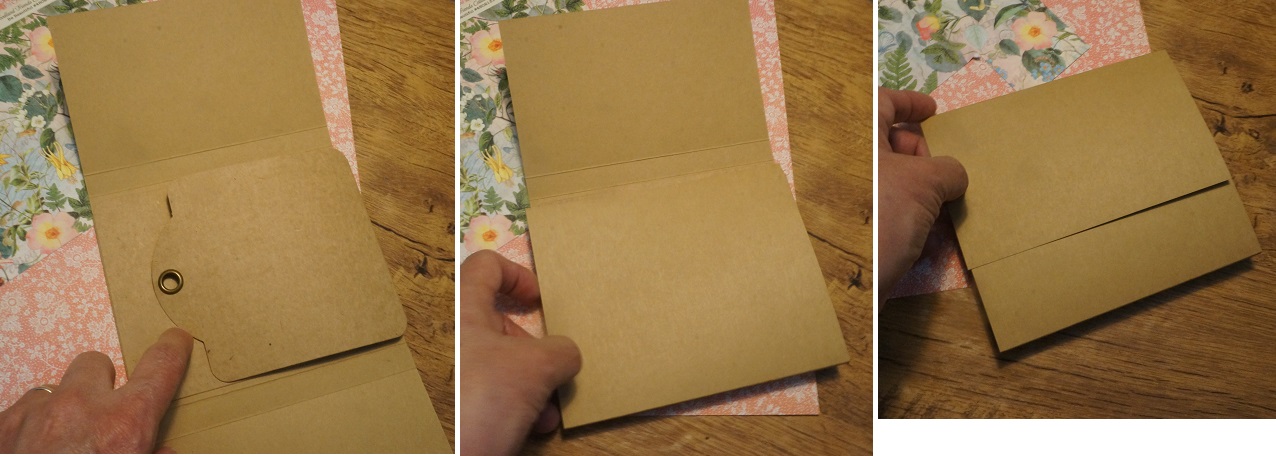
Trim a piece of kraft cardstock (3 ¾” x 1 ½”), fold it by, then, add the right side to the left edge of the middle section, then, add the left section to the bottom edge of the square tag, as shown in the picture above. Do the same to the right side.
Tip: Use tags as an extra place for photos, not only as a tag, also you may use them as an extra flaps.
We got a little album base, it is like an envelope.
Piece 3: 5 ½” x 4 ¼”, Piece 4:5 5/8” x 4 3/8” (brown cardstock), Piece 5:
5 ½” x 3 ¼”Piece 6:5 5/8” x 3 3/8” (brown cardstock)
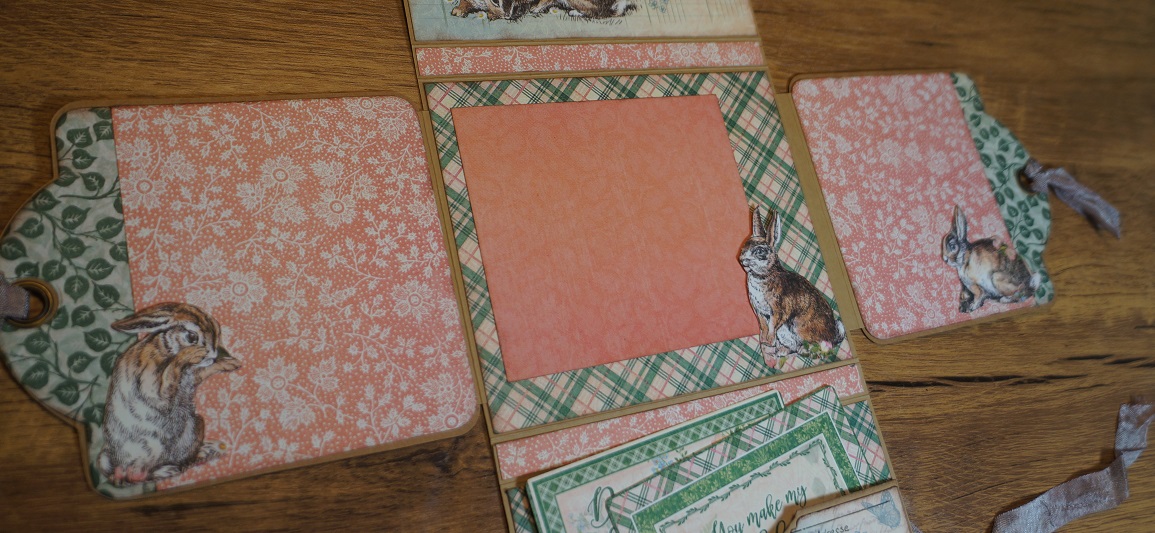
Add the Piece 3 to the Piece 4 and the Piece 5 to the Piece 6, then, add those mats to the front sections of the little envelope album.
Piece 7 and 8- Ephemera Cards ; Piece 9 5 5/8” x 3” ; Piece 10: 7” x 4”(kraft cardstock).
Open the envelope and make a pocket on the bottom section.
Take the Piece 10 and make a pocket (5 ¾” x 3 ¼”), then, trim the top edge with a border die (I used the Graphic 45 Folder Die), then, trim the Ephemera card (Piece 8) to fit on the pocket surface.
Add the Piece 9 to the top edge, then, add the pocket as shown in the picture above.
Trim de card (piece 7) – 5 5/8” x 3 3/8” and add it to the top section of the envelope.
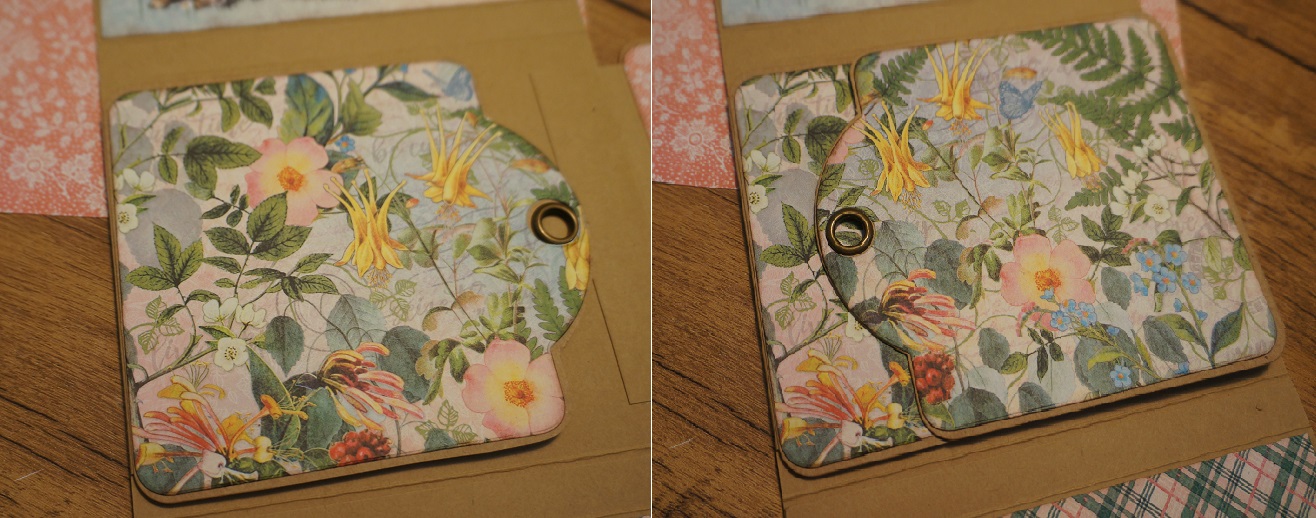
Trim the Pieces shown in the picture above with a graphic 45 square die.
Add the Pieces to the tags as shown in the pictures above and below.
Piece 11: 5 ⅝” x 4 ⅝”
Piece 12 and 13: 5 ⅝” x ⅜”
Add the Piece 11 to the center page of the album.
Add the Pieces 12 and 13 to the top and bottom spines.
Add some fussy cuts, photo mat and insert ephemera cards into the pocket.
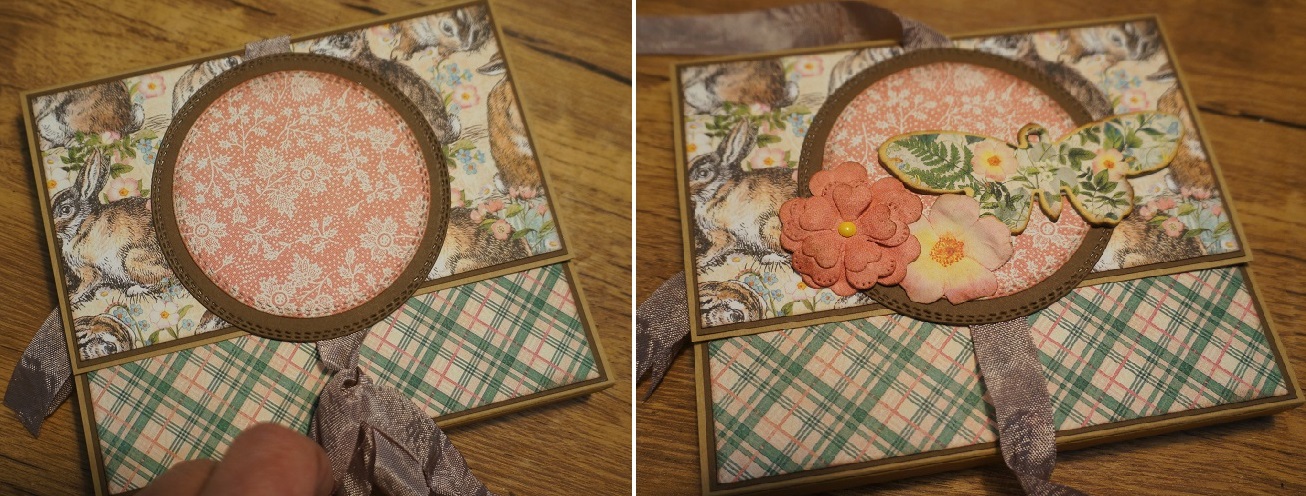
Piece 13: round diam = 3”
Piece 14: round diam = 3 ¼” (brown cardstock)
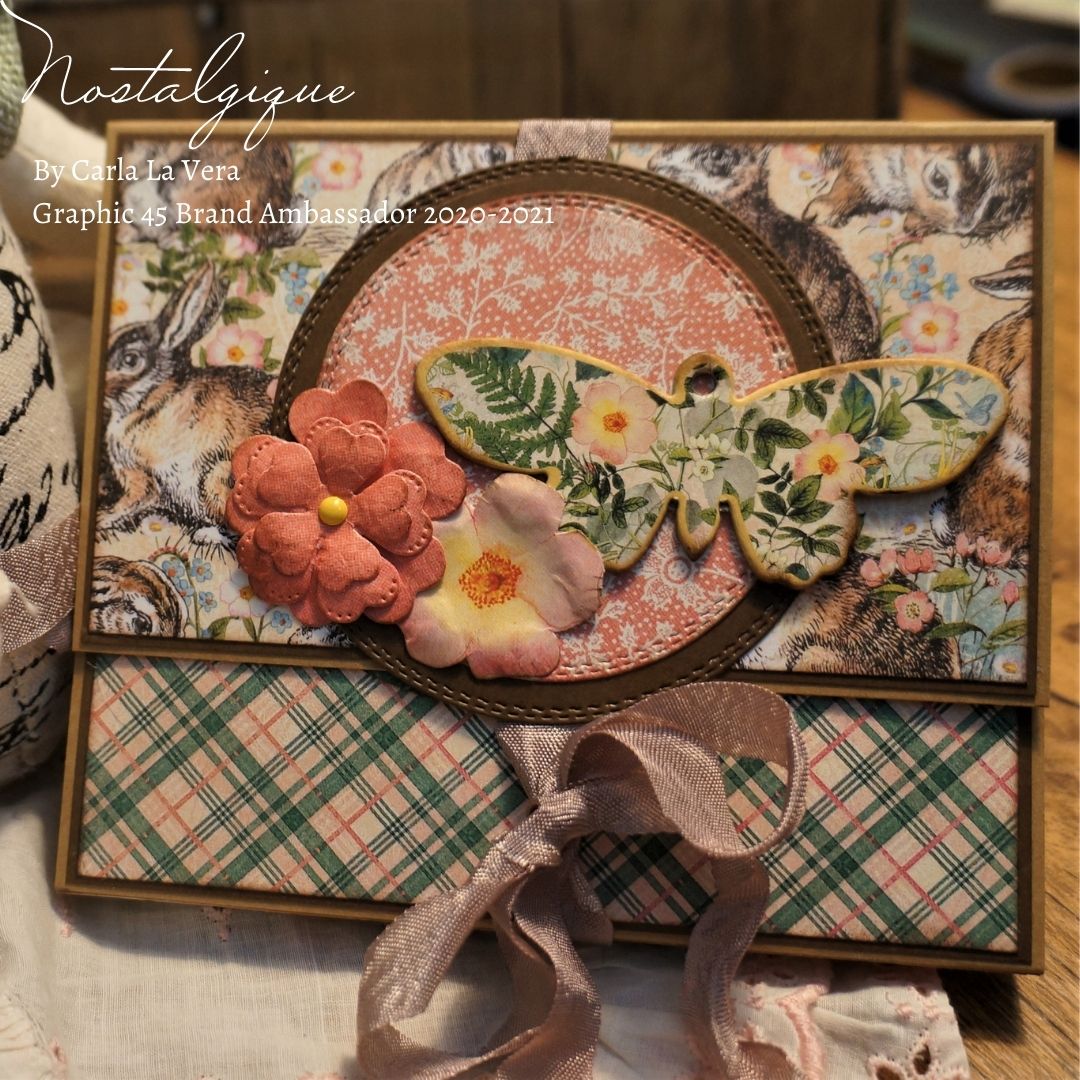
Take the ribbon and wrap around the album and make a bow as shown.
Add the Piece 13 to the Piece 14, then add these rounds to the top section, also, add the ribbon too. Add the flowers and the butterfly as shown.

Piece 15: 5 ⅝” x 4 ⅝”
Piece 16 and 17: 5 ⅝” x ⅜”
Flip over the album and add the Piece 15; 16 and 17.
Add the ribbon to the back section of the album with the small tag.
Woodland Friends 12×12 Paper Collection (3 papers)
Woodland Friends 12 x12 Patterns and Solids (1 paper)
Woodland Friends Chipboards (1 piece)
Woodland Friends Die Cut Assortments ( 2 pieces)
Ephemera Cards (2 big + 2 small)
Kraft Cardstock
Brown Cardstock
Ribbon
Looking for more inspiration? Check out our DIY Woodland Friends Album Video Tutorial.
Want even more Graphic 45? Sign up for our newsletter here!