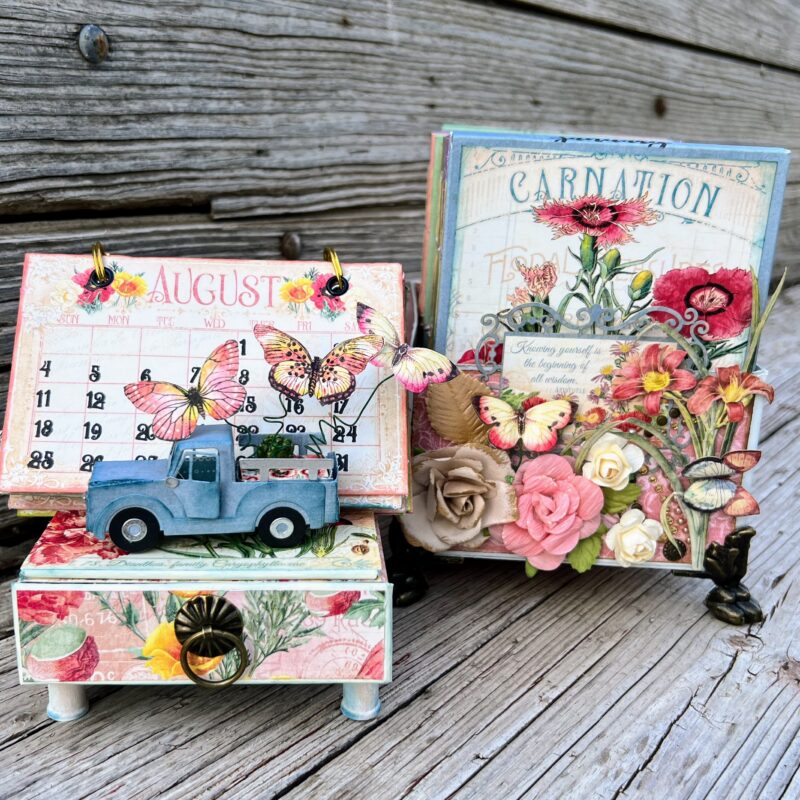
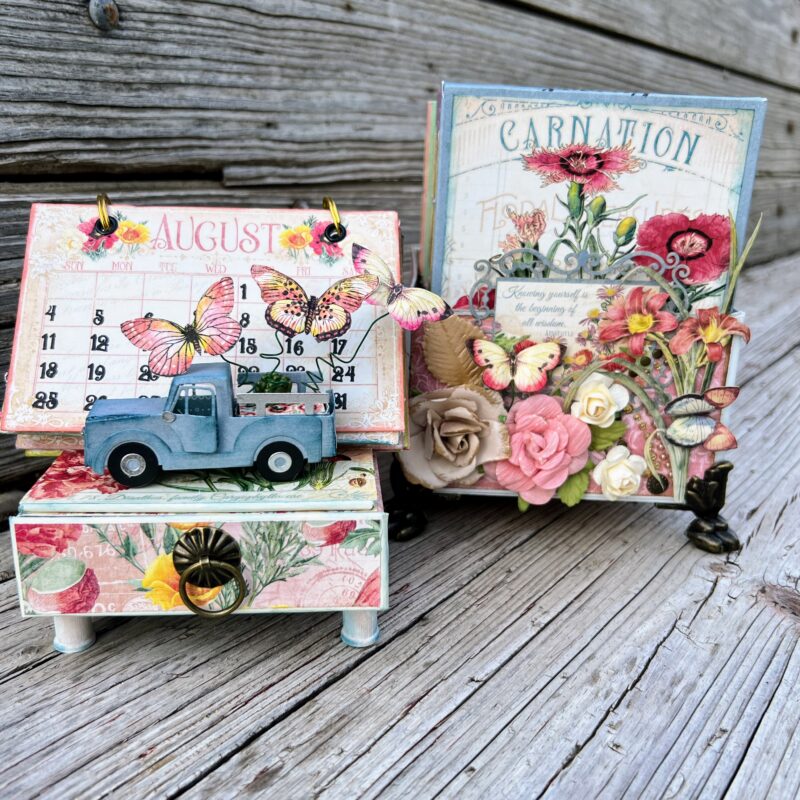
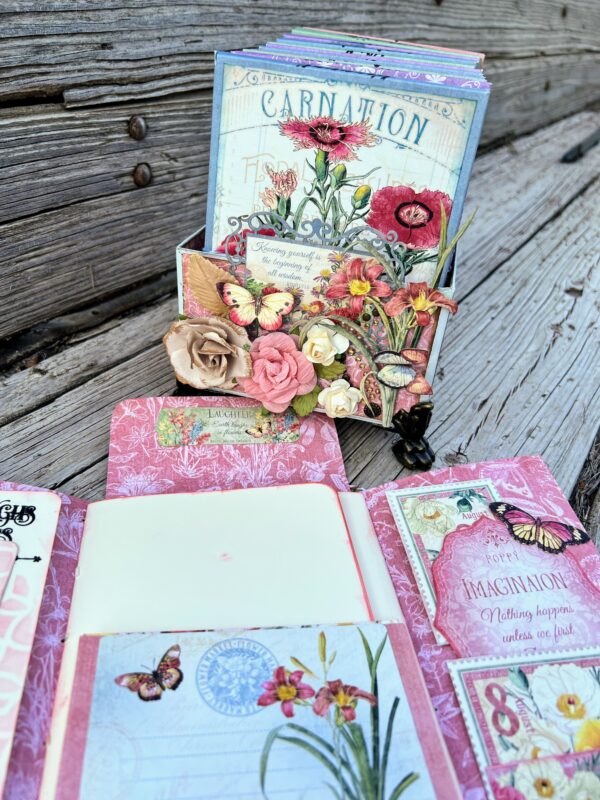
Blooms All Year Long! Join Graphic 45 Brand Ambassador, Gina Long as she unveils the Flower Market Monthly Folio Set in her latest video tutorial. But wait, there’s more! She’ll also showcase her creative genius with the leftover materials, crafting a beautiful Box to store the folios and an adorable Easel Calendar. Watch, learn, and let your creativity blossom with Gina!
Hello Pumpkin Kit Introduction – Vol 09 2023
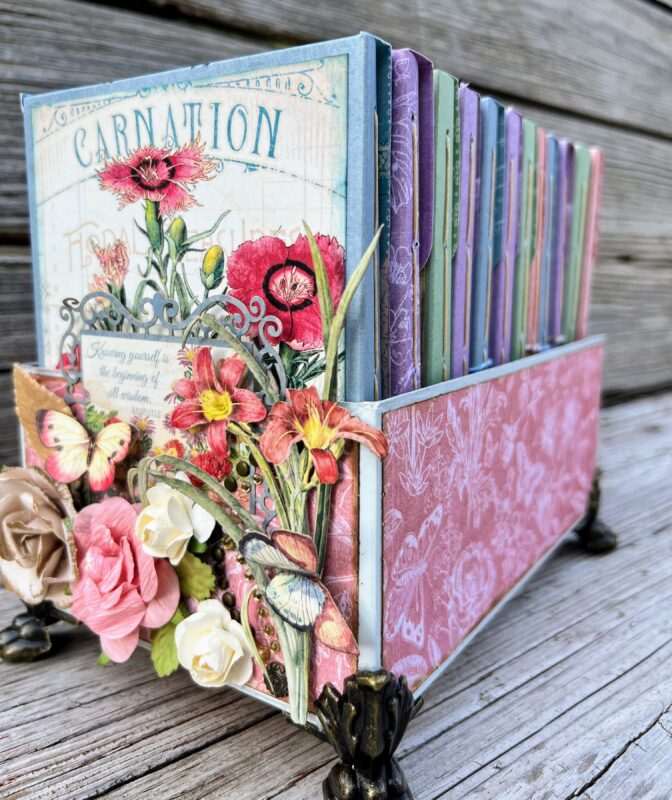
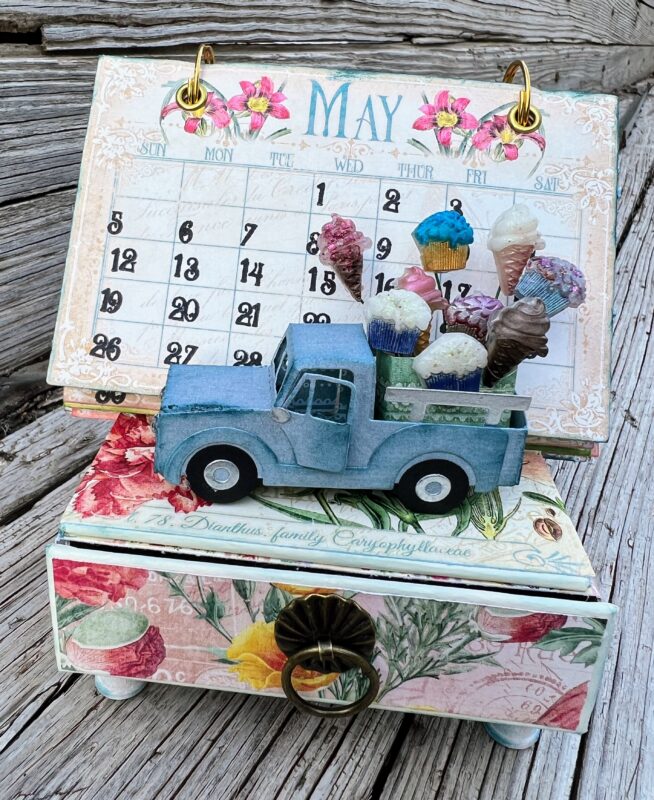
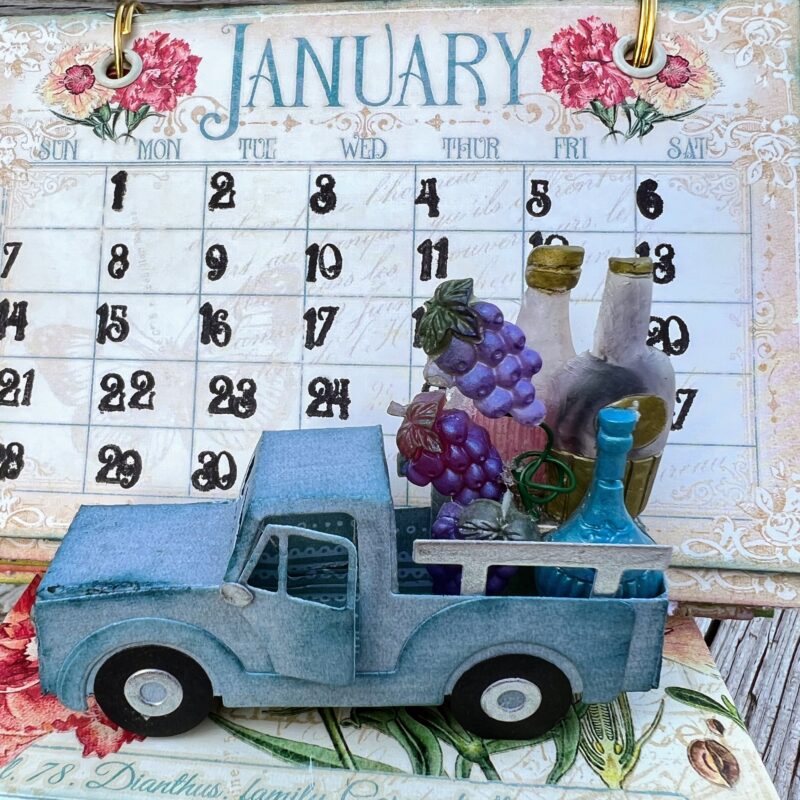
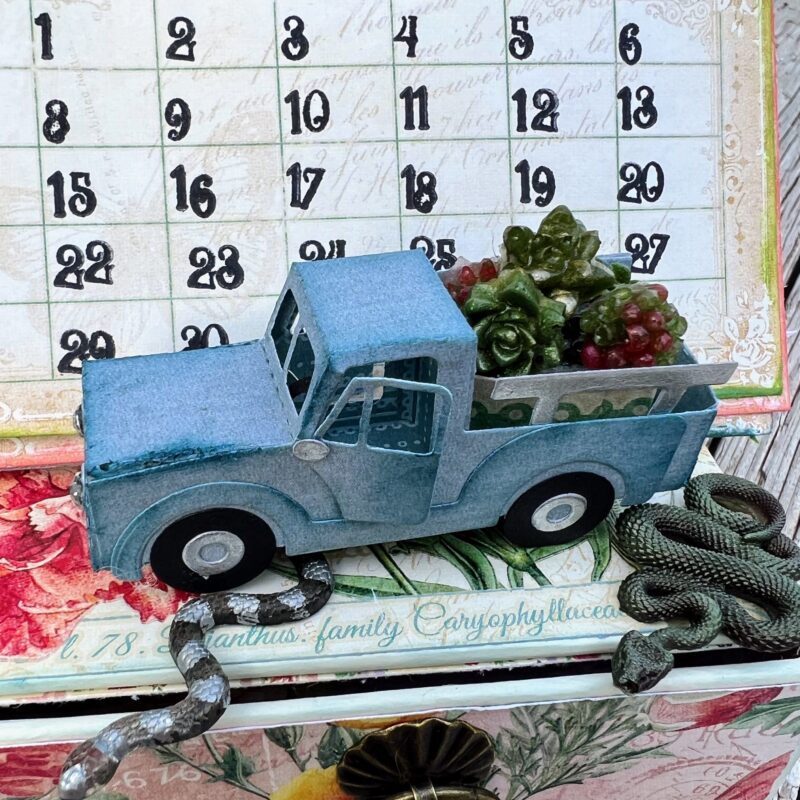
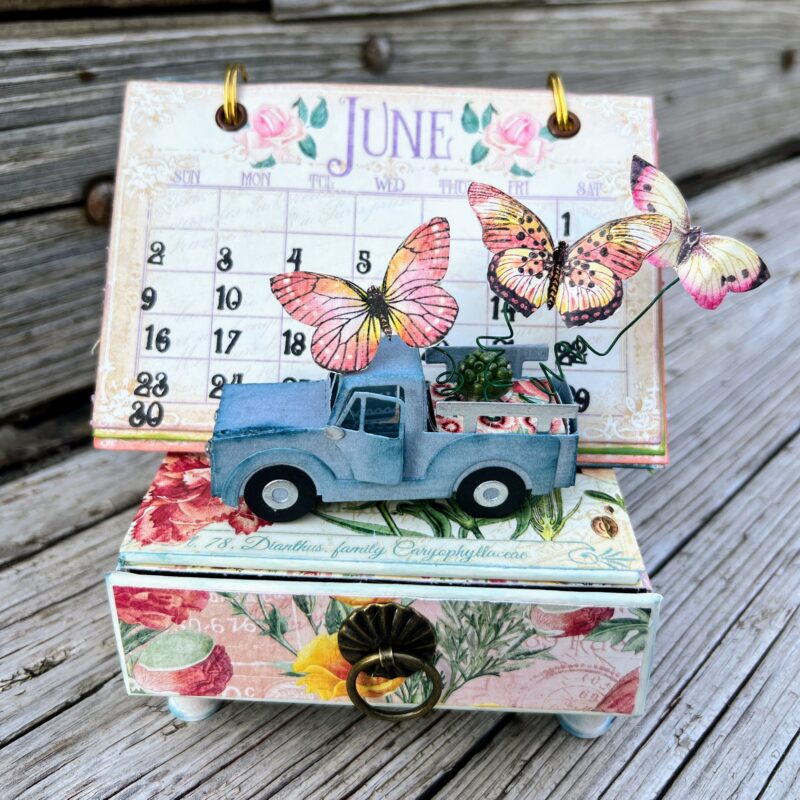
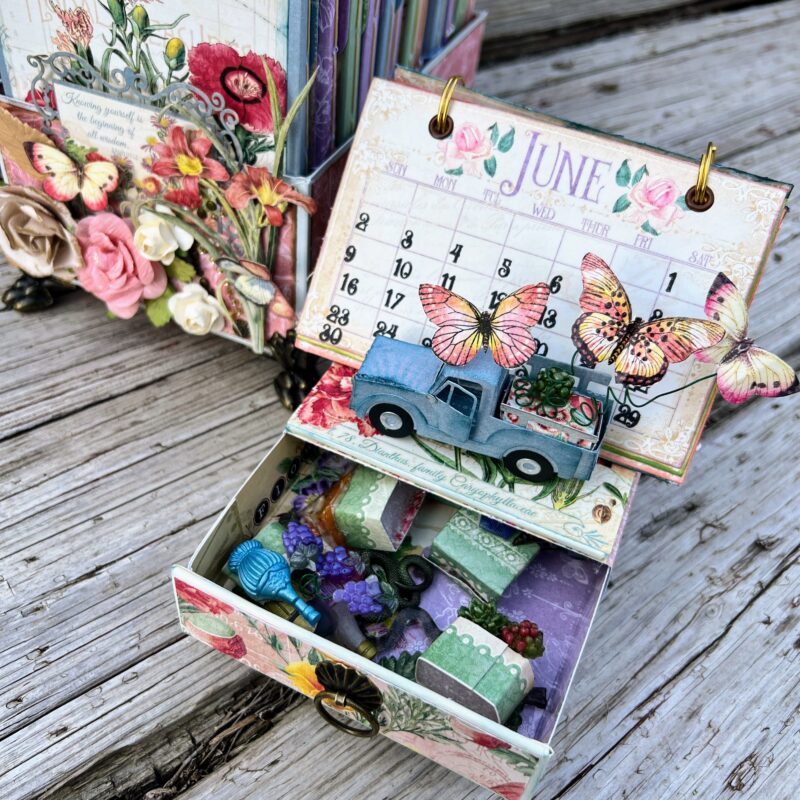
“Today I wanted to share how far an entire collection can go. I started by making a monthly folio set and holder and was surprised at how much paper I had left. Then I made a 2024 Calendar Style Easel Card with a Drawer and added a little pickup made from the papers with interchangeable decorations. I still have plenty of leftover paper for another project. I chose to showcase Flower Market Collection.
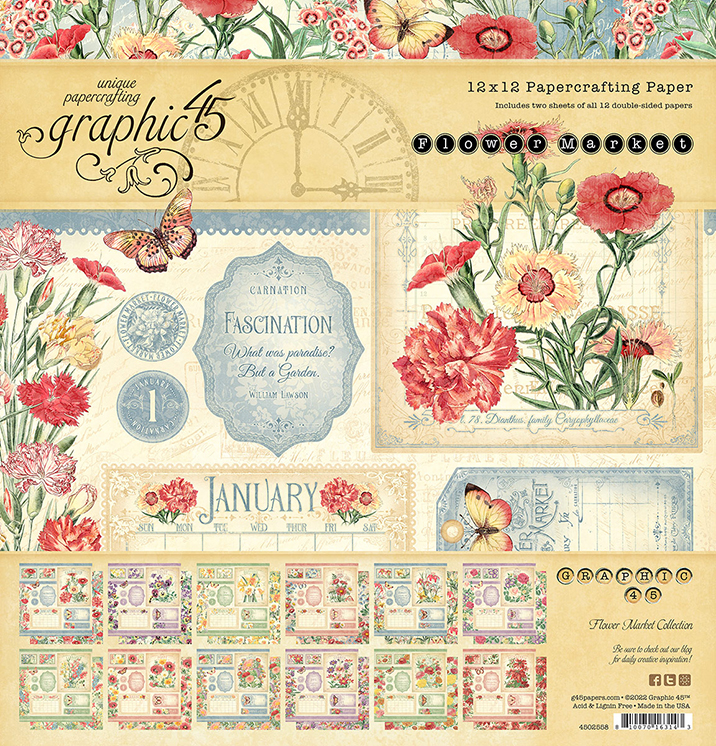
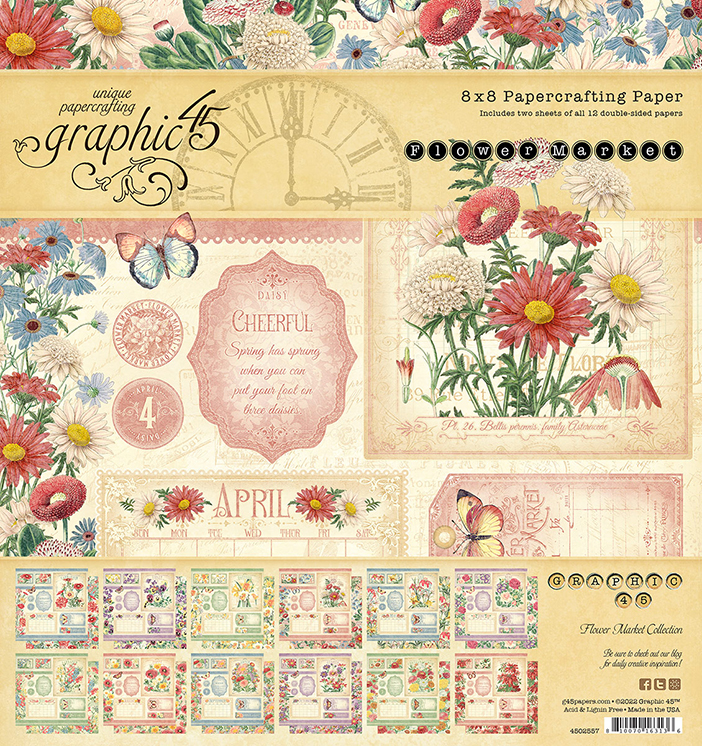
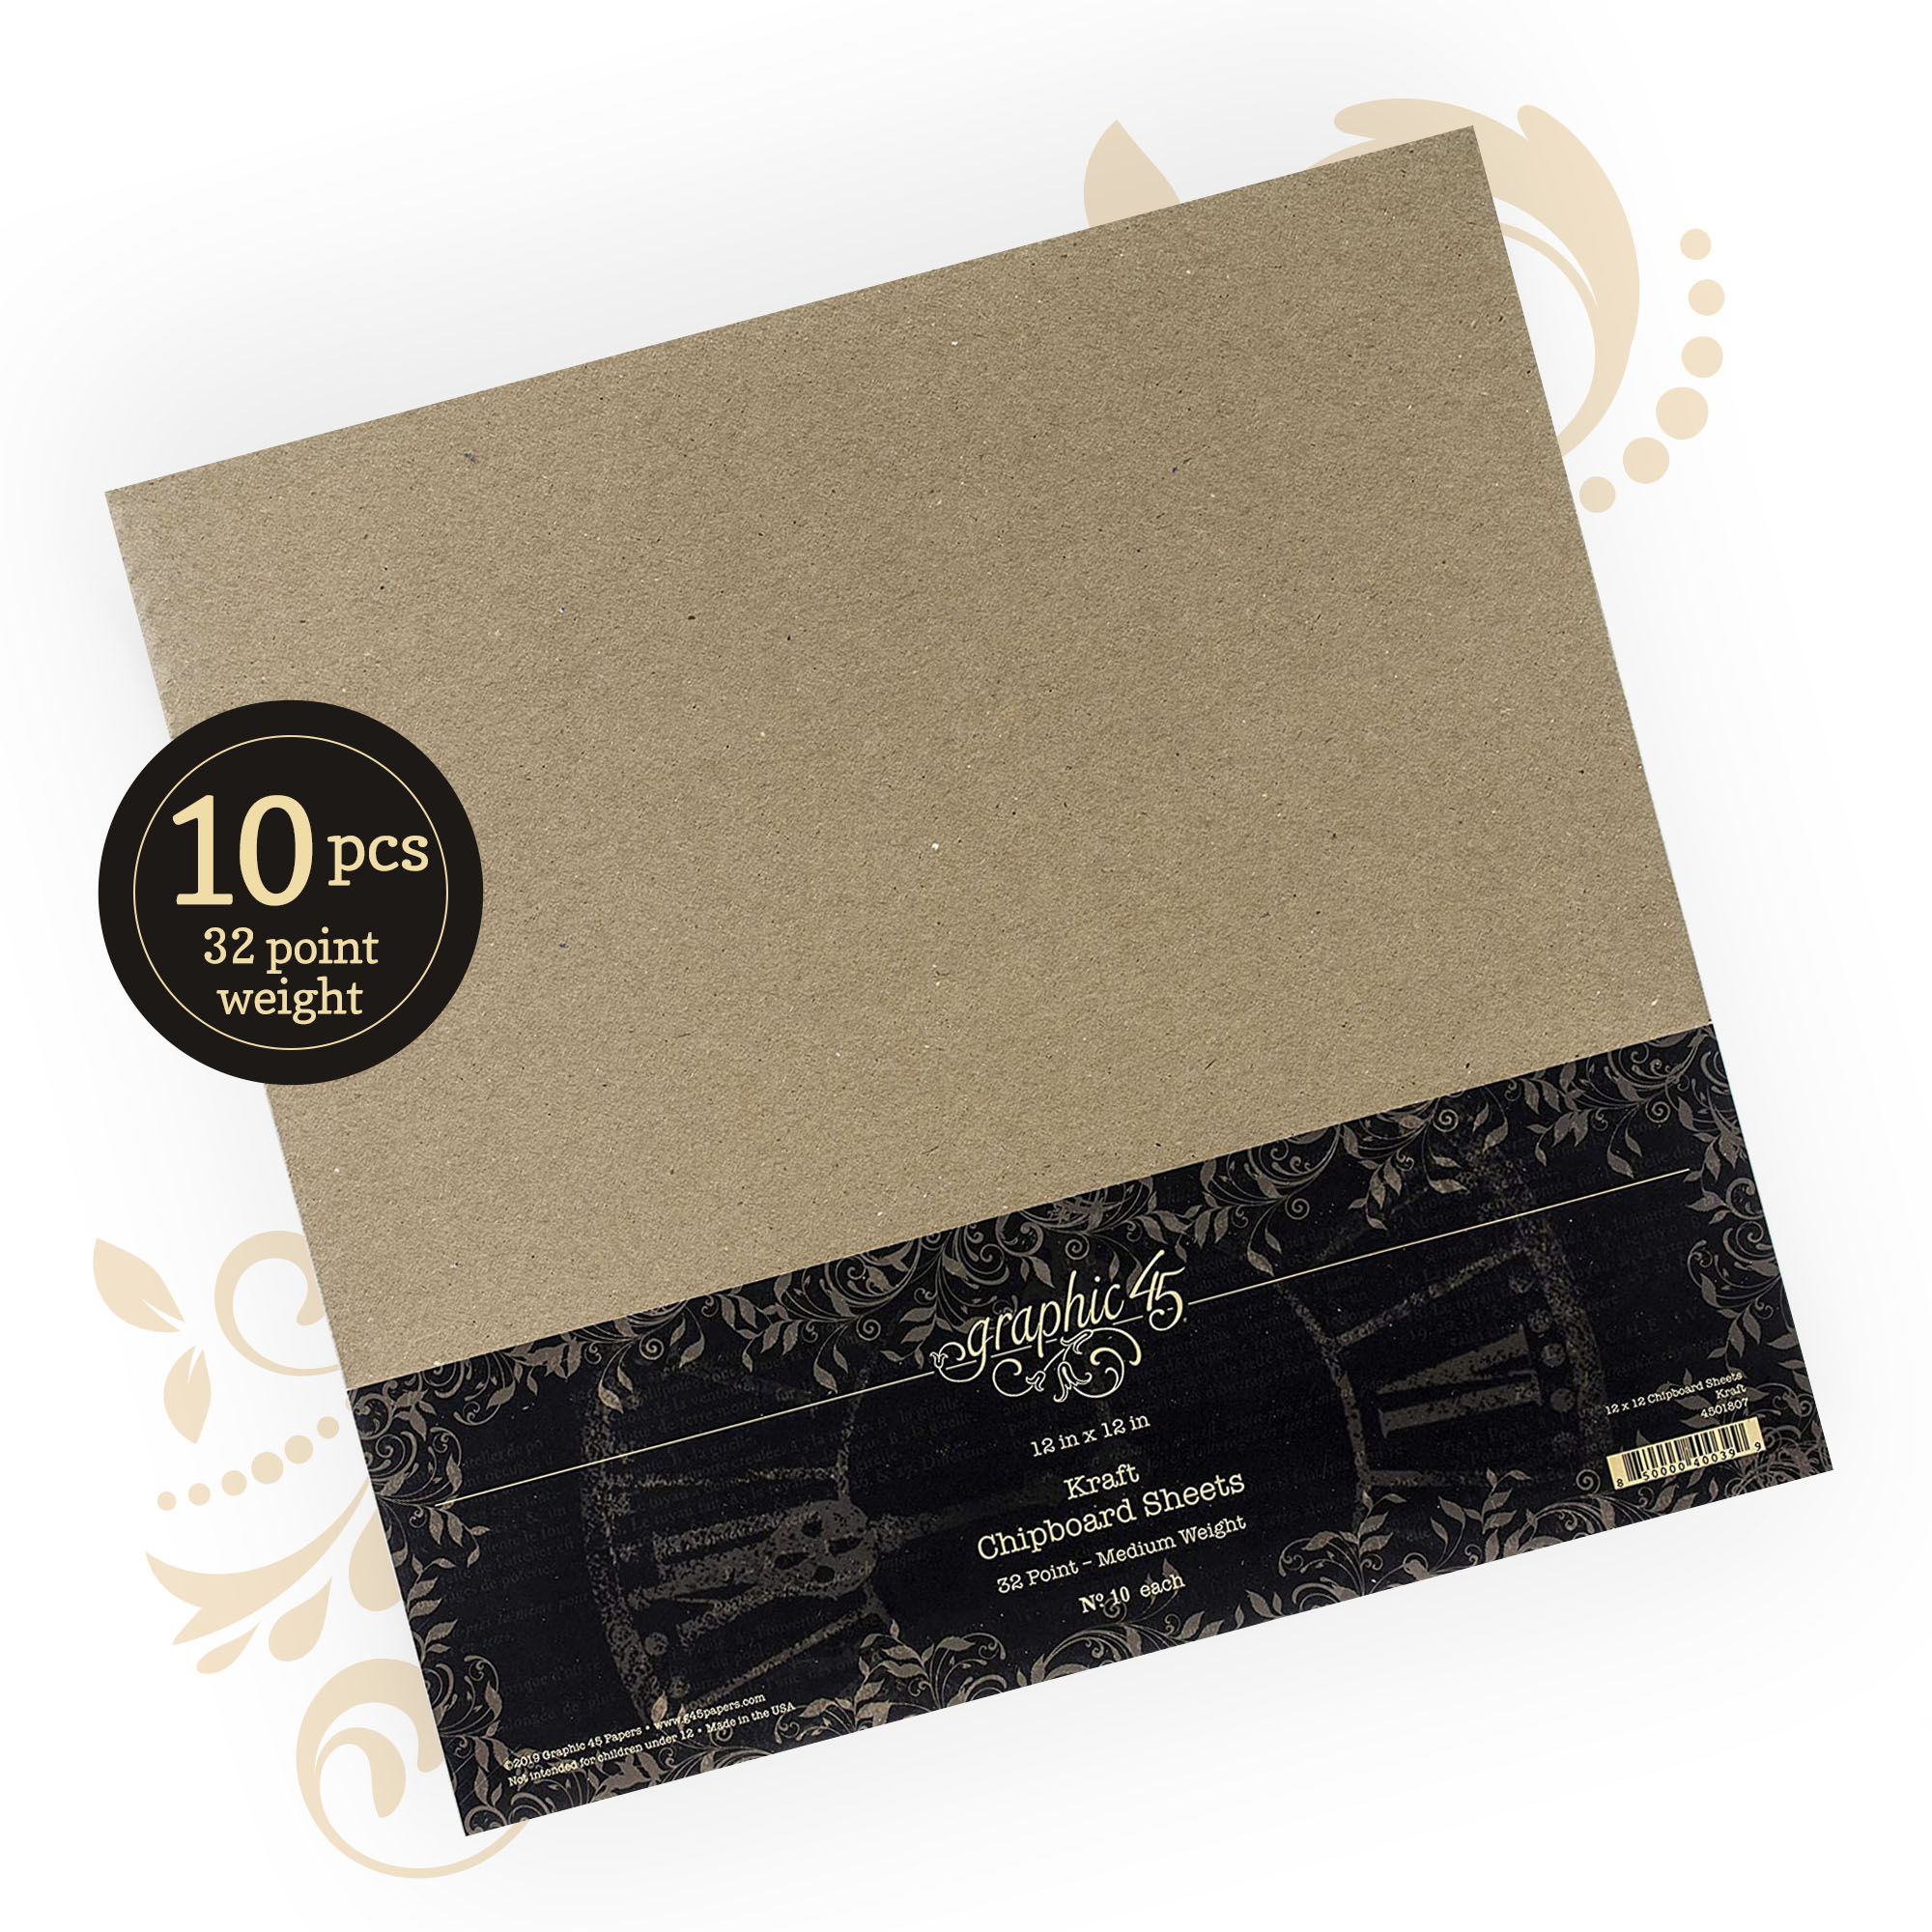
12 by 12 Flower Market Collection
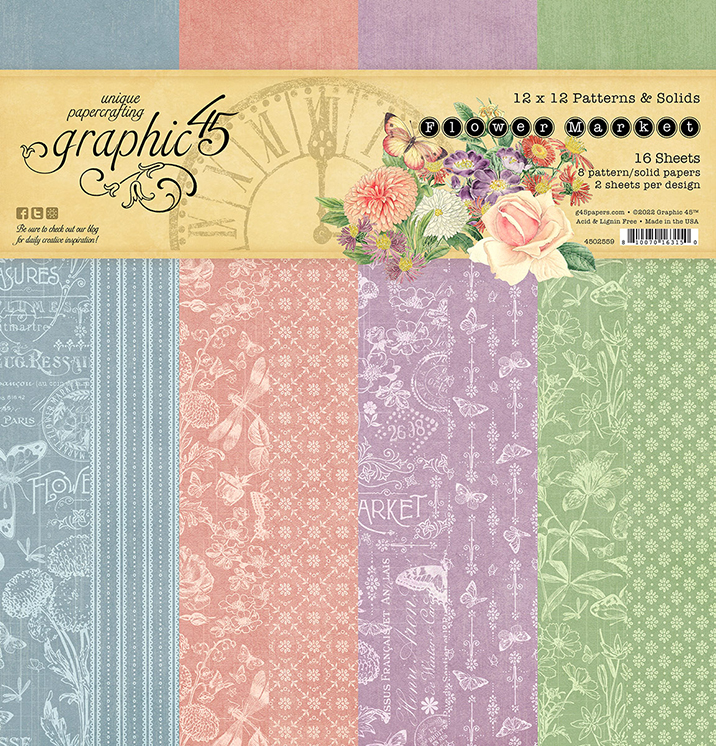
Flower Market Patterns & Solids
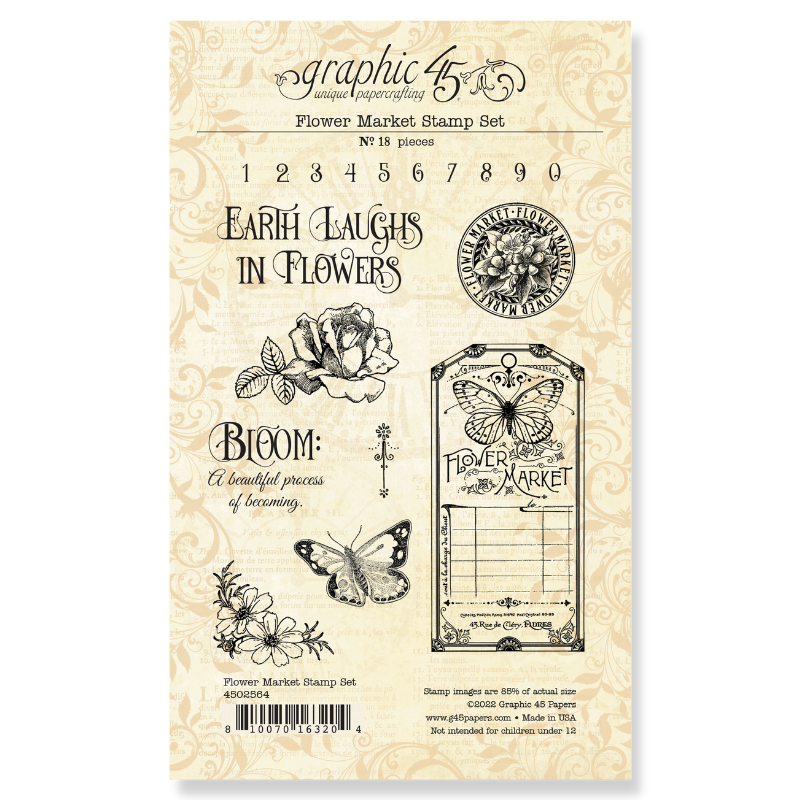
Flower Market 4 by 6 Stamp set
Flower Market Journaling Cards
Flower Market Ephemera Assortment
To Make the Folios
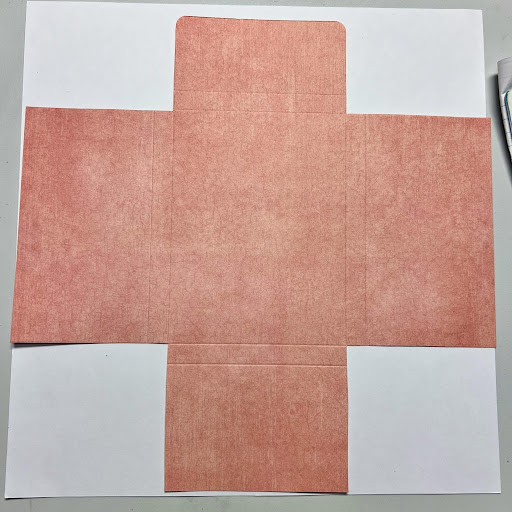
-One sheet of 12” by 12” Patterns & Solids and score at 8 ¾” – 8 1/4 “- 3 ¾” – 3 ¼”.
Rotate the paper to the left once and score at 9” – 8 ½” – 2 ½” – 2”
cut away all four corners and round top flap corners
For pages- four pieces of cardstock 5 ¾” by 8 ¾”, round corners, fold in half, and ink.
Hole Guides are
one 5 ¾” by 1” scored in half piece of cardstock
one 5 ¾” by ¼” piece of cardstock
mark holes at ½” – 1 ⅝” – 2 ¾” – 4 ⅛” – 5 ½”
Take the ¼” wide hole guide and line it up along the score line on the folio base and mark where holes need to be, then poke holes.
Take your 1” wide hole guide and your 4 cardstock pages and poke holes in center
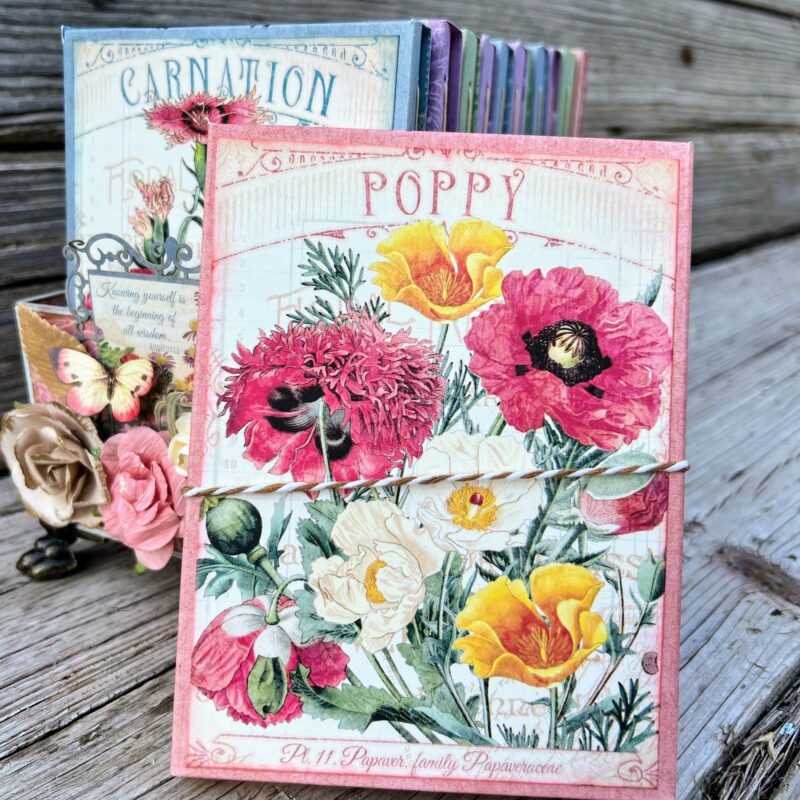
To add the month to the top of my folios I used Graphic 45 Calendar Stamps
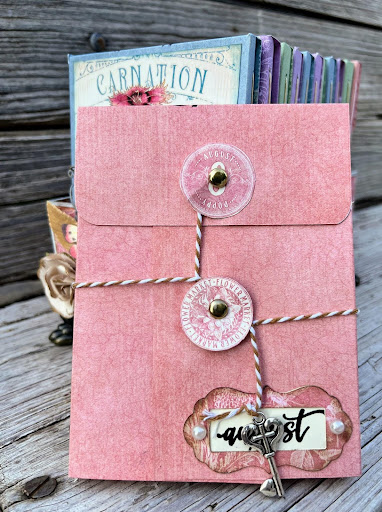
Next, cut the large photo out and trim down to 4 ¼” by 5 ¾” and ink edges and glue to front of folio
Punch hole in top flap at 1” in and 2 ¼’ from side and punch hole in right flap 1” in and 2 ¼” from bottom, then add your circles, string, and brads to make closure.
Next, I added my pages. I used a tapestry needle and about 16” wax linen for each side.
Take two of your cardstock pages
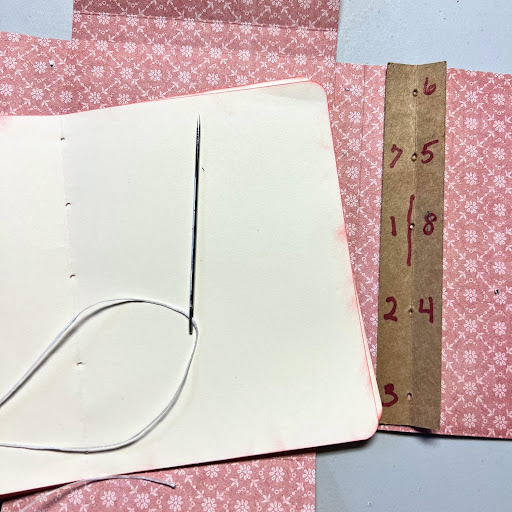
Go in the middle hole (hole #1) on your pages and folio base, holding tail and go back in hole #2, out hole #3, back in hole #4, being careful not to pierce your string and keeping string pulled tight, back out hole #5, back in hole #6, back out hole #7, back in hole #8 on the opposite side of the middle string and tail, tie in knots. Do the same for the other 2 pages.
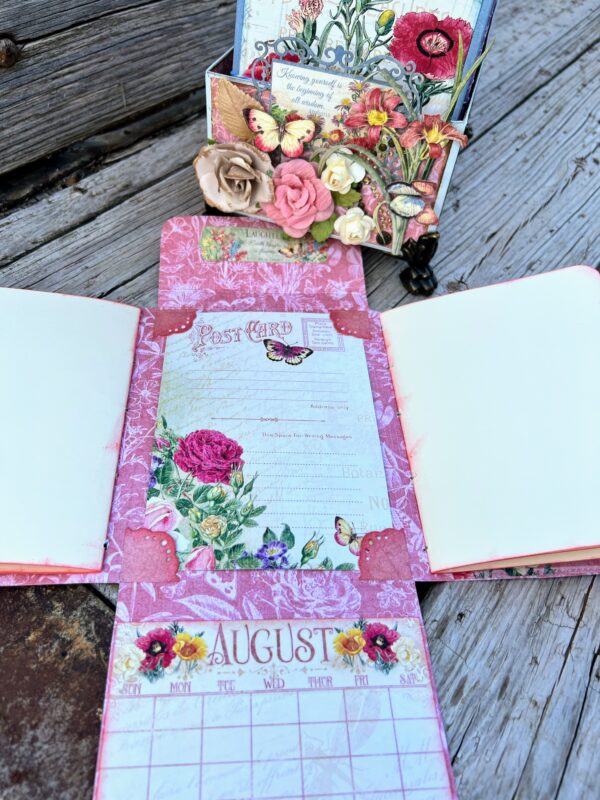
Cut the calendar out and trim to fit the bottom flap, ink and glue to the inside bottom flap.
Fold bottom flap up and add a small journaling card and a few ephemera pieces.
For side pockets, cut the flower strip out at 1 ½” by 7” and score on 7” side at ½” – 6 ½”; apply glue to hinges and back edge and glue to the left flap.
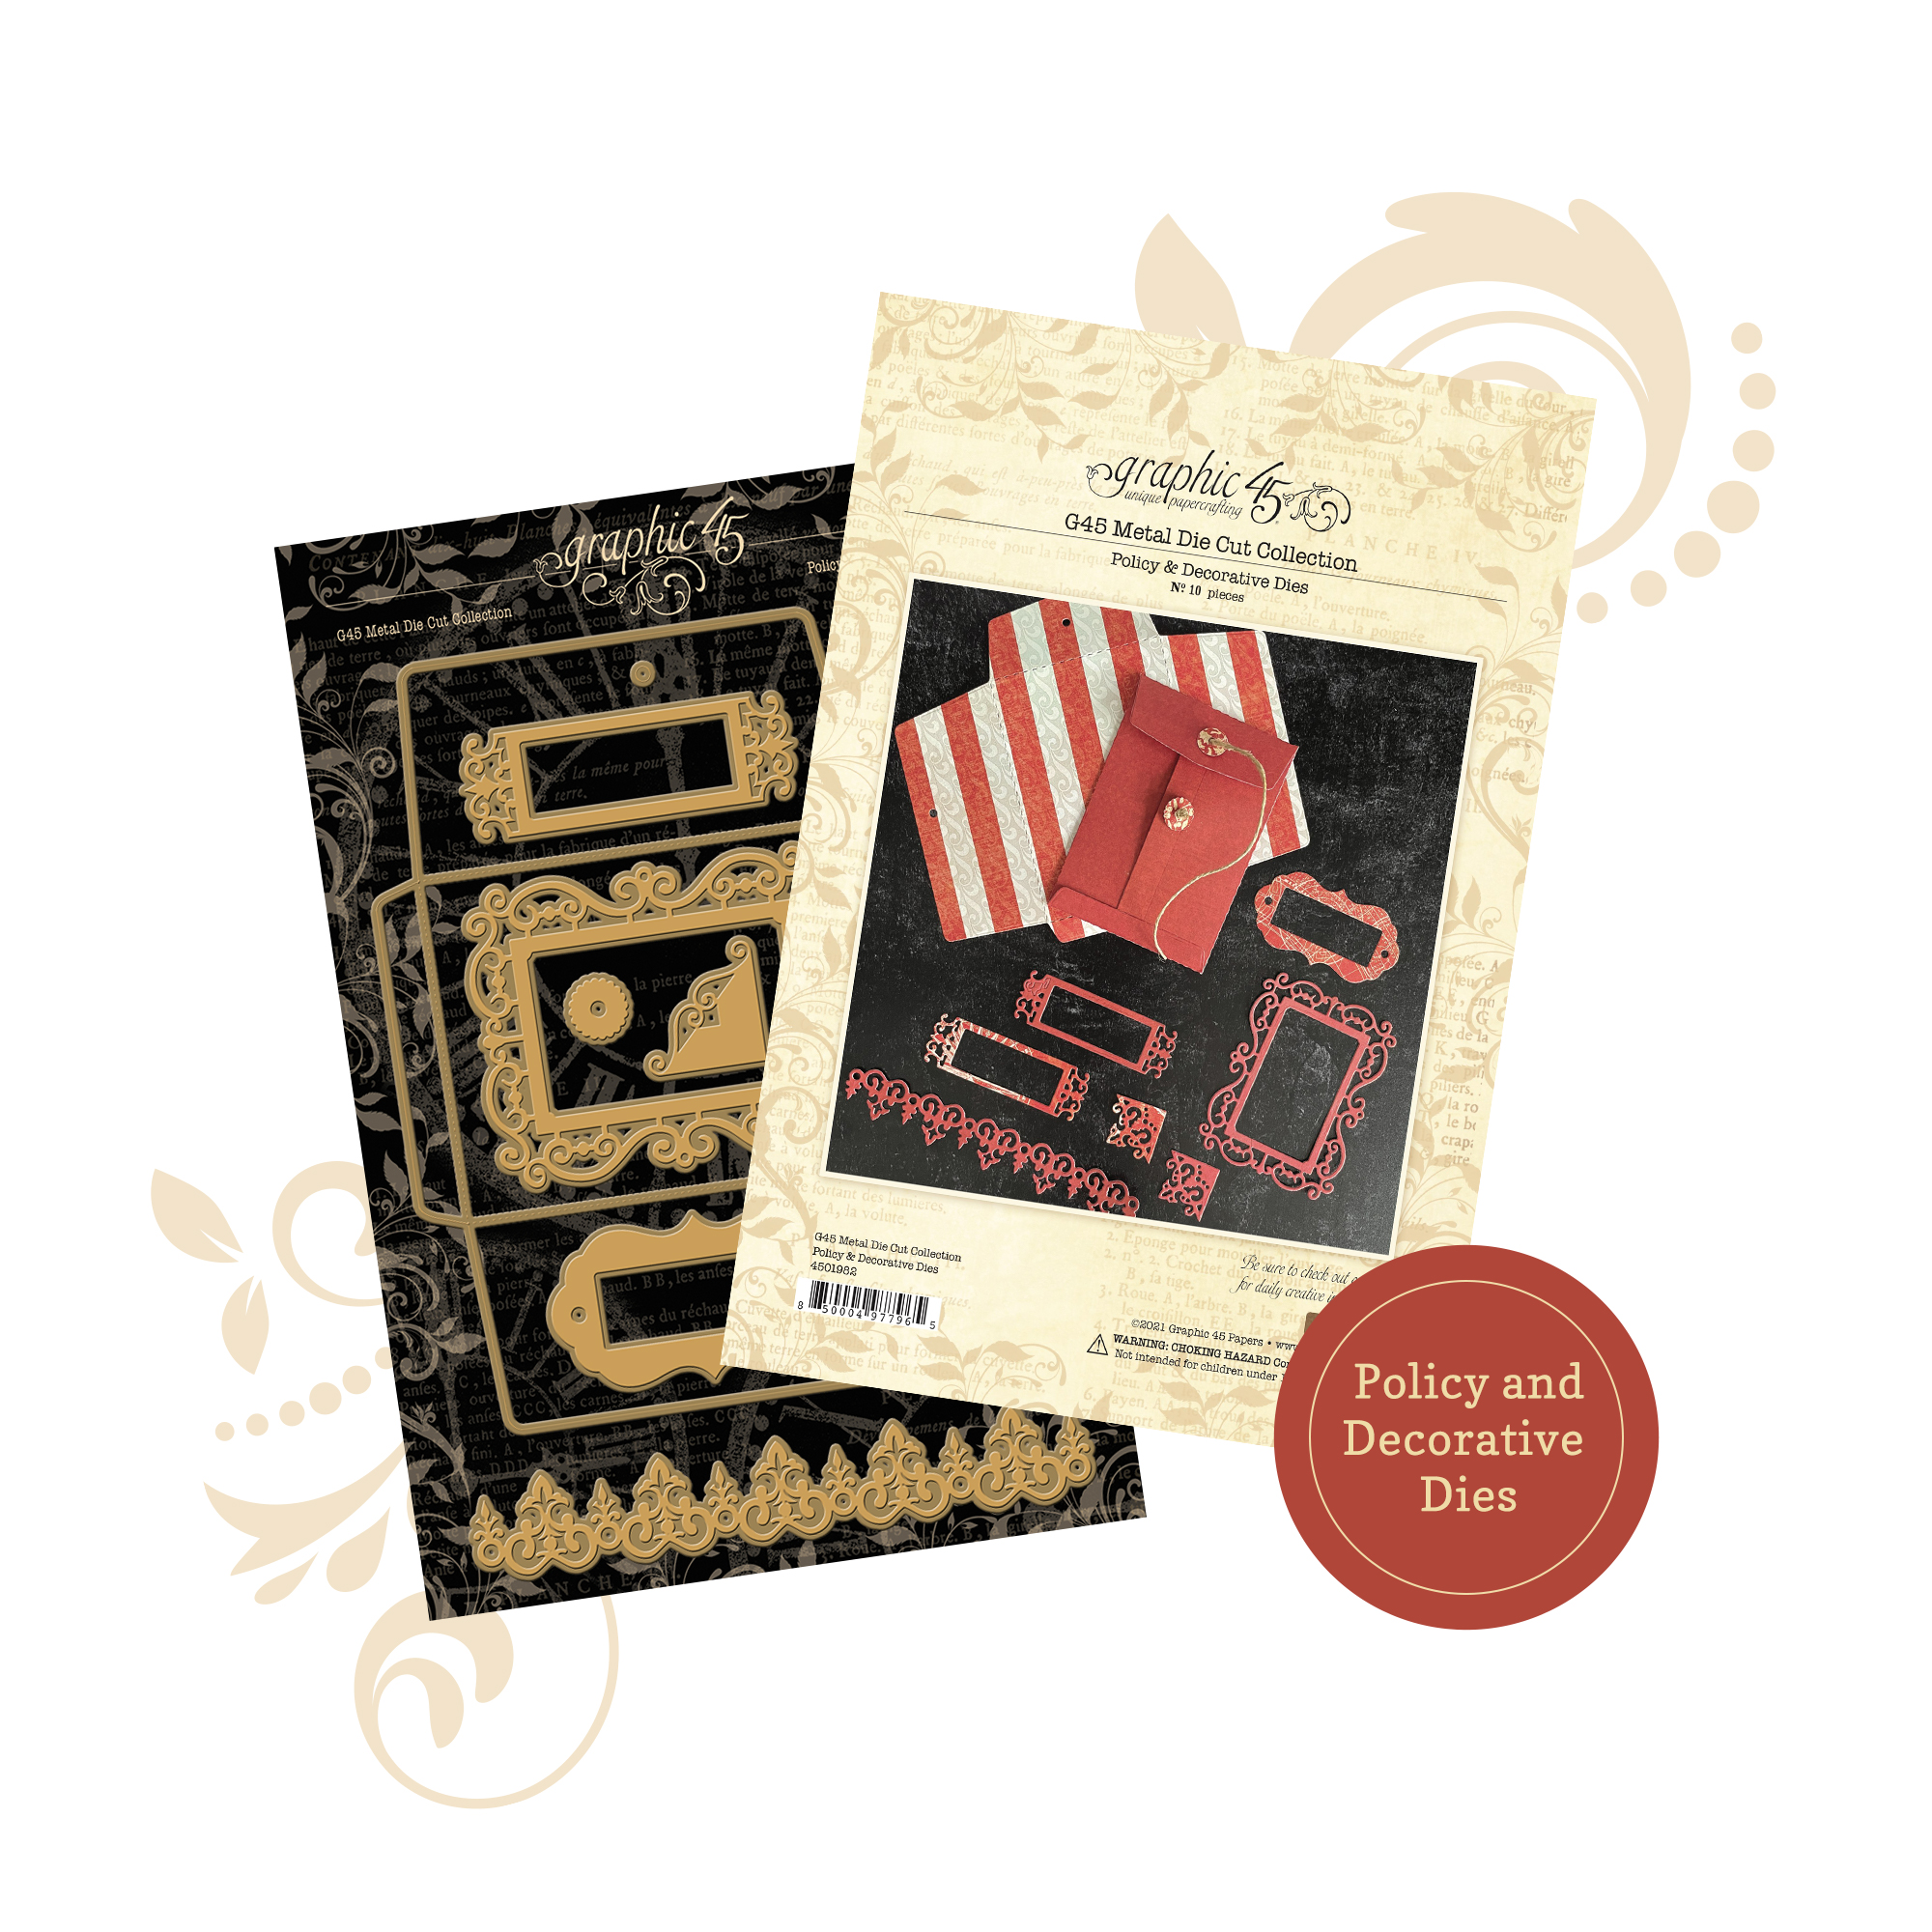
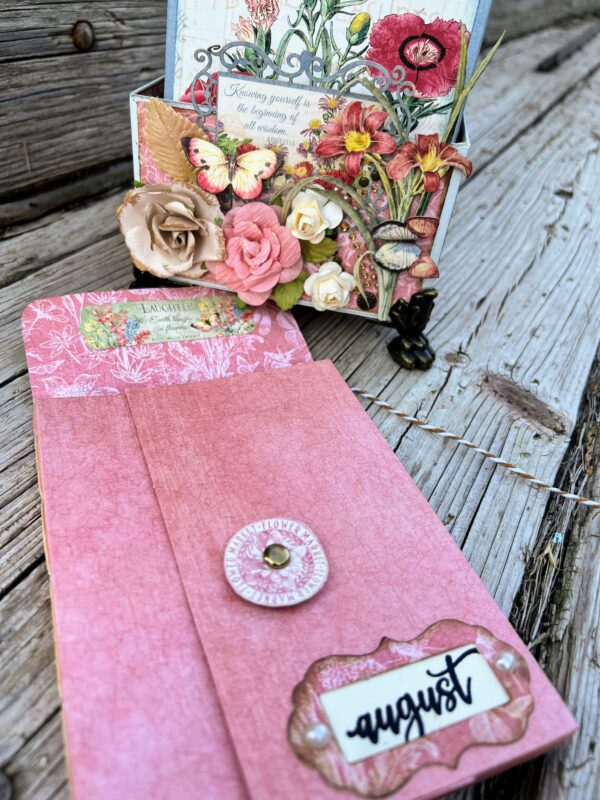
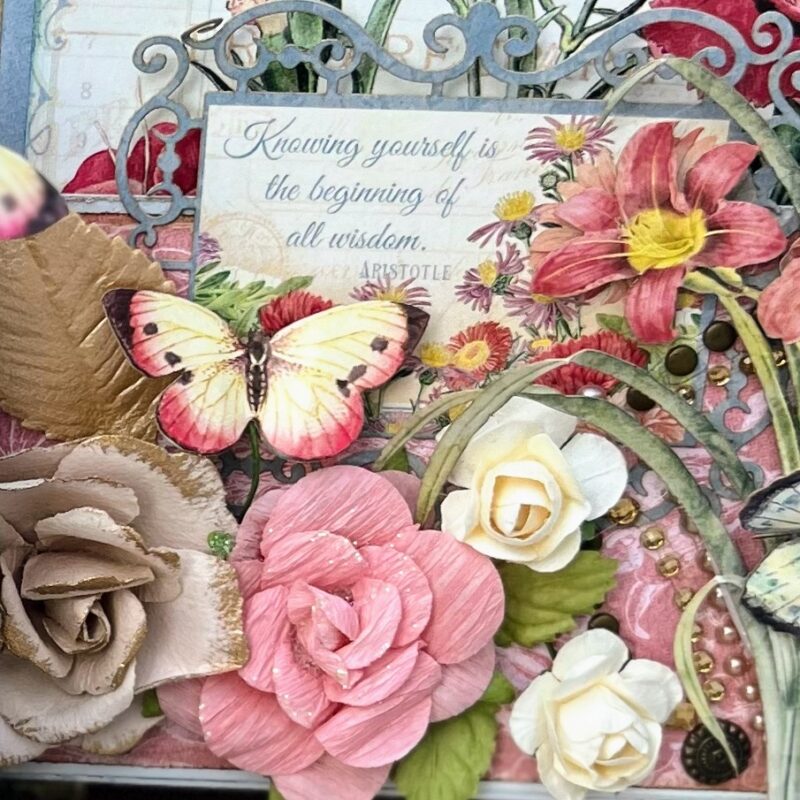
Cut the rectangle tag to 3 1/8″, and cut out the quote, butterfly, and the two little stamps. Ink all and add to the right flap.
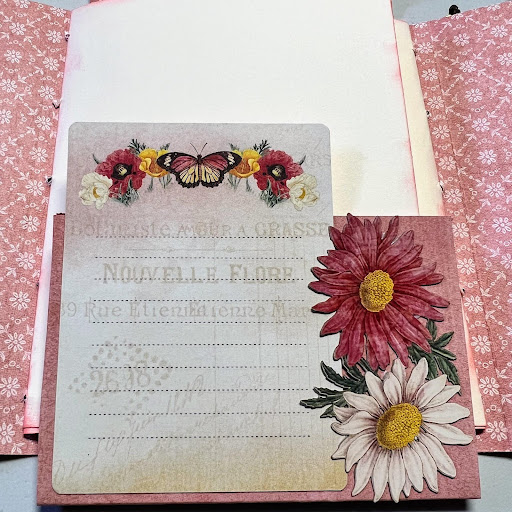
Next, I cut four photo corners, inked them, glued them on the inside back base, and added a large journaling card that I trimmed down.
I finished the inside of my folio by using some ephemera on the inside top flap covering the brad legs, and from cardstock, I cut one ATC tag and one tag 3″ by 5 1/2″, decorated and added them to the left flap.
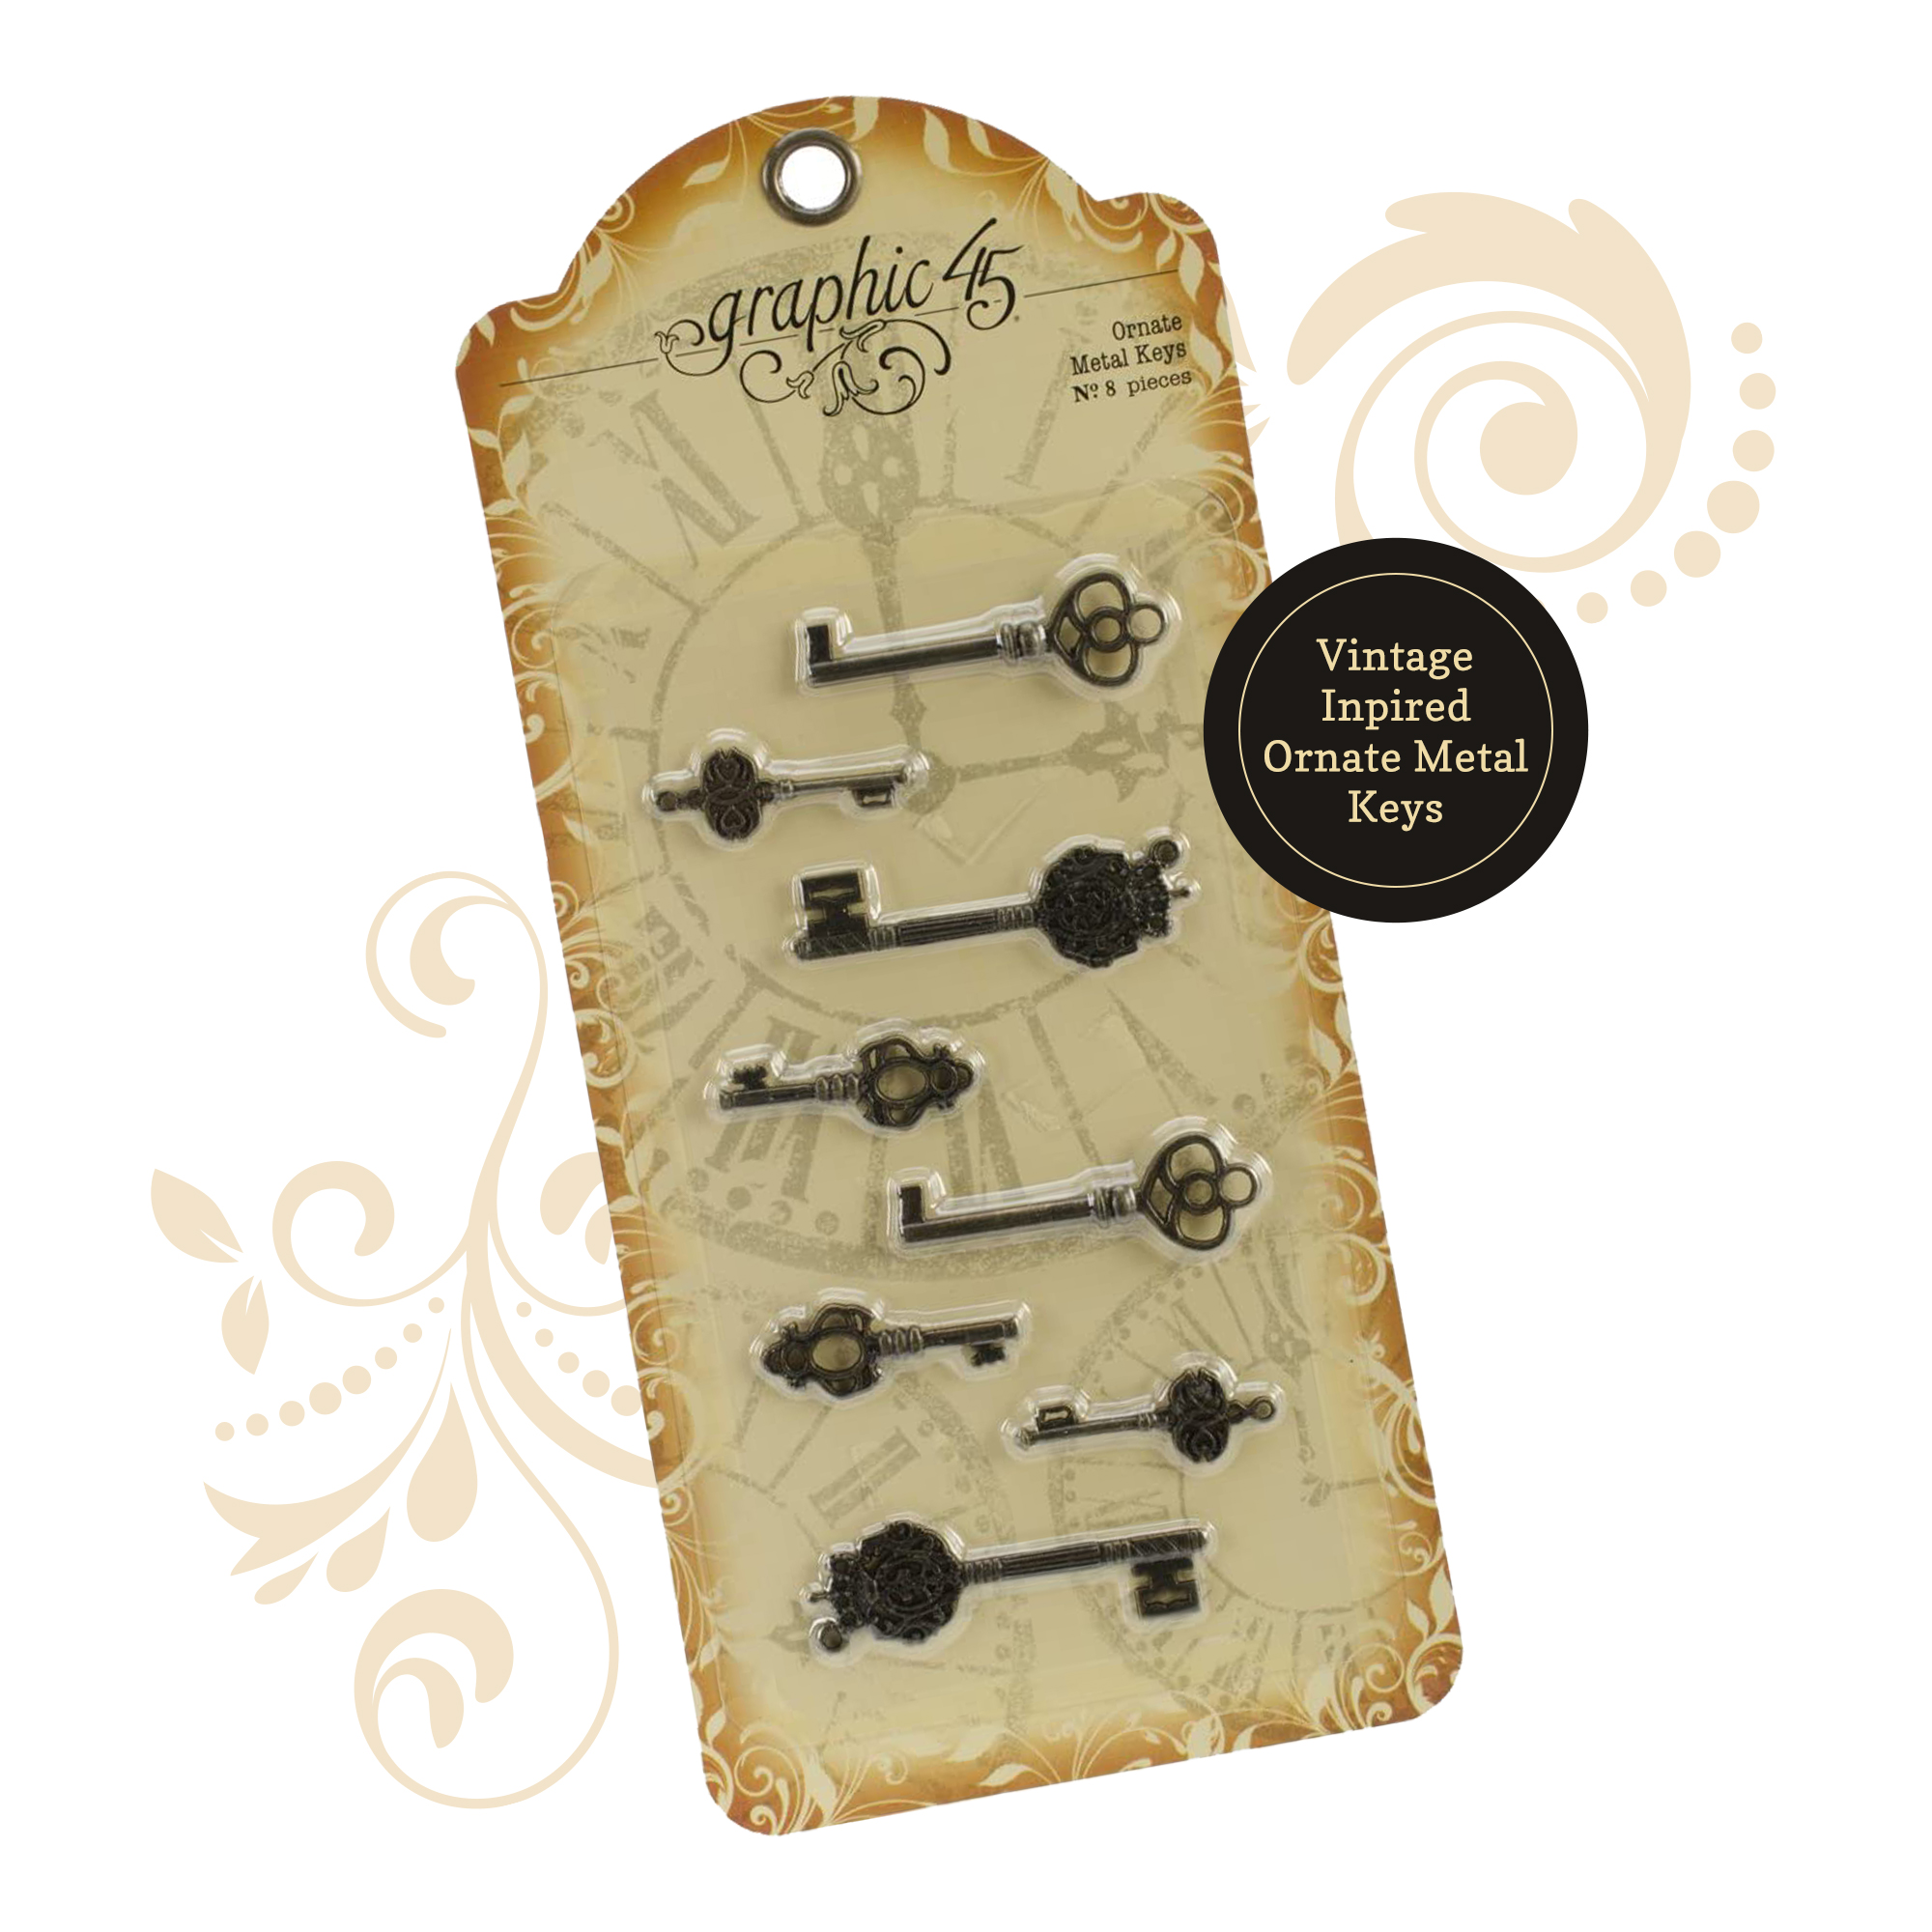
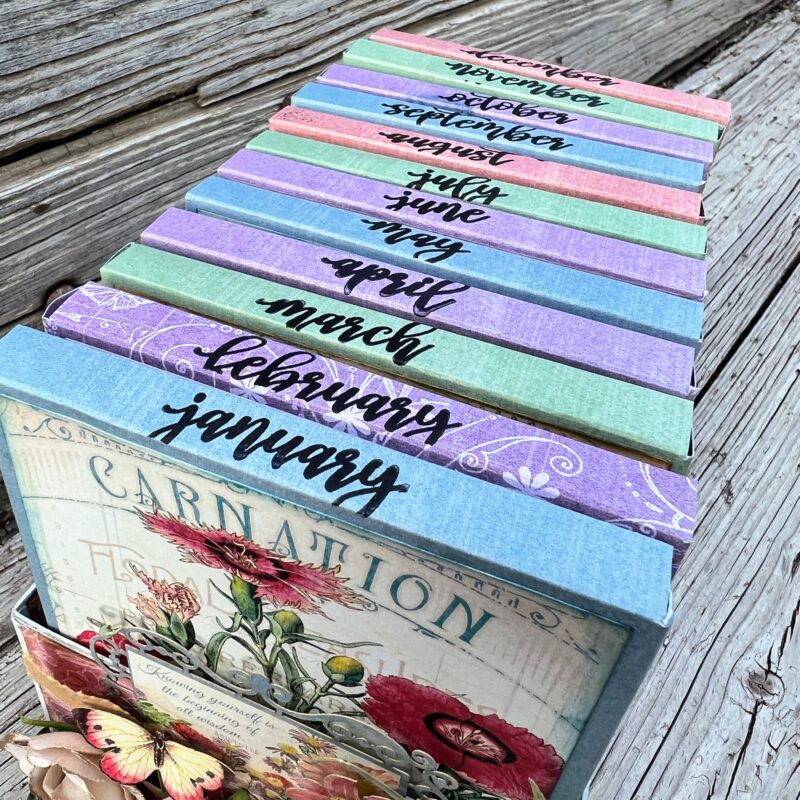
To finish my folio, I stamped and heat embossed each Month, then used the label die to frame it. I inked it and glued it under the closure on the back of my folio. Then I added some flat back pearls and a small metal key to the end of the string.
Cardstock, glue, paper trimmer, scoreboard
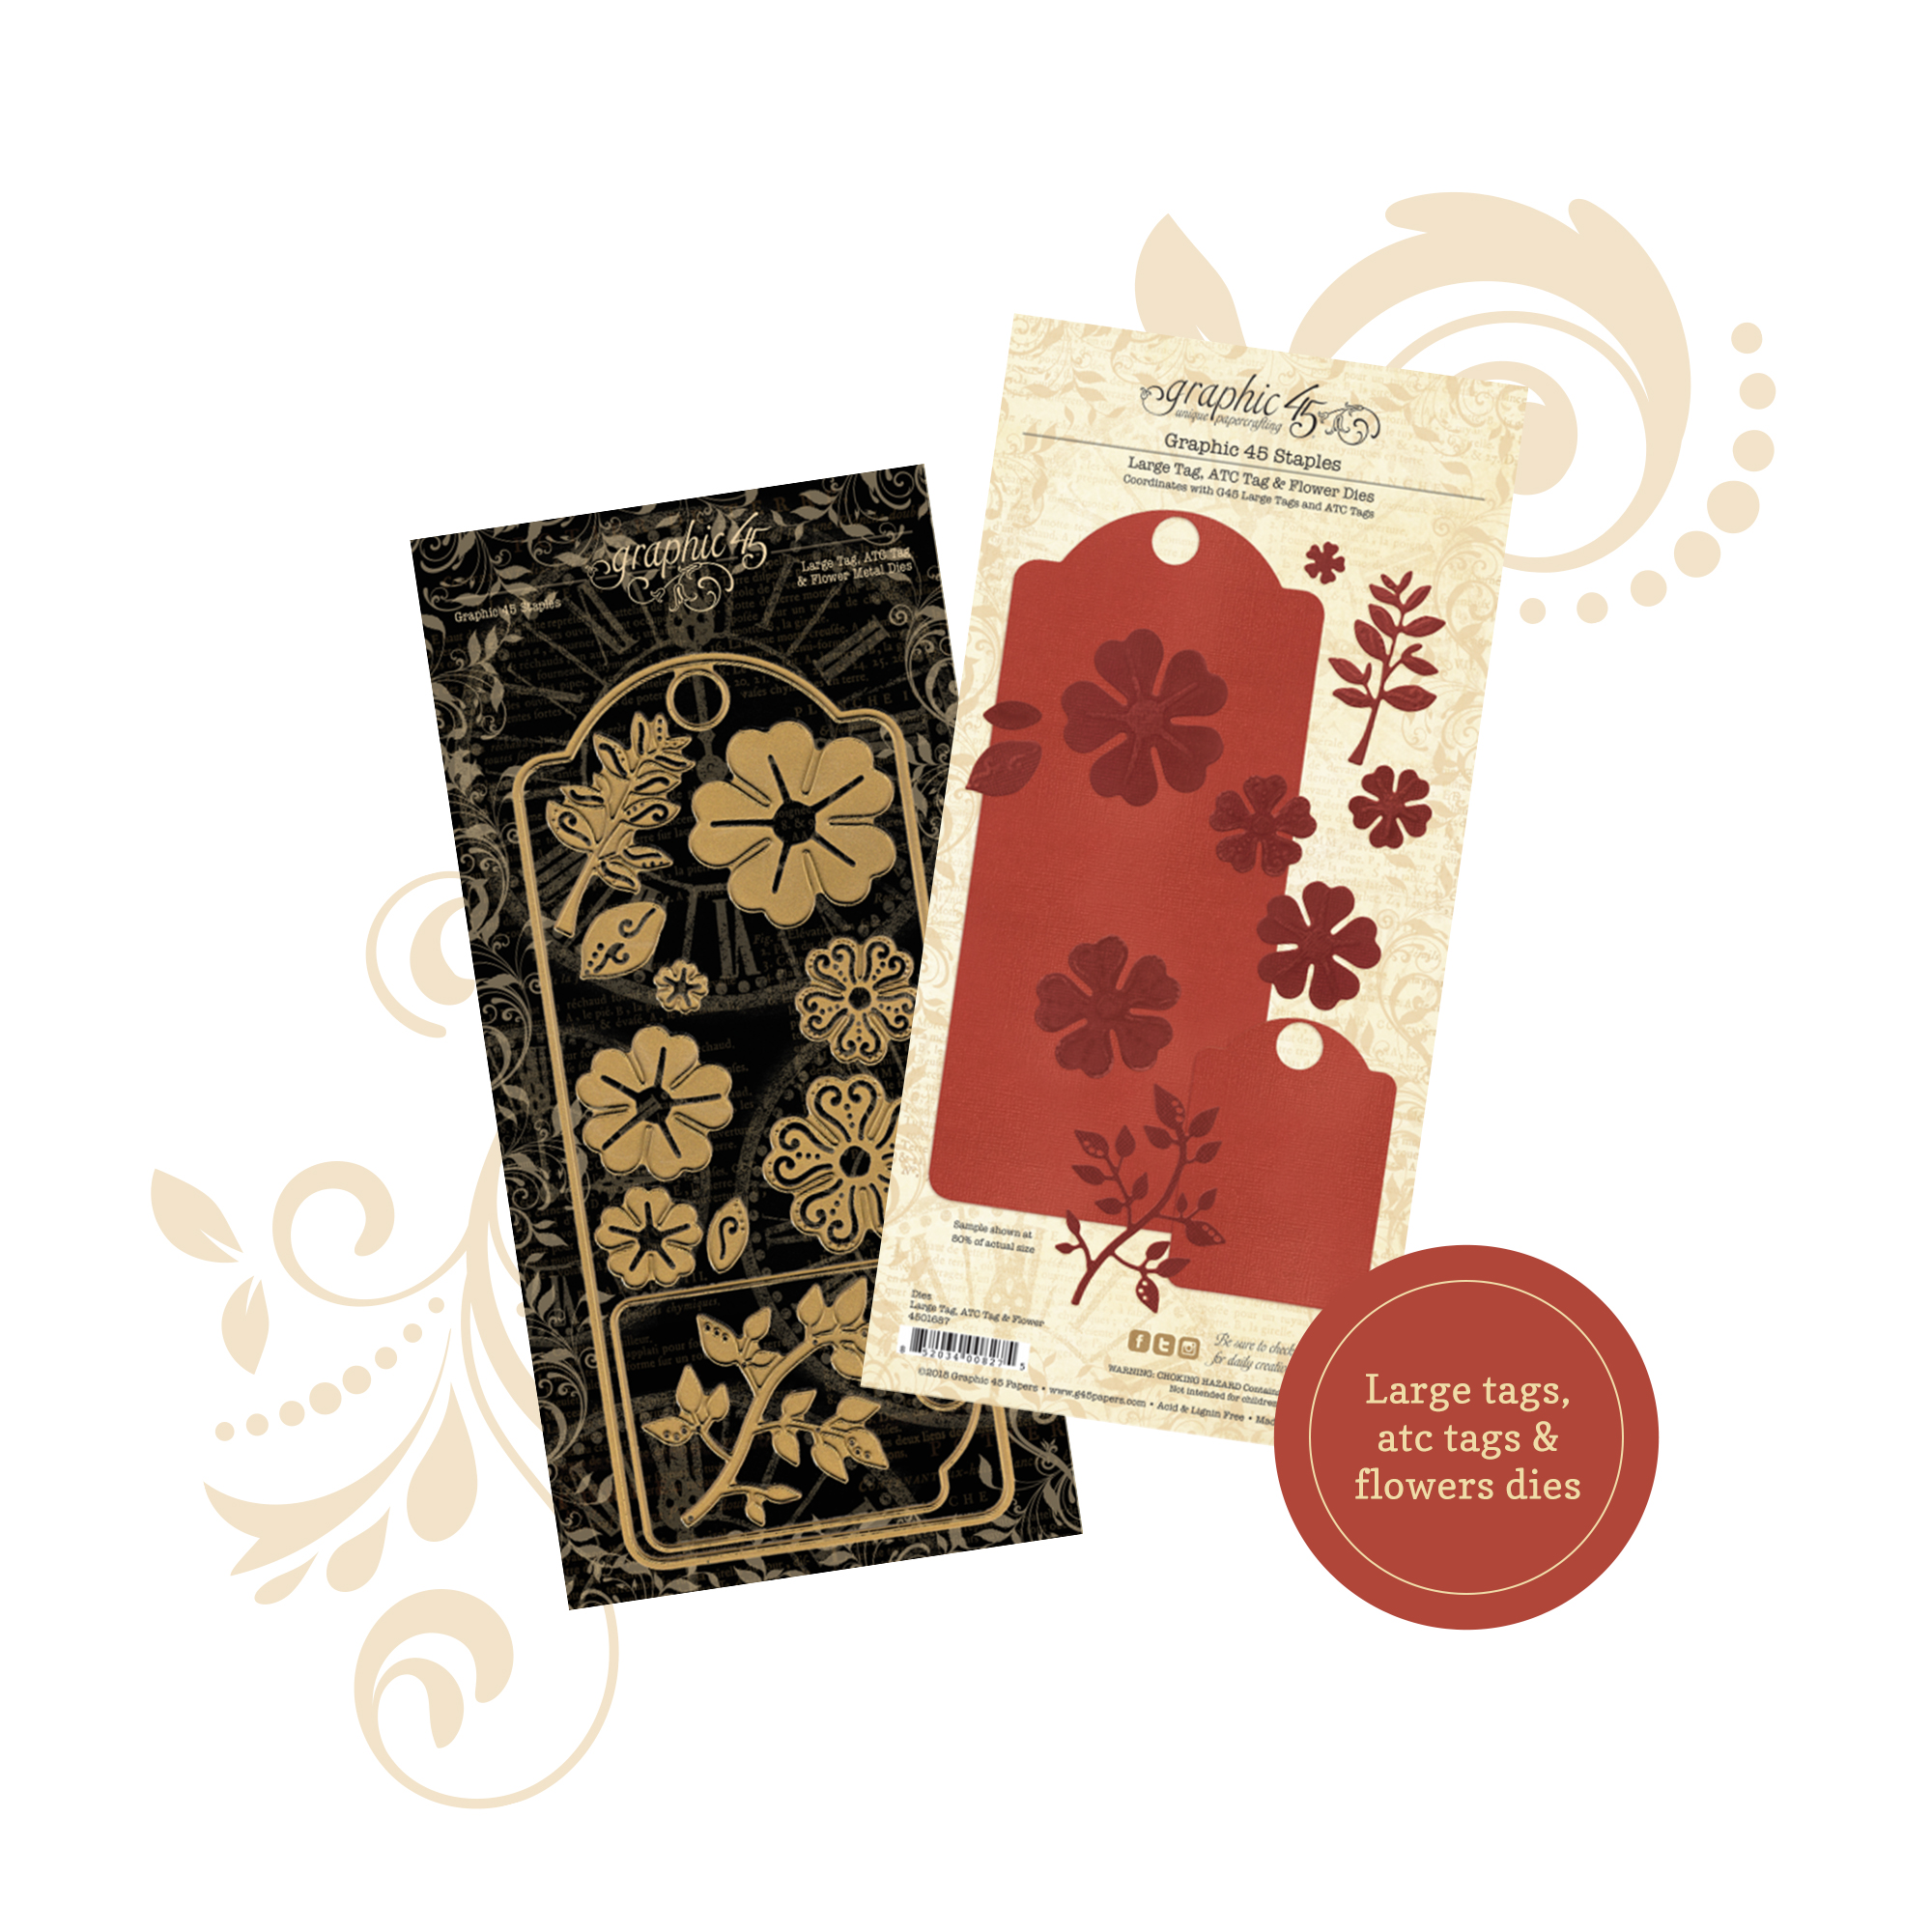
Large Tag, ATC Tag, and flower dies
Flower Market Journaling Cards
Flower Market Patterns and Solids
Small Keys
Flat Back pearls
Wax linen thread
Needle
String


You can follow me and find my video tutorials here” Gina
Happy Papercrafting!
Want even more Graphic 45? Sign up for our newsletter here.