Hello G45ers!
Transform your crafting space with the mesmerizing glow of a DIY Light Box using our Imagine – Collector’s Edition! Follow along with Graphic 45 Brand Ambassador, Tanya Scrap‘s tutorial and dive into the world of intricate paper crafting techniques. Watch the #G45Reel Walkthrough and Process Reel videos for a step-by-step journey to elevate your creativity!
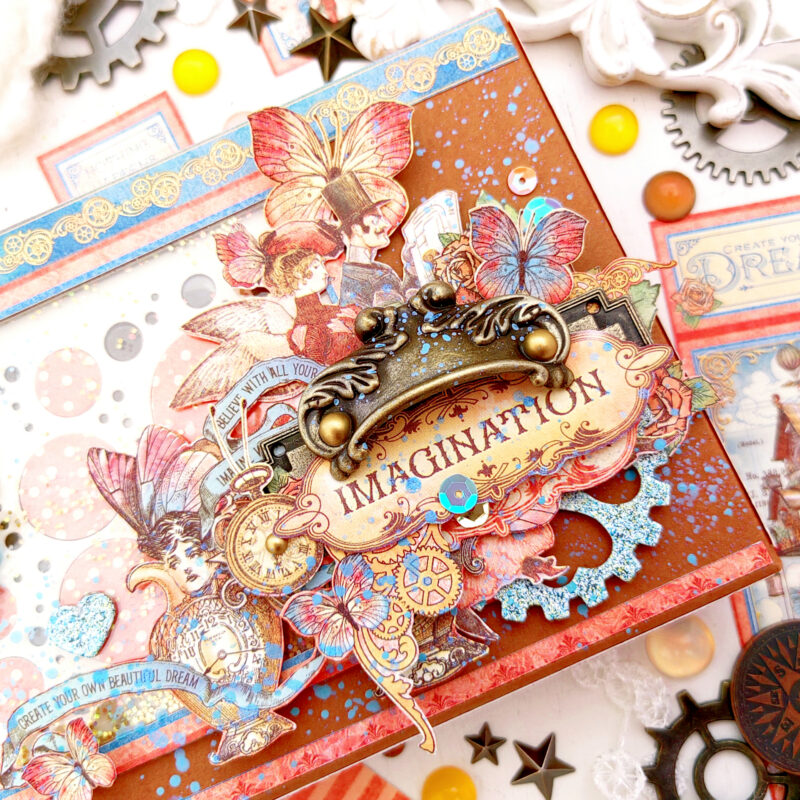
NEW PRODUCTS
Graphic 45 Imagine Collector’s Edition Light Box
Tutorial by Tanya Scrap
“Hello dear G45ers!
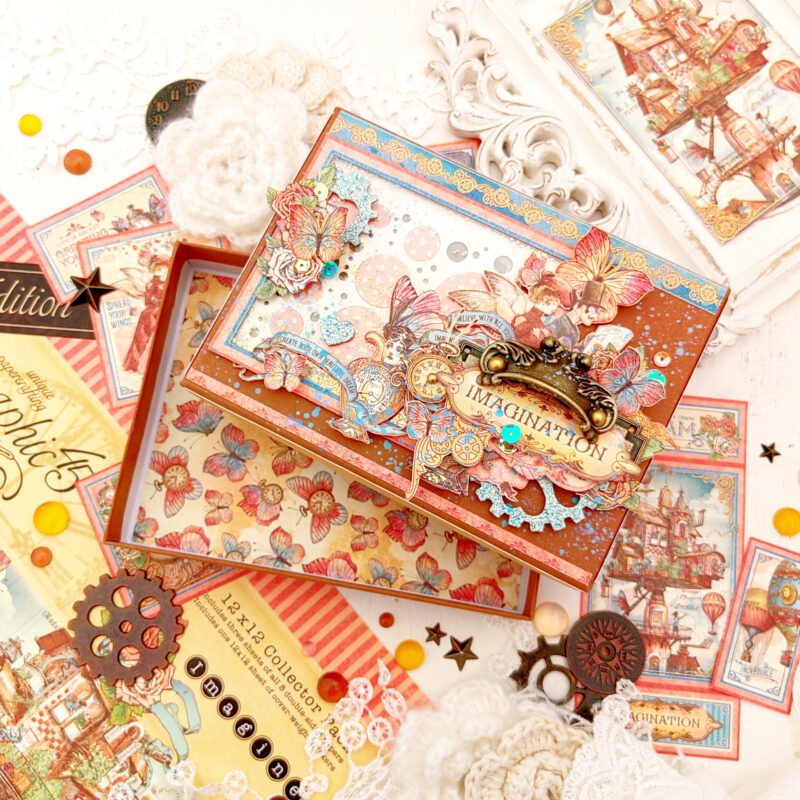
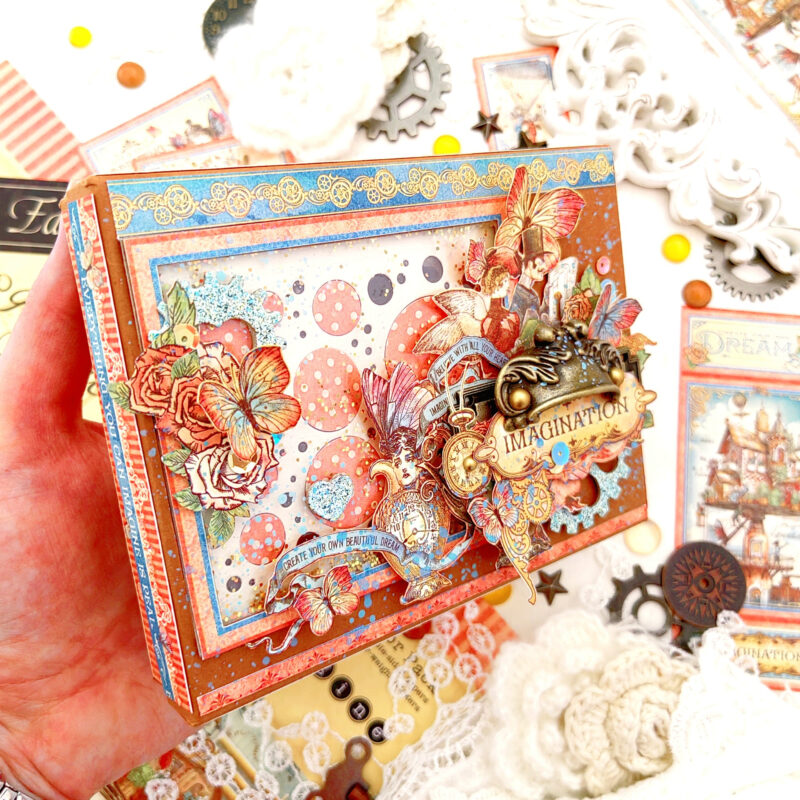
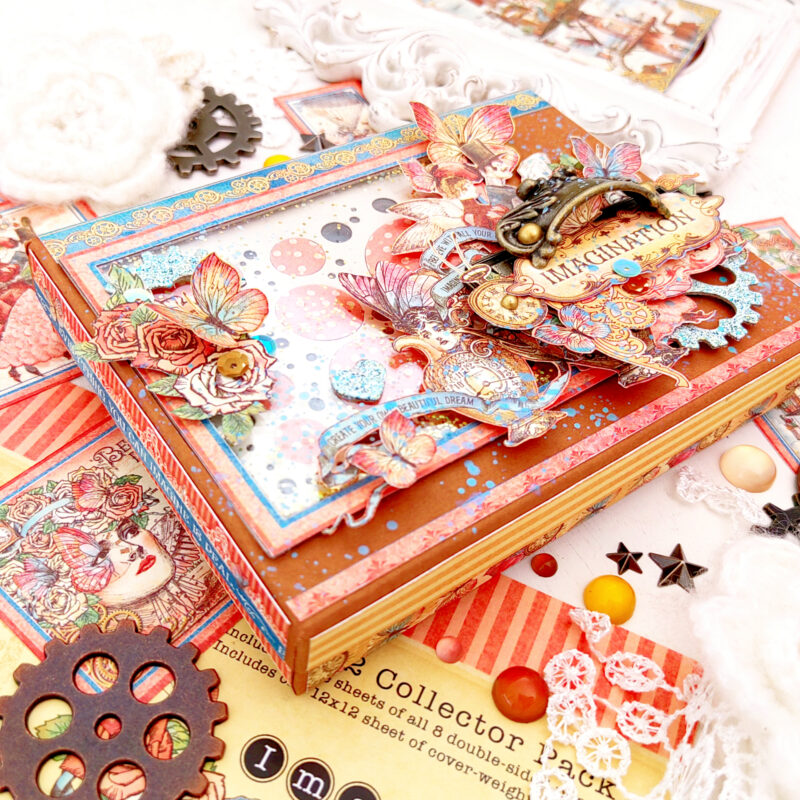
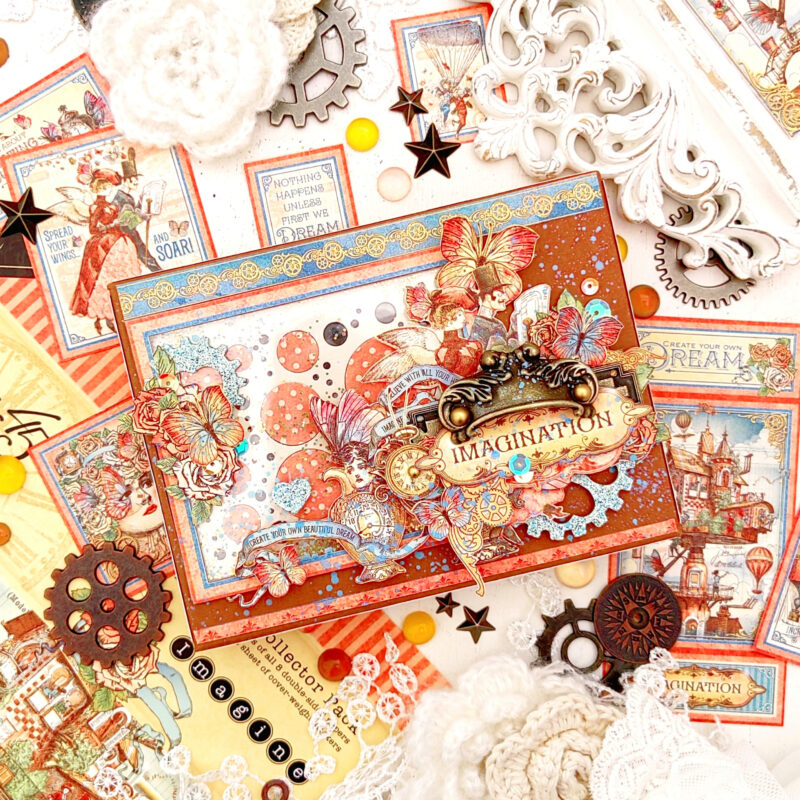
I am happy to share my project this month, a Light Box featuring the BEAUTIFUL and one my favorites the Graphic 45 Imagine Collector’s Edition. This is such a fun and whimsical collection.
Herewith the supplies and step by step instructions you may use to recreate such a project:
G45 Supplies used:
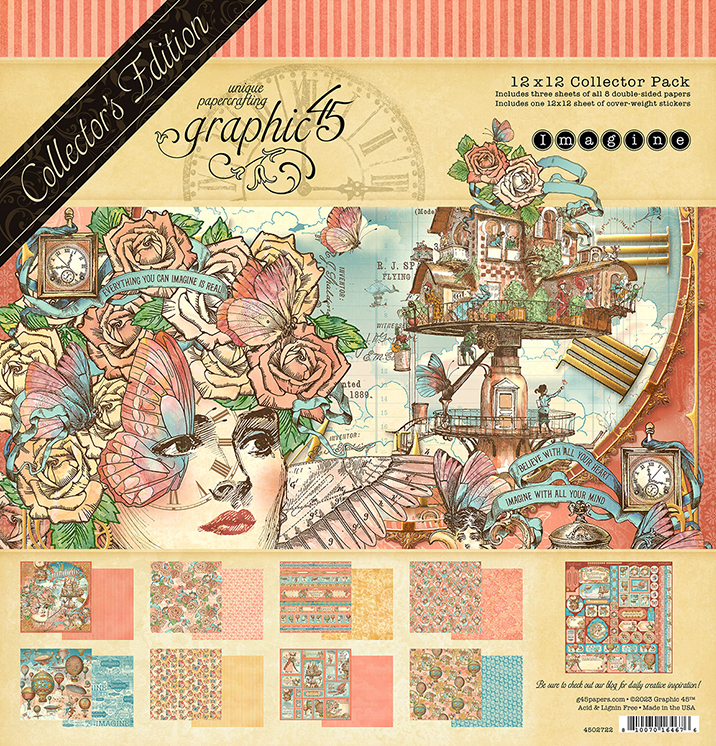
Imagine Collector’s Edition 12×12 Pack with Stickers
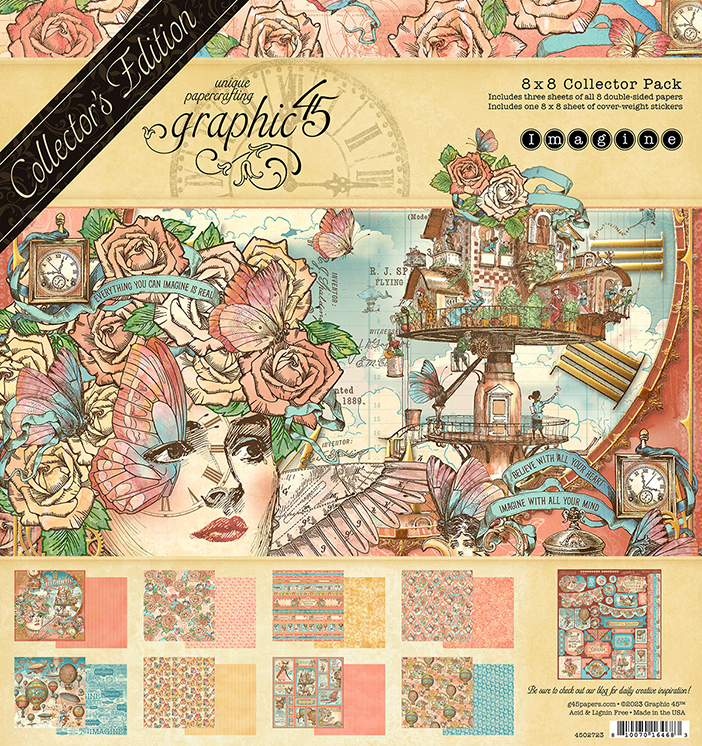
Imagine Collector’s Edition 8×8 Pack with Stickers
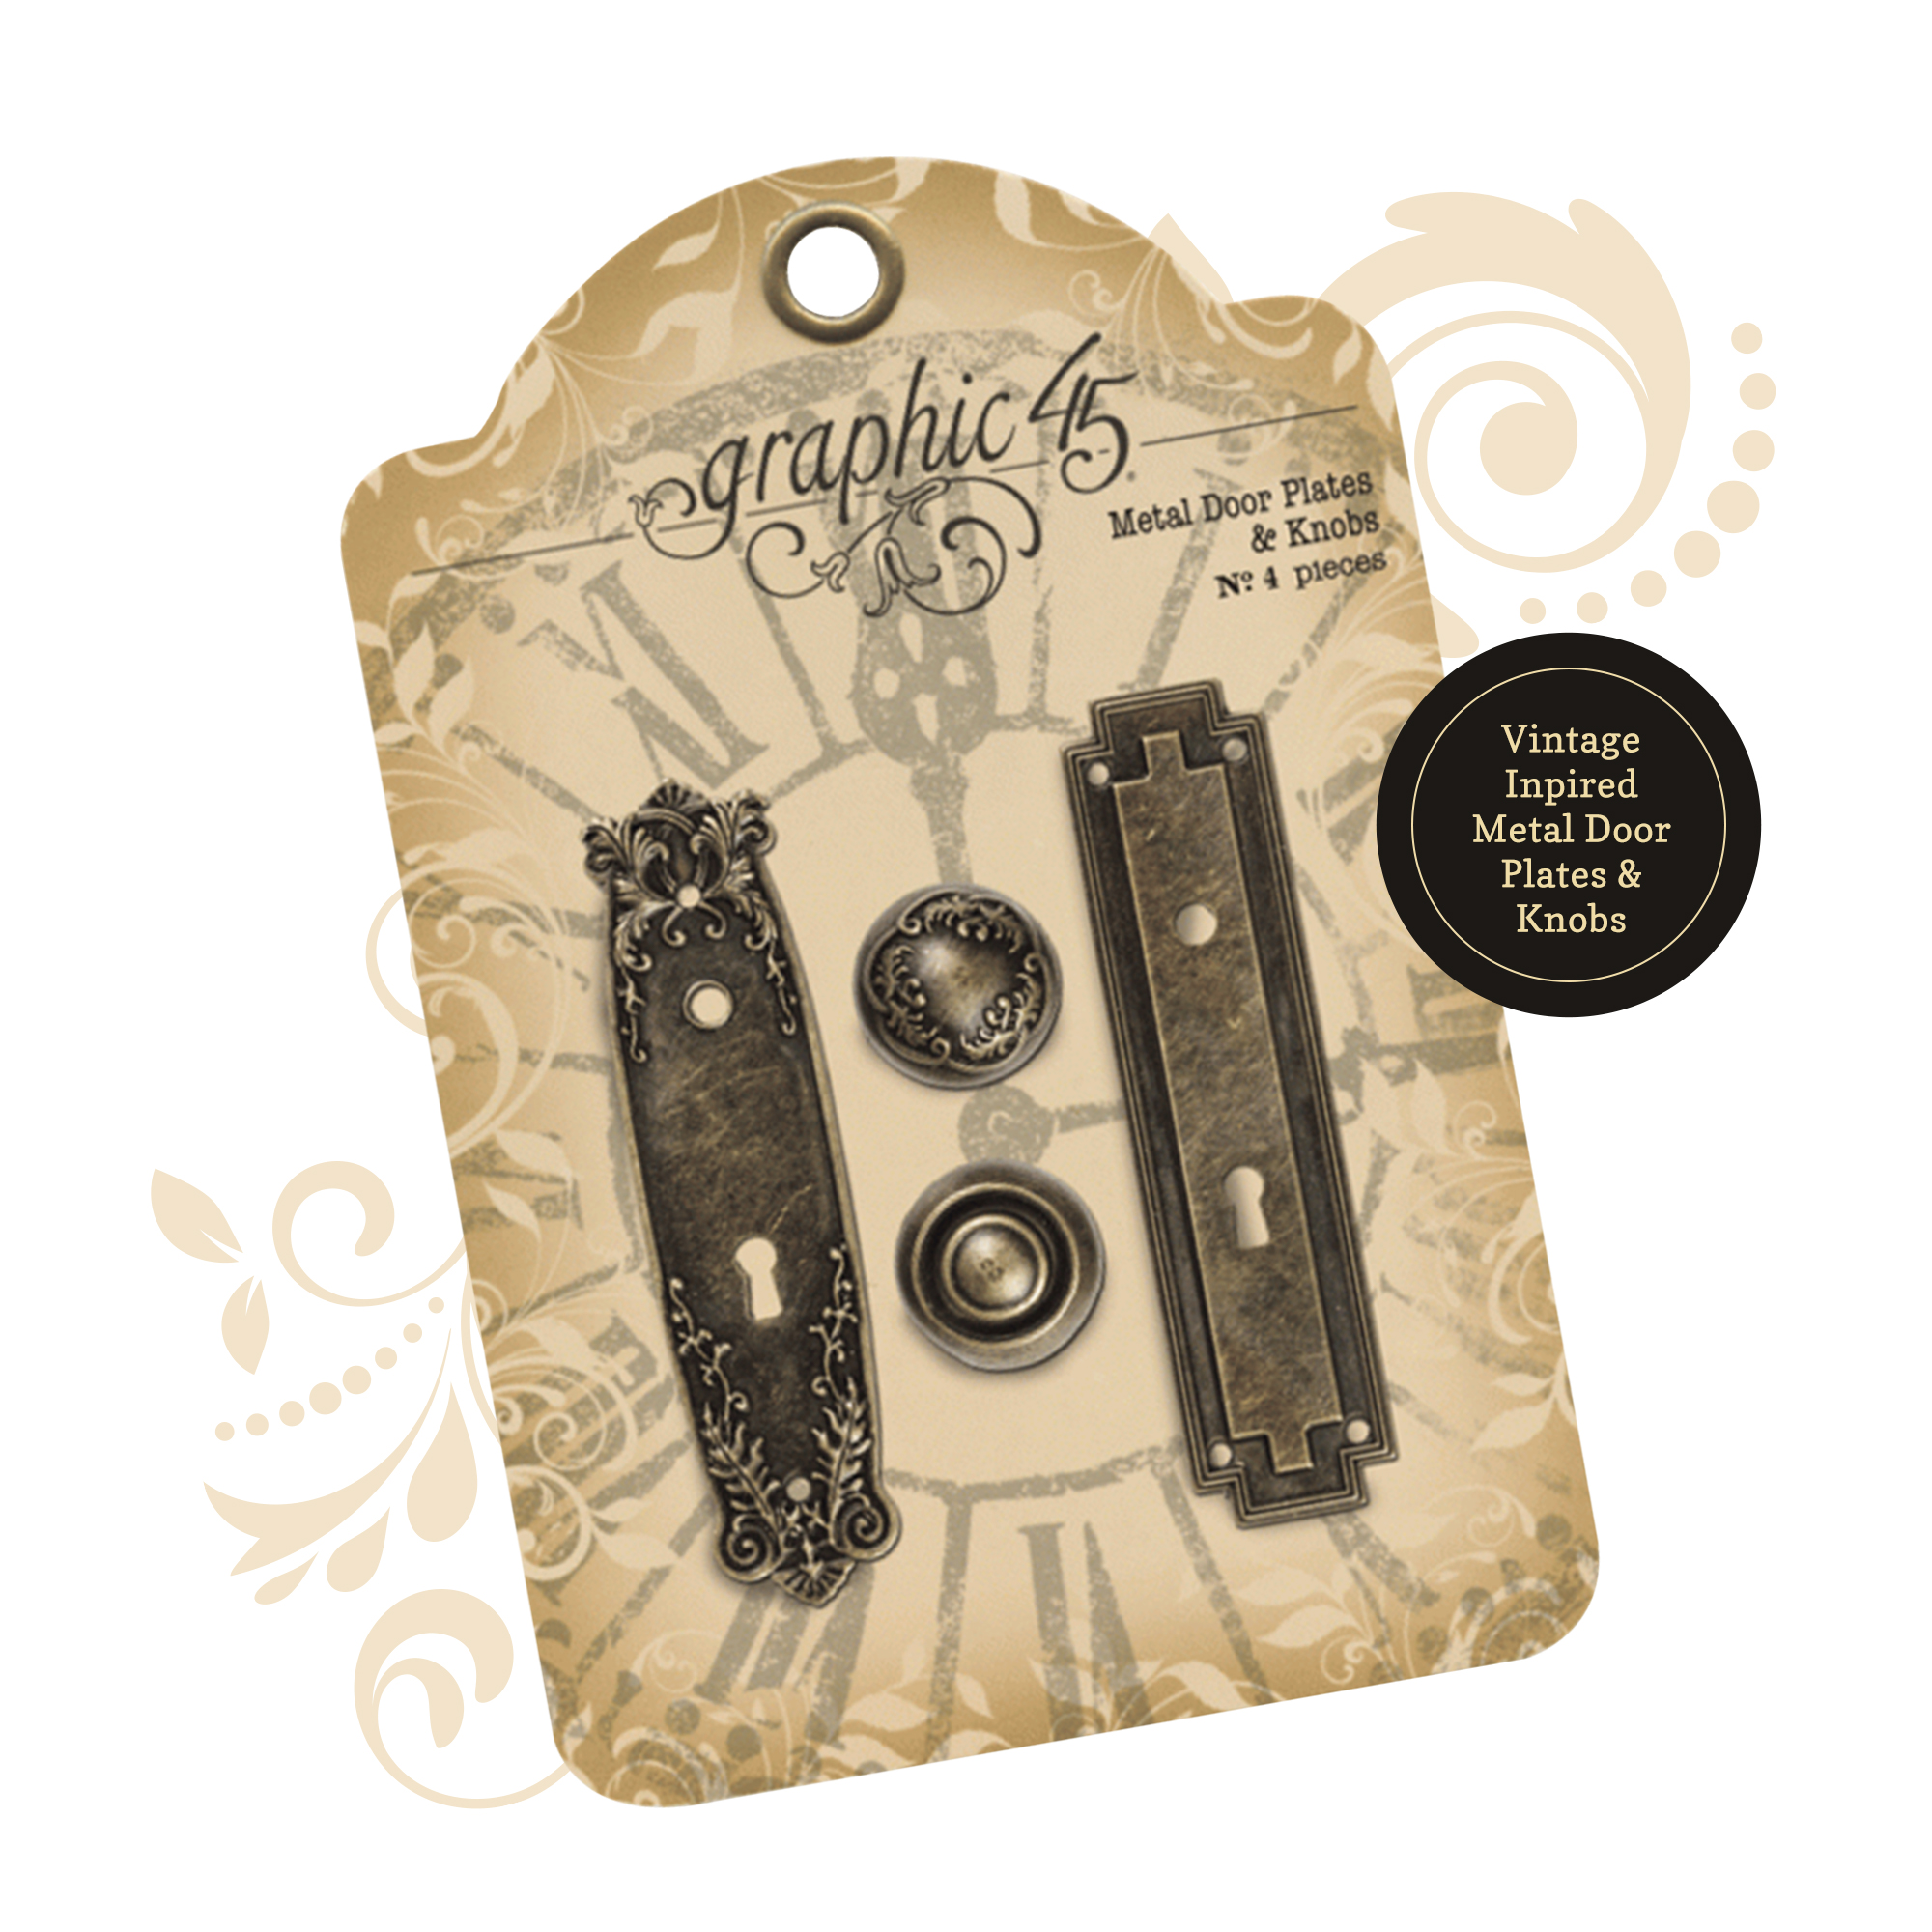
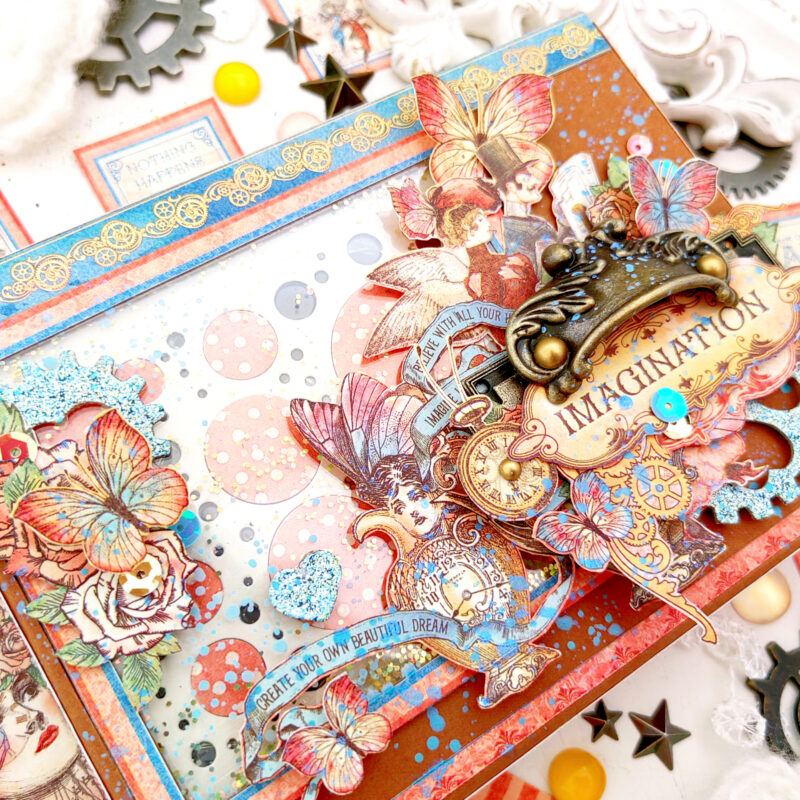
Antique Brass Metal Door Plates and Knobs
Other Supplies used:
Gift Box (16 cm x 12 cm)
Circle and Box shape Cutting Die
Watercolor Paper
Acetate
Double Sided Tape
Adhesive Foam Squares
Sequins
Glitter
Paint
LED Fairy Lights
-Walkthrough Reel-
-Process Reel-
Instructions:
- Decorate the box on the outside and inside with the pattern paper. Adhere the piece for the lid (inside) onto the kraft chipboard but do not glue this to the lid yet.
- Cut a small box from the pattern paper with a small box shape cutting die and adhere the tabs with double sided tape. This will be used to hold the switch of the LED lights.
- Create a shaker frame. Cut out a frame from the collection. Trace the shape of the frame onto the kraft chipboard and cut it out. Adhere a piece of acetate behind each frame. Add some glitter and close up.
- Trace a rectangle shape (9 cm x 11 cm) on the inside of the lid and cut it out with a craft knife.
- Create the ‘cover’ for the LED lights. I used a cutting die with circles. I cut three pieces, one from watercolor paper, pattern paper and acetate. Adhere the acetate piece behind the watercolor piece and then randomly glue some of the circles from the pattern paper one onto the acetate.
- Adhere the ‘cover’ to the frame on the inside of the lid.
- Then adhere the shaker frame on top.
- Place your LED light on the ‘cover’ section. I used some sellotape to make sure the light is secure.
- Adhere the small box next to the ‘cover’ and glue the switch to this box.
- Make a small hole on the lining (this is the piece that is glued to the kraft chipboard in step 1) for the button of the switch before adhering it to the lid.
- Decorate the front cover of the box with fussy cut elements from the collection, chipboard and metal embellishments.
- Finish it off with some paint splatters and matte pearl gems.
Thanks for stopping by!” Tanya Scrap
Happy Papercrafting!
Want even more Graphic 45? Sign up for our newsletter here.