Hello, G45ers!
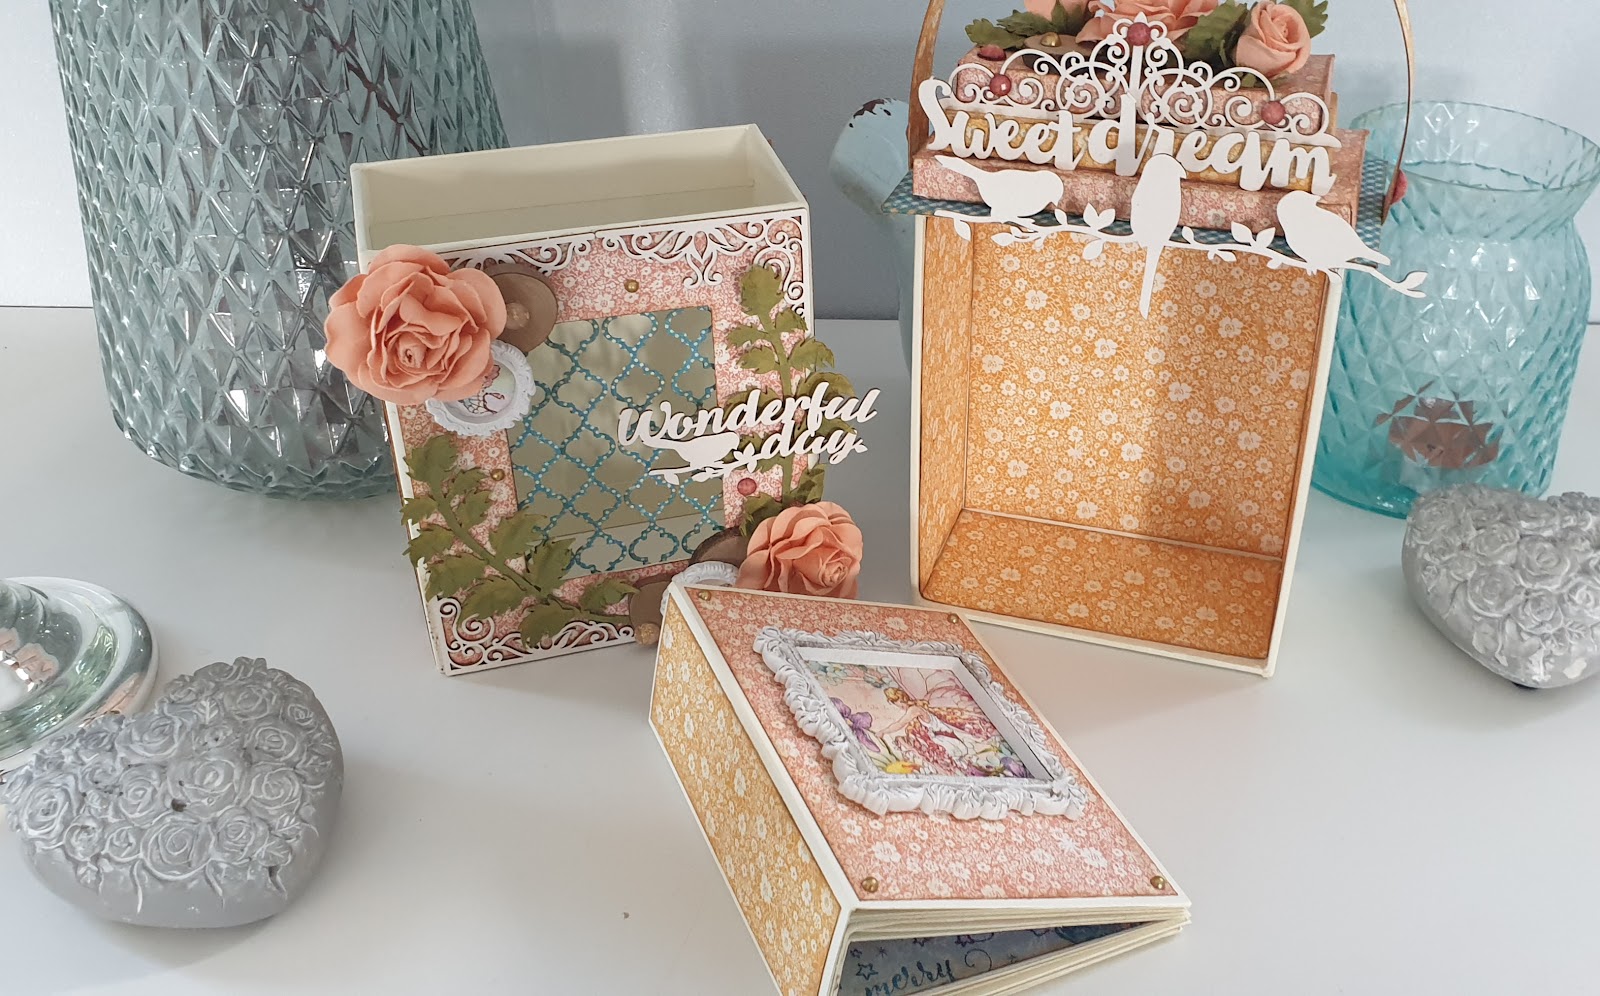
We are excited to bring you another #ClubG45LeveledUp project. Today, Graphic 45 Brand Ambassador, Boule de Scrap has taken our Christmas Lantern tutorial and magically turned it into a whimsical Fairy Lantern Box with Mini Album. Below you will find step by step instructions on how to create your own Lantern out of a G45 Box using our Fairie Wings. We hope this encourages you to try out one of our project sheets and make it your own with the products you have at home.
Lantern Box Tutorial & Album
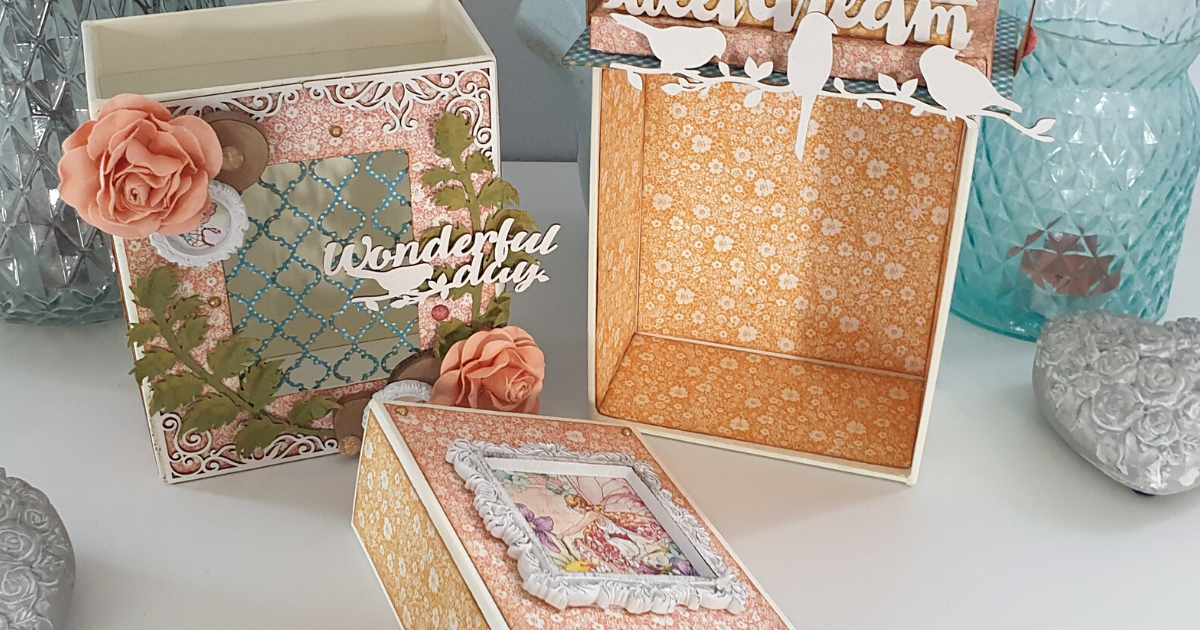
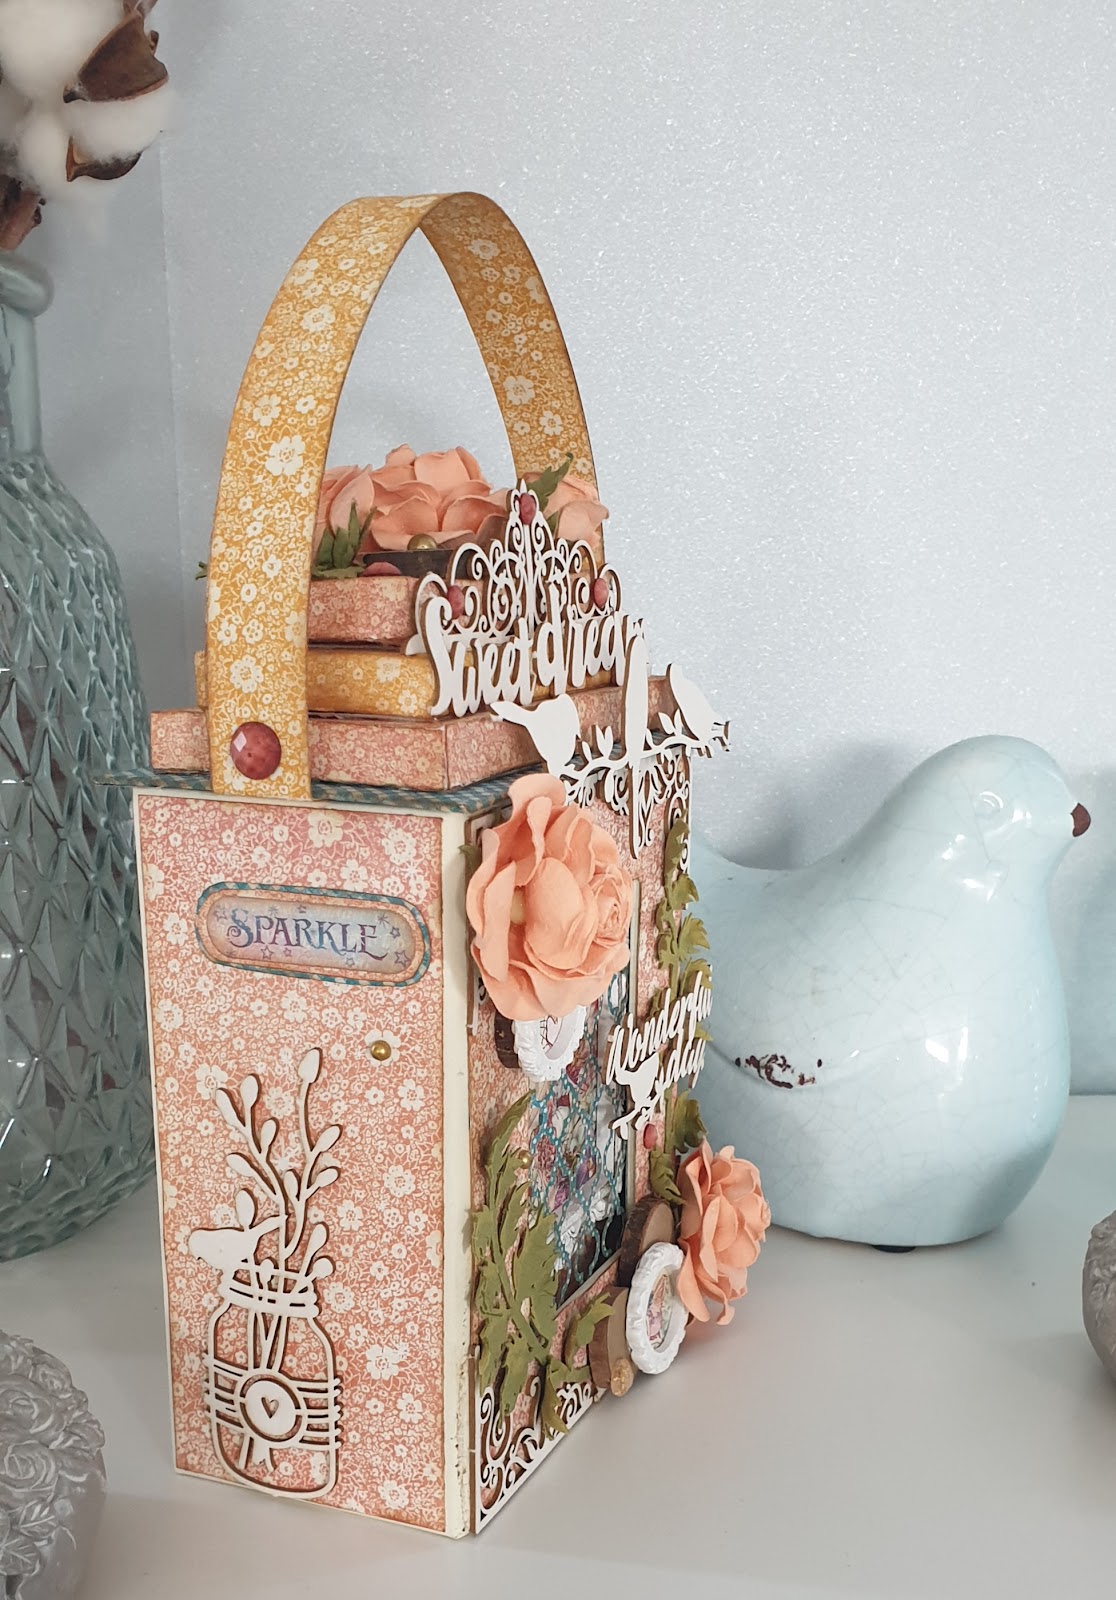
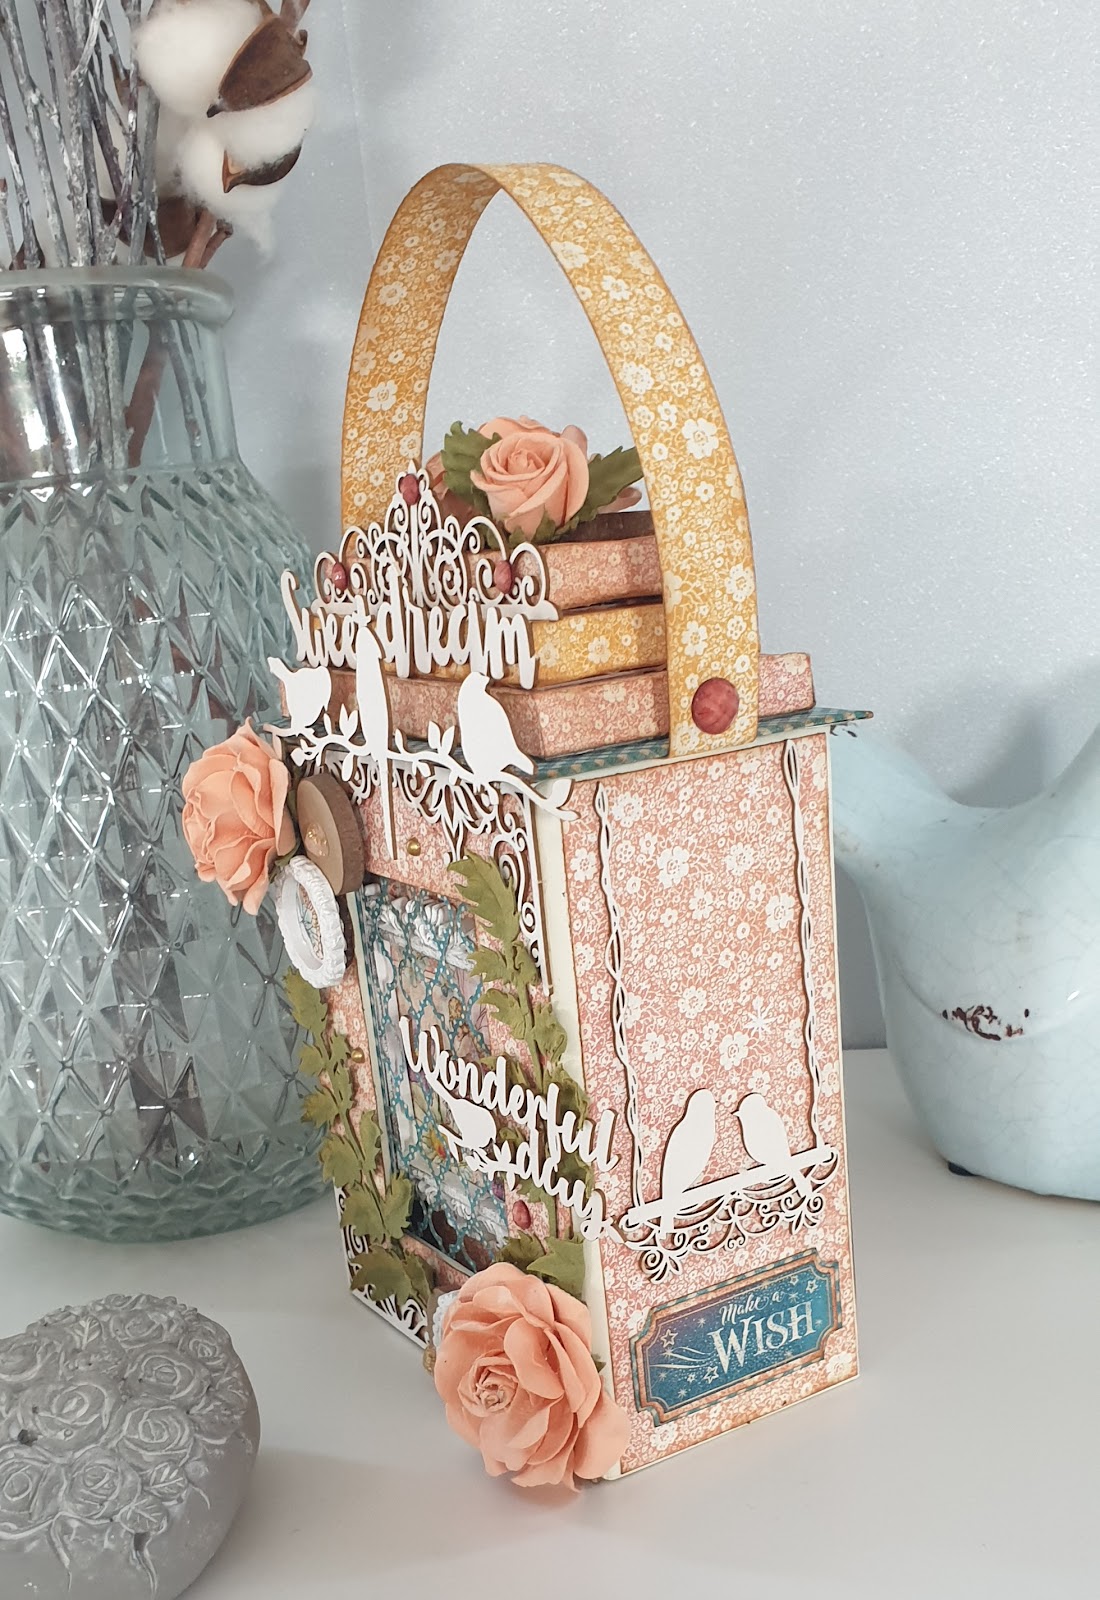
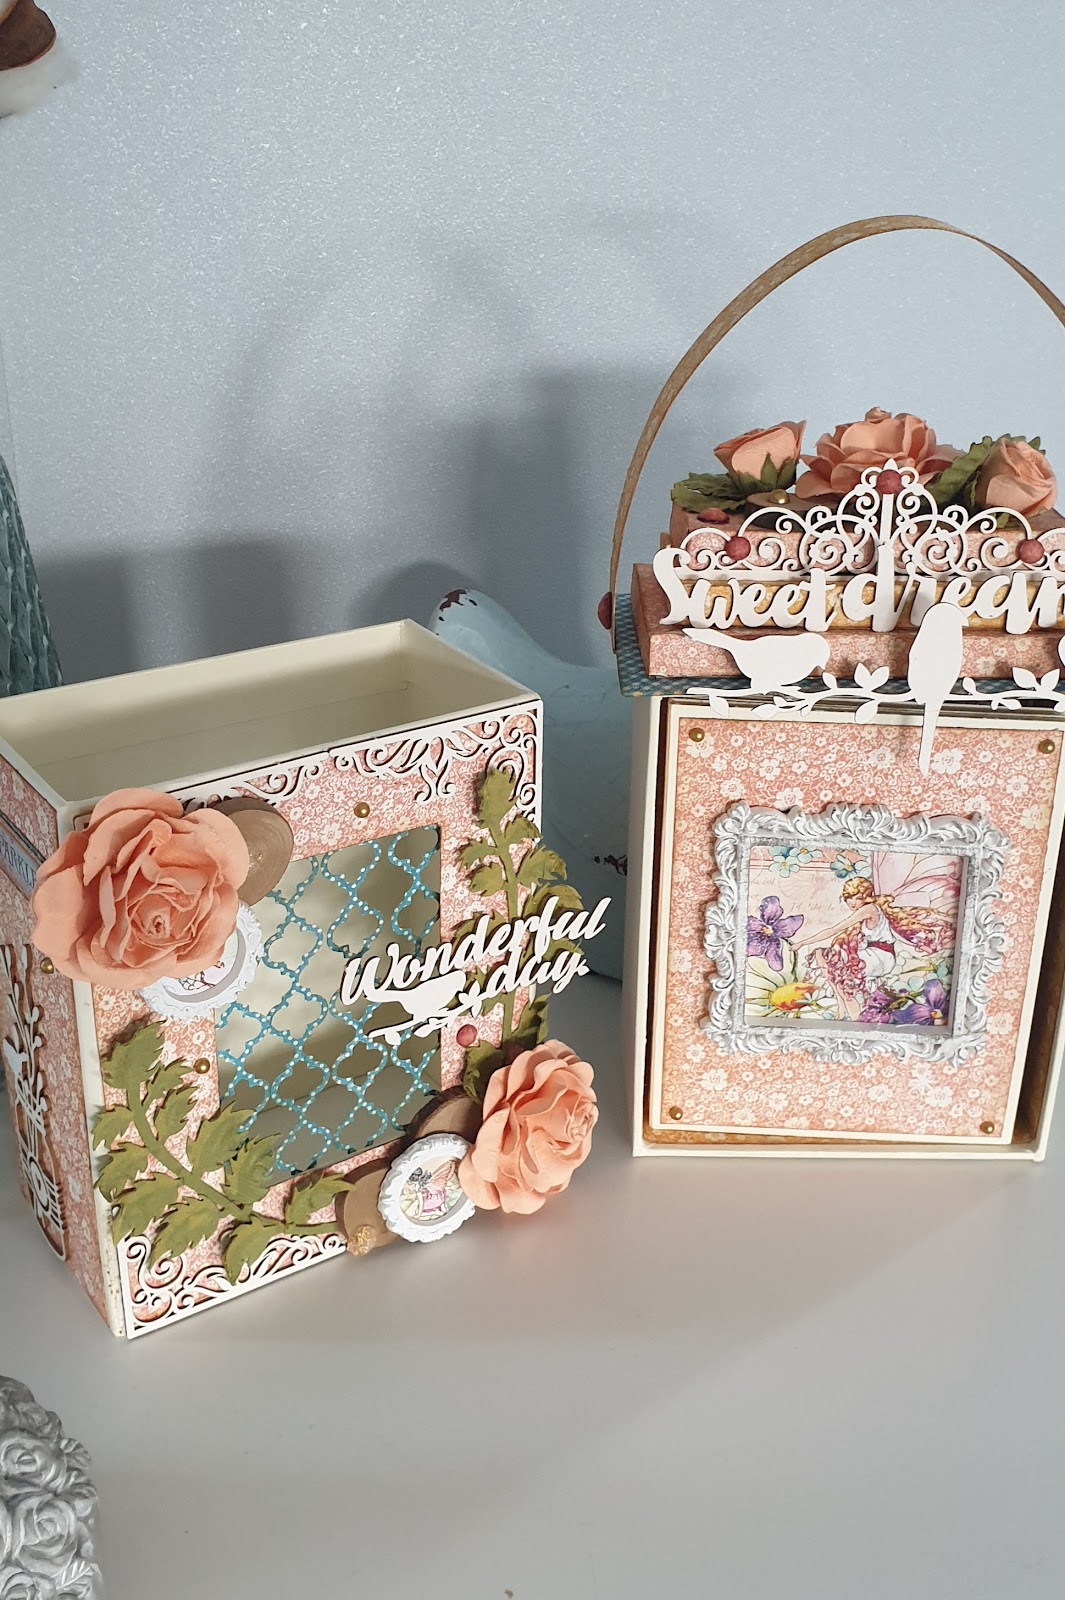
“When I discovered the sublime Fairie Wings collection for the first time, I was immediately inspired to create a fairy house or a box that could contain all the magic that this collection of papers inspires in us. I kept this idea in a small corner in my mind, until the day when I was invited to take over a project of the Club G45, and there, I immediately thought of mixing the wonderful projects of Annette Green, and my idea. Its tutorial being so simple and fantastic, I took it almost identically, I just changed the dimensions, added some decorative details, and changed the mini-album, because I needed an album that could contain about thirty photos.
I am therefore delighted today to present you my version, a magic lantern for fairies.
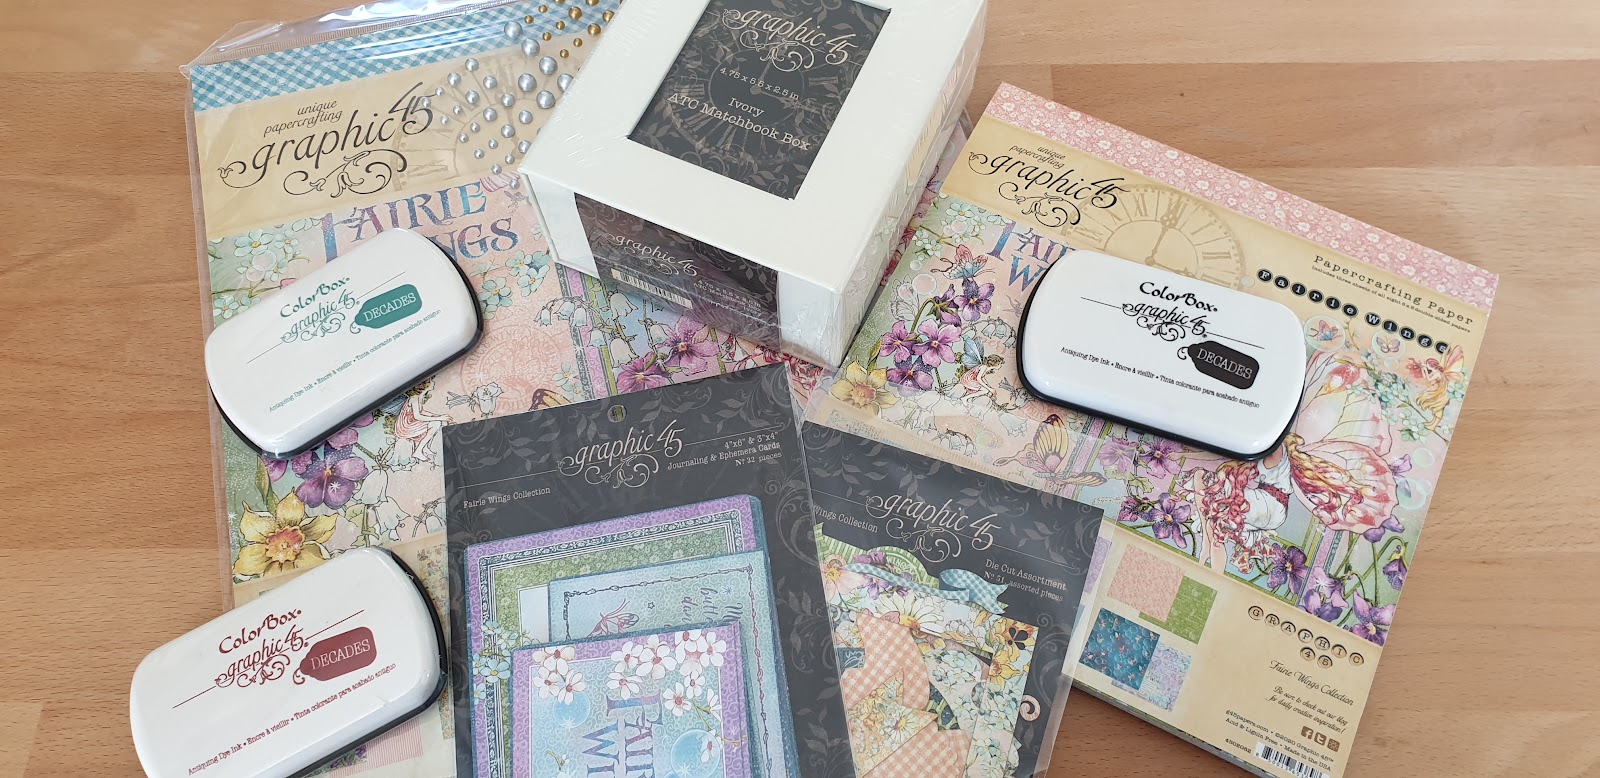
Graphic 45 Supplies List:
Other Supplies List:
Ivory cardstock
Chipboards
Embellishments
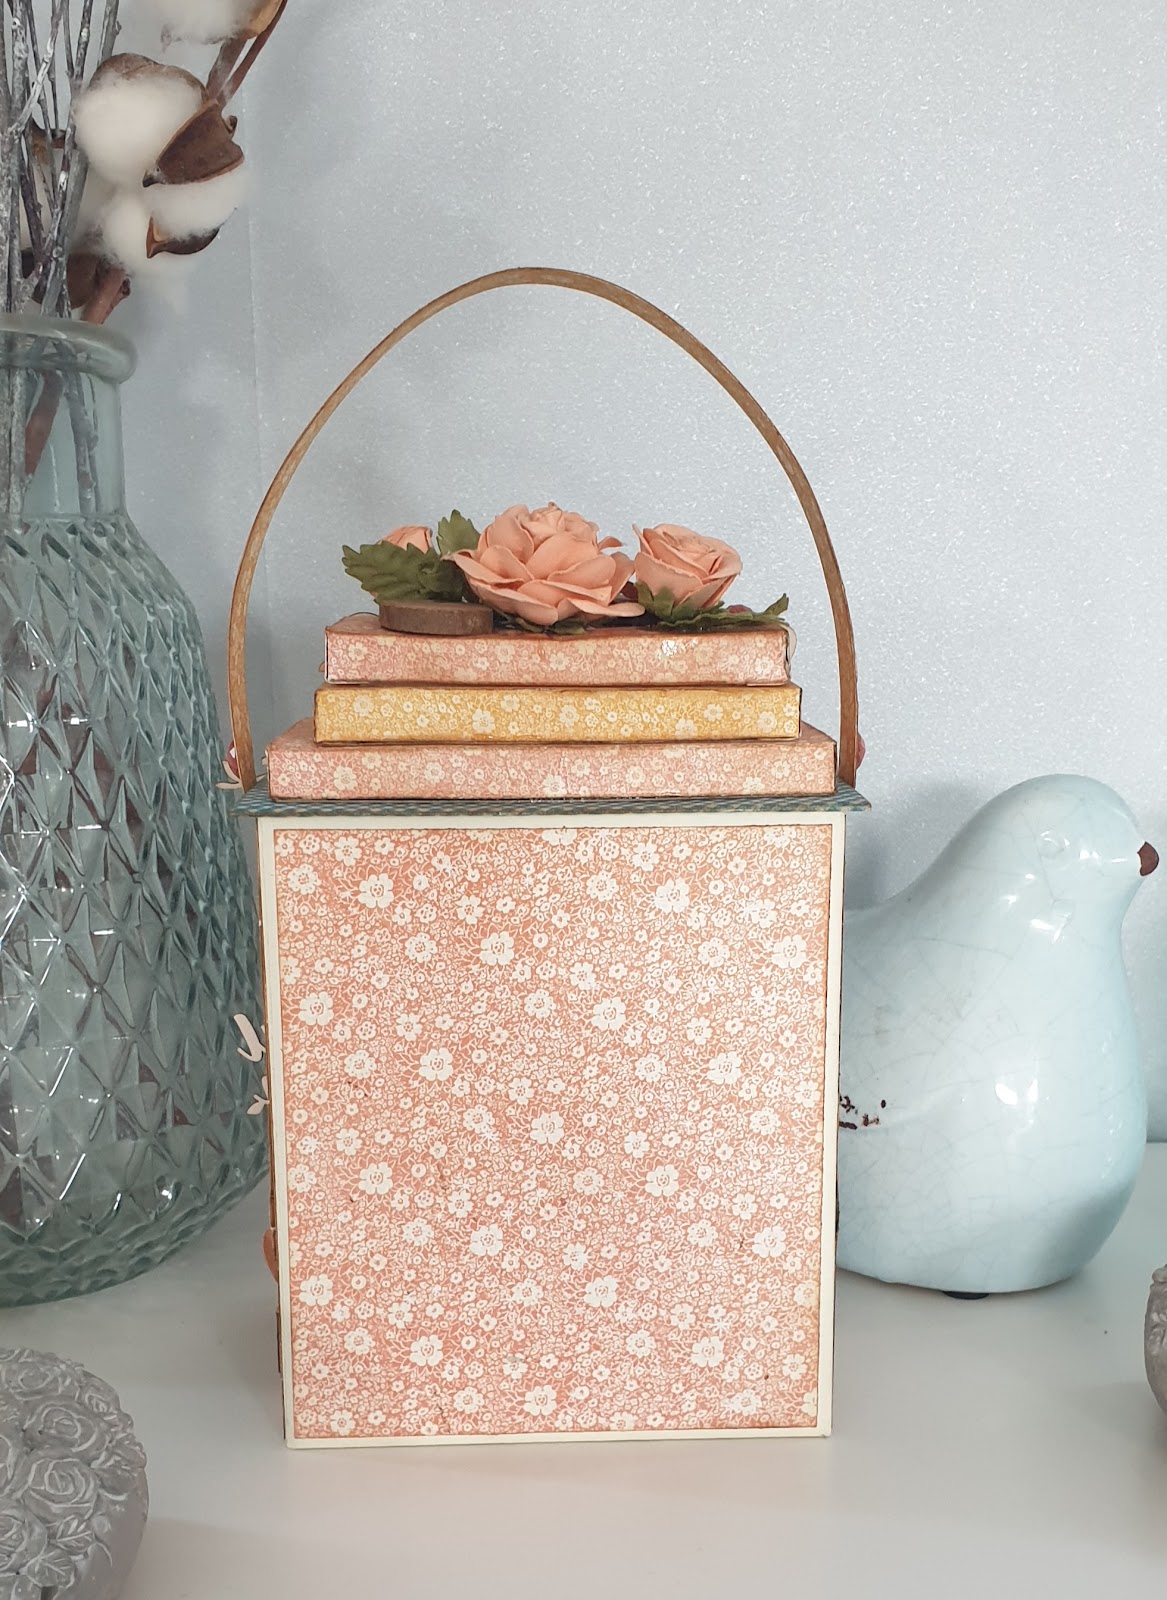
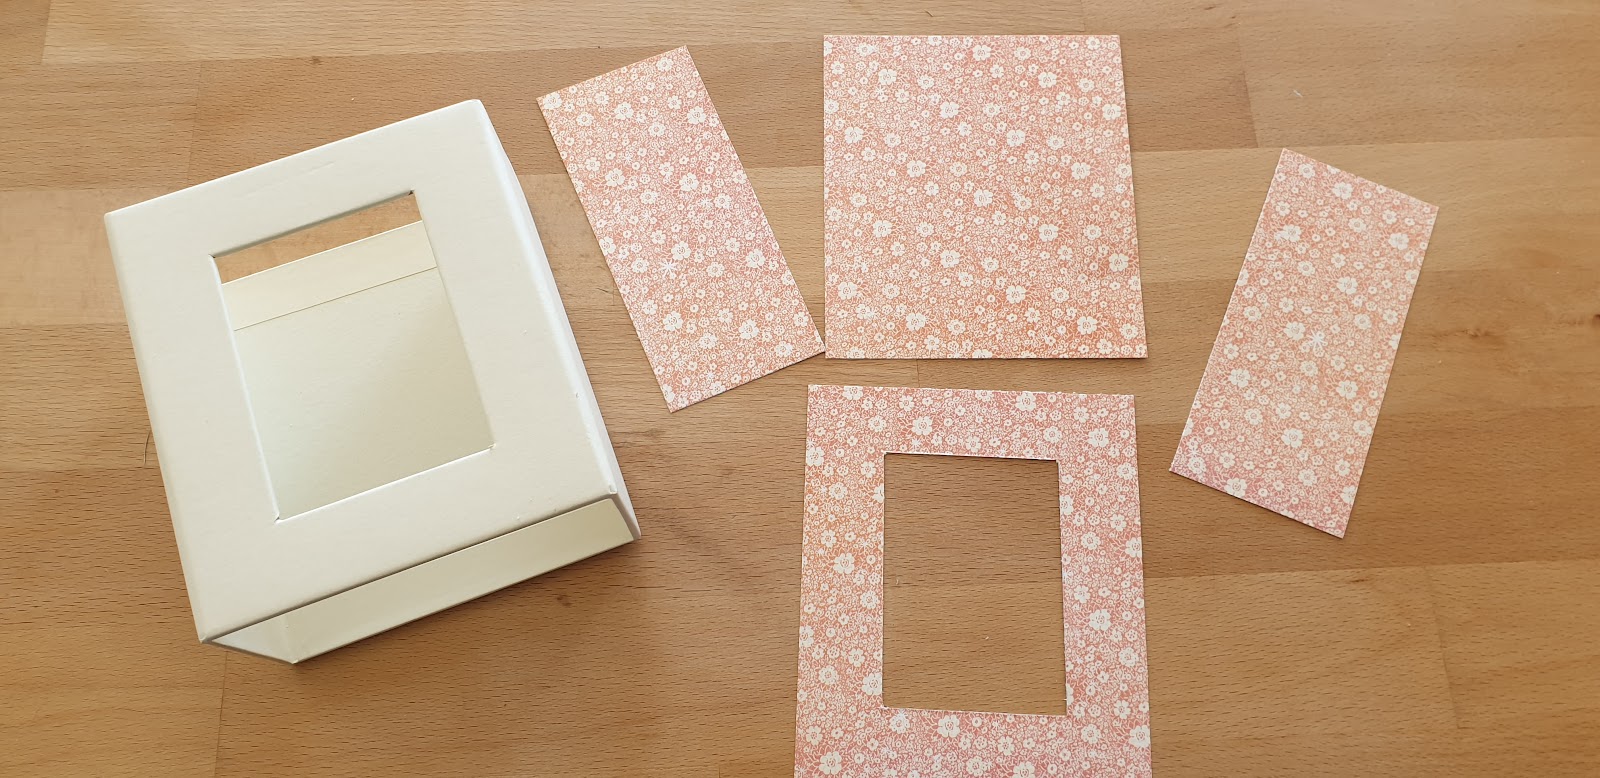
Fairy Lantern Box Tutorial
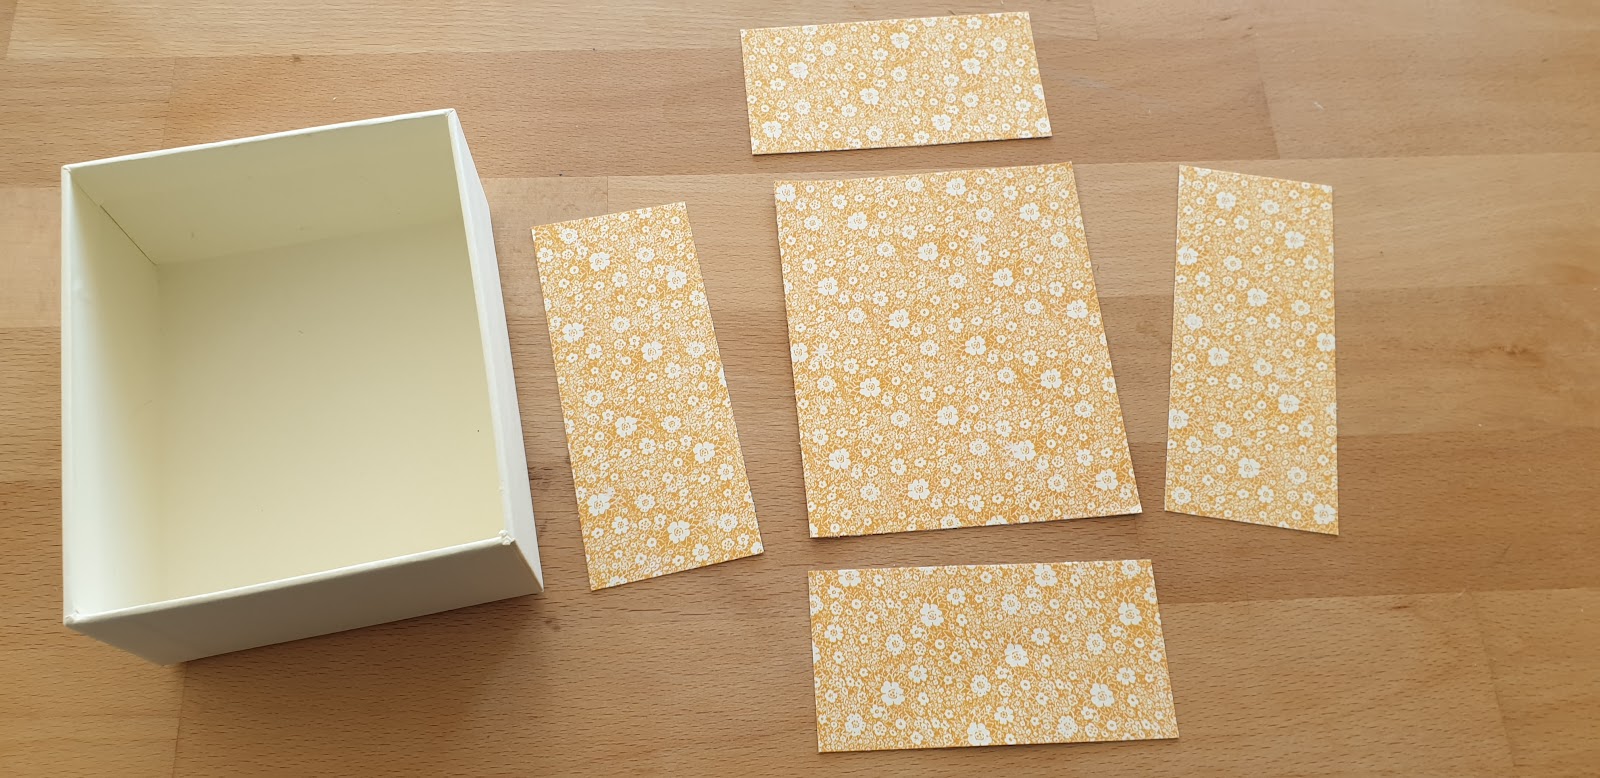
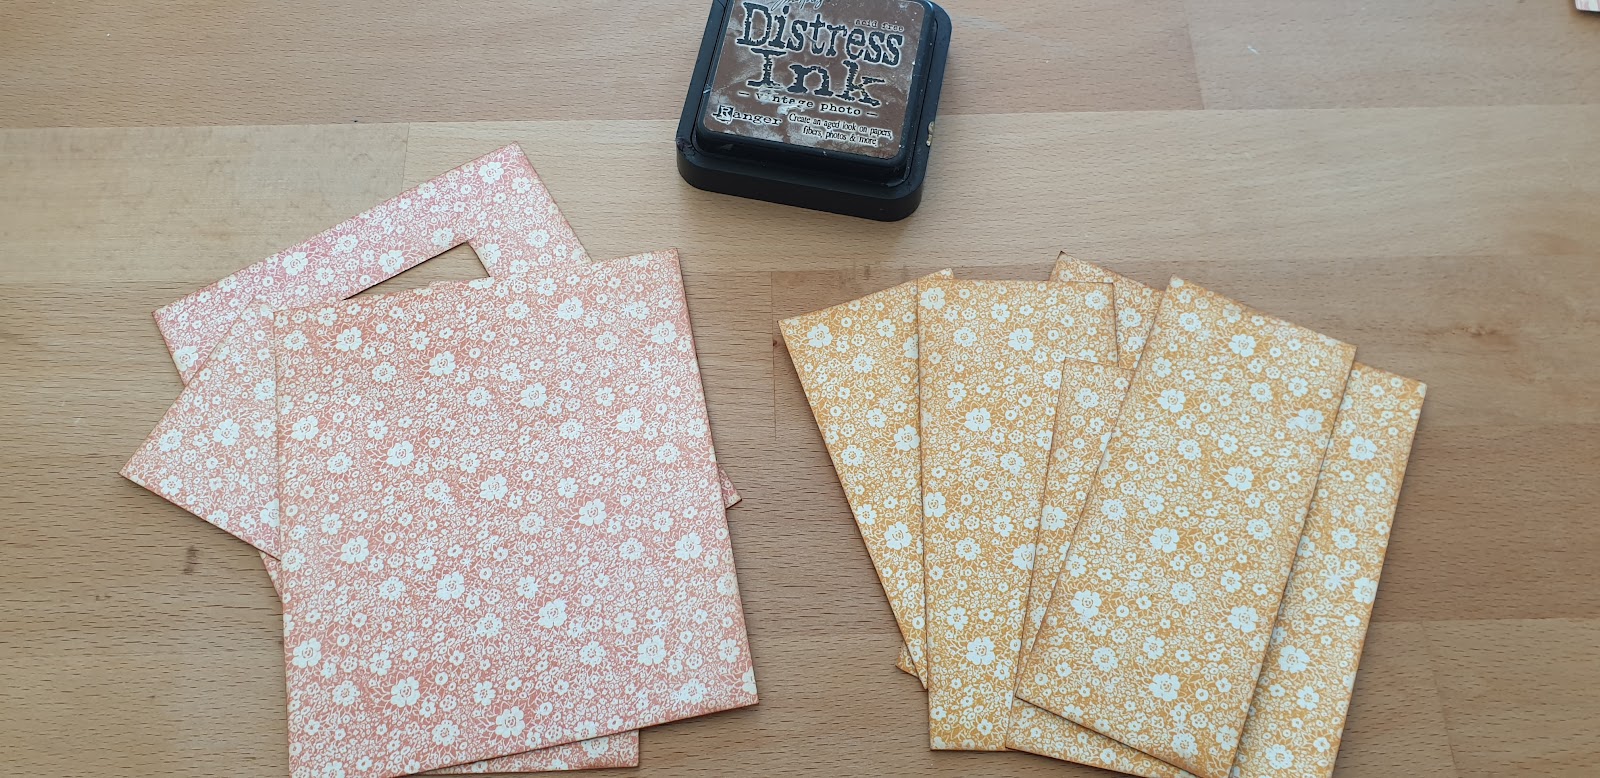
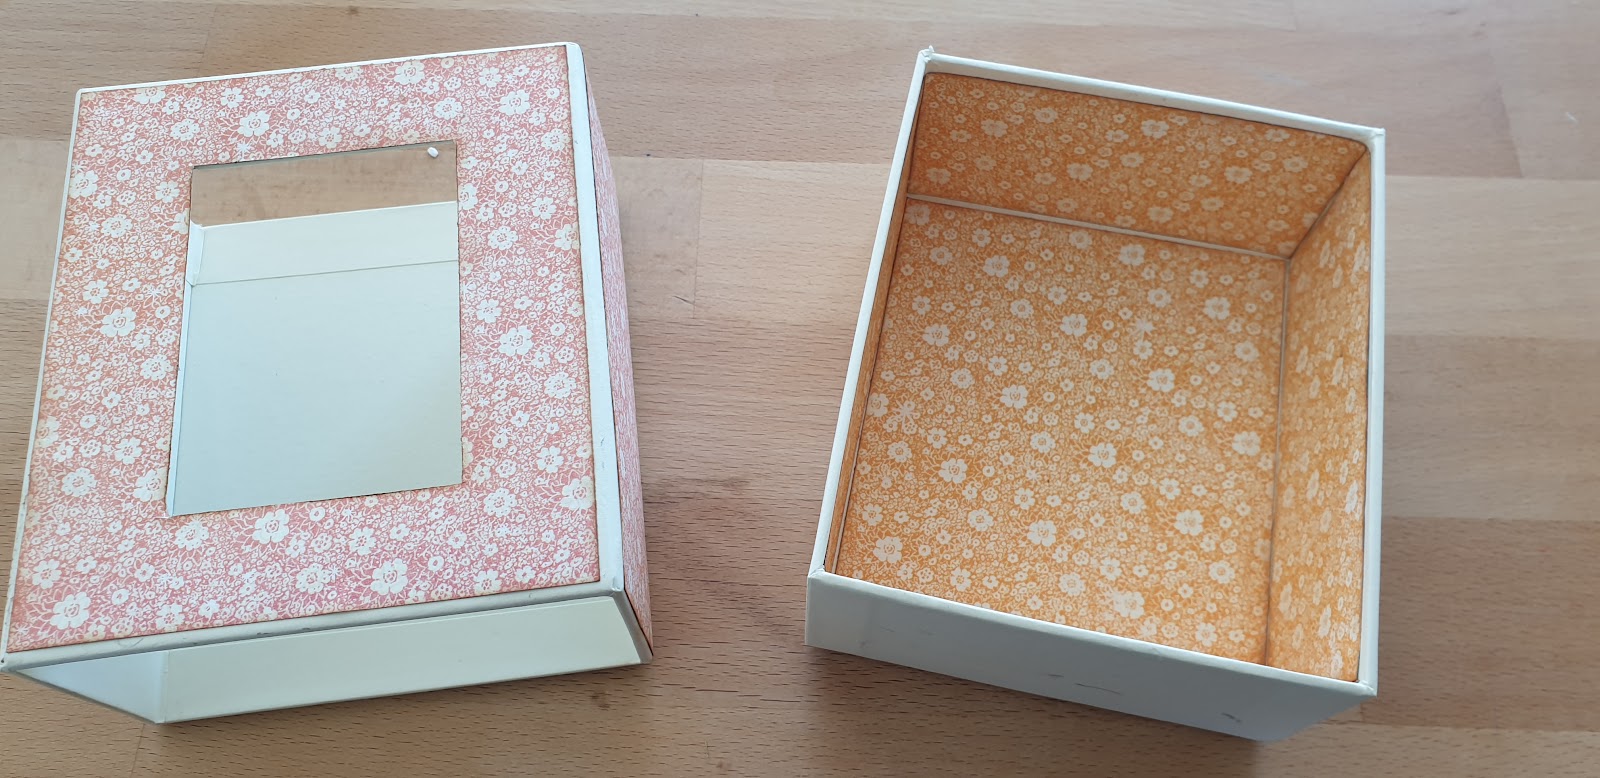
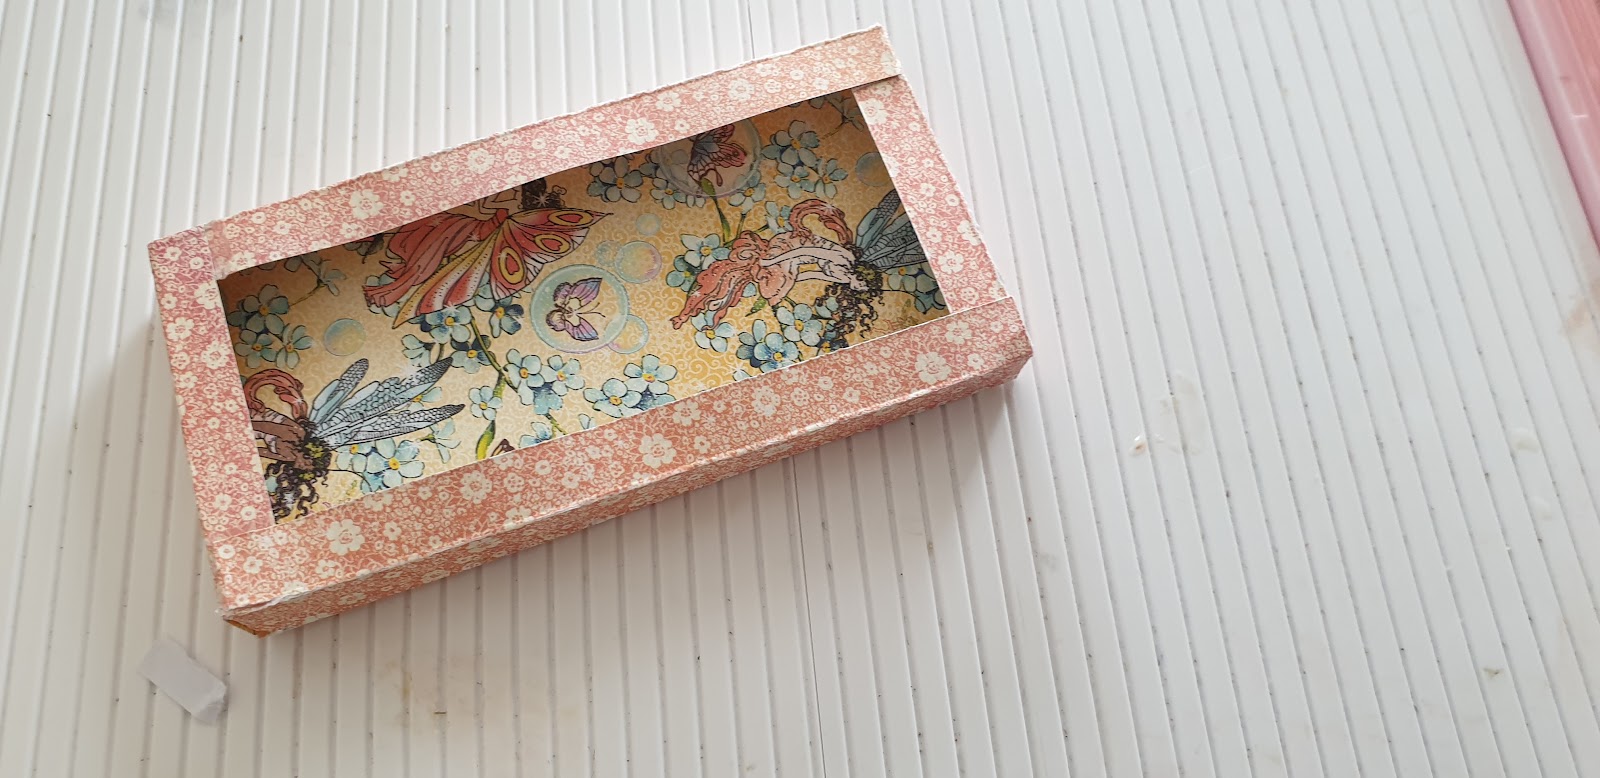
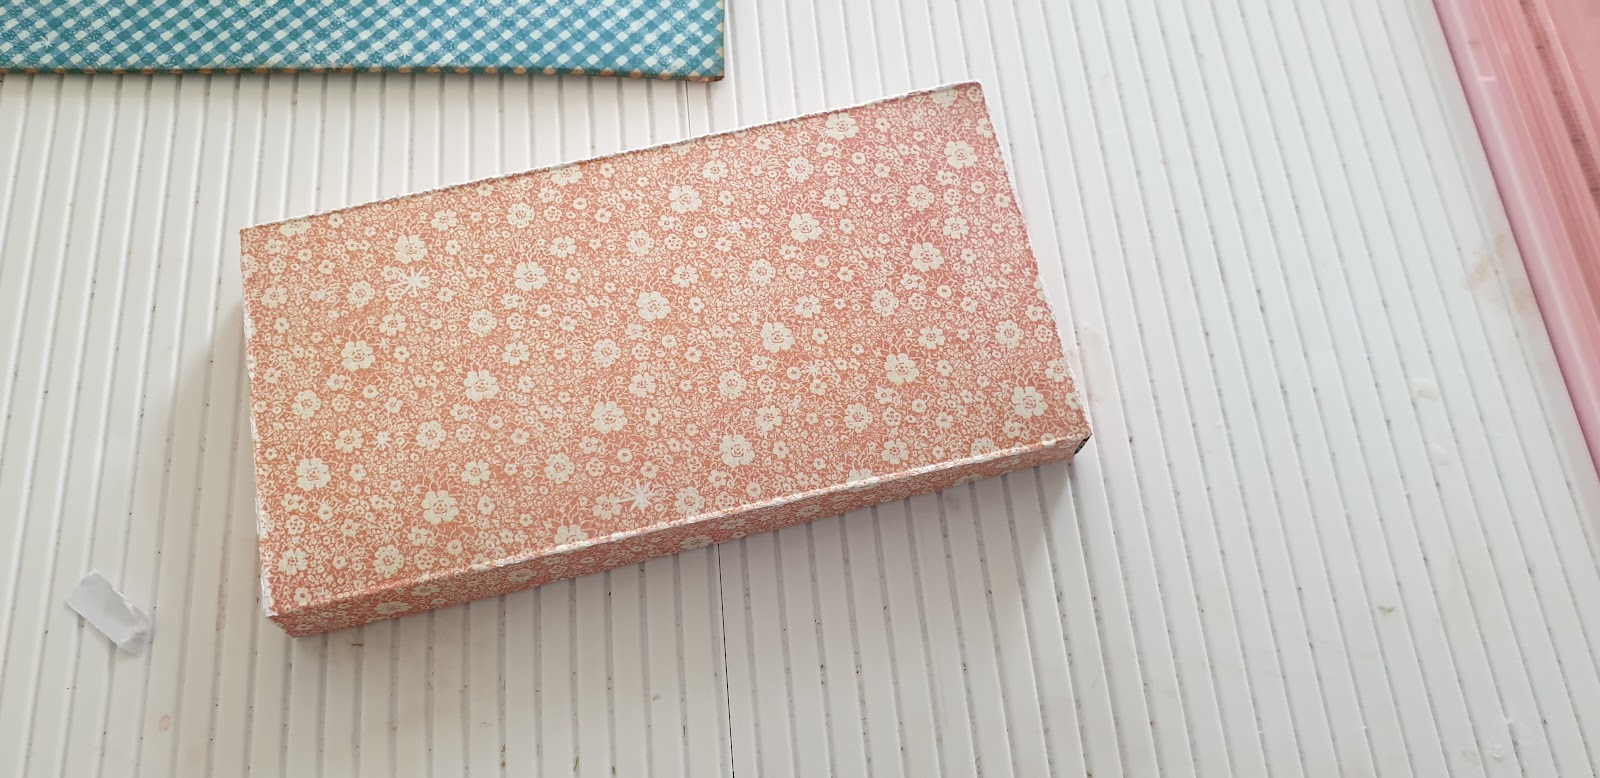
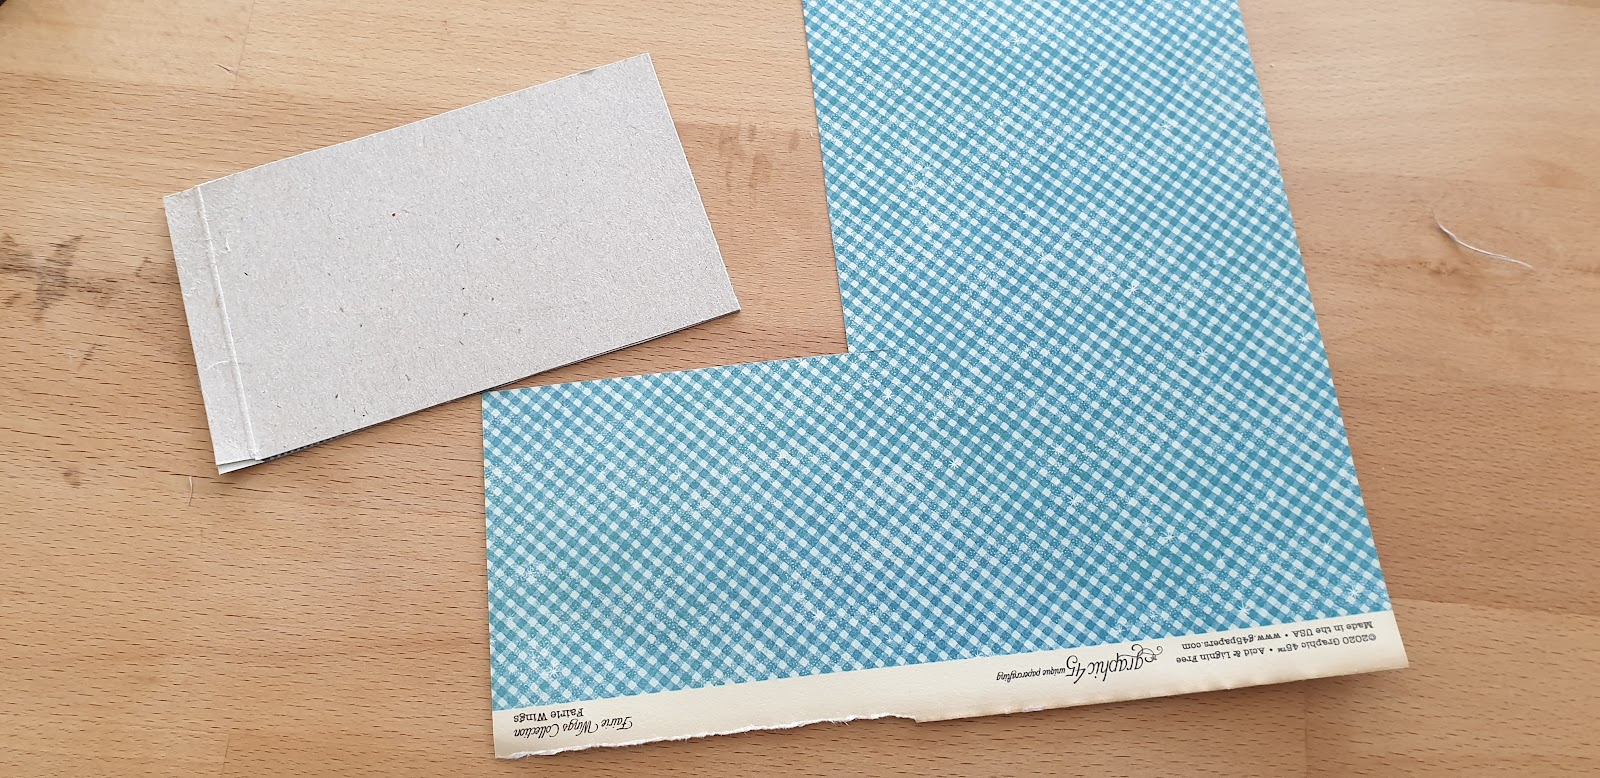
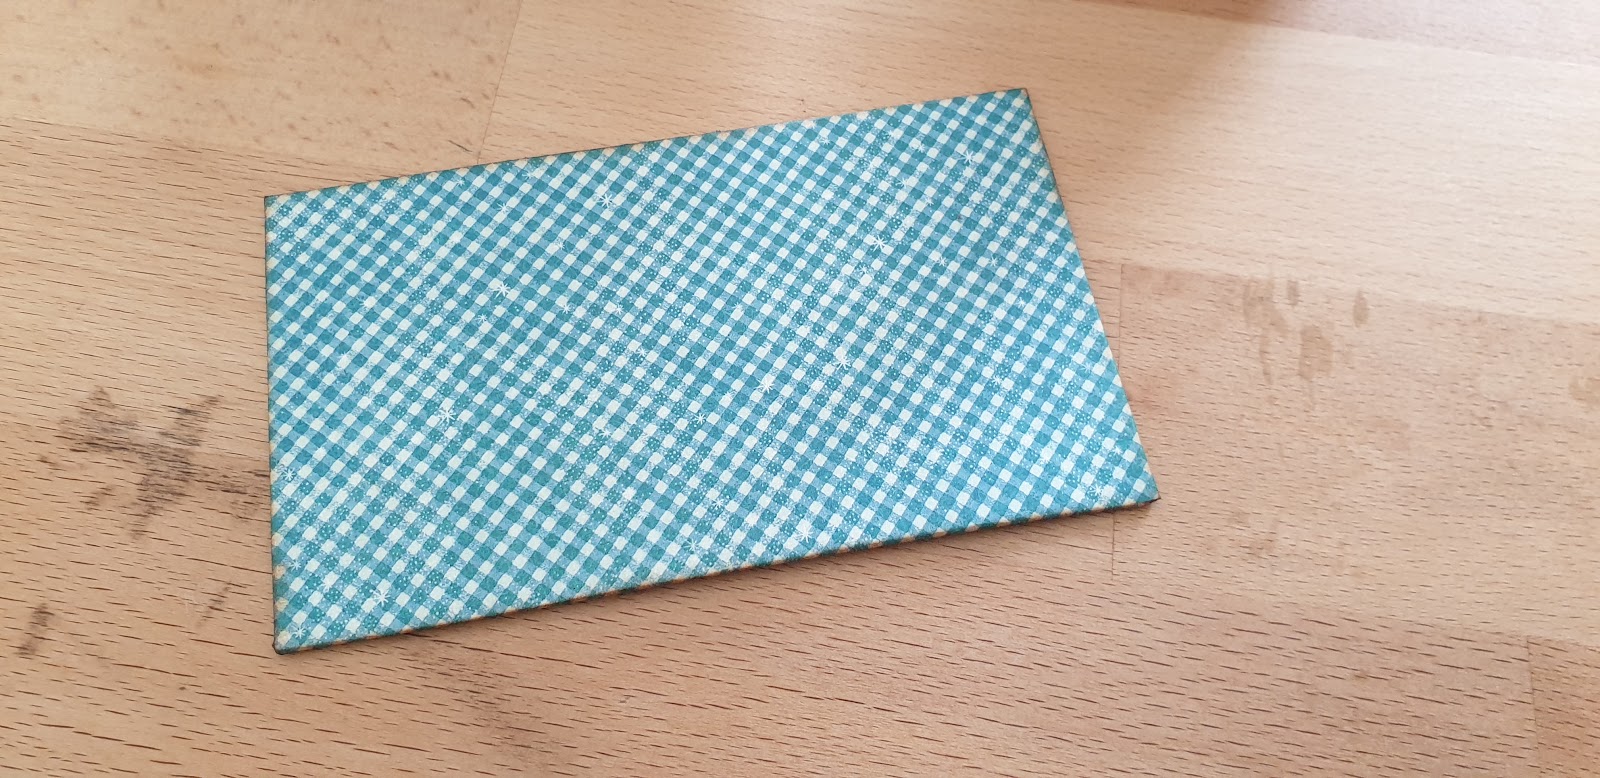
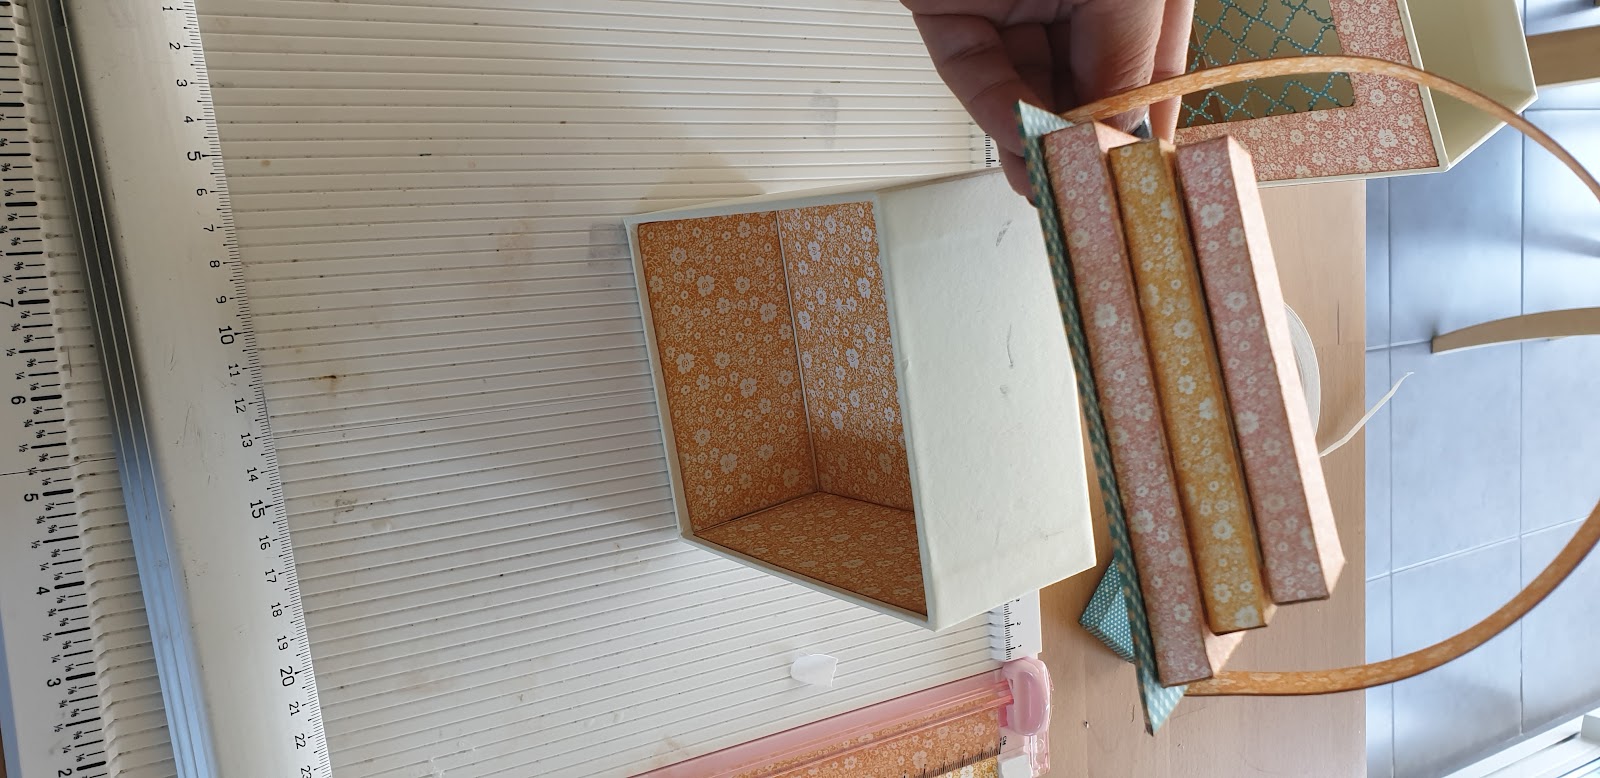
The first step will be to cover our box with papers.
To add a vintage touch, I inked all the edges of my papers before gluing them
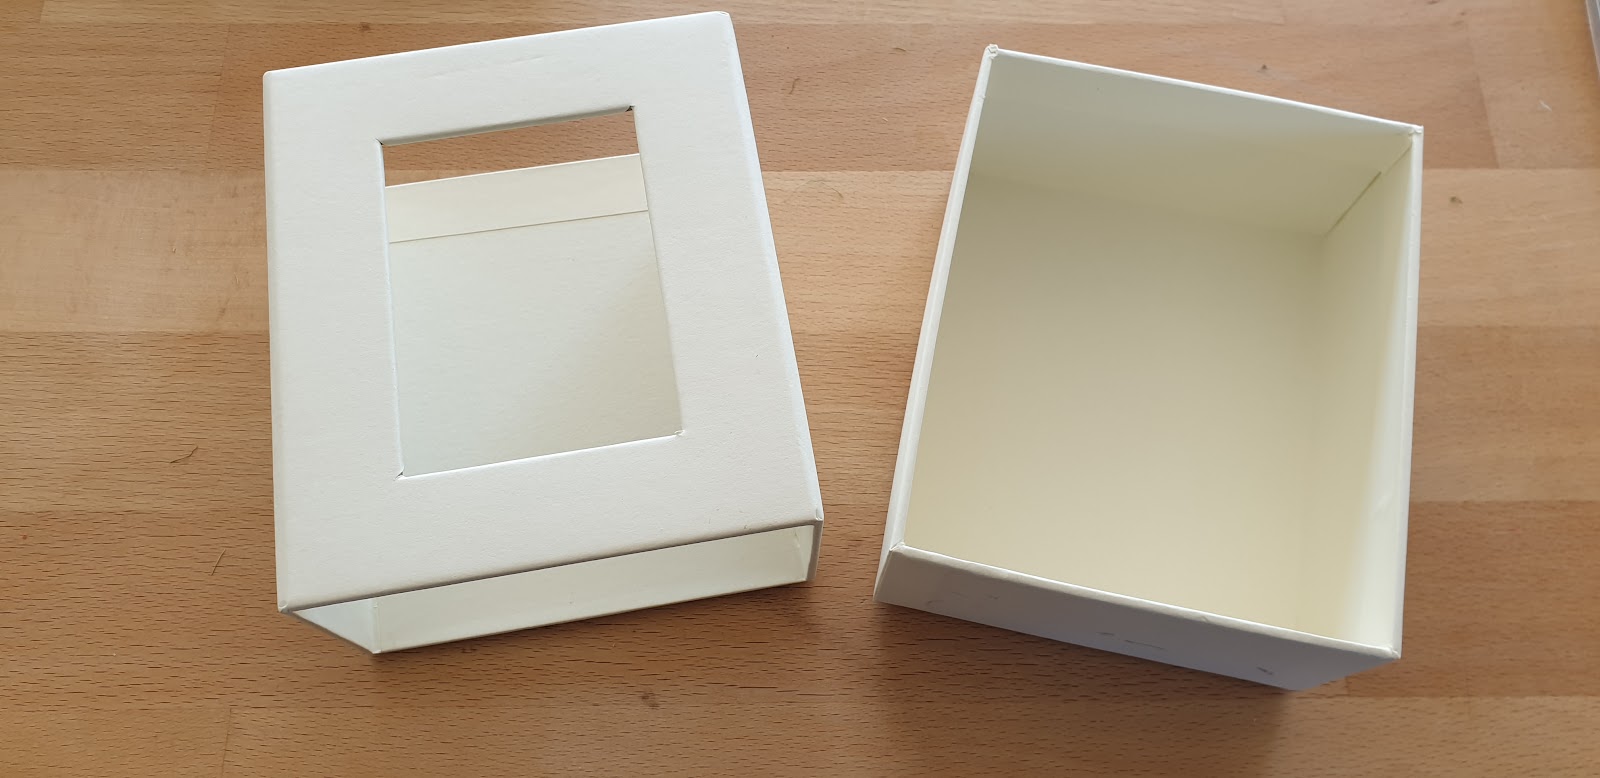
Papers Inside:
2: 5.5 cm x 13.2 cm
1.96 inch x 5.12 inch
2: 5.5 cm x 11 cm
1.96 inch x 4.33 inch
Papers Outside:
Front : 13.5 cm x 11 cm
4.33 inch x 5.12 inch
Back: 13.5 cm x 11.5 cm
4.33 inch x 5.12 inch
The sides: 13.5 cm x 6 cm
4.33 inch x 2.36 inch
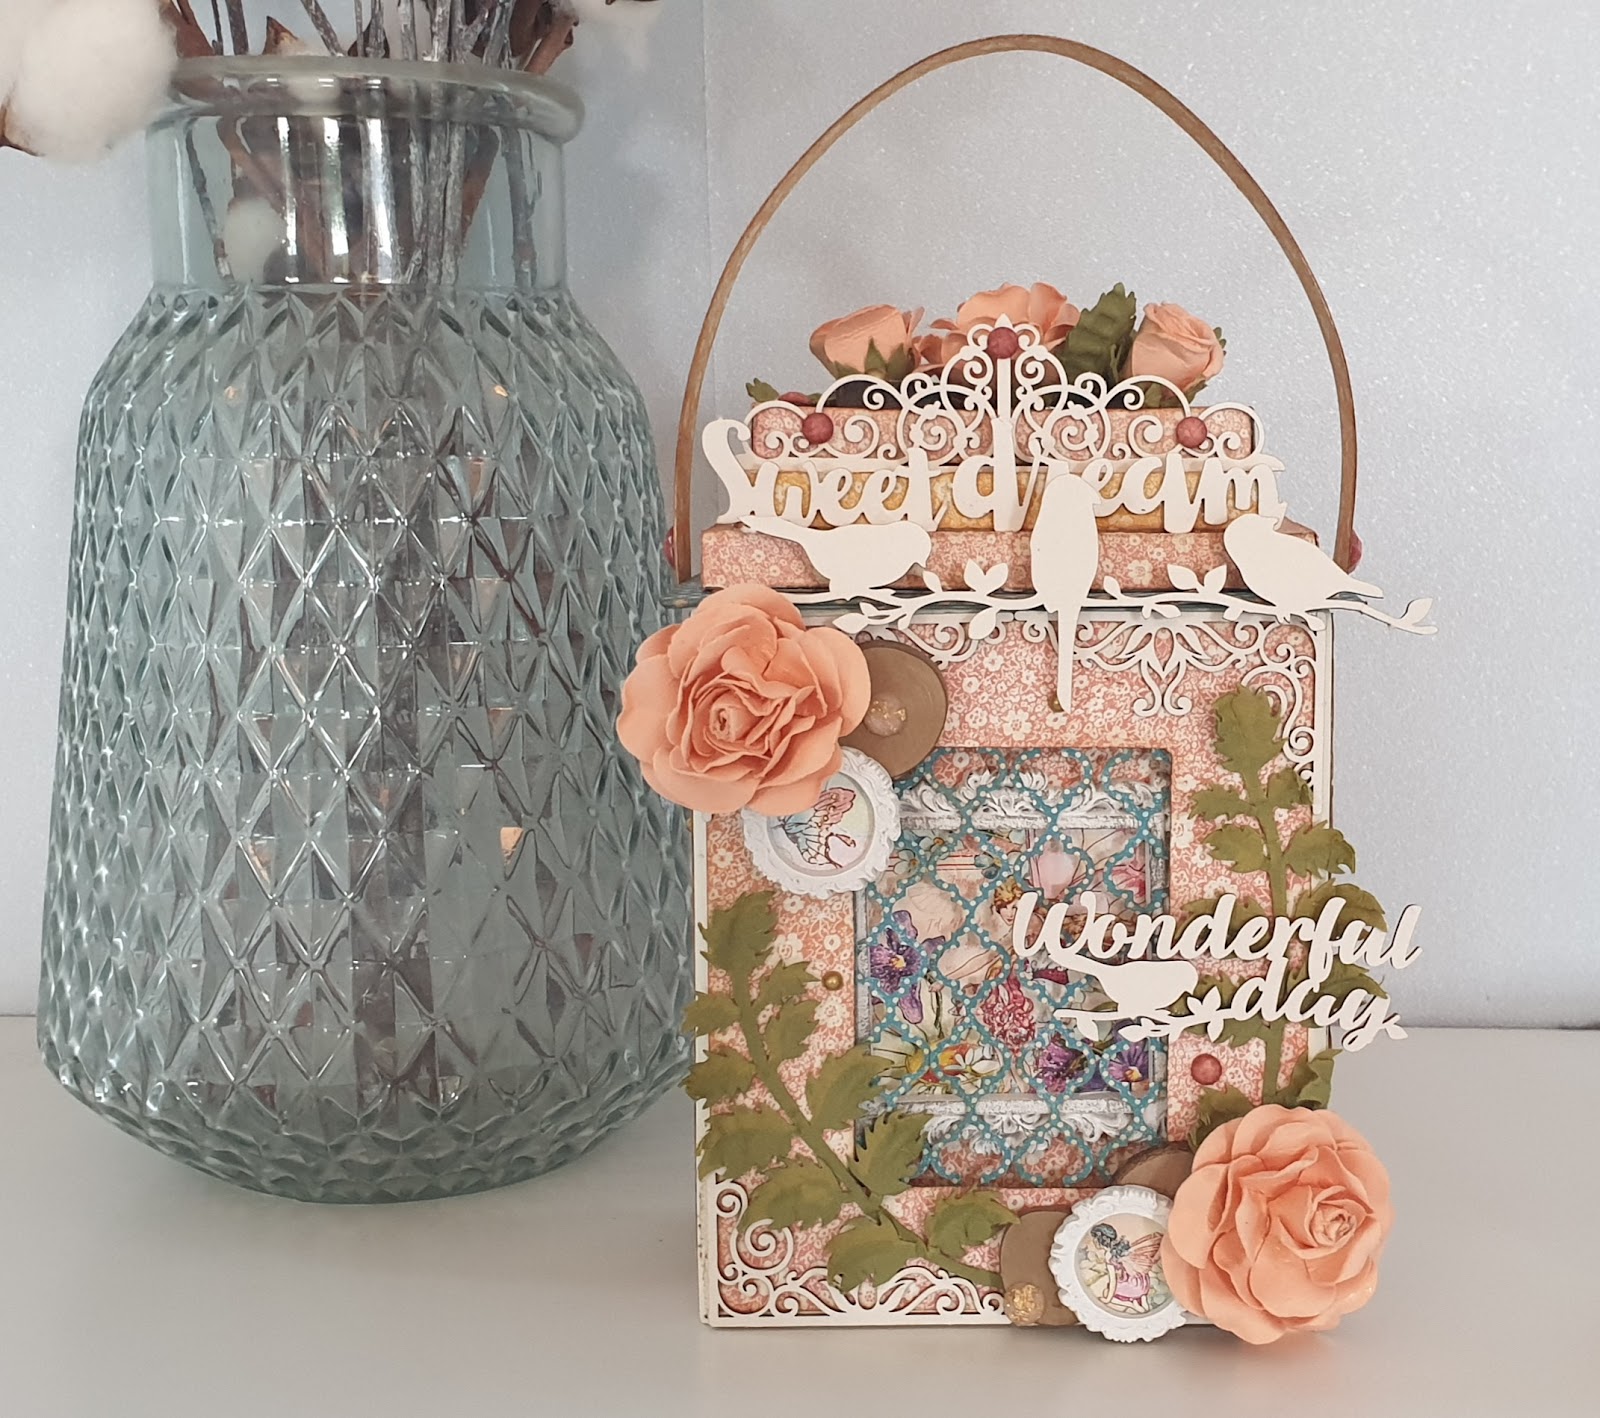
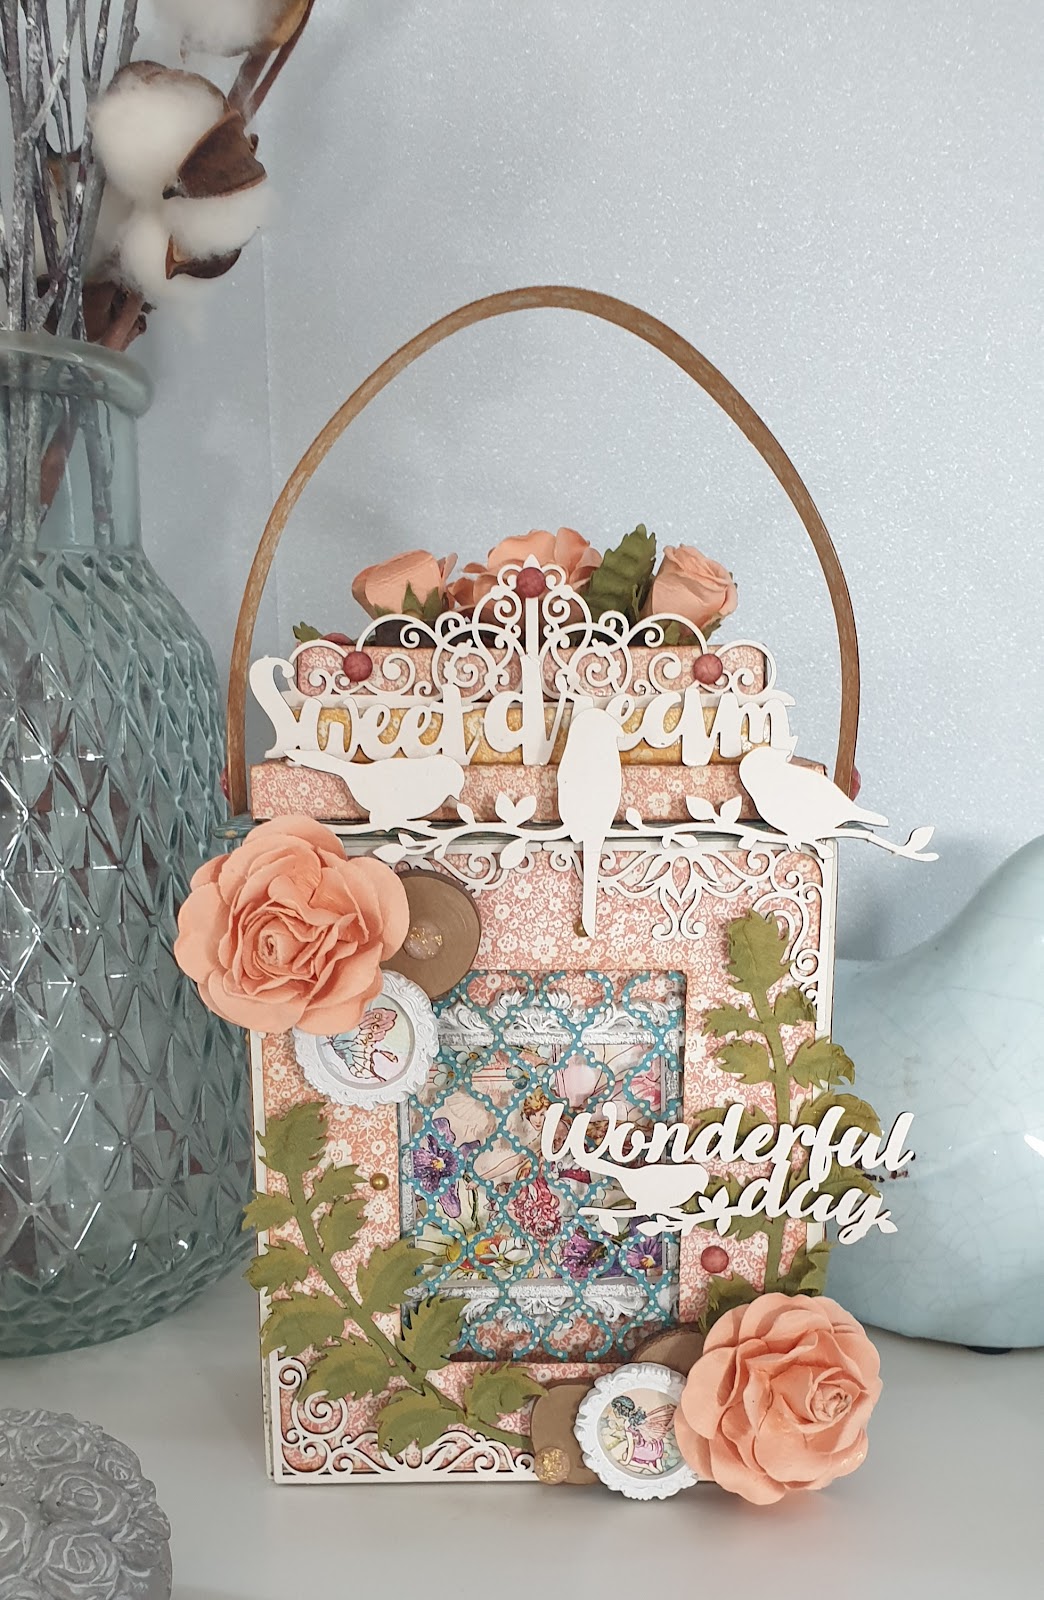
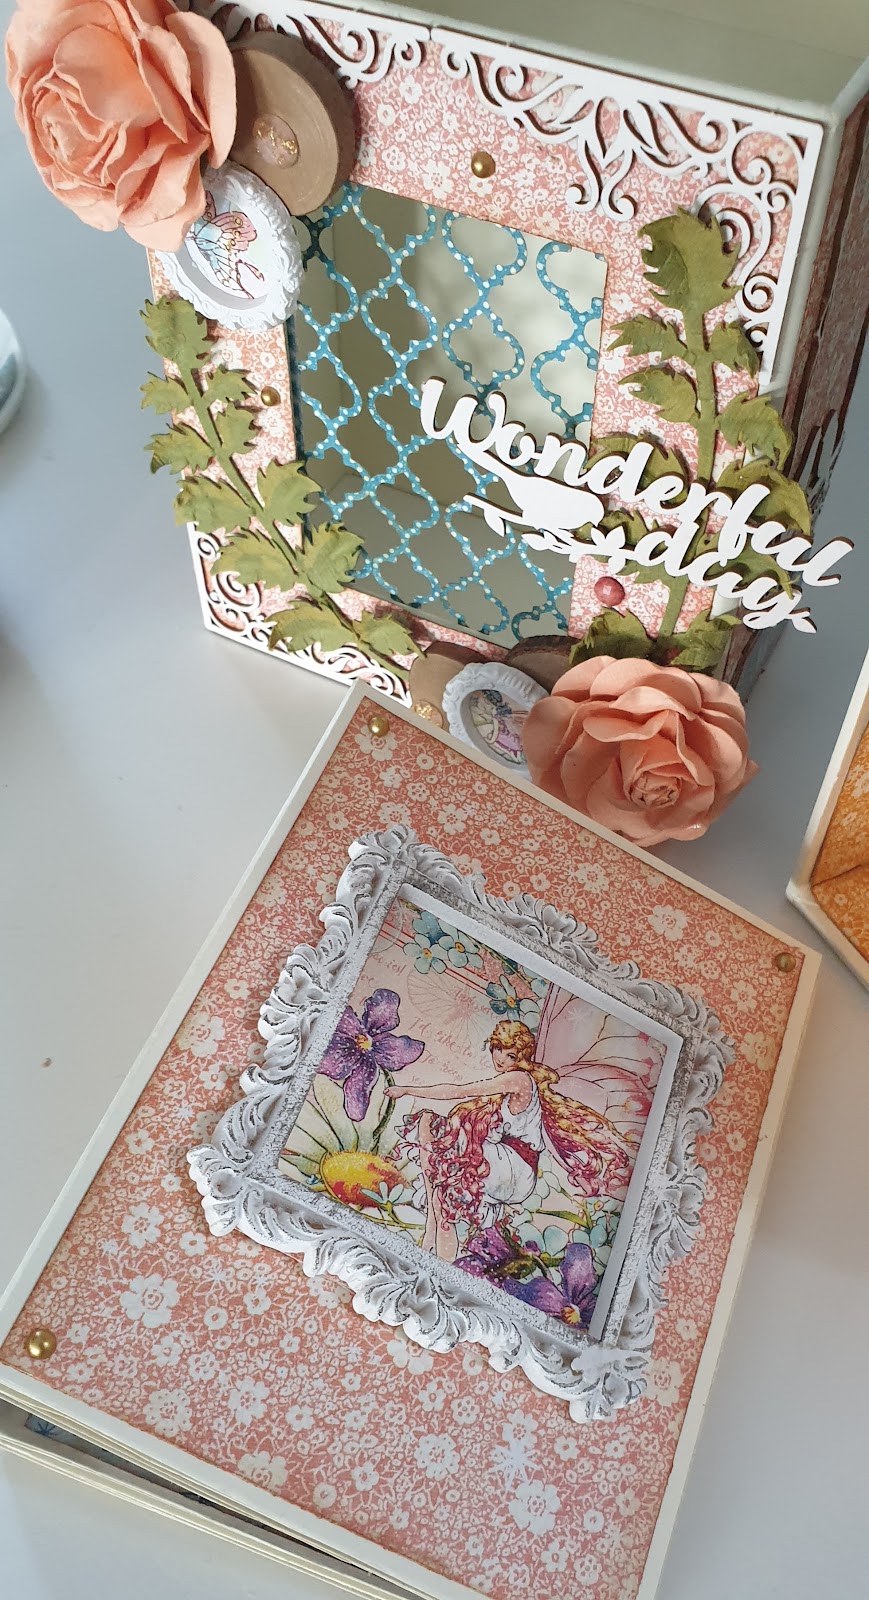
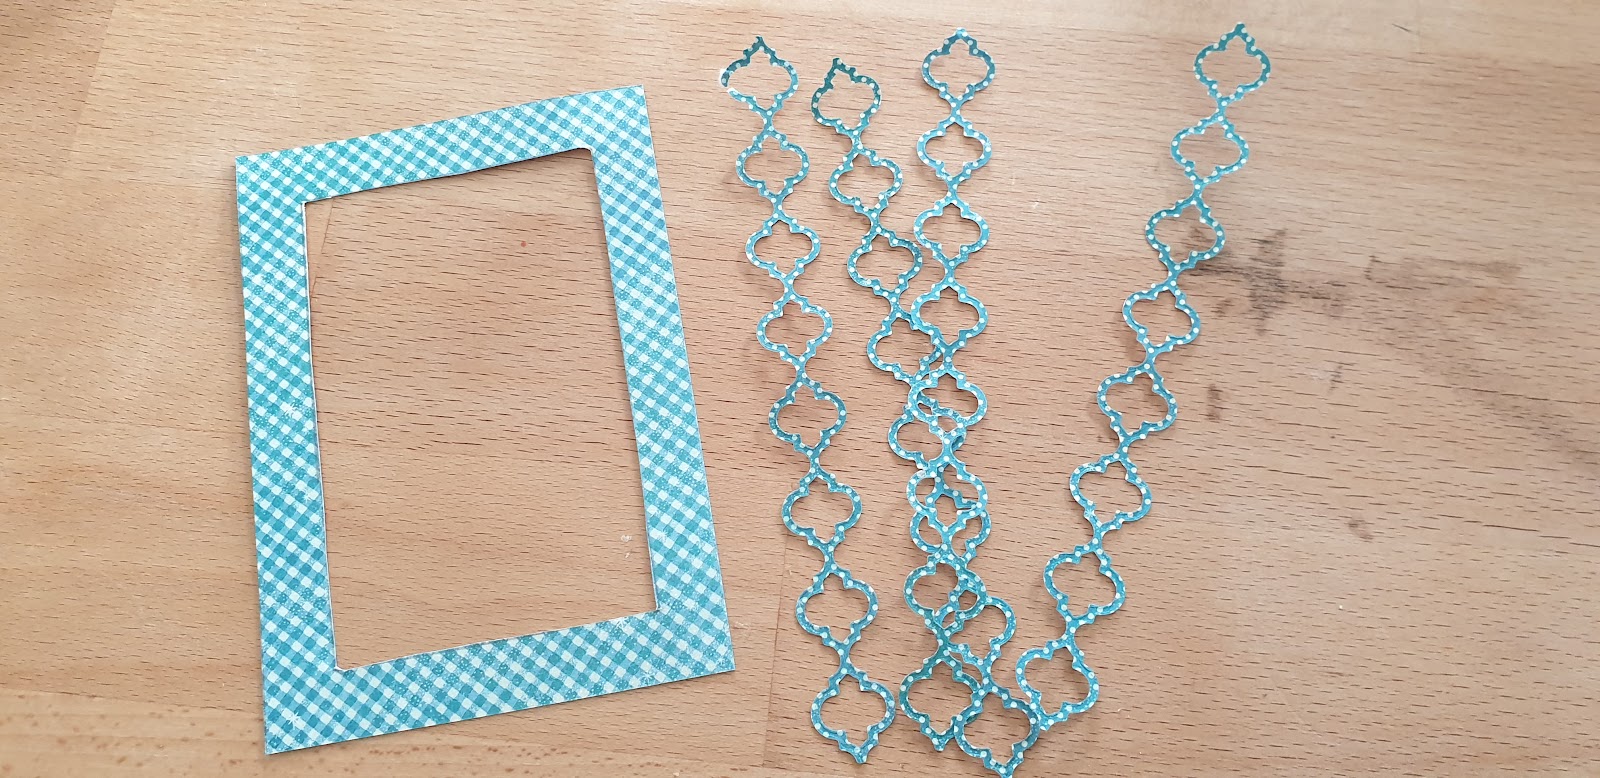
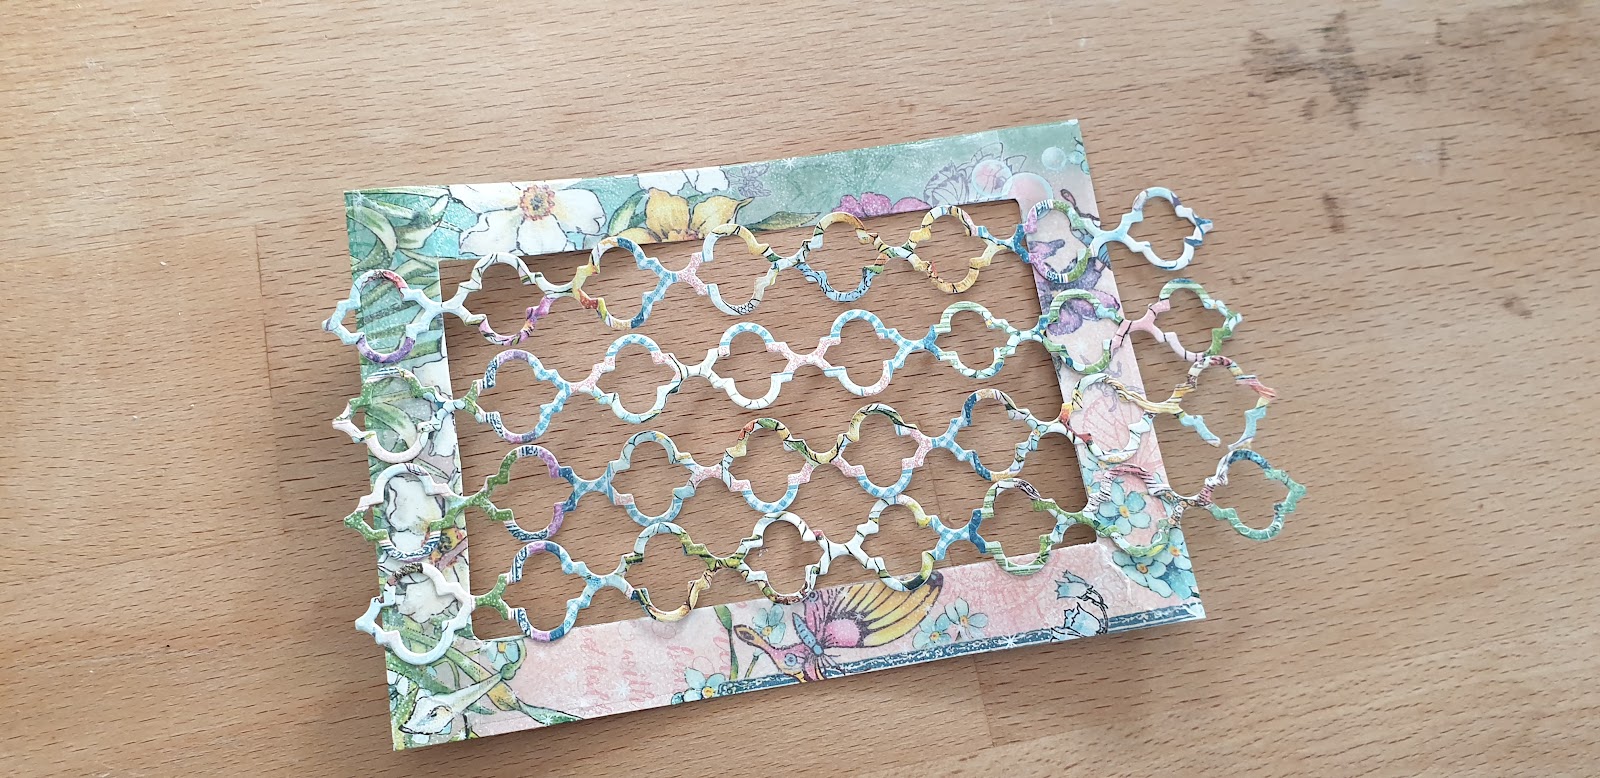
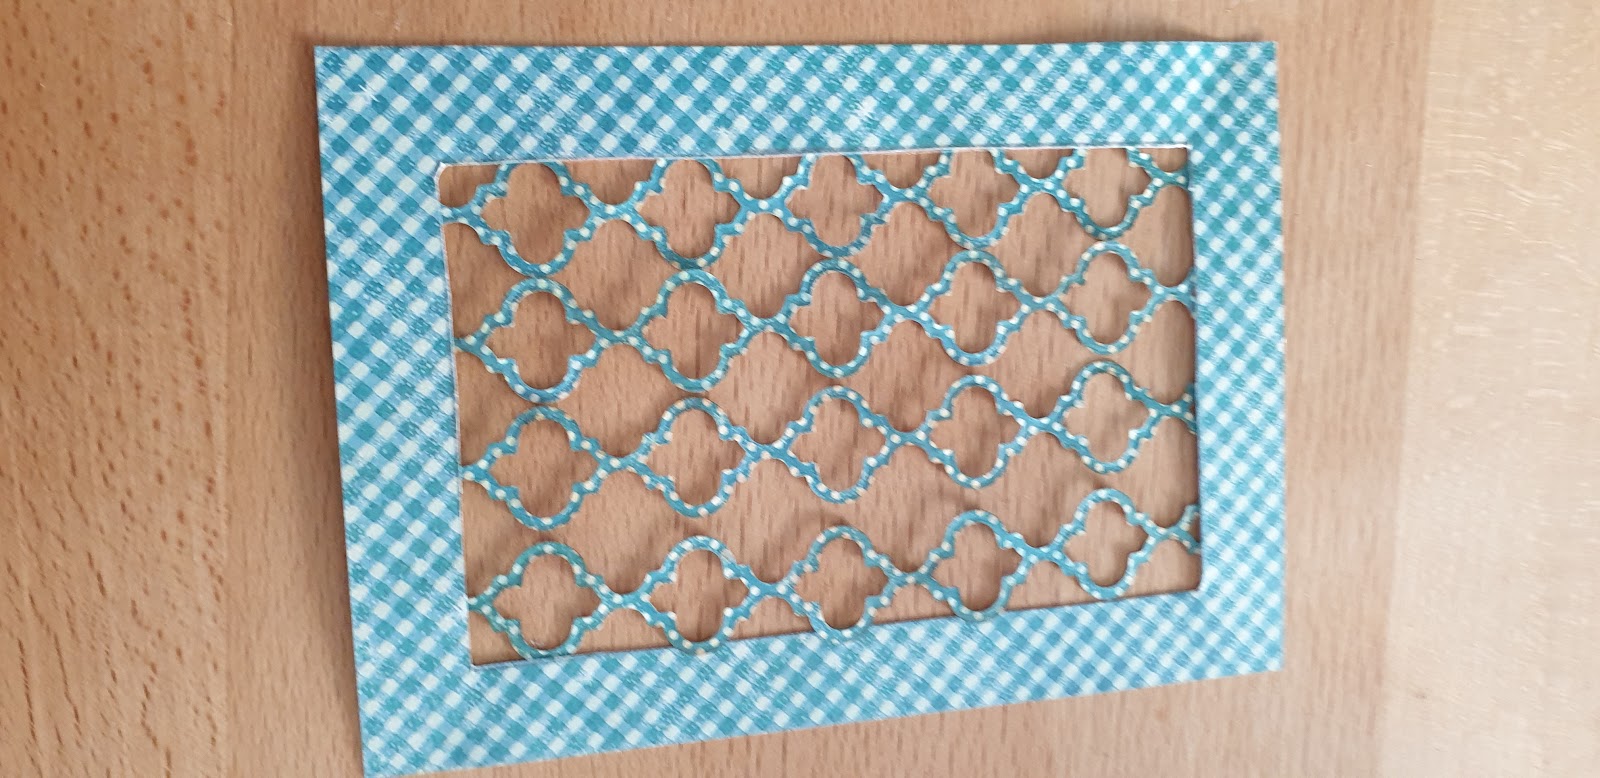
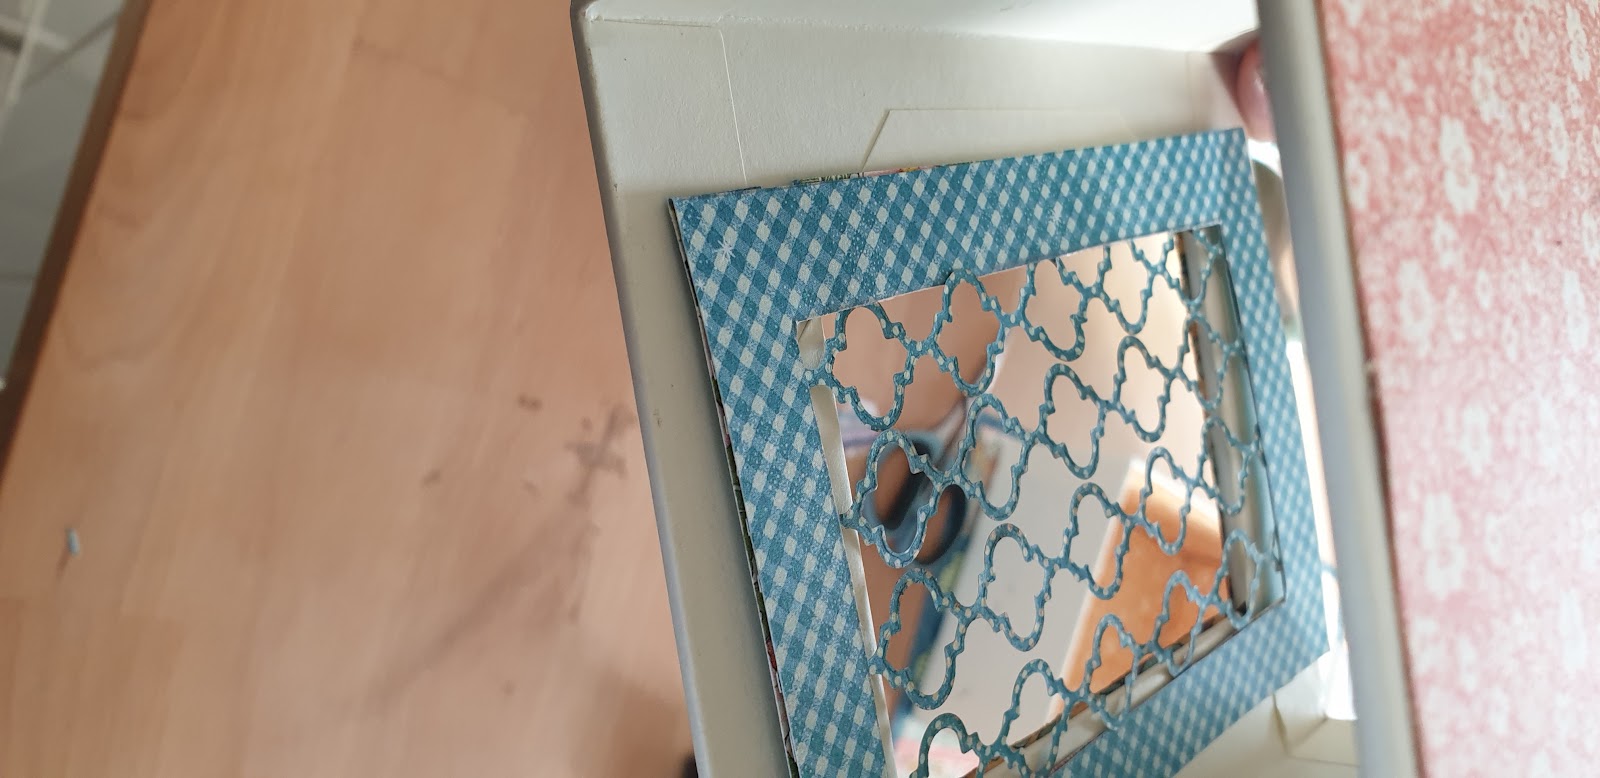
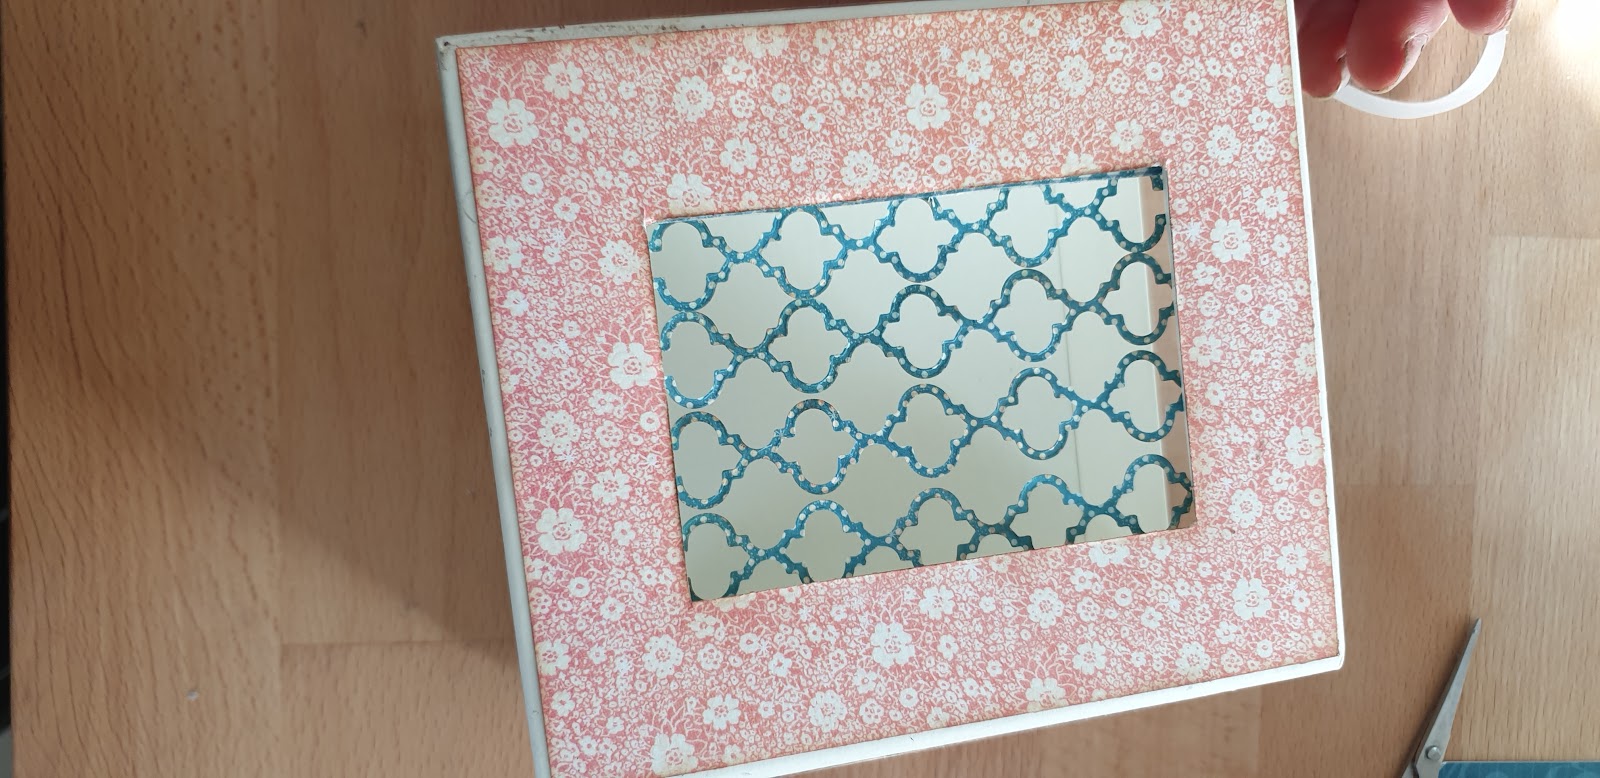
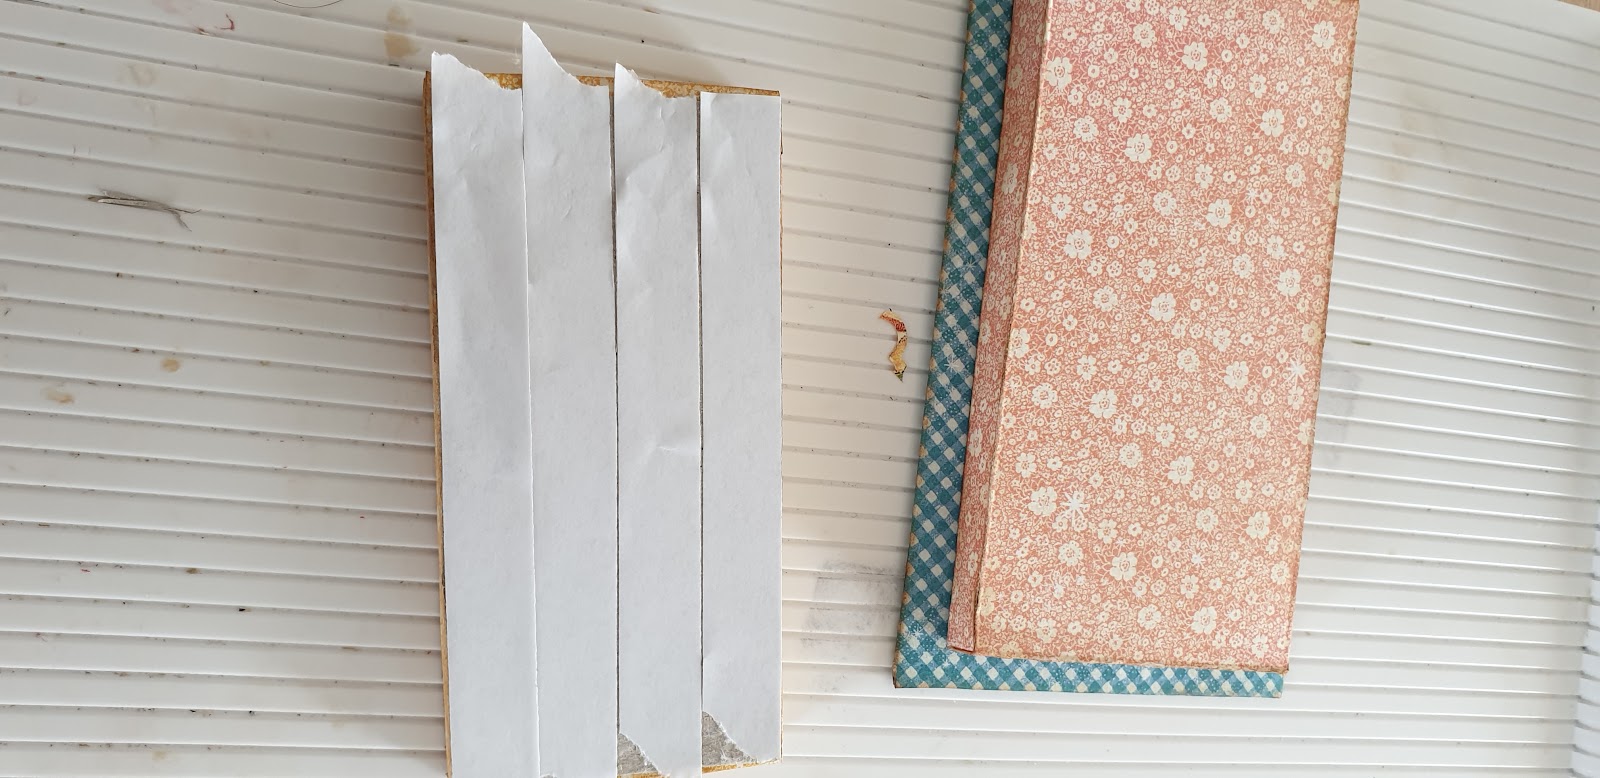
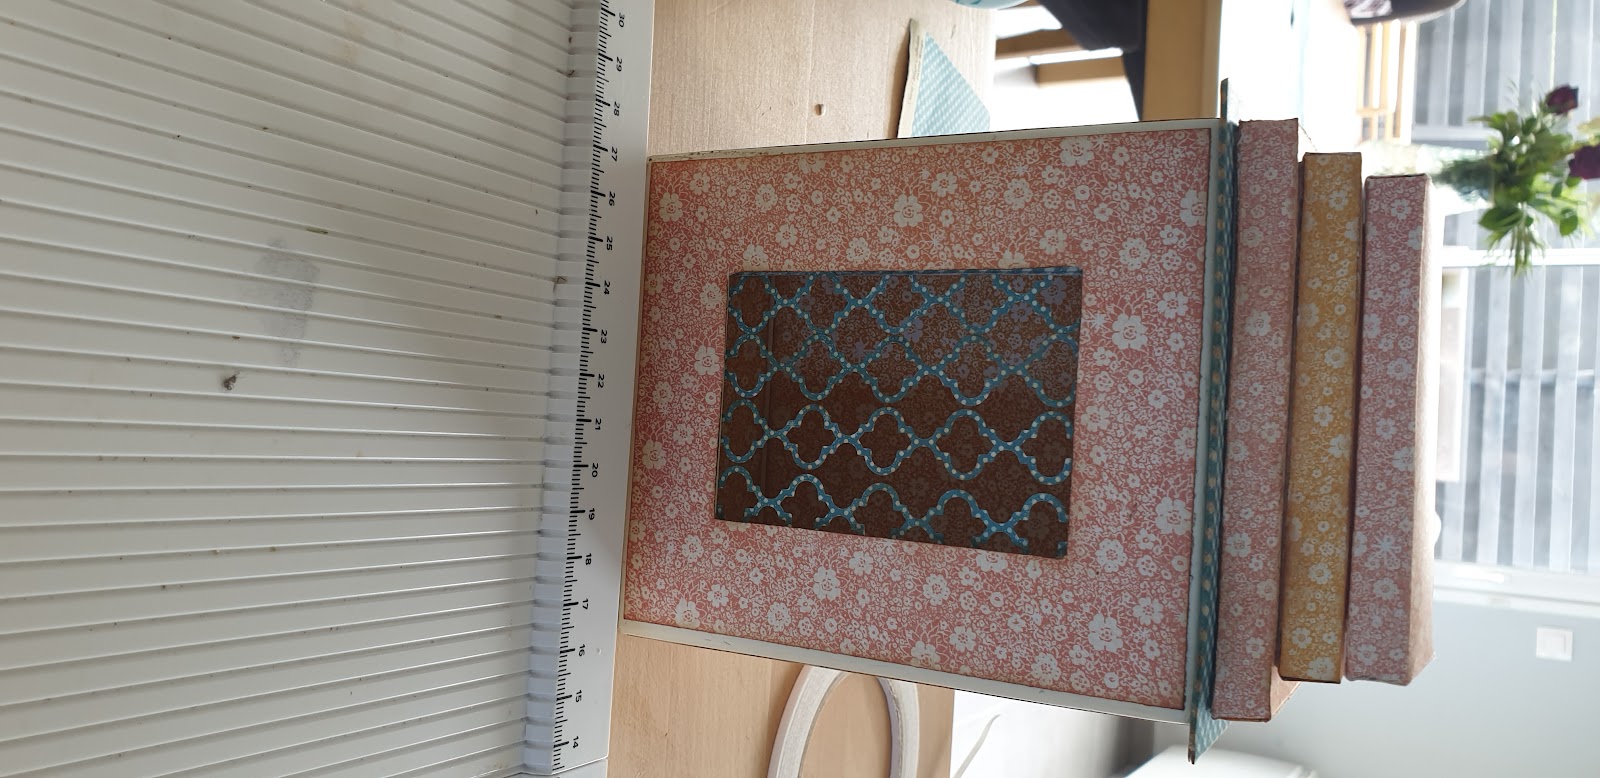
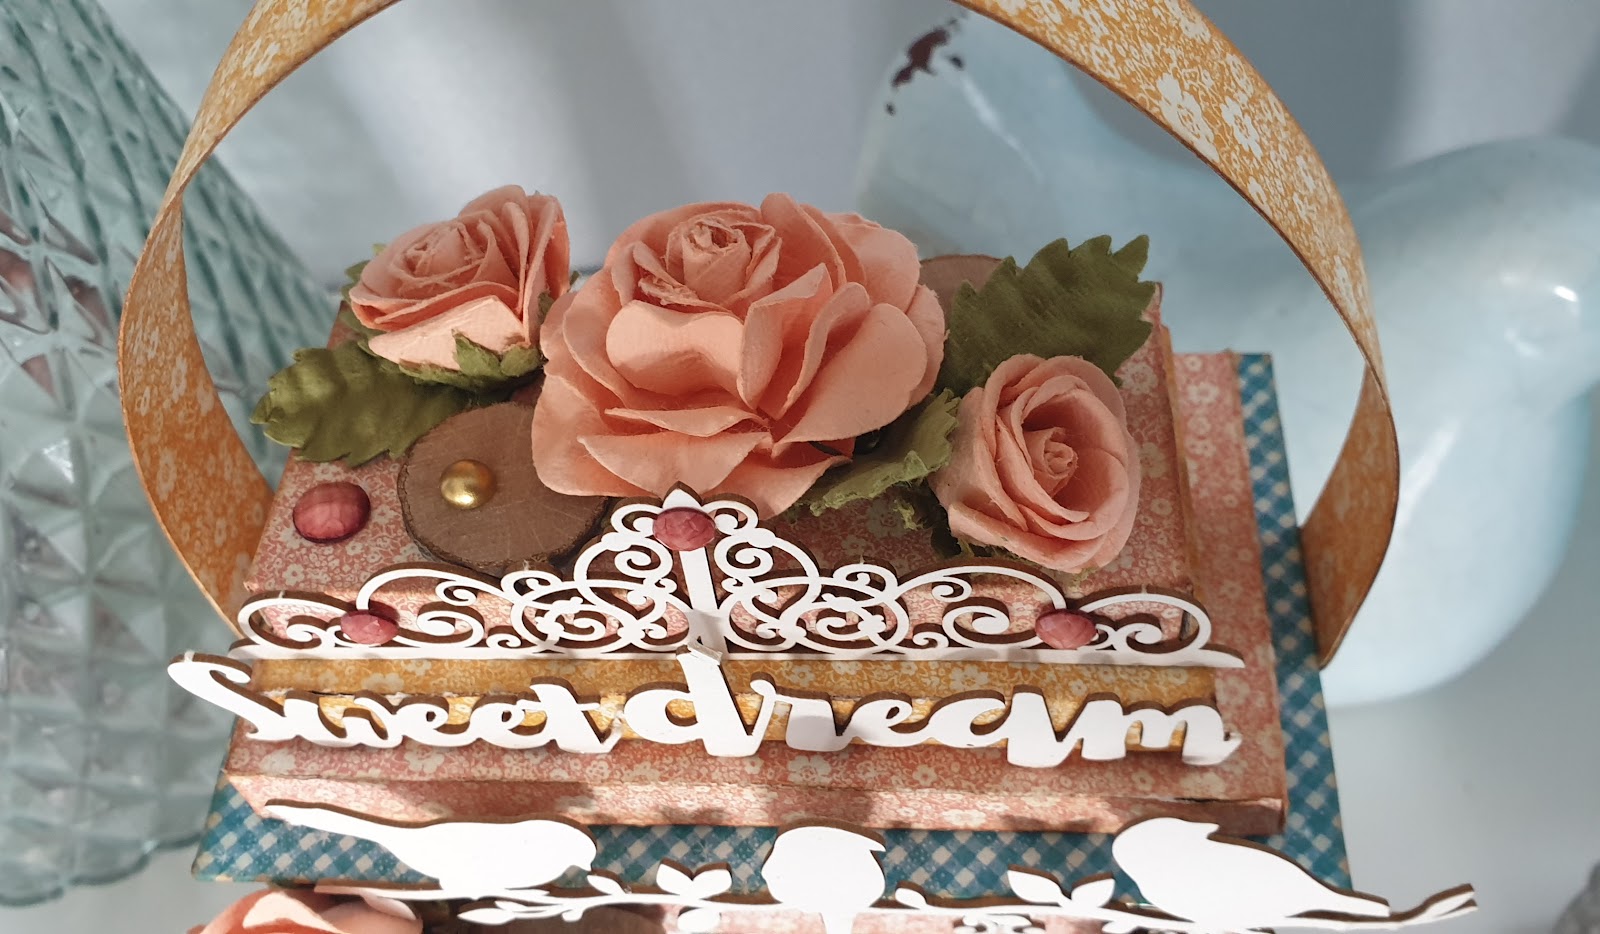
The second step will be to create a decoration on the front of our box. We will create a curtain on our window.
Create a Frame:
11 cm x 8.5 cm
4.33 inch × 3.15 inch
With a Window:
9 cm x 6.4 cm
3.54 inch x 2.36 inch
This curtain brings a romantic, and oriental spirit to our lantern.
—————————–
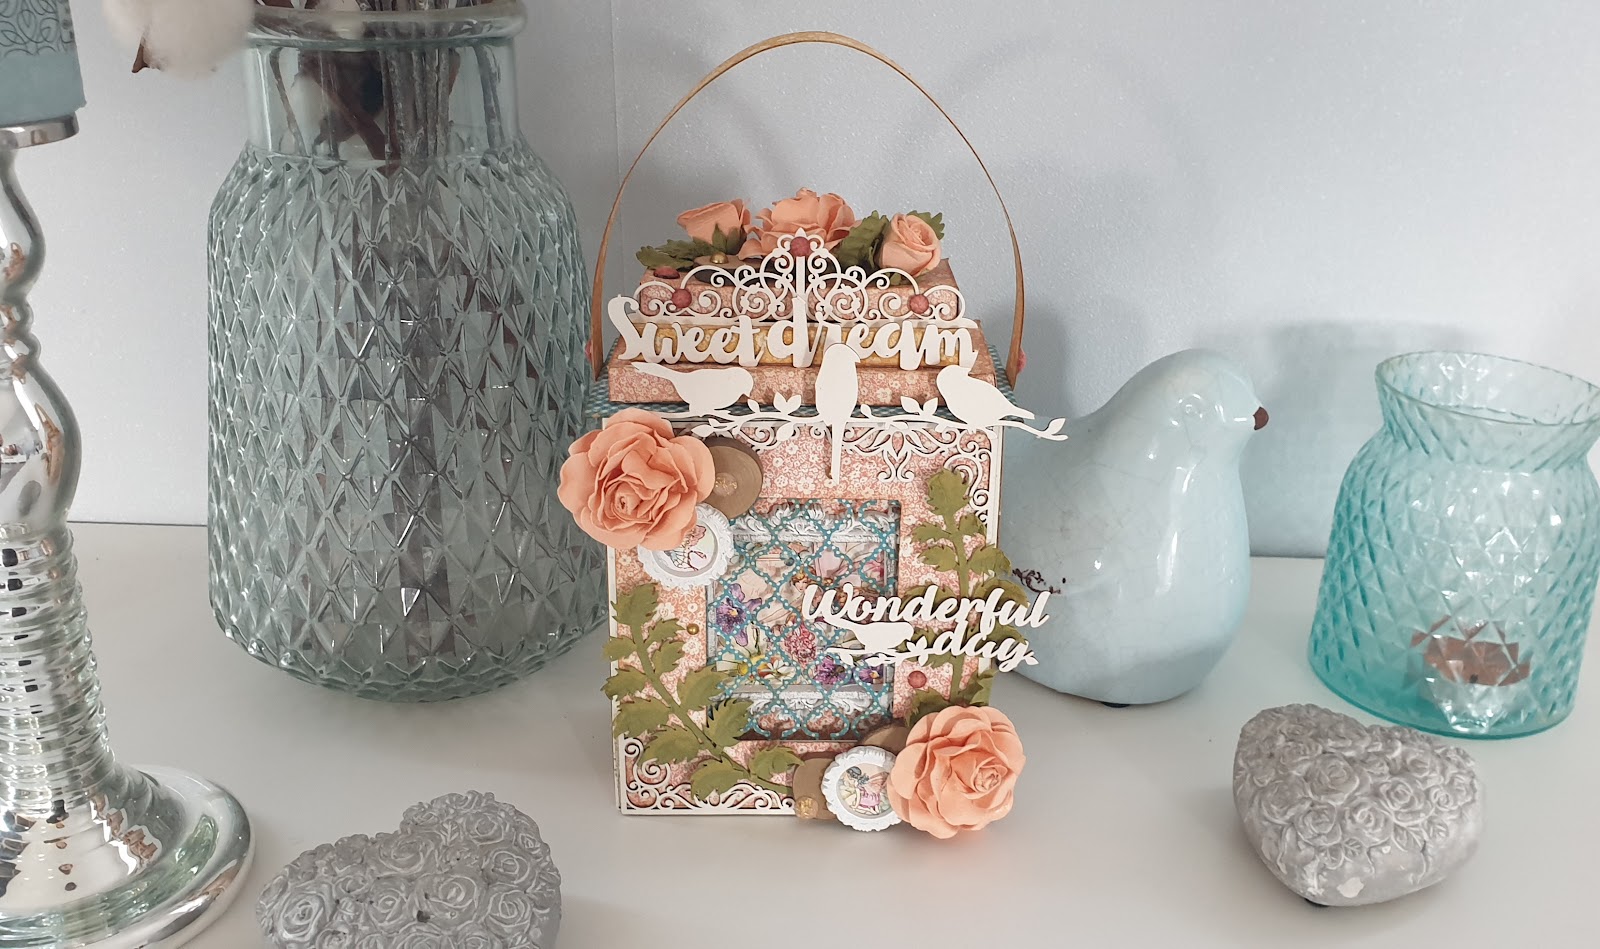
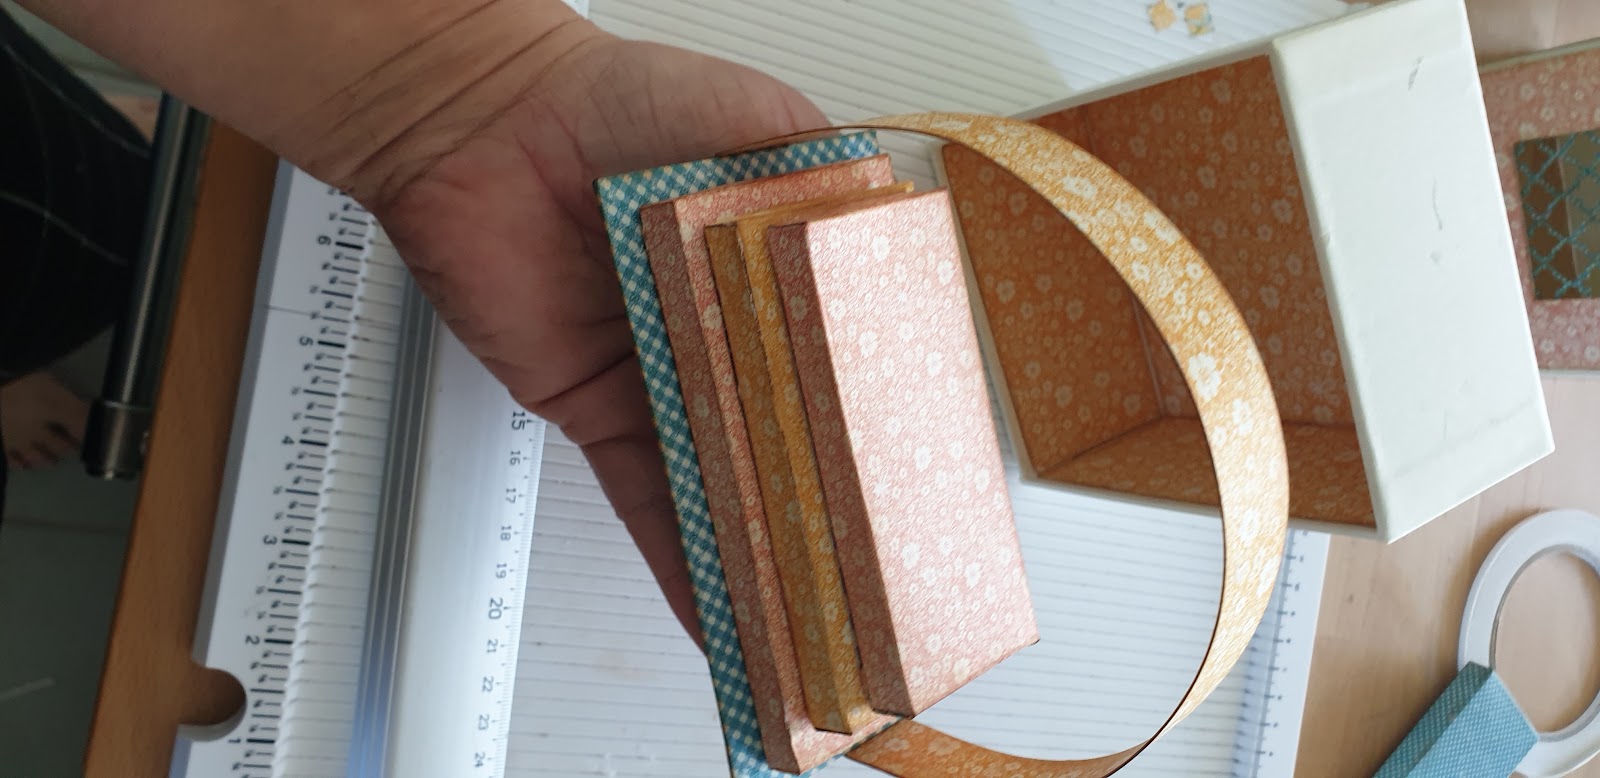
We are now going to create the top of the lantern, in the same way as the tutorial of Annette Green.
I just made a modification to facilitate the gluing and for more strength.
Lantern Top:
12 cm x 6.5 cm
11 cm x 5.5 cm
10 cm x 4.5 cm
4 72 inch x 2.36 inch
4.33 inch x 1.96 inch
3.93 inch x 1.57 inch
To these dimensions are added 1 cm on each side to create the edges allowing us the gluing
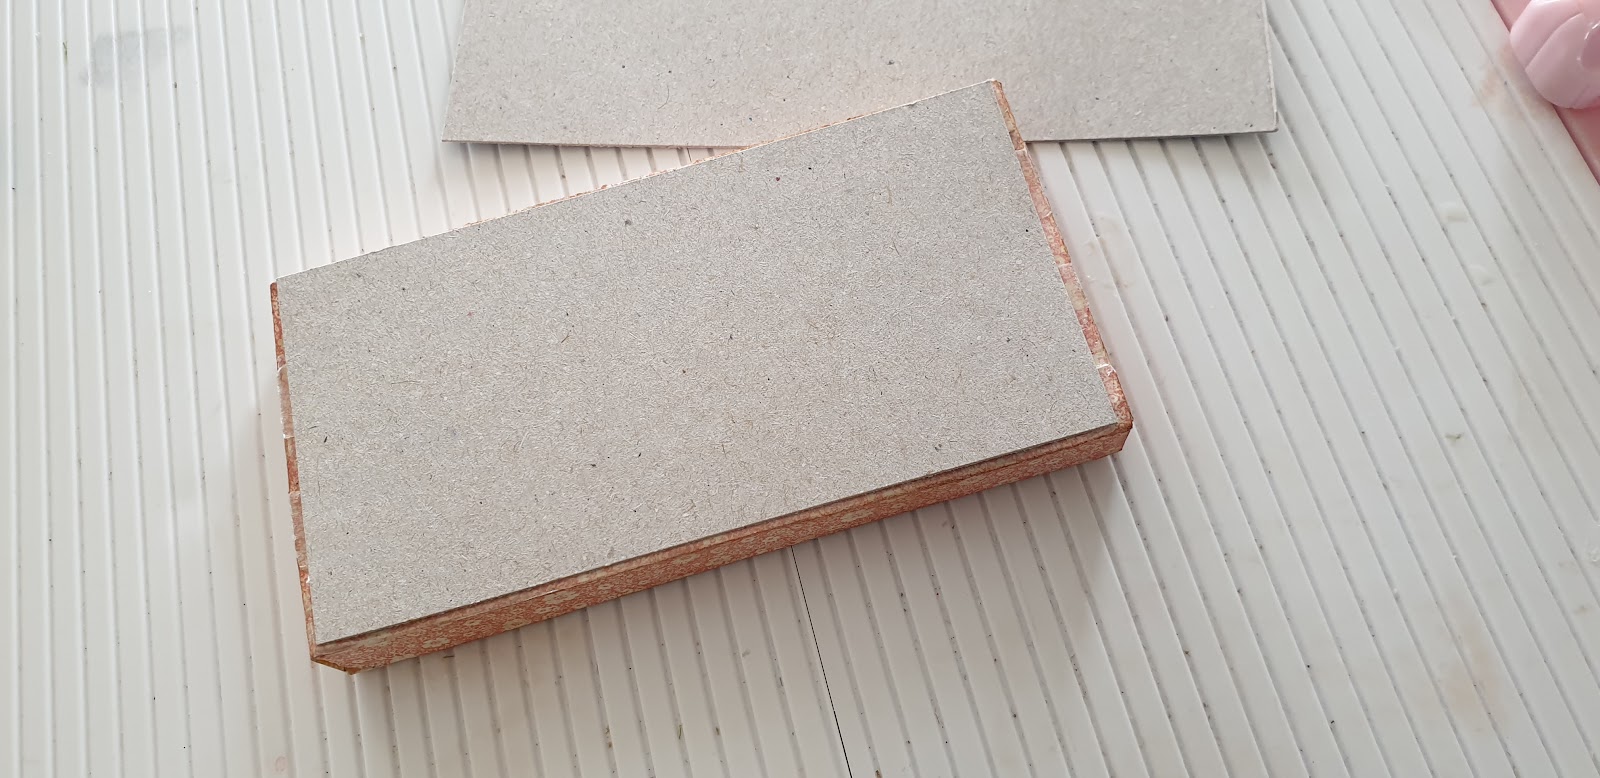
To consolidate, I just added a cardboard rectangle below each construction.
I created a cardboard support to stick my 3 floors just created
13 cm x 7.5 cm
5.12 inc x 2.75 inch
We come to stick our 3 floors
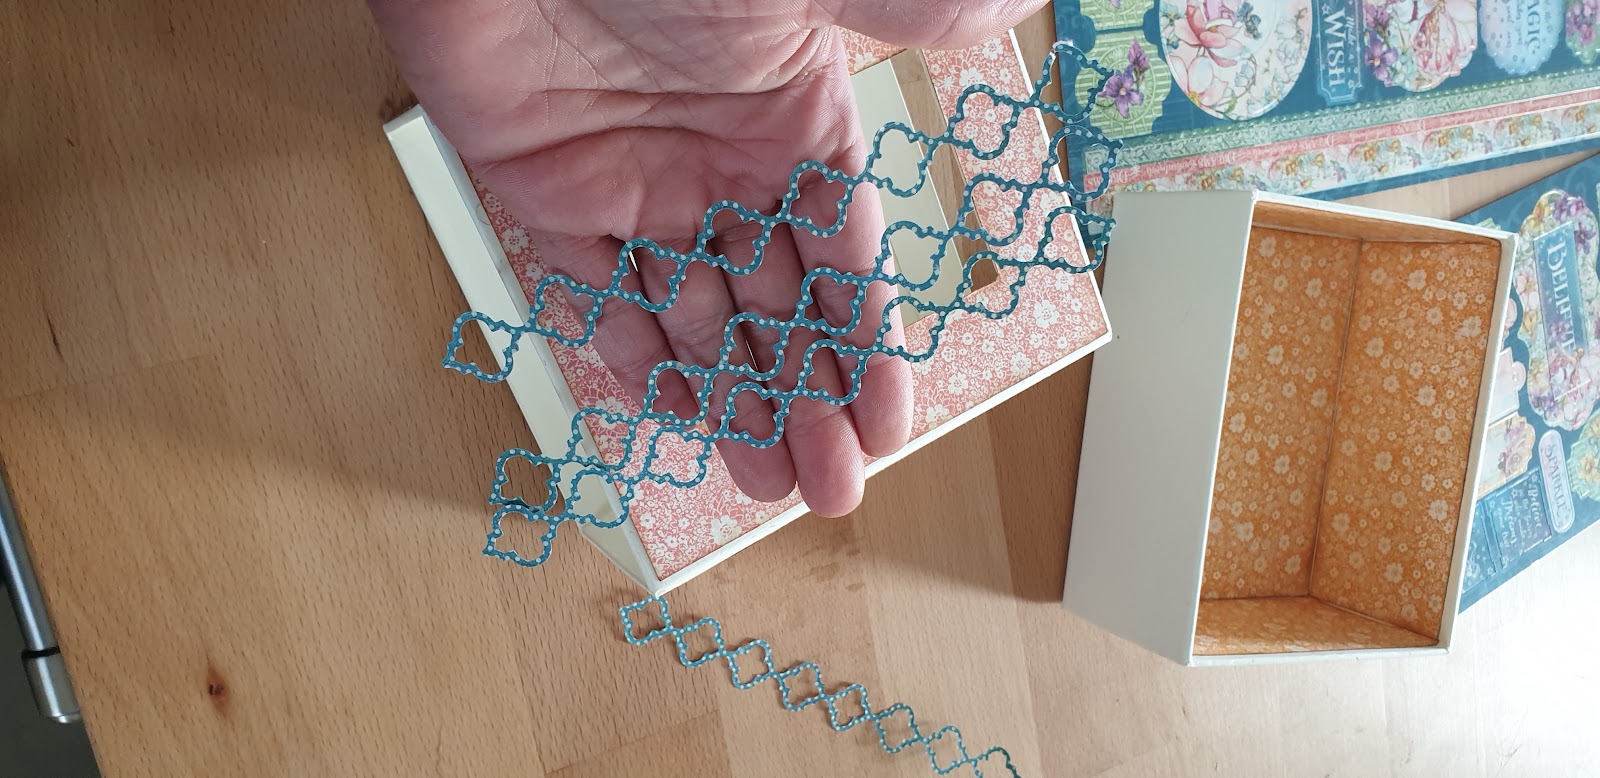
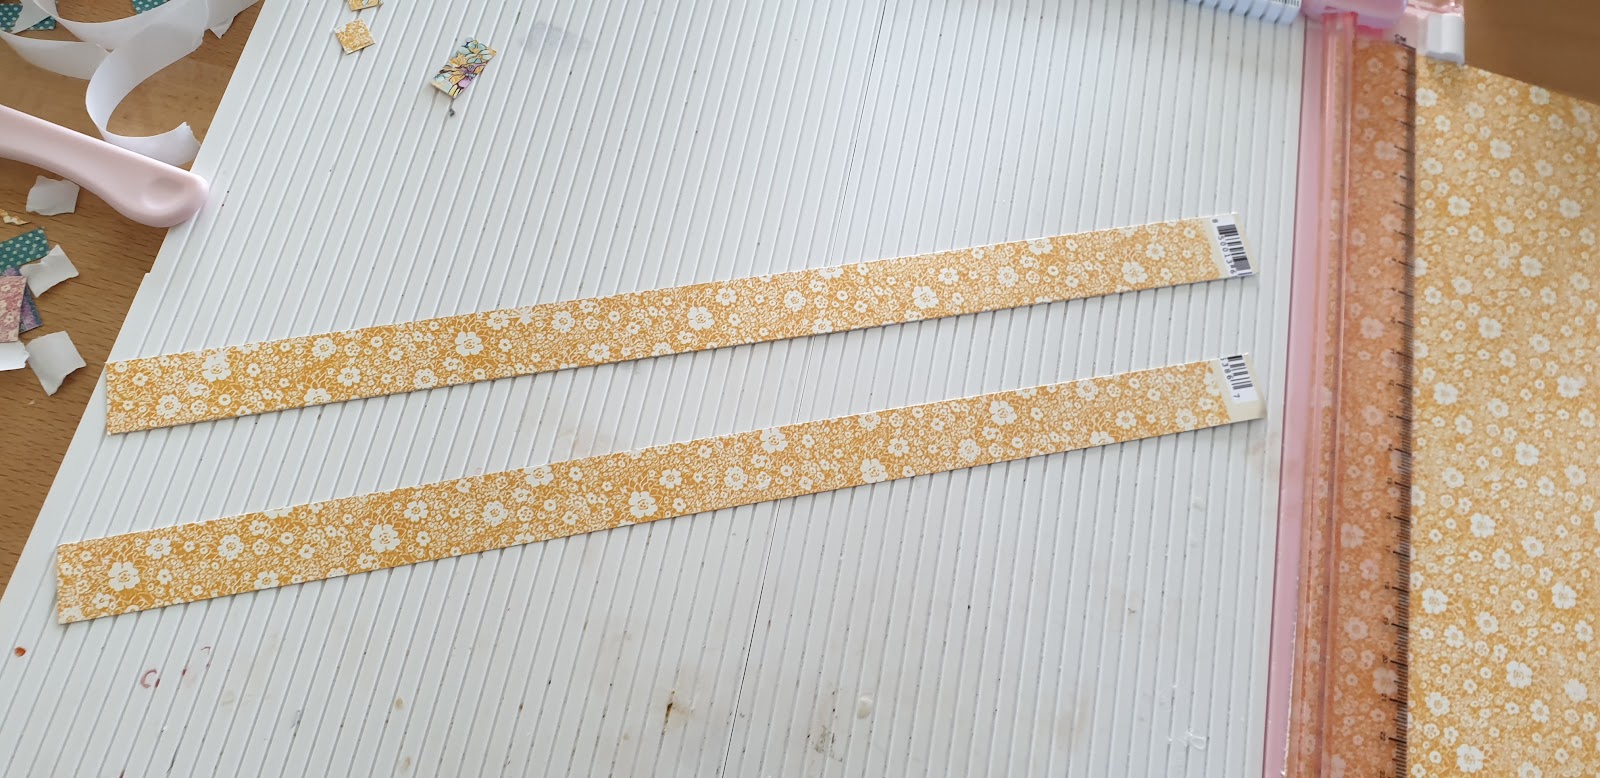
We will create a handle for our box
Box Handle:
30 cm x 1.5 cm
11.80 inch x 0.39 inch
We just stick our assembly on the top of our box
Original Lantern Video Tutorial:
[Tutorial] DIY Holiday Lantern
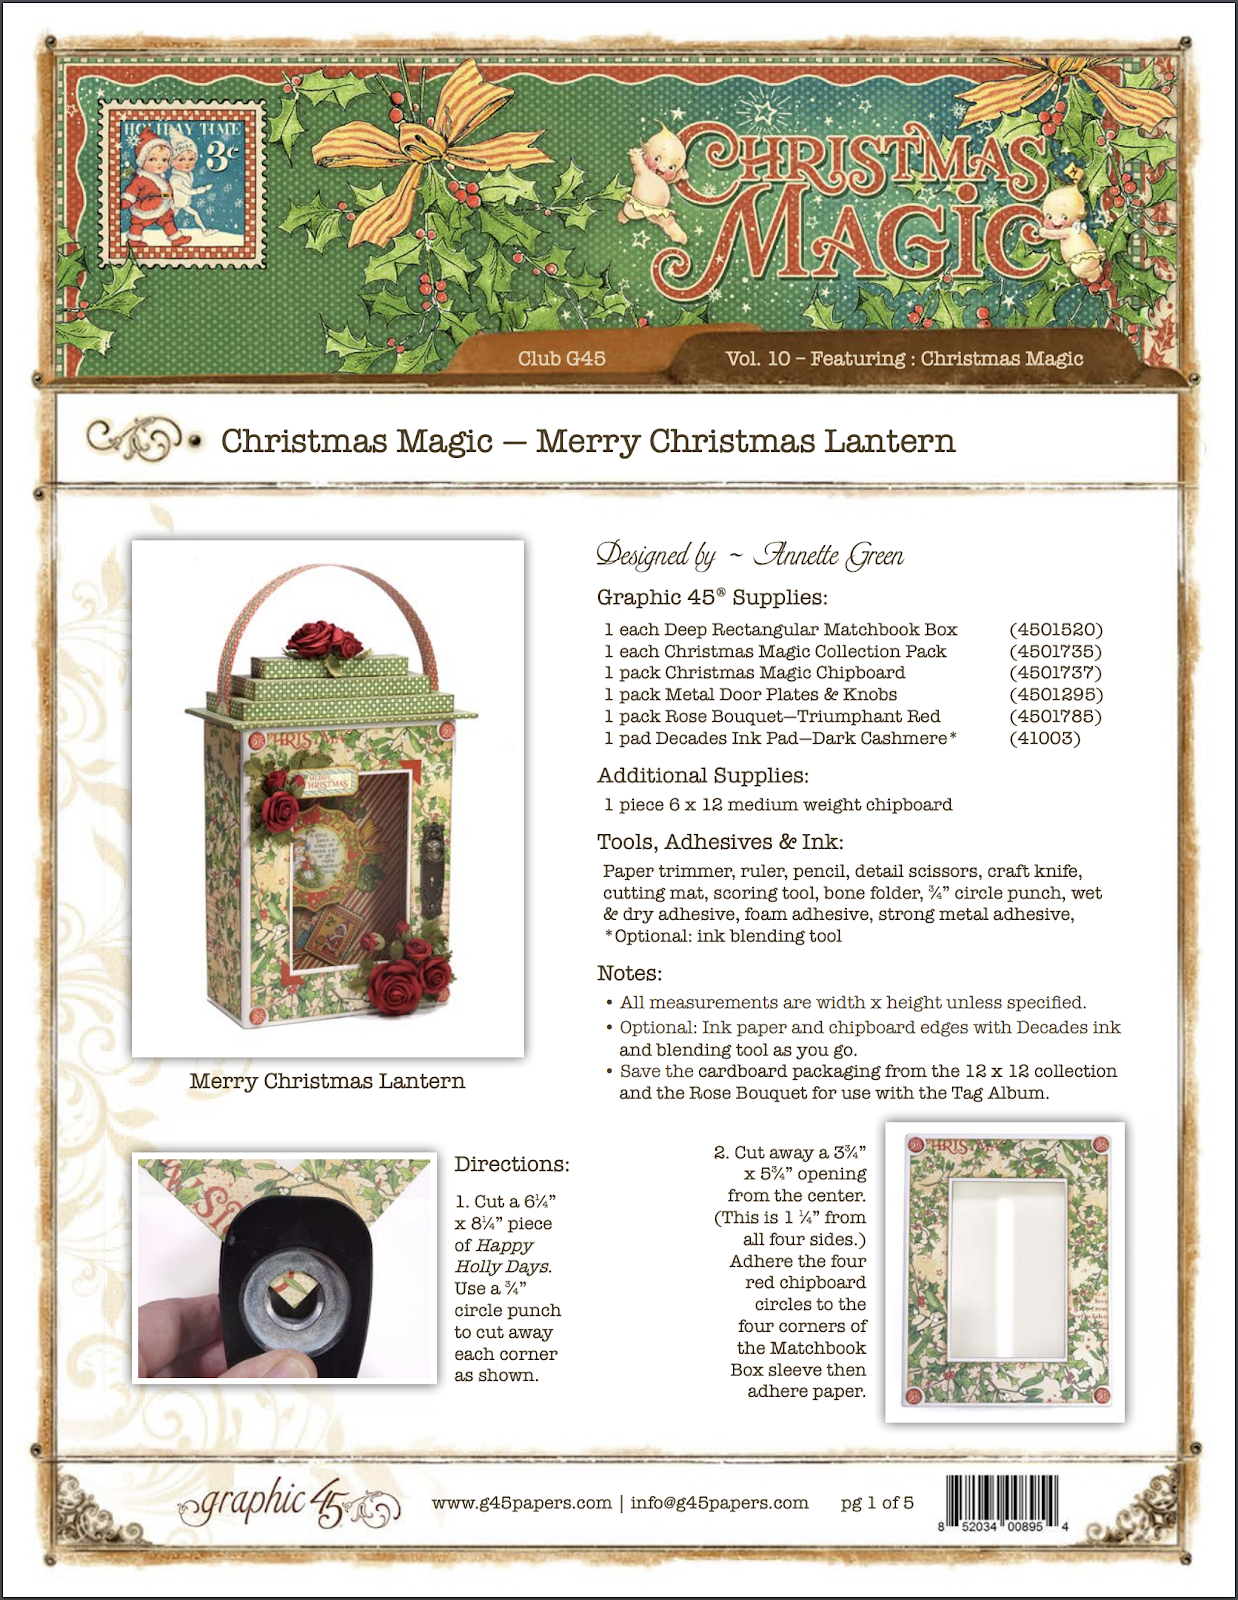
Merry Christmas Lantern Project Sheet
Happy Papercrafting!
Want even more Graphic 45? Sign up for our newsletter here!