Are you looking for a Christmas crafting project or two? Today on the Graphic 45 blog, Jenn DuBell shows us the endless possibilities that can found in one paper collection. Jenn has used our Let it Snow paper collection to create a Waterfall Folio Album, 6 Tags, 6 Cards, and 3 Ornaments. Below you will find a step by step tutorial on how Jenn decorated our Waterfall Folio (soon to be back in stock). Following the tutorial you will find photos of the additional 15 projects. Grab your holiday papers, watch the video tour, and create along with us!
“Hello everyone! Today I am sharing a collection of projects that showcase the amazing Let it Snow collection. There are four projects included in my collection. A decorated G45 Waterfall album, A set of six pocket cards, a set of six gift tags, and three Christmas ornaments. There are endless possibilities for what you can create with an entire collection like I have! I have included a walkthrough of each of these projects as well as a step by step guide on decorating the waterfall album.
Let it Snow Project Haul by Jenn DuBell | Graphic 45

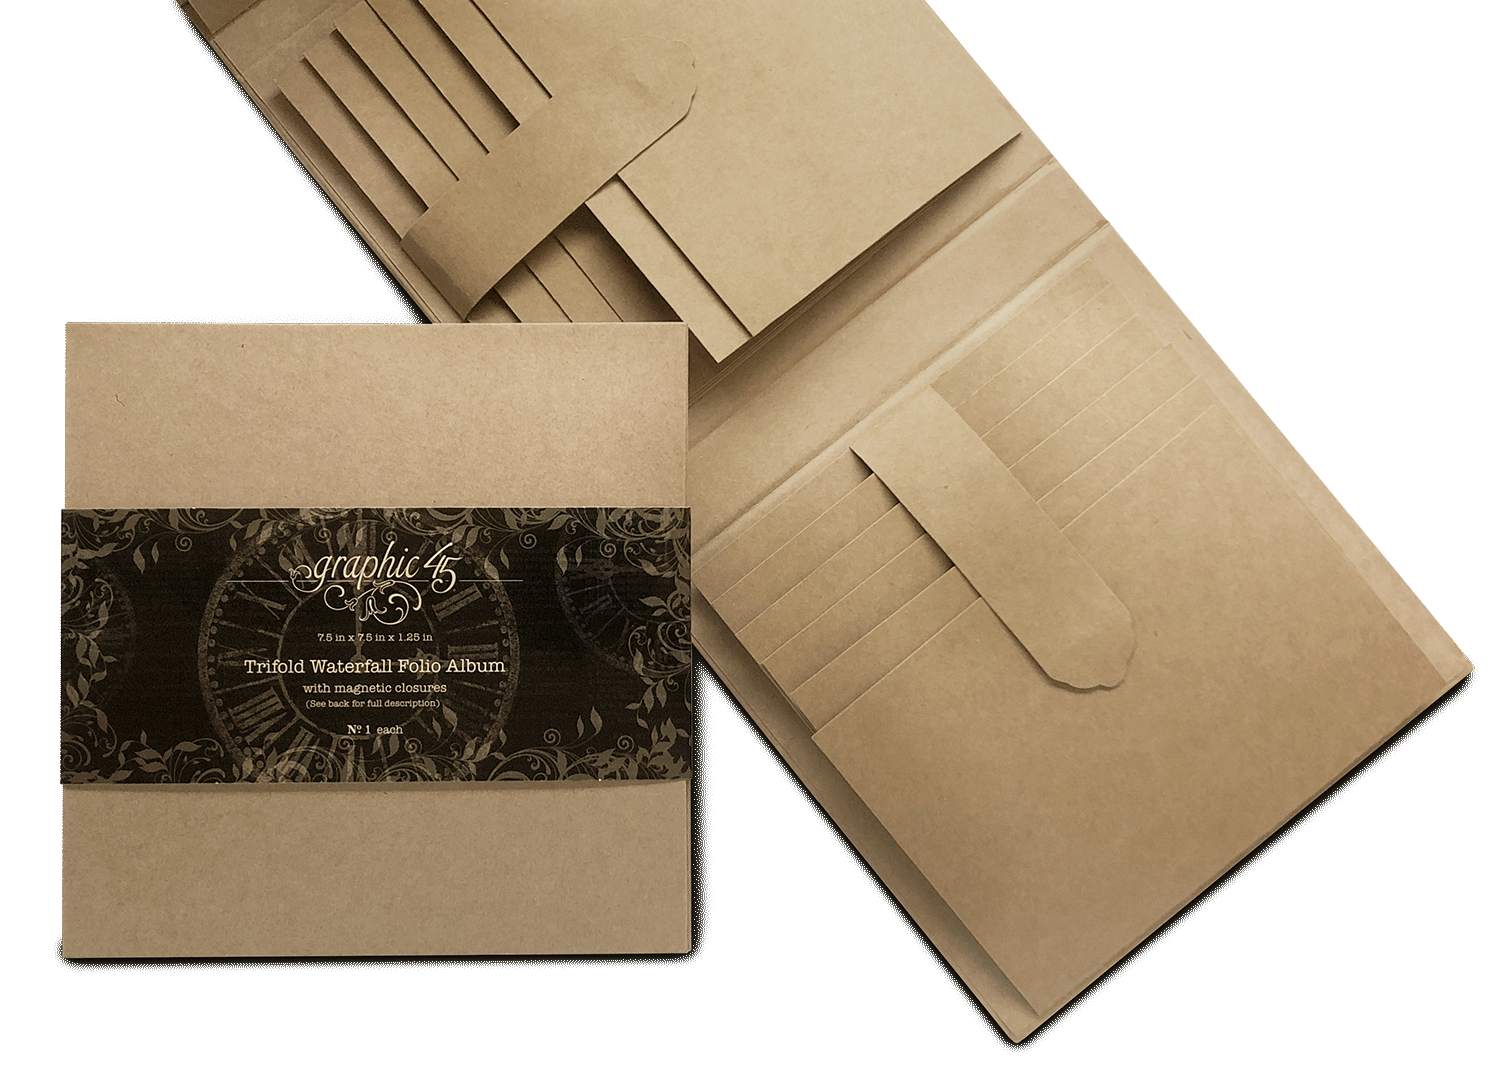
1 Waterfall Album in Kraft (coming back in stock soon!)
Let it Snow 12X12 Collection Pack
Let it Snow 12X12 Patterns & Solids Pad
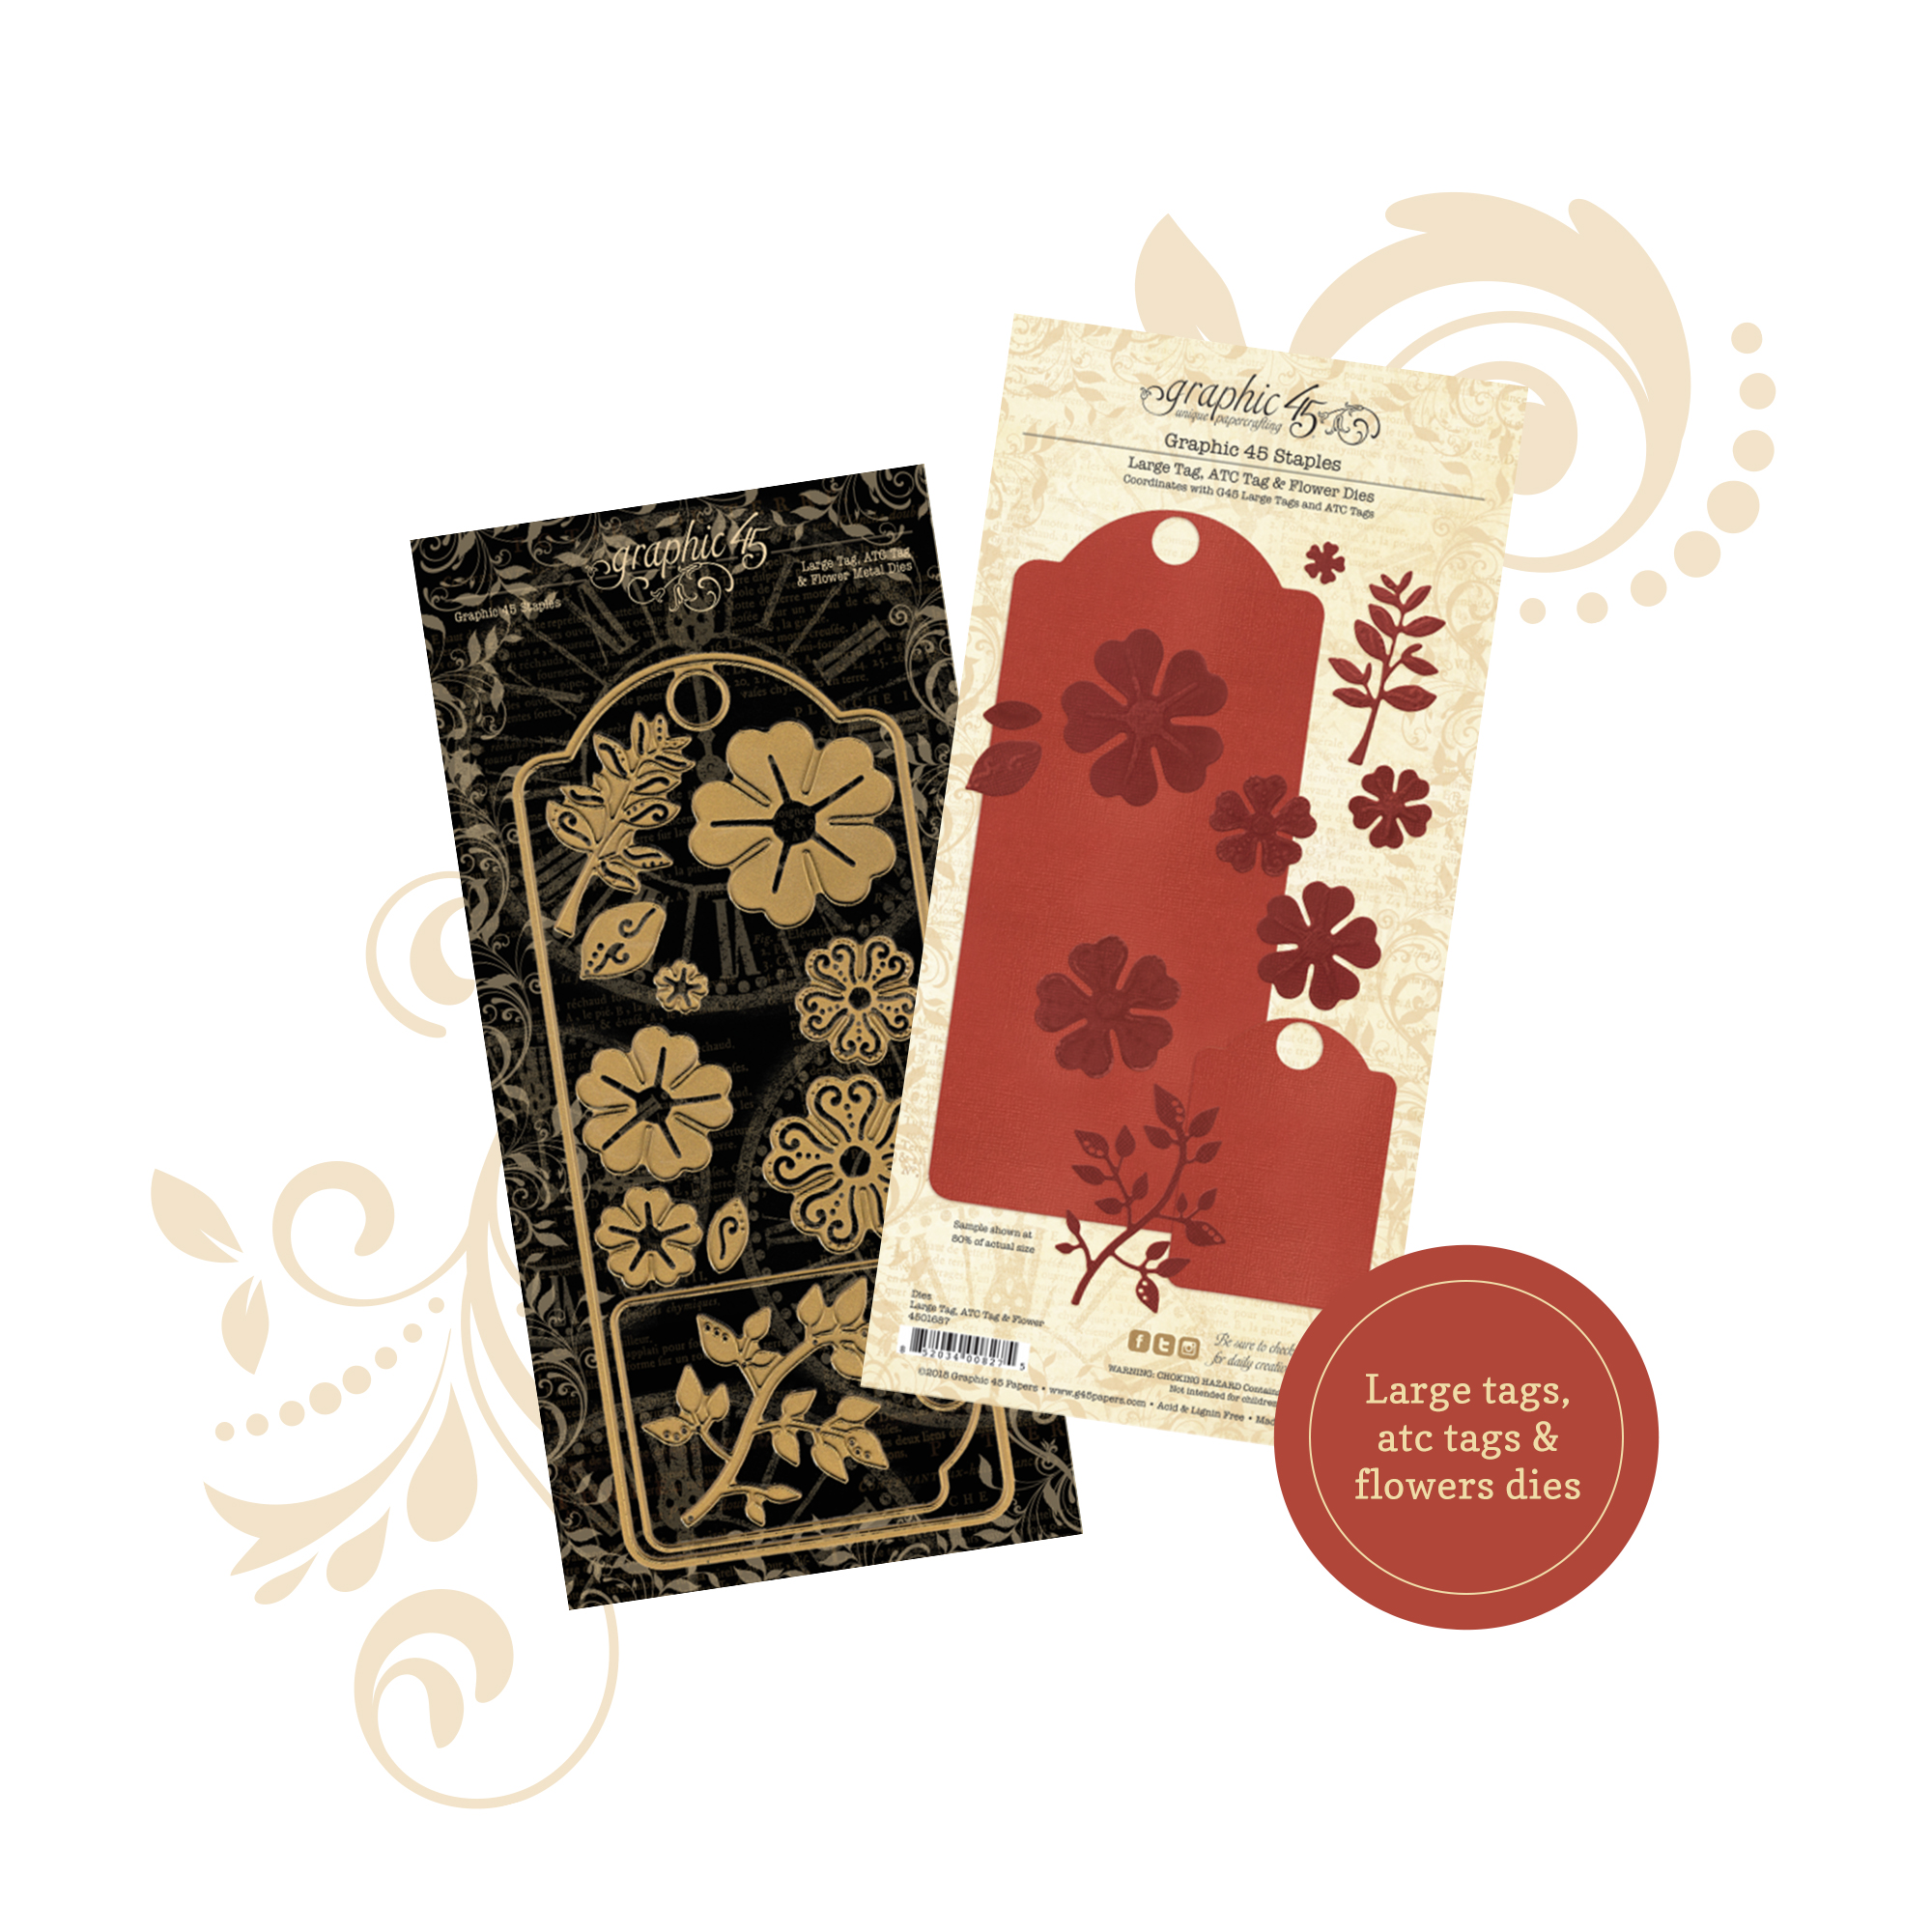
Large Tag, ATC Tag and Flower Dies
Also available is the Let it Snow Package which includes all of the items listed.
Instructions for how I decorated my album step by step
P&S= Patterns&Solids
Matting the cover, back, and spines.
Cut 3 pieces of navy cardstock or the solid navy from the P&S pad to 7 ¼”X7 ¼”. (The third will be used for the inside flap)
Cut 2 pieces of solid red from the P&S pad to 7”X7”
Cut 2 pieces of green with words from P&S pad to 6 ⅞”X6 ⅞”
For Spines:
Cut 2 Navy to 1”X 7 ⅜”, 2 green solid ⅞”X7”, and 2 Red Snowflake from P&S ¾”X6 ⅞”
Ink edges with choice of ink.(I used Vintage Photo Distress Ink)
Adhere as shown.
Next we will decorate the inside of the album.
Front inside cover, angled pocket,and insert.
For the lining behind the angled pocket, cut a piece of green from the P&S pad 7”X7 ⅛”, ink edges, and adhere under the pocket. Burnish well and wipe away any excess glue.
Create a template for the pocket cover starting with a 5”X7” piece of “Christmas Dreams” B side from the 8X8 pad. Ink edges and adhere. Add a 1”X7” strip of red from P&S.
Fussy cut 3 poinsettias from the 12X12 Poinsettia Parade and one cut apart from (Polar bears Let it Snow) from Winter Wonders. Adhere two poinsettias under the corners of the cut apart adhering all three to the page. Use a piece of foam adhesive to lift the final fussy cut poinsettia for some added dimension.
For the photo mount insert cut a piece of kraft cardstock to 6 ¾”X6 ¾” and round the corners. (optional) Cut from the 8X8 pad the “Let it Snow” page to 6 ⅝”X6 ⅝” and round the corners. Ink the edges and adhere to the kraft piece. For the flipside, cut a piece of the blue words paper from P&S to 6 ⅝”X6 ⅝”, ink edges and adhere. Slip into the angled pocket as shown in the photo above.
Navy cardstock adhered in the first step.
Cut a piece of red from P&S pad to 6 ½”X6 ½”, ink edges, and adhere centered on the navy. Add a border strip from the 12X12 “Joyful Tidings”, ink edges and adhere to the right of the page. Add the “Let it Snow” ephemera piece.
Front:
Cut a 7 ⅛”X7 ⅛” piece of “Holiday Happiness” side A from the 8X8 pad. Line it up on the pocket to mark where to cut the notch. Ink the edges and adhere leaving about a ⅛” of the kraft pocket showing around. Add a s1”X 7 ⅛” strip of the same piece side B along the bottom. EMbellish with pieces from the ephemera pack and stickers.
For the flipside cut a piece of red solid from P&S to 2 ½”X7 ⅛” line it up with the notch to cut. Ink the edges and adhere to the top portion of the pocket. Cut a piece of “Christmas Dreams”side A from the 8X8 pad to 4 ⅝”X 7 ⅛”, ink edges and adhere. Add the Let it snow border strip from the 8X8 pad “Joyful Tidings” across where the two pieces meet.
Cut a piece of Kraft cardstock to 6 ½”X6 ½” round corners.
Cut a piece of green solid from P&S pad to 6 ⅜”X6 ⅜”. Ink the edges and adhere to the front. Choose the oval Santa chipboard piece and a scrap of the green solid. Cut the green scrap to fit the chipboard and adhere to the back. Ink the edges on both sides. Place the piece in the middle of the page and use a puncture tool to add holes. Use small brads to adhere the chipboard piece and move to the back side. Cut a piece of the blue snowflakes from P&S pad to 6 ⅜”X6 ⅜”, ink edges and adhere burnishing well over the brad ends. Slide into the notched pocket.
For the Horizontal (middle)
Cut a piece of “Let it Snow” side B from 8X8 pad to 7”X7 ⅜”. Place the scoreboard on the 7”side and score at ½” down to 2 ¾”. Turn the paper counter clockwise once on the scoreboard and score at 2 ¾”. Use scissors to carefully cut out the portion shown below.
Ink edges and adhere as shown below.
This allows a seamless one sheet way to cover the area.
For the vertical waterfall area.
Cut a piece of light blue from the P&S pad to 7 ¼”X7”.
Place on scoreboard on 7 ¼” side and score at ⅜” down to 2 ¾” and at 7” down to 2 ¾”. Use scissors to cut away excess.
Ink edges and adhere as shown.
Cut 6 horizontal and 6 vertical from the P&S pad to 6 ¼”X4 ¼”. Ink the edges and adhere alternating between solids and patterns. Add a border strip from the 8X8 “Joyful Tidings” to the first page of each waterfall.
Use scraps to cut a ⅞”X7 ⅛” strip to cover inside spine.For the smaller inside spine I used a border strip cut to ⅝”
To cover the magnetic bar closures to the waterfall pages I used scraps and cut to 1 ⅛”X 3 ¼” and added stickers backed with paper to the ends.
To decorate the cover
Add a border strip from “Joyful Tidings” to the left side of the page followed by a smaller green strip on top of it. Add some pretty red buttons strung with thin jute.
I used the wrapped chipboard technique to create my focal point.
To finish embellishing the front of the album, I added a bow using the blue striped ribbon, flowers, sprigs of glass berries, leaves, jute bow, and a button.
A bit of glitter was added as well.
On the spine, I added a handmade dangling charm using snowflakes, a pearl, a snowglobe, and a chipboard and sticker from the collection.
Three MDF blank ornaments
Snow Paste
Iridescent Embossing Powder
Glitter Glass
Flowers and foliage
Plaid Ribbon
Silver bell charms
These cards are fairly simple to create.
Cut a 12X12 sheet of Kraft cardstock to 5X12 and score at 5” and 10”. Fold and burnish the 5” score line down and the remaining 2” up to create the pocket. Decorate as desired. These are a great way to use up scraps combined with fussy cuts and bits from the ephemera pack!

6 G45 Kraft Artisan Trading Tags
Happy papercrafting!” ~Jenn
G45 Vol 11 – 2021 Monthly Kits Featuring Let it Snow
Want even more Graphic 45? Sign up for our newsletter here.