Hello, G45ers!
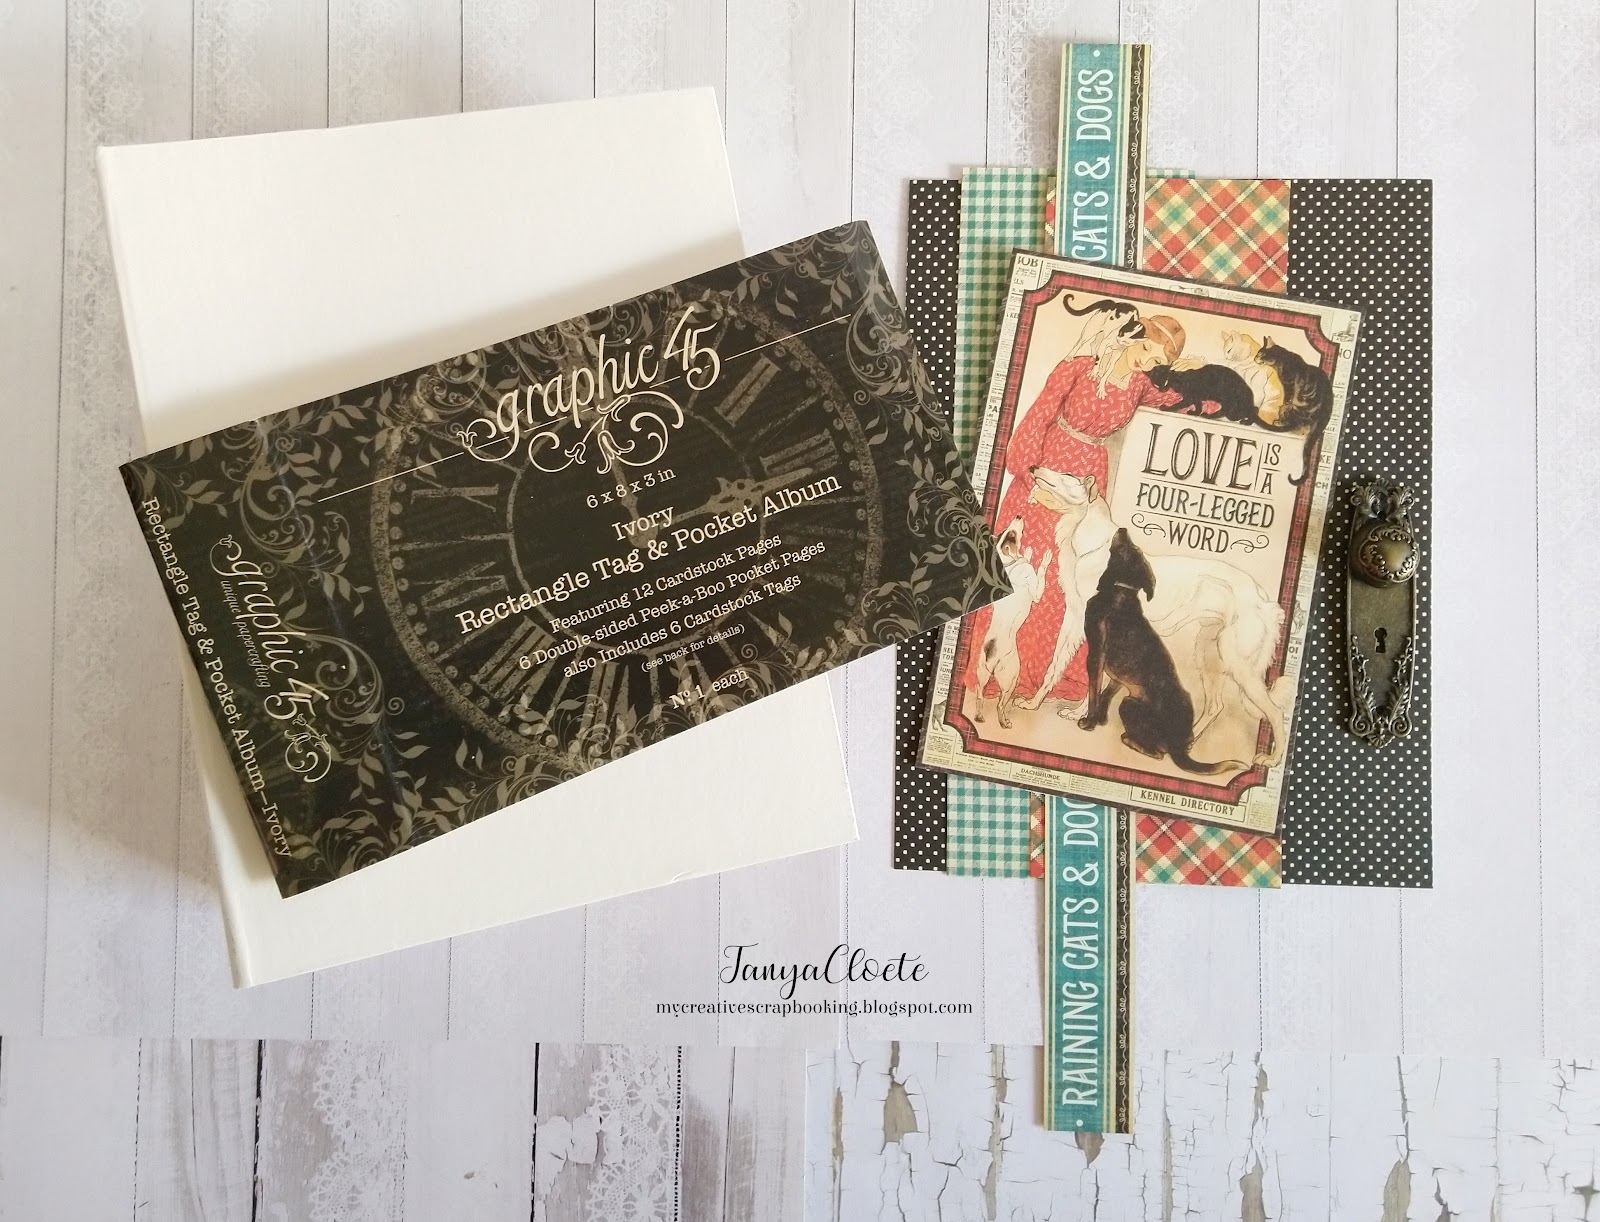
Grab your umbrella because it is Raining Cats & Dogs today on the Graphic 45 blog. To inspire your albums for our March Challenge we have a purr-fect Tag & Pocket Album that is housed beautifully in a Matchbook Box by the ever so talented, Tanya Cloete. This project features our Raining Cats & Dogs – Deluxe Collector’s Edition and an array of G45 Staples. So pull out your favorite papers and scissors, and let the creative fun begin!
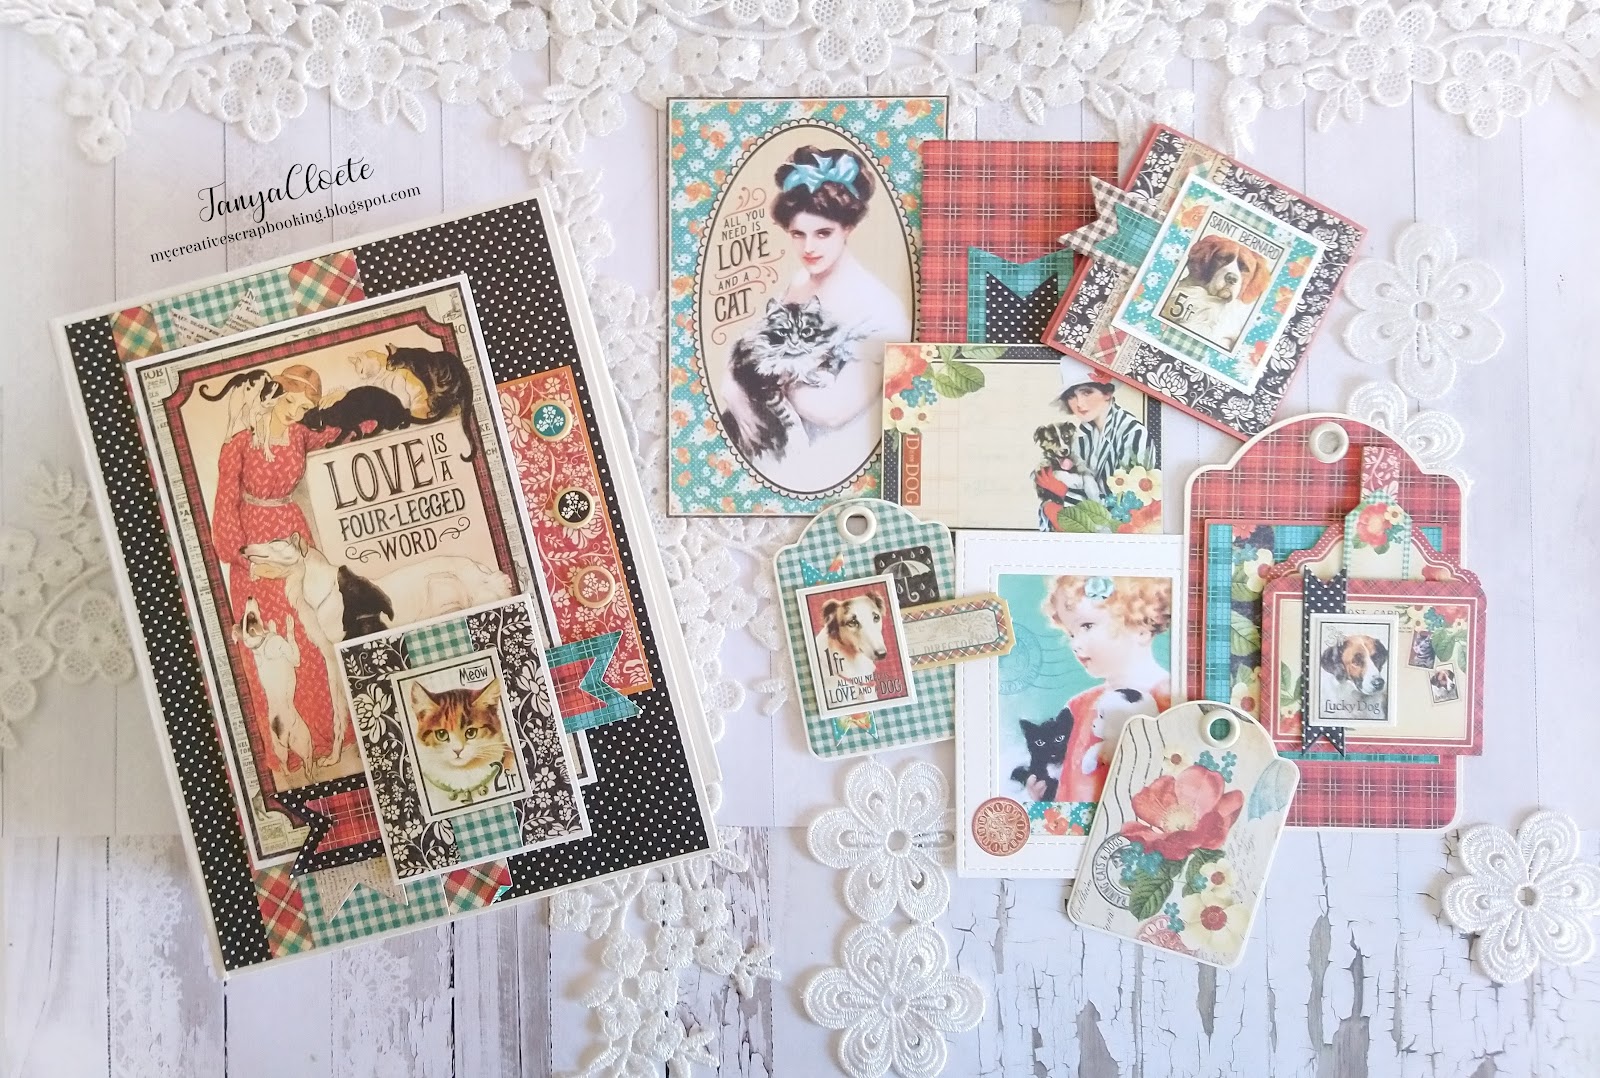
#G45Album Raining Cats & Dogs
Matchbook Box Album
By Tanya Cloete
“Hello, dear G45ers! Happy to share with you my #G45Album project this month featuring the adorable Raining Cats & Dogs DCE teamed up with the Graphic 45 Matchbook Box Staples. These G45 boxes are really super awesome and so versatile. Love how easy the Rectangle Tag and Pocket Album fits into this super cute box!
Here with the Supplies and Instructions, you may use to recreate such a project:
Graphic 45 Supplies:
Other Supplies:
Mat the matchbook box both the outside and inside with the pattern sheets. You can use your own discretion when measuring, I normally leave a small border so that I can still see a bit of the box. Make sure not to cover the window of the box. Add some washi tape on the front and on the side of the box.
Tip: Add the washi tape to the matted strips first before adhering to the box.
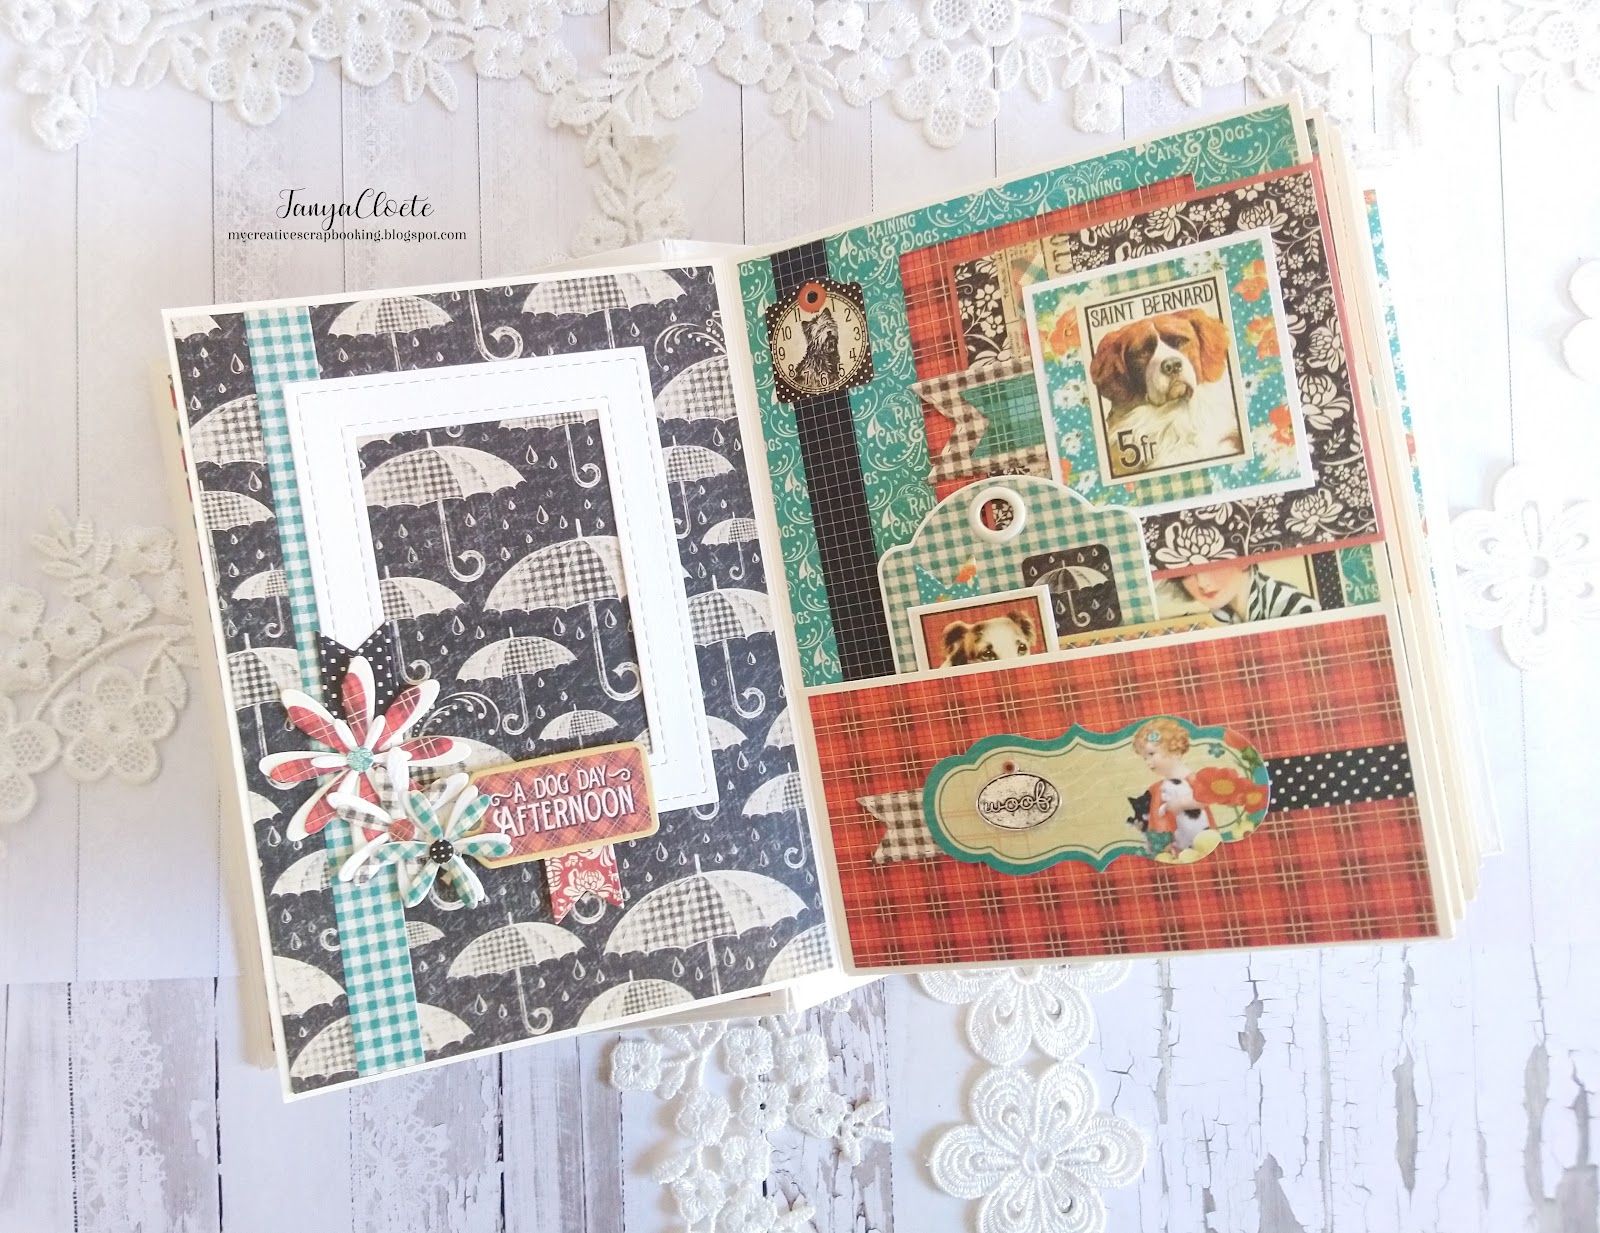
Remove the metal plate on the spine of the album and then mat both the outside and inside covers as well as all the pages with the pattern sheets. Once again you can use your own discretion when measuring, I normally leave a small border for show.
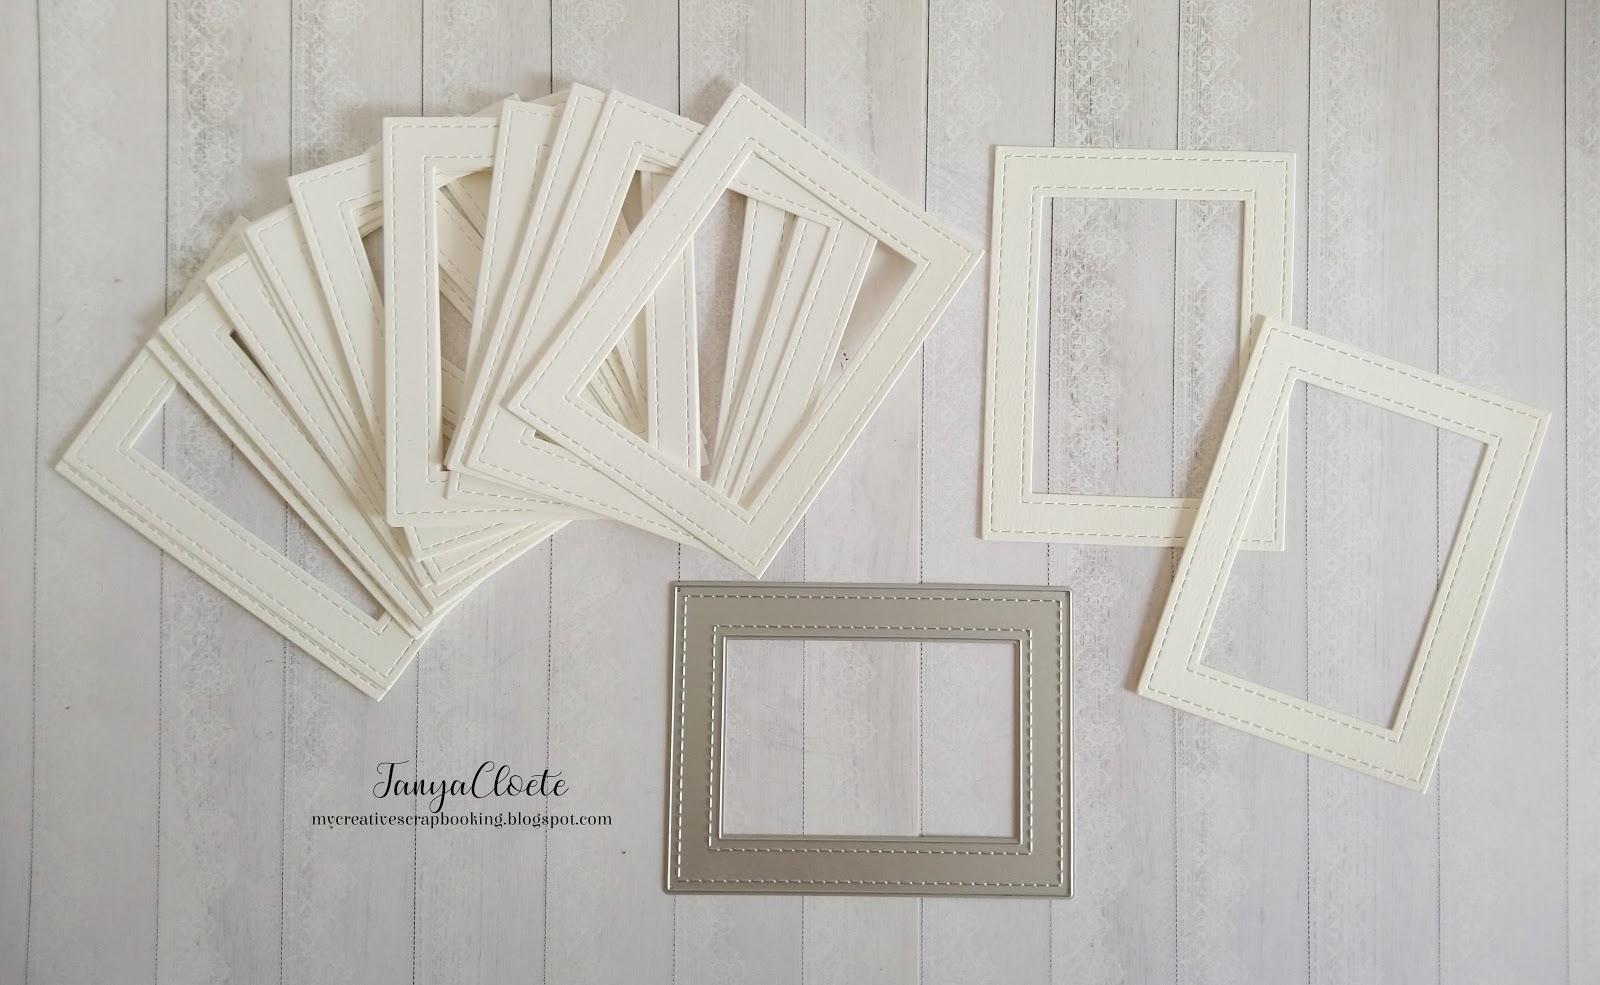
Cut a few frames for the photos using a frame cutting die (optional).
Mat the ivory tags with the accompanying metal dies using the pattern sheets. I have added some extra trading and square tags these can also be matted with the metal dies mentioned in the supply list.
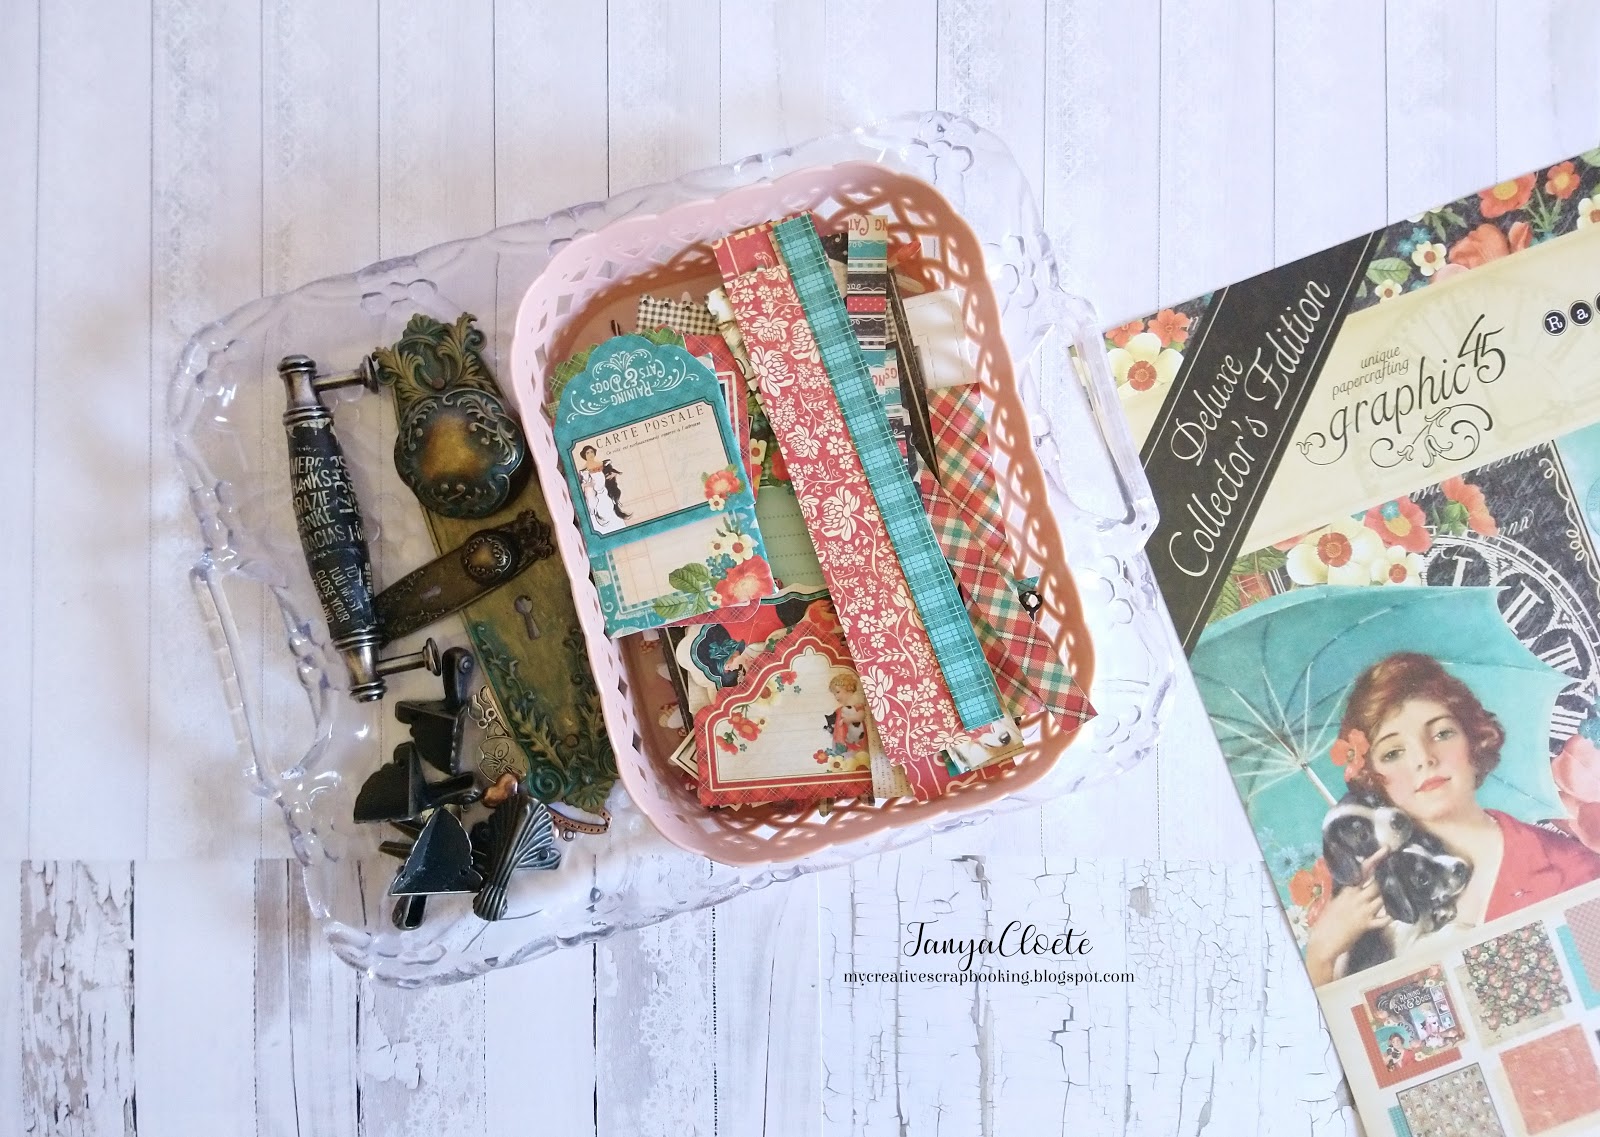
Fussy cut some elements from the collection. Some will be used for decoration and others inserted in the pockets of the album.
Cut a few flowers from the pattern sheets and watercolor paper. Layer one or two of the pattern flowers on top of the watercolor flower.
For the center of the flower use a hole punch and punch small circles from the pattern strips and buttons on the sticker sheet.
Tip: Using the sticker sheet to punch the holes, you don't have to add glue to it you can just stick it in the center of the flower.
Tip: I always keep all the die cuts, embellishments and any extras in a tray on a project I am working on or going to work on. This makes it easier if everything is kept together as you go.
I added a handle to the box, it had a marble-like center which I did not like that much and it also did not match the colours of the collection. So I decided to paint it, I covered it with some G45 washi tape and then painted the entire handle with black gesso. I then lightly dry brushed it with some gold metallic wax. I then added two of the shabby chic metal brads on the sides.
Tip: Adding washi tape to the handle gives it a cool crinkle effect because the surface is not even and it stands out when painted and dry brushed.

Tip: Cut a little pattern piece from one of the pictures on the cover of the paper pack. Add to the metal plate.
Paint some of the resin embellishments with black gesso, lightly dry brush them with gold metallic wax.

Tip: Adding some acetate to the window of the box will protect the album cover when sliding it in and out.
Add the photo frames and decorate each page of the album with washi tape, die cut elements, flowers, chipboard embellishments, and stickers.
Tip: Adhere some double-sided tape to only three sides of the photo frame thus making it easy to slide in a photo from the side.
Cut a strip from the pattern sheets to form a belly band (only adhere a small piece at the top and bottom of the strip so that you can insert some of the elements and slide them easily in and out). Add these to a few of the pages.
Adhere a piece of elastic loop to the back cover of the album with some die cuts and add an eyelet to keep it in place.
Tip: The elastic loop will help keep the album closed and it looks neat and tidy too.”
What a wonderful way to kick off the weekend! Please join us in the comments below by sending Tanya love for these wonderful tips and gorgeous eye candy. We want to thank you as well for stopping by. Be sure to carve out some creative time for yourself this weekend, and as always…
Happy Papercrafting!