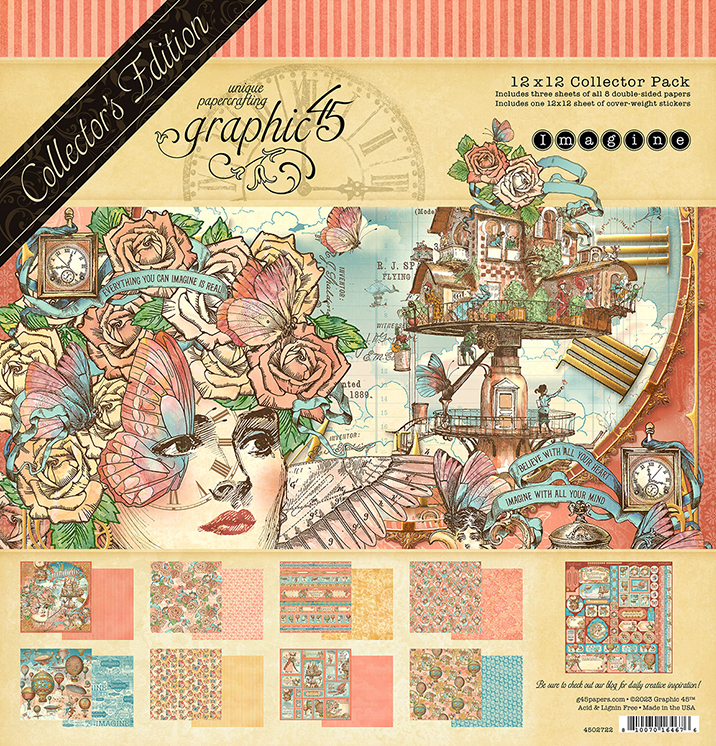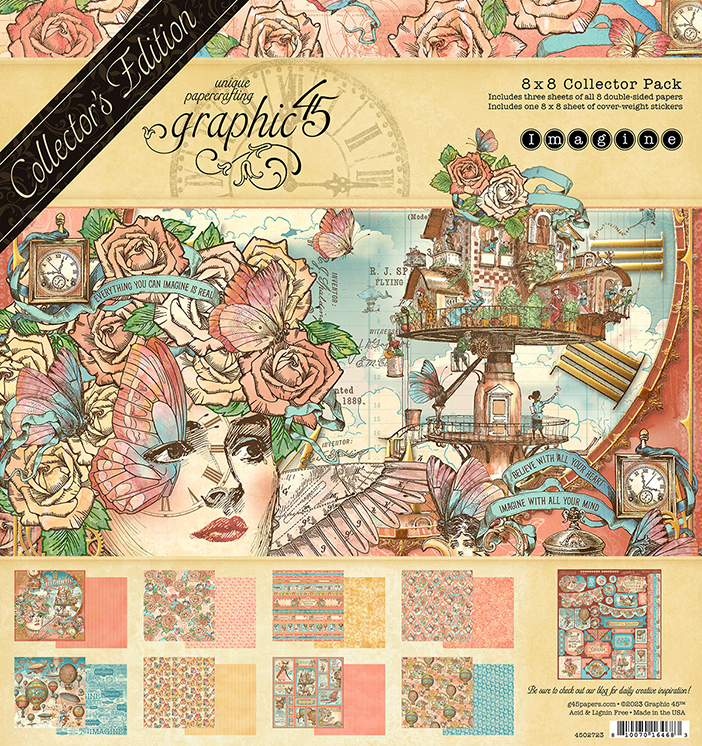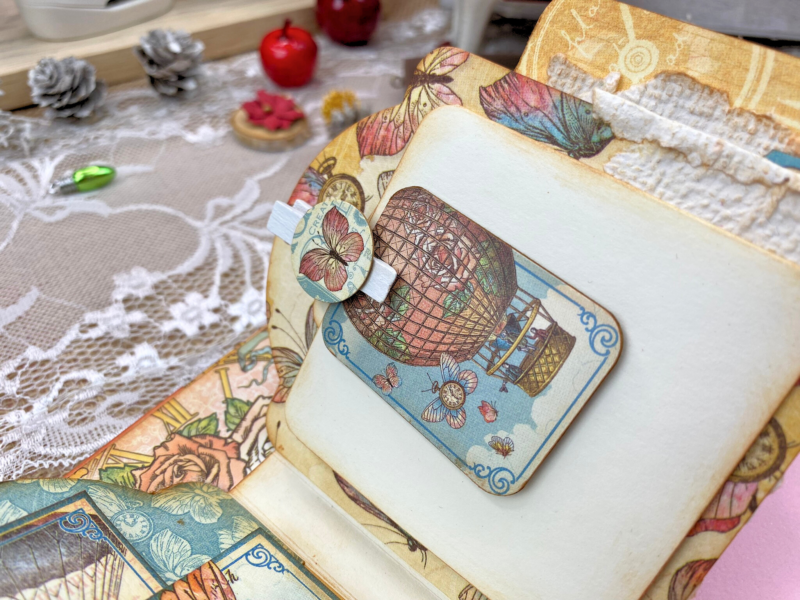
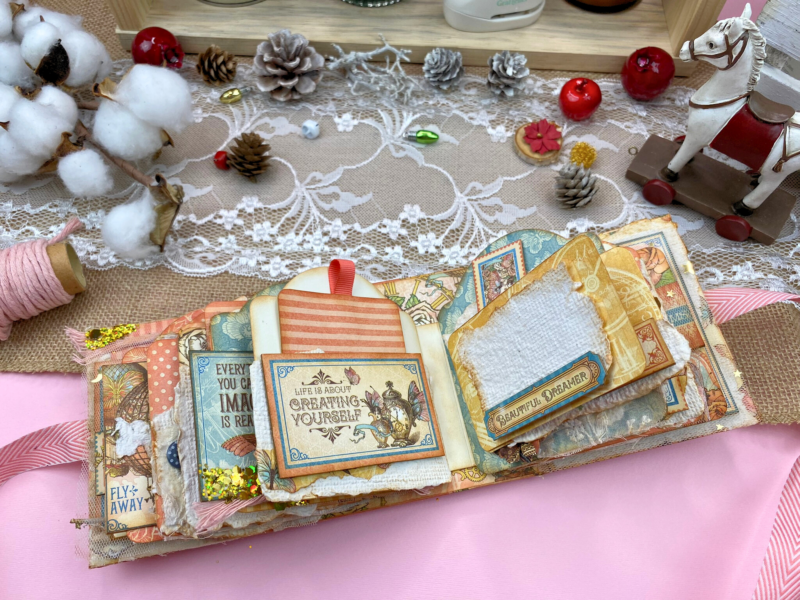
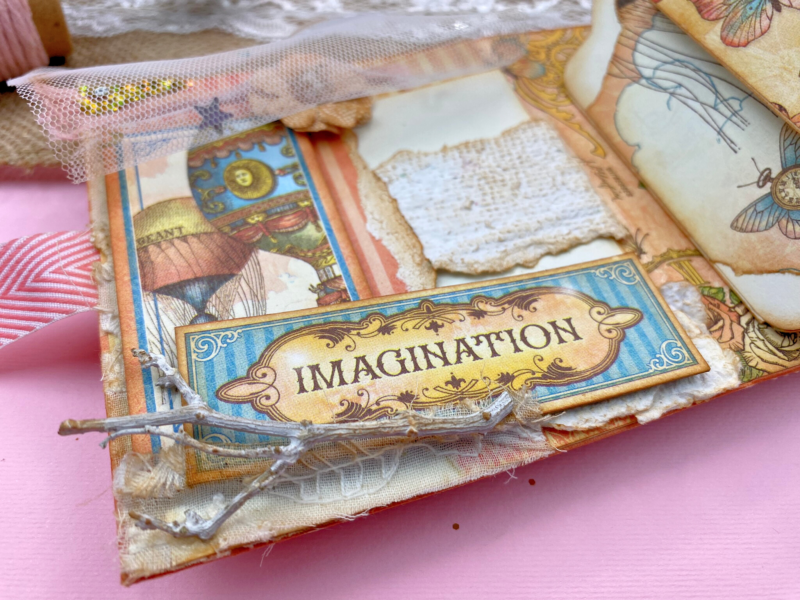
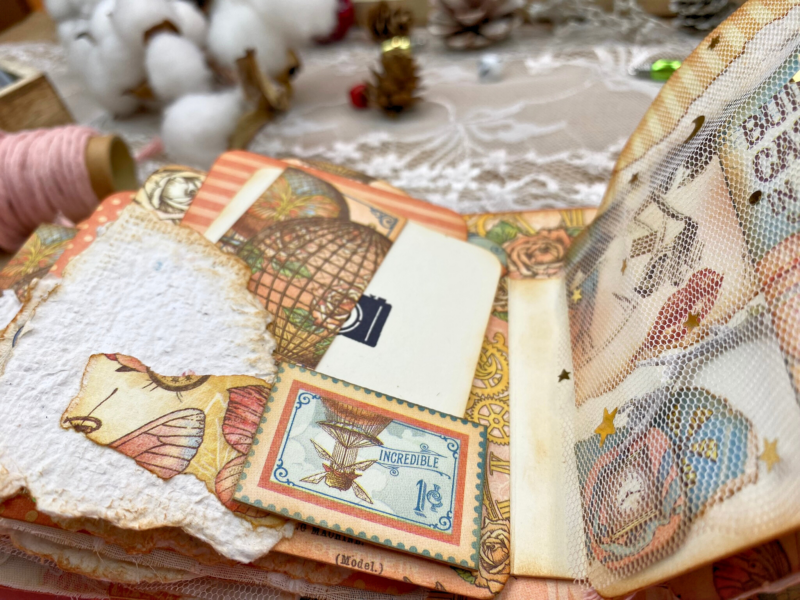
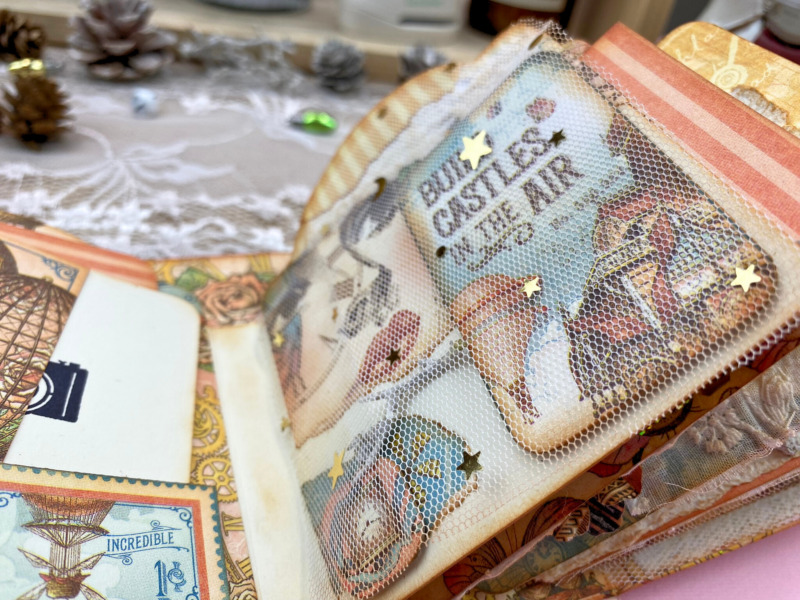
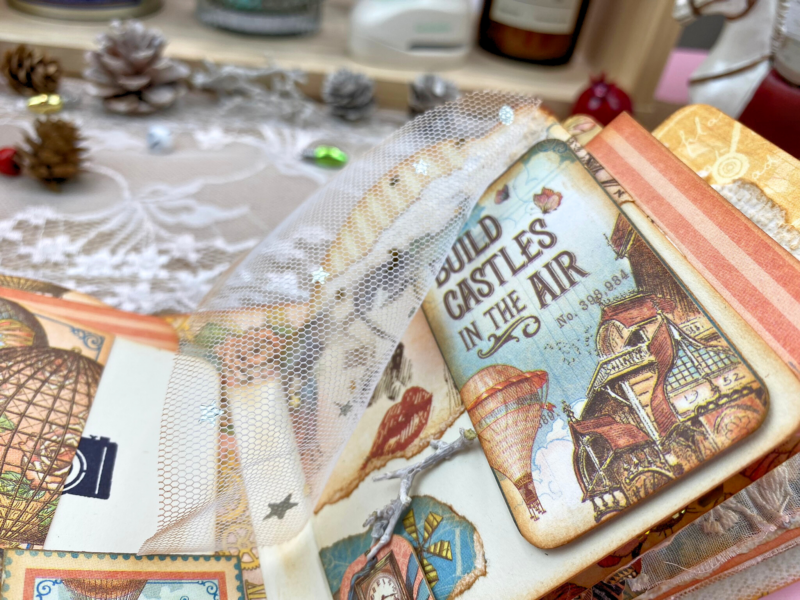
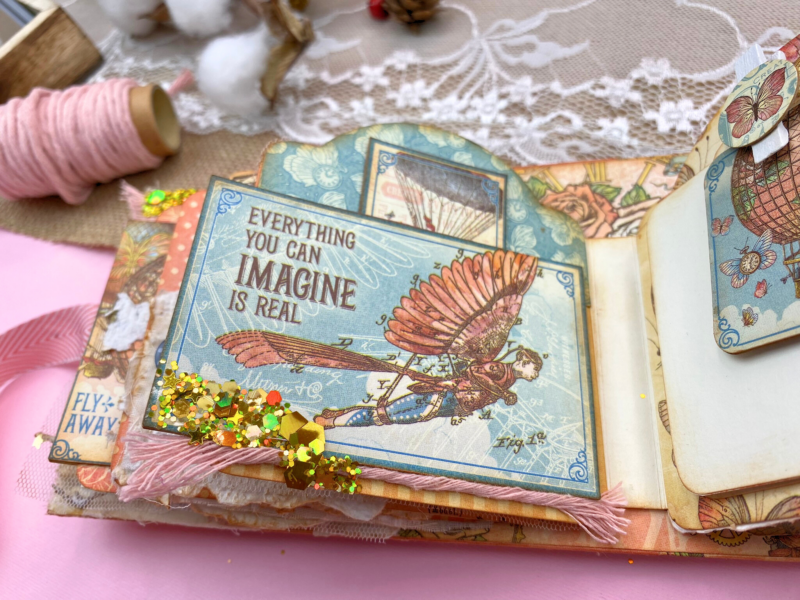
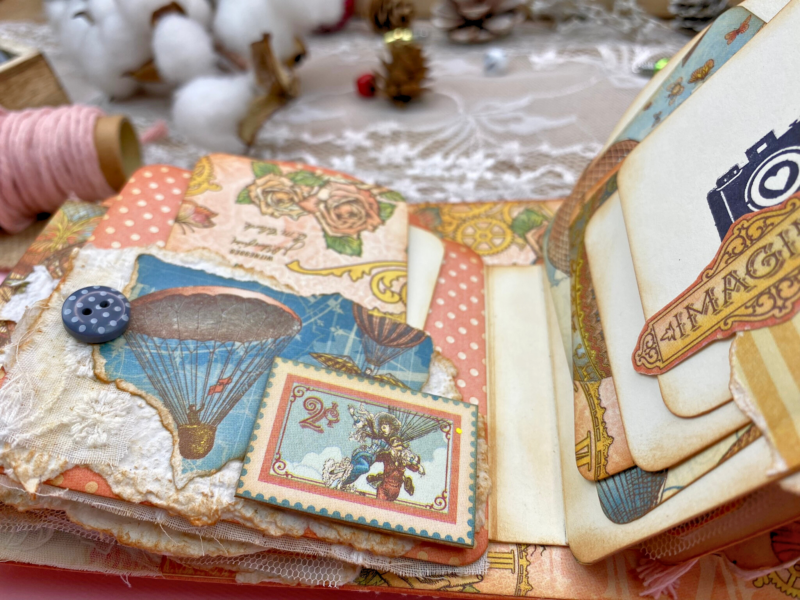
Embark on a creative journey with NJ Paper Crafts. In this DIY Chipboard Embellishments tutorial, you will learn how to take decorative papers, showcasing Graphic 45’s Imagine – Collector’s Edition, and 12×12 Chipboard Sheets, and turn them into stunning and sturdy decorations for all your paper crafting needs. Witness these embellishments elevate this mini album into a stunning work of art!
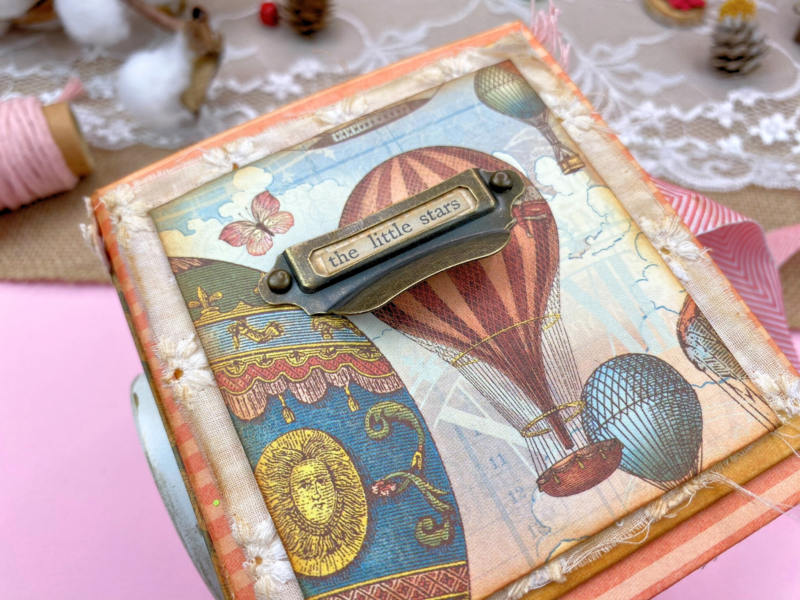
“Did you ever have beautiful designer papers and no chipboard cut-outs that go with them to decorate your projects? You can make your own, by cutting designs from the paper and attaching them to the chipboard with multi-purpose liquid glue. You can also use stickers that come with Graphic 45’s 12×12” Paper Packs. Then you simply take scissors and once again cut those designs from the chipboard. And just like that, you have made your own embellishments that go perfect with the chosen paper collection.
DIY Chipboard Embellishments Tutorial
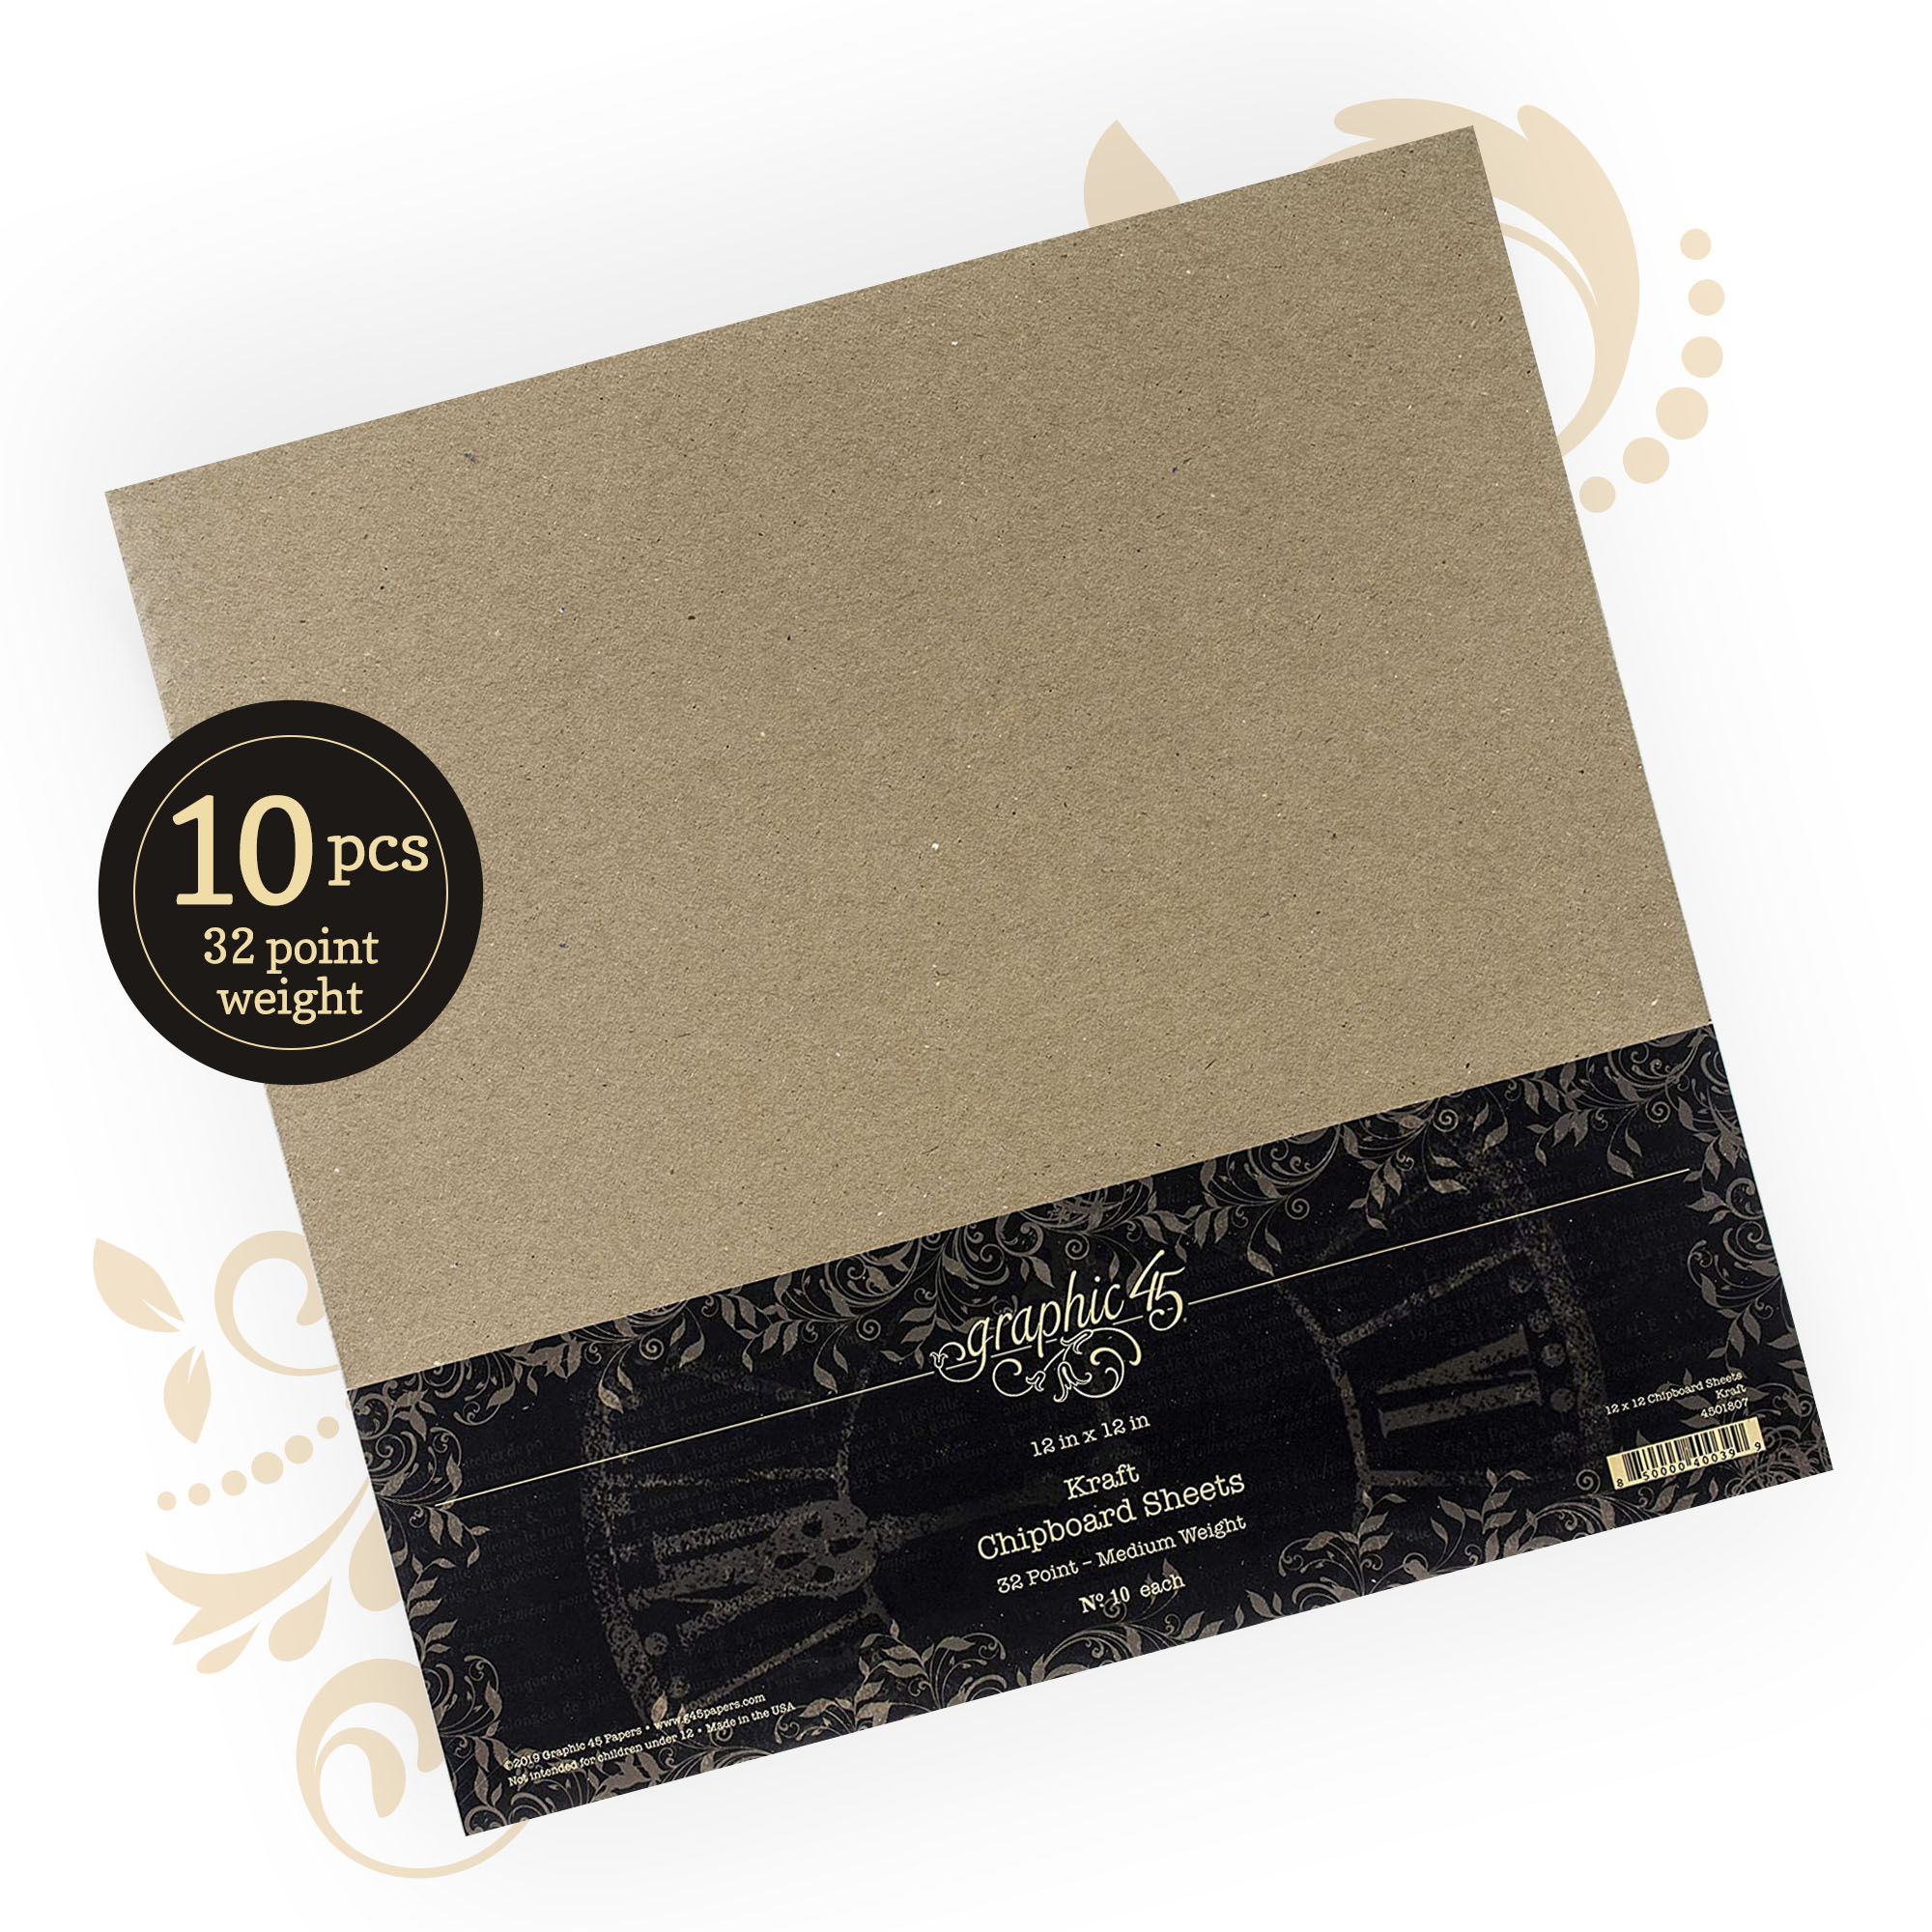
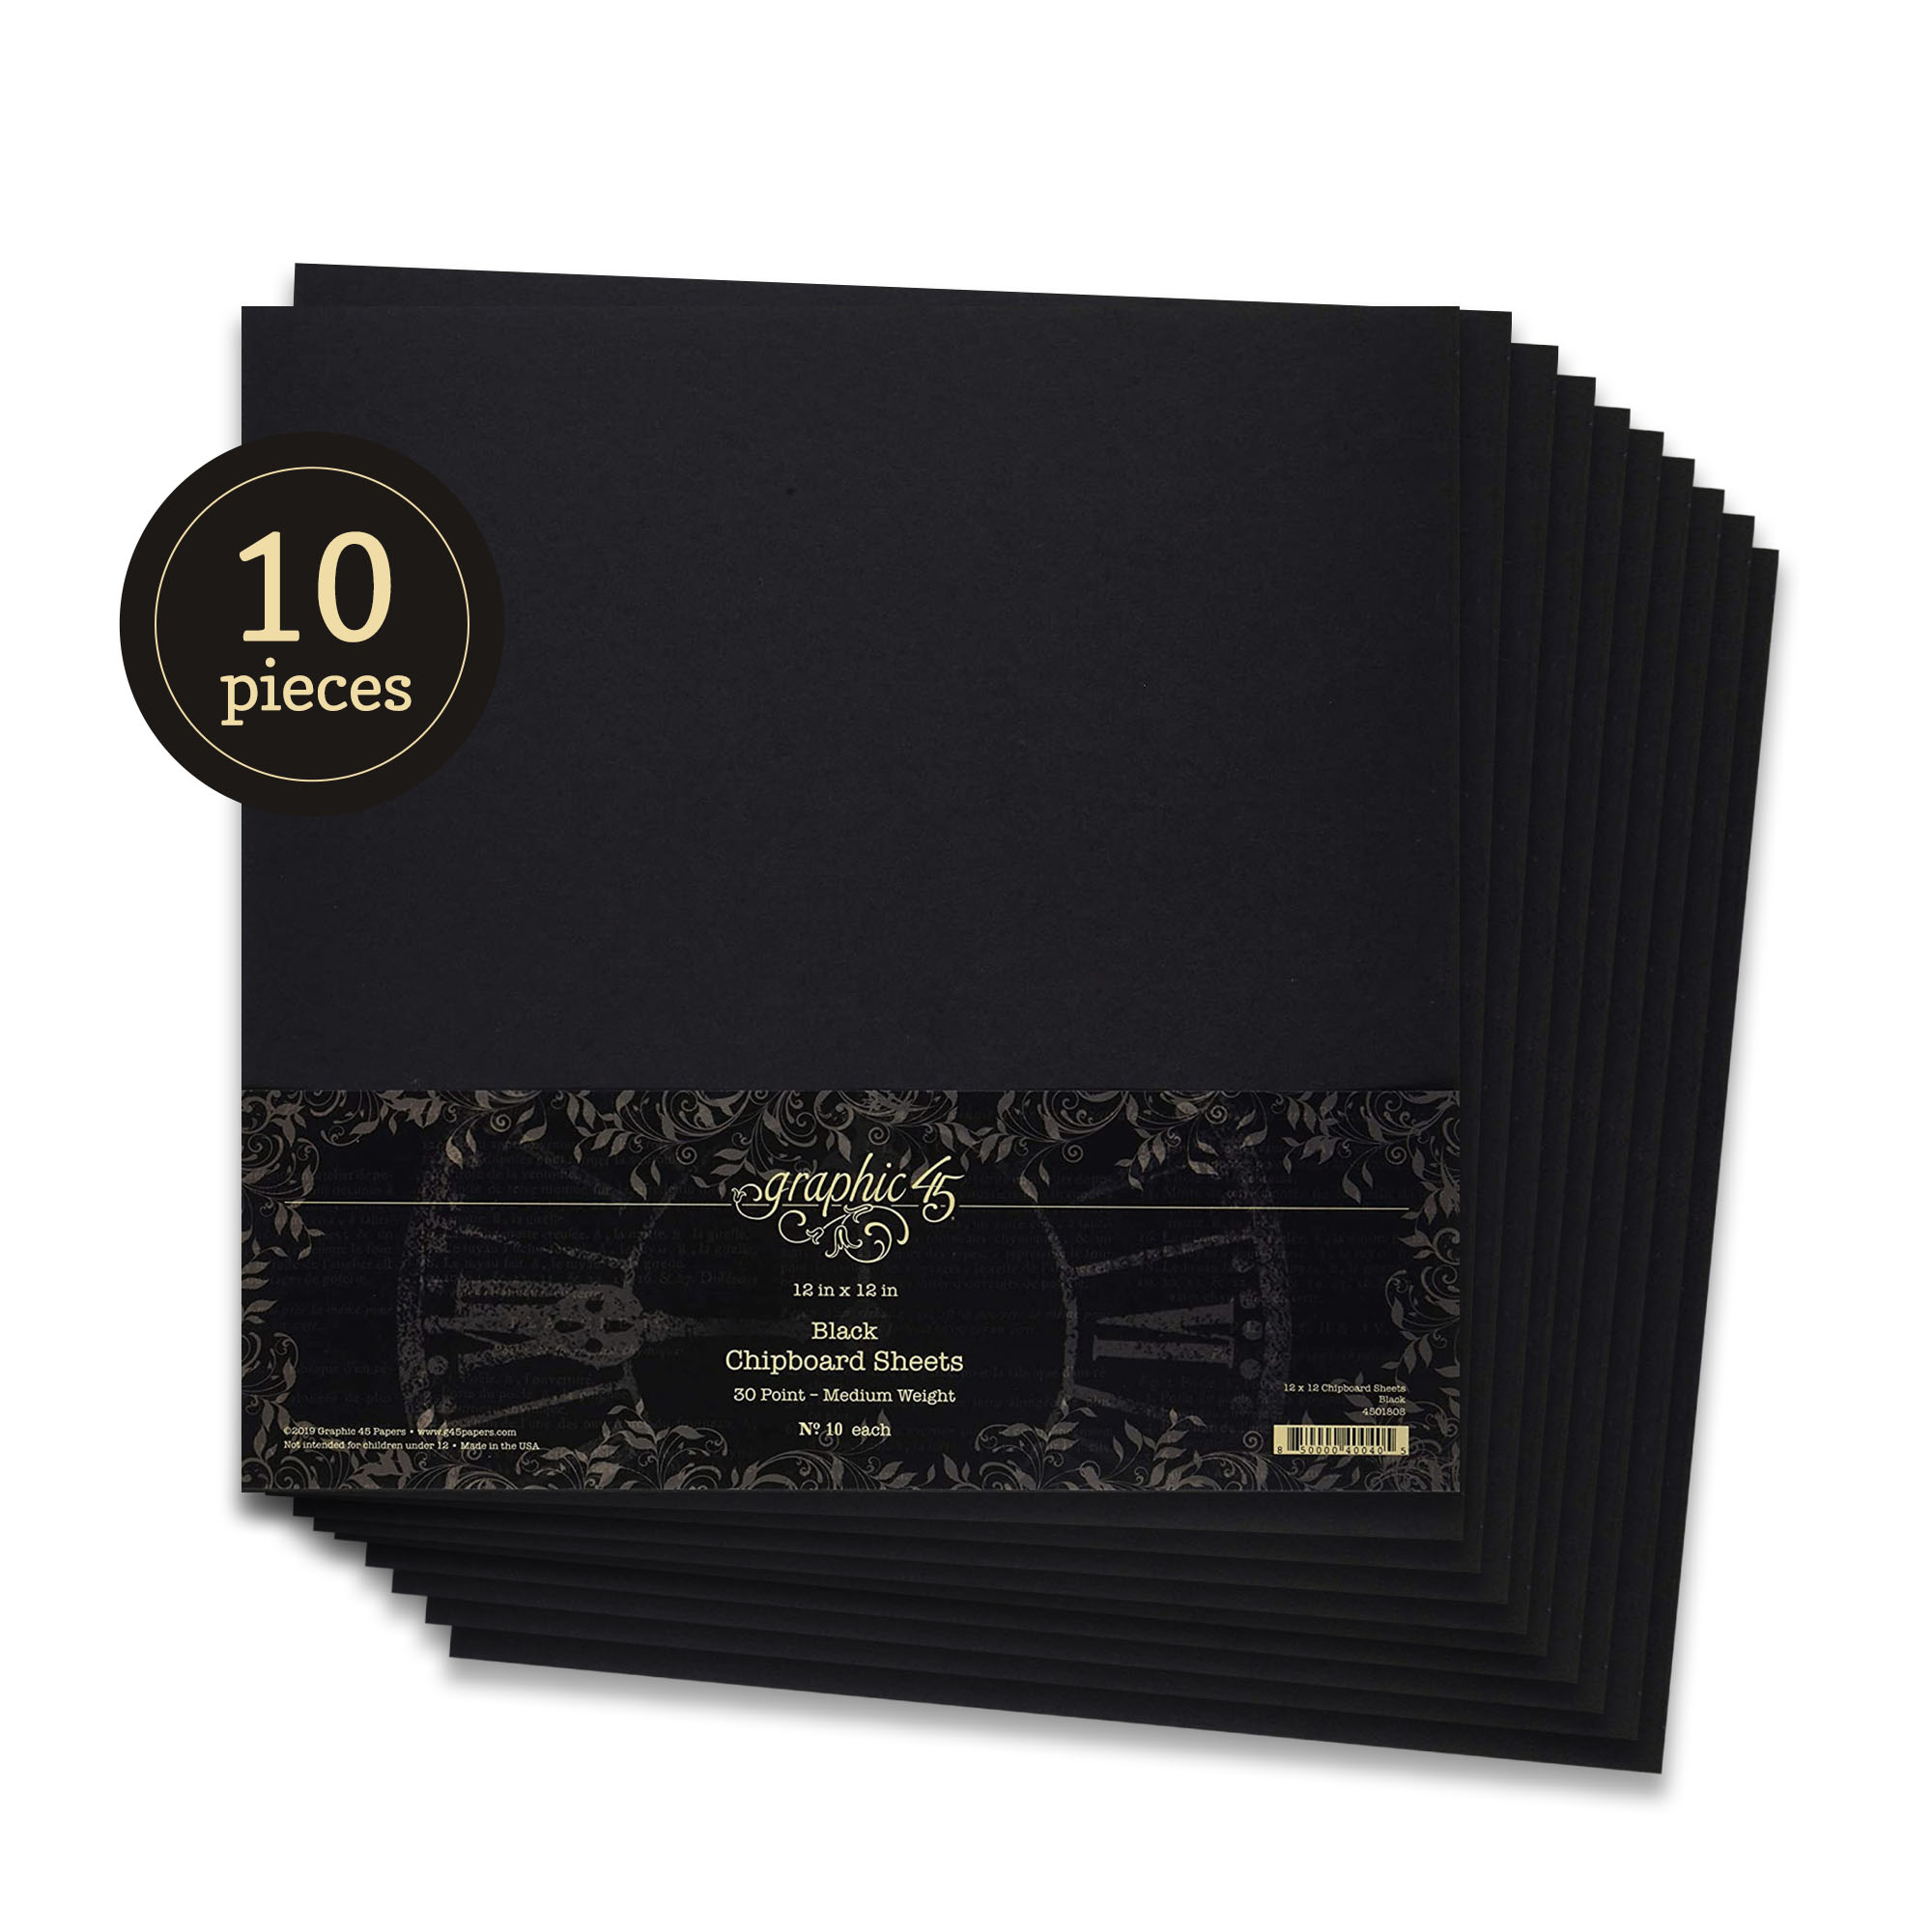
– Graphic 45 Kraft 12 x 12 Chipboard Sheets (or Black)
– Your favourite Graphic 45’s Paper Pack Collection (in the video: Imagine Collector’s Edititon)
– Scissors
– Multi Purpose Glue
Once your embellishments are made you can also use double-sided foam tape to add some extra dimension to your project.” ~NJ Paper Crafts

Love Notes & Imagine Kits Introduction
Want even more Graphic 45? Sign up for our newsletter here.