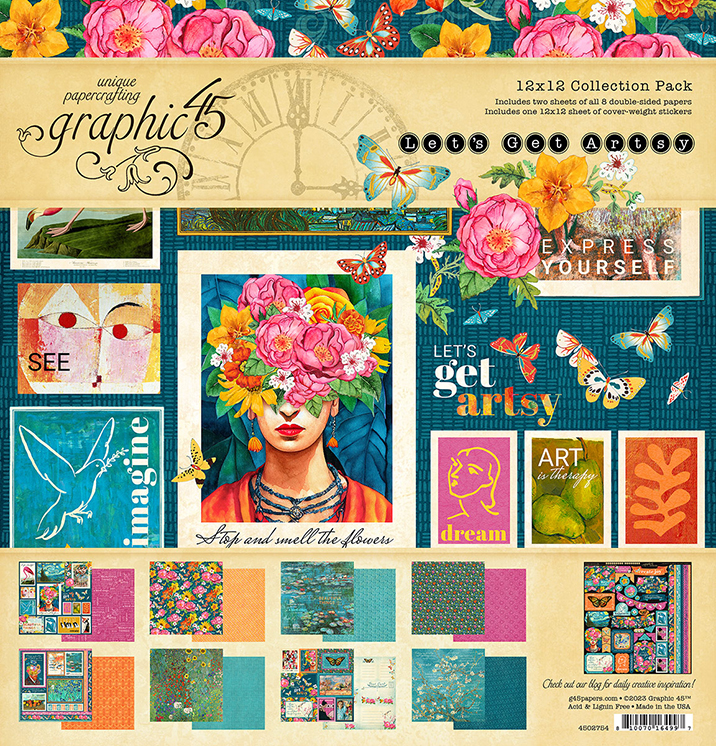
Immerse yourself in creativity with three fabulous crafty tips for a personalized Repurposed Planner Cover and a Unique Pen by Graphic 45 Grand Brand Ambassador, Teresa Cruz aka Andor Violeta. Watch the video tutorial and create along with us. This organizer features the Let’s Get Artsy paper collection, which collection will you use?


“Hi everyone!
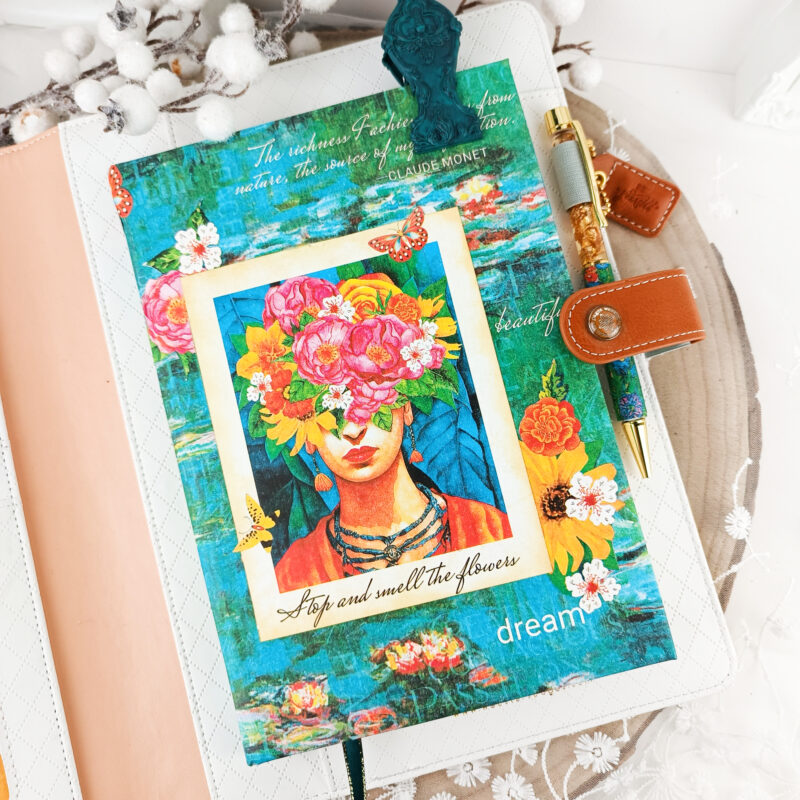
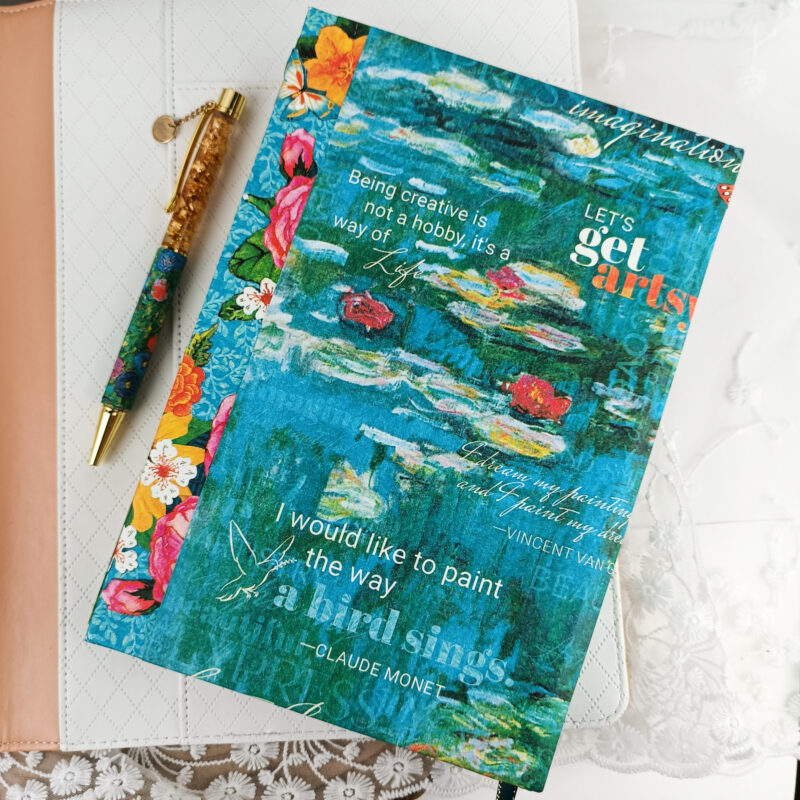
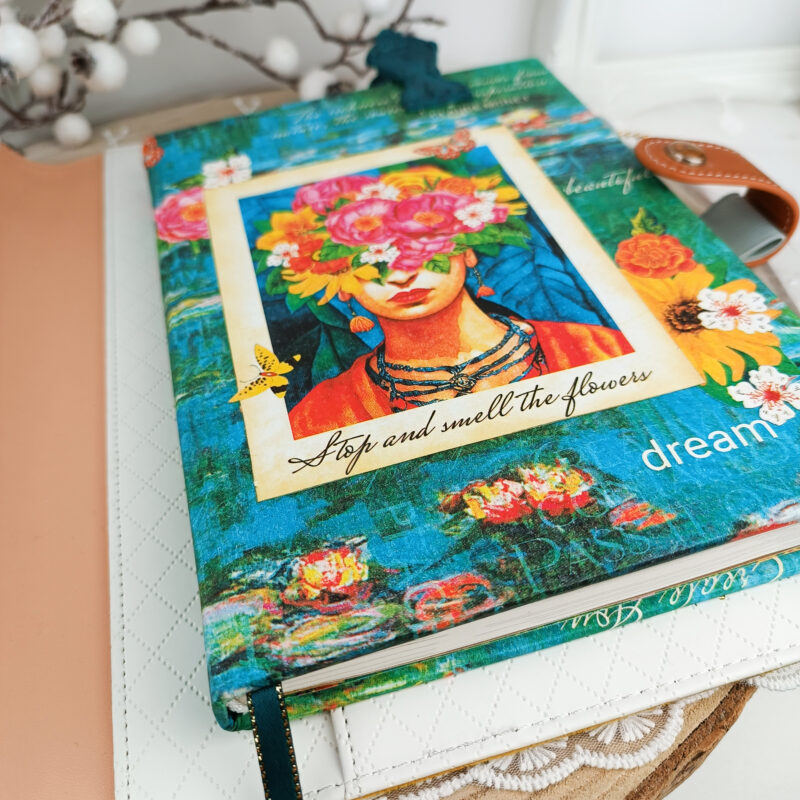
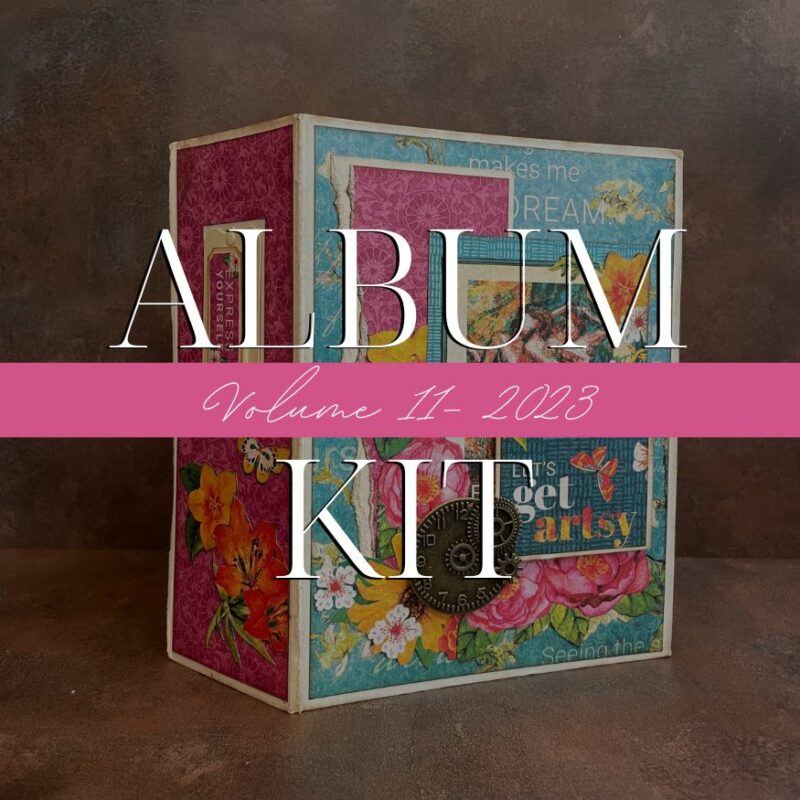
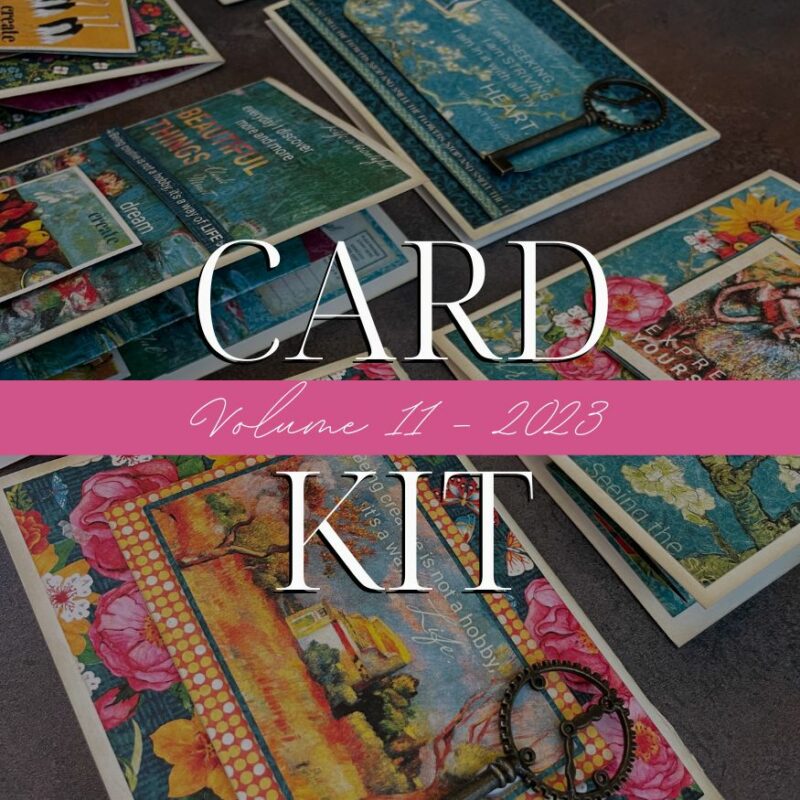
“To start the new year in a best way possible I always like to prepare an inspiring Planner that I will use everyday! This time, someone gave me a planner but I don’t really love the cover at all, so I just decided to use the artistic new collection – Let’s Get Artsy to personalize it. This is a very good collection if you like vibrant colors. You have to try to make something with this collection, for your working table. I’m sure it will be a huge helper, to start each day with positive vibes.
I did prepared a video tutorial that you can see how I made my diy cover for my planner. It’s at the end of this blog post, but first let’s take a look at some photos!”
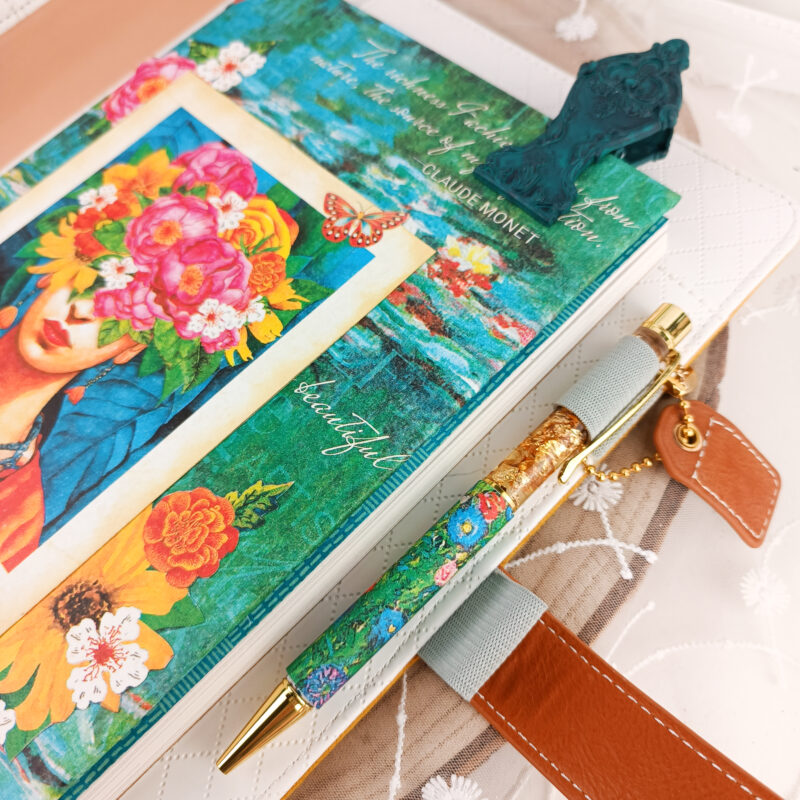
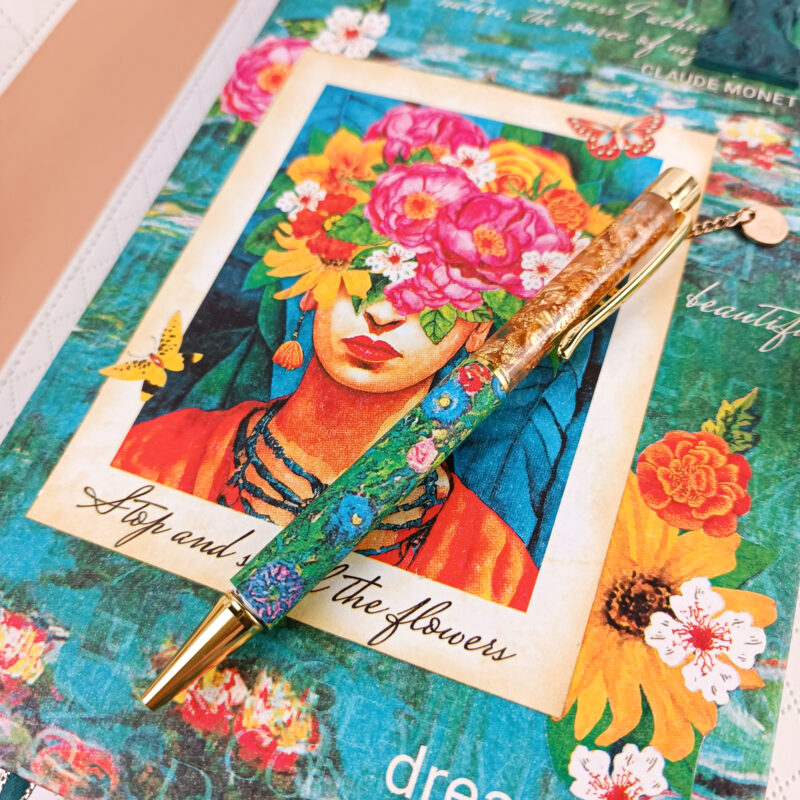
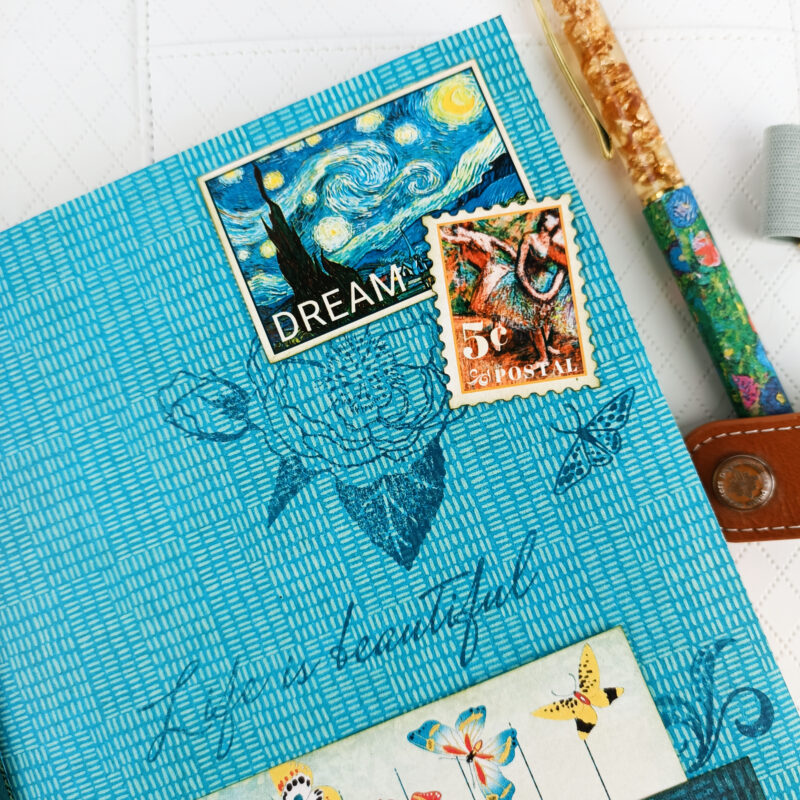
TIP 1: you can personalize also your pen to match the vibe of your planner? Just grab a strip of paper and wrap around your pen using a double sided tape to hold the paper in place. What do you think of this idea?
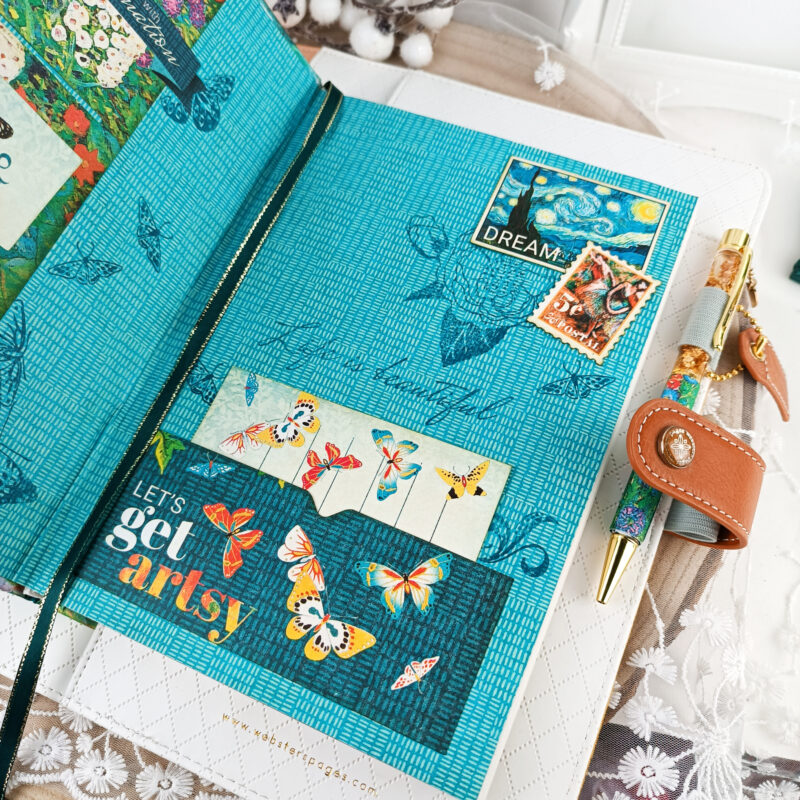
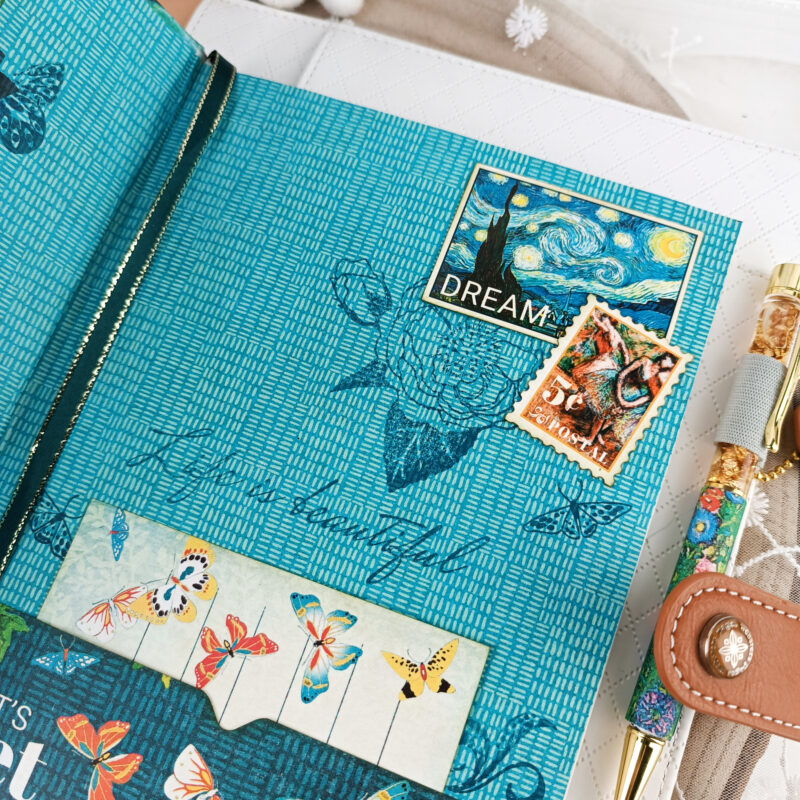
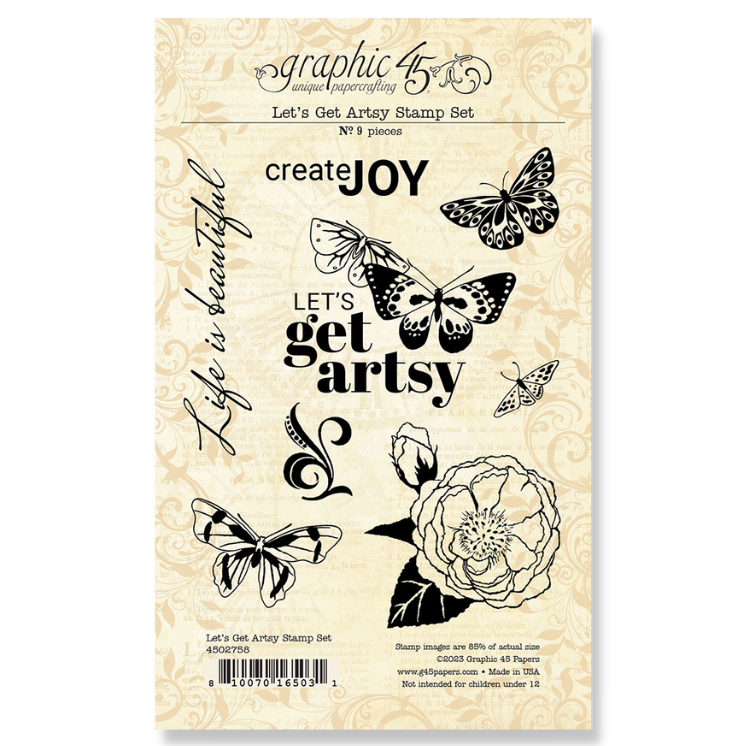
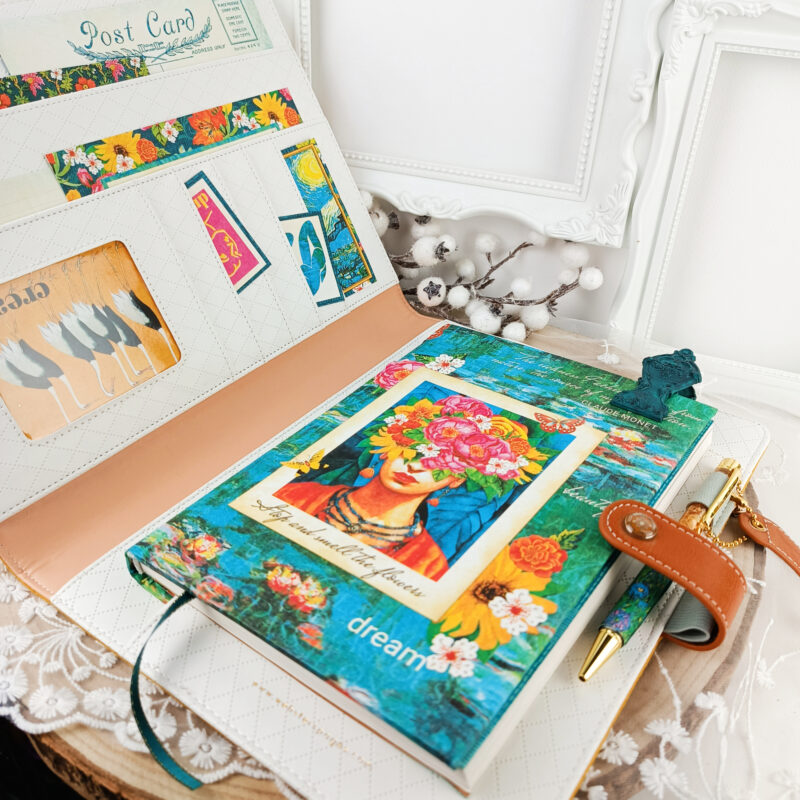
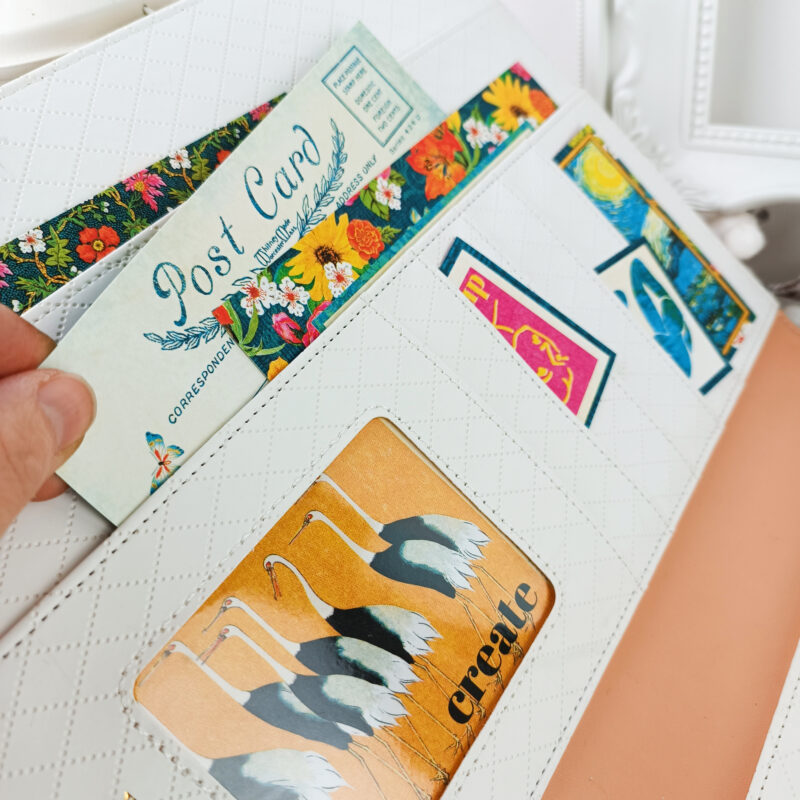
TIP 2: You can also use the stamps from the collection you choose to use, and really make your planner beautiful, and you can have fun in the process. Try to use stamps and stickers or ephemera die cuts also on your daily pages of your planner, i think it’s a very good way to make it even more beautiful and artistic. You can also add some photos and at the end of the year you have a memory planner to keep.
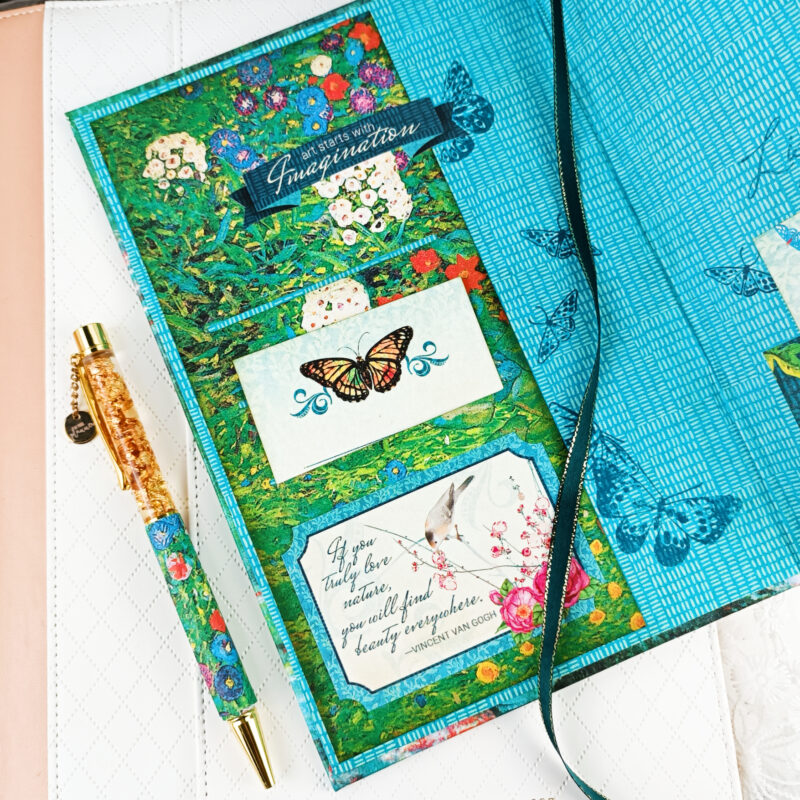
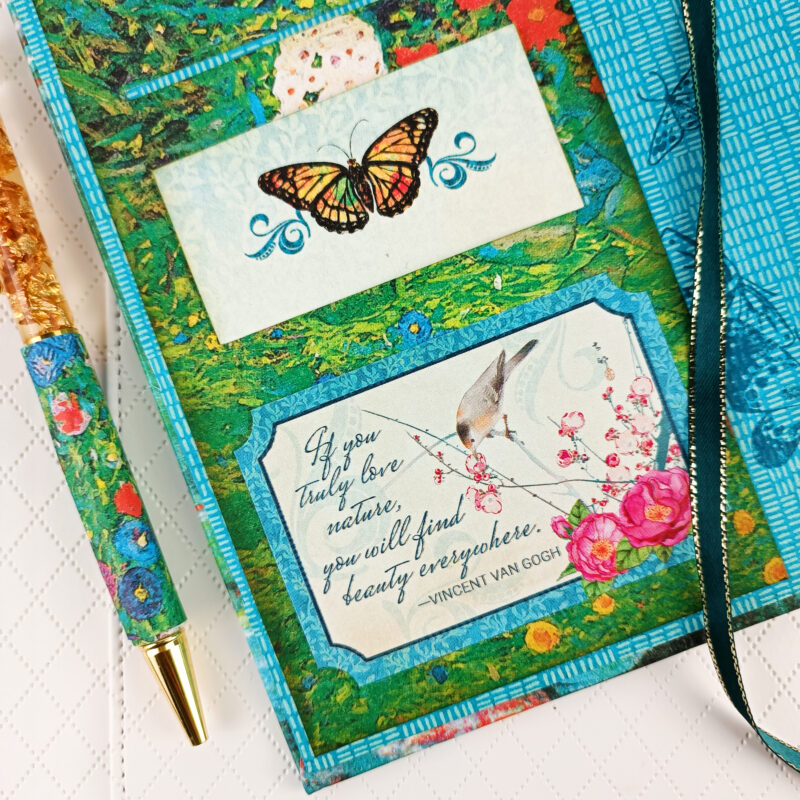
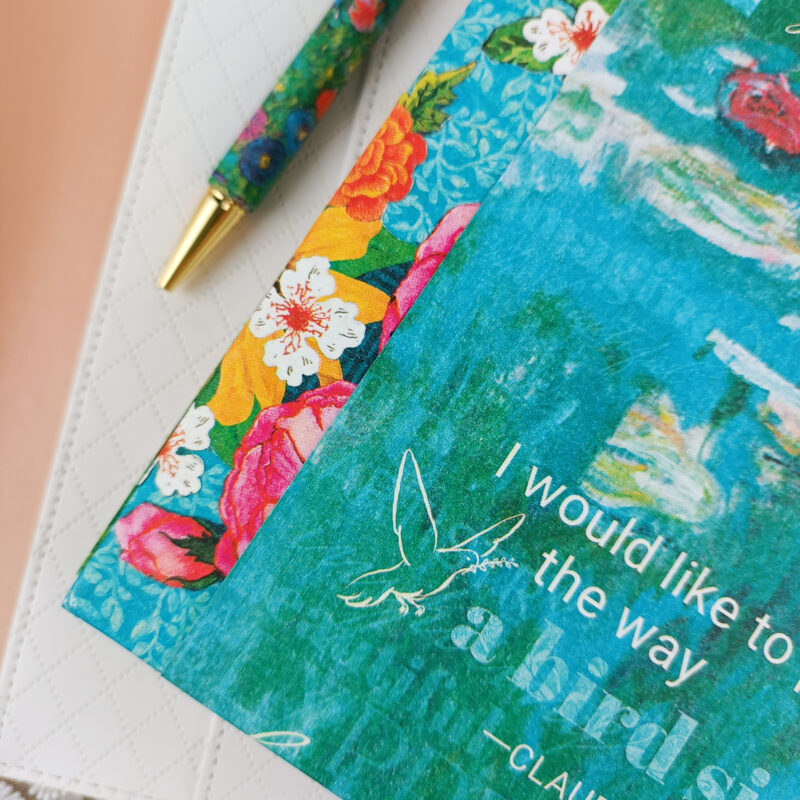
TIP 3: You will see on my video tutorial, but i also want to tell you, when you want to cover a notebook or a planner and your paper is not enough, grab another strip of paper that match or add contrast. Here i used a blue paper to complete the planner back, and i add some fussy cutted flowers that i glued very well. You can see that in this photo on the left side on the back of my planner.
I hope you find this inspiring. Personalize your planner or notebook and Share it with us!!
To create this project, I used this Graphic 45 products:
Thanks for stopping by, I wish you a very artistic day…
Hugs..”
 |  |
Want even more Graphic 45? Sign up for our newsletter here.