Hello G45ers!
Welcome back Katelyn Spencer, our esteemed Graphic 45 Brand Ambassador! Join Katelyn as she guides you through the art of creating stunning dimensional layered tags using fussy cut images and stamps in this step-by-step tutorial. Explore the world of creativity with our exquisite Little Things paper collection and the Tags Staples (back in stock). Don’t miss the video tour for an up-close look at all the breathtaking details!

“Hey Everyone!
It’s an exciting day today as I’m thrilled to be back as a Brand Ambassador! The last time I was on the team was 2018/2019 and although I still LOVE to fussy cut, my style has changed in the last four years. I’m looking forward to inspiring you with my projects over this next year. Thank you Graphic 45 was giving me the opportunity to be on the team again!
For those who don’t know, here is a little bit about myself:
I’m Katelyn Spencer and I live on beautiful Vancouver Island, British Columbia in Canada with my Husband, and cat.
I’ve spent the last 15 years in the papercrafting world and my very first job was working in a scrapbook store. While working in the store, I also started teaching a variety of classes. When I’m not busy being a real estate agent, you’ll find me most of the time in my scrapbook room designing various projects.
In my spare time I love to read a good book while drinking a green tea latte or London Fog. If I’m not reading, I love to spend time with friends and family or watch a good movie. When the weather is nice, you’ll often find me outside taking advantage of our beautiful Canadian weather hiking or bike riding.
This month’s project is all about creating a project that reflects me. Now this one is a hard one for me as I like to dabble in a couple of different styles of creating. This project that I created, combined my love of stamping, layering papers and a whole lot of fussy cutting.
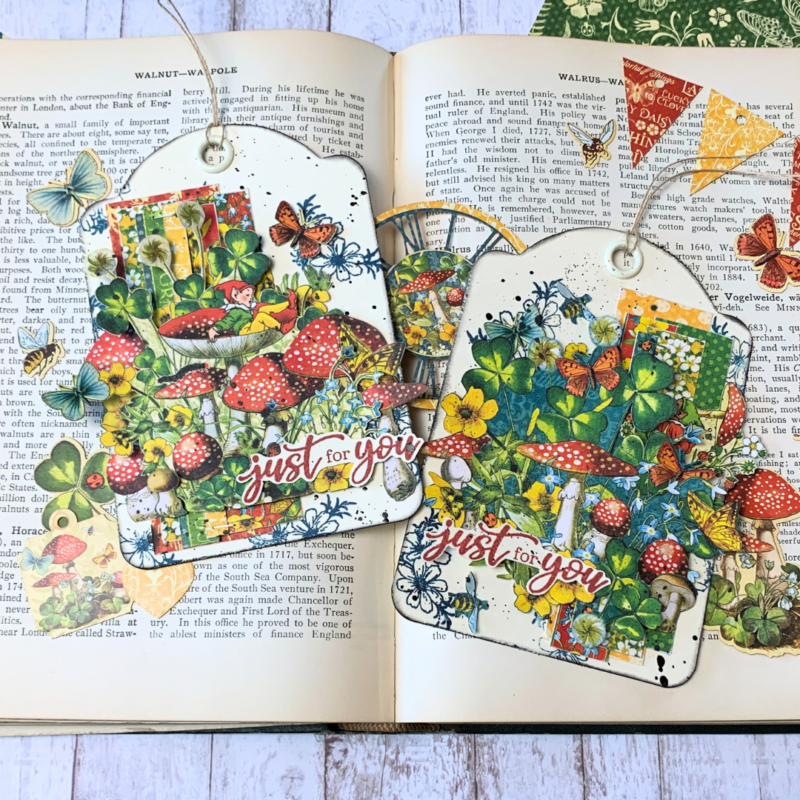
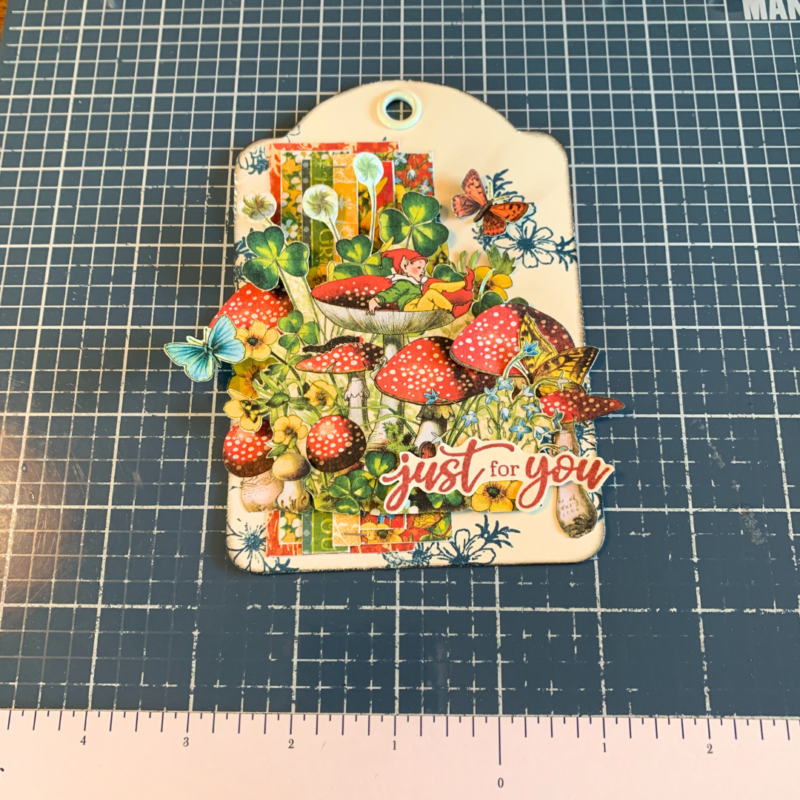
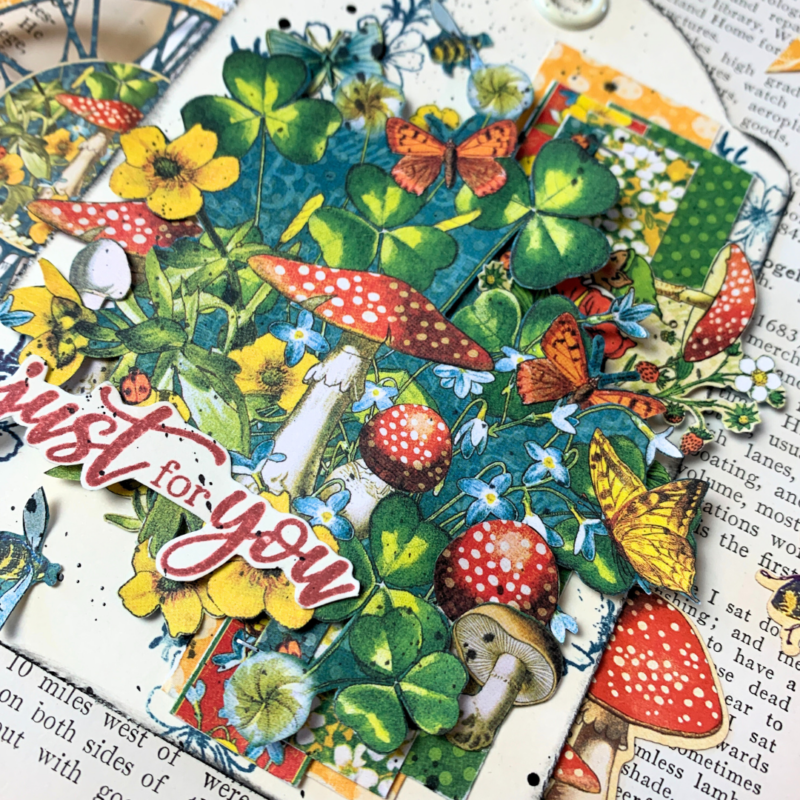
To create these Just for You Tags I used the Little Things Collection which is one of my favourites as I love all things mushrooms. You’ll want to grab a cup of your favourite summertime beverage and learn how to create these tags at home.
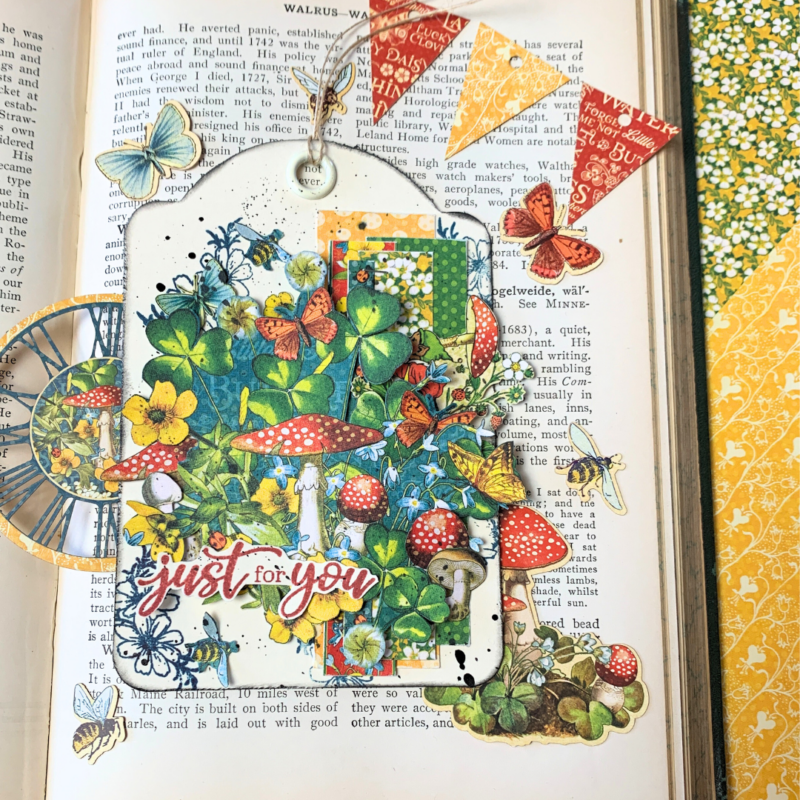
The first tag we will create is the Just for You Tag with the blue background behind the mushrooms.
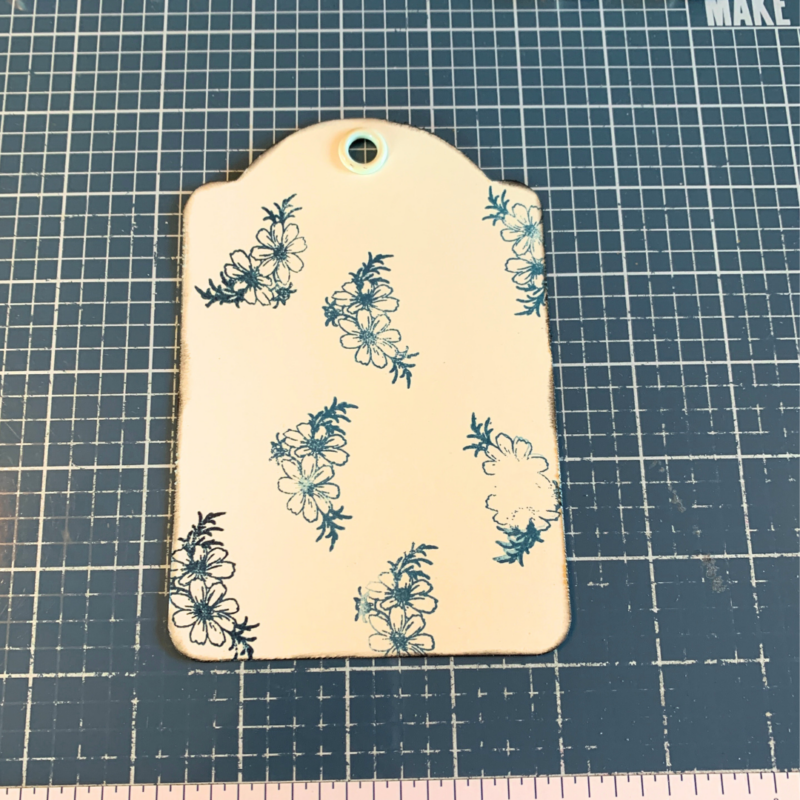
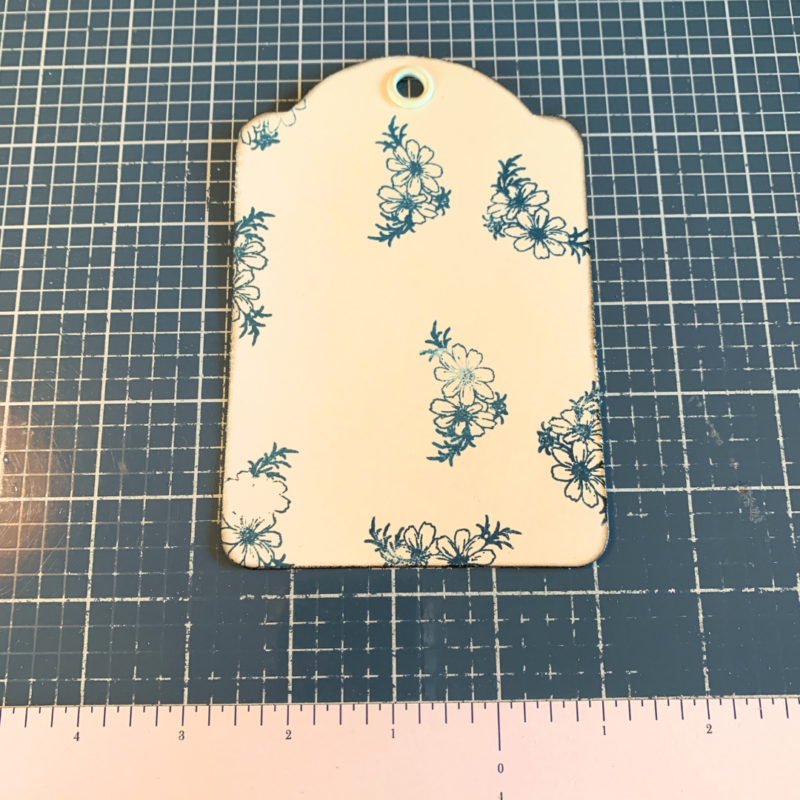
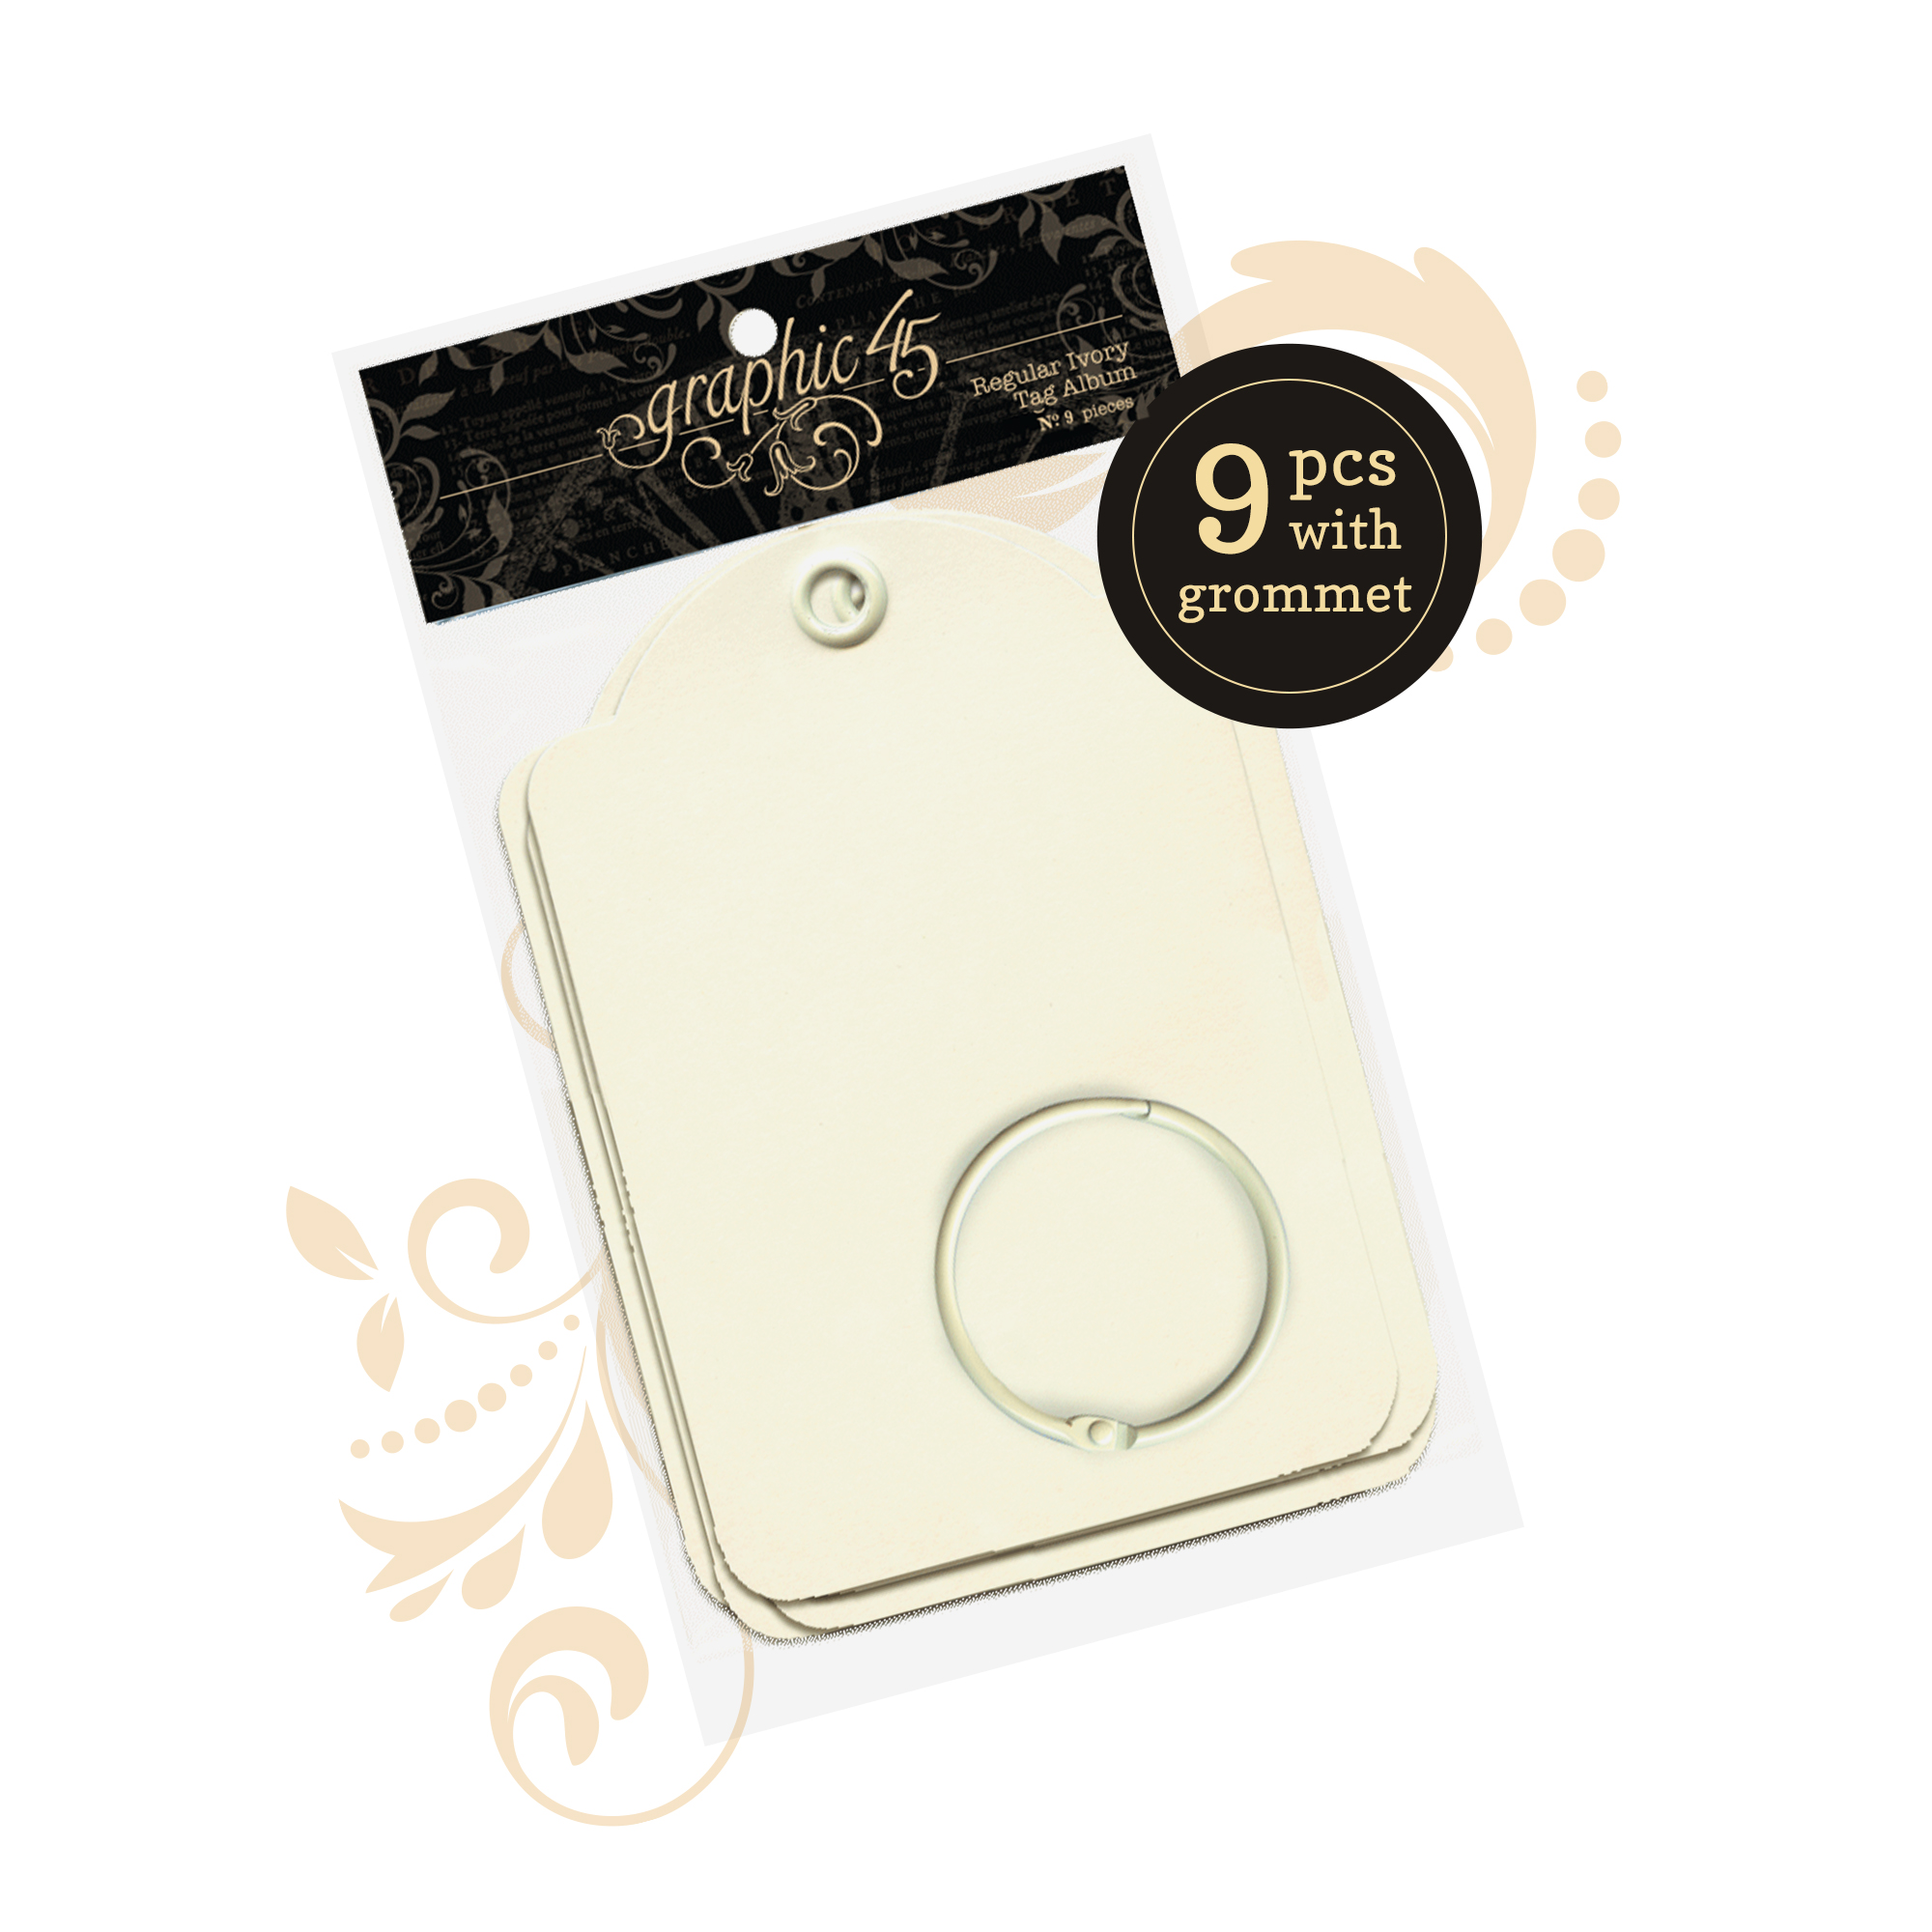
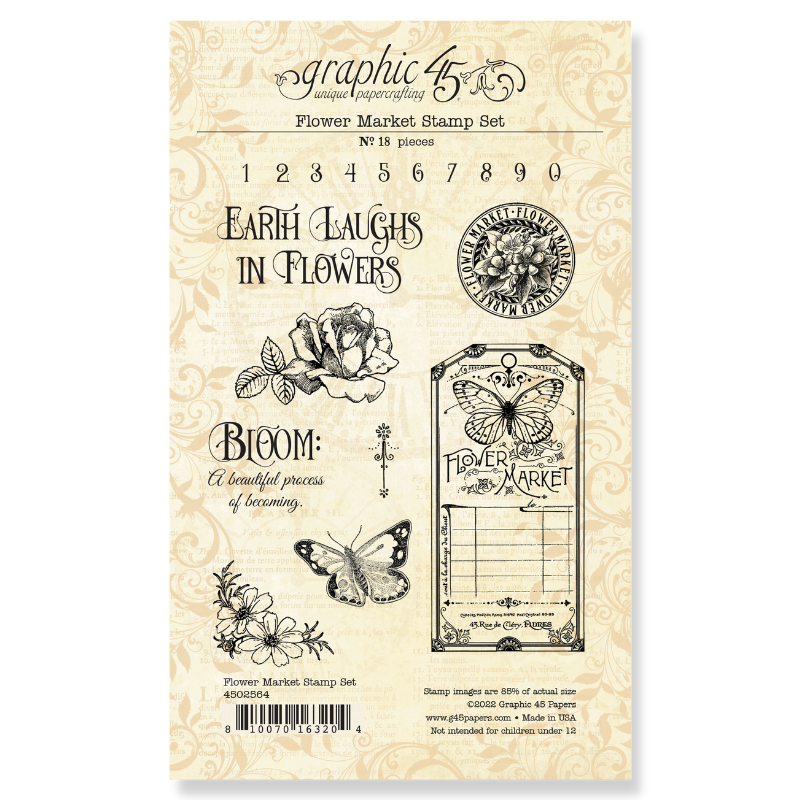
Step One. Take out a Ivory Tag from the Regular Tags Ivory. Next, you’ll need the flower bunch stamp from the Flower Market Stamp Set. Apply Marine Blue Ink to the stamp and stamp randomly on the tag. Stamp a total of seven times. It’s fine if the stamped images aren’t perfect. Distress the edges of the tag. Ink the edges of the tag using Classic Black Ink and a blending tool with foam. Set the tag aside.
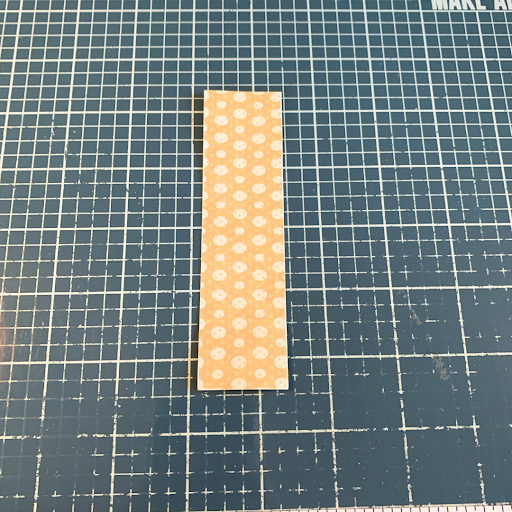
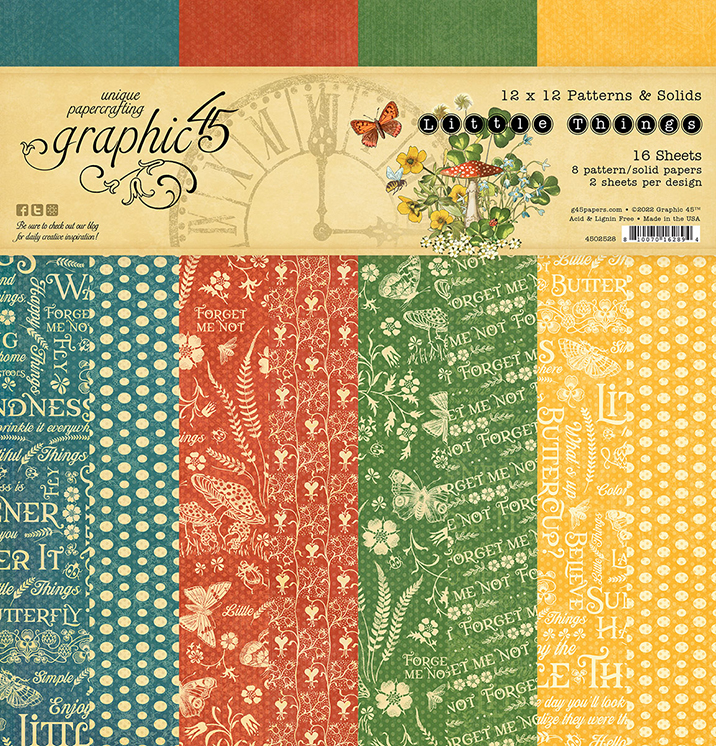
Step Two. From the Little Things 12×12 Pattern & Solids Pack, you’ll need the yellow dot paper. Cut a piece that measures 1 ¼” x 4 ¾”. Sand the edges of the paper.
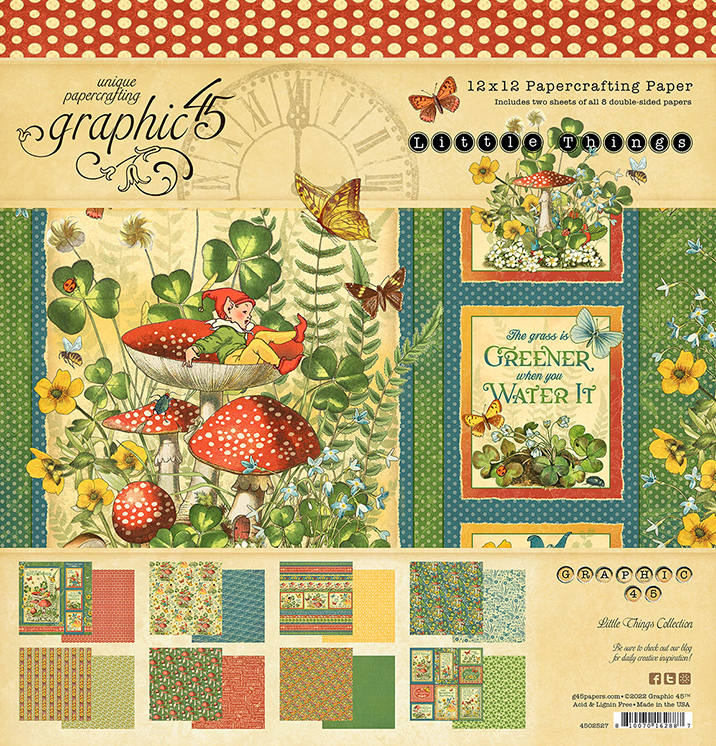
The next six steps use the patterned paper out of the Little Things 12×12 Collection Pack.
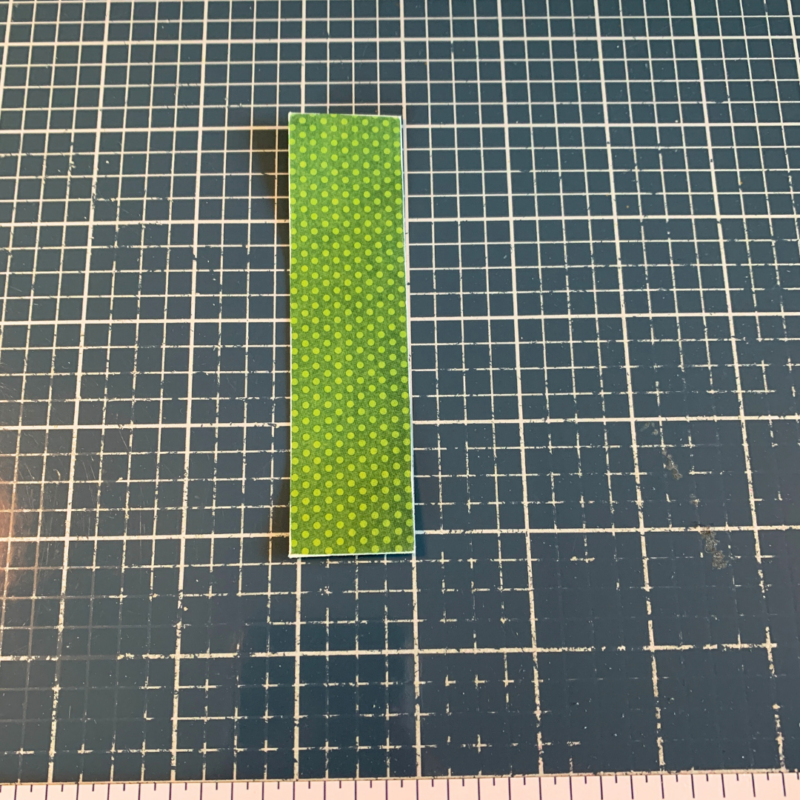
Step Three. Cut a piece from the green dot side of the What’s Up Buttercup paper that measures 1 ⅛” x 4 ¼”. Sand the edges of the paper.
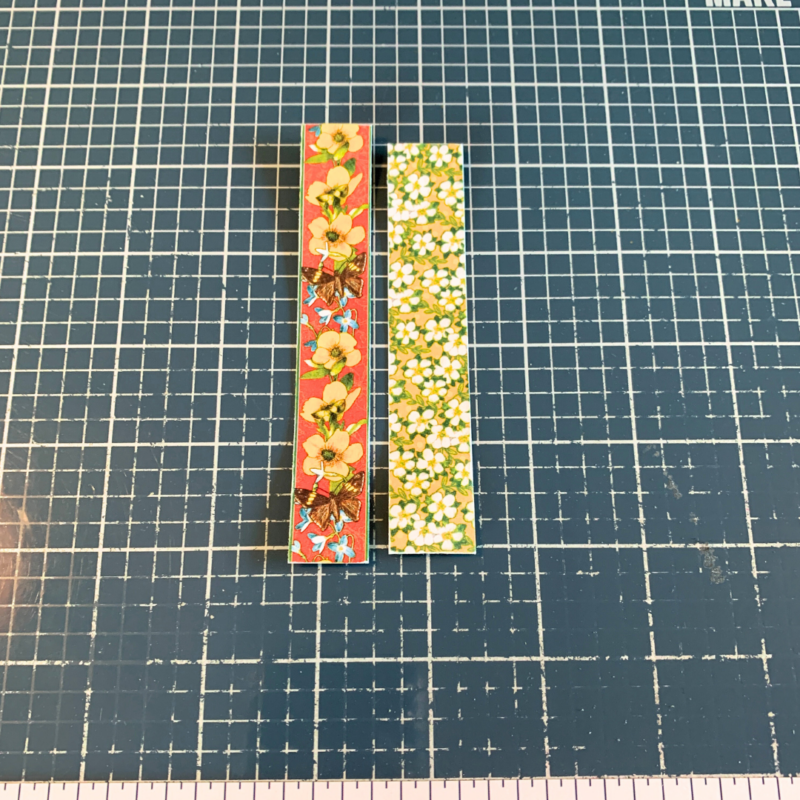
Step Four. From the Hello Ladybug Paper, you’ll need to cut one of the flower strips off. Cut the flower strip down to 4 ½”. Flip the remainder of the paper over and cut a piece that measures 4 ¼”. Sand the edges of both papers.
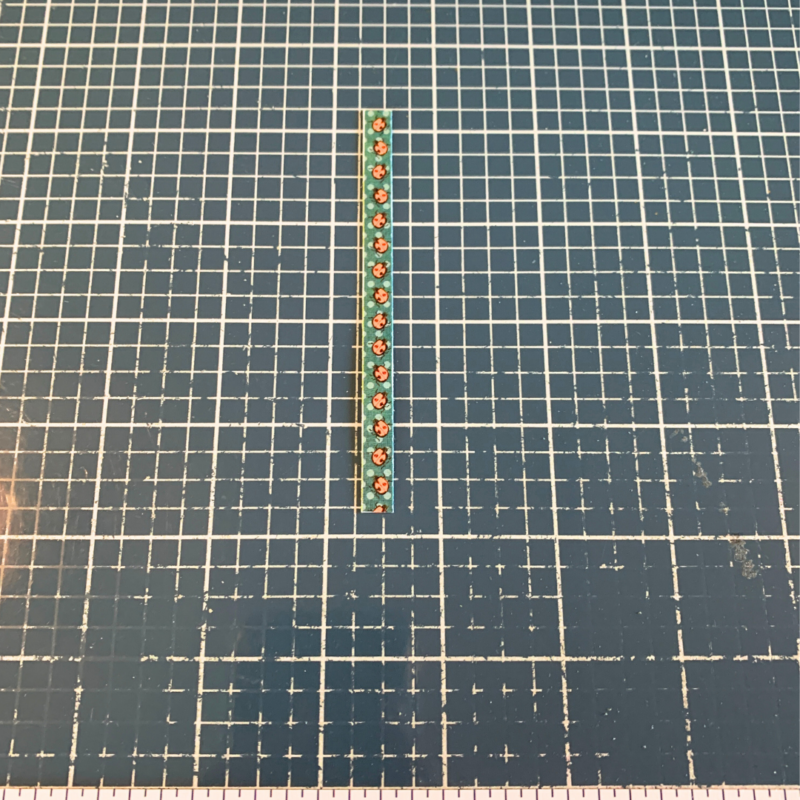
Step Five. From the border side of the Bloom & Grow Paper, cut the ladybug border away from the paper. Cut the border strip down to 3 ⅞”. Sand the edges of the border.
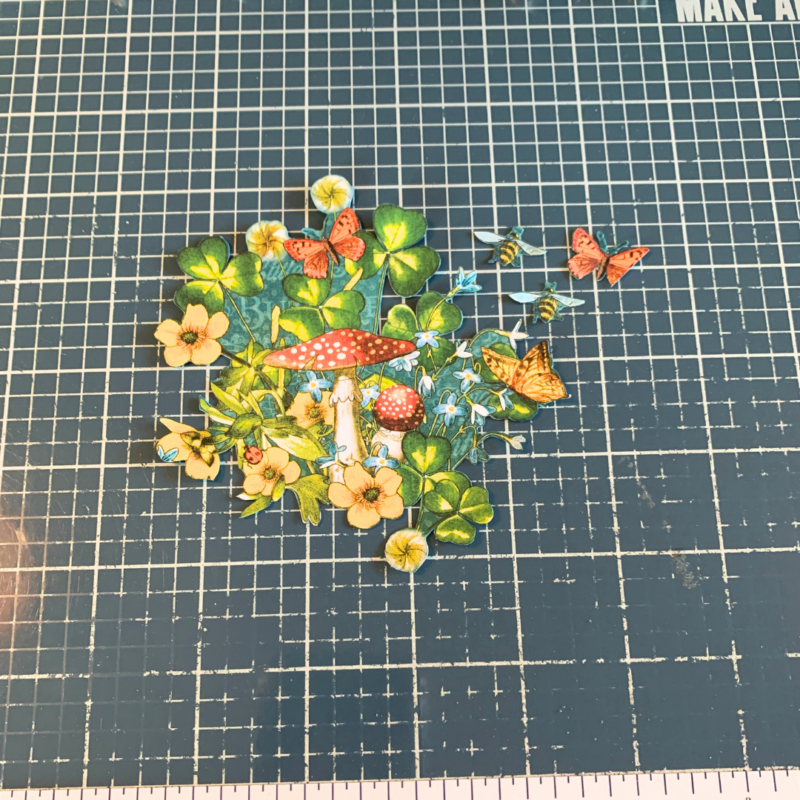
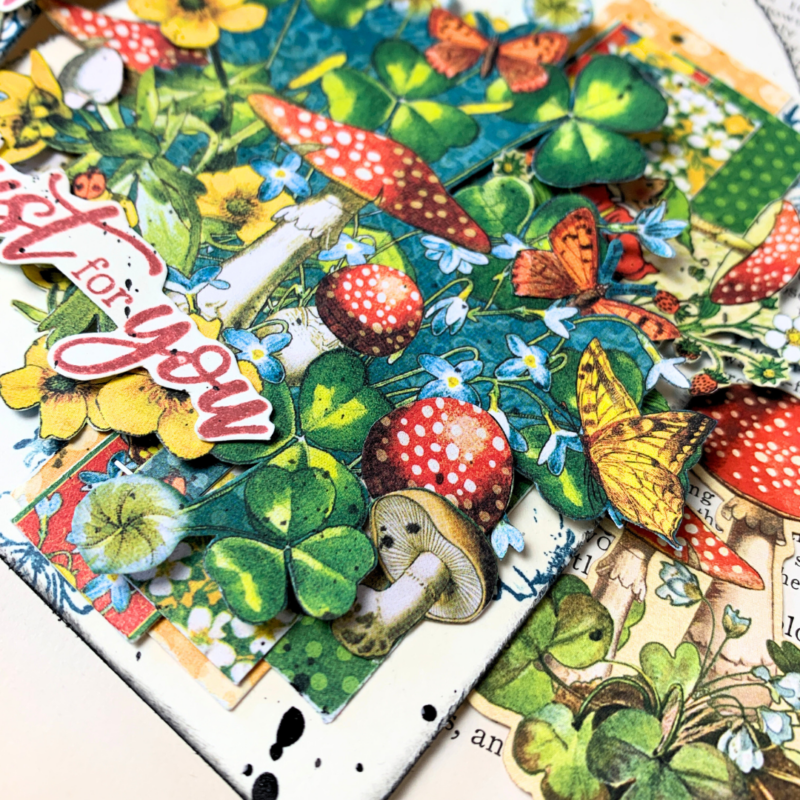
Step Six. From the Mushroom side of the Lazy Daisy Paper, fussy cut one of the images that has a mushroom, clovers, flowers and butterflies. From the same side of the paper, fussy cut two bees and one red butterfly.
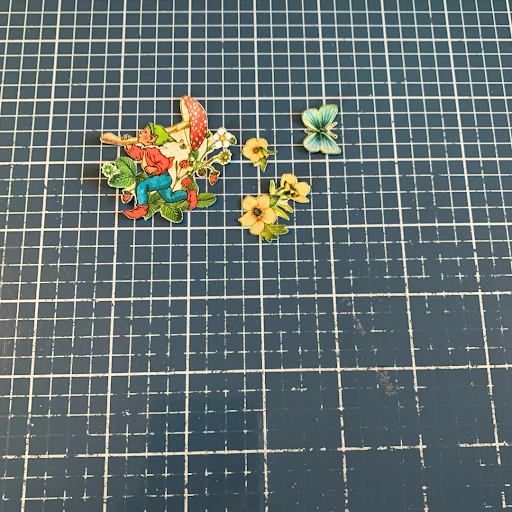
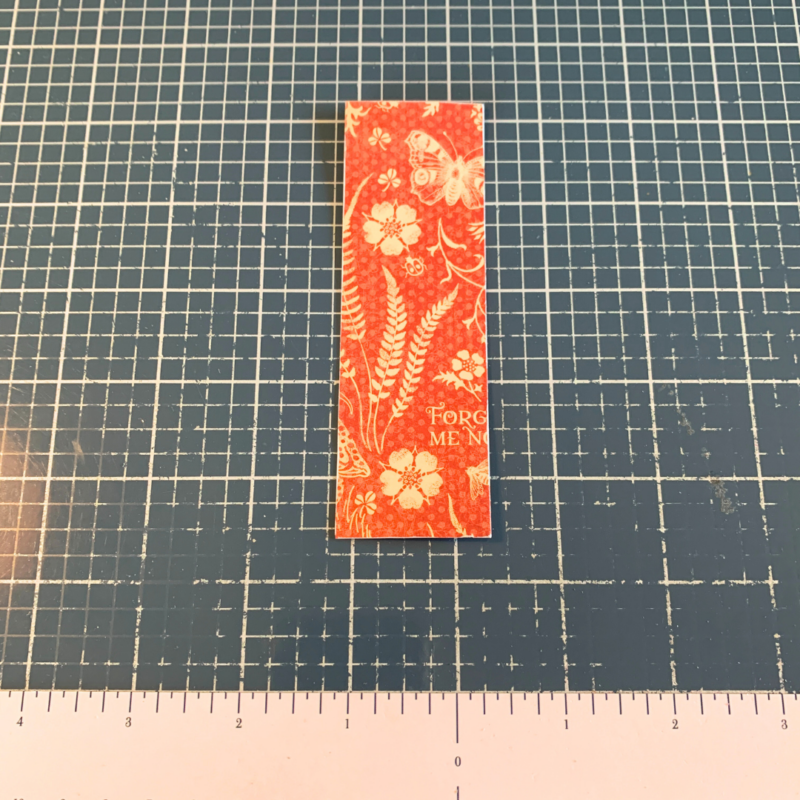
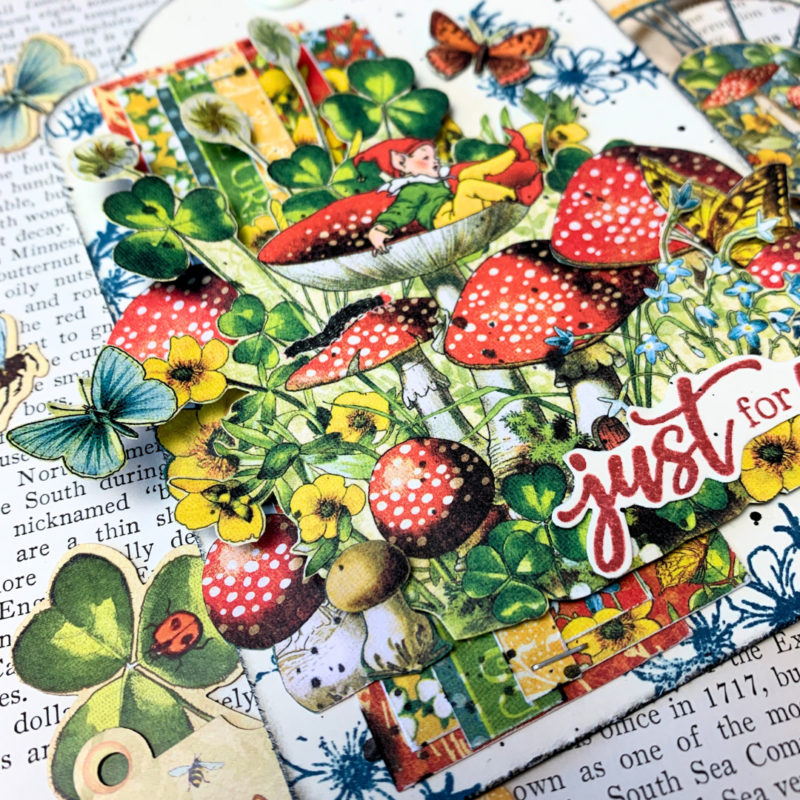
Step Seven. Fussy cut the boy carrying the mushroom, a single yellow flower, a yellow flower bunch and a blue butterfly out of the Forget Me Not Paper.
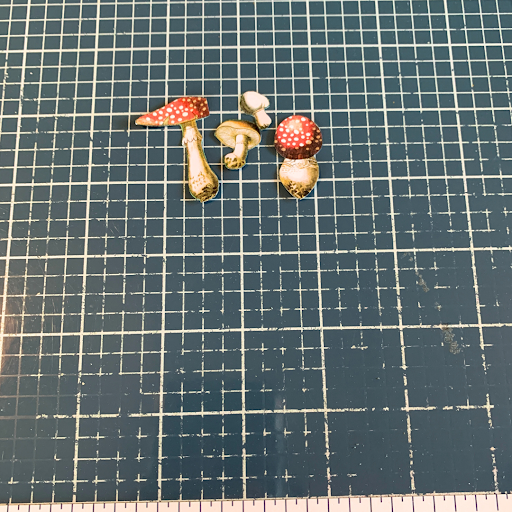
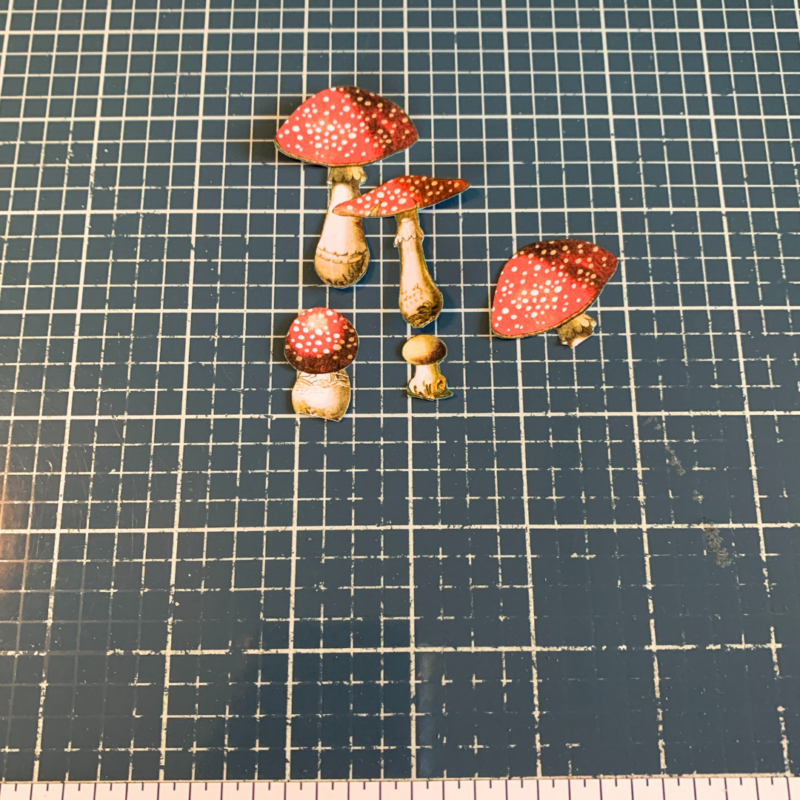
Step Eight. Fussy cut four mushrooms from the Sprinkle Kindness Paper.
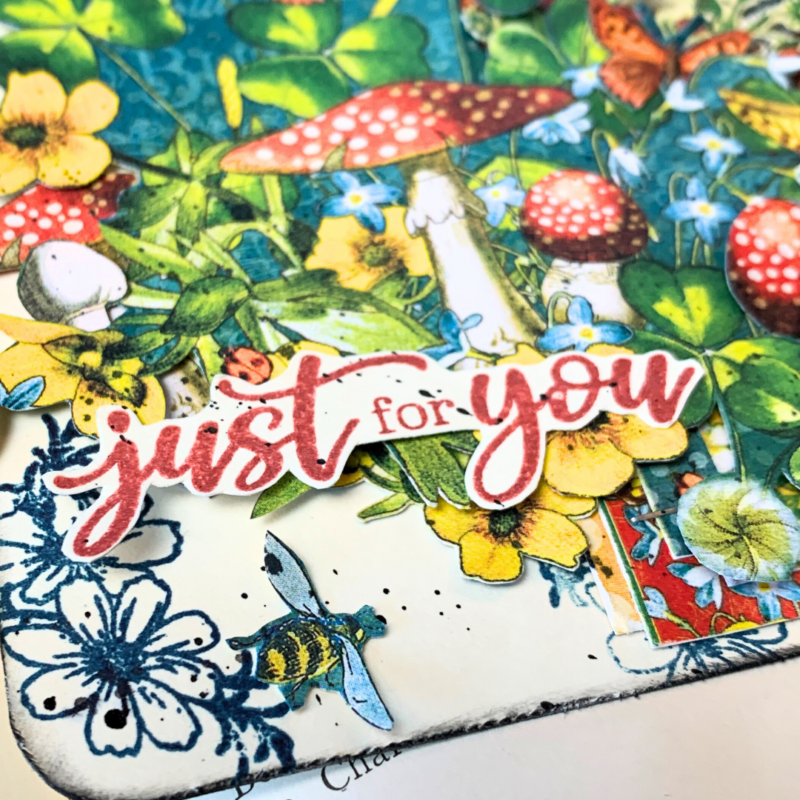
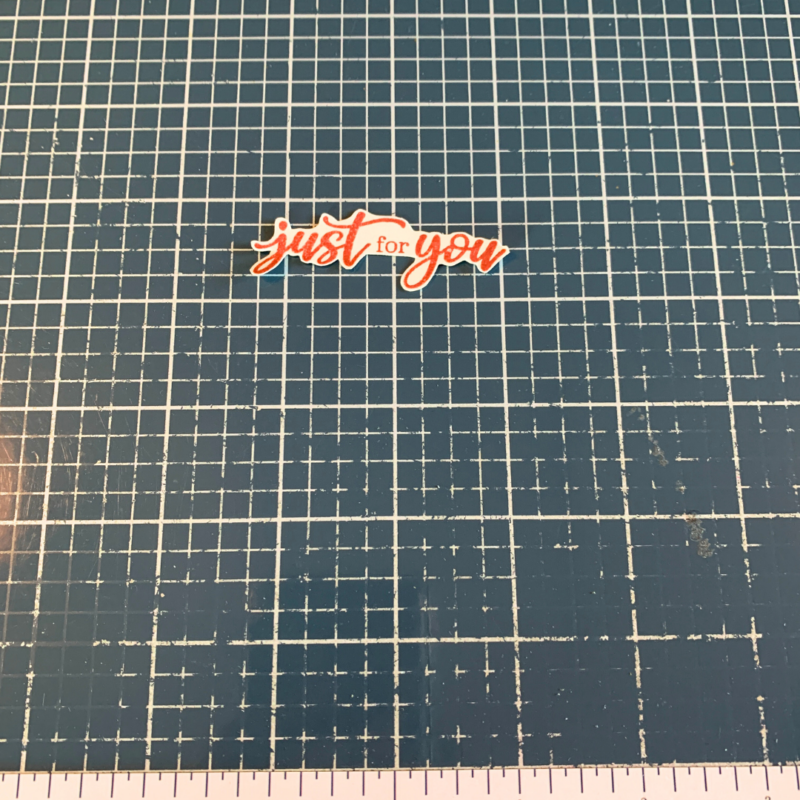
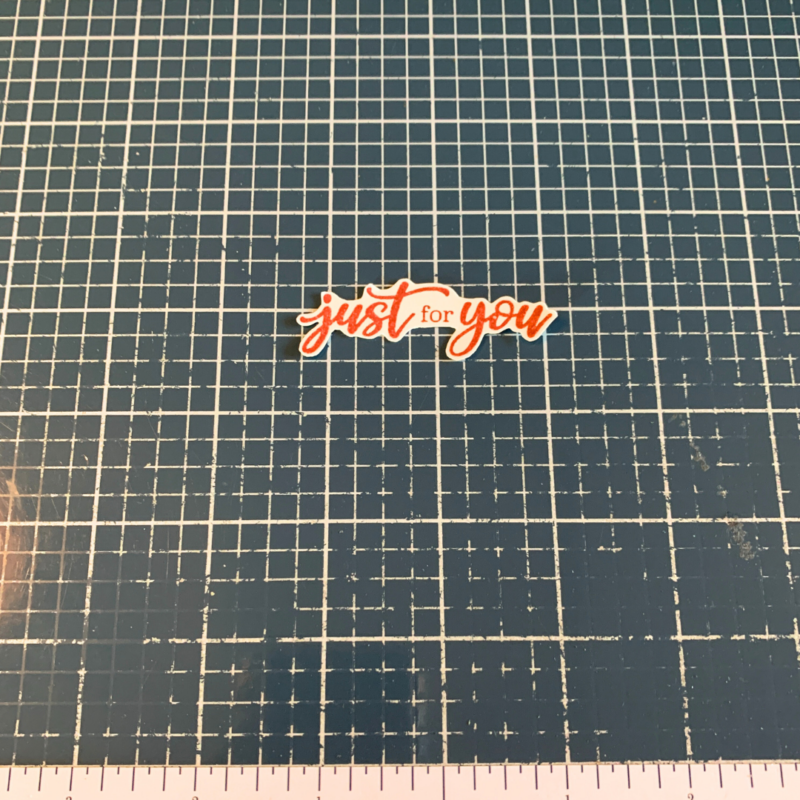
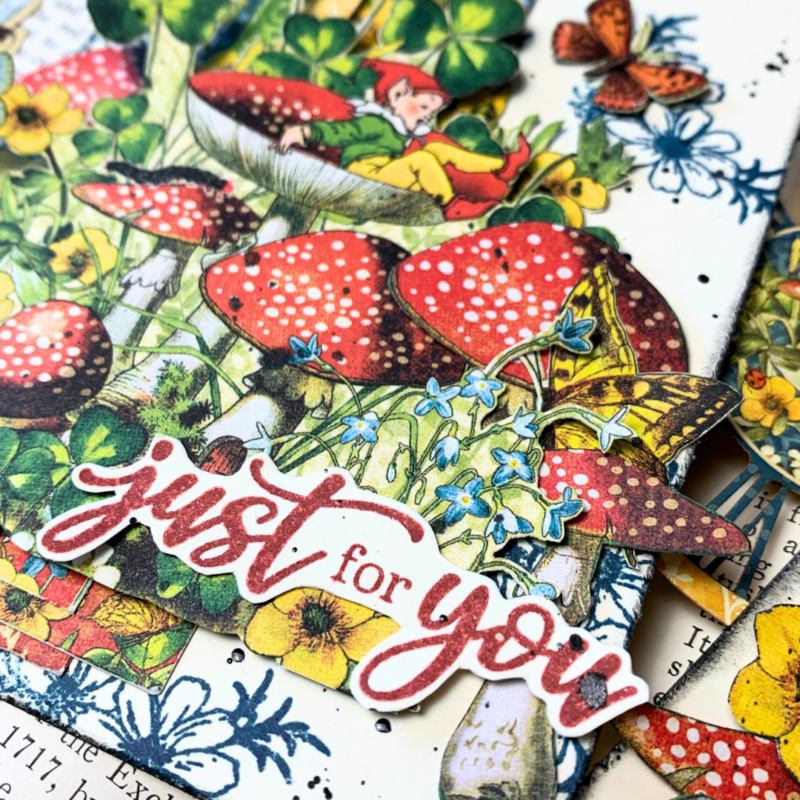
Step Nine. Next, you’ll need the Just for You sentiment from the Sentiment Stamps. Apply Brick Red Ink to the sentiment and stamp onto a piece of cream cardstock. Fussy cut around the sentiment.
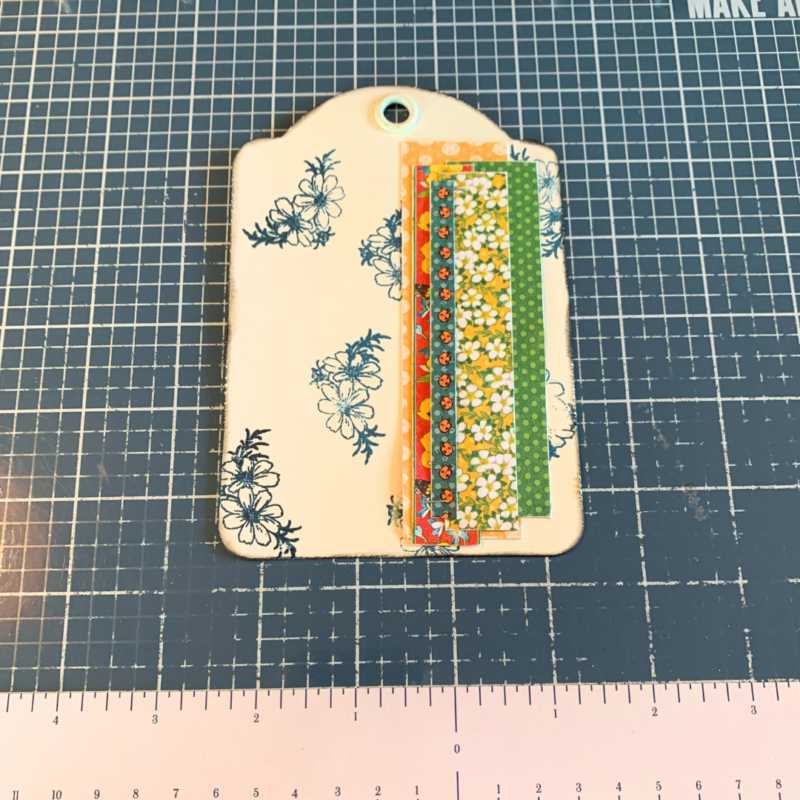
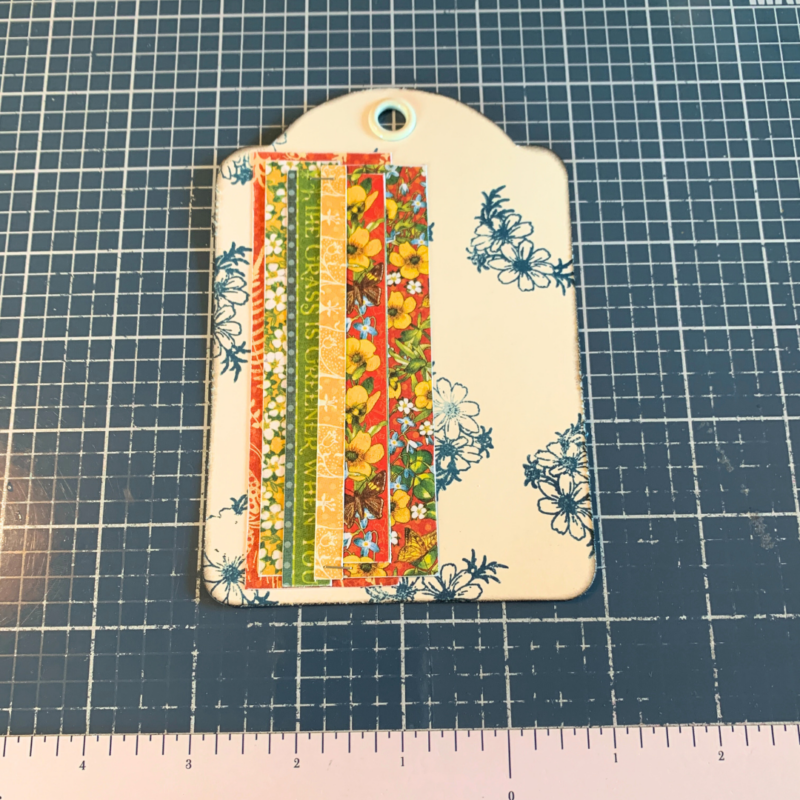
Step Ten. Adhere the yellow dot paper ⅝” from the right and ⅛” from the bottom of the tag. Adhere the green dot paper ¼” from the right and ⅜” from the bottom of the tag. Adhere the flower border 1” from the right and ⅛” from the bottom of the tag. Adhere the white flower paper ⅝” from the right and ¼” from the bottom of the tag. Staple the ladybug border strip 1 ¼” from the right and ⅜” from the bottom of the tag.
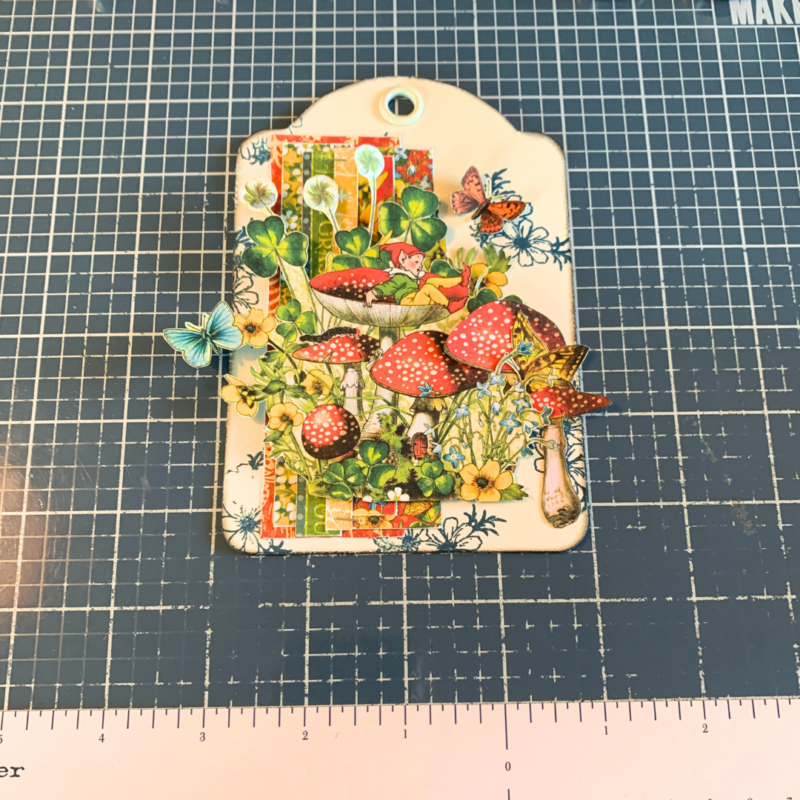
Step Eleven. Foam square the mushroom with flowers, clovers and butterflies ⅛” from the bottom of the tag. Adhere the boy with mushroom to the top right side of the image in between the clovers making sure you can see the boys face. Adhere the two yellow flower bunch to the bottom left of the large yellow flower at the bottom of the mushroom.
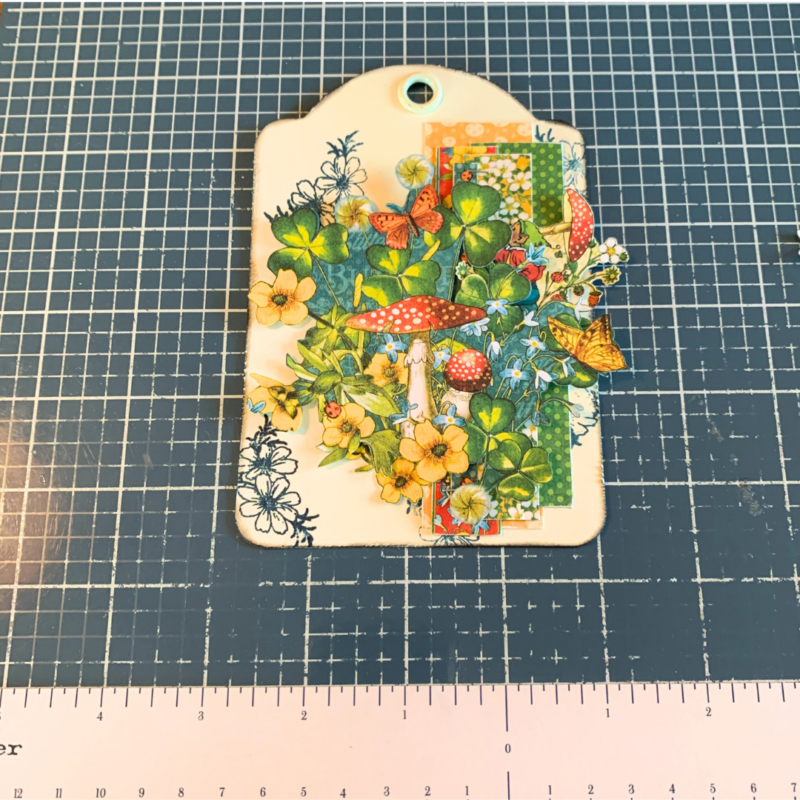
Step Twelve. Adhere the single yellow flower to the left of the red butterfly at the top of the mushroom image. Adhere the single red butterfly by the boy carrying the mushroom. Adhere a bee in the top middle of the tag as desired. Adhere the other bee to the bottom left side of the tag as desired.
Step Thirteen. Adhere two of the mushrooms to the left side of the mushroom image in between the two yellow flowers. Adhere the remaining two mushrooms to the right side of the mushroom image. Adhere the Just for You sentiment to the bottom left side of the mushroom image as desired.
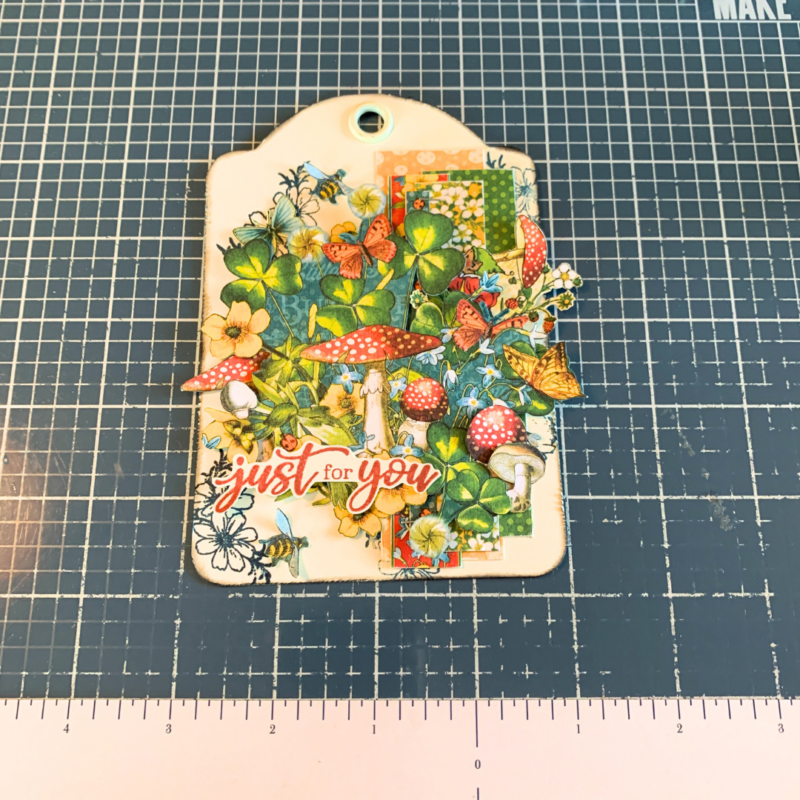
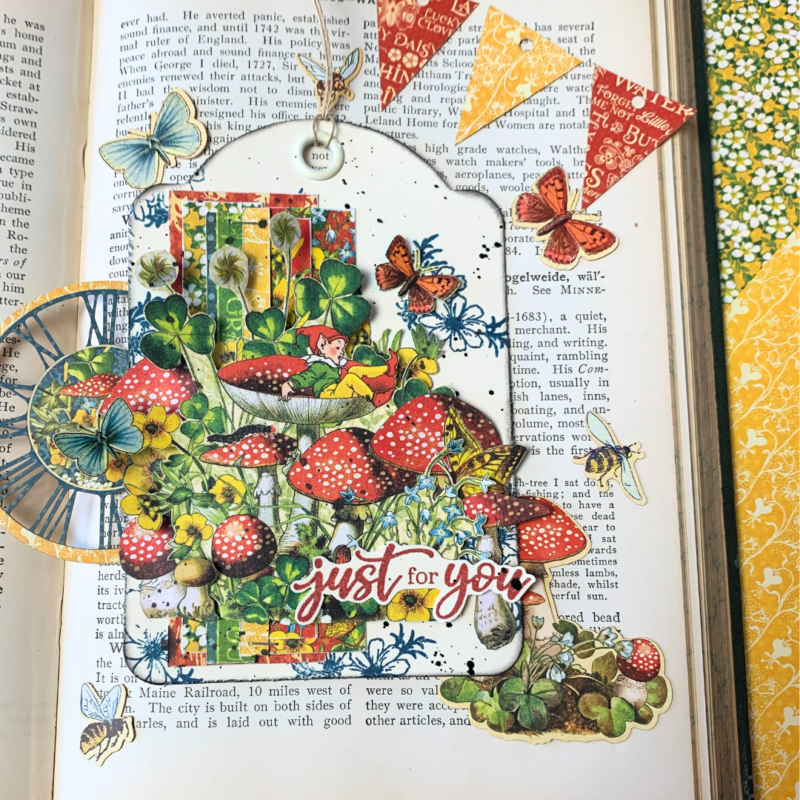
The second tag we will create is the Just for You Tag with the cream background behind the mushrooms.
Step One. Take out another Ivory Tag from the Regular Tags Ivory. Next, you’ll need the flower bunch stamp from the Flower Market Stamp Set. Apply Marine Blue Ink to the stamp and stamp randomly on the tag. Stamp a total of eight times. It’s fine if the stamped images aren’t perfect. Distress the edges of the tag. Ink the edges of the tag using Classic Black Ink and a blending tool with foam. Set the tag aside.
Step Two. From the Little Things 12×12 Pattern & Solids Pack, you’ll need the red writing paper. Cut a piece that measures 1 ½” x 4 ¾”. Sand the edges of the paper.
The next six steps use the patterned paper out of the Little Things 12×12 Collection Pack.
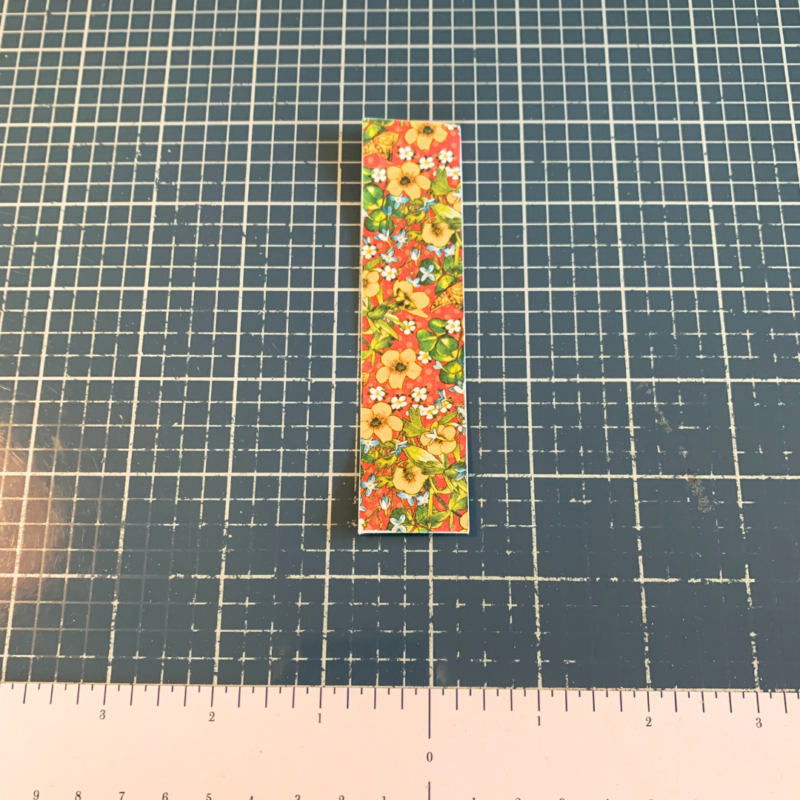
Step Three. Cut a piece from the floral side of the What’s Up Buttercup paper that measures 1 ¼” x 4 ½”. Sand the edges of the paper.
Step Four. From the Hello Ladybug Paper, you’ll need to cut one of the flower strips off. Cut the flower strip down to 4 ¼”. Flip the remainder of the paper over and cut a piece that measures 4 ½”. Sand the edges of both papers.

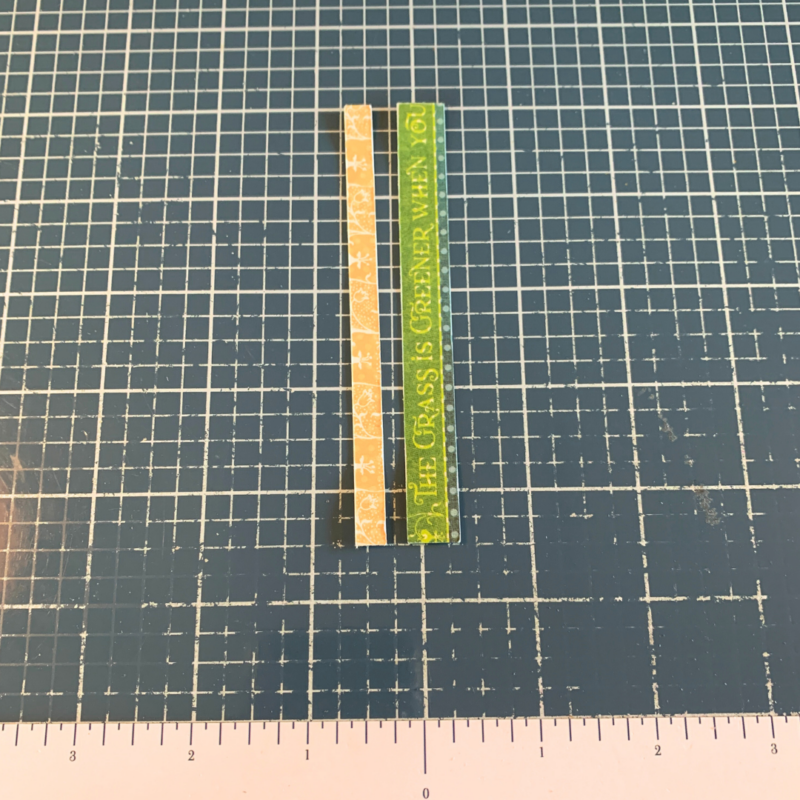
Step Five. From the left over ladybug border strip, flip the paper over and cut a piece to 4 ½”. Cut away the Grass is Greener border strip from the Bloom and Grow Paper. Cut a piece that measures 4 ½”. Sand the edges of the border.
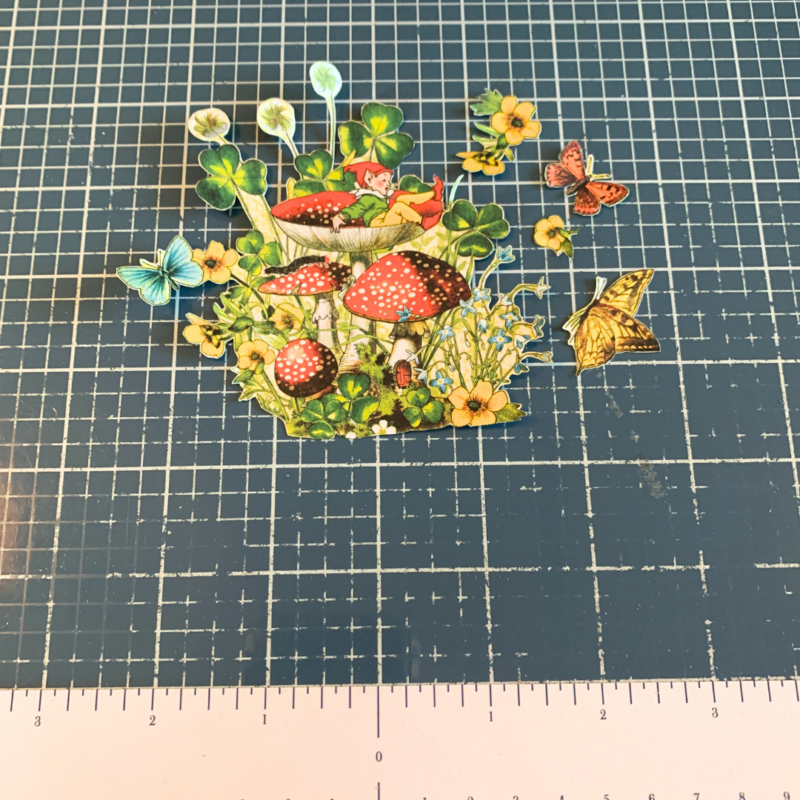
Step Six. From the Mushroom side of the Forget Me Not Paper, fussy cut one of the images that has a mushroom, clovers, flowers and butterflies. From the same side of the paper, fussy cut a single yellow flower, a yellow flower bunch, one yellow butterfly and one red butterfly.
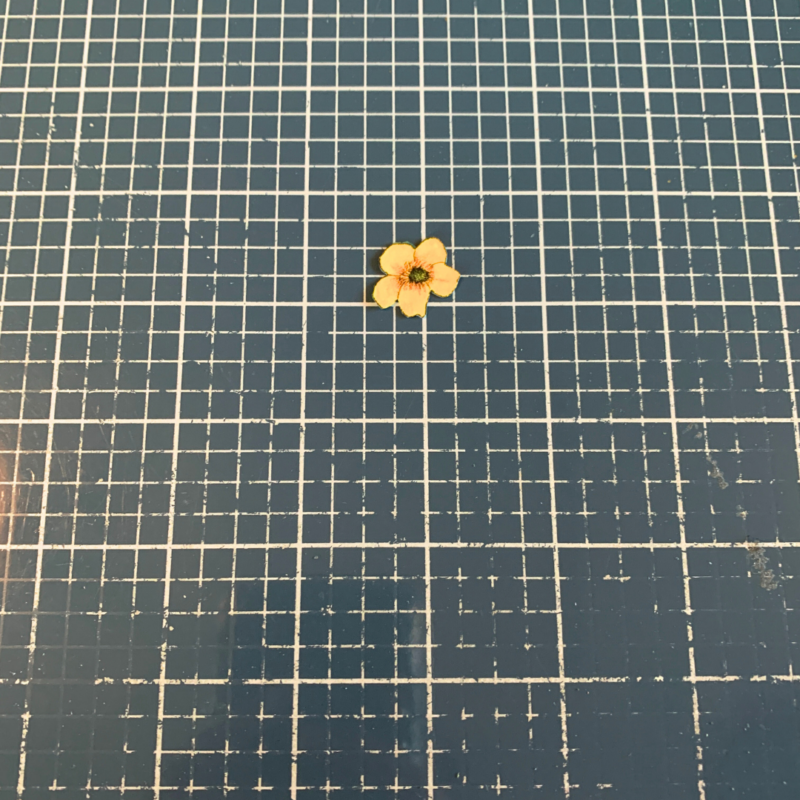
Step Seven. Fussy cut a single yellow flower out of the Lazy Daisy Paper.
Step Eight. Fussy cut three single mushrooms and one mushroom bunch from the Sprinkle Kindness Paper.
Step Nine. Next, you’ll need the Just for You sentiment from the Sentiment Stamps. Apply Brick Red Ink to the sentiment and stamp onto a piece of cream cardstock. Fussy cut around the sentiment.
Step Ten. Adhere the red writing paper ⅝” from the left and ⅛” from the bottom of the tag. Adhere the red floral paper 1 ⅛” from the left and ¼” from the bottom of the tag. Adhere the white floral paper ½” from the left and ¼” from the bottom of the tag. Adhere the flower strip paper 1 ¼” from the left and ⅜” from the bottom of the tag. Staple the grass grows border strip ¾” from the left and ⅛” from the bottom of the tag. Staple the yellow border strip 1 ⅛” from the left and ¼” from the bottom of the tag.
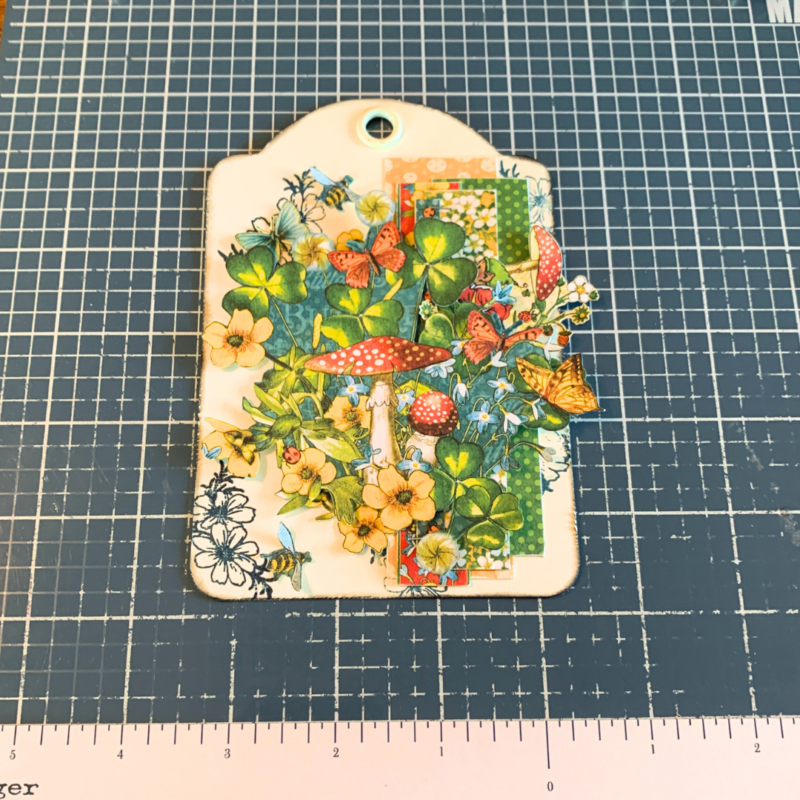
Step Eleven. Foam square the mushroom with flowers, clovers and butterflies ½” from the bottom and ¼” from the right of the tag. Adhere the two mushroom bunch to the bottom right side of the mushroom image. Adhere the yellow butterfly in between the mushroom bunch. Adhere the two yellow flower bunch to the top right side of the clover by the boy sitting in the mushroom. Adhere the red butterfly to the top right side of the tag as desired.
Step Twelve. Adhere the single small yellow flower to the top left side of the boy in the mushroom, in between the two clovers. Adhere one mushroom in amongst the yellow flower and clover on the left hand side of the mushroom image. Adhere the other single yellow flower in amongst the two yellow flowers on the left hand side by the blue butterfly. Adhere the remaining two mushrooms to the bottom left corner of the mushroom as desired. Adhere the Just for You sentiment to the bottom right side of the mushroom image.
Step Thirteen. Tie a piece of twine through the top of both tags. To finish the tags, splatter Black Soot Distress Spray Stain onto the tags using a paintbrush. Allow time for the tags to dry.
Little Things 12×12 Collection Pack
Little Things 12×12 Patterns & Solids
Distress Spray Stain – Black Soot
Twine
Thank you so much for joining me today and I hope that my tags have inspired you to create your own.” ~Katelyn

One Response
This is so pretty! I love how the layers make it look so full and vibrant. I really love it! 🌿🍄