Hello, G45ers!
Happy Friday crafty friends! Today we have a quick and easy DIY Journal tutorial to share with you by the fabulous, Glenys Vidal. This post is in celebration of our #G45JunkJournal – August Challenge and features our Floral Shoppe collection. Following this step by step guide, we have our Weekly Contest Winner to announce! So be sure to see if you are this week's winner!
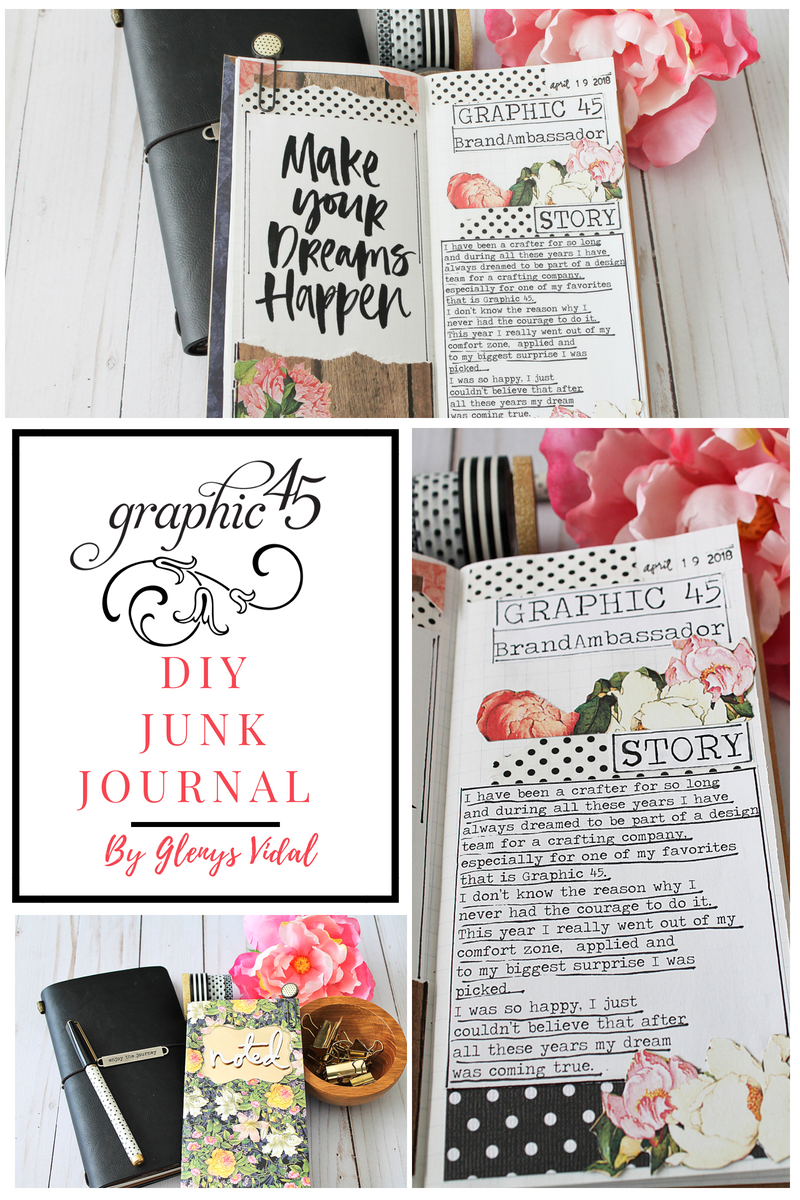
DIY Junk Journals with Graphic 45
By Glenys Vidal
“Hello G45ers, I am so happy to be here again with you. This time I have a project that is very
dear to my heart: a DIY junk journal for the Graphic 45 August Challenge.
I have been a paper planner and junk journal lover even before it was cool to do so.
I still remember that when I was younger I did not have available all the awesome products that are on the market nowadays. So I used to make my own planners out of old notebooks, manila folders, copy paper or anything that I had at hand. Then those old notebooks were filled with
pictures, drawings, magazine images, just anything that caught my eye or whatever I wanted to keep for later.
Those old journals were my treasure.
Now let’s fast forward to 2018. Right now, planners are in style, and there are so many products readily available to use. But still as a crafter, I do love to make my own version of these journals in junk style, and wanted to share a little tutorial how I make mine. I am hoping to give you guys some inspiration to make your own.
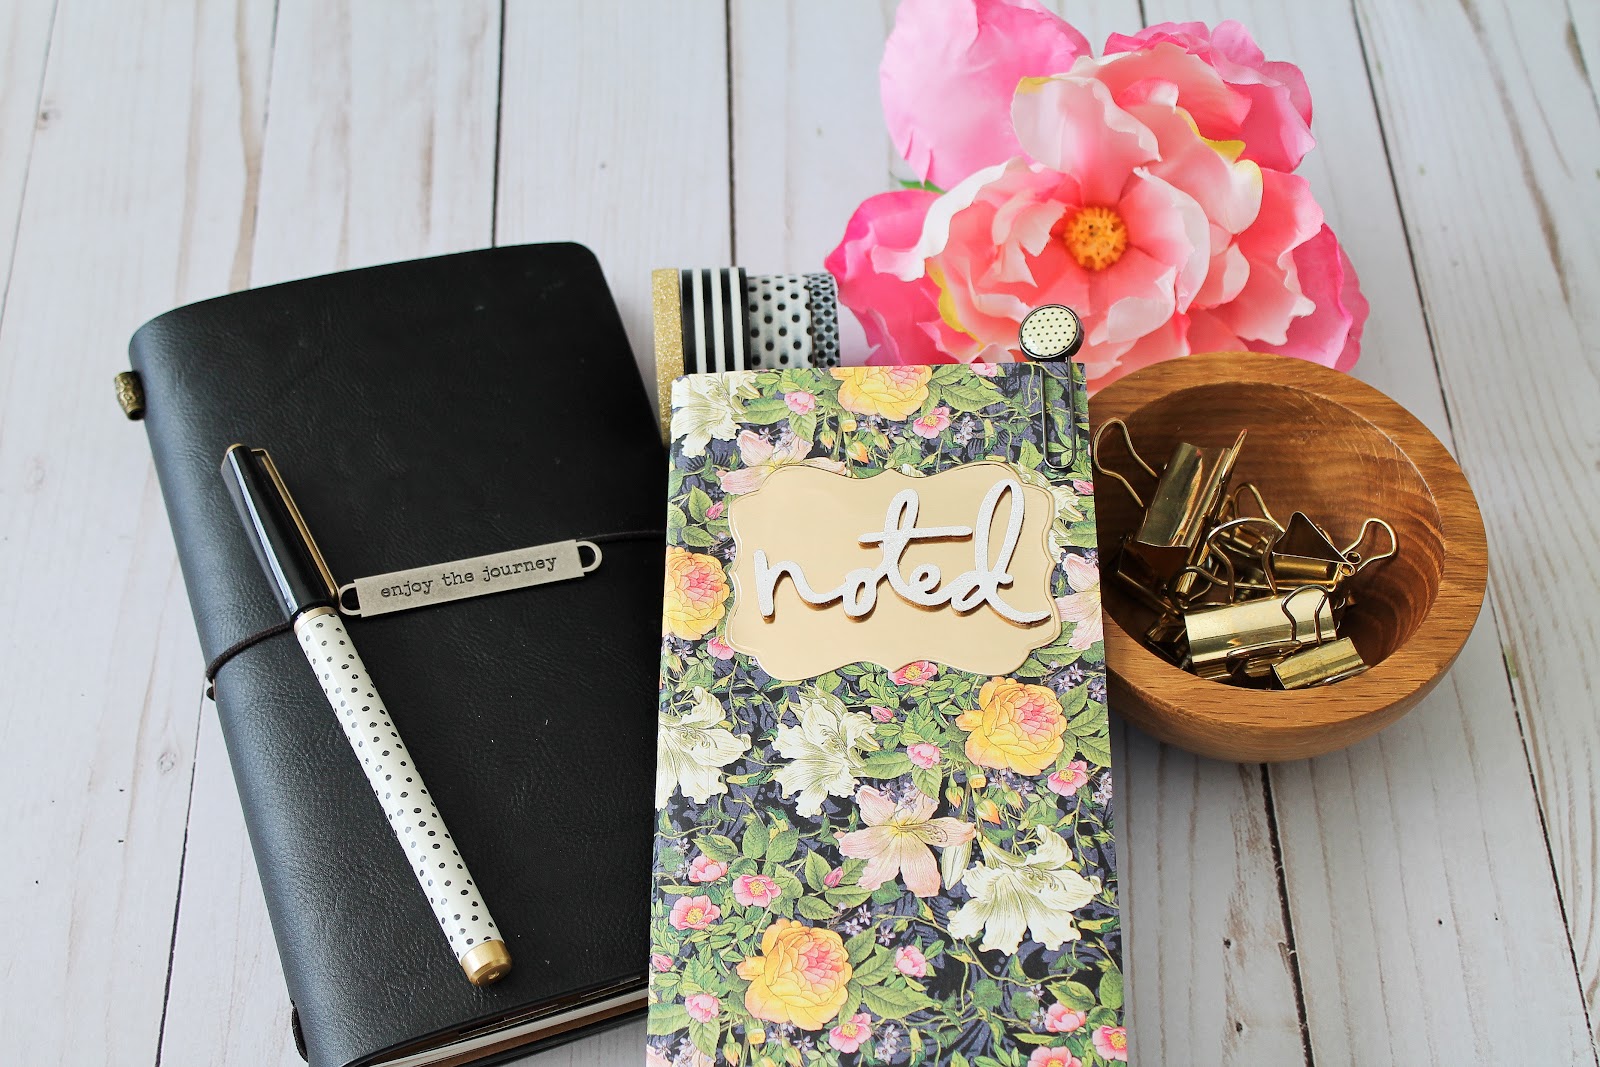
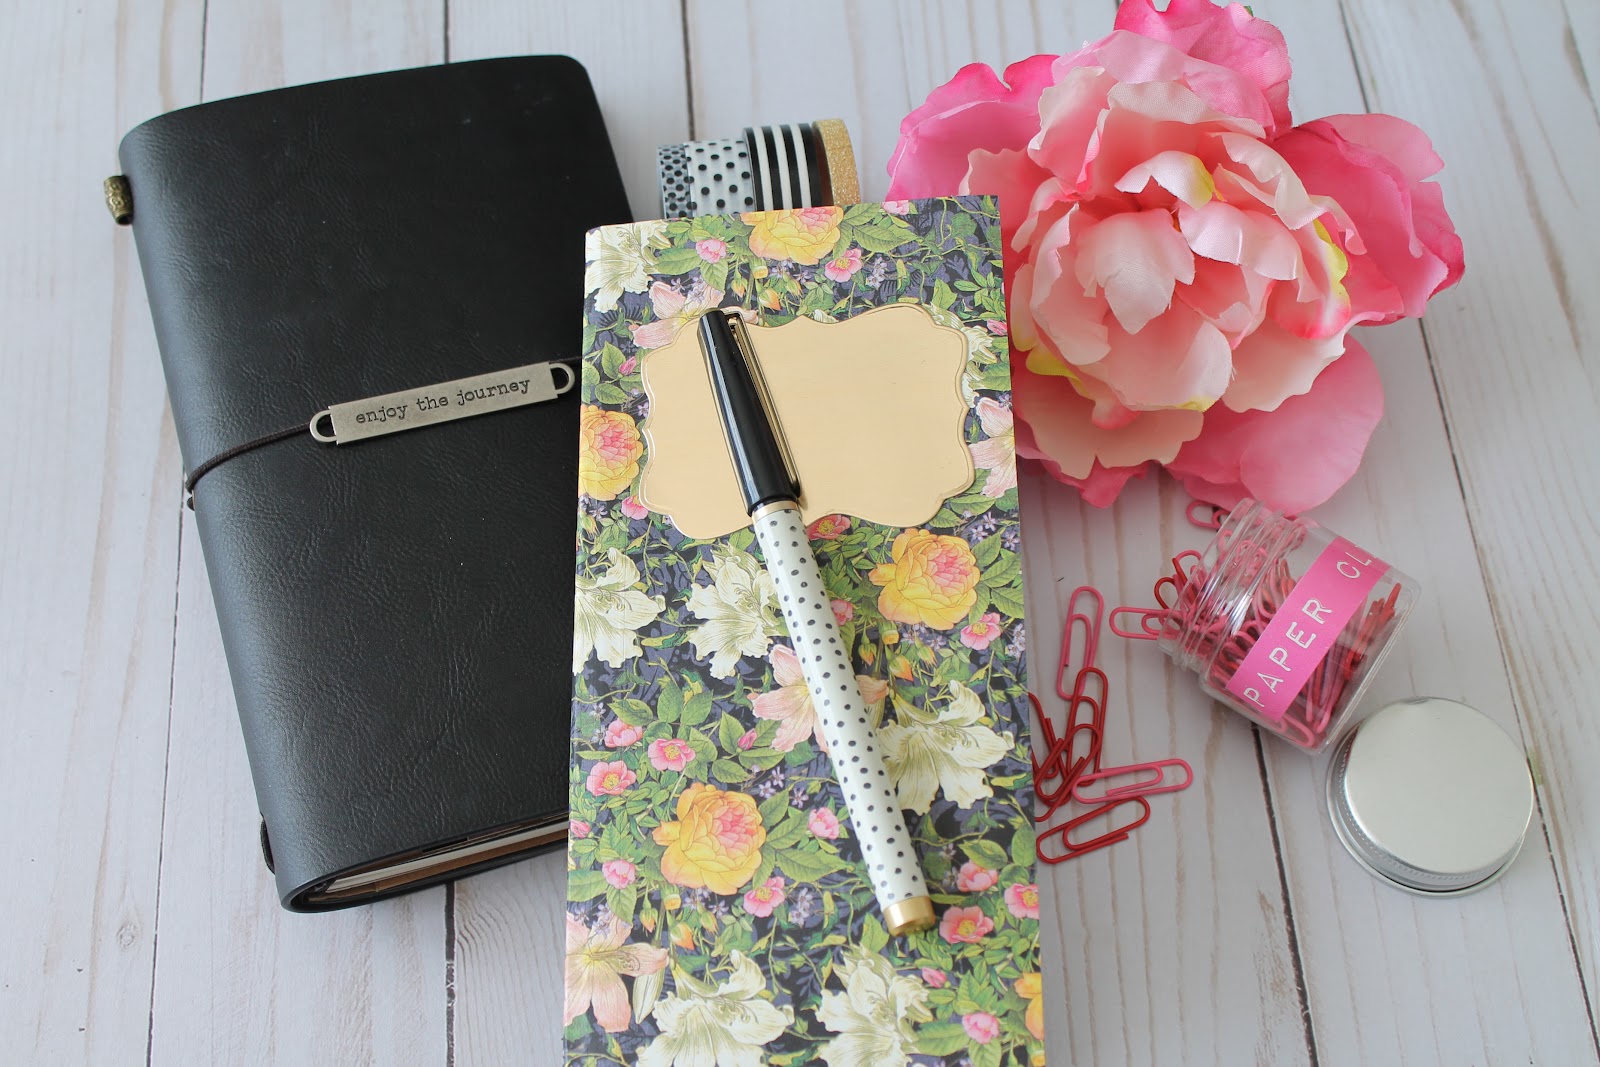
Lately I am loving the Midori type journals. You can find them in different sizes, colors and materials. I love how compact they are, and how easy they are to carry and store. But the best part of them, is that changing the inside is so easy by just making new inserts when your old ones are filled. I wanted to share a little tutorial on how I make my inserts and pages. I am hoping to give you some inspiration to make your own! Here are the steps:
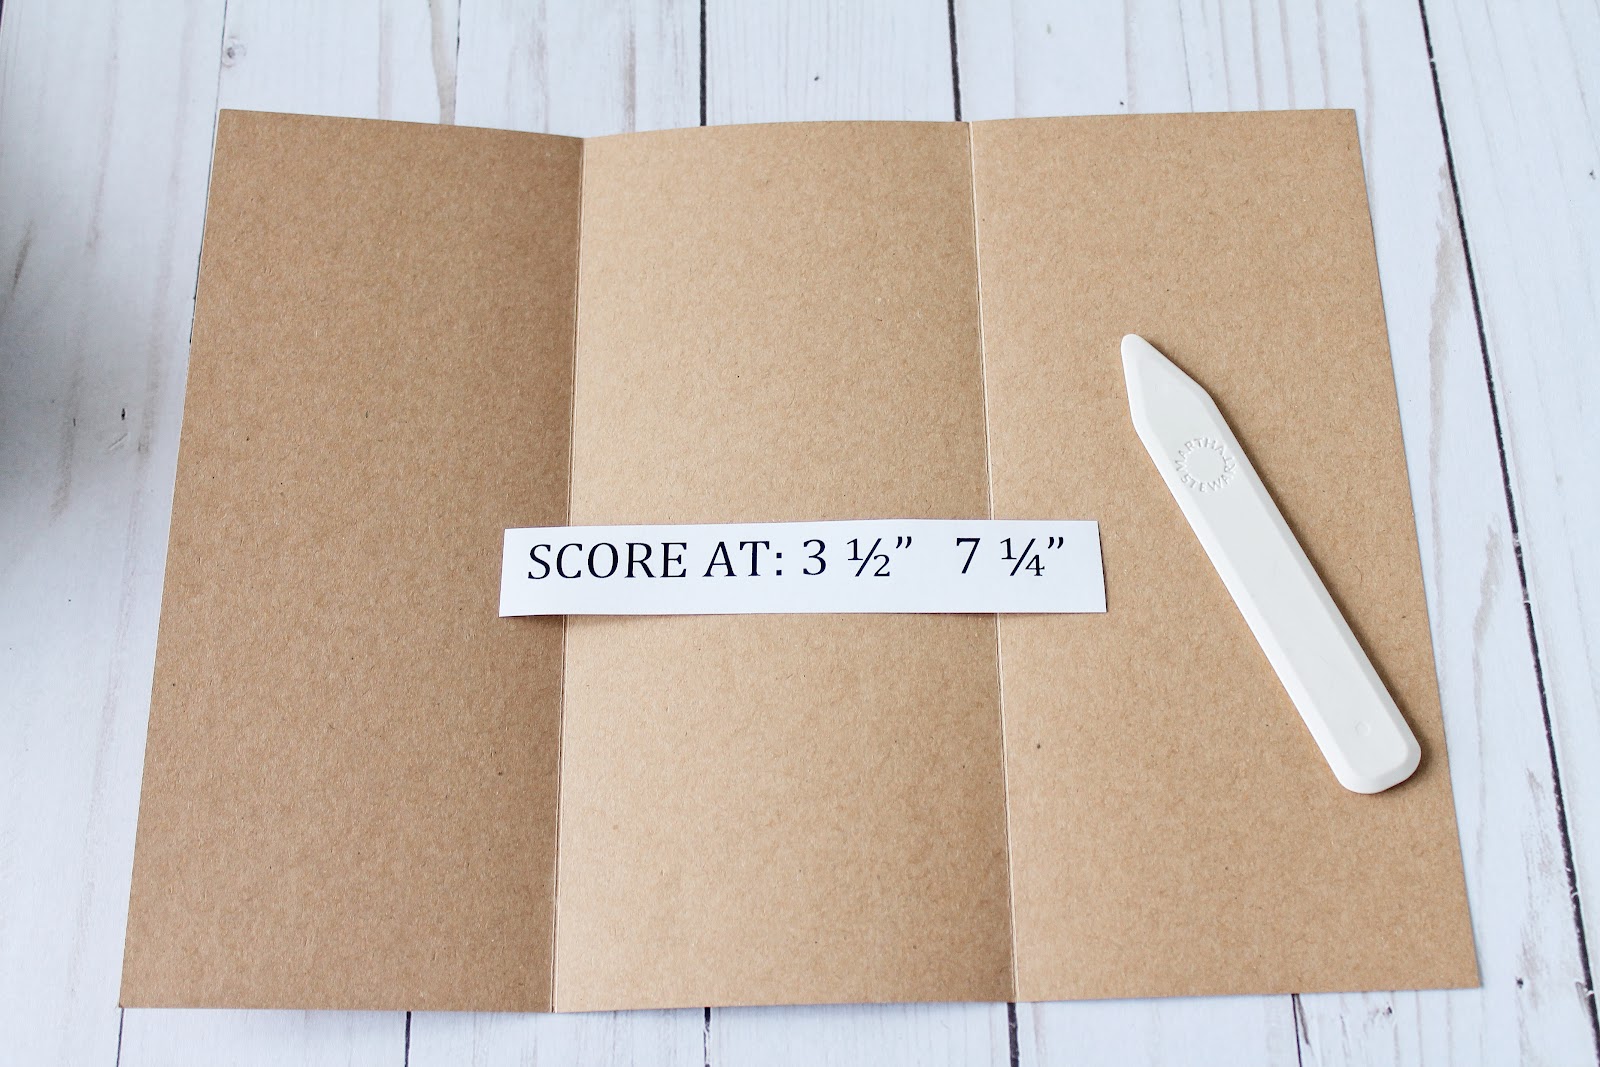
Step 1:
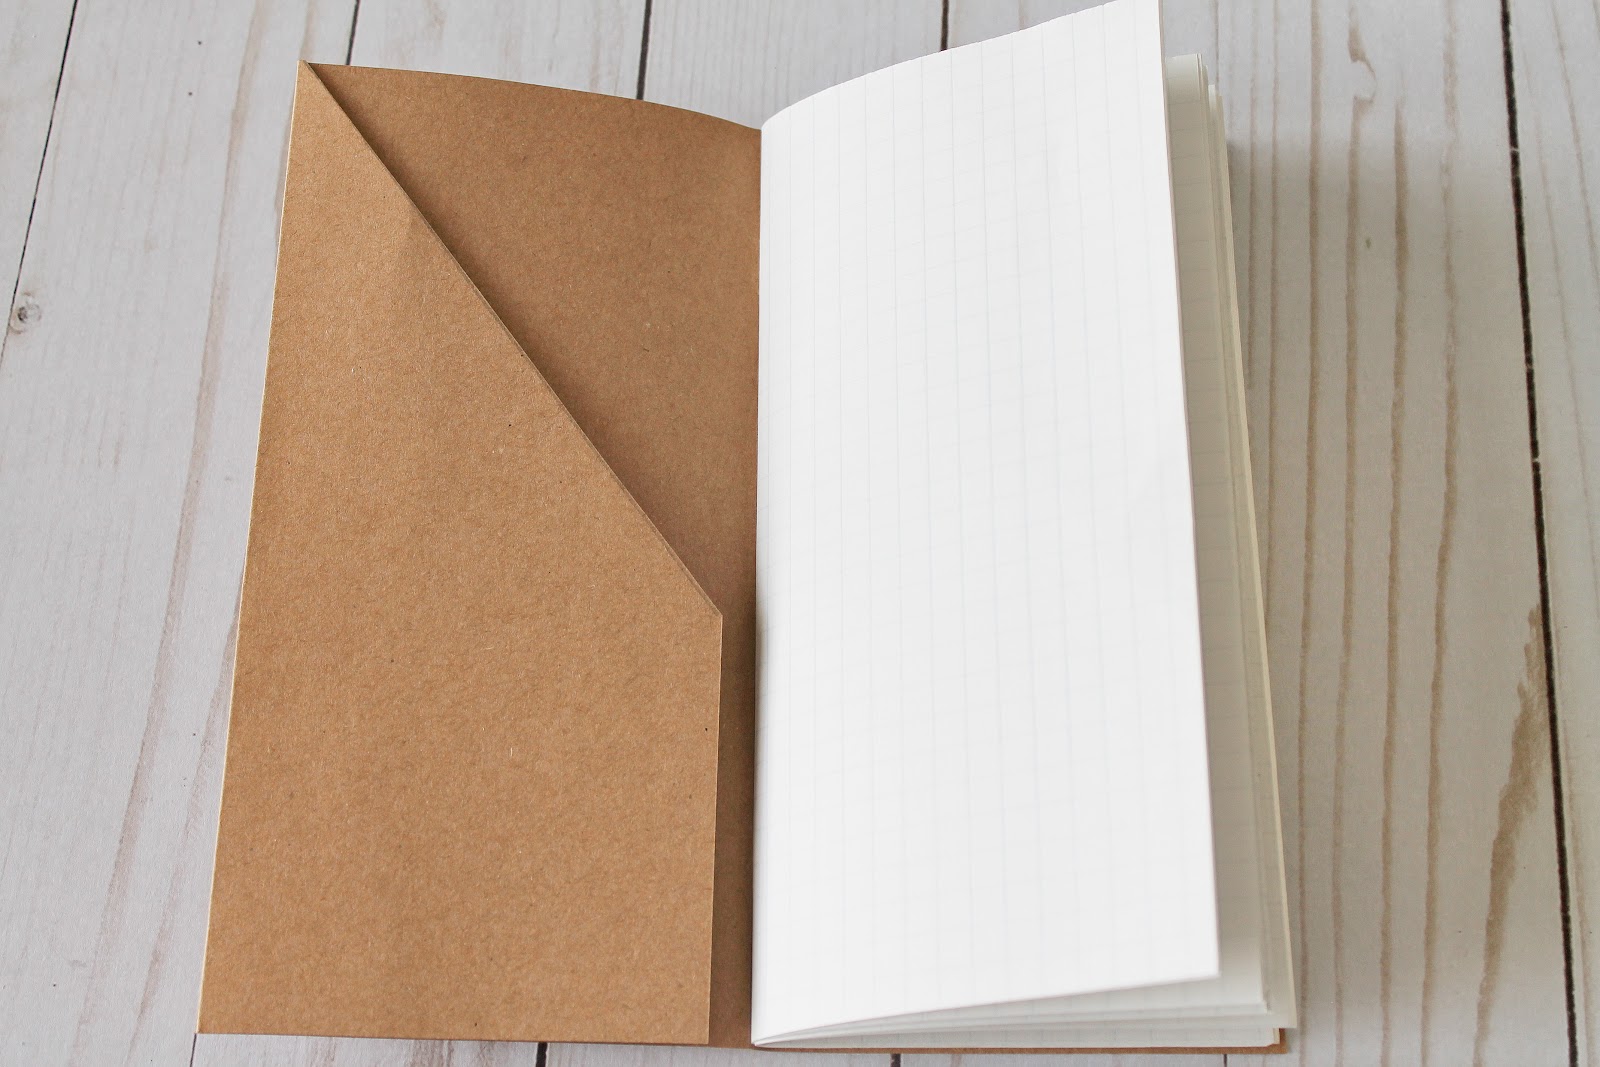
I used a sheet of 8 ½ x 11” kraft cardstock. I scored my paper at 7 ¼’ and 3 ½” (depending on the size of your cover you many need to adjust the measurements).
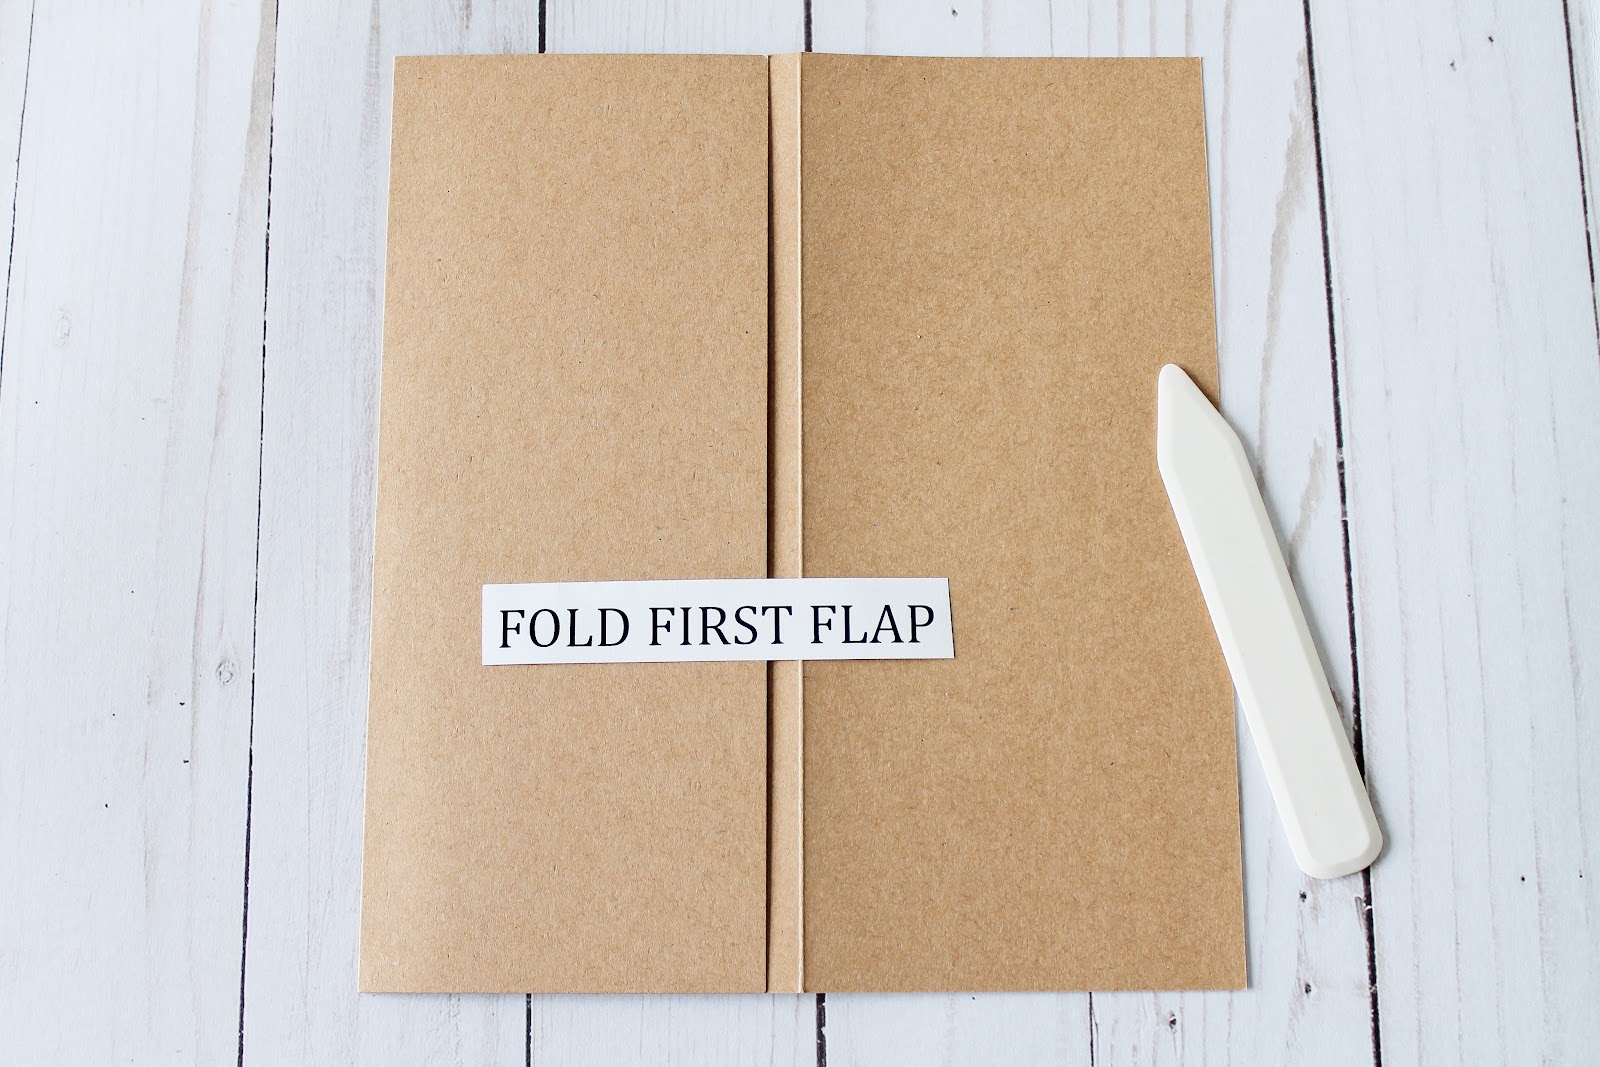
Step 2:
Fold the 3½” flap.
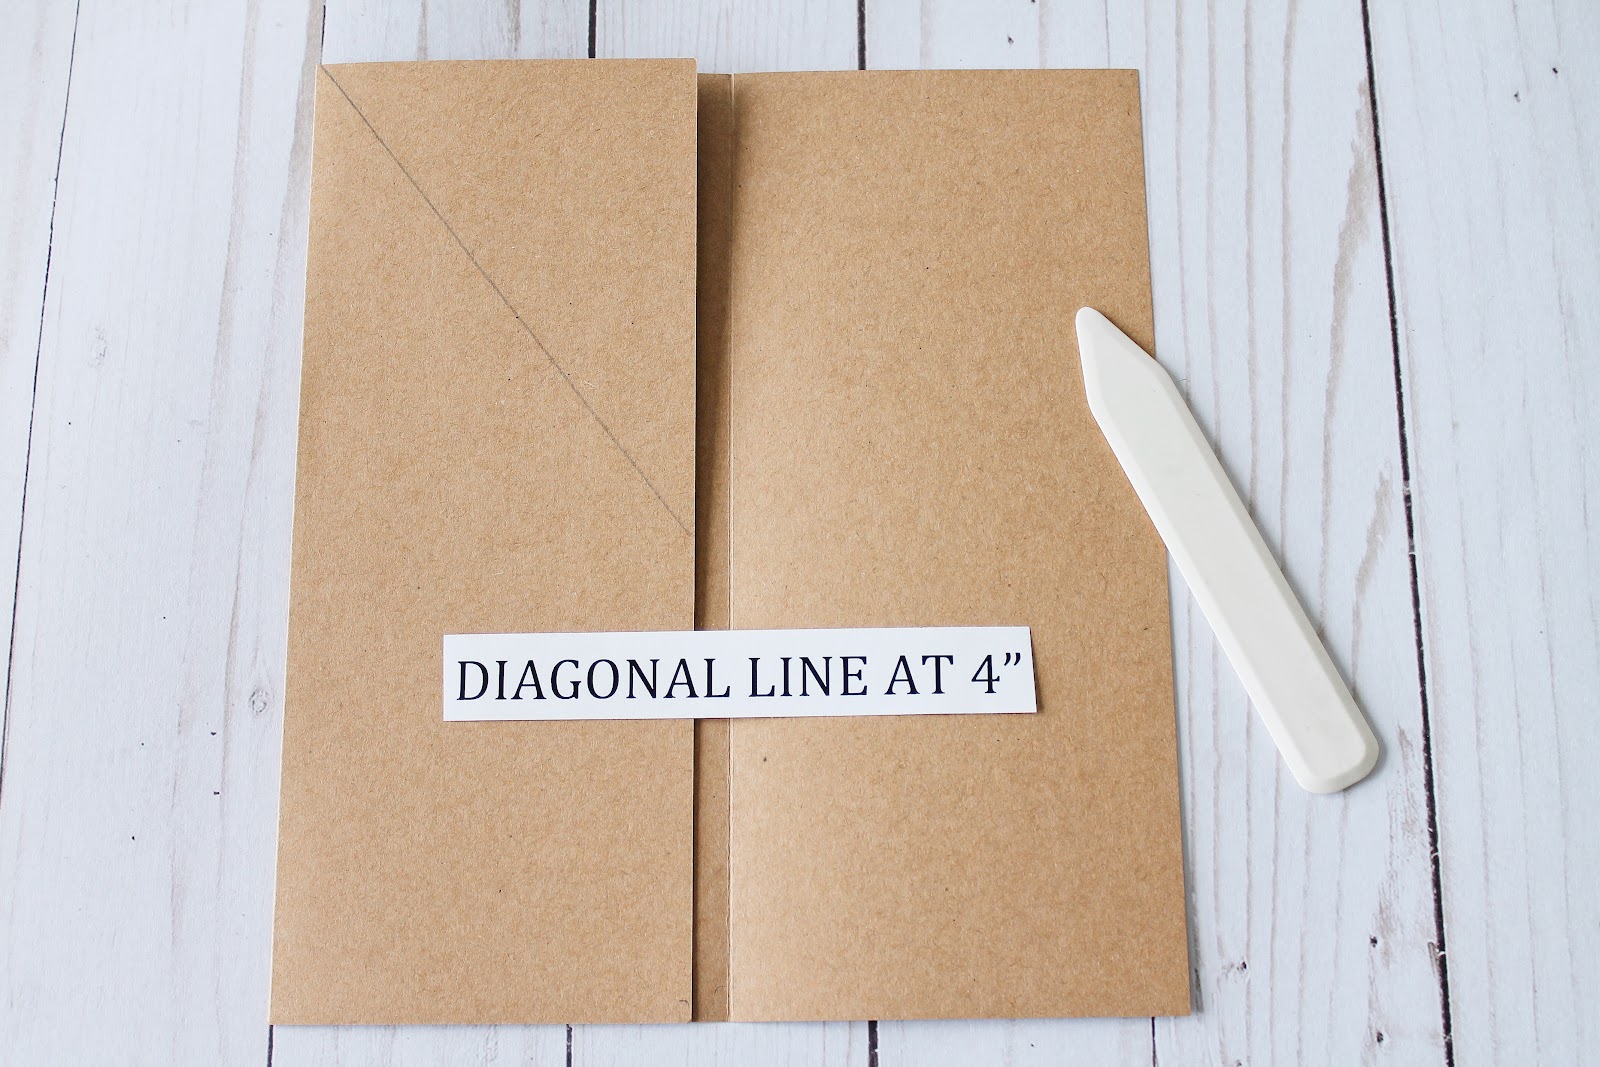
Step 3:
Draw a diagonal line from the top left corner to about 4” high from the bottom center.
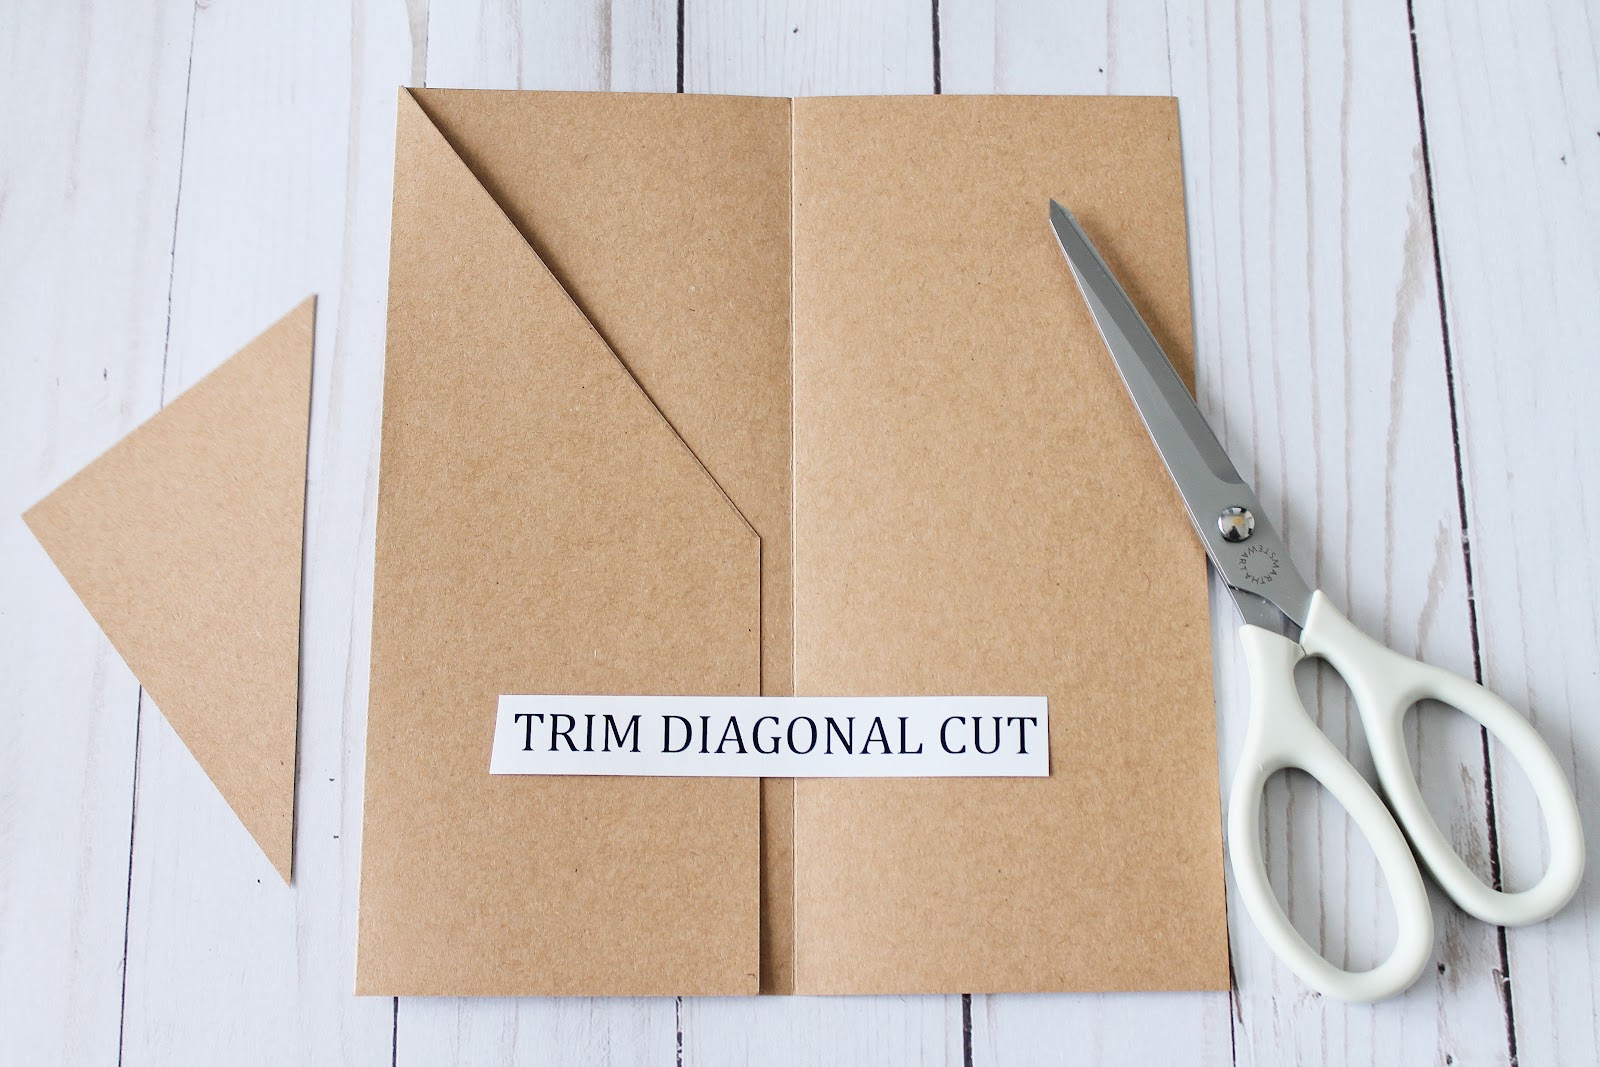
Step 4:
Cut along the diagonal line and glue down.
Step 5:
Make your inside pages 7½” by 8½” and fold in half.
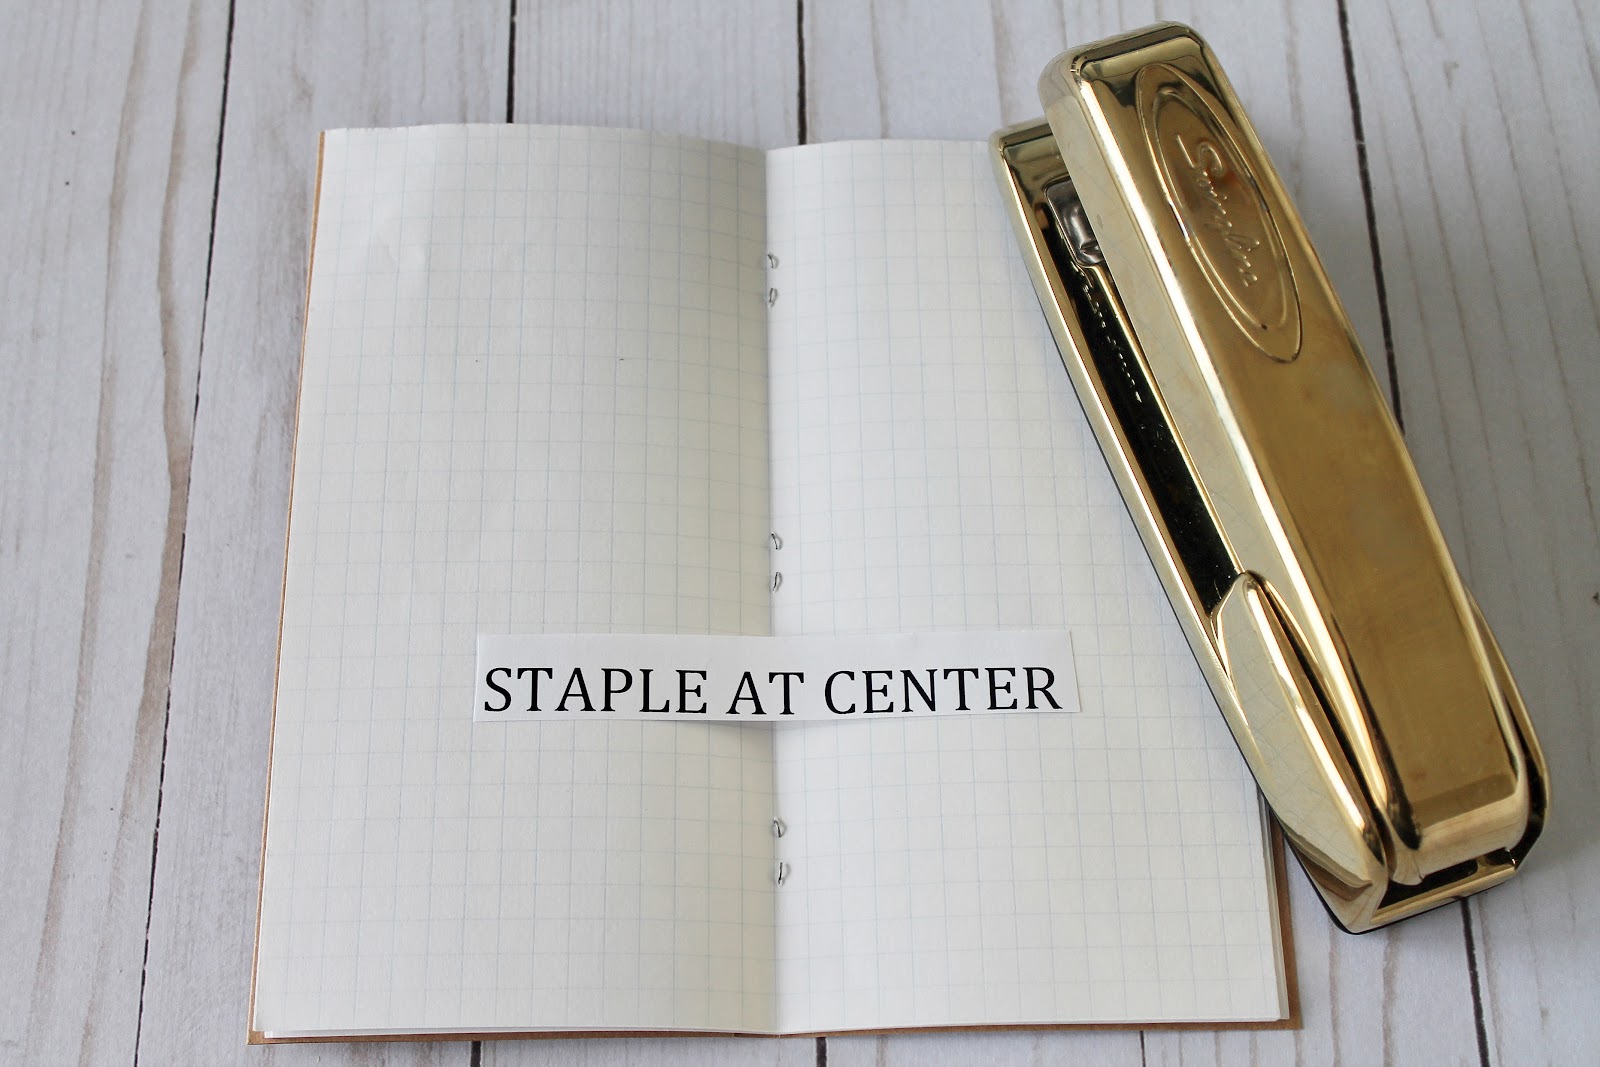
Step 6:
Sometimes I use my sewing machine to adhire my pages, but this time I used a simpler method and I just stapled them to the cover.
Last step:
At this time your notebook is ready to decorate and to be filled with all the wonderful pages that come from your inspiration.
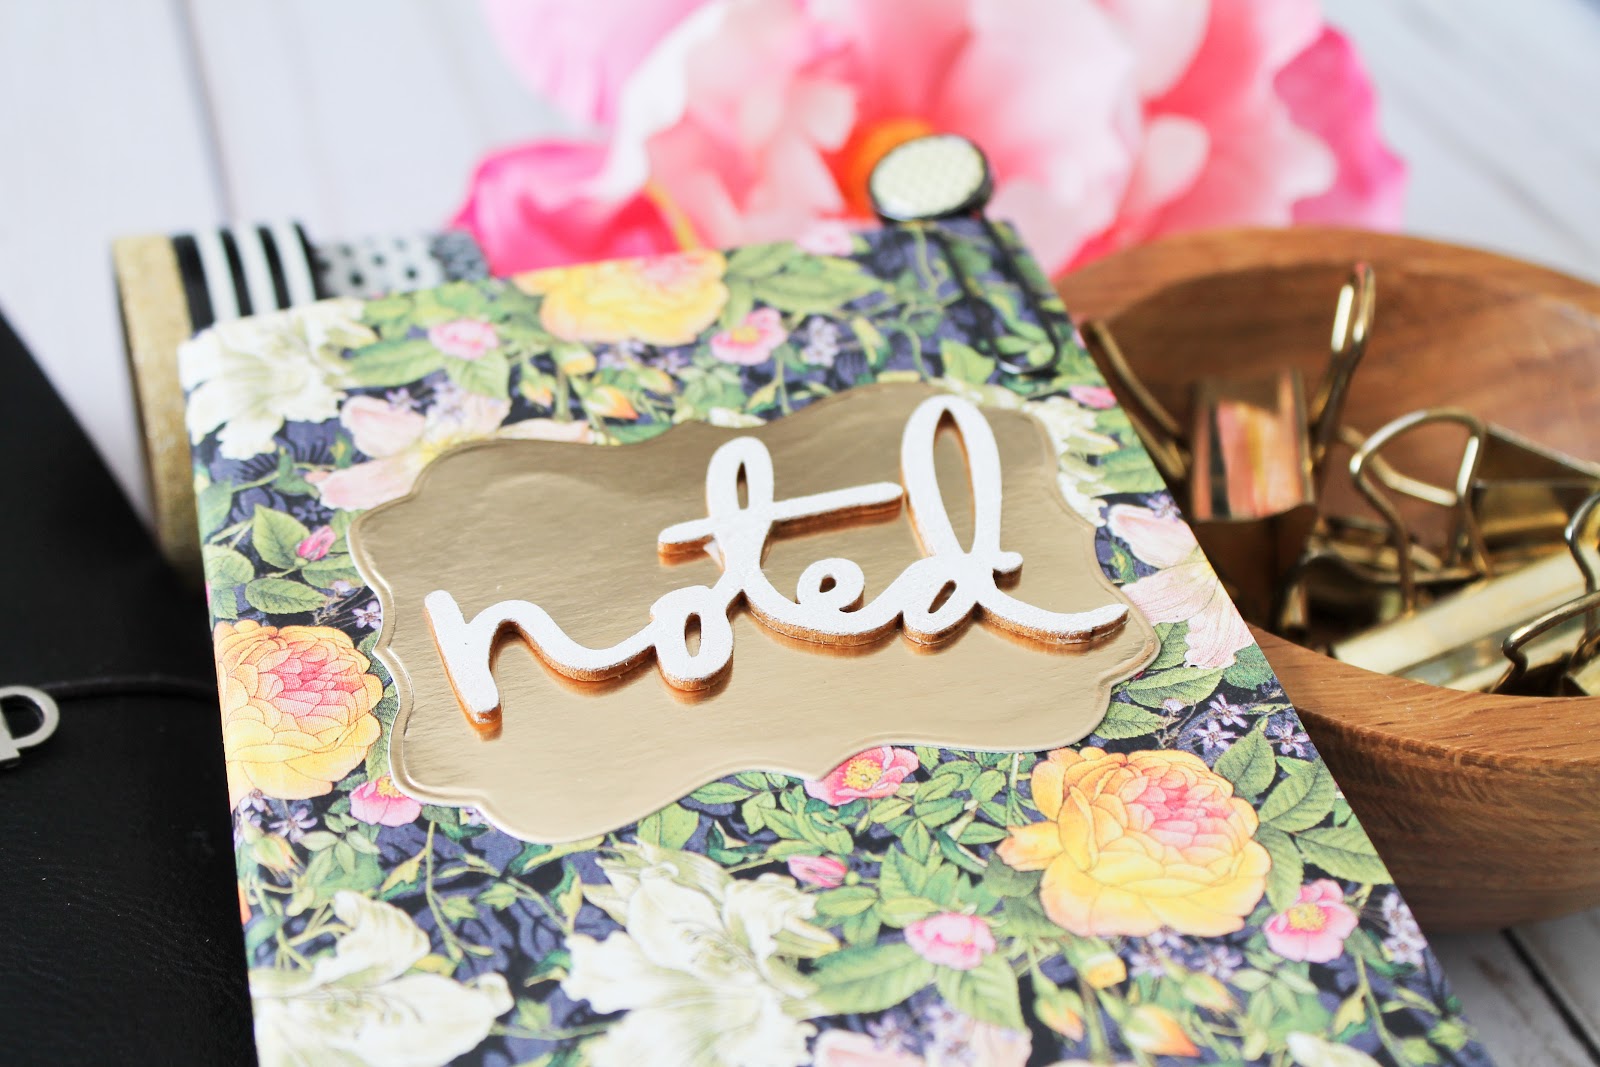
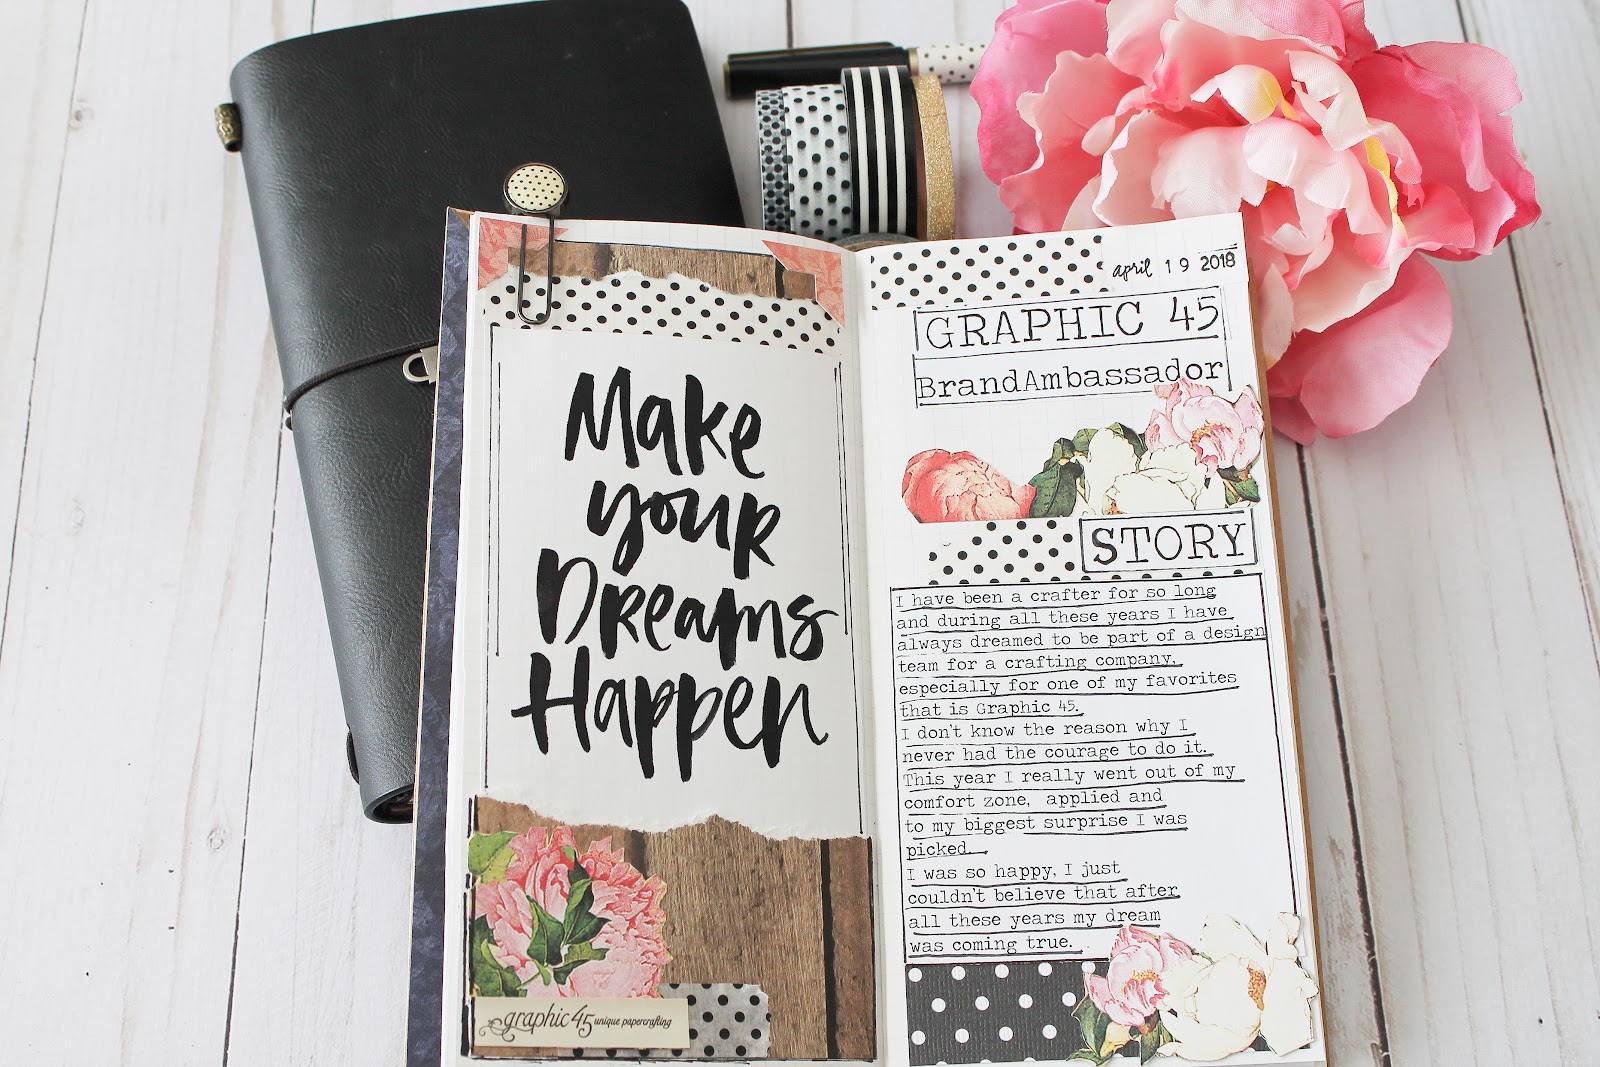
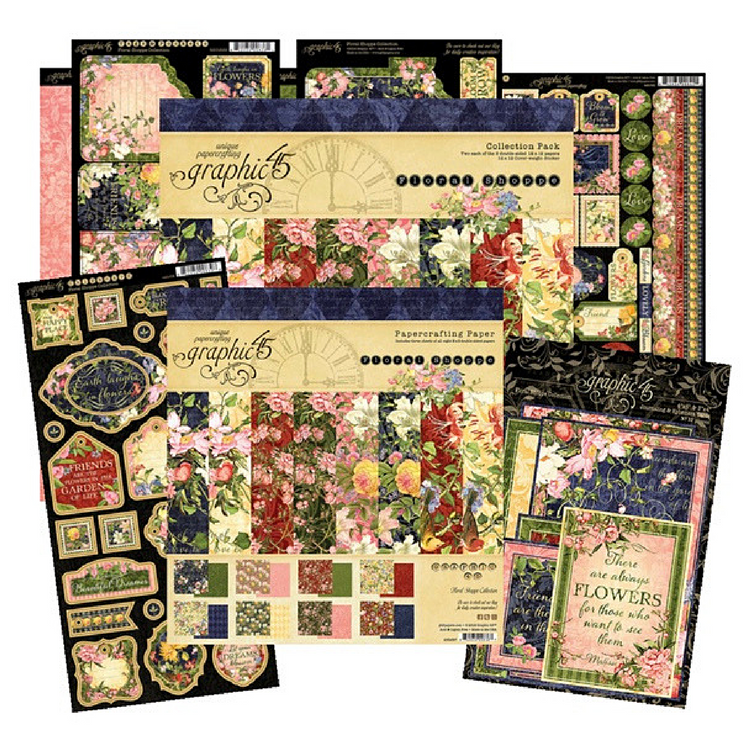
For this month’s challenge, I made my inserts using the amazing Graphic 45 Floral Shoppe collection. I just love using floral images and this collection has the most amazing one I have seen. I used the papers from the collection and a little gold label, and voila! My first insert was ready.
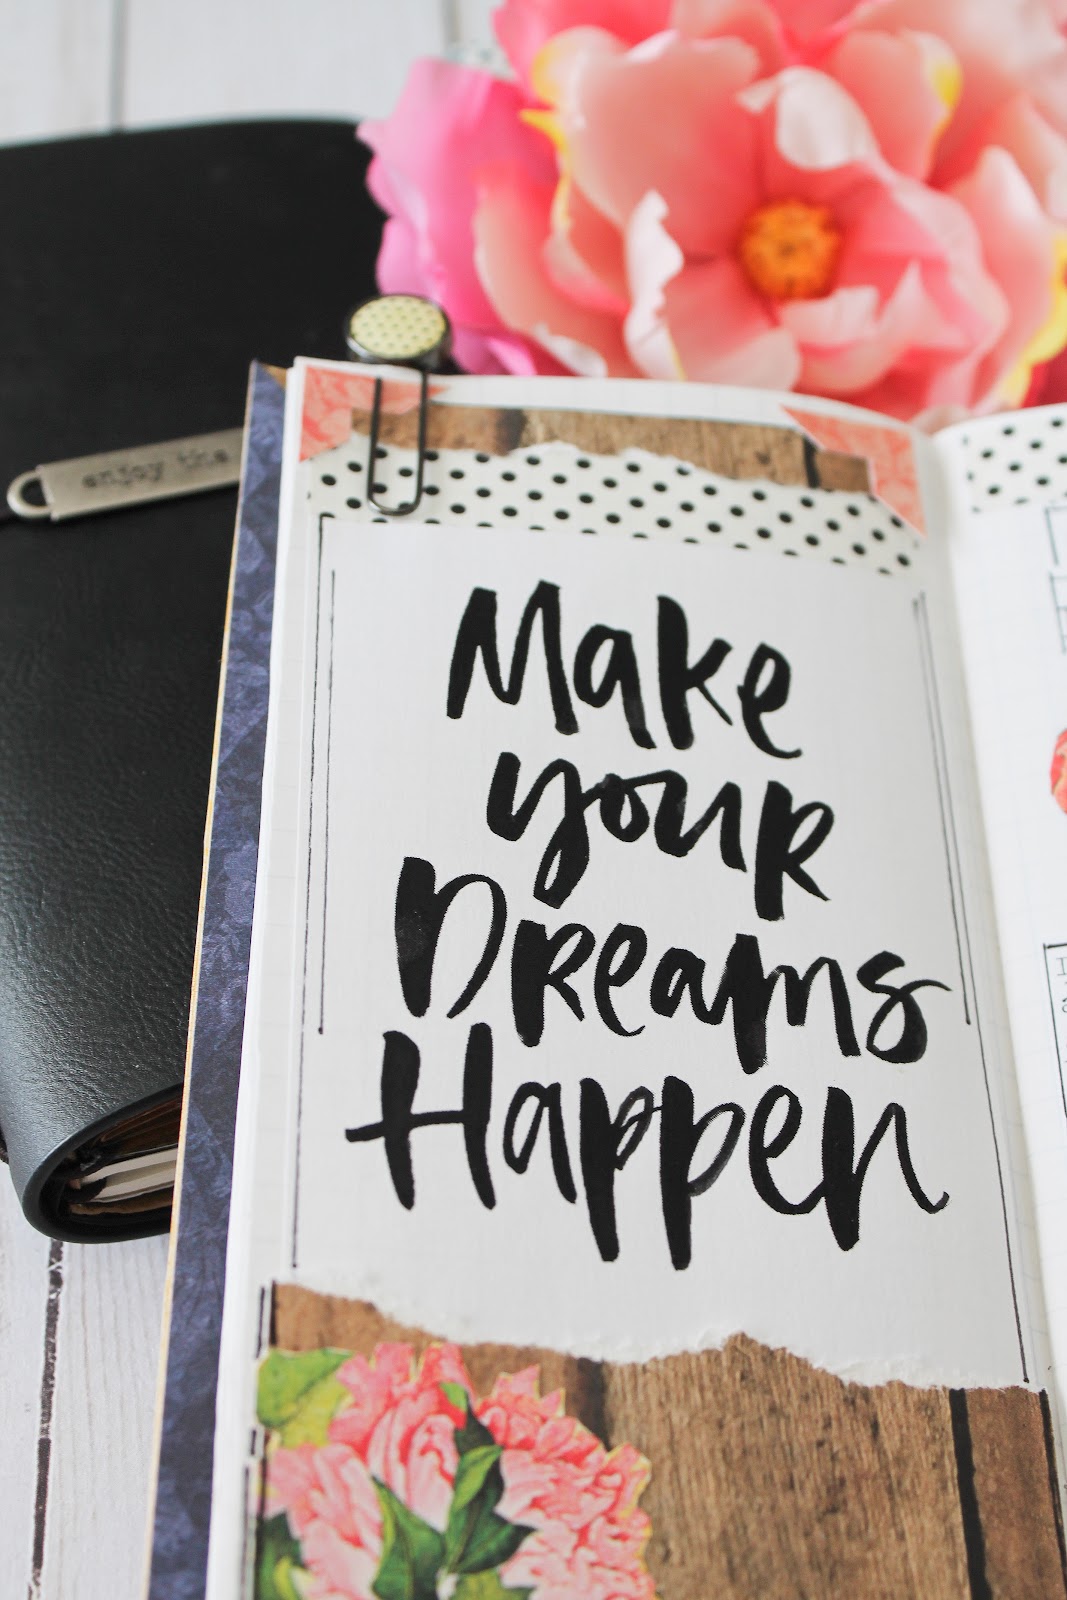
For the inside pages I just filled them with stories, mementos or whatever came to my mind at the time.
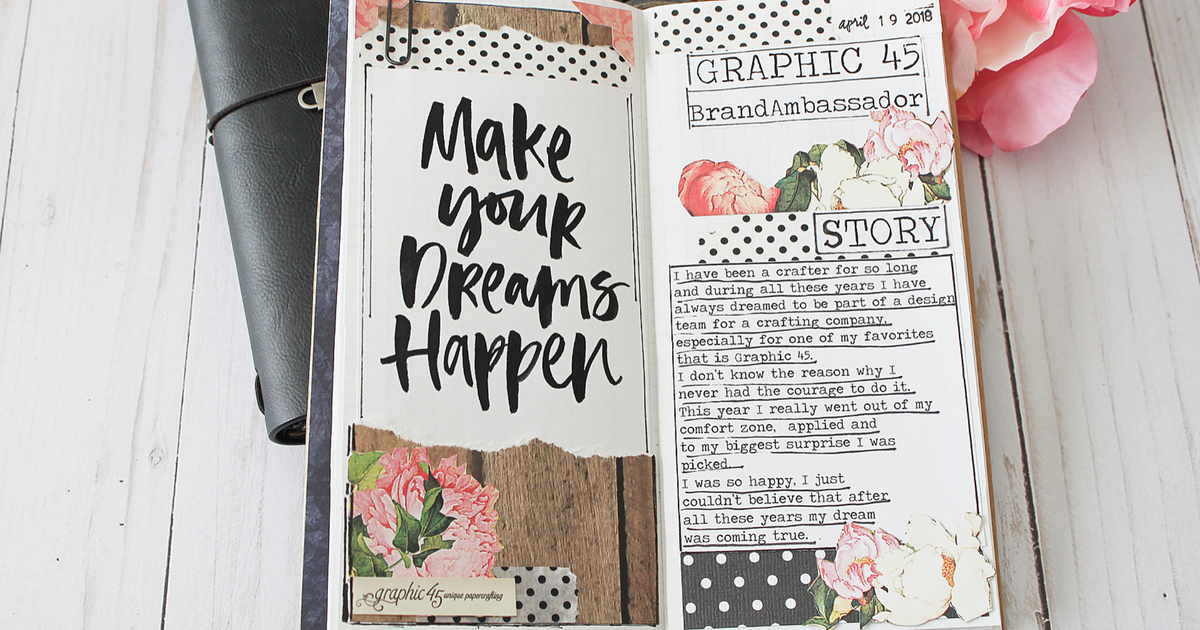
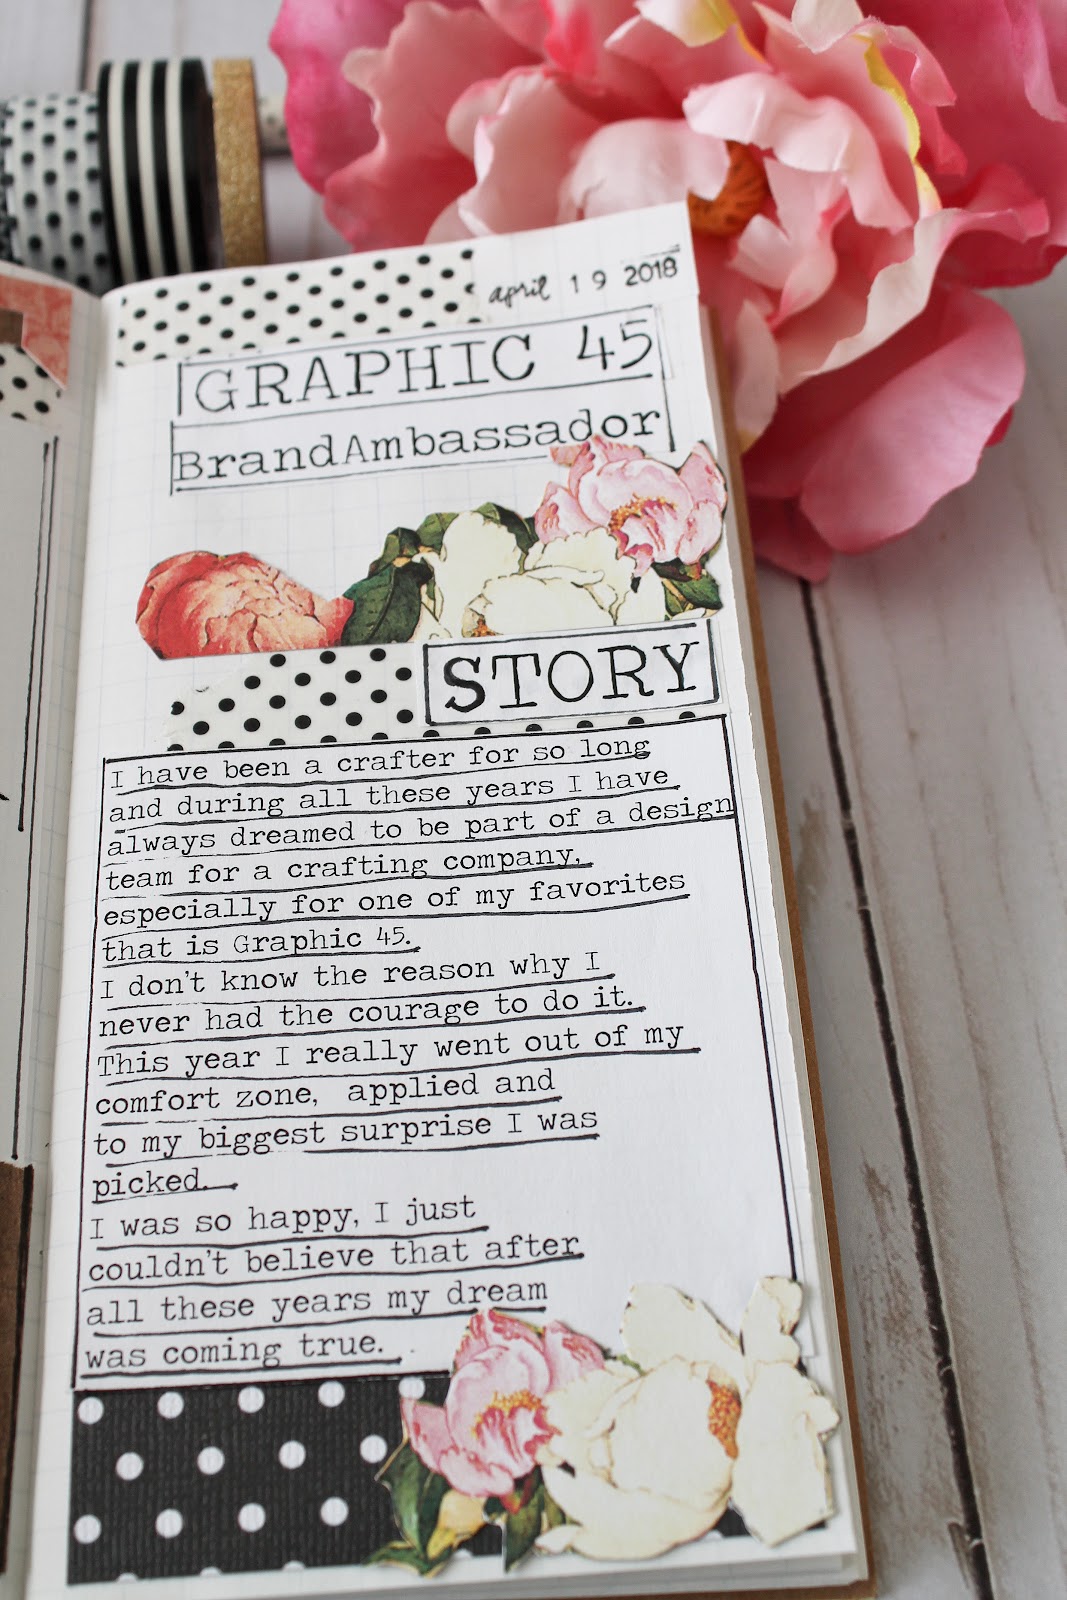
This page I made when I was picked as Graphic 45 Brand Ambassador and was so happy and inspired that wanted to document it all.
#G45Tip: Use your papers images as decoration for your pages, just use adhesive to attach them. In this page I used the fuzzy cut flowers as my focal point.
#G45Tip:Use your leftover paper scraps from other projects. Any piece of paper will add dimension and interest to your pages.
I’m hoping that you guys join the fun of this month’s challenge and post your creations on the Graphic 45 community page. I am so looking forward to see all the entries. Have fun creating, I will see you soon with more projects!” ~Glenys
Graphic 45 Supplies:
Weekly Contest Winner
This week’s prize package included a Club G45 – Vol. 8 Kit, including a Tropical Travelogue – Deluxe Collector’s Edition, Regular Book Box, Antique Brass Claw Feet, and Photogenic Inkpad, a $50 value. The Winner is… Ellen Haydon!
Ellen had this to say on the [Tutorial] Pocket Mini Album blog: “What a lovely album. Thank you for the tips (they are nice to have. Ellen from Phoenix”
We want to thank everyone who left your thoughtful comments on our blog and social media this week. We love our G45ers! Ellen, please email info@g45papers.com to claim your prize.
What a great way to start the weekend! Big thanks to Glenys for sharing this easy to follow guide, and to you for stopping by today. Be sure to leave your feedback and tips in the comments below. Pull out those papers and have a wonderful and creative weekend!
Happy Papercrafting!